When you click on links to various merchants on this site and make a purchase, this can result in this site earning a commission. Affiliate programs and affiliations include, but are not limited to, the eBay Partner Network.
I believe you will need to lift the rear hatch and see the bolts and plug needing removed. Be careful when you start removing the rails, you'll bend the cr@& out of it.
First, you need a good reason to remove the rail..... and then good technique (with maybe some good luck too) to get the old rail off without putting a kink or two into it as they are very soft. Note carefully how the ends of the rail are positioned in relation to the fender and roof line above the hatch before you remove them.
I don't know that I recommend doing what I have done, but I used a Harbor Freight slide hammer with a modified wide flat hook to remove the new rails from my car after painting so that they could be repositioned properly. (I had also used this slide hammer to remove the window trim when all attempts at prying failed....)
The new rails had been painted separately and were installed after the car was painted. They fit very tightly, and could not be easily removed by hand without the danger of kinking them. Repositioning the new rails was a real PIA and it took several attempts before things were lined up properly.
All of the putty/sealant needs to be carefully removed if a new rail will be installed, otherwise there will be problems getting the new rail to fit. I would guess that this would not need to be done if you are able to reinstall the old rail.
Just echoing what's been said, I replaced the drivers side, tried to remove the old without damaging it i.e. bending it so i could compare it with the replacement but it was held on so tight I did bend it.
After removing the old adhesive the replacement went on easy enough after making sure it was positioned correctly, used a block of wood and rubber hammer to "persuade" in to place, didn't use any adhesive.
Oh, I bought my rail used from 928INT, no idea how they removed it.
I took mine off just last week as part of paint preparation.
Remove the clip and screw at the back end. Starting at the rear, I then took my plastic interior removal tools that I purchased at Harbor Freight and slowly started to lift and wiggle the drip rail loose, using a hammer against the tool to help work it up a little. Once I was able to get the first 6-8 inches loose, I was able to get one of the plastic trim tools under the rail and use a little bit of leverage to continue to remove them. It took about 10 minutes a side. No need to mess w/ the deck lid or get inside the car at all.
Like everything else on these cars, patience and going slow seems to be the magic ticket.
Be careful installing the rail. The rear of mine was a little to high so I thought it was safe to loosen the end and tap it with a rubber mallet. I was wrong. I kind of smashed it.
Well...this theeeeee last part and piece i need to take off my car.
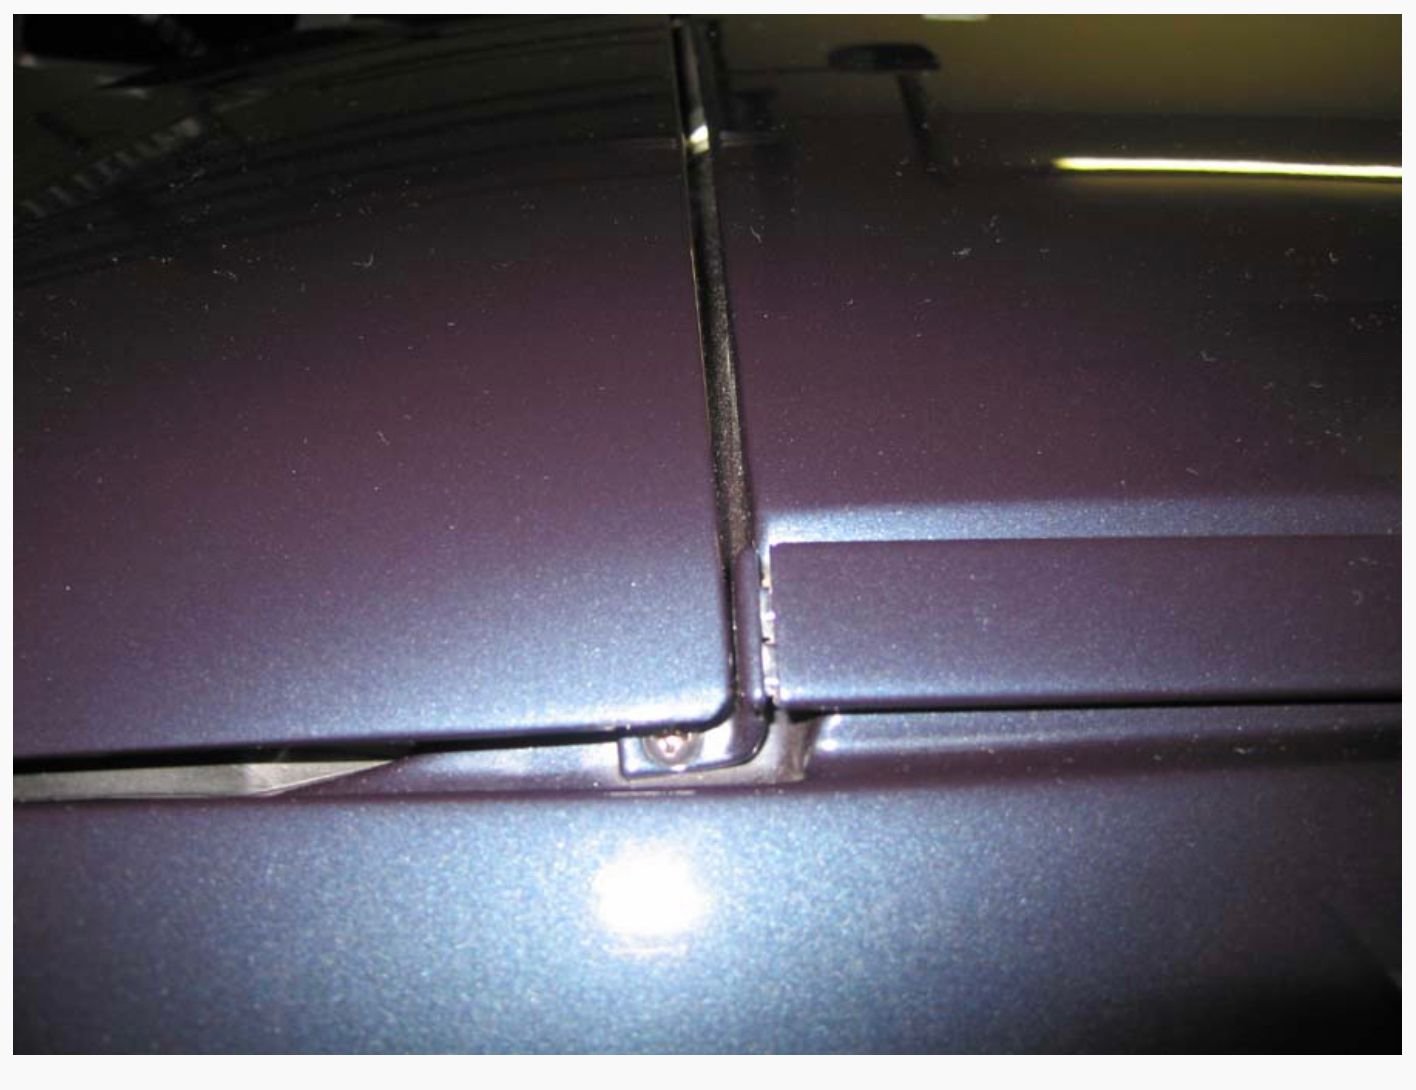
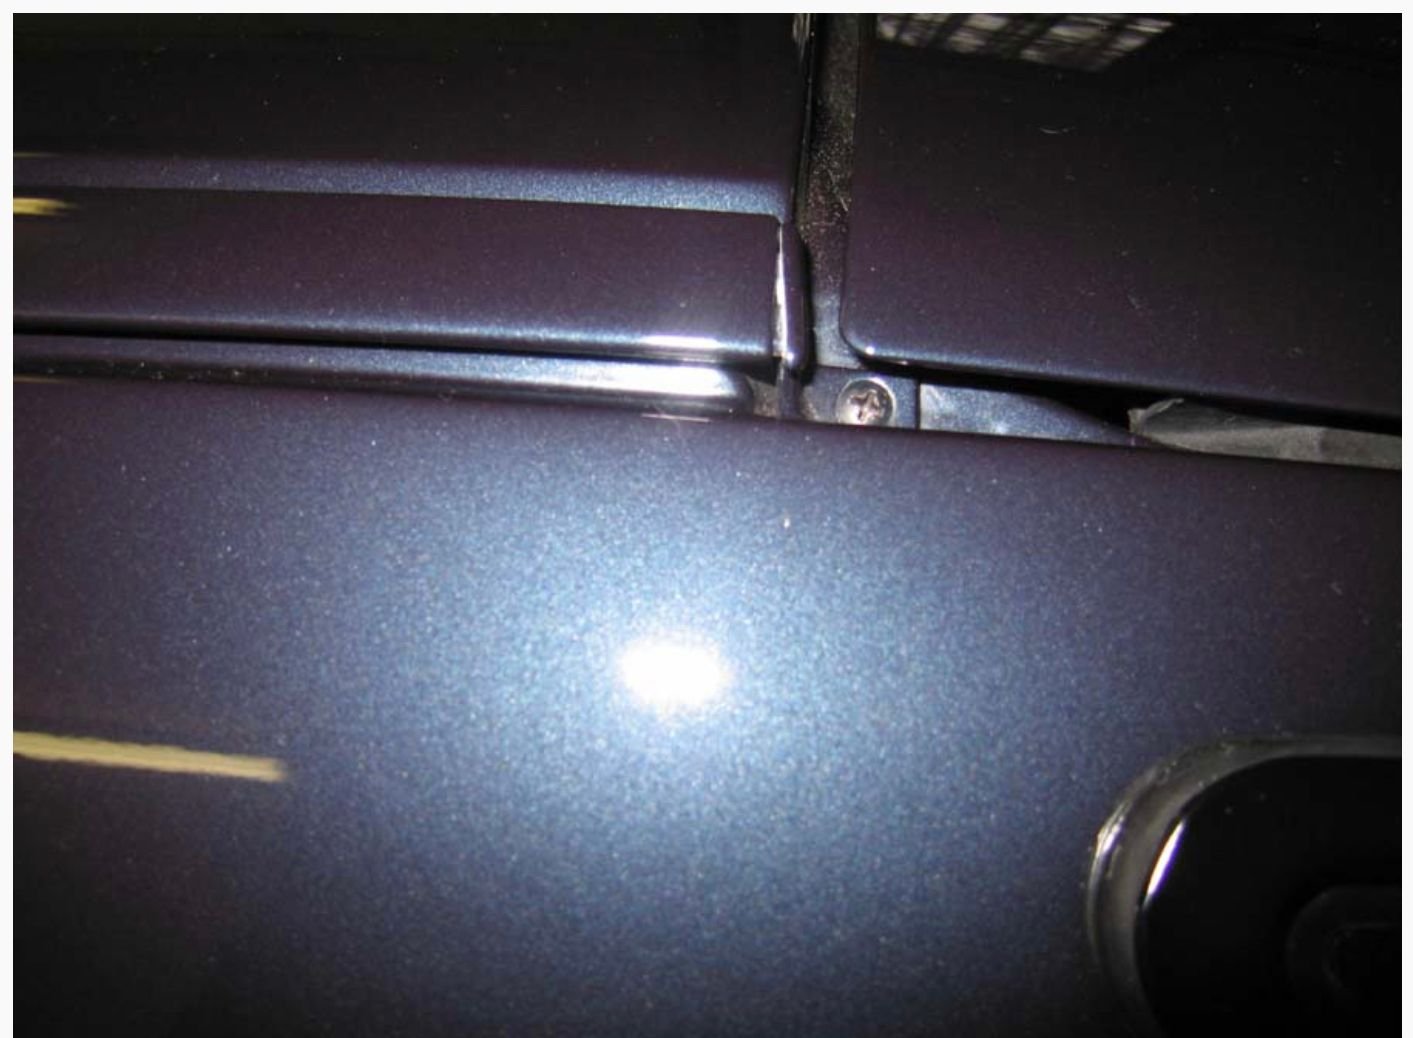
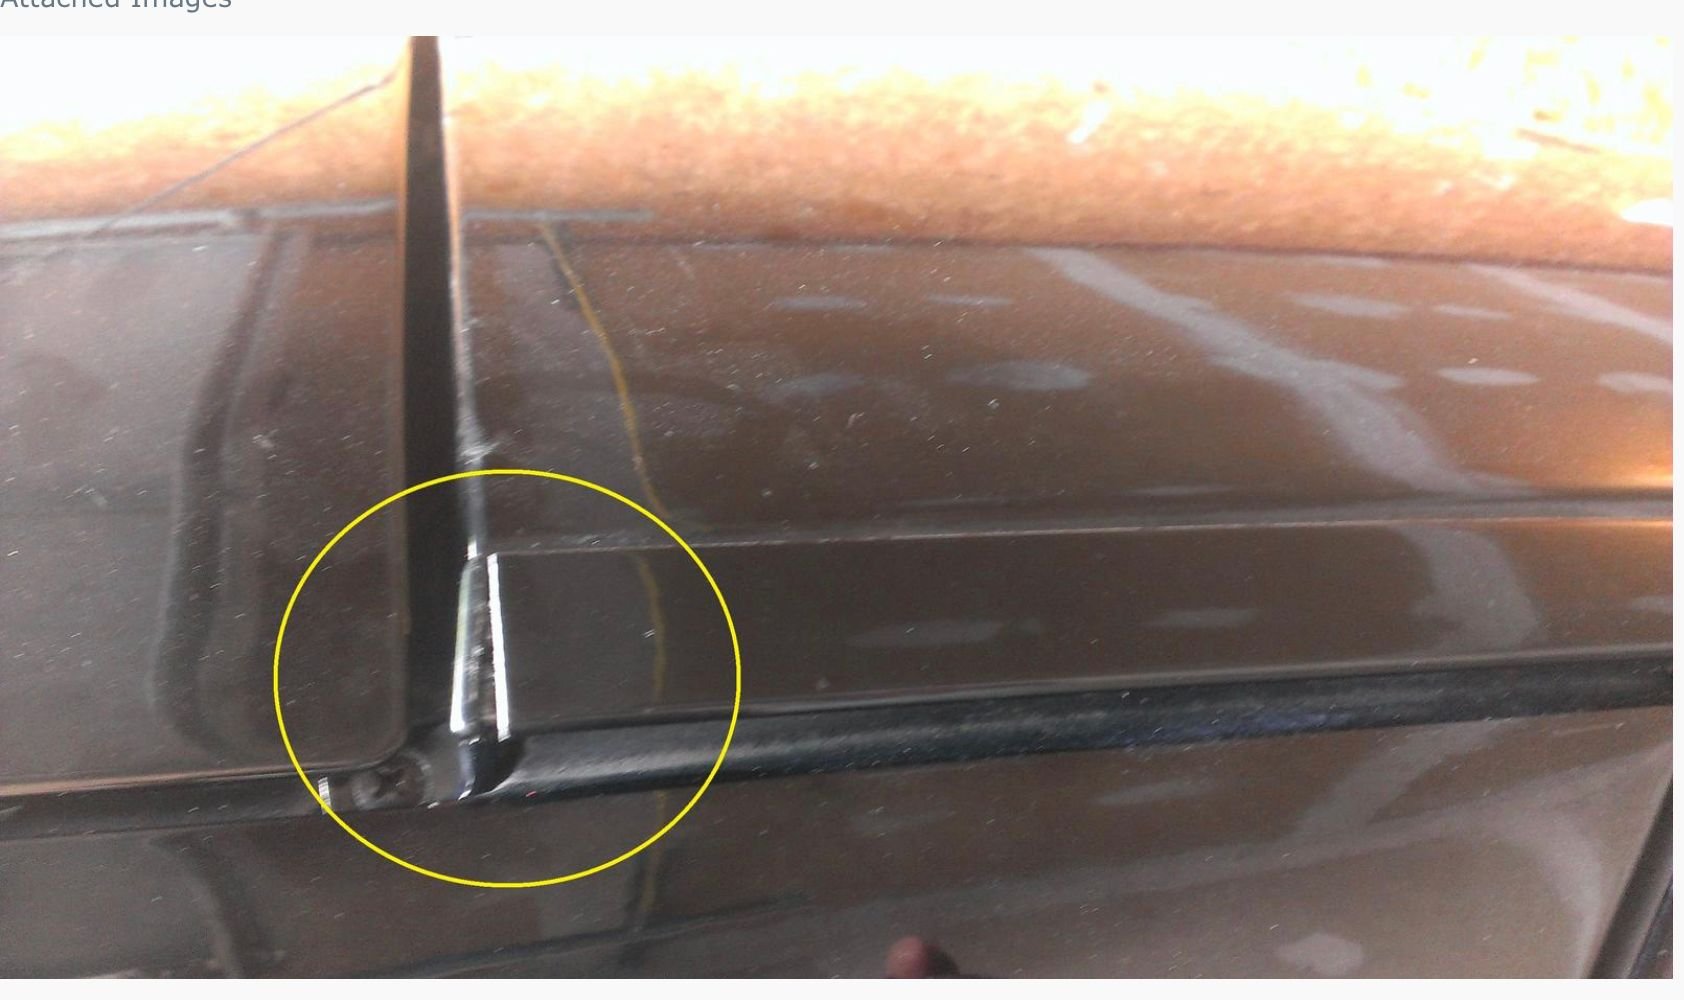
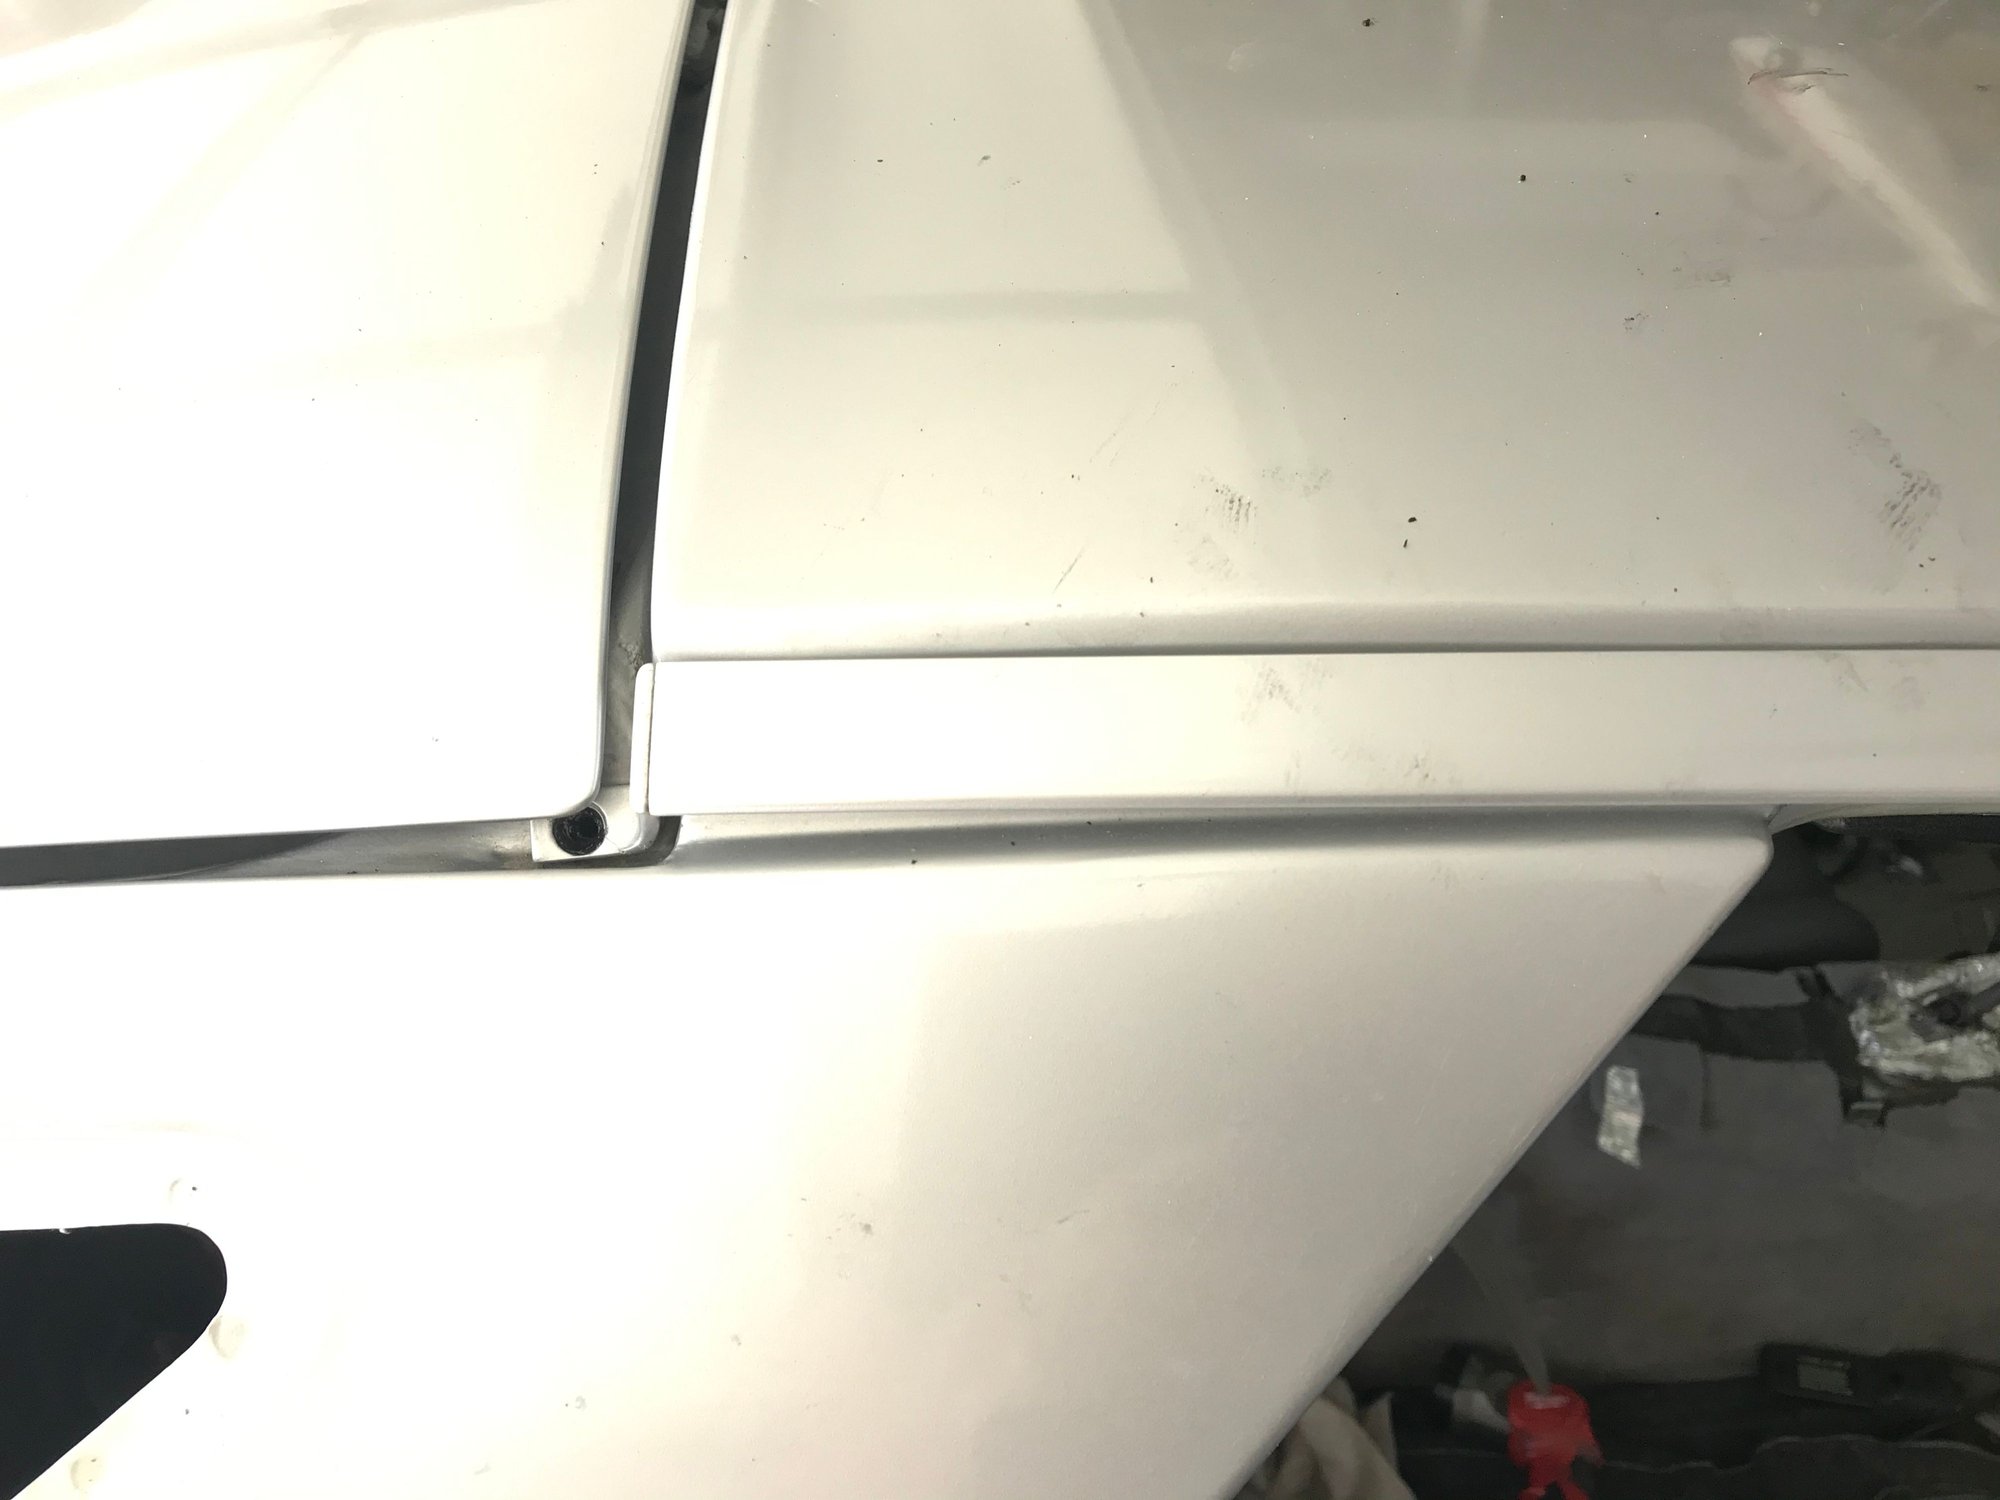
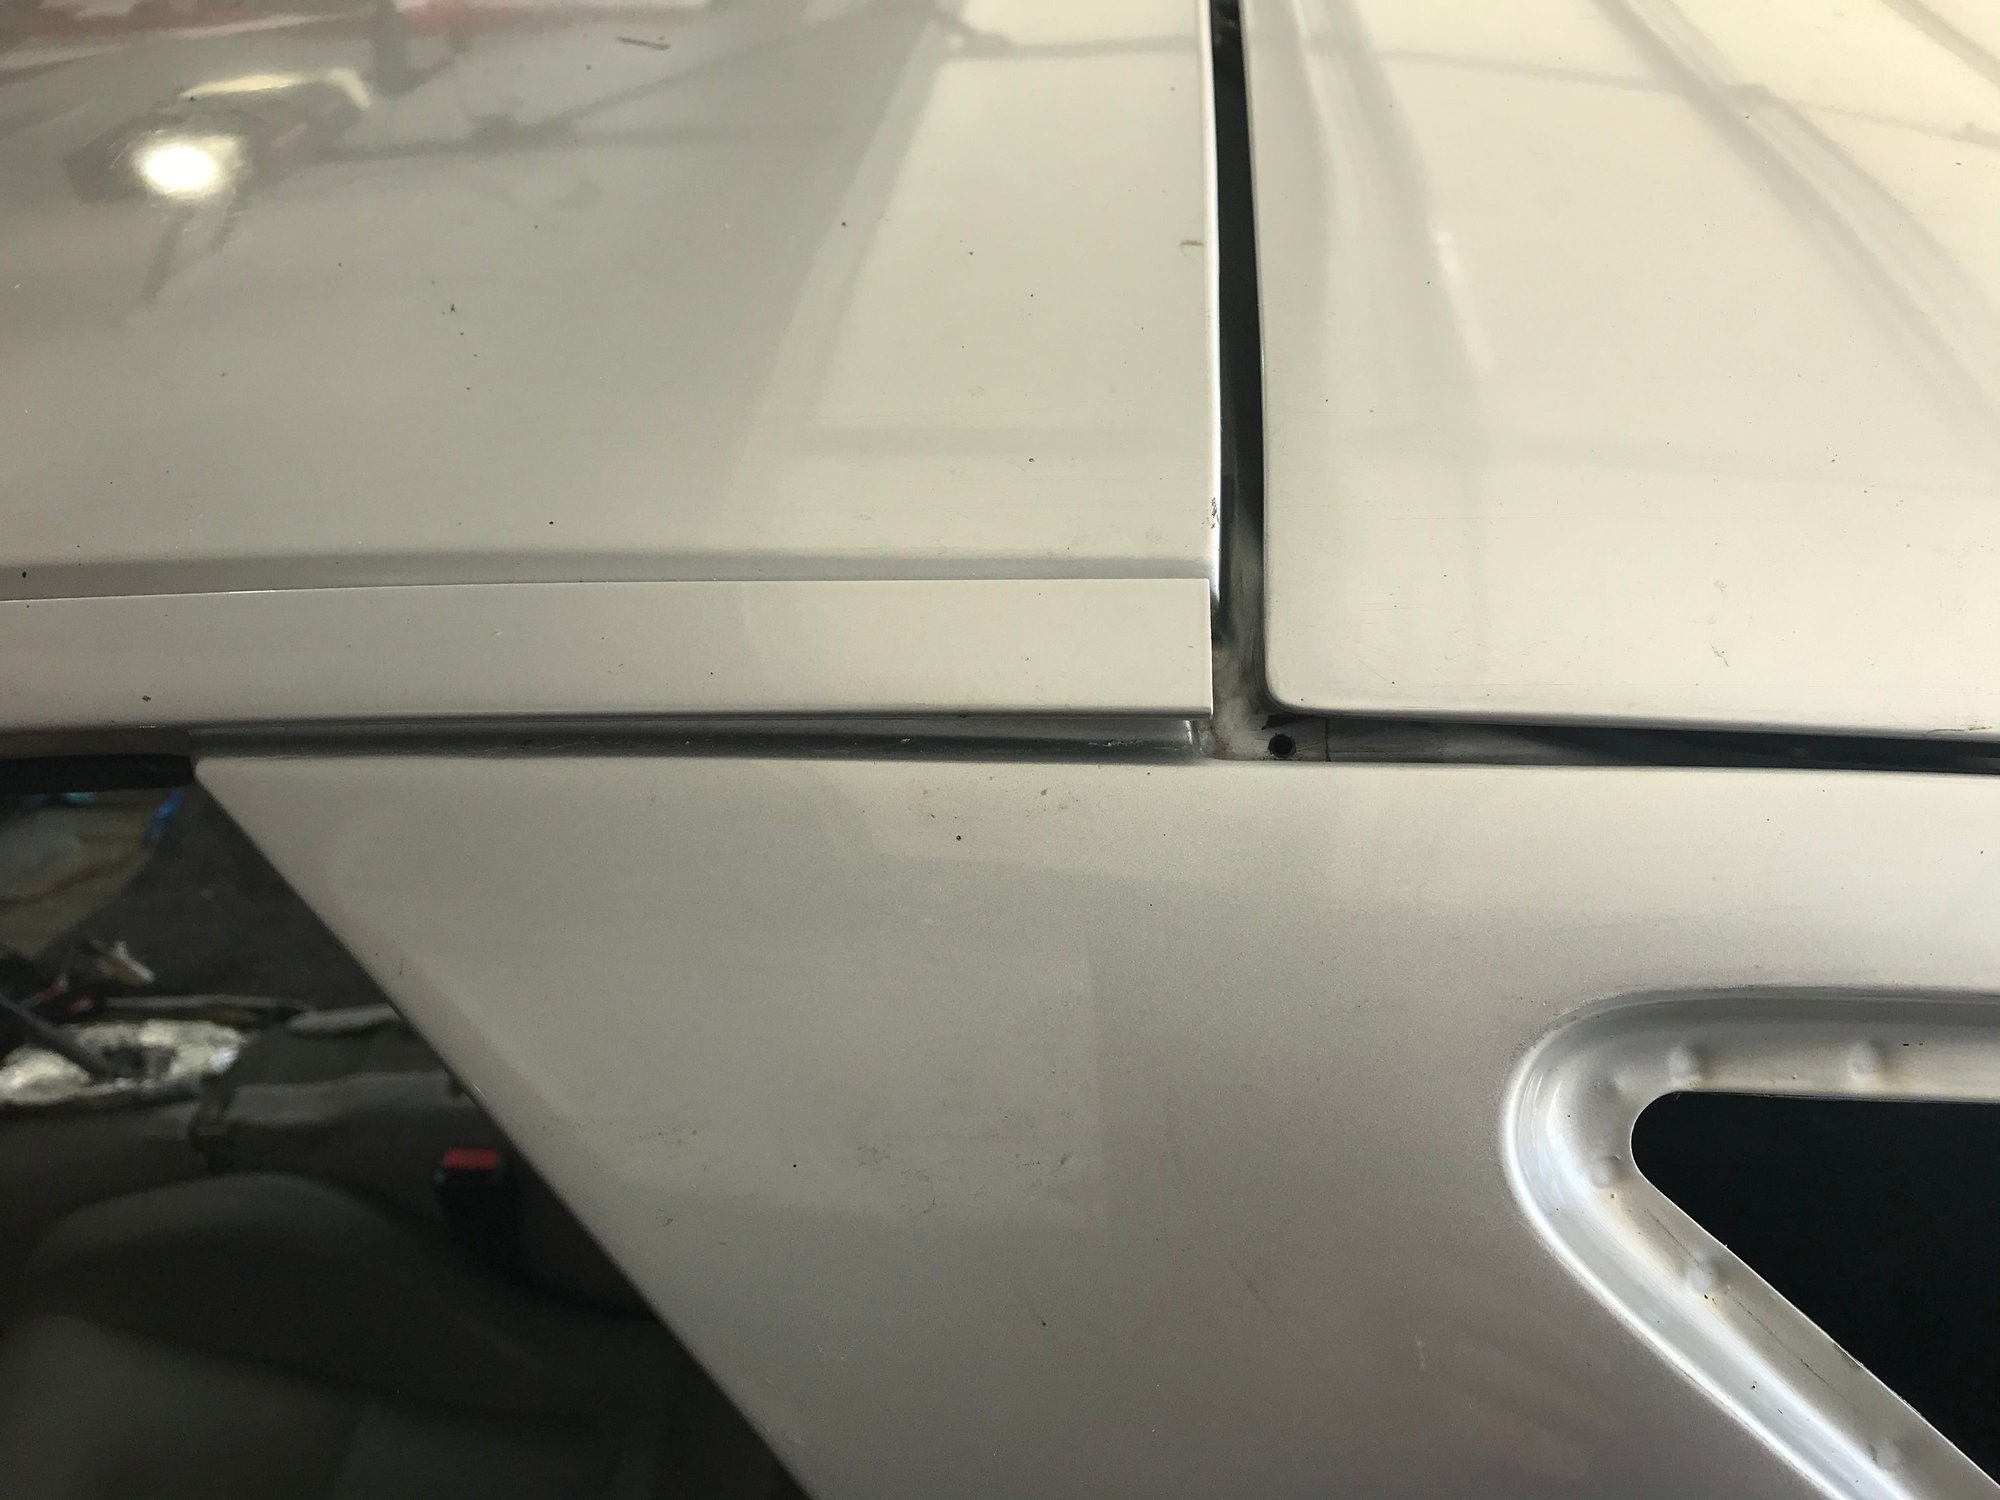
in the meantime I have noticed on many 928s I have looked at and seen pics of (examples below), there is always just a bit of an inconsistency in the gap between the drip rail and the upper line of the B-pillar as you go aft on the line.
silver car is mine (yes i know the screws are out right now)
From: South Cackalacky - 86.5 928 5 speed, 86.5 auto project
I'm also trying to get stuff ready to paint my car. I just took the drip rails off my 84 parts car; figured if I got them off in one piece, even if I buggered the ones on my car, I had good ones to put back on. On my 84 I found that they weren't really that bad to remove. I didn't realize they pull off to the side, not up. I was able to use a plastic pry tool, and just carefully working my way from the hatch to the windshield work it off. It was a little tight on the windshield section, but patience prevailed.
9 Features and Characteristics That Only Porsche People Understand
Slideshow: Some brands build cars. Porsche builds traditions, obsessions, and a few habits that stopped making sense decades ago but somehow became part of the charm.
This Builder Is Turning Heads With Its Slantnose 911 Creation
Slideshow: A small Polish tuner has reimagined the Porsche 911 Slantnose for the modern era, blending 1980s nostalgia with widebody tuning culture and serious performance upgrades.
Porsche 911 GT3 Artisan Edition Pays Homage to Japanese Culture
Slideshow: Porsche has created a Japan-only 911 GT3 Artisan Edition that blends track-ready hardware with design cues inspired by traditional Japanese craftsmanship.
Porsche Reveals Coupe Variant of the Electric Cayenne With a Fresh Look
Slideshow: Porsche's latest electric Cayenne Coupe blends dramatic styling with supercar acceleration, turning the brand's midsize SUV into a 1,139-horsepower flagship.


