

86 Mossgreen Metallic 5 Speed Continues

 01-02-2014, 11:18 AM
#168
Drifting
Thread Starter
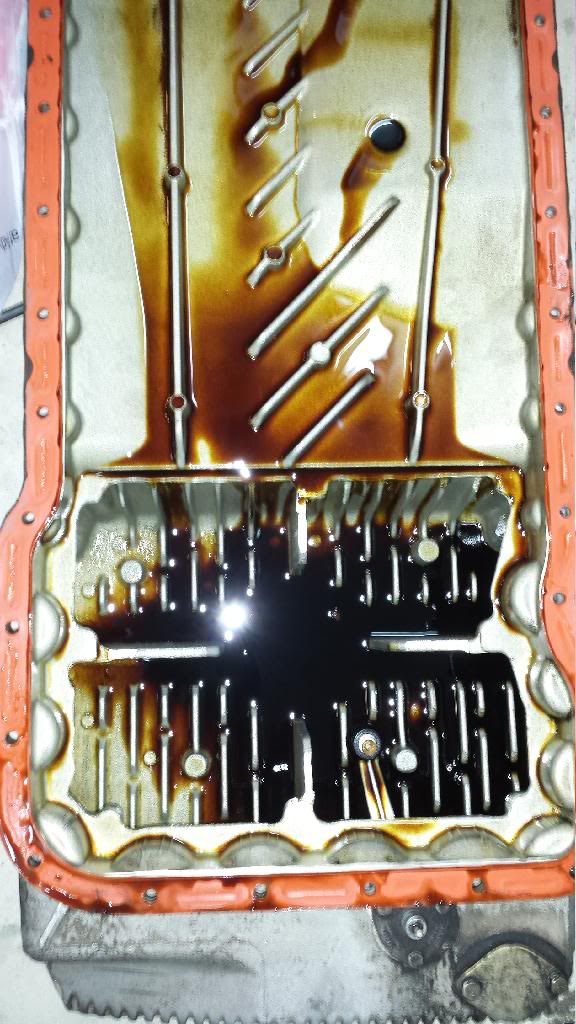
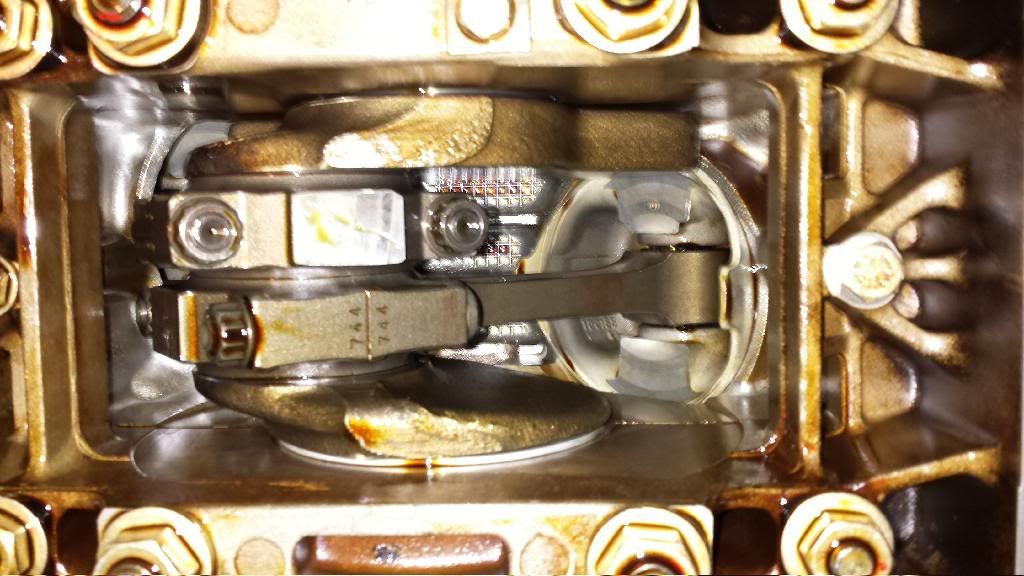
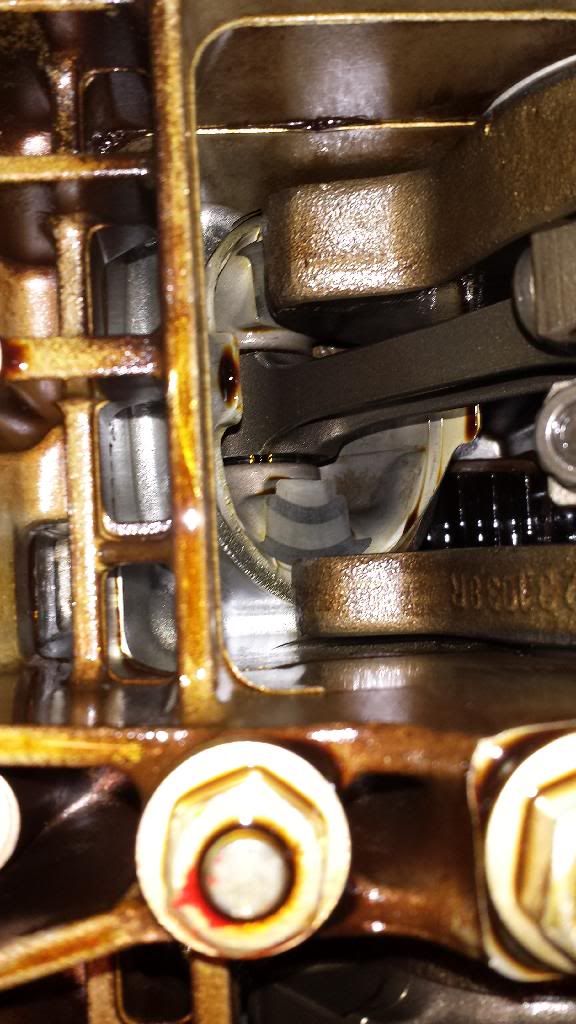
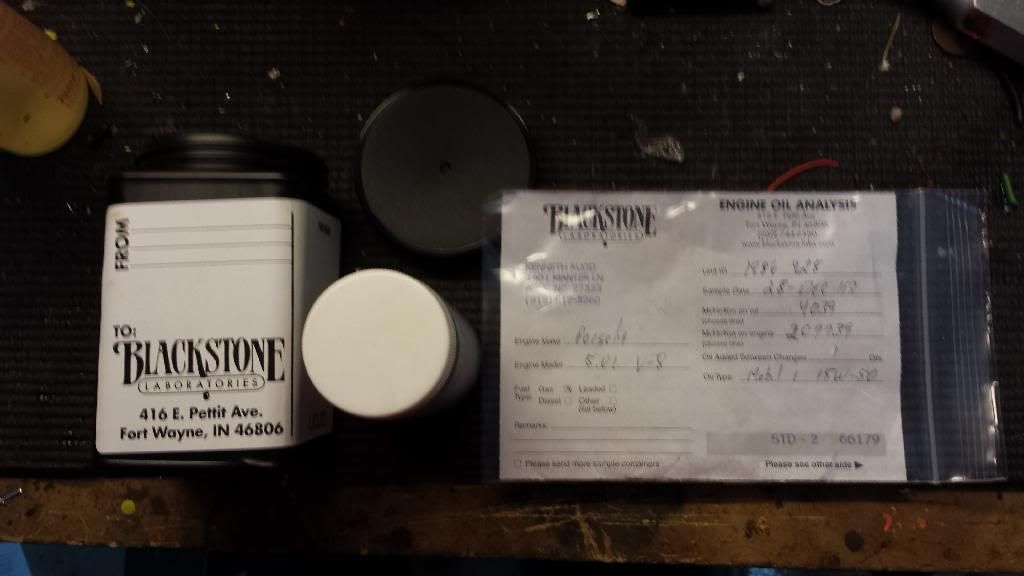
Here is how much oil stays in you pan even after draining for hours. This does not include oil in the cooling lines and oil caught in the original oil pickup cup:

 01-02-2014, 11:25 AM
#171
Drifting
Thread Starter
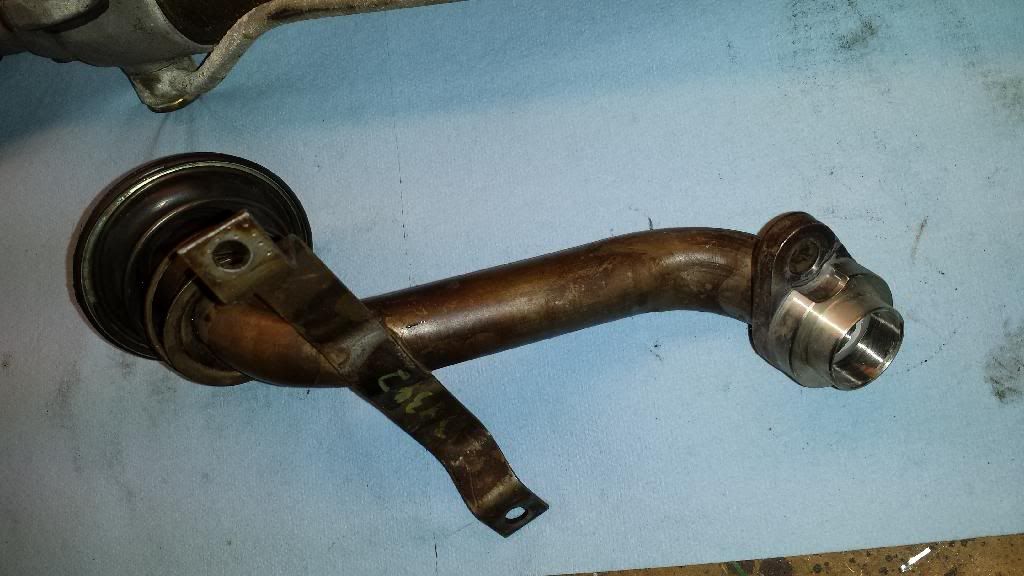
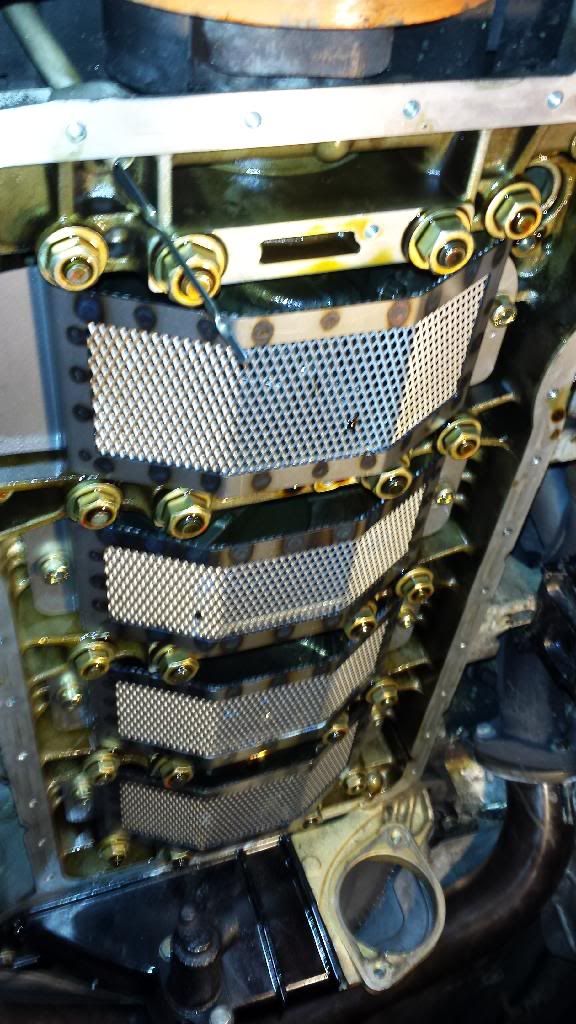
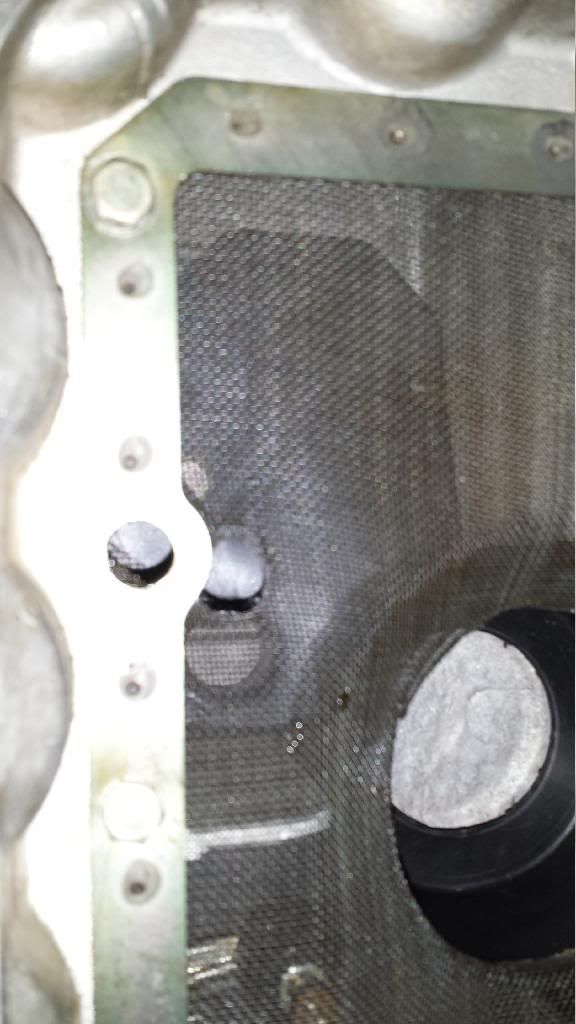
The hole I had to add in the screen for the dip stick ( see the factory hole next to it). Greg told me this on the phone, so I was ready for it, but it is not mentioned in the directions included with the kit as they don't really cover the oil pan prep.
 eady for the pan:
01-02-2014, 11:37 AM
eady for the pan:
01-02-2014, 11:37 AM
#173
Drifting
Thread Starter
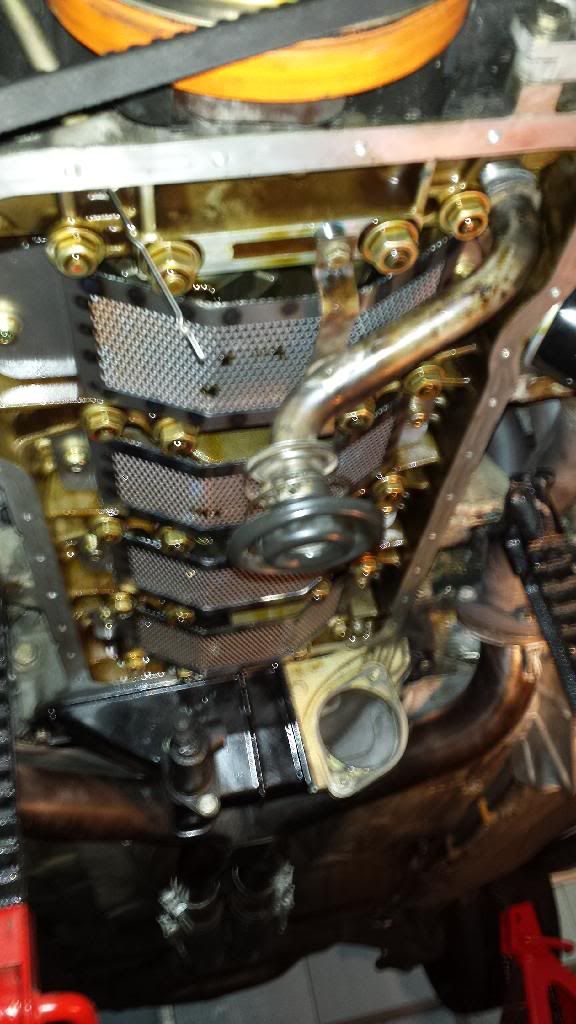
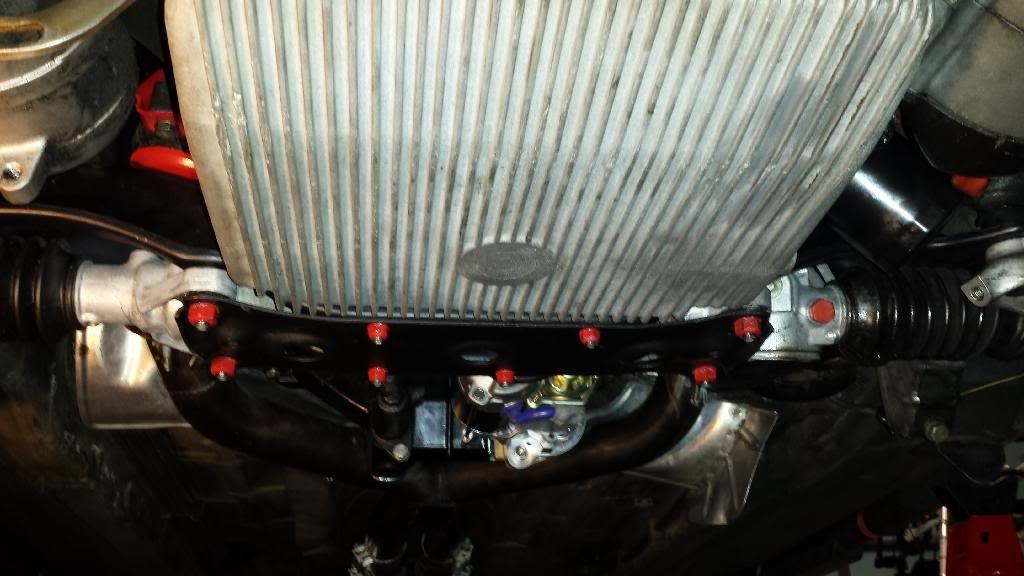
Pan in place. Greg recommends going with Driebond or a Mercedes sealant instead of a gasket, and includes the Mercedes sealant in the kit. Because Greg reccomends this, I went with it. Some notes:
-The label on the sealant says the surfaces should be mated within 1 minute. Simply impossible to lay a bead in a minute, get everyting in place and do a good job. I hope it seals.
- The sealant comes in a syringe type applicator and it is thick. It requires real force to squeeze out. My thumb/hand was cramping after laying down the beads. No time to rest before putting the pan in place, so getting some screws started was painful.
Pro-Tip: If you get your finger tips very tacky with some spray on 3M-77 or similar, it will GREATLY help getting the washers/nuts started in the very difficult area at the front of the oil pan.
If this leaks, I am going to cry like a baby.
 01-02-2014, 12:01 PM
#175
Rennlist Member
Join Date: Jan 2012
Location: Oklahoma City, Oklahoma
Posts: 1,158
Likes: 0
Received 0 Likes
on
0 Posts
If you are using a digital camera you should look for the macro setting if it isn't already set to that. Really helps for close up focusing.
Otherwise awesome job on the install. Hope it doesn't leak for ya!!!!
Otherwise awesome job on the install. Hope it doesn't leak for ya!!!!
01-05-2014, 04:55 PM
#176
Drifting
Thread Starter
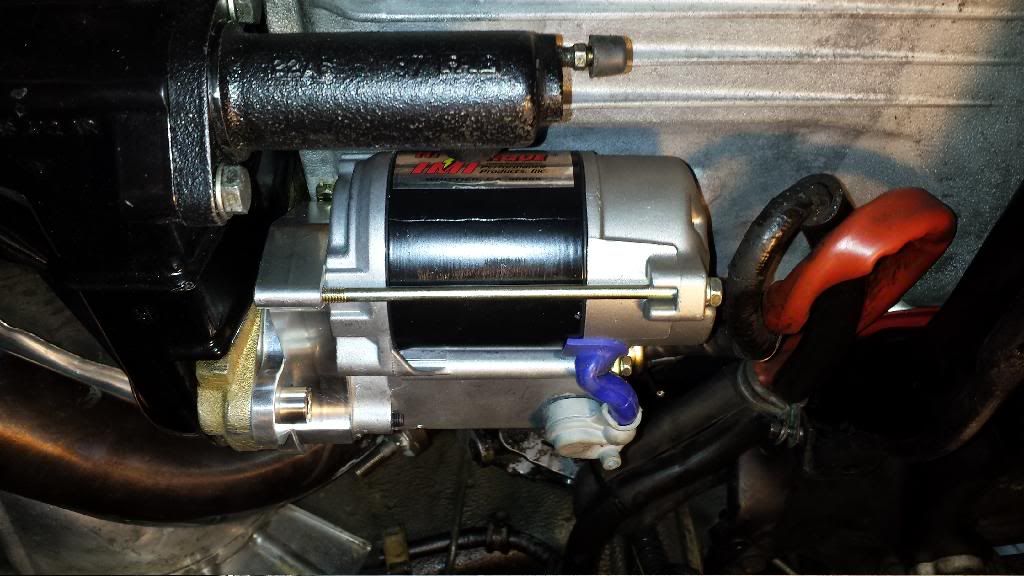
Progress:
Compact starter and steering rack back in place. Not sure which is a bigger PITA, the front oil pan nuts or gettting the blasted steering u-joint off/on the steering rack.
Compact starter and steering rack back in place. Not sure which is a bigger PITA, the front oil pan nuts or gettting the blasted steering u-joint off/on the steering rack.
Last edited by KenRudd; 01-05-2014 at 08:56 PM.
01-13-2014, 12:46 PM
#180
Drifting
Thread Starter
It's back on the road. Comments on the process:
1. Ran out of time to rebuild the steering rack and budget to install fresh one at this time.
2. Compact starter works, but it does not have the authoritative grumble of the old one.
3. All up, took just about 11 quarts of oil. . Note that this was a much more thorough drain than a normal oil change could provide.
4. So far, no leaks.
1. Ran out of time to rebuild the steering rack and budget to install fresh one at this time.
2. Compact starter works, but it does not have the authoritative grumble of the old one.
3. All up, took just about 11 quarts of oil.
. Note that this was a much more thorough drain than a normal oil change could provide.4. So far, no leaks.