

78 Euro #579 OB Blog
 01-29-2012, 07:34 PM
#46
Rennlist Member
Thread Starter
Oh man, plenty of more opportunities. We should get together sometime... would be nice to catch up, and you can help me with some odd-n-ends.
Speaking of odd-n-ends... made some notable progress of #579.
Sorted thru some electrics, got the foglamps and AC wired back to stock, cleaned alot of connectors, grounds, and 14 pin (looked great!).
Dug in a little deeper to sort thru the HVAC and vacuum. Was happy to find most diaphragms in good working order.
Biggest strangeness was all the HVAC vacuum ports at the the head connected up completely wrong. Easy one to work out (thank goodness for color routing diagrams!).
Was a great day yesterday to pull out the car and clean up the engine bay. Quite happy with the outcome!
Next steps are to pull it back together, w/R&R'd HVAC, new lights and sliders, CE w/new copper 'torpedo' fuses and select relays, Pod R&R w/new lights and odo gear,
Beyond that, will rewire period Blau radio to stock speakers, the door panel R&R.
(window motor rehab, new window guides, clean regulators, clean and adjust door locks, install armrest reinforcement brackets)
Then on to MM/OPG, pwr steering, LBJ's, and 'S' front brakes and spindles, and exhaust.
Big list, but we'll just keep pickin' away at it. Stay tuned. Always appreciate encouragement!
PS. Sorry for all the missing pics from my threads/posts. Working thru server hosting issues right now. Will soon have that worked out which should bring my #6 thread back online.
Engine before:

Engine after:

Speaking of odd-n-ends... made some notable progress of #579.
Sorted thru some electrics, got the foglamps and AC wired back to stock, cleaned alot of connectors, grounds, and 14 pin (looked great!).
Dug in a little deeper to sort thru the HVAC and vacuum. Was happy to find most diaphragms in good working order.
Biggest strangeness was all the HVAC vacuum ports at the the head connected up completely wrong. Easy one to work out (thank goodness for color routing diagrams!).
Was a great day yesterday to pull out the car and clean up the engine bay. Quite happy with the outcome!
Next steps are to pull it back together, w/R&R'd HVAC, new lights and sliders, CE w/new copper 'torpedo' fuses and select relays, Pod R&R w/new lights and odo gear,
Beyond that, will rewire period Blau radio to stock speakers, the door panel R&R.
(window motor rehab, new window guides, clean regulators, clean and adjust door locks, install armrest reinforcement brackets)
Then on to MM/OPG, pwr steering, LBJ's, and 'S' front brakes and spindles, and exhaust.
Big list, but we'll just keep pickin' away at it. Stay tuned. Always appreciate encouragement!
PS. Sorry for all the missing pics from my threads/posts. Working thru server hosting issues right now. Will soon have that worked out which should bring my #6 thread back online.
Engine before:
Engine after:
Last edited by Jadz928; 01-30-2012 at 02:31 PM.
 01-29-2012, 08:11 PM
#47
Rennlist Member

Join Date: Aug 2003
Location: Woodbridge, New Jersey
Posts: 630
Likes: 0
Received 9 Likes
on
8 Posts
Quote:"clean and adjust door locks"
If you are referring to adjusting vacuum controlled door locks--how are they adjusted? WSM just says adjust them without any explanation or illustration.
If you are referring to adjusting vacuum controlled door locks--how are they adjusted? WSM just says adjust them without any explanation or illustration.
01-29-2012, 08:38 PM
#48
Rennlist Member
Thread Starter
 01-29-2012, 09:36 PM
#52
Rennlist Member
Thread Starter
It really is! I've really enjoyed working with this car. Very simple and straightforward (sometimes convoluted, but sorted w/a bit of logic and book resources)
I'm really liking these early cars.
Well except for me and Rixter. 
This is good stuff for this car, Chris. Thank you.
Studied that and the following color print earlier today. Btw those and a gutted console, I was able to sort out and diagnose what is needed.
The color print really came in handy!
(For those following along at home...what Chris posted (TSB 57) covers in detail #6 & #7 on the following)
I'm really liking these early cars.
This is good stuff for this car, Chris. Thank you.
Studied that and the following color print earlier today. Btw those and a gutted console, I was able to sort out and diagnose what is needed.
The color print really came in handy!
(For those following along at home...what Chris posted (TSB 57) covers in detail #6 & #7 on the following)
Last edited by Jadz928; 01-29-2012 at 09:53 PM.
01-29-2012, 10:15 PM
#53
Drifting
I need to adjust the passenger side lock on mine too. It usually unlocks with the driver's side, but usually doesn't lock from the driver's side. It did when I bought it, started exhibiting this behavior after I got it back from the mechanic right after I bought it.
 01-29-2012, 10:16 PM
#54
Rennlist Member
Join Date: Aug 2003
Location: Woodbridge, New Jersey
Posts: 630
Likes: 0
Received 9 Likes
on
8 Posts
Still trying to figure how to adjust servo valve in right door. I've tried it alone, probably a two person job-- One guy fiddles with servo the other manipulates drivers door lock with key and starts car to replenish vacuum when needed.
Unrelated question: how does one do quote stating originally posted by and highlighted in gray?
Unrelated question: how does one do quote stating originally posted by and highlighted in gray?
01-29-2012, 10:22 PM
#55
Rennlist Member
Thread Starter
01-31-2012, 02:04 AM
#58
Rennlist Member
Outstanding. And good stuff too, especially re the locks. Thanks for finding that TSB CHris. I need to go back into my CD set one of these days and refresh my memory of all the good stuff in there. I got away from the CD's when I got my gray set WSM. I'm more of a hard copy guy, but damn, those CDs have so much in them.
02-13-2012, 08:46 AM
#59
Rennlist Member
Thread Starter
Just keep pluggin' along. Got alot of loose ends tied up with a $500 misc. parts infusion. Amazing how a car that is very original still needs a litany of brick-a-brack parts.
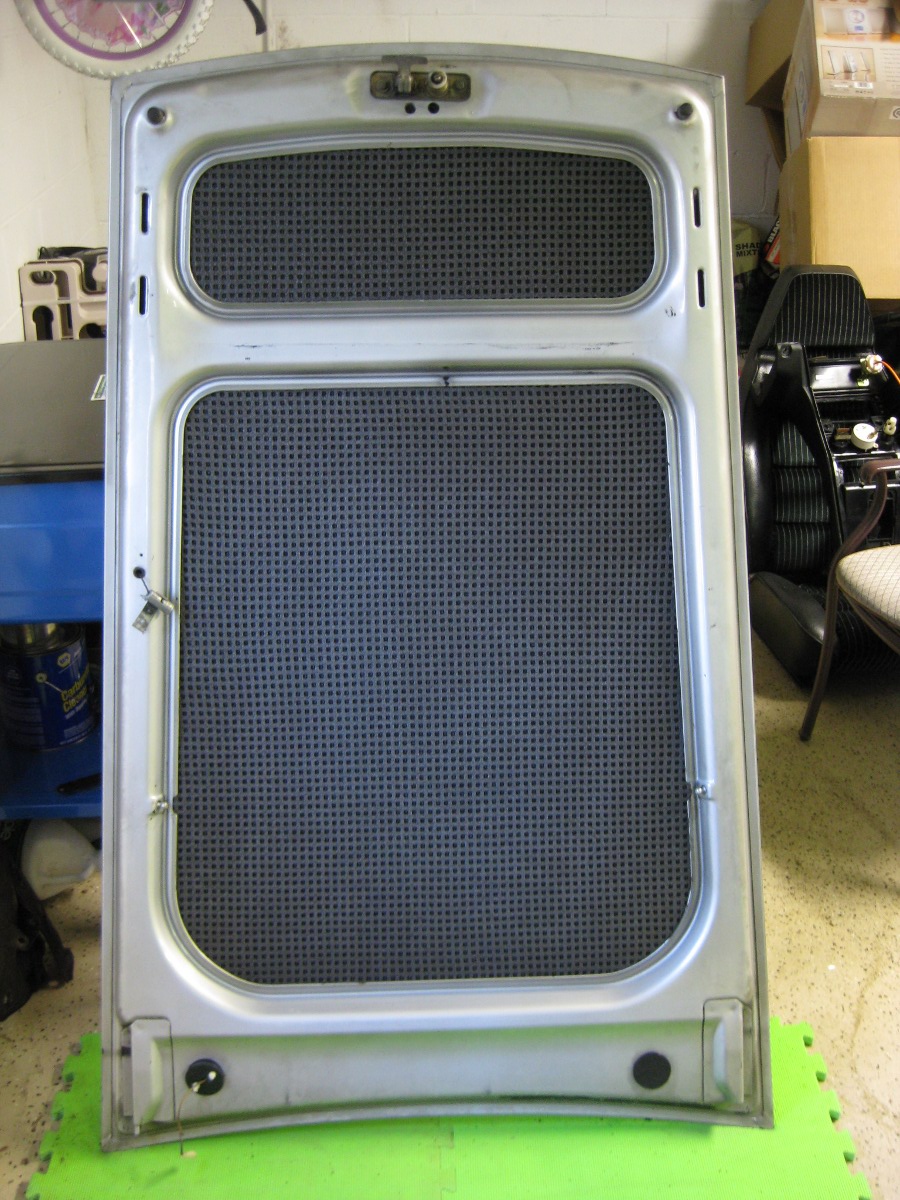
Most notable of this lot of pics is the hood insulation. Early cars have insulation in both sections, but Porsche only sells the large one. I was preparing to take a bullet and buy the $100 large section to cut up for the small section, when Roger (928sRus) informed me they sell the small section for $35. Very cool!
Finished CE panel with shiny-new fuses

Buttoned up the 14pin and jump-post
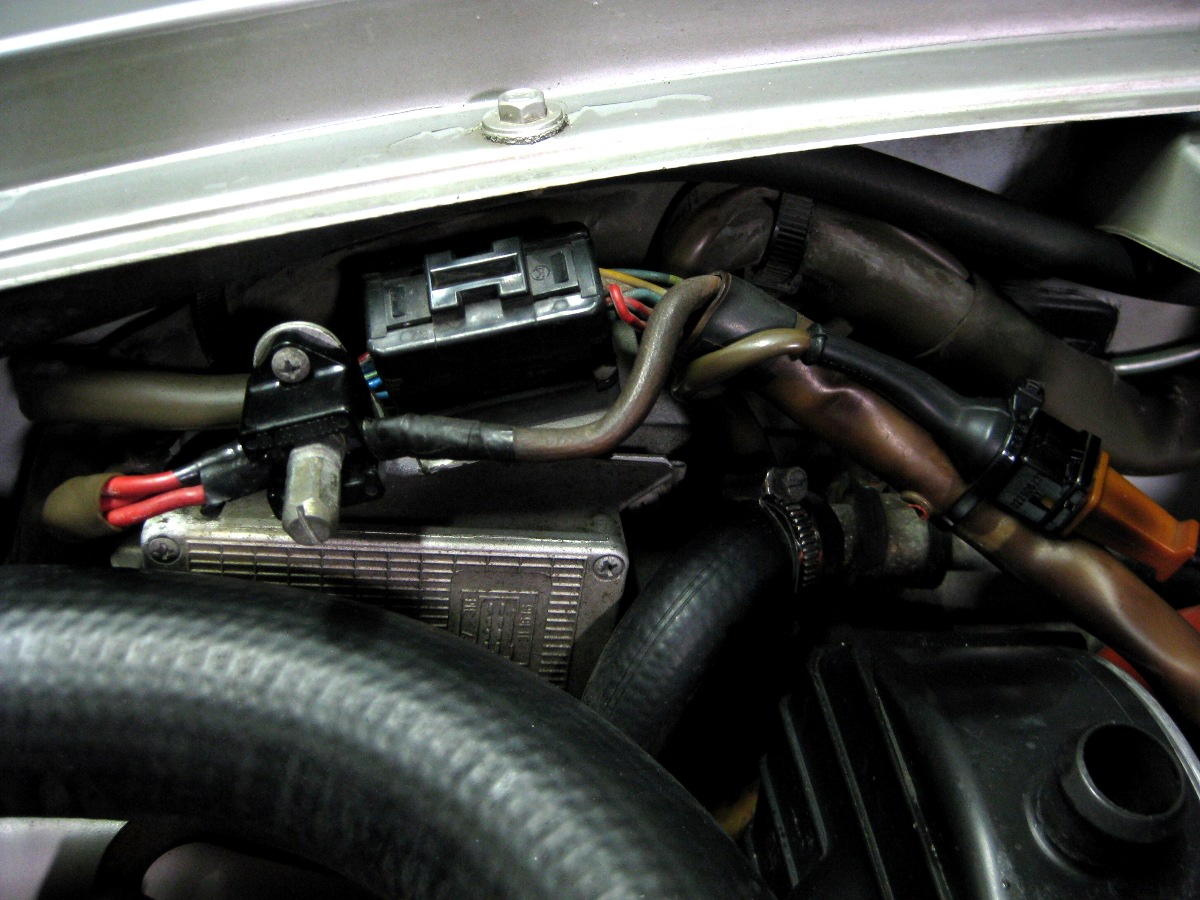
Replaced main flap diaphragm (behind firewall). Man, it's a dirt-trap in there!
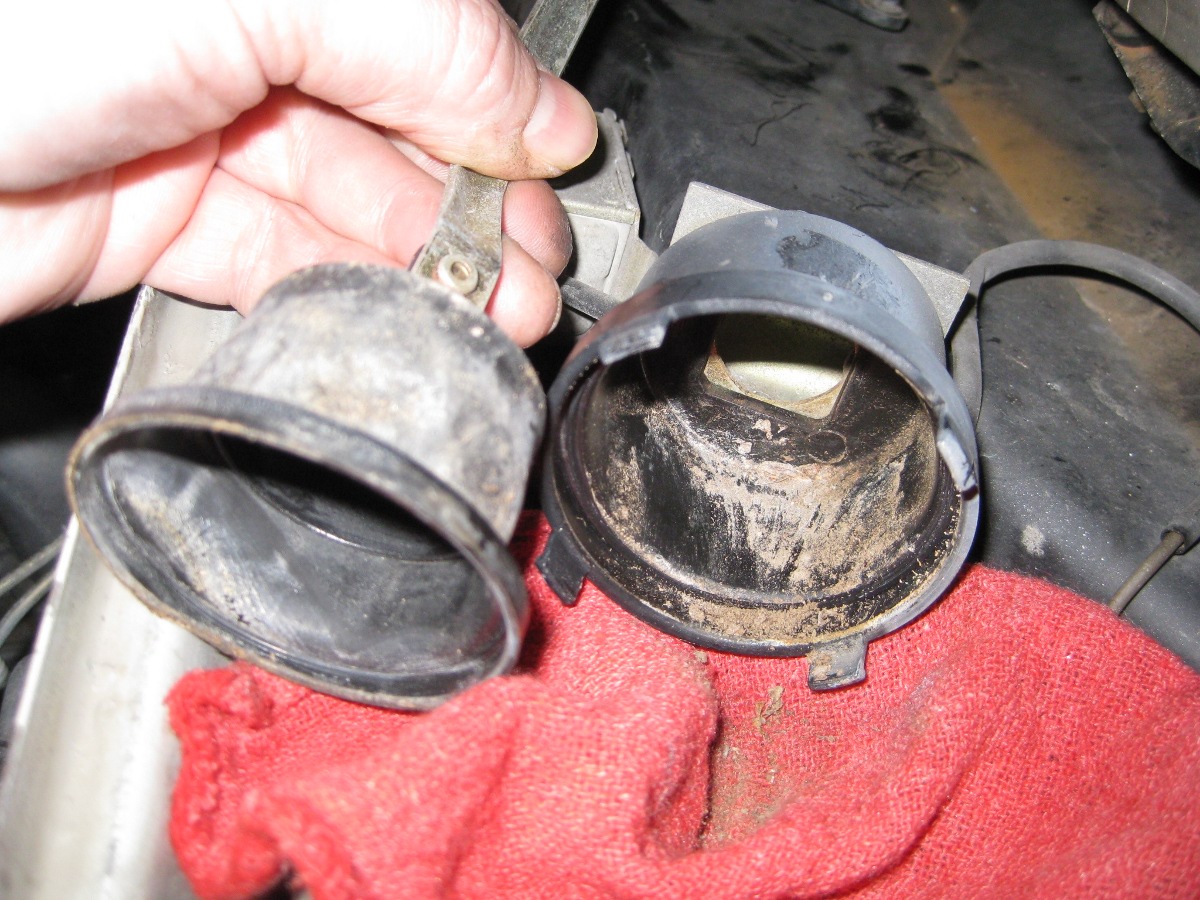
Interesting mercury switch I'd never seen before
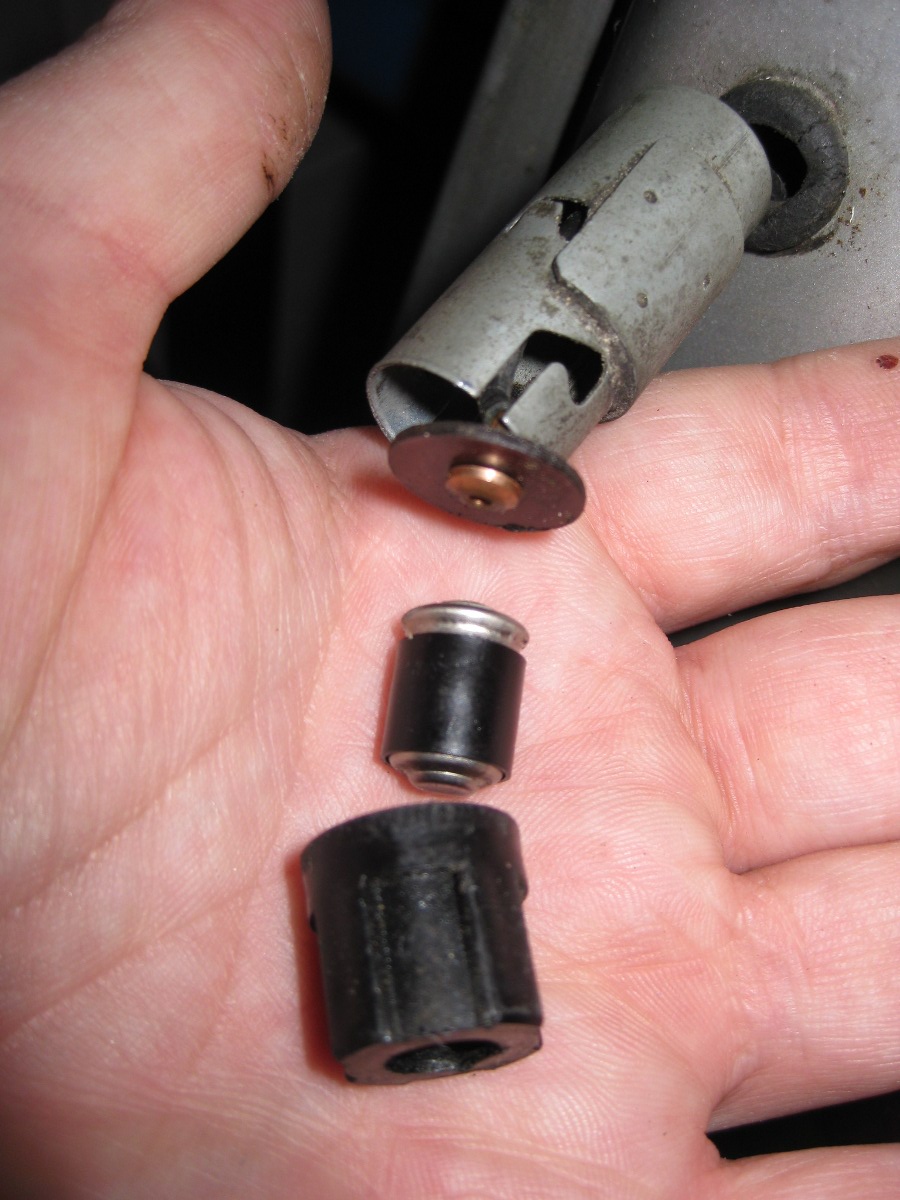
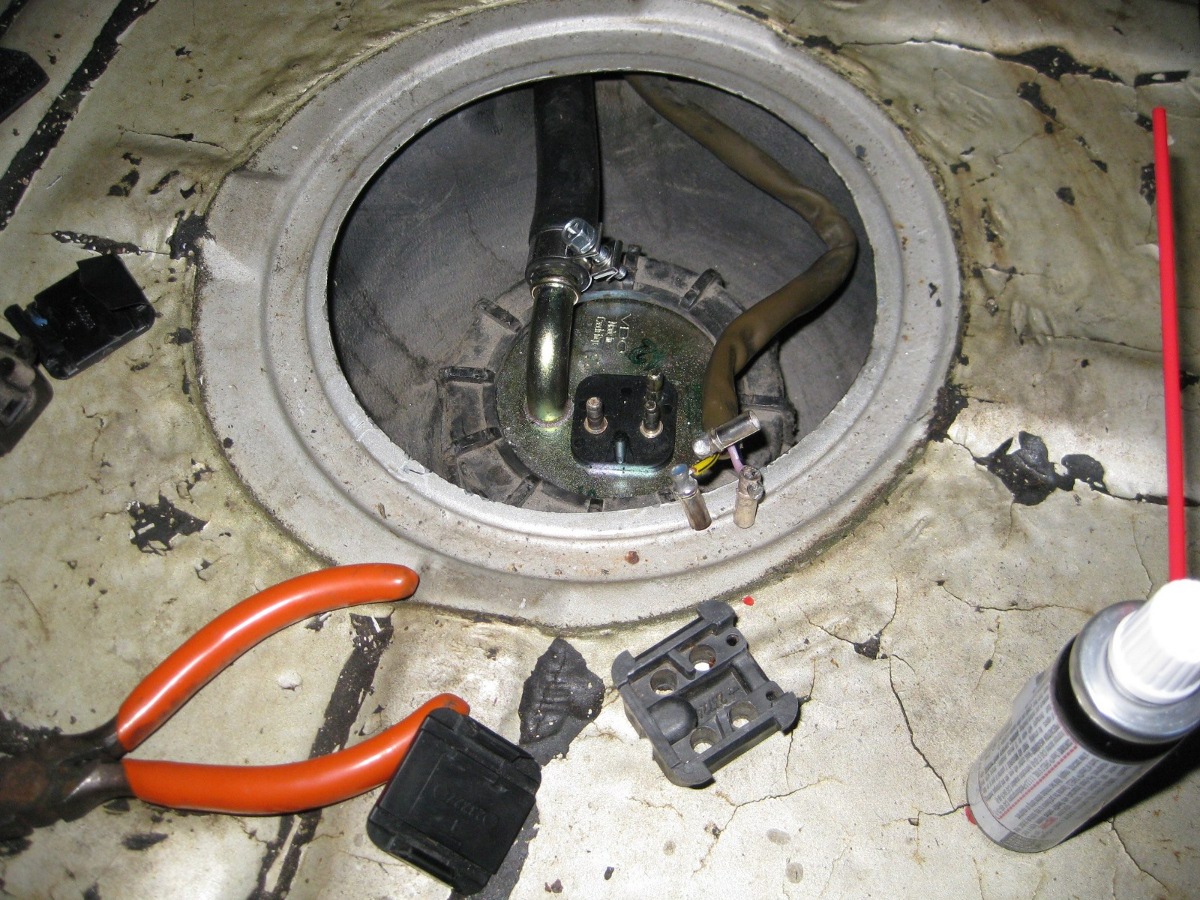
Fixed fuel sender connector (always nice to have some spare MB barrel connectors lying around)
Next up is pod and and console R&R, misc vinyl repair, more electrics, the list goes on....
Most notable of this lot of pics is the hood insulation. Early cars have insulation in both sections, but Porsche only sells the large one. I was preparing to take a bullet and buy the $100 large section to cut up for the small section, when Roger (928sRus) informed me they sell the small section for $35. Very cool!
Finished CE panel with shiny-new fuses
Buttoned up the 14pin and jump-post
Replaced main flap diaphragm (behind firewall). Man, it's a dirt-trap in there!
Interesting mercury switch I'd never seen before
Fixed fuel sender connector (always nice to have some spare MB barrel connectors lying around)
Next up is pod and and console R&R, misc vinyl repair, more electrics, the list goes on....