When you click on links to various merchants on this site and make a purchase, this can result in this site earning a commission. Affiliate programs and affiliations include, but are not limited to, the eBay Partner Network.
Shawn, another concern I have about using the video method to cover your 928 dash has to do with how you are going to deal with the ends of the dash--where they meet up with the forward end of the arm rest part on the doors. You will notice that your leather cover has a french seam around the edge of that part of the dash. I think you will not be able to stretch your new vinyl over that sharp edge without figuring out how or where you are going to hide a whole bunch of wrinkled up vinyl. I have some thoughts about that when and if you get closer to doing the dash.
Last edited by Jerry Feather; 01-26-2016 at 12:12 PM.
Okay, I looked back through the thread and I realized that I had the 'wing' piece oriented the wrong way. I've redone it and it looks like it's correct. The two-tone cover was very helpful!
I had written up the instructions for this project and hope that I included them with all the patterns I sent out. If not let me know and I'll put some in the mail. The Instructions do not include pictures so you will have to rely on what I have posted in this thread for images of how to do some of it. I'm glad that helped you, Shawn.
Notice, we have a new member joining the class as soon as I can get the material to trace the patterns on and send to him. While I am at it, if there is anyone else currently interested in trying their skill on this project and would like the patterns, let me know by PM or email and I'll send you a set.
Well, so far, as good as it's going to get. I'm not you or your leather guy, Jerry; it won't take anyone long to see the various wonky French seams, but it went together pretty well and it looks like it fits!
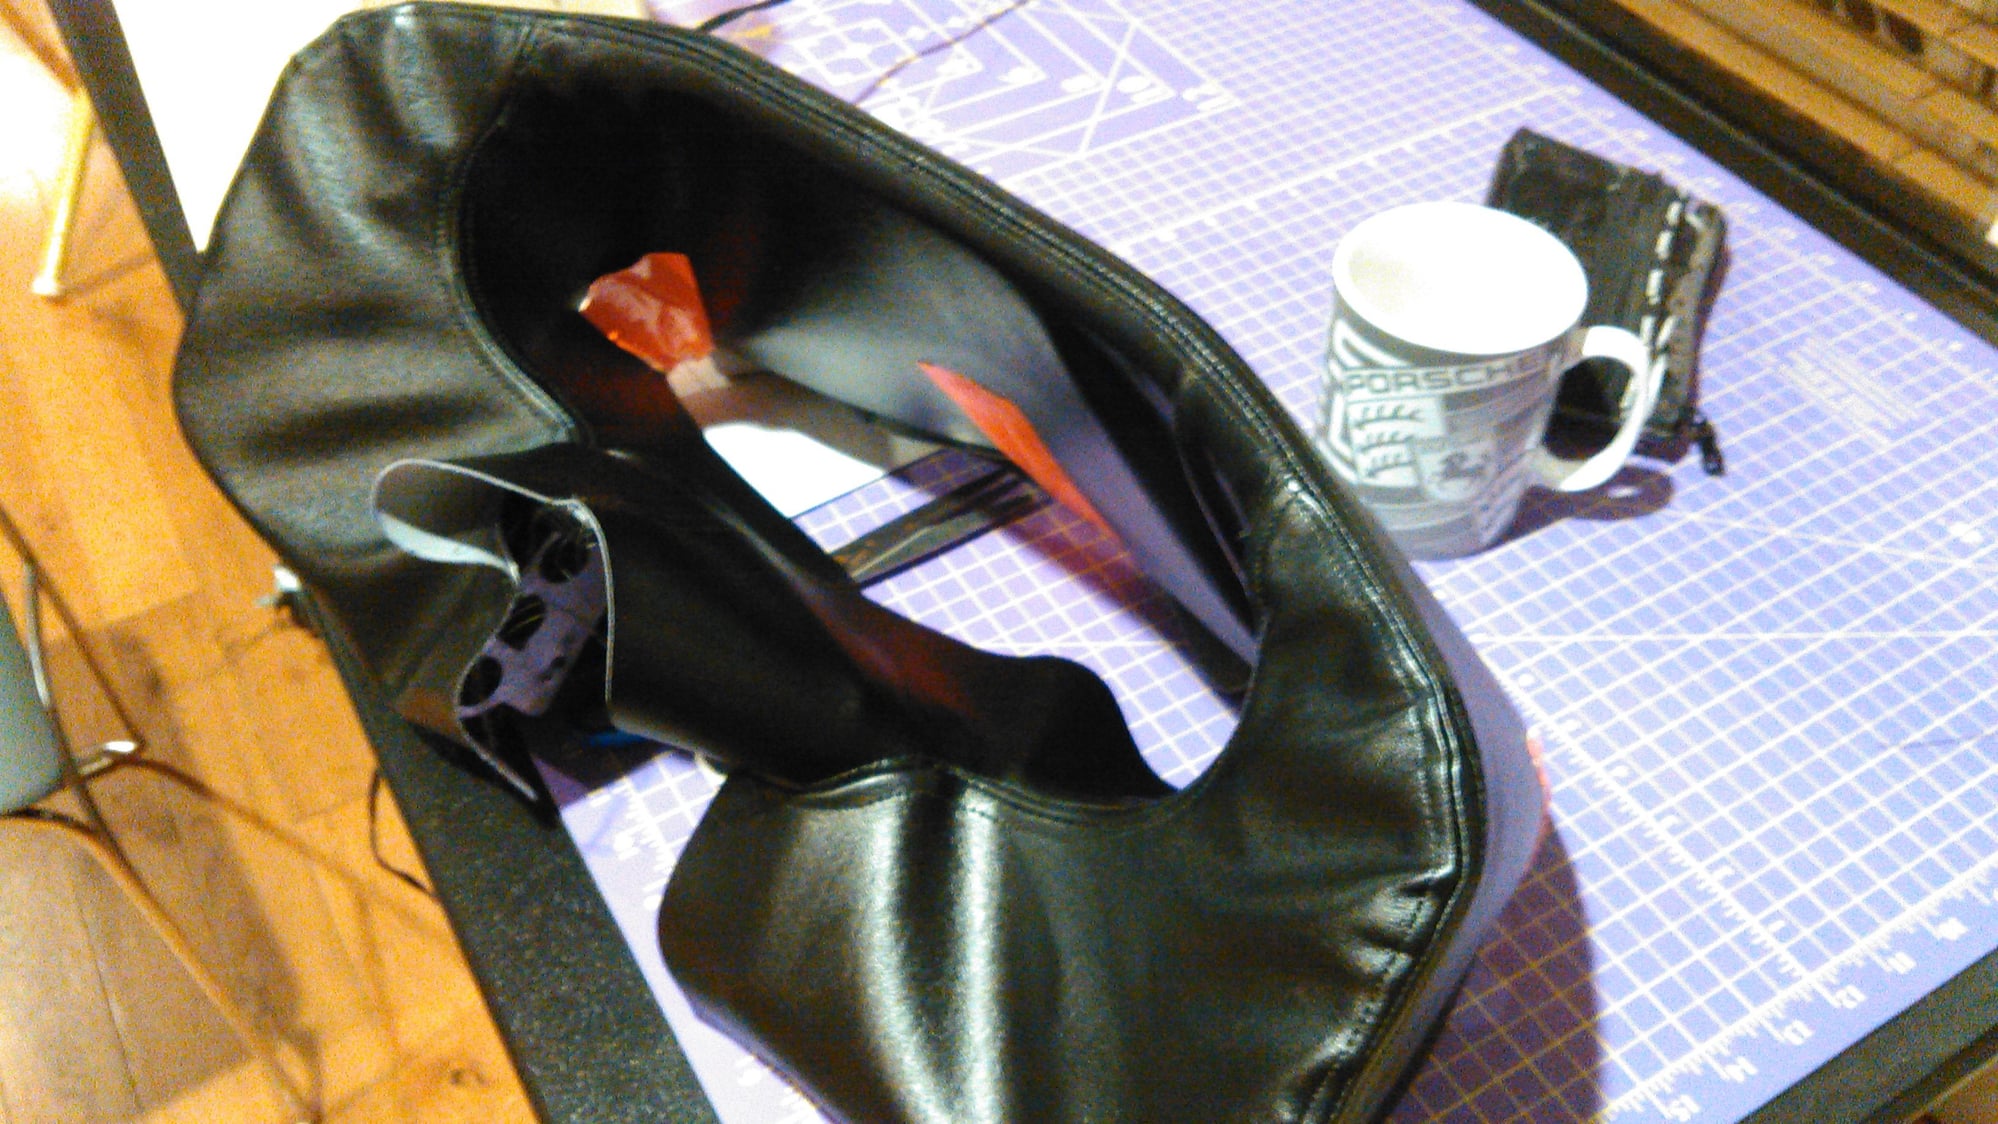
Next step is to smooth the pod itself. I was hoping the vinyl was thick enough to hide the cracks, but as you can kind of see from the bottom image, it doesn't.
Thanks for all your help so far! Even with the flaws, it's going to be a huge improvement.
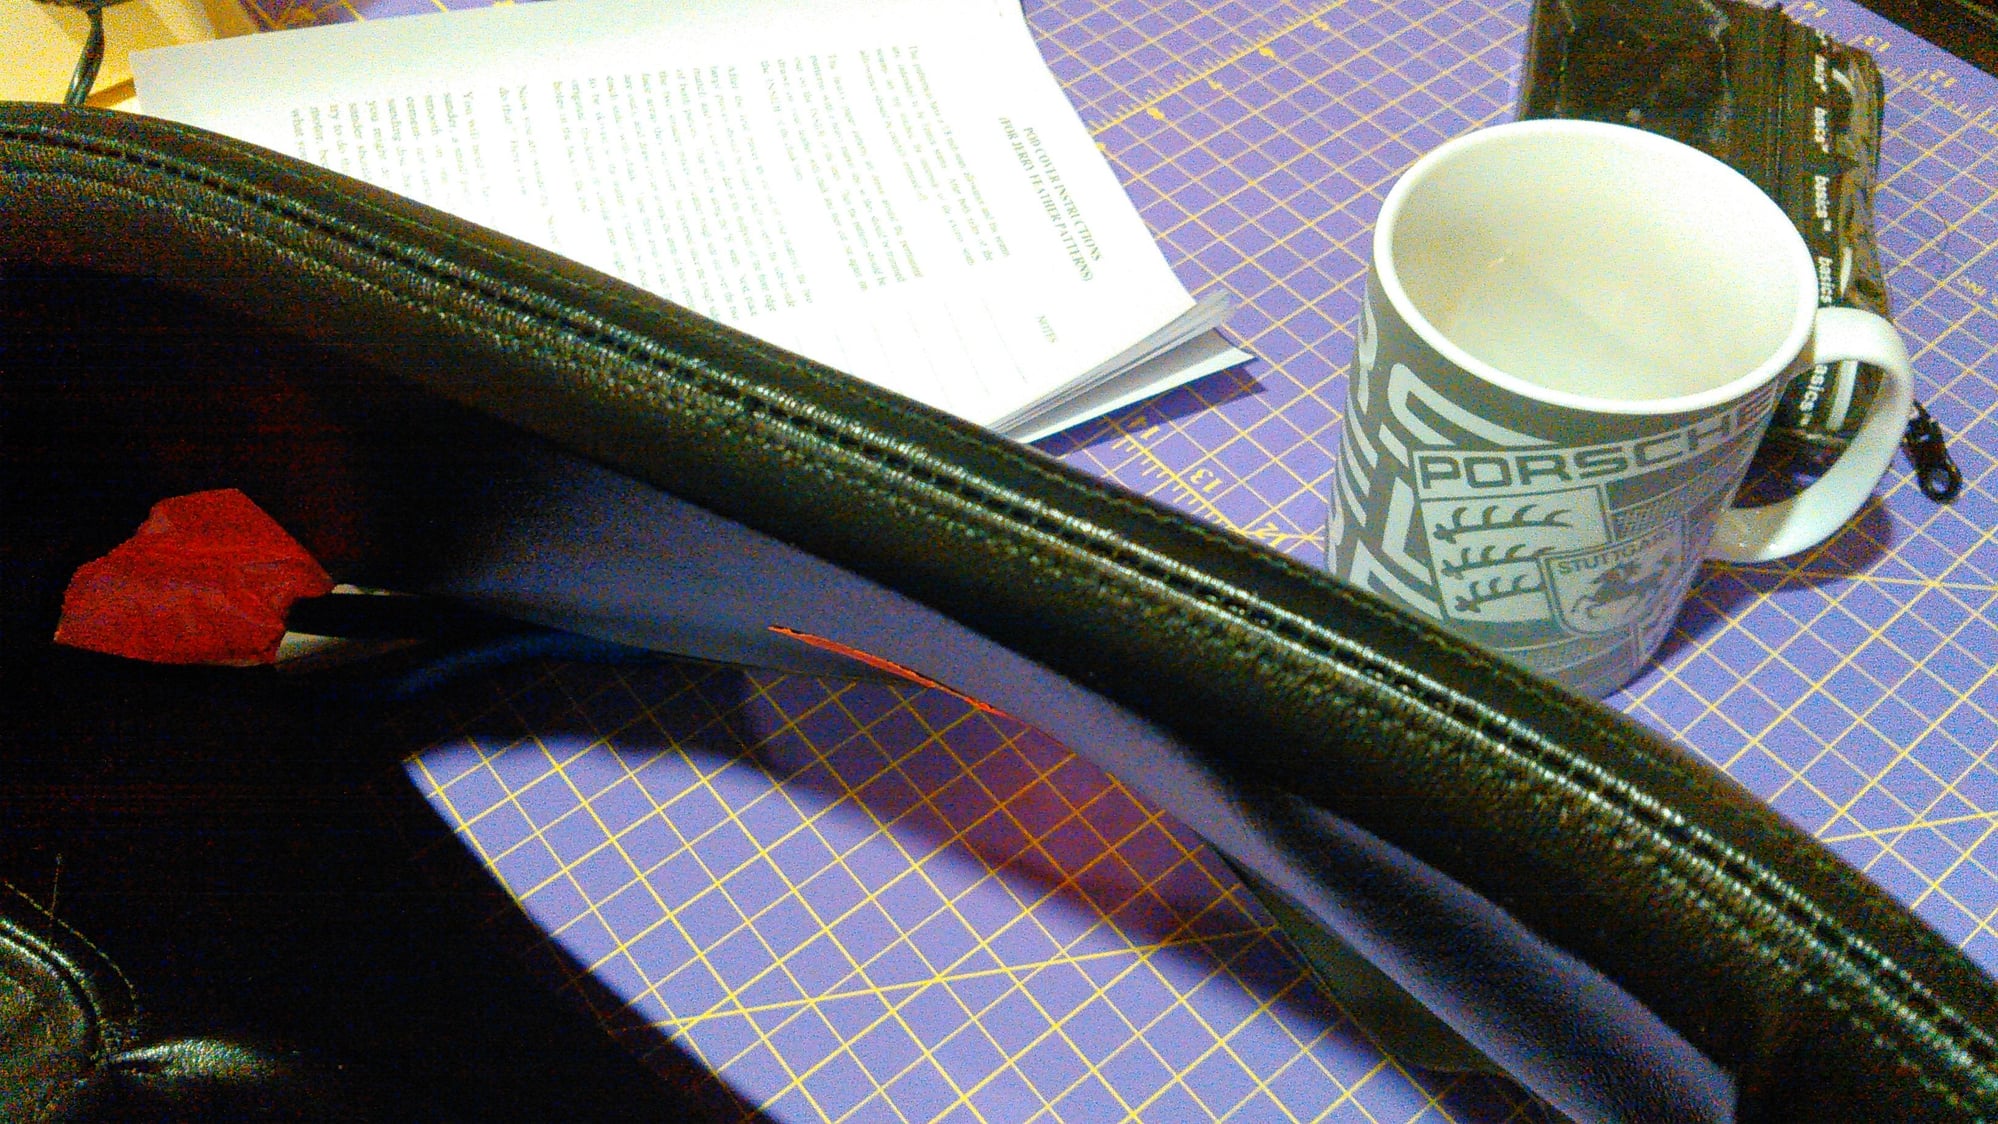
French seam from the front. Kinda jankety...
French seam from the back.
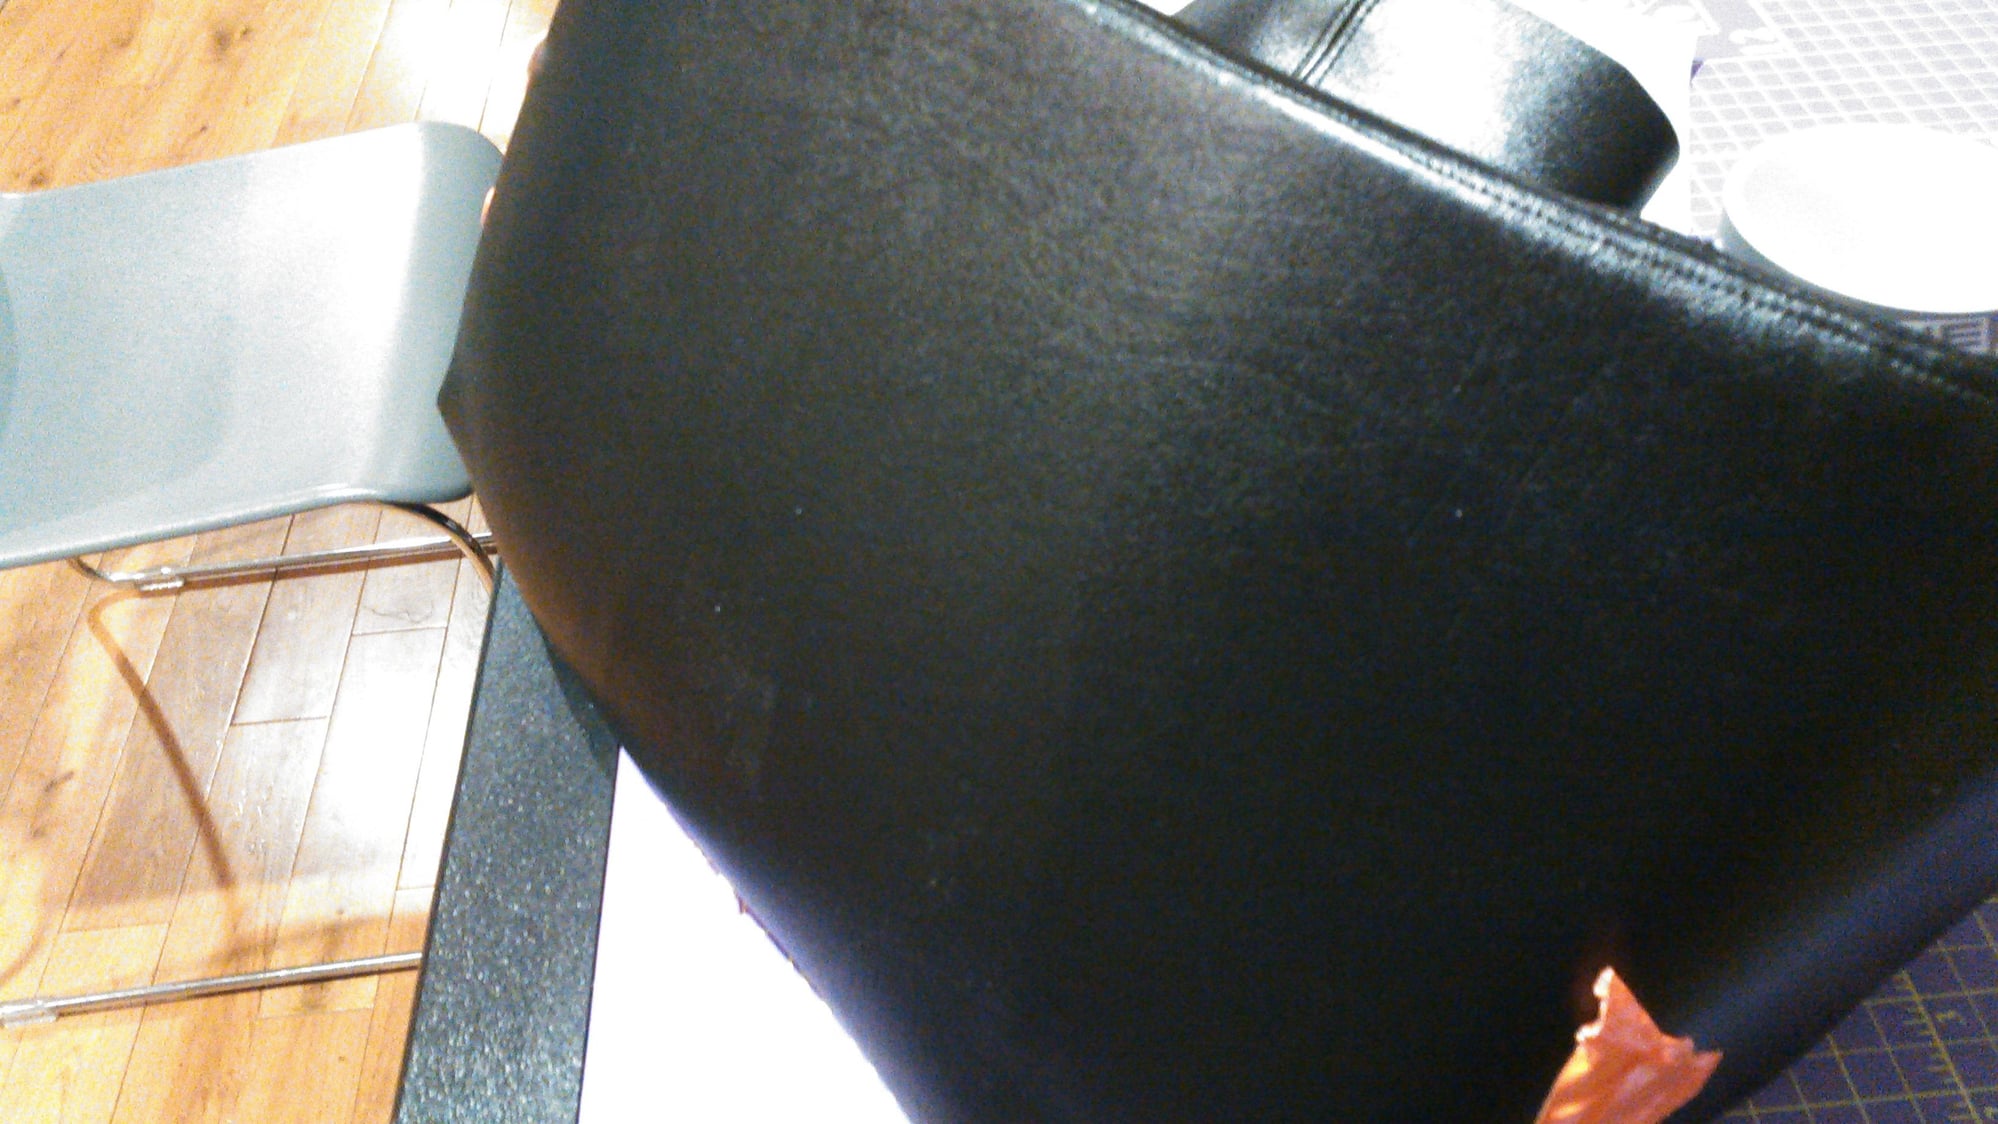
Test fit with duct tape stretch. Seems to fit pretty good.
Top middle of the pod. The seam is sitting well.
I was hoping that the vinyl was thick enough that I wouldn't have to smooth the cracks. Nope...
Shawn, the slightest flaw in the pod surface will telegraph through the vinyl, as you are learning. As to your french seams, you should have sewn them from the outside rather than from underneath, as it appears in one of your pictures. Also, when you get ready to glue the cover on to the pod, the front top french seam goes right at the apex of the top of the front curve of the pod rather than on the apex of the front of that curve or at the apex of the front surface. The front is a separate surface and the top is a separate surface and the curve where they come together is where there is an apex that the french seam goes at. In your next to last picture the seam is too far down on the face of the pod.
I considered sewing it from the outside as it seemed the better method, but I didn't have a good way to hold the seam allowance flat while I sewed it. Maybe glue? But I wasn't sure even glue would hold it down, or that I could hold it flat while the glue cured. I did find that tossing the vinyl in the dryer for a few minutes softened it up, but as soon as it cooled it regained all its original stiffness.
Shawn, when I do things like this for the first time, it is usually the third or fourth iteration that ends up the finished product. And, you have extra vinyl which was smart.
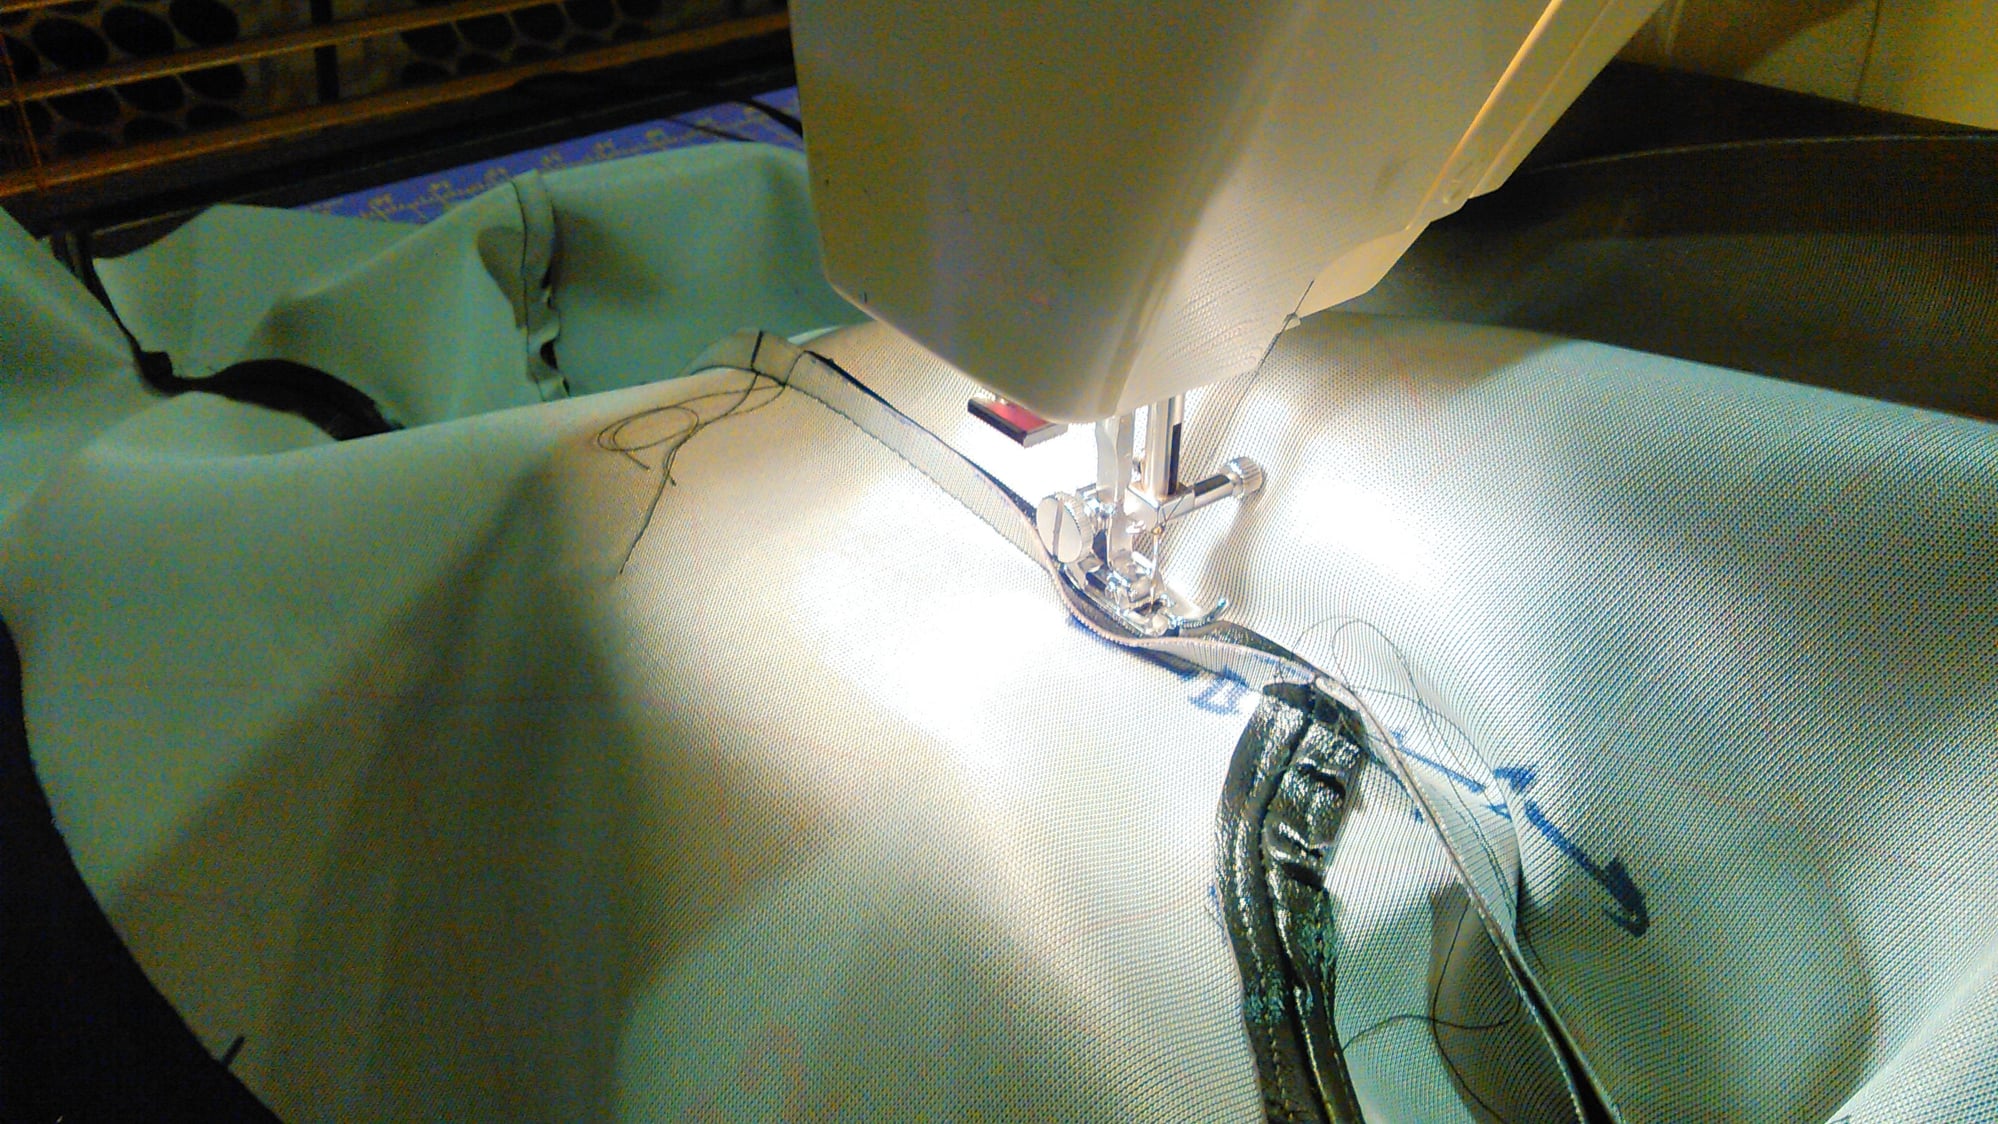
As to sewing the french seams, what you do when sewing from the top is bunch the material up in each hand and hold the seam allowance underneath with your thumbs as you guide it under the presser foot. See the pictures in post number 76 above where Doug is doing the top stitching.
For the seam allowance on the inside of tight curves, where it is bunched up in your picture, you can cut some darts out of it before you sew to help it to lay flat. I have been thinking about finding some kind of conductor's ticket punch that cuts "V" notches in the side of tickets to use for those kinds of darts.
Shawn, when I do things like this for the first time, it is usually the third or fourth iteration that ends up the finished product. And, you have extra vinyl which was smart.
You're far more of a perfectionist than I, Jerry! Seriously, I don't have the patience or the time to approach your level.
As to sewing the french seams, what you do when sewing from the top is bunch the material up in each hand and hold the seam allowance underneath with your thumbs as you guide it under the presser foot. See the pictures in post number 76 above where Doug is doing the top stitching.
Ahh... Okay. At this point, I'm happy enough with the results that I'm not planning on redoing it, unless it goes on and looks like total hell. I'll be happy with a five-foot job, especially since there's plenty more on the car that needs attention!
Shawn, I'm impressed that you even took this on for yourself at whatever your chosen level is. Good for you. I'm sure you will be pleased with the outcome because you did it yourself.
I have two requests now for the patterns and instructions. I picked up a roll of craft paper at Home Depot and some mailing tubes at FedEx. I' get the hard patterns traced in the next day or two and get them in the mail. I'l probably trace a couple of extra sets to have on hand in case anyone else would like to join the class.
I'm going to add the extra quarter inch to the patterns (and show where that is so it wont get added twice) when I trace them so there wont be too much more confusion than there already is.
Jerry: Have you considered having the patterns scanned at the OfficeMax or Staples and converted into a PDF? You could email it or attach it to this thread. Large PDF images can be printed at OfficeMax or Staples.
Last edited by Shawn Stanford; 01-28-2016 at 07:11 AM.
I'm scratching my head about glue. I tried a type of 3M spray-on contact cement and it was useless. I the fabric backing on the back of the vinyl lifts the contact surface apart just enough tat the glue doesn't give me a good bond.
I experimented with a second pod and a couple pieces of vinyl and I got good results with silicone caulk. The other huge advantage being that it takes time to try, so I will have time to get it placed and clamped. Most of the contact cements I looked at yesterday said "Line it up carefully, because once bonded it is difficult to shift". My idea at this point is to 'butter' the pod with the silicone, pull the cover on and stretch it into place, then use a hand roller to push the excess silicone out and smooth it all down.
Shawn, That sounds to me like it is going to be a big mess and that it is likely to end up squeezing through all your stitching. What I use at Doug's is Weldwood yellow contact cement. Spray or paint it on and let it sit to set for about 15 or 20 minutes, on both surfaces, the pod and the inside of the vinyl. If the cement you sprayed on is white it will not hold up to the high temperatures the pod will experience. Don''t try to cover the entire Pod all at once, but spray the cement on in stages.
Shawn, after thinking about this a bit more it occurs to me that you applied the Contact Cement only to the pod surface. That's why it wants to come off when you try to stick the dry vinyl to it. You can actually roll all the contact cement off a hard surface with the heal of your hand in most cases.
First obtain the correct contact cement.
Then locate and mark the very top front center of the pod with a tiny mark of some sort. Then decide where you want the top front seam of your cover to go. It does not go on the face of the pod nor on the top of the pod, but rather right on the apex of the curved edge between the top and the front. In one of your pictures before you have the top front seam right on the front of the pod and it must go on above that.
Then spray or paint the correct cement onto the top front edge of the pod down the front a bit and back of the front about 2 or 3 inches. Then spray or paint the inside of the cover along that seam only about the same corresponding but opposite surface. When the cement sets for 15 to 20 minutes so it is still tacky but not wet, and maybe even seeming to get dry, start at the very top front center mark and put the very center of your top seam exactly on the mark, then stretching firmly but not excessively locate and press the seam on its correct location working from the top center out and down each side. This is the most critical part of the entire gluing operation, in my opinion.
After that first seam is carefully and properly located then you can spray or paint some more of the top of the pod and inside of the cover and carefully pull it back and down the back so all the wrinkles are out of it. Later you will be able to turn the pod over and pull the tails in and glue them down under in the same or similar manner. Don't try to glue the tails down under first and hope the rest of the cover ends up smooth.
If you haven't been around this kind of work much or any, your intuition about how it should go will likely be incorrect. Go back and study this thread and look at some videos on U-Tube.

 01-25-2016, 06:52 PM