When you click on links to various merchants on this site and make a purchase, this can result in this site earning a commission. Affiliate programs and affiliations include, but are not limited to, the eBay Partner Network.
Here's a trick learned from one of the notable Porsche speedo repair shops...the pin that the needle attaches to is tapered. Gently twist the needle from the center with your fingers (not the end or it might bend) counter-clockwise and apply gentle upward pressure. The needle will spin itself off. To install, twist counter-clockwise again an apply gentle downward pressure.
I broke mine the first time I pulled my speedo, it seemed to be stuck on there and it eventualy just broke. The needle apparently isn't just replacable, I sent it off to have the motor replaced for $150.
Does anybody have a spare speedometer needle they would like to sell? I bent mine taking it off.
PM me.
I thought that I might have one I would give you, but then I found that it was already bent, and now it is broken. Sorry about that. However, I wanted to post this to explain that the advise about twisting it off is very bad advise. The shaft is not tapered and in fact it is splined. The plastic needle is not splined and is held in place by the points of what I am calling splines. They are more like elongated barbs. Twisting the needle on the barbs is very bad. Too, I was wondering just how one might install the needle with the twisting motion and still have it end up at exactly the right place at the point it got tight.
Too, I was wondering just how one might install the needle with the twisting motion and still have it end up at exactly the right place at the point it got tight.
Jerry Feather
It's tricky but can be done. I've used this method at least a dozen times, never had a needle break or speedo fail to function properly.
So i have to revisit this on my car.
I did a search to refresh my memory then recalled I had a spare needle and a tach sending unit in a pile of parts from when i repaired my PRND2 lights. (to the best of my knowledge the tach needle and splines are the same as the speedometer..CORRECT ME IF WRONG)
Here are some pictures and notes to clarify what you are looking at when doing this job.
1) the shaft is not tapered. period.
2) The shaft is splined and the needle is perhaps splined also. I say perhaps as it is press fit on, and over time the spline marks from the shaft may have transferred to the plastic of the needle. It appears to me to be an interference fit using the splines to "dig" into the plastic a bit
3) as Jerry mentions above i would not twist the needle to take it off. There is no latch..catch....keying...index involved in its removal.
4) the needle is fragile ..plastic i believe.
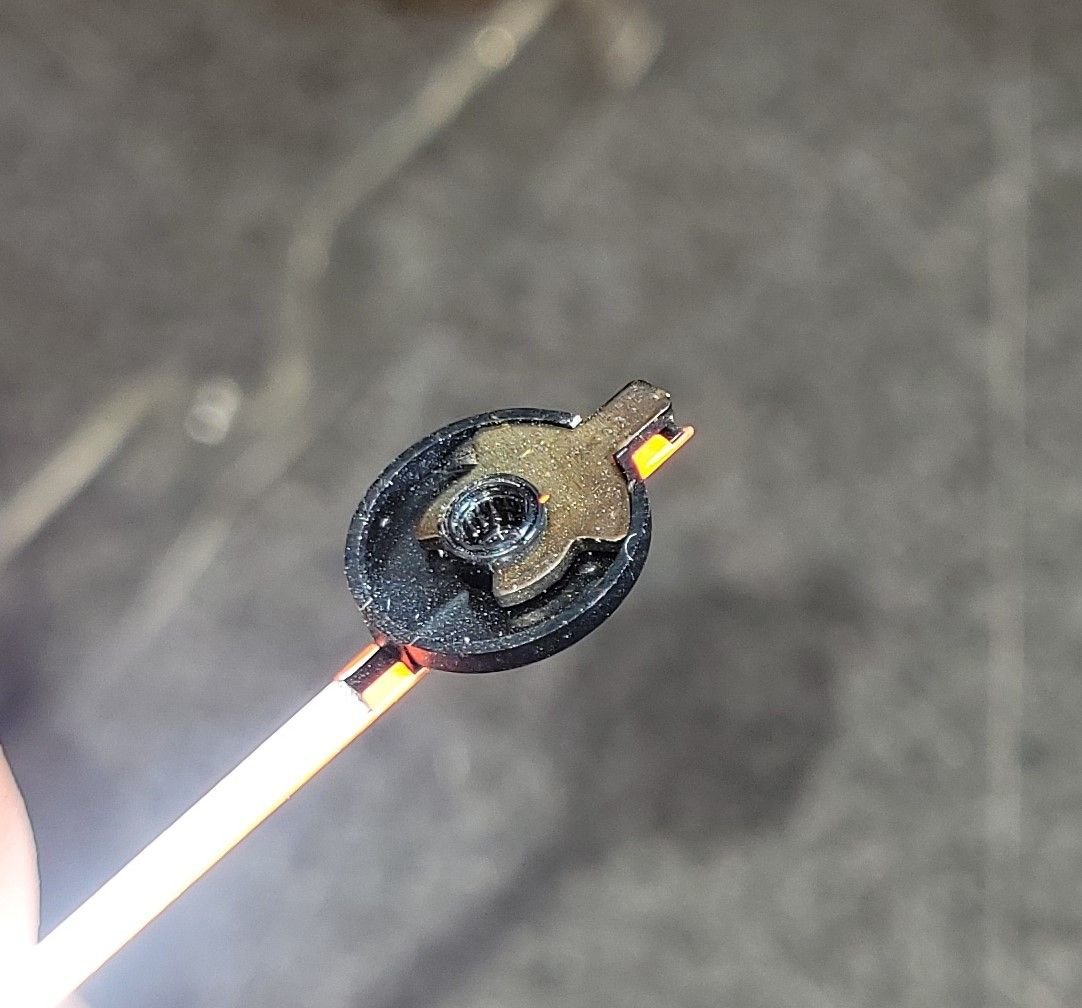
5) the needle contains a metal reinforcement structure under it that is crucial to its strength and you not breaking it when removing it.
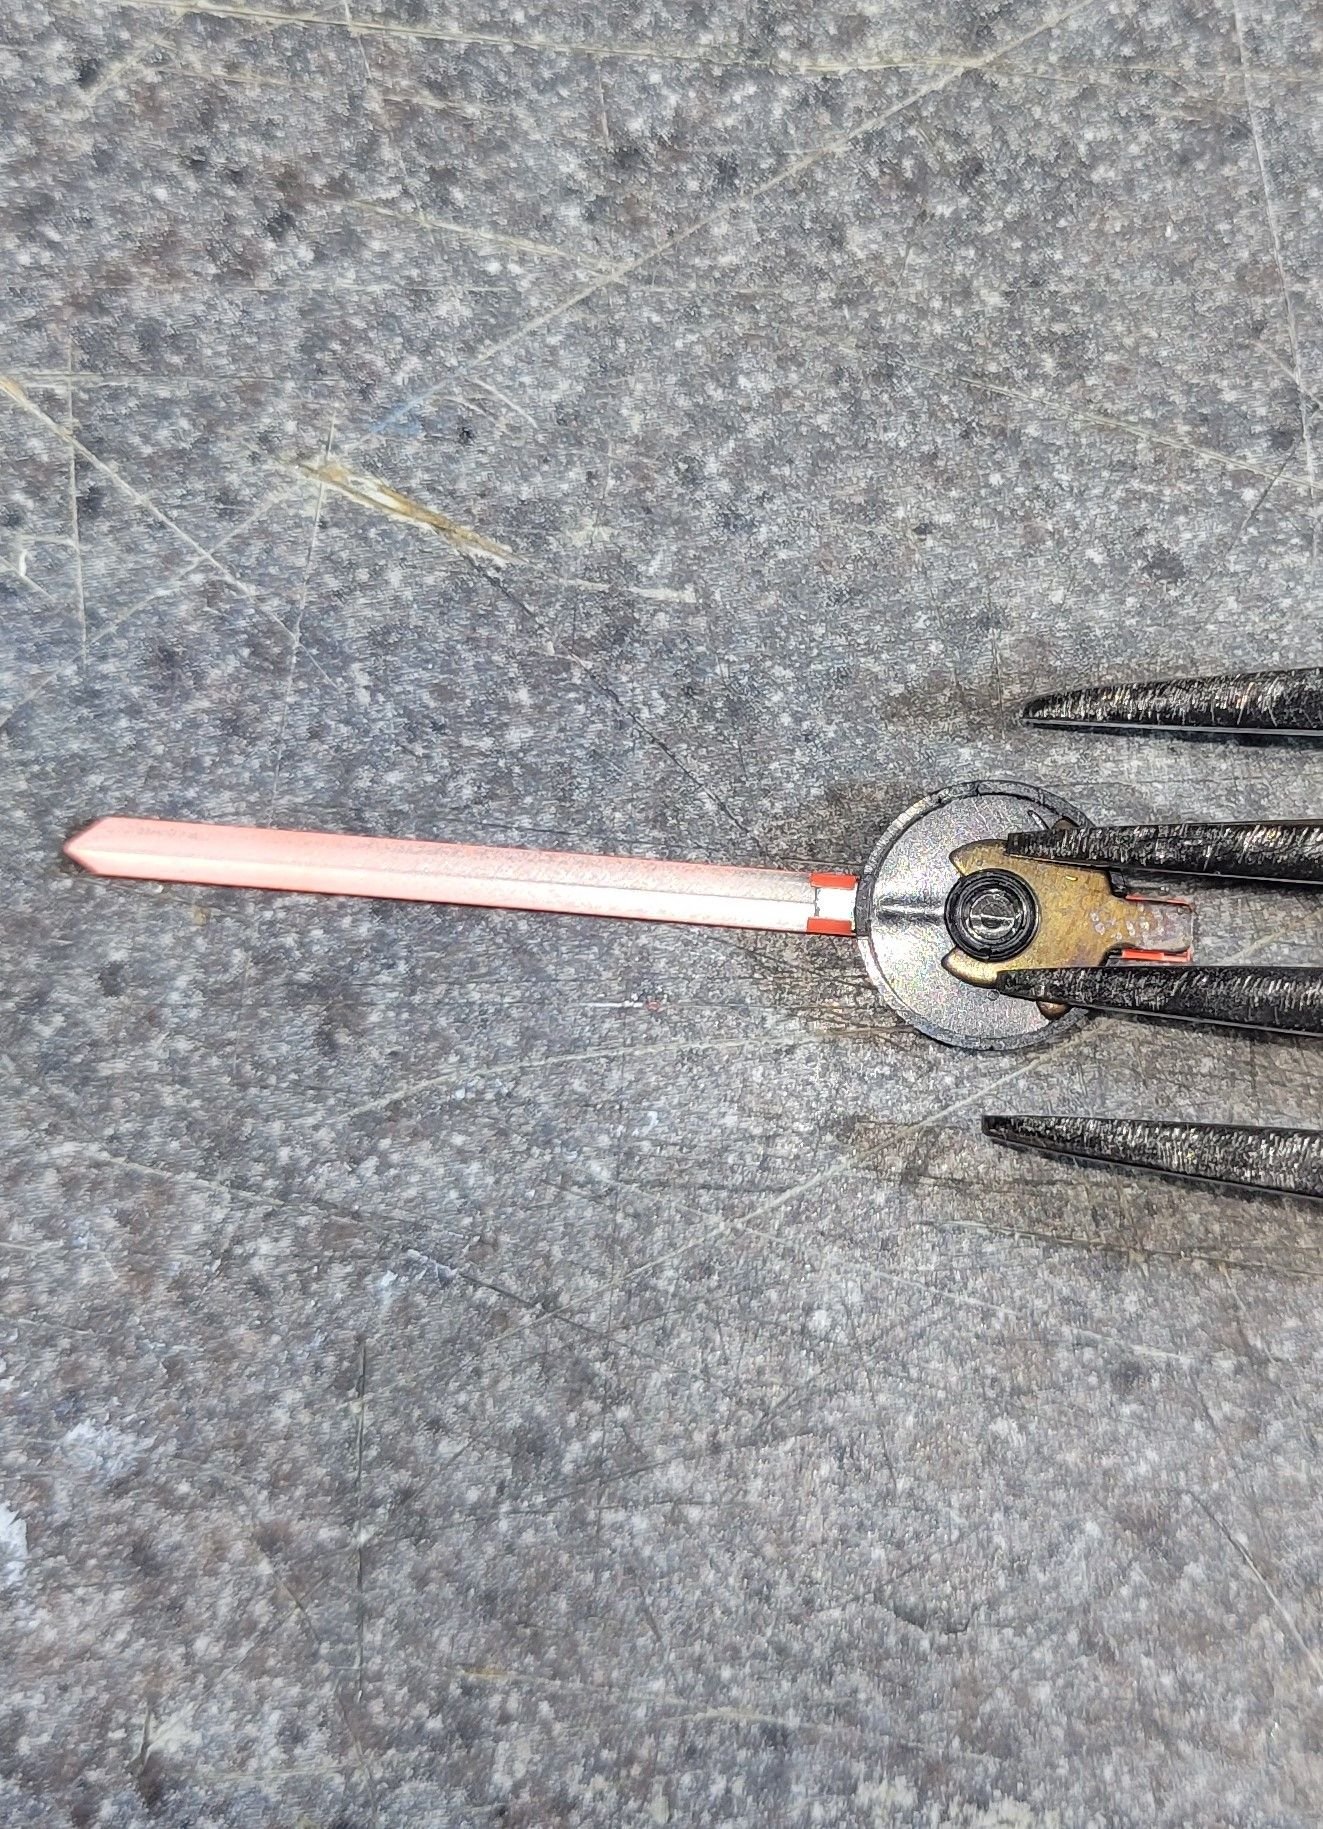
6) a fork or similar tool will work BUT...BUT...make sure the prongs are narrow enough to touch both sides of the metal reinforcement when you pry it up. The force should be distributed evenly in other words. If not , the prong will slip off and you will probably bend the needle and or the shaft.
pictures are worth 1000 words
.
(tach) shaft is not tapered plastic seems to have matching splines but i think that is just from the metal shaft imprinting the plastic . It is interference fit The fork as it would be viewed from the face of the gauge as you pry it up. Make sure the prongs fit over the metal reinforcement. Note the orientation of the needle and fork...pry from the short end parallel to the needle. standard kitchen fork..note the width of the prongs. Wide. Same fork but i pinched the center prongs together so they would fit over the metal entirely. metal reinforcement on the back
I just did this job last week and I could not press my needle back on all the way, well at least as far as the tach needle sits. too worried about breaking it. Any advice on pressing it on farther would be greatly appreciated.
Thomas
Porsche 911 GT3 Artisan Edition Pays Homage to Japanese Culture
Slideshow: Porsche has created a Japan-only 911 GT3 Artisan Edition that blends track-ready hardware with design cues inspired by traditional Japanese craftsmanship.
Porsche Reveals Coupe Variant of the Electric Cayenne With a Fresh Look
Slideshow: Porsche's latest electric Cayenne Coupe blends dramatic styling with supercar acceleration, turning the brand's midsize SUV into a 1,139-horsepower flagship.