

86.5 MM Project (w/pics)
 02-06-2010, 01:36 PM
#1
Rennlist Member
Thread Starter
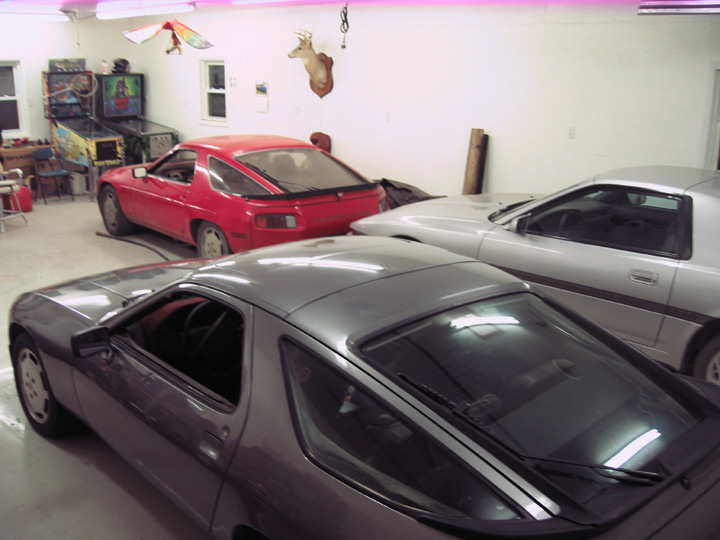
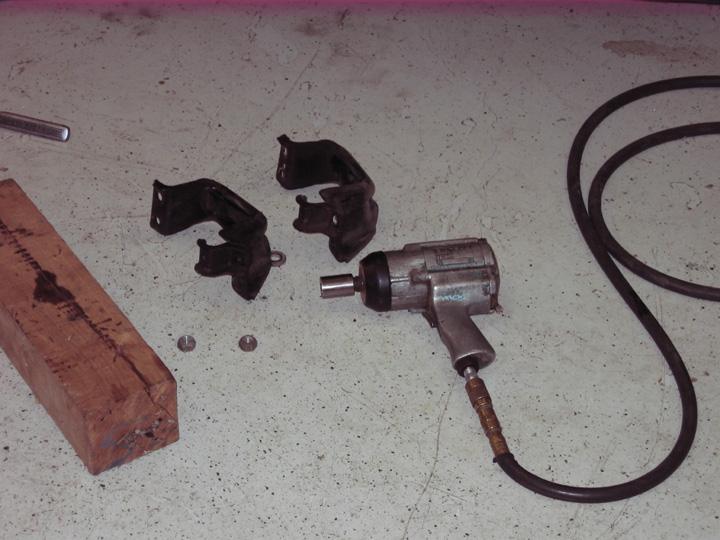
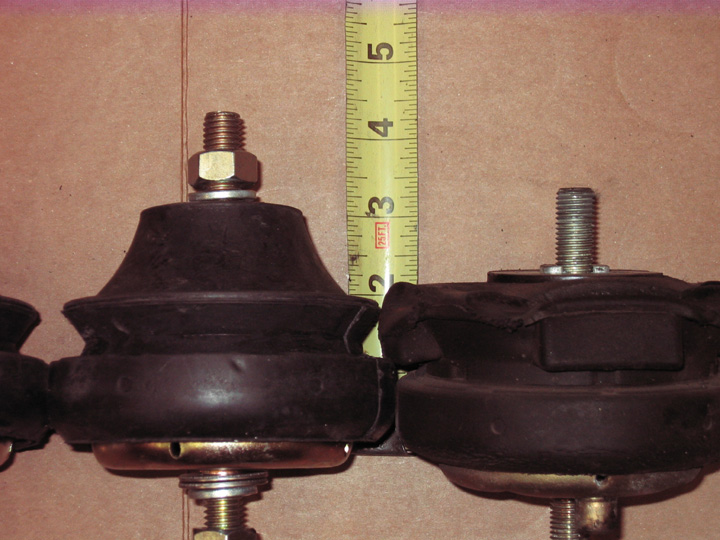
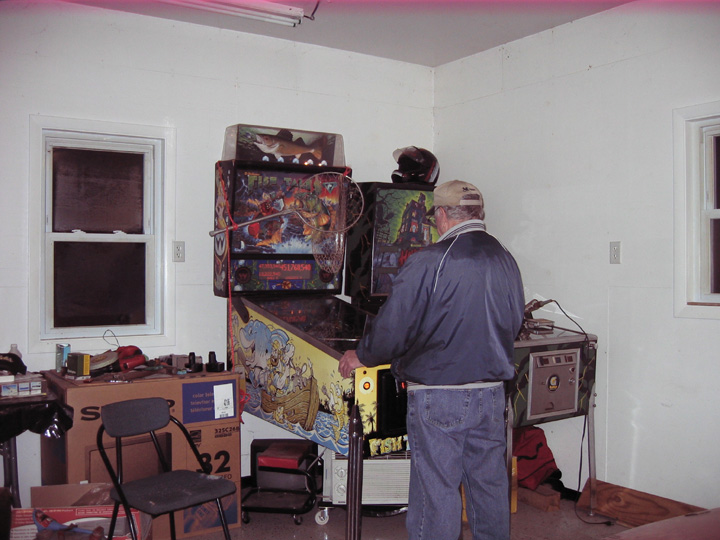
Every part of the 928 is art, including the motor mounts!
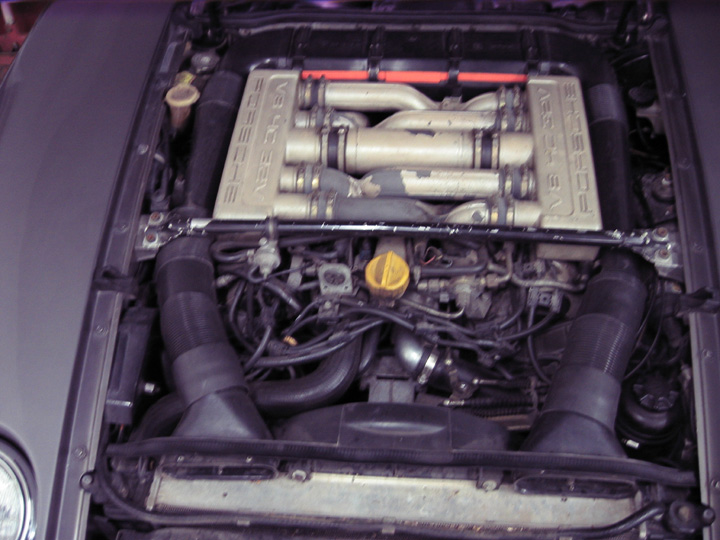
Fuel lines and intake will be coming soon.
Now, back to motor mountsl
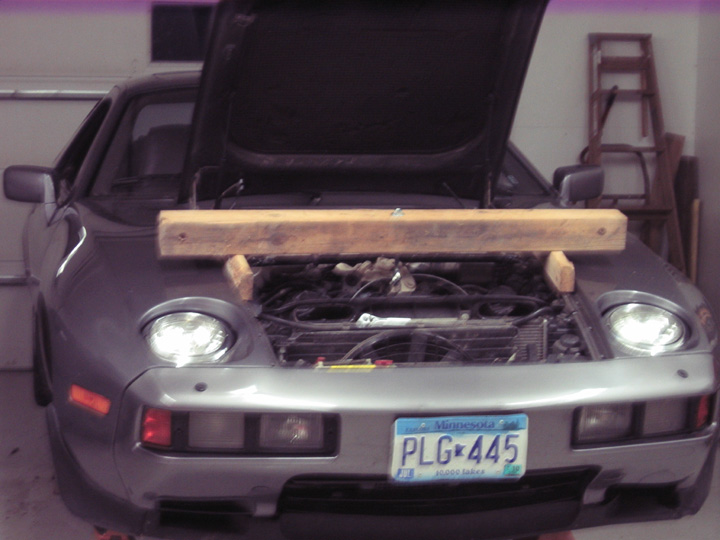
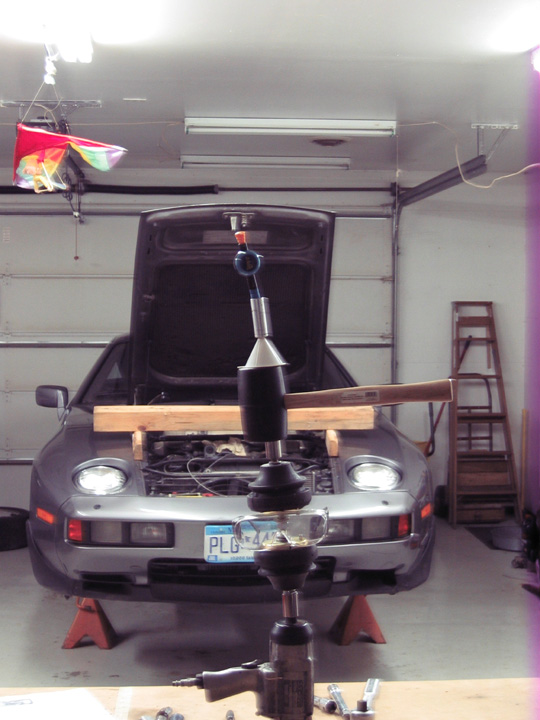
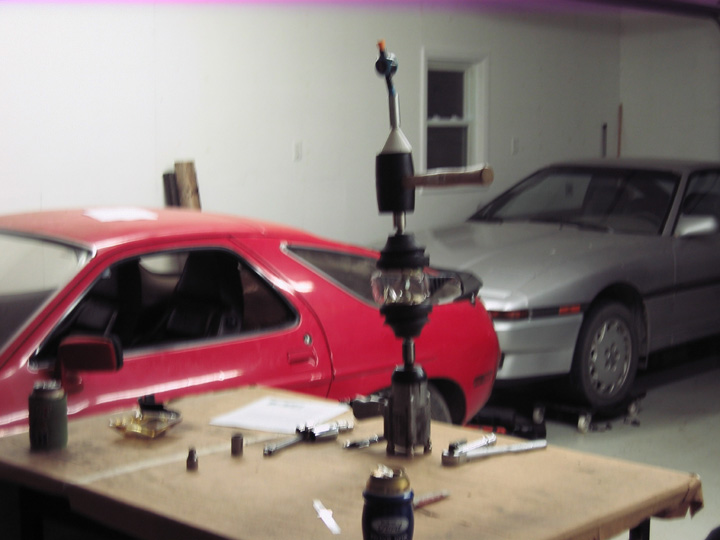
What do you think of this? Will it work?
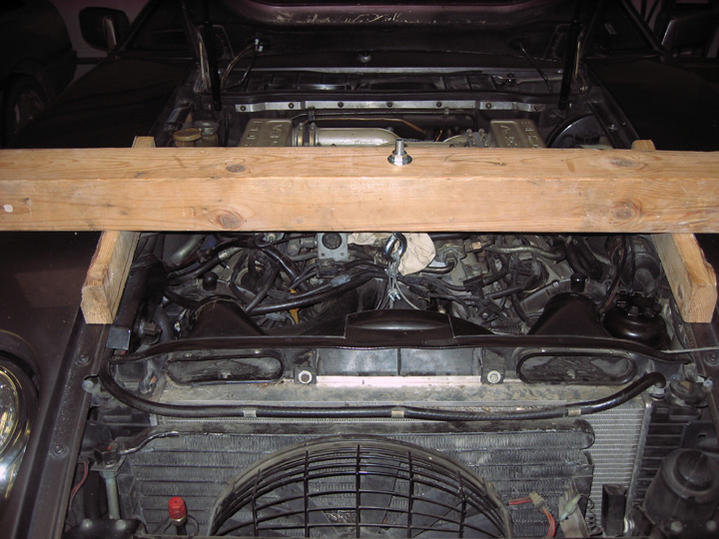
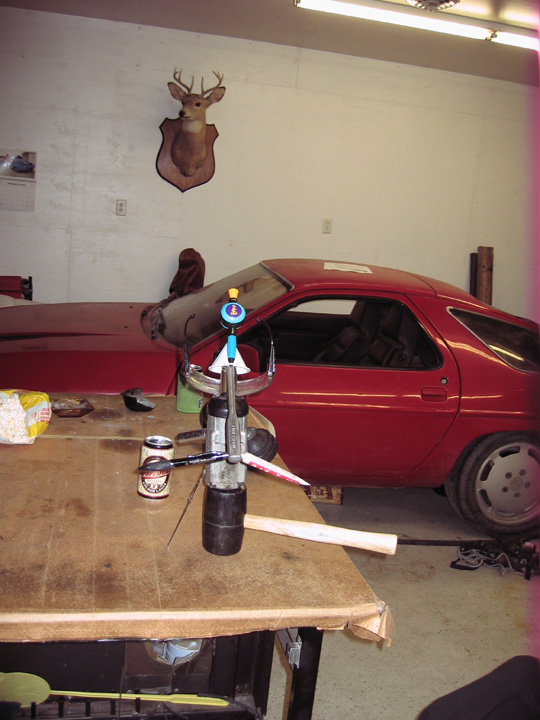
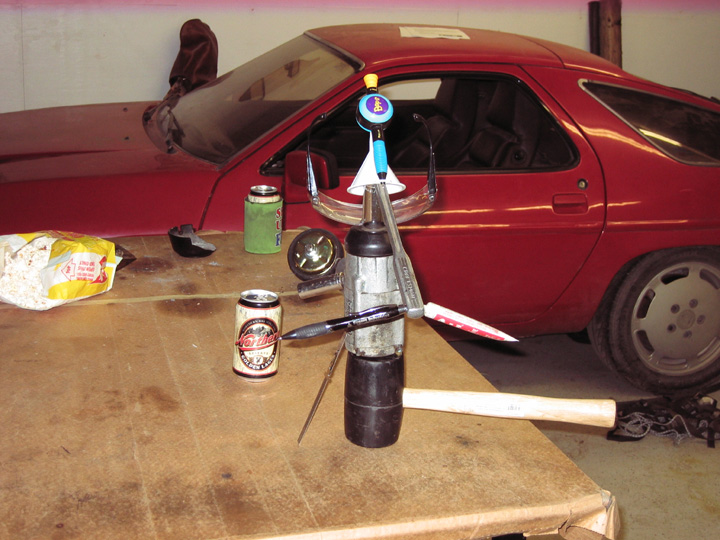
Lift with floor jack and support with this for pan gasket replacement.
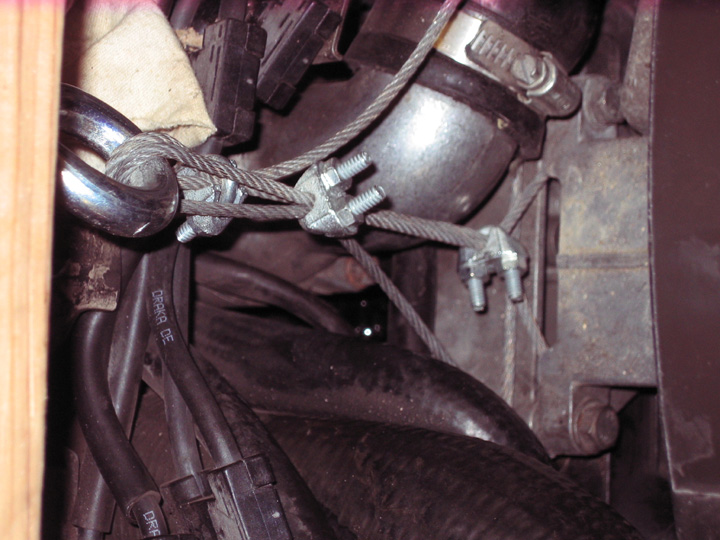
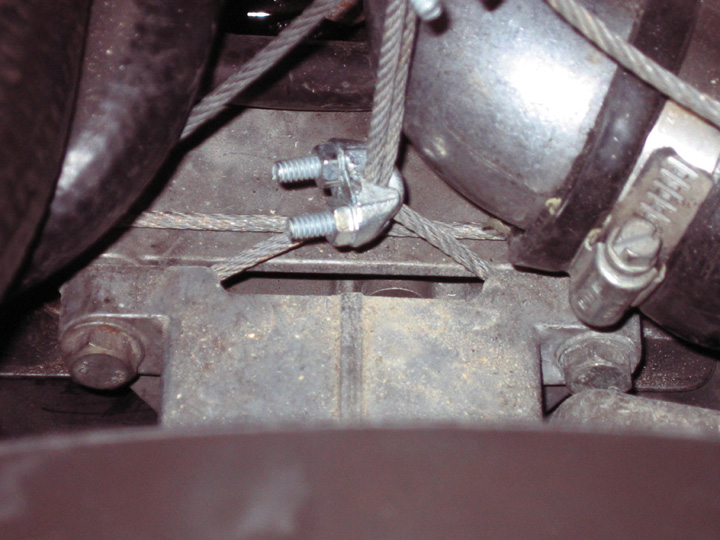
And now, for the motor mount art, how's this?
Enogh for tonight. Break time!
More to come shortly.
Fuel lines and intake will be coming soon.
Now, back to motor mountsl
What do you think of this? Will it work?
Lift with floor jack and support with this for pan gasket replacement.
And now, for the motor mount art, how's this?
Enogh for tonight. Break time!
More to come shortly.

 02-06-2010, 08:56 PM
#6
Rennlist Member
Thread Starter
--------------------------------------------------------------------------------
I don't know, maybe it's just me, but that engine support doesn't look too safe to me.
I don't know, maybe it's just me, but that engine support doesn't look too safe to me.
Trending Topics
02-06-2010, 09:08 PM
#9
Captain Obvious
Super User
Super User
They are not 2X4s, it is a 2X6 ripped in half and it is secured to the 4X4 with two 4 inch screws, counter sunk from the bottom up.
In the pictures shown, it is already holding the engine. I lifted the engine about 3/8" with the eye bolt. I will complete the lift with a floor jack and merely "hold" the engine with this apparatus.
In the pictures shown, it is already holding the engine. I lifted the engine about 3/8" with the eye bolt. I will complete the lift with a floor jack and merely "hold" the engine with this apparatus.
02-07-2010, 02:22 AM
#10
Rennlist Member
Thread Starter
Here is PROOF
Do you think they are toast?

Not much difference, is there?
More 928 ART!
Can you find the motor mount?
I LIKE SPIDERS, do you?
OOPS, Break time again!
More later, bye for now.
Do you think they are toast?
Not much difference, is there?
More 928 ART!
Can you find the motor mount?
I LIKE SPIDERS, do you?
OOPS, Break time again!
More later, bye for now.
02-07-2010, 02:32 AM
#11
In reference to the engine mounts. If you do what I did I cut the old locating pins off the oem mounts and correctly drilled them and then tapped them onto the new mounts so they fit like OEM. I have sent various suppliers emails about this and posted on this topic but don't know if anybody has followed through. Or what about this. Supply your mounts with the Porsche like dowls and then then can fit like OEM! I highly recommend this method any other way is just the bodge
Greg
Greg
02-07-2010, 02:37 AM
#12
Rennlist Member
Thread Starter
In reference to the engine mounts. If you do what I did I cut the old locating pins off the oem mounts and correctly drilled them and then tapped them onto the new mounts so they fit like OEM. I have sent various suppliers emails about this and posted on this topic but don't know if anybody has followed through. Or what about this. Supply your mounts with the Porsche like dowls and then then can fit like OEM! I highly recommend this method any other way is just the bodge
Greg
Greg
02-07-2010, 08:41 PM
#13
Rennlist Member
Thread Starter
Looks like I could use new rack bushings. I'll be calling you, Roger.
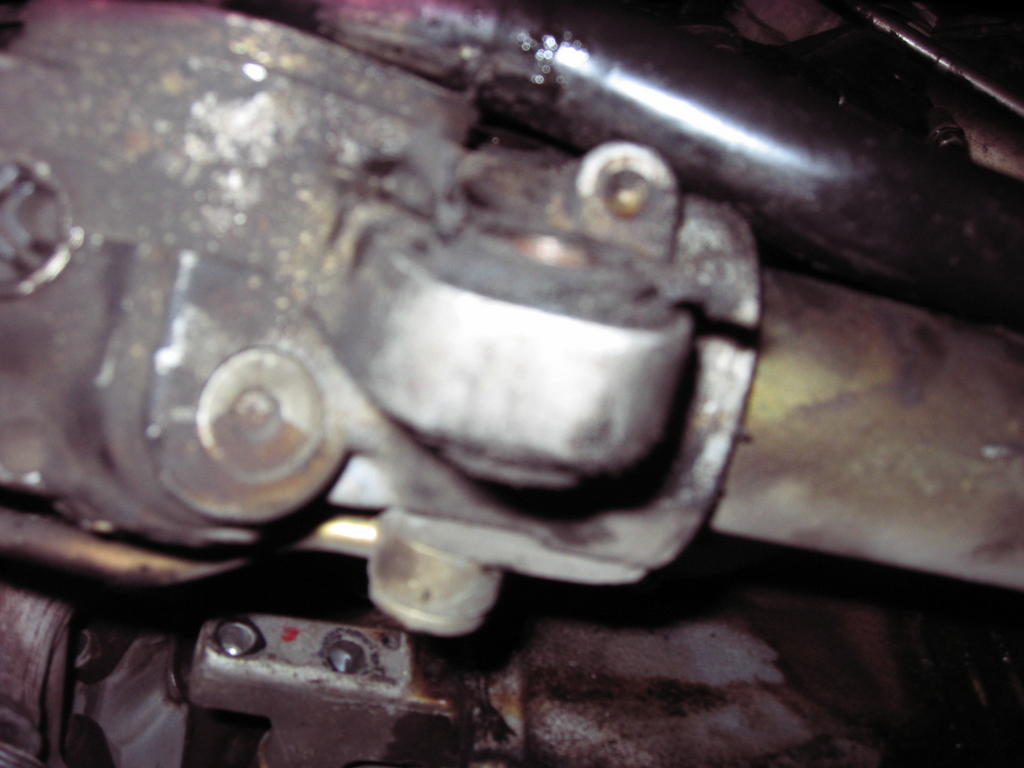
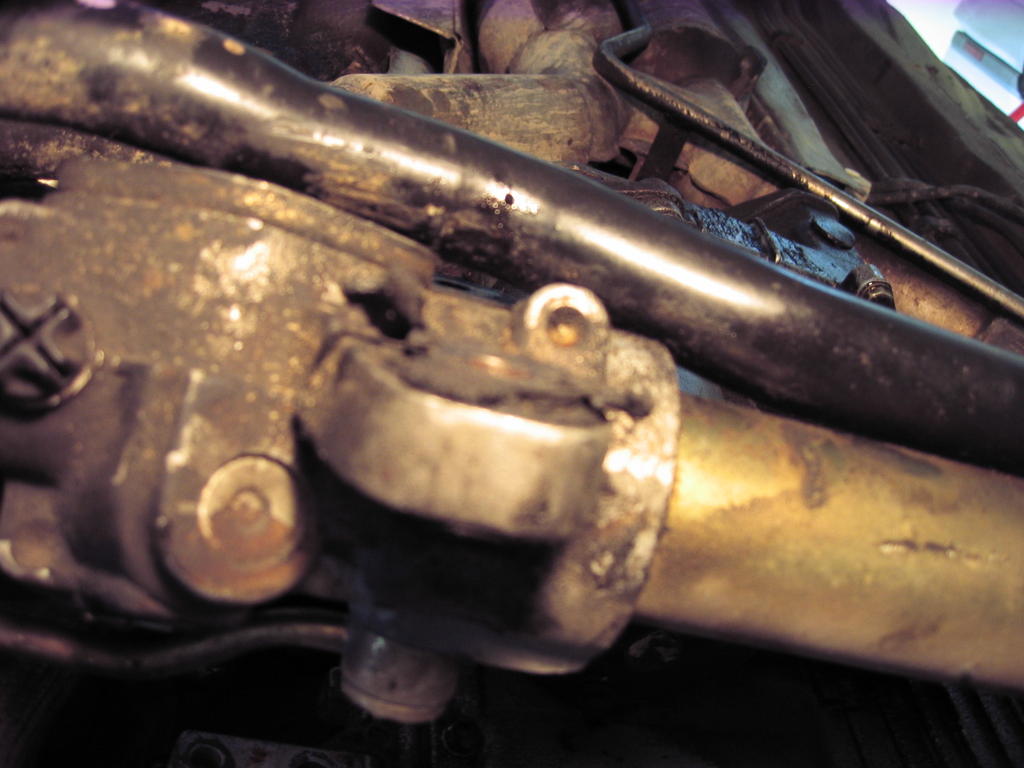
Is this boot ok? Can it be fixed or does it need to be replaced?
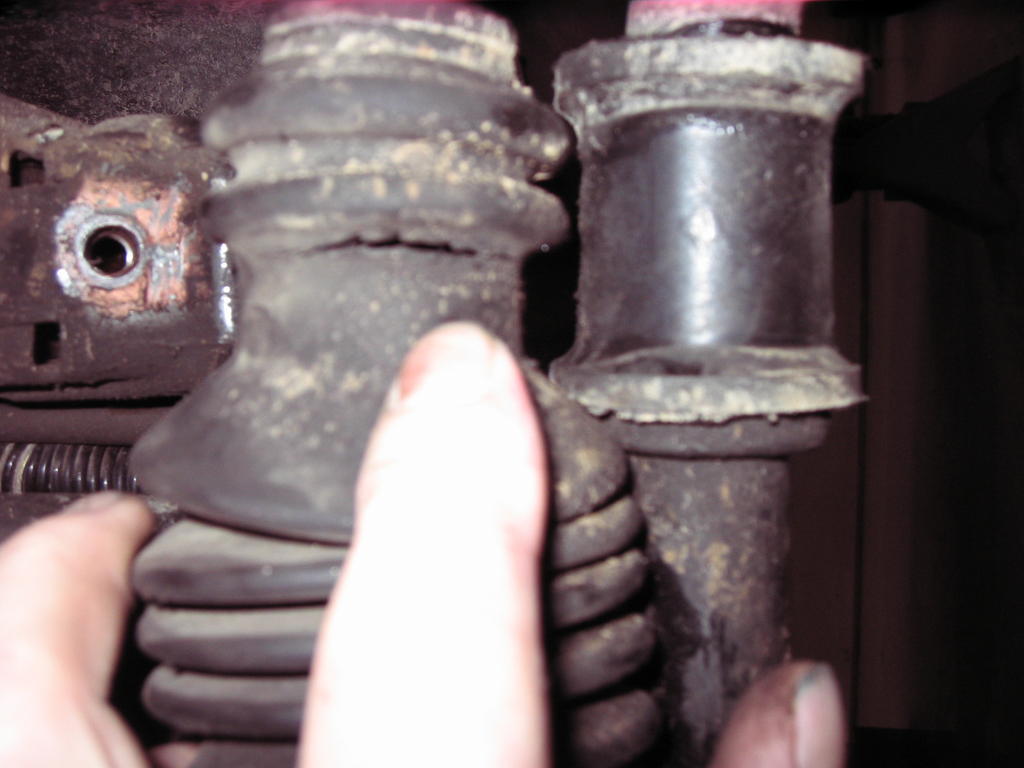
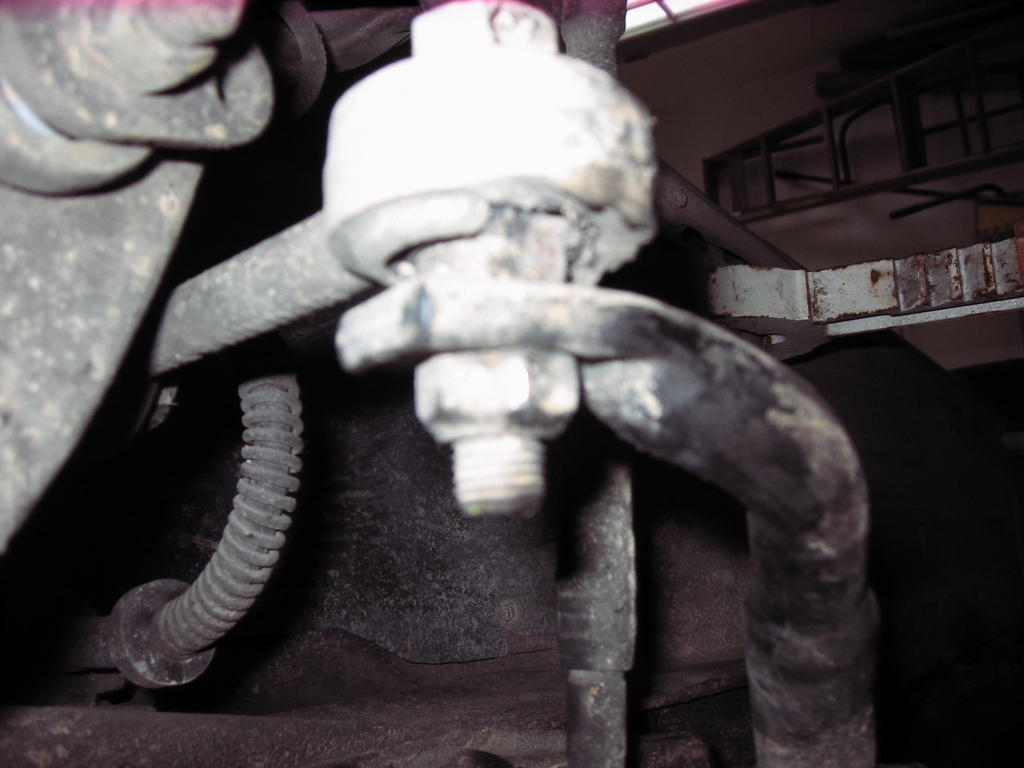
What is up with this? Can these bushings be replaced? Or, should I replace the whole link?
Thanks in advance for any advice.
Is this boot ok? Can it be fixed or does it need to be replaced?
What is up with this? Can these bushings be replaced? Or, should I replace the whole link?
Thanks in advance for any advice.
02-07-2010, 09:16 PM
#14
Archive Gatekeeper
Rennlist Member
Rennlist Member
Definitely replace the rack boot (and get the split delrin rack bushings from Roger). RE: The swaybar link bushing, I don't recall seeing replacement bushings just for them, and new links are $175ish, each.... Might be a good time to find some droplinks, like so:
https://rennlist.com/forums/928-foru...r-o-rings.html
https://rennlist.com/forums/928-foru...rop-links.html
Alternatively, someone who has already gone to aftermarket drop links might have a spare factory pair sitting around in good shape.
https://rennlist.com/forums/928-foru...r-o-rings.html
https://rennlist.com/forums/928-foru...rop-links.html
Alternatively, someone who has already gone to aftermarket drop links might have a spare factory pair sitting around in good shape.