When you click on links to various merchants on this site and make a purchase, this can result in this site earning a commission. Affiliate programs and affiliations include, but are not limited to, the eBay Partner Network.
I was able to remove my end tank using these instructions, and I have a suggestion for the corners and ends where the screwdriver approach is difficult. I used channel-locks as in the photo and twist down. Once you get a good grip on the tab it works quite nicely and makes a cleaner job of the corners.
<a href="http://s93.photobucket.com/user/elgyqc/media/Rad%20tabs%20and%20channel-lock_zpsqck8zeou.jpg.html" target="_blank"><img src="http://i93.photobucket.com/albums/l73/elgyqc/Rad%20tabs%20and%20channel-lock_zpsqck8zeou.jpg" border="0" alt=" photo Rad tabs and channel-lock_zpsqck8zeou.jpg"/></a>
<a href="http://s93.photobucket.com/user/elgyqc/media/Rad%20tabs_zps6zixju46.jpg.html" target="_blank"><img src="http://i93.photobucket.com/albums/l73/elgyqc/Rad%20tabs_zps6zixju46.jpg" border="0" alt=" photo Rad tabs_zps6zixju46.jpg"/></a>
That's actually not true. I tested mine with a bicycle inner tube.
Take one from a mountain bike and cut it. Clamp one end on the 'in' and one on the 'out' and plug the overflow line. Then just pump up the tire with a compressor an submerge it in water or spray with soapy water. If it holds air with no bubbles it will hold water.
Thanks for this tip! I am about to change my end cap and will use this.
Thanks for this tip! I am about to change my end cap and will use this.
What about laying the radiator down, filling it with water, then attaching and pressurising with the tube? If water comes out it's leaking. Seems to me it would be easier than submerging the rad and not as easy to miss a small leak if you spray. You'd have to be sure the outside of the rad is dry before doing the check. I'll be doing this soon as I get my new end tank.
I am busy fitting my new end cap - tow questions?
1) The seal keep on twisting when I try and get the cap on. Should / can I use some form of grease to keep it in place?
2) How vital is the copper sleeve? Can it be left off?
I put some RTV sealant on the seal (look for a type that is used/recommended for water pumps), just a light coat before placing it on the side of the Core, then compress the tank end cap down and then lock it down w/ the "tabs".
The deflector sleeve helps keep the hot coolant flowing properly downward and away from the Tank seal IIRC.
Dave
The sleeve is actually there to force coolant into the top corner of the end tank to prevent a steam bubble from developing, thus shortening the life of the tank. It also helps prevent short-circuiting of coolant flow. There is a pic in the WSM or tech docs that shows the correct orientation of the sleeve.
Did you clamp it to compress the seal evenly? When I did mine I used two wood slats as load distributors along the length of the tanks and a couple of ratcheting straps to clamp the tank into place and evenly compress the seal. I re-crimped the tabs while the whole thing was clamped. A soft mallet to get the crimp back into position before using a pair of locking pliers (ViceGrips) to set the final crimp. The pliers were adjusted using the opposite end tank crimp as a reference, then just a touch tighter to account for the spring rebound of the aluminum.
I clamped it wit ratchet tie downs, no success. I am going to try and make something that hooks around the bottom of the channel, and over the end cab, with screw type adjustments.
Those all aluminium replacements sure look like a bargain now
... and thanks to Mike Frye for the idea of using a bike tube as a pressure tester. I first filled the rad with water than pressurised it, biggest problem was preventing leaks from the overflow fitting and the inner tube connection to the end tanks. It held air overnight despite some leaking around the overflow fitting.
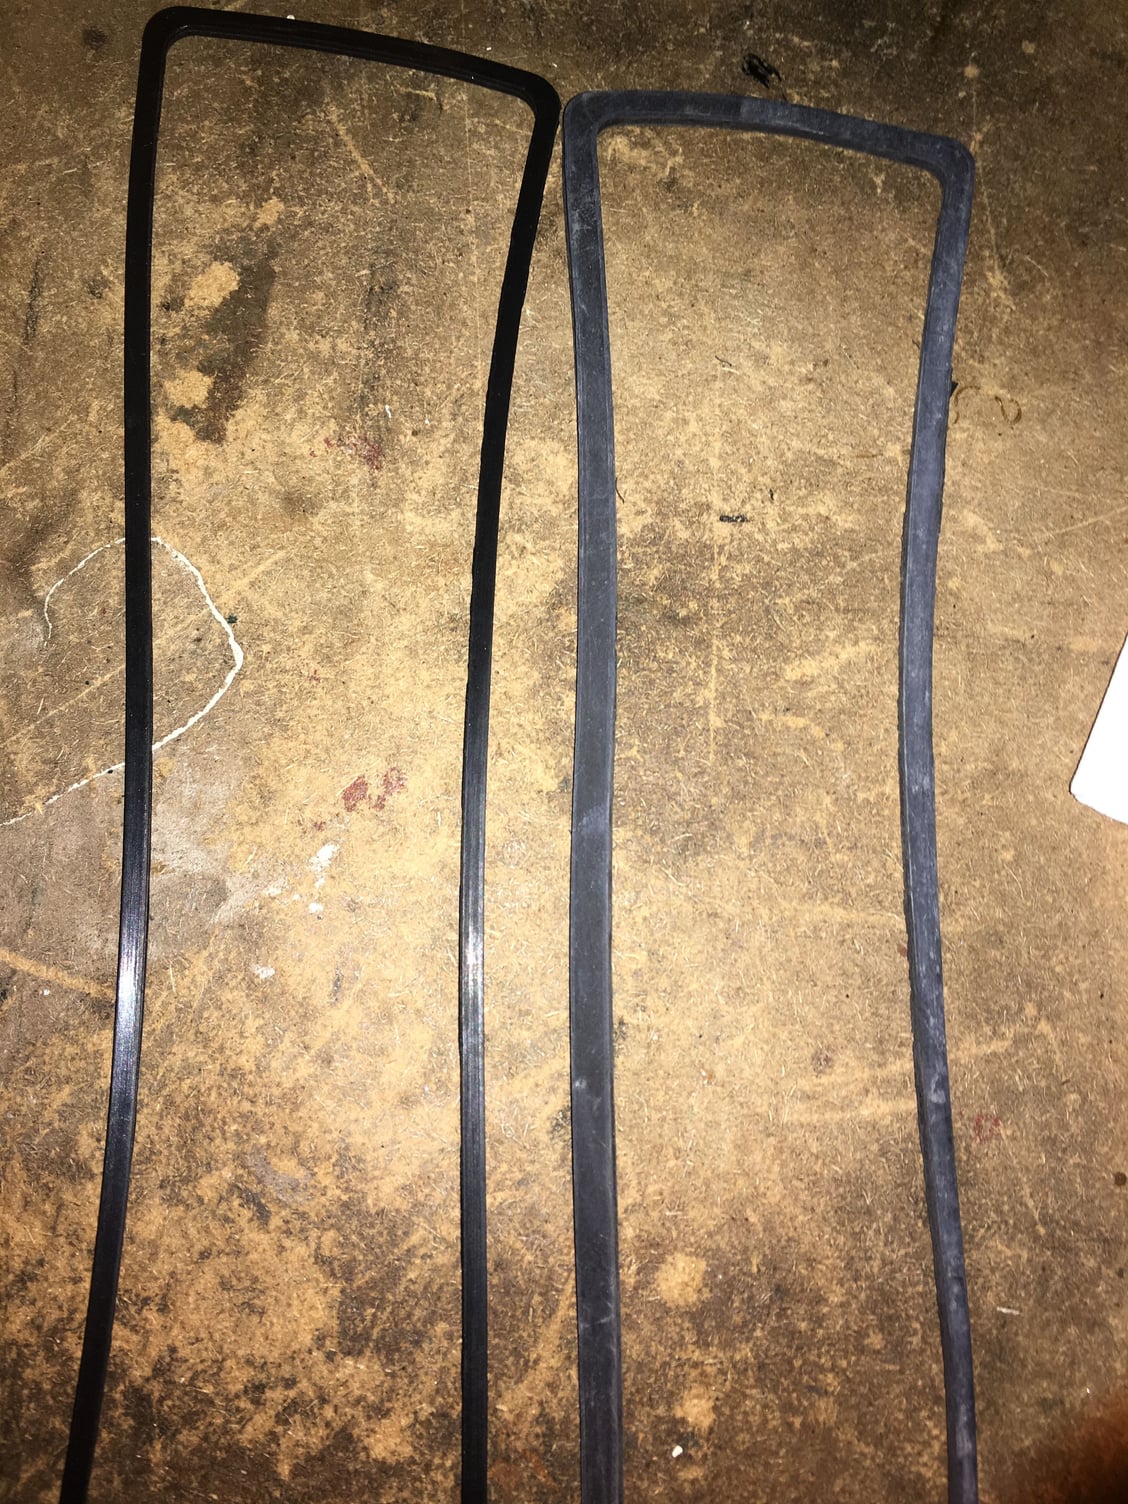
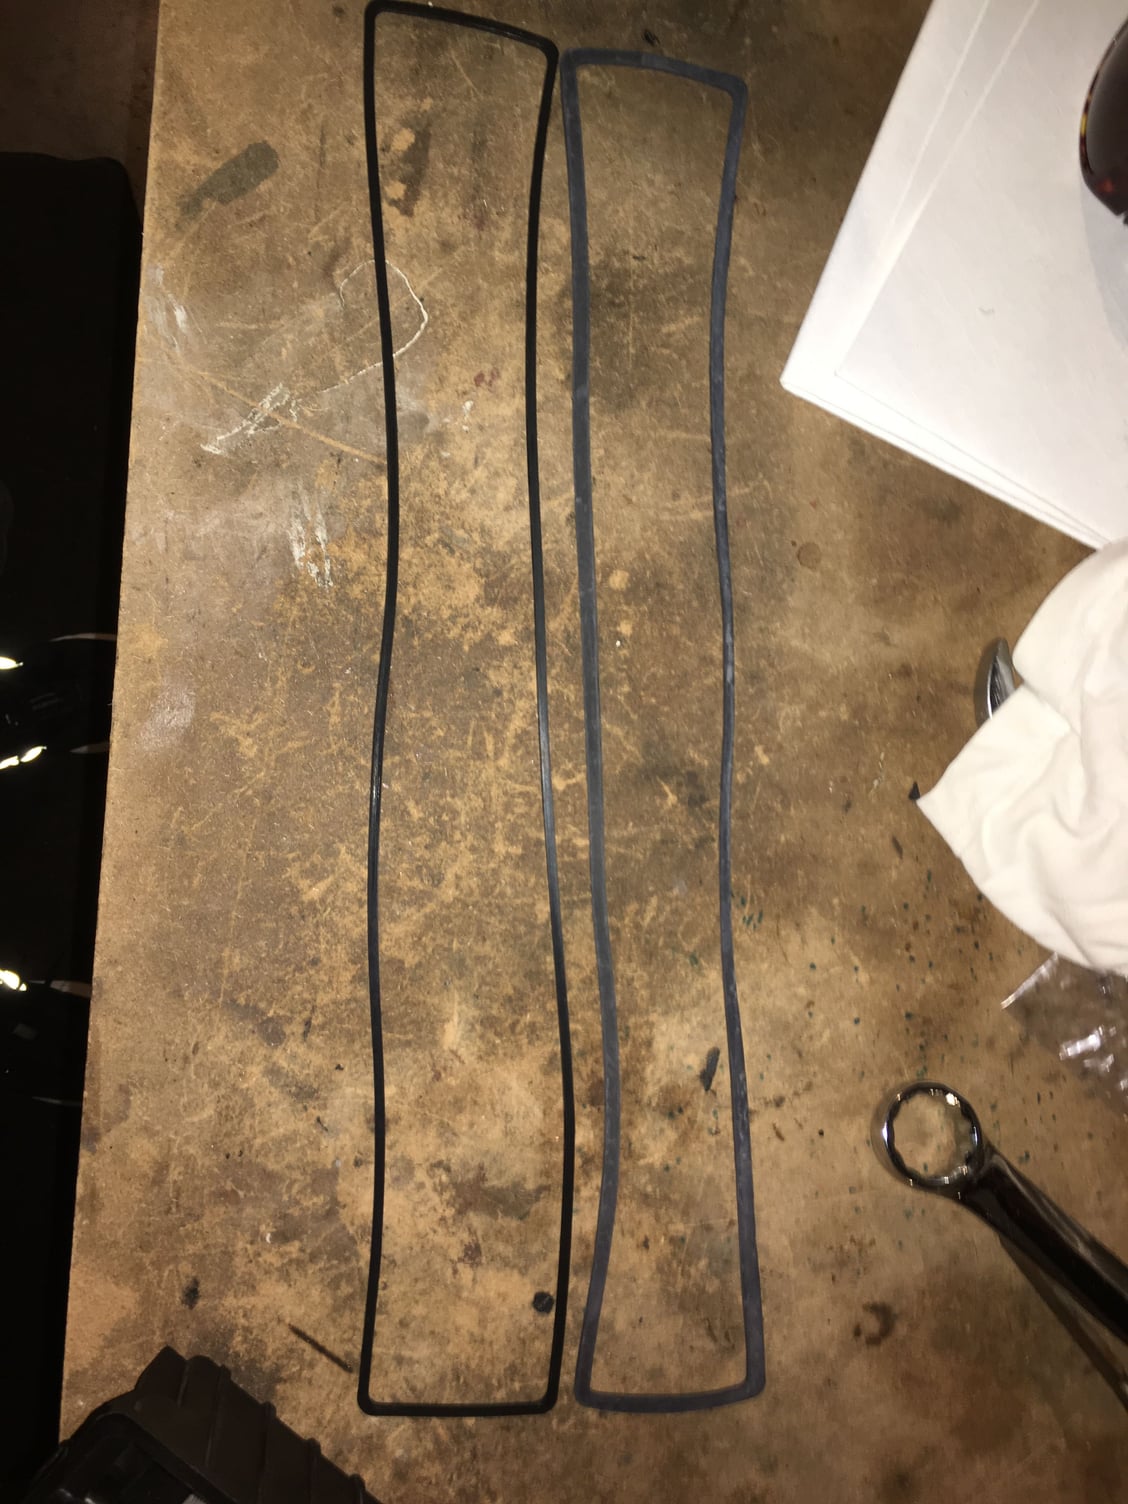
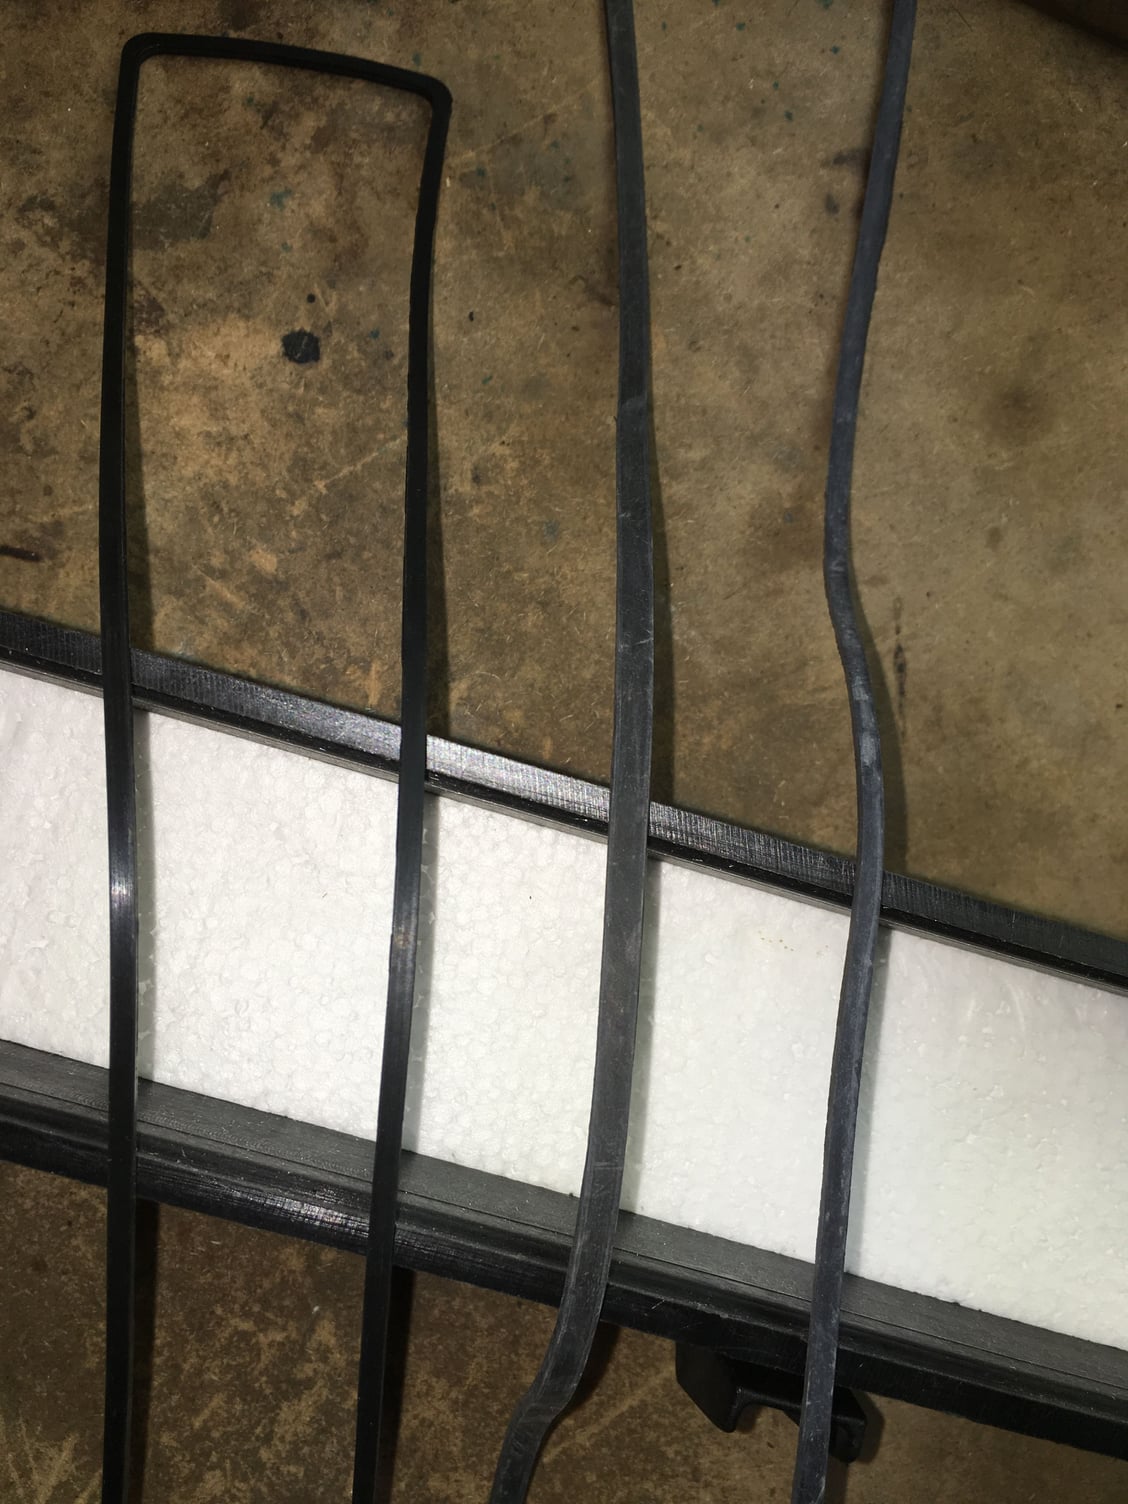
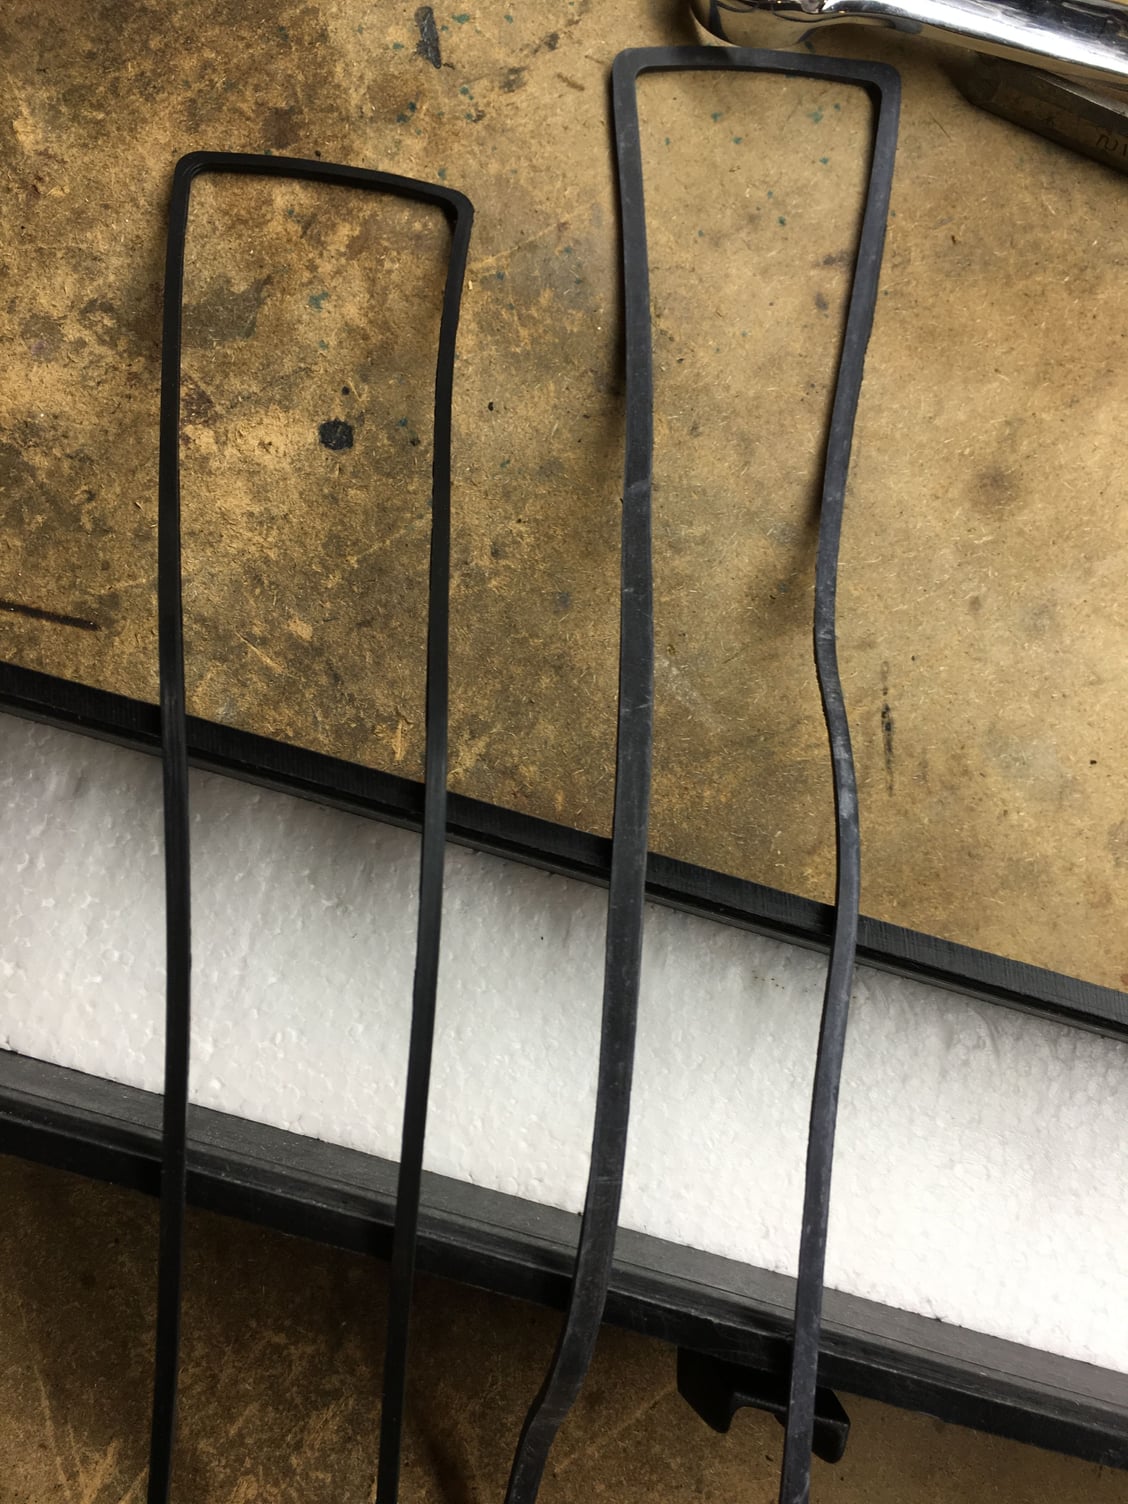
I ordered another end tank and seal from Roger. My last one I got from him about 5 yrs ago failed and I had one of the new seals from then left over. Look at the differences. The new deal is a glossy
black and thinner and the old seal has powder on it and some width variances. I think I'll use the newer seal.


 10-12-2015, 11:35 AM