When you click on links to various merchants on this site and make a purchase, this can result in this site earning a commission. Affiliate programs and affiliations include, but are not limited to, the eBay Partner Network.
Write up of my S3 Throttle Body Butterfly Shaft Seal Repair...
OK so here goes....
OK the picture upload thing is crap crap crap...I have done this 5 times already..I do it the same time twice in a row and one time it uploads stuff..the other it doesn't...what the Sh@t.
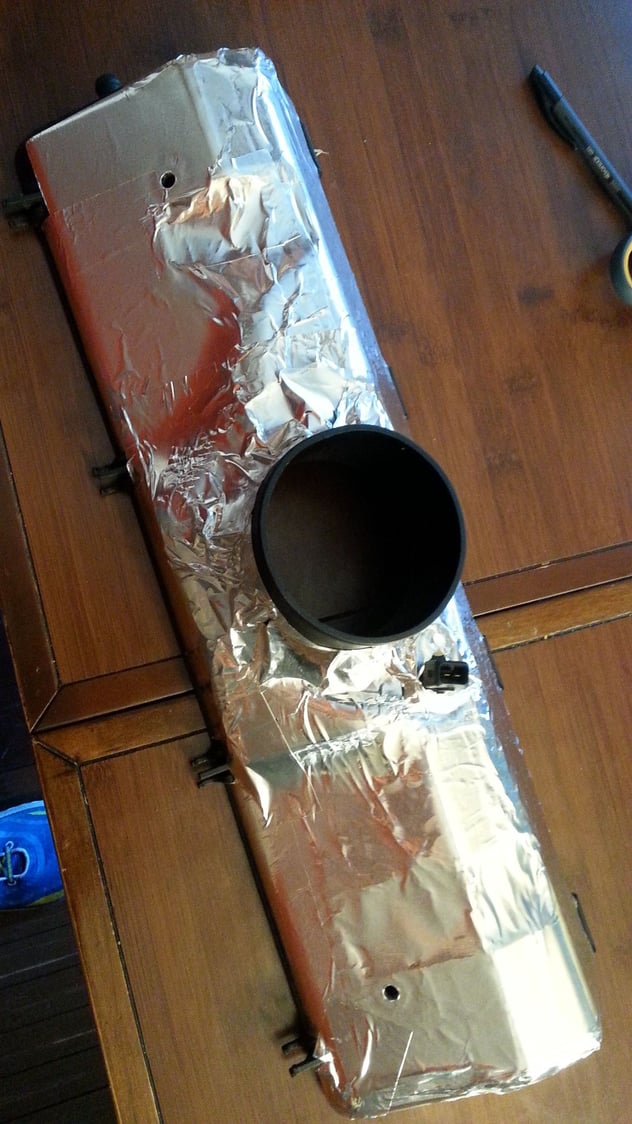
1. I did this too...helped with the heat..I went and got some of that duct tape with reflective back side...it helps.
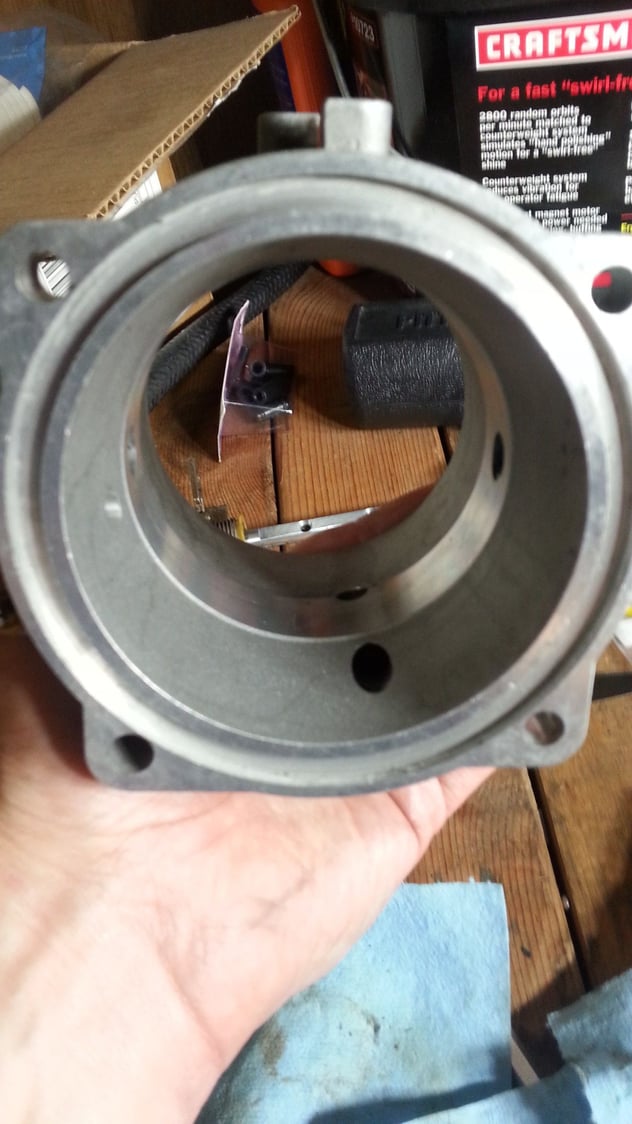
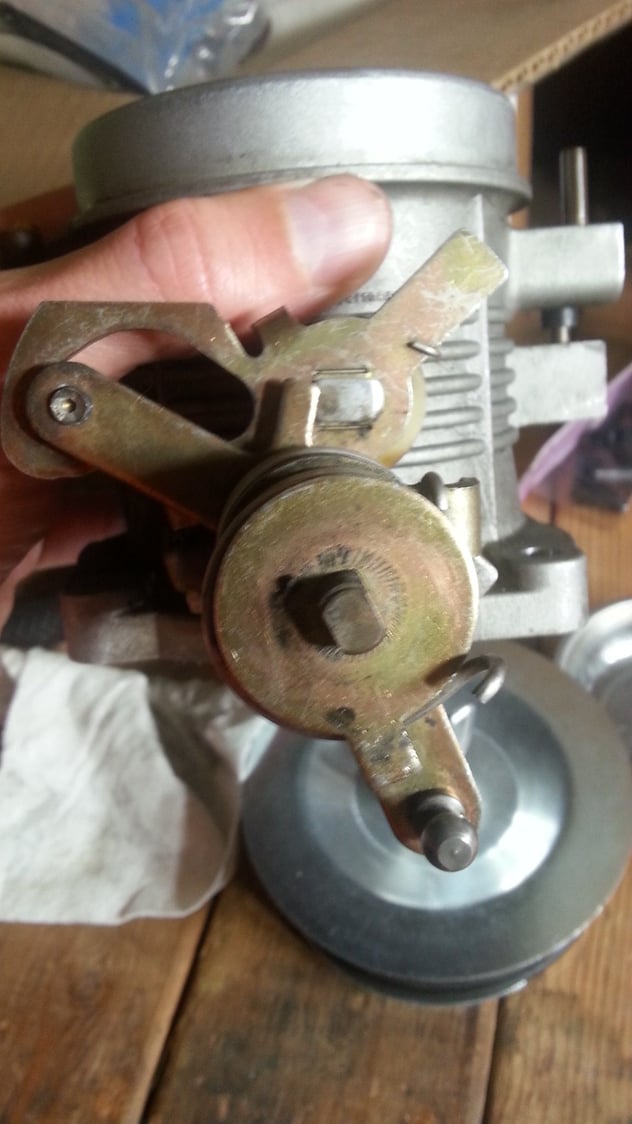
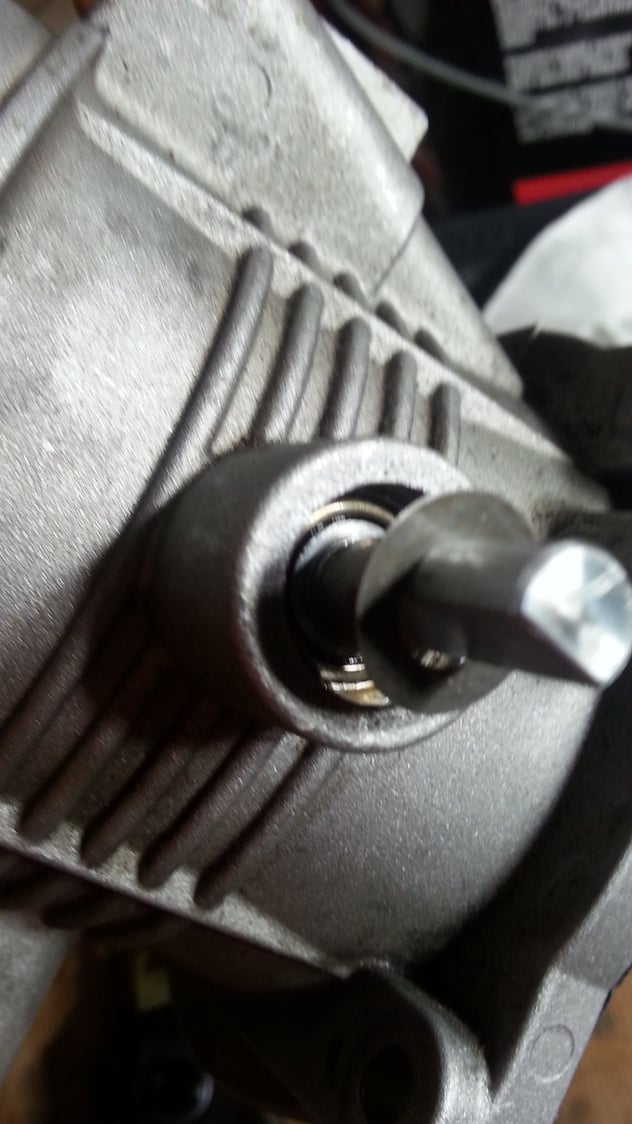
2. The beast within. FYI on the S3 I could not figure out how to get the TB through the gap here...so I wound up sliding it out the back through the gap made by removal of the MAF.<br/><br/>If you don't remove the ICV hose from ICV you will need to squeeze past it but no harm done there.
3. The beast out of the car...one screw removed from the butterfly. These are staked so use a good screwdriver and put pressure down as you unscrew so you don't strip out those heads. They take a little effort but mine came out without loads and loads of effort.
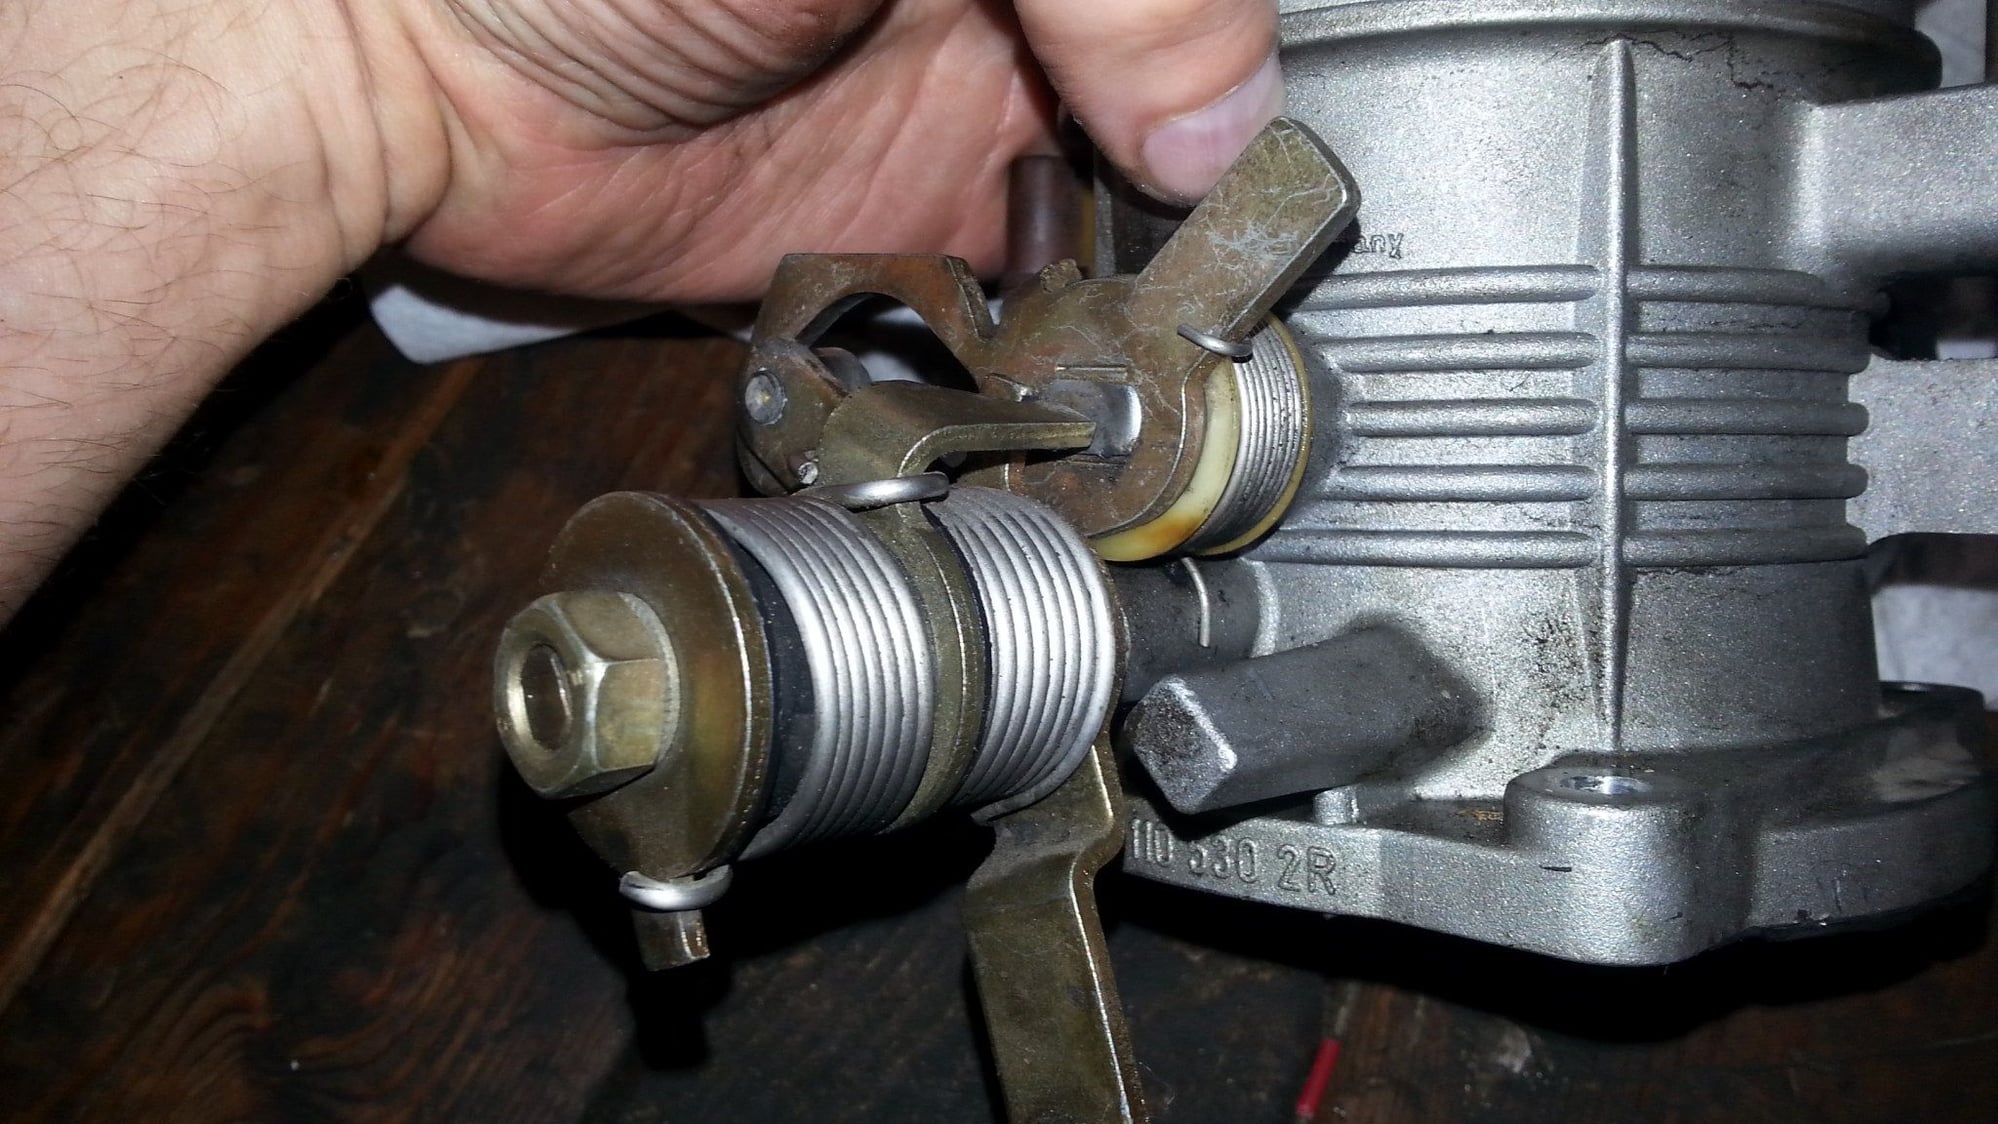
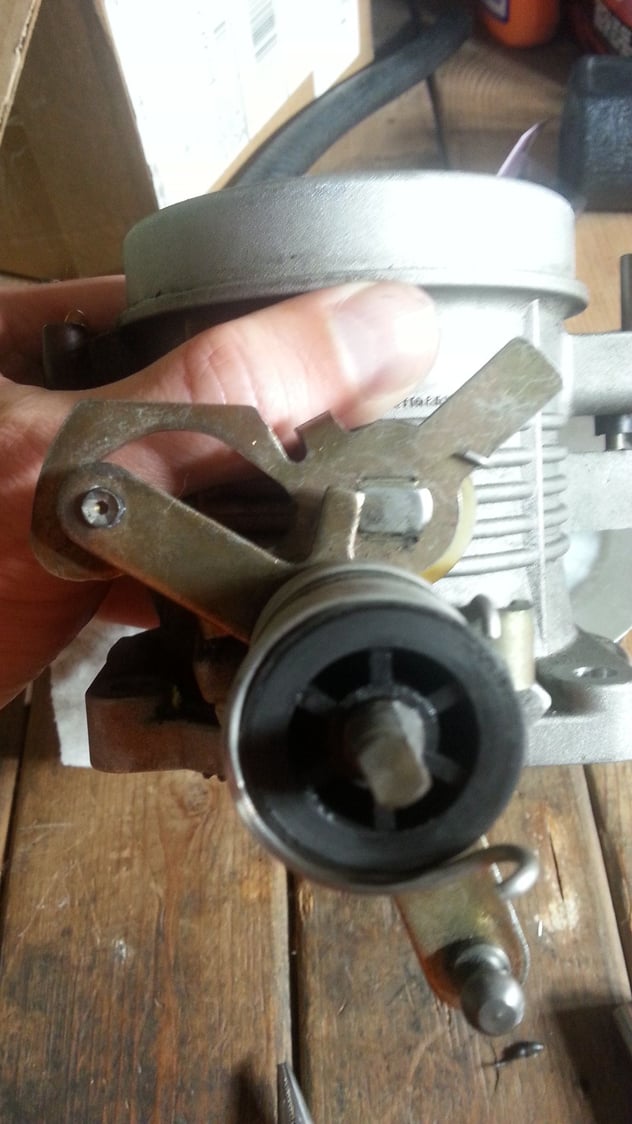
4. Lots of pictures taken of this part of the beast...the springs, their orientation and placement...there are actually 2 springs that appear identical but act against each other...<br/><br/>BECAUSE GERMANY, THATS WHY.
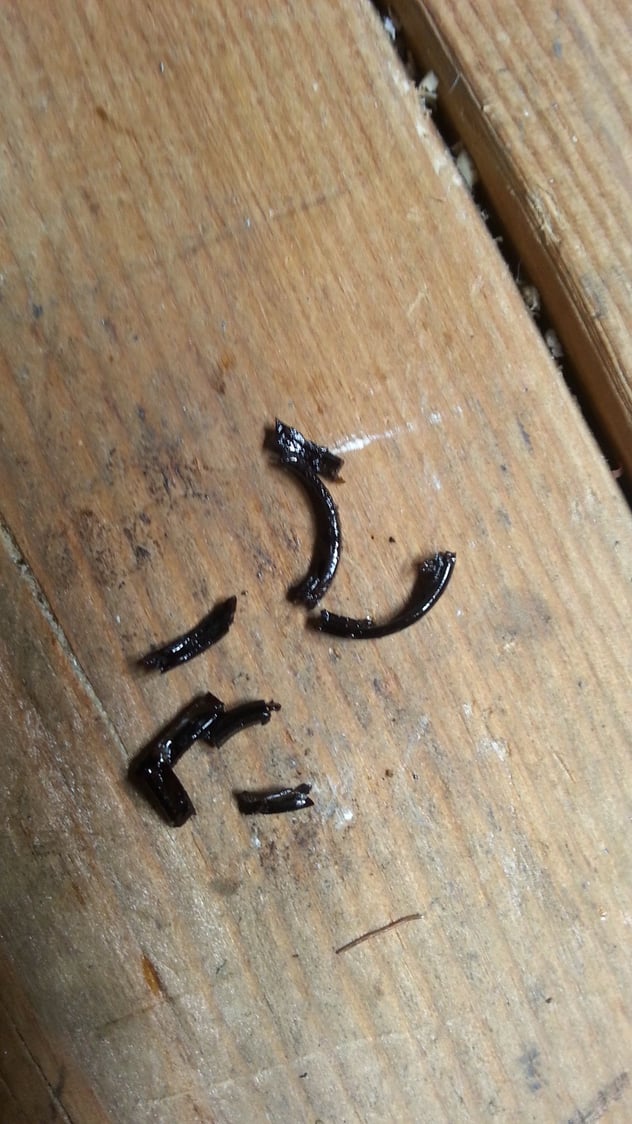
5. Ewww gross..some kind soul decided to goop up the bottom of mine with Mr. Crapsket....more fun work for me.
Here's a deer outside my back yard fence...in the middle of old Overland Park Kansas...why? 'CAUSE 'MERICA, THATS WHY.
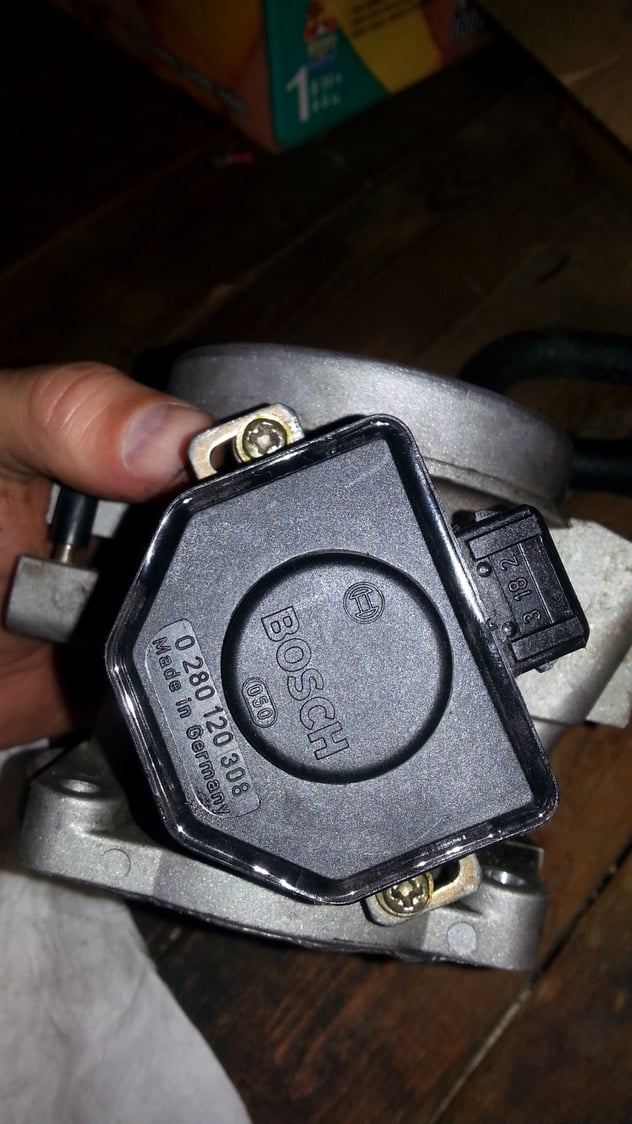
6. My TPS, noting orientation. It doesn't look too old cause it isn't..but we have a new one and new short TPS wiring harness courtesy of Mr. Tyson in TX...the old wiring harness literally disintegrated all over the place as it was unplugged from the car.
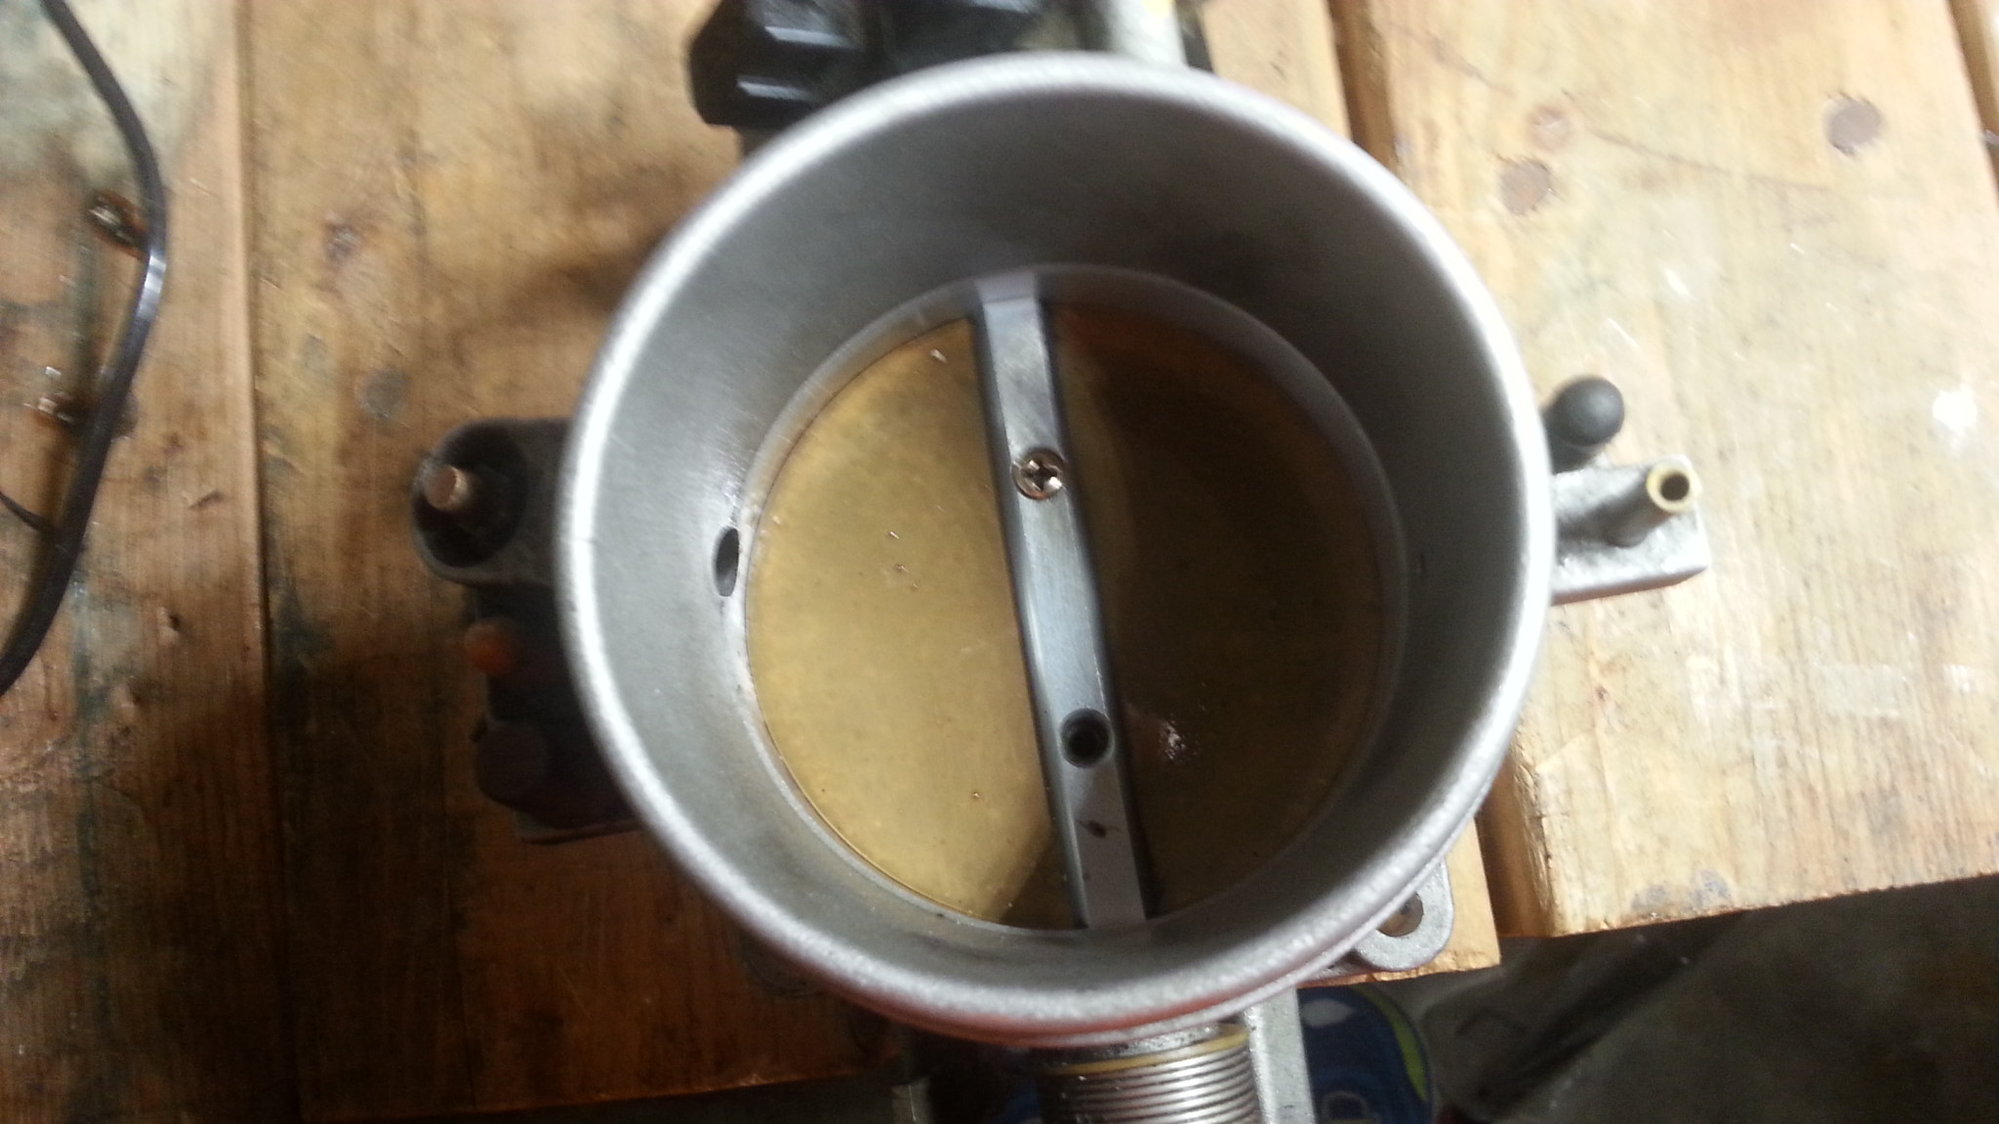
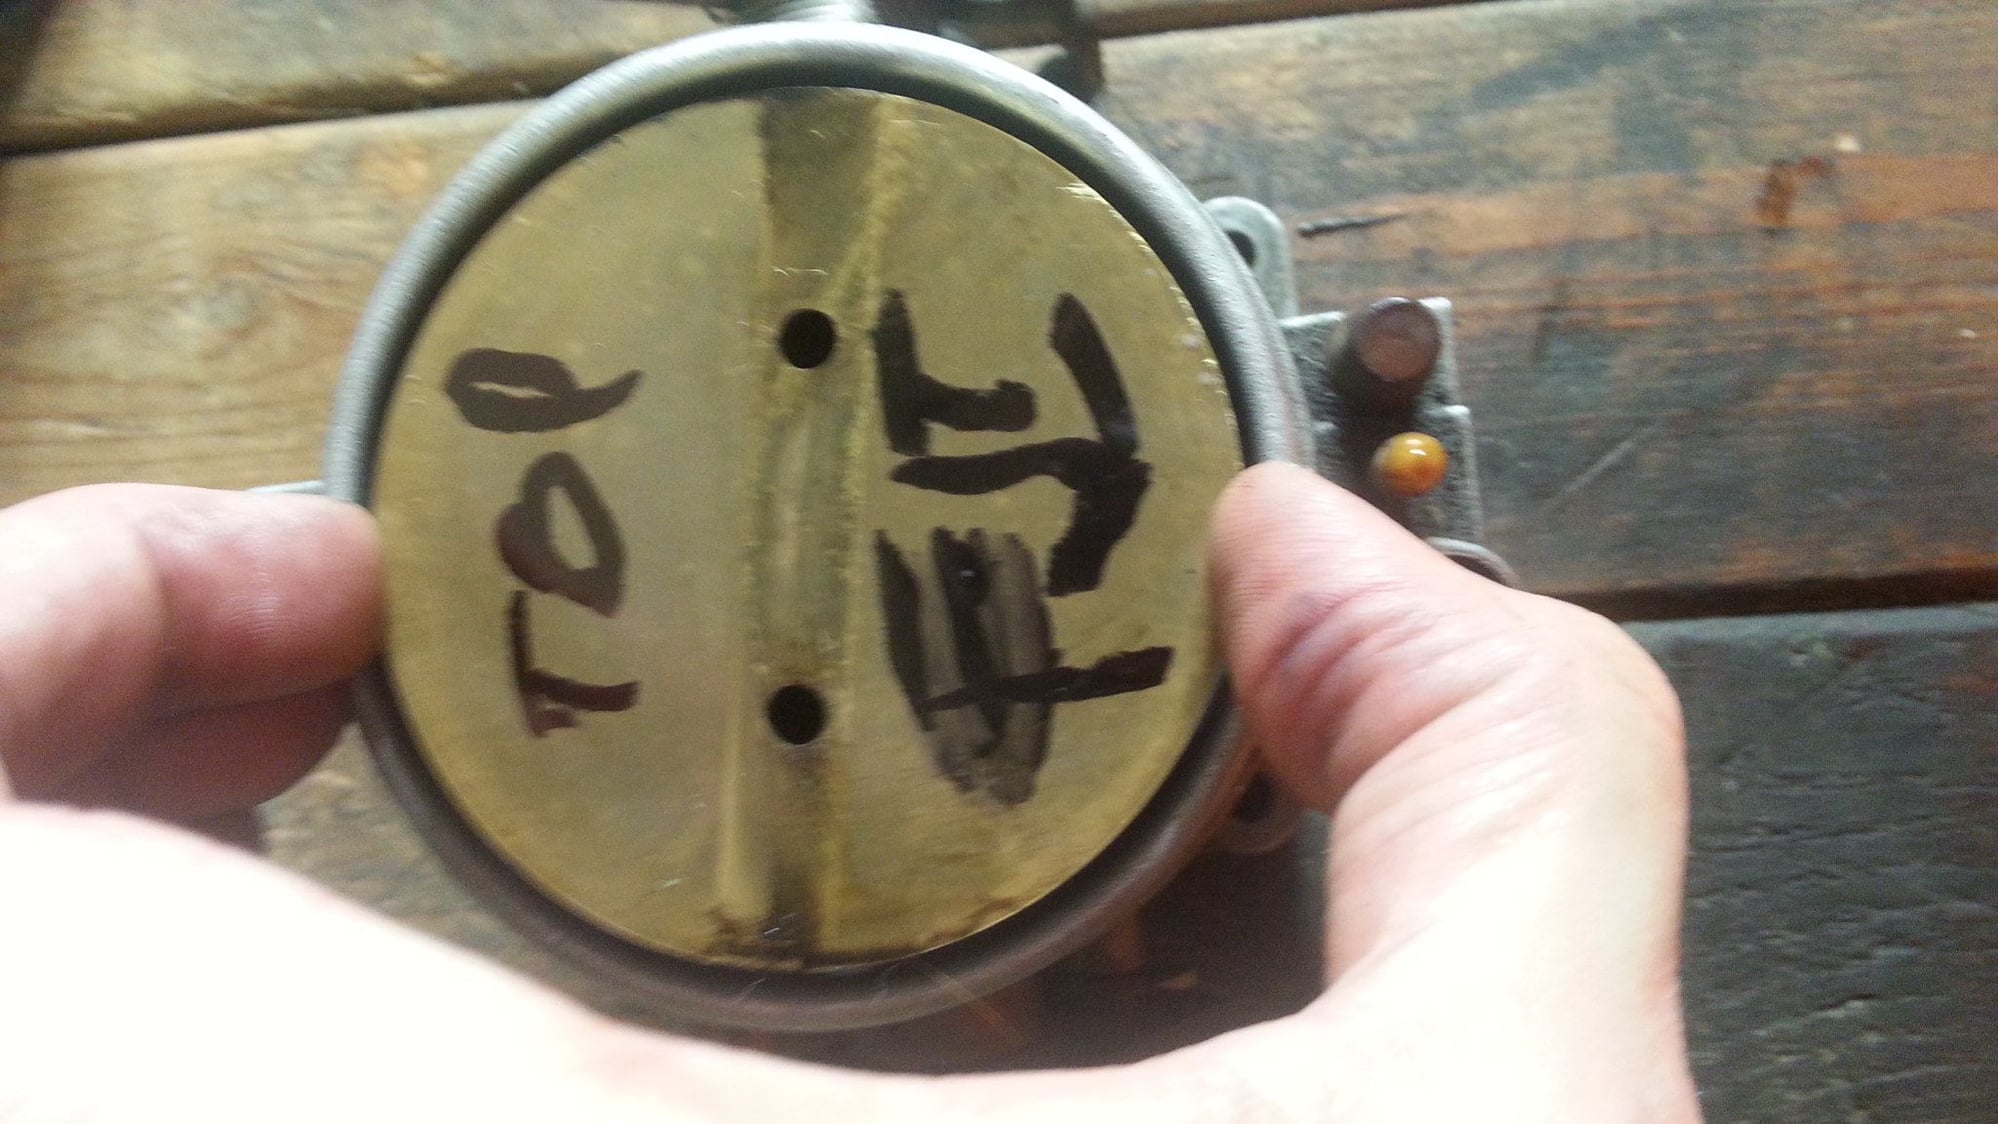
7. I labeled the top/front of the butterfly valve to ensure exact same orientation upon re-installation...
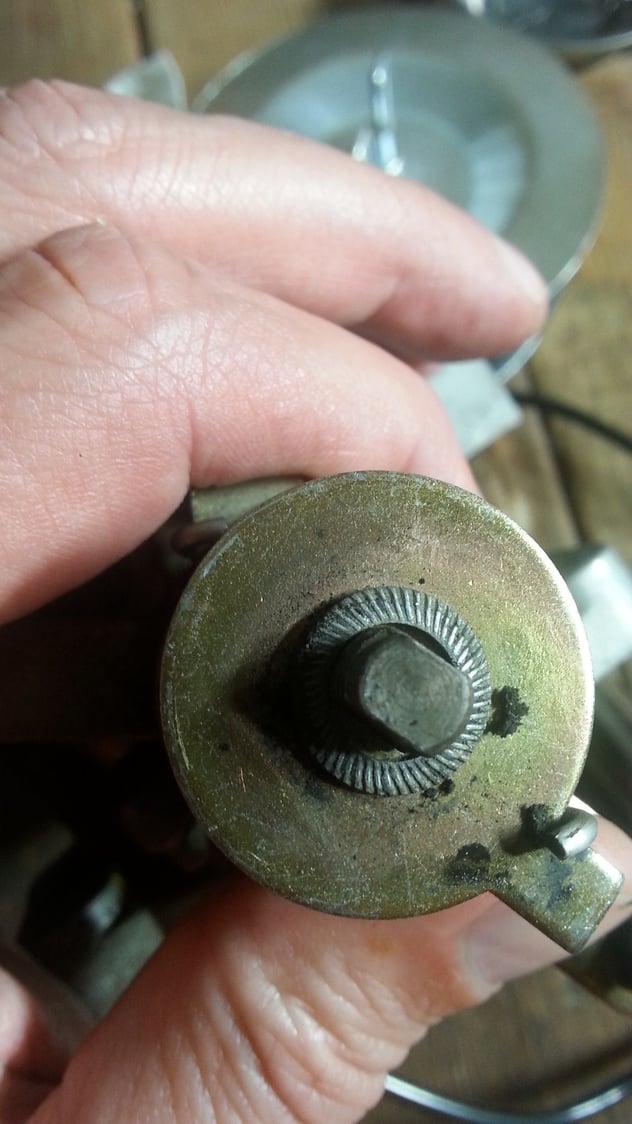
8. Outer nut removed...there's a washer..no other one like it so remember where it goes.
9 Washer removed and outer spring untensioned
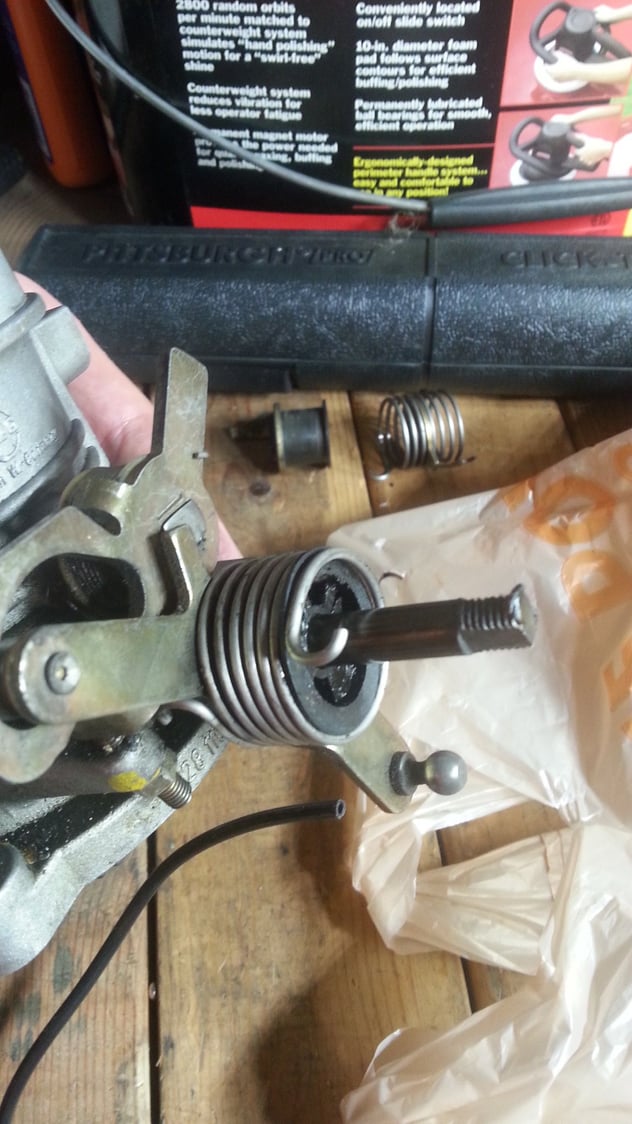
10 Inner large spring
11. Better view of inner large spring.
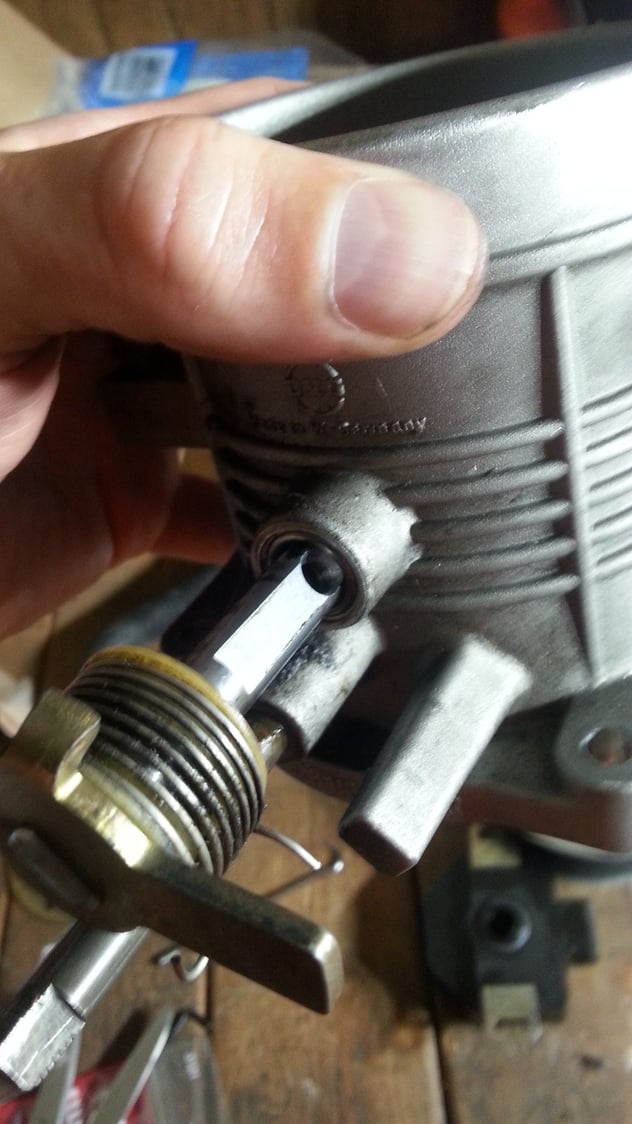
12. Other side..TPS removed...that circlip is a major beeotch to remove...I wound up bending it out slightly..it bends back with no issue..it's pretty thick.
13. A washer behind the circlip...don't forget to put that baby back BEFORE circlip goes on!
14. Come to daddy.
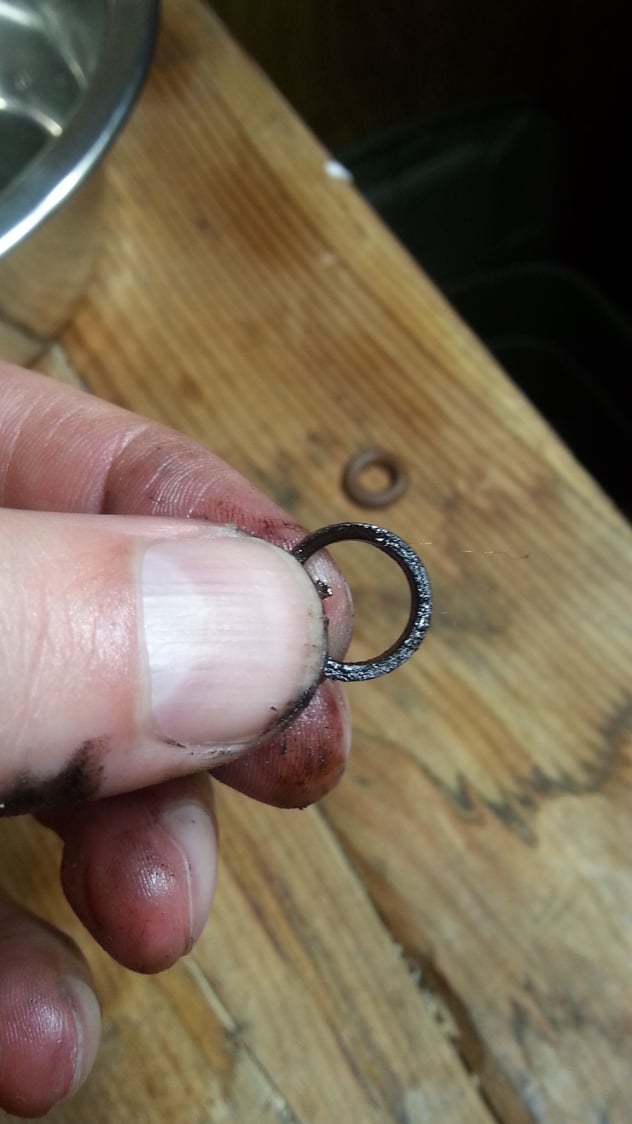
15. The seal on the TPS side...eh.
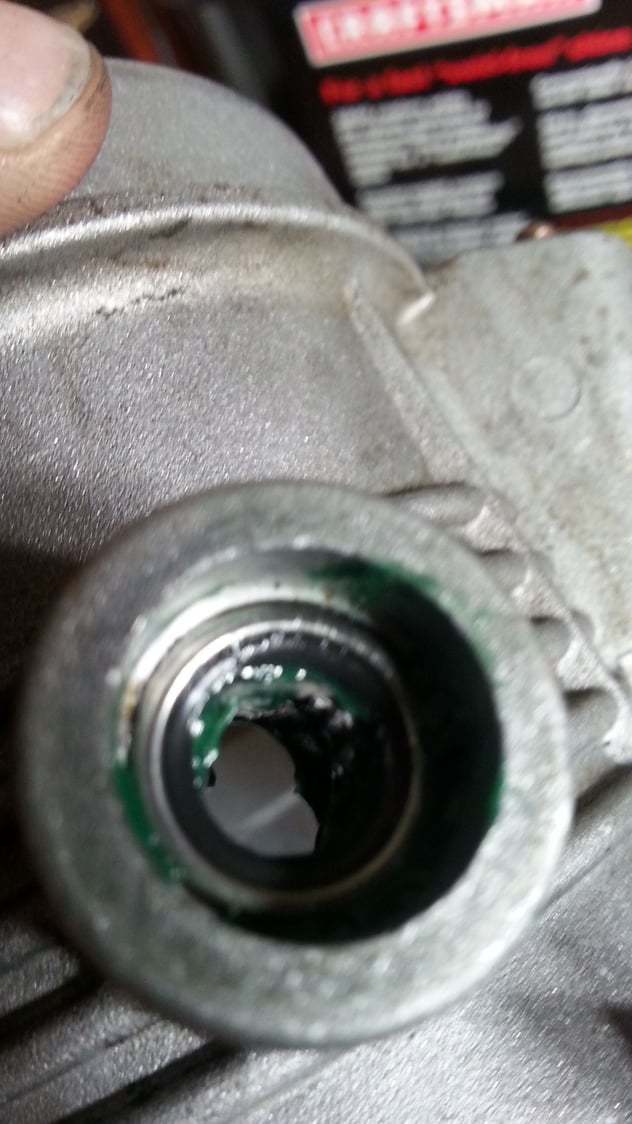
16. The seal on the other side..where I had smoke coming from...oh...cause vacuum leak, that's why.
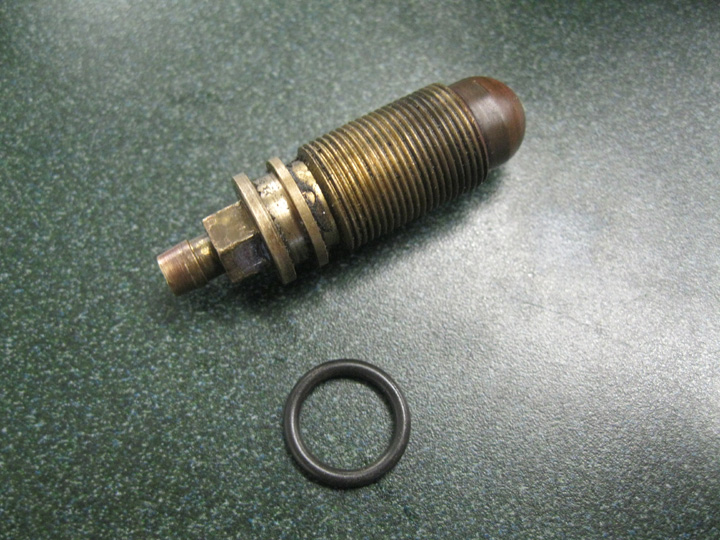
17. Went with this stuff...nice and thick. cut down a popscicle stick (thanks for idea Mike F, had some yummy Magnum ice cream that day) and packed in those needle bearings real nice. <br/><br/>NOTE> Needle bearings don't come out..they sit there..they are in fine shape and don't need to be replaced unless someone packed them with sand before...I was lucky..no one had done that to mine.
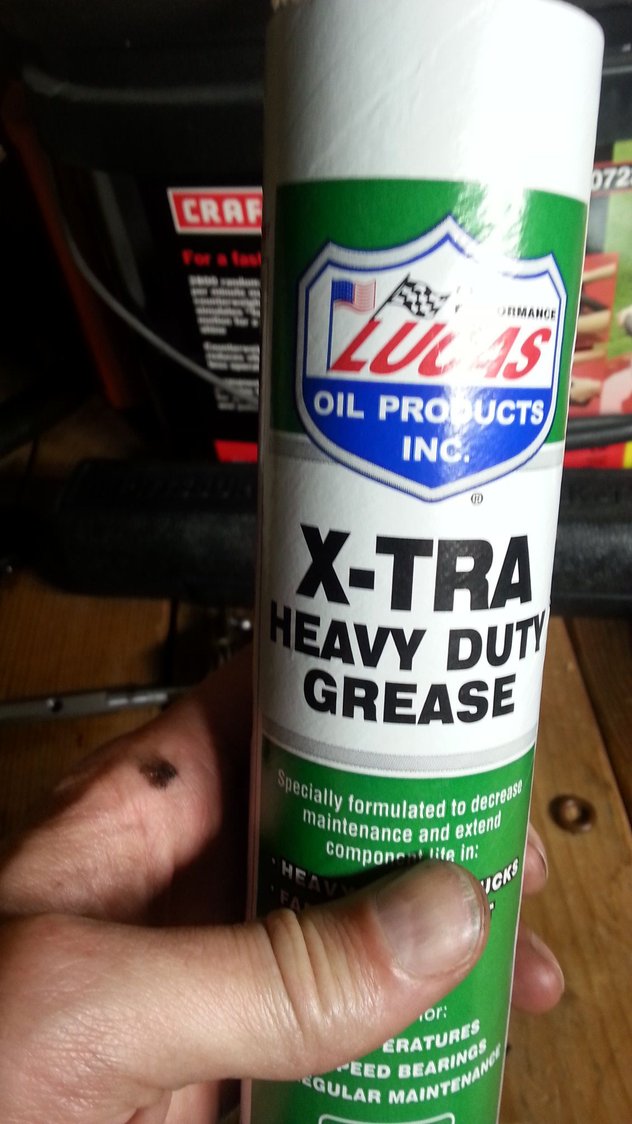
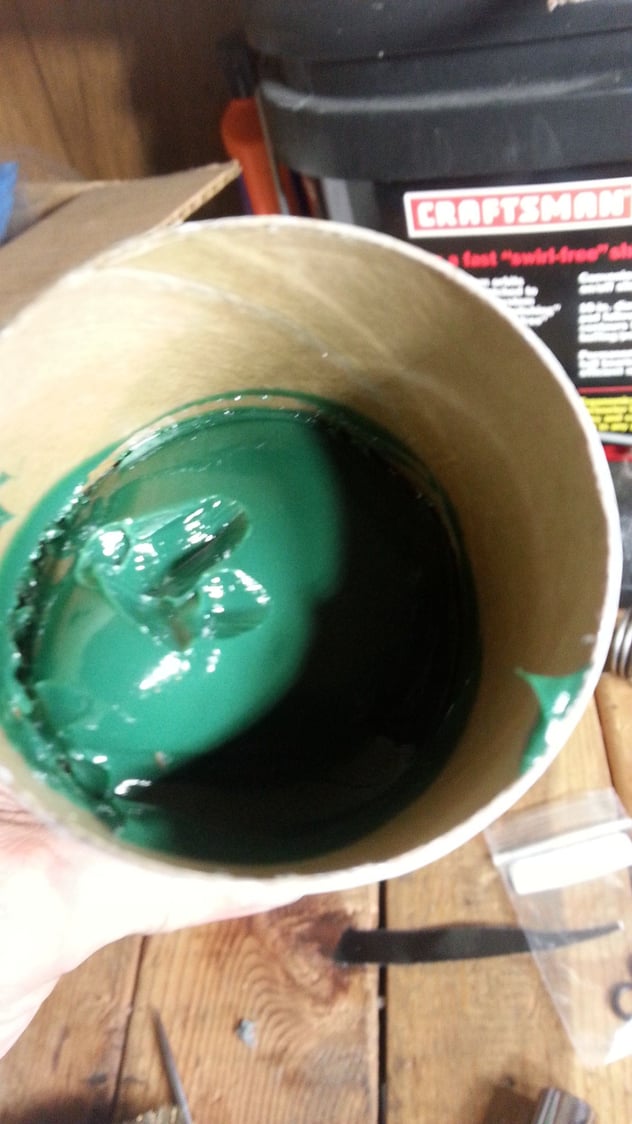
18. Cause Heavy Duty Axle grease, that's why
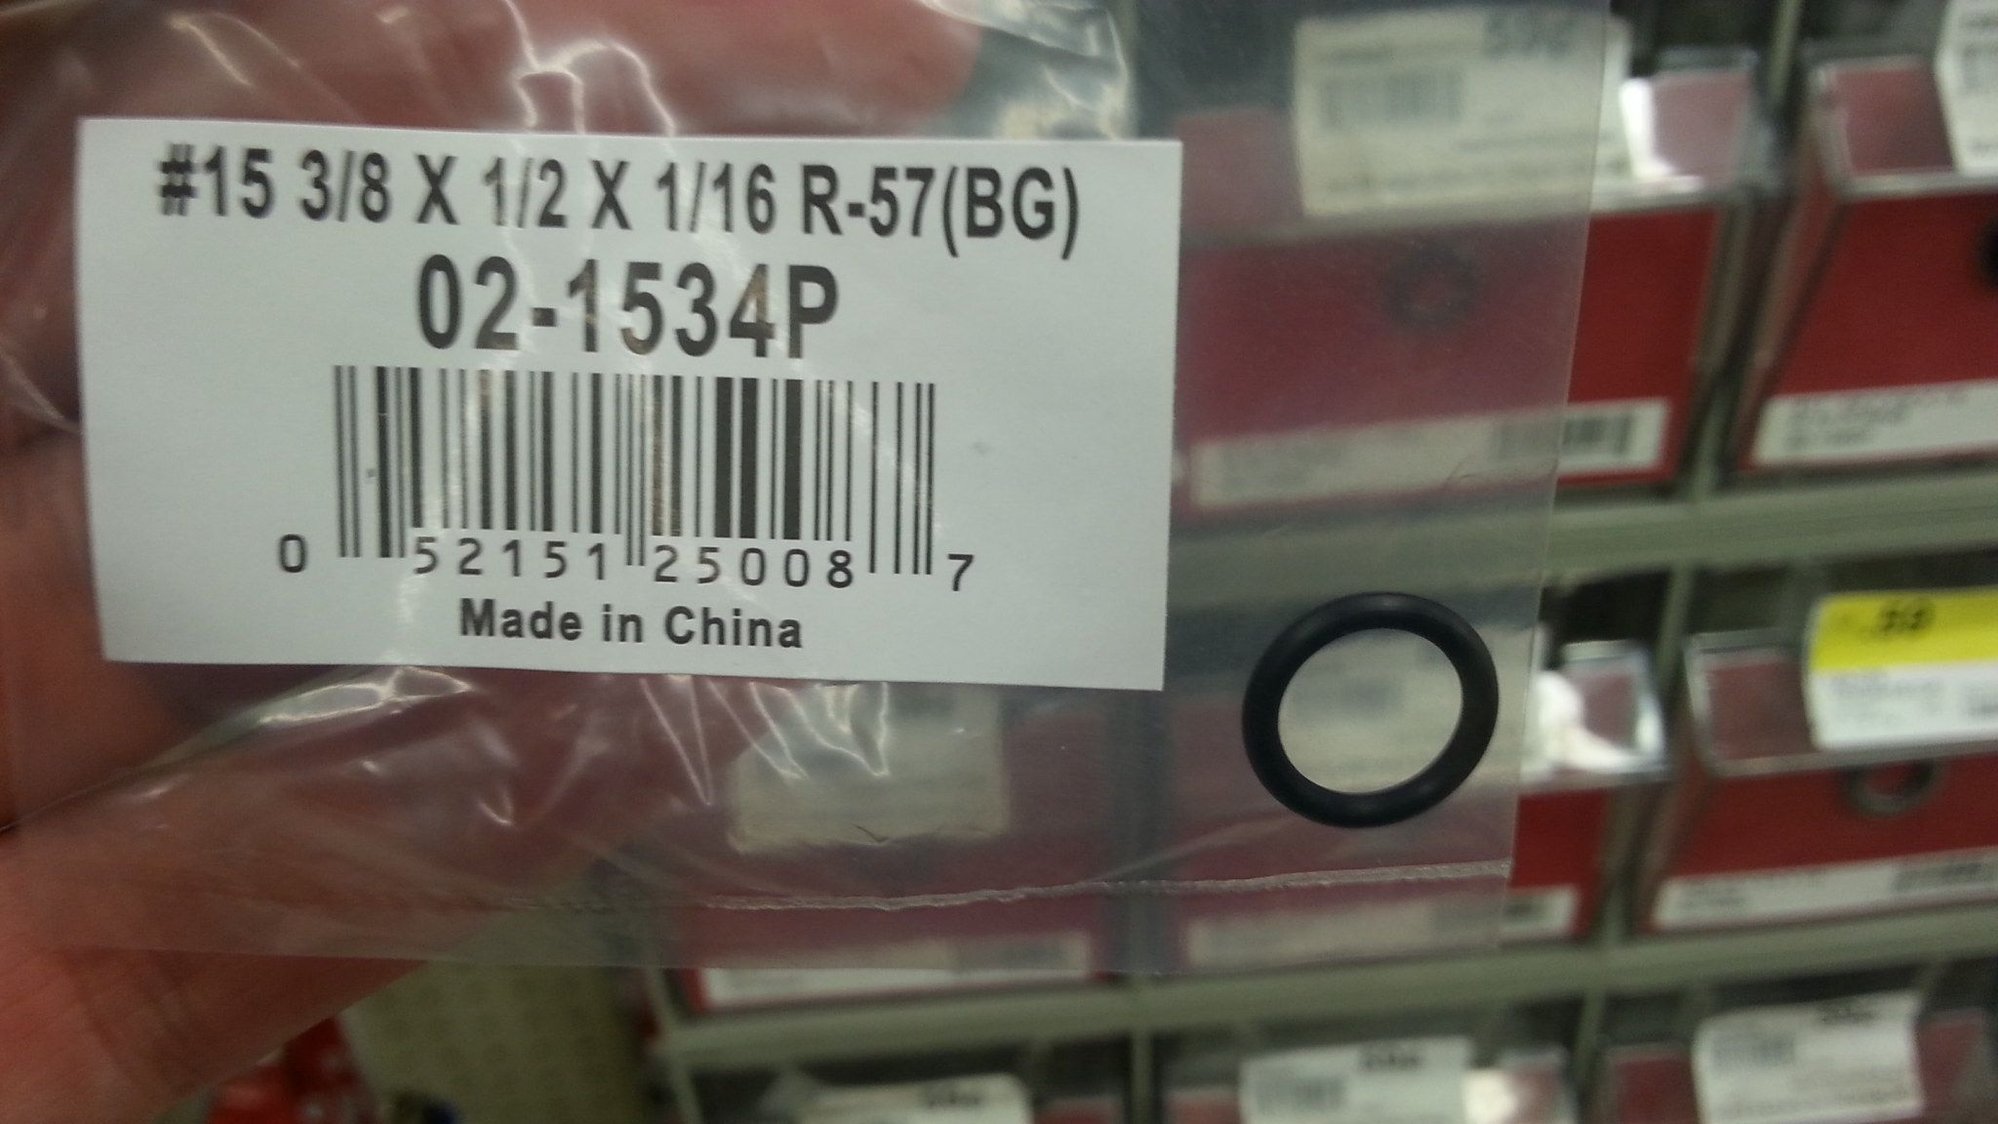
19. This is what I went with for O-rings...I got them from Nuts and Bolts True Value. I got some of the Cam Cover Bolt O-Rings but kept slicing them with the butterfly valve shaft...went through 3 of them and gave up and had to downsize..these have a nice amount of grip...you can tell they are sealing.
20. New seals and packed with bearing grease.
21. Idle screw...this comes all the way out...I removed it...used brake cleaner and then oiled the little O-ring on the top of the screw where socket goes on. ...sorry I forgot to take a pic ...bad Noobie. Nothing tricky here whatsoever..simply unscrews and screws right back in...you'll be glad you cleaned that when you see what comes out...
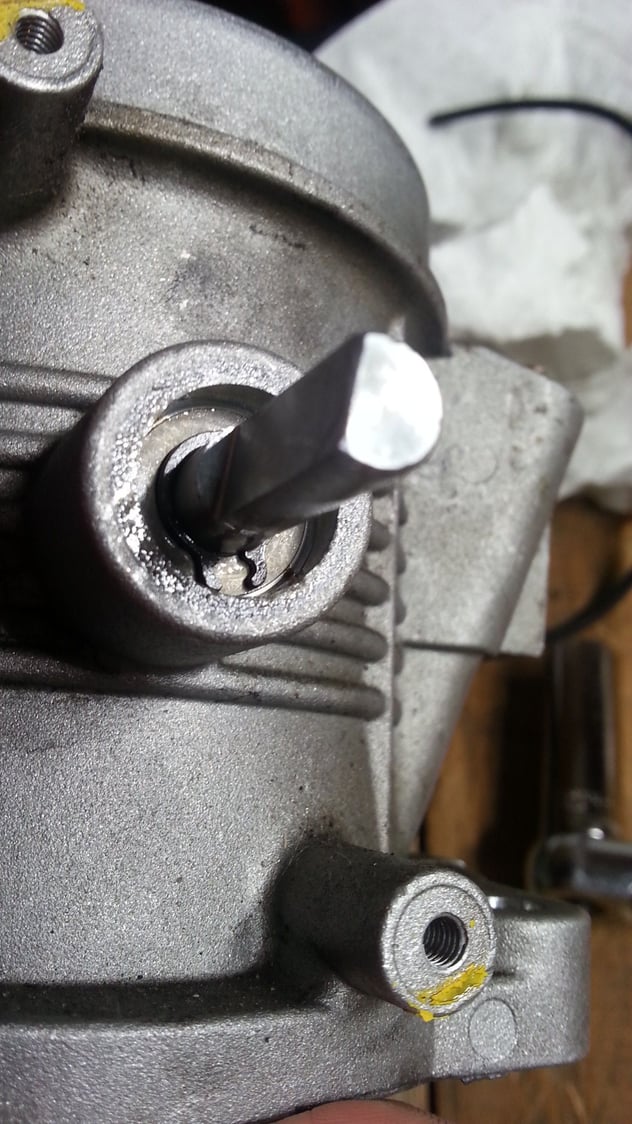
22. Bottom of TB and inner TB shaft all clean and shiny. Used brake clean and to clean the Mr. Crapsket off the bottom surface shown I used wire brush set from our friendly Napa store.
Roger has the O-ring for the bottom of the TB.
Another NOTE: The disconnect of Throttle linkage from TB was very easy...it's a little oily down there so it snaps off and back on with little issue...I removed it with the TB bolted down but was able to easily snap it back on before I bolted it down.
Hope this helps..please ask me any questions...sorry if this is a little sketchy..I made some assumptions that you could get yourself to the TB before I started pics..plus there's lots of threads of disassembling S3 intakes laying around here somewhere
Like I said in earlier post..def. worth doing...car runs smoother, coast down and low-rpm cruising are definitely improved..now if we can get my LH working right I'll have a real car
The original seal in the bearings is a small lip seal, not an o-ring.
On my S4 I just pulled the bearing out and replaced it with new, they're reasonably cheap and come out easily enough with a blind bearing puller and slide hammer.
Just heat the throttle body up in an oven first to expand the surrounding material - makes getting the bearing out much easier.
Great addition and pics, thanks for sharing. Yeah that O-ring thing was a B!tch. There wasn't enough of mine to determine what kind of seal it was and I had the cam cover o-rings on hand. Definitely not the right part I know. I think someone else posted some dimensions that worked well for him in this thread.
Glad it went back together and works well! Nice job.
This is terrific, thanks! Nice to see confirmation that the TB comes out without disturbing the runners. Looks like I can couple this up with ISV R&R, which will be a frustrating re-do.
Still hoping someone posts optimal replacement seal, but looks like the o-ring should provide some miles of service.
Sorry to dredge up an old thread, but it didn't seem that this question got answered. I'm going through my throttle body now, and I found that 10mm ID x 2mm thickness o-rings fit well. I was surprised to find them at a West lake Hardware.
This is terrific, thanks! Nice to see confirmation that the TB comes out without disturbing the runners. Looks like I can couple this up with ISV R&R, which will be a frustrating re-do.
Still hoping someone posts optimal replacement seal, but looks like the o-ring should provide some miles of service.
If you are doing an ICV at the same time it will be easier to remove the TB. Also, I used red flange sealer on the ICV cause I had air leaks there and because I couldn't figure out how to replace the little elbow going into the air guide without taking it all the way out of the car (cause removing intake runners was on my list of stuff not to screw with if at all possible) I cheated and used the red stuff...it worked like a charm. I have a new hose from ICV to Throttle body "T".
Again, the bearings in mine were in perfect shape and I didn't see reason to remove; I really don't think you need to go through the trouble to replace bearings.. O-rings slip right in with the specs I shared; ...no they aren't made of Vitron or anything fancy..but I've done this job once and it isn't hard at all..there are no "tricks" to anything really.
The old stuff lasted 30 years. If I get half that with what I put in I'll be plenty satisfied and by then I'm sure it'll be time to freshen something else up....assuming ICV's can even be bought at any price !
Roger? Ever think about getting into the ICV rebuild business ....
I got my O-rings at a True Value Nuts and Bolts....made in china..but I know how to tame the beast now..and blah blah blah GI Joe blah blah...
hmm red stuff...is that what you used to keep the lower o-ring to seal the throttle body in-place, while maneuvering the throttle body back onto the air guide? Getting the small vacuum lines/cap back on must've been a little un-fun.
Reckon those throttle springs could be replaced for lighter ones? To make the pedal lighter?
The pedal is fairly light in the 928 when its all working right. If yours is stiff, you probably need new throttle cables, as they wear through the nylon liner and you get steel on steel inside the cable.
The one from the pedal is the one which adds most friction in RHD cars (not sure on LHD) - reasonably easy to replace.
The pedal on my 86.5 is so stiff my foot gets tired on long trips (cruise control doesn't work).
There is a thread somewhere by a respected rennlister to add a spring to lighten pedal.
My throttle plate shaft seals leak too. Plan to check it out today.
That's it Depami ...there is a ton of gunk around those little fellows isn't there...
I did not use any sealer around the bottom of the Throttle Body..I was instructed not to so I didn't. I only used it to help seal the ICV to the hose that elbows right into the air guide.
I've done a subsequent smoke test and found indeed it needs no additional sealant other than the correct O-ring..Roger has them.
Just replaced these o rings on an '85 928s
used the 10mm x2mm thick and got a bag of 100 from McMaster Carr for $9.37.. They are Buna-N with a 15 year shelf life, durometer 70A. I used two, so if anyone needs a few let me know, I'l send a few. Always cheaper by the 100
Mike, you just taught me something too, and I thank you. Allow me to return the favor and point out that if those orings needed replacing, there is one in between the throttle body mount that will need to be replaced also, most likely.
I just replaced the oring between my throttle body mount....and it was cracked just as you described your throttle body orings, so I guess I'm another one who needs to get back in there and look at those orings too.
Thanks for the good work, Mike!!
Hi Mike,
I have a question. I took out my Throttle body and disassembled as you had. I don't have "O" rings on the shaft. The only o ring I have is the one on the Throttle Position Sensor. Should there be rings on a 1986 1/2 928S? Thanks I appreciate it. I have been battling a High idle for quite some time..


 06-12-2015, 01:51 PM


 ...bad Noobie. Nothing tricky here whatsoever..simply unscrews and screws right back in...you'll be glad you cleaned that when you see what comes out...