When you click on links to various merchants on this site and make a purchase, this can result in this site earning a commission. Affiliate programs and affiliations include, but are not limited to, the eBay Partner Network.
I was coincidentally just in there replacing wiring harnesses. My original harnesses had separate spade connectors (no connector block) but the new harnesses have the blocks.
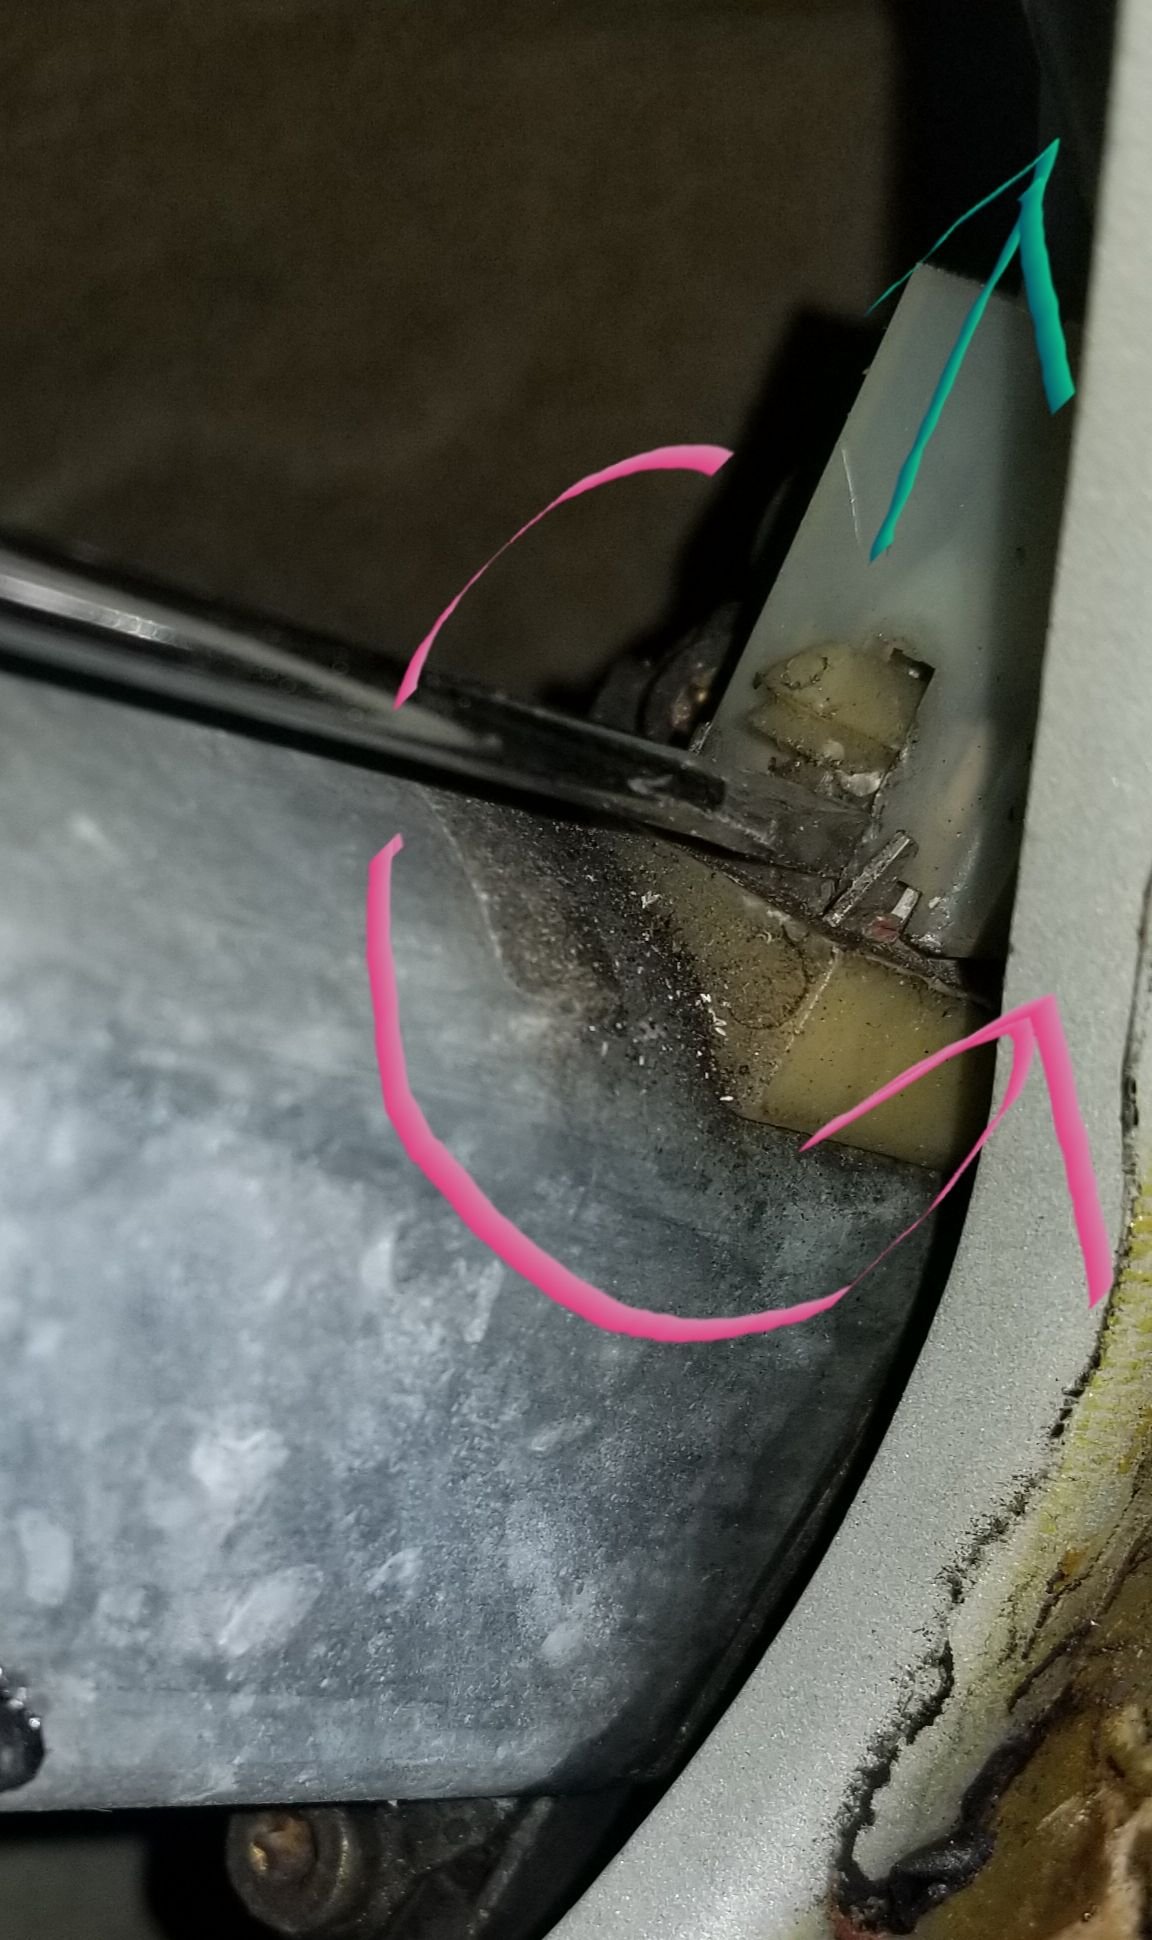
The connector block is different than any other I�ve seen on the car thus far... there�s a barbed plane on the motor side that fits into a slot in the connector block. This ensures polarity is correct. You can see it in the photo.
Even with a brand new harness, this connector was difficult to unplug. The barbs do their job well.
Anyway, I agree, a squirt of deoxit and then... just reach in there, grab the connector, and wiggle/walk it off while pulling straight out. It�ll come off with enough wiggling.
thnx guys. I have it soaking in some stuff now. Will look at it tomorrow.
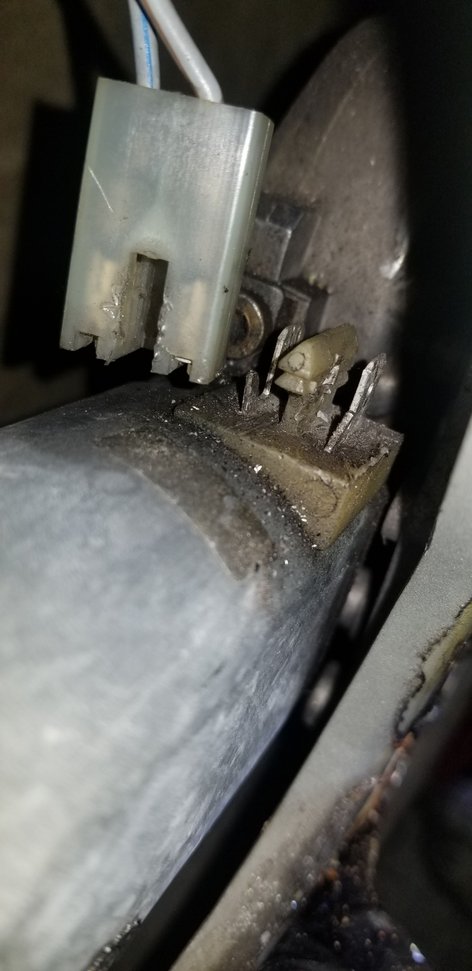
The key is small flat blade screwdriver. Push it in where shown.... Twist it.. And pull the connector. The twisting pops the connector off the "fir tree" allowing it to move
Just done mine, if it helps future readers, what I thought was a bad motor turned out to be full of debris around the brushes, so one brush was barely able to touch the commutator, so a good squirt of Deoxit lube to flush it out and all working perfectly - �150 saved, for a while at least. A dob of grease in the gearbox bit for good measure as well.
Just done mine, if it helps future readers, what I thought was a bad motor turned out to be full of debris around the brushes, so one brush was barely able to touch the commutator, so a good squirt of Deoxit lube to flush it out and all working perfectly - �150 saved, for a while at least. A dob of grease in the gearbox bit for good measure as well.
I posted this a long time ago but can't find that original post. Here's a very inexpensive fix (19.95, up 5 bucks from before but still cheap) for window motor brush problems: https://www.ebay.com/sch/i.html?_fro...ushes&_sacat=0
I posted this a long time ago but can't find that original post. Here's a very inexpensive fix (19.95, up 5 bucks from before but still cheap) for window motor brush problems: https://www.ebay.com/sch/i.html?_fro...ushes&_sacat=0
I've done it a couple of times, very straightforward and works like a champ. Just remove the old, install the new. It's worth disassembling the motor and taking a look that the shaft to be sure it isn't worn out,, but otherwise, simple.
I've done it a couple of times, very straightforward and works like a champ. Just remove the old, install the new. It's worth disassembling the motor and taking a look that the shaft to be sure it isn't worn out,, but otherwise, simple.
Going to tackle this very useful thread but there are 3 things mentioned I don't quite get (apologies for ignorance - perhaps someone has pics that might help?):
- how do I use grips to hold the window up, I'm not entirely sure what the 'metal guide bar' is? Perhaps it'll be obvious once I'm in there.
- there seems to be a neat way to do this without removing the regulator by leaving 'one bolt in'... which bolt is that please? Or perhaps conversely which are the '2 x allen head bolts' which hold only the motor?
- 'use a long philips to line up the front ball pivot in the lift mechanism' - could someone explain this tip a bit more for me please?
Going to tackle this very useful thread but there are 3 things mentioned I don't quite get (apologies for ignorance - perhaps someon has pics that might help?):
- how do I use grips to hold the window up, I'm not entirely sure what the 'metal guide bar' is? Perhaps it'll be obvious once I'm in there.
- there seems to be a neat way to do this without removing the regulator by leaving 'one bolt in'... which bolt is that please? Or perhaps conversely which are the '2 x allen head bolts' which hold only the motor?
- 'use a long philips to line up the front ball pivot in the lift mechanism' - could someone explain this tip a bit more for me please?
I just use a piece of wood,foam or a rolled up towel on either end. Just something to keep the window from crashing down
Last edited by gbgastowers; 09-06-2021 at 03:58 PM.
Get some blue tape and wrap it over the top of the door and stick it to both sides of the window use 3 pieces.
NOTE after removing the door panel,
mark the location of where the regulator arm bolts go.
remove the wires,
then the 4 bolts,
the assembly will drop down,
carefully slide the lift roller free from the window track,
slide the unit back and out
Fit the assembly into a vice pointing up .
mark the location of the motor mounting bolts to the regulator and remove them.
Once the motor assembly is clear you can then see if the lift arm is easy to move,
lubricate the pivot with PB first the use long term oil lube.
NOTE also look for the round nylon friction button thats pressed into the motor case, pull this out and clean the wave washer thats under it,
these usually rust and then cause the window arm to bind, sand it then add some DC111 to the washer put it back in.
NOTE Inspect the lift arm stops these usually crumble you can make new stops with a used 4 rib V belt cut two pieces and super glue them together,
They also will need to be properly trimmed to fit the small nib on the anchor plate
NOTE make sure to mark the location of the brush block to the assembly as it can be put in two ways.
NOTE the new brush blocks dont always fit perfectly they may need some fine filing.
NOTE look into the gearcase if its filled with rusty grease it might be prudent to get another motor assembly,
as a rust gear case will usually indicate a noisy window motor.

 03-20-2020, 10:44 PM