

GTS reflector strip loose - FIX

 12-07-2015, 04:22 PM
#47
Rennlist Member
Fred,
Check out the pics above.
So, you simply use the middle dot of the reflector as a reference point. Scribe the outline of the head of the bolt as in the pic. There is a small space between the backing (grey) and the actual reflector red. Push the rectangular head of the bolt into that area and turn it 90 degrees so now it's "horizontal" or sideways. It will not pull out now as the rectangular head is bigger than the hole you are trying to pull it out of.
The bolt is now sticking straight out of the middle of the reflector.
Now to drill through bumper cover and body.
The very center of the bumper is about 13 1/16 from either side of the recess for your taillights. Mark w a sharpie.
Measure center up and down as well.
Take 1/4 inch drill (or convert to metric system on all these measurements)
Drill straight through cover and through body. A 1/4 hole is very small.
The slot you have the bolt in (in the reflector) allows a little left/right and up/down movement to help you maneuver through the bumper cover and body holes. Push until reflector is flat, put washer and nut (hand tight) on toilet bolt.
DONE.
One less hole in bumper/body/reflector.
Thanks for the clarification- I had some of those bolts not long ago and threw them because "there was no possible use for them!". That's what happens when you get grief from the "trouble and strife" for being a squirrel.
I am currently going through a deferred maintenance and face lift project so this is definitely in my to do list- will post some before after screw up photos.
I had the GTS bumper line fitted to my late S4 and nothing but nothing tape wise could get that thing to stay straight. Then when I acquired the current 928 we fitted a new trim piece- within a couple of years it was bowed. I reckon our hot climate just exacerbates this annoyance even more.
Regards
Fred
12-07-2015, 07:54 PM
#48
Rennlist Member
The only way it's possible to get rid of the curve is to separate the two sections and glue them together straight, which I tried, but fractured the lens section in doing so. The brand new one I got from Roger had too much curve, just like all the other new ones.
If they made the strip straight instead of trying to attain a curve, it'd bend to the minimal curve and stay in place just fine, as it would be held at the ends.
12-08-2015, 02:44 PM
#49
Rennlist Member
Well I decided to play along at home today and as I removed the trim I could see that only one of the three velcro strips was doing anything. Popped along to the hardware section and purchased a few bits a pieces including various double sides tapes and some additional velcro [that was no use].
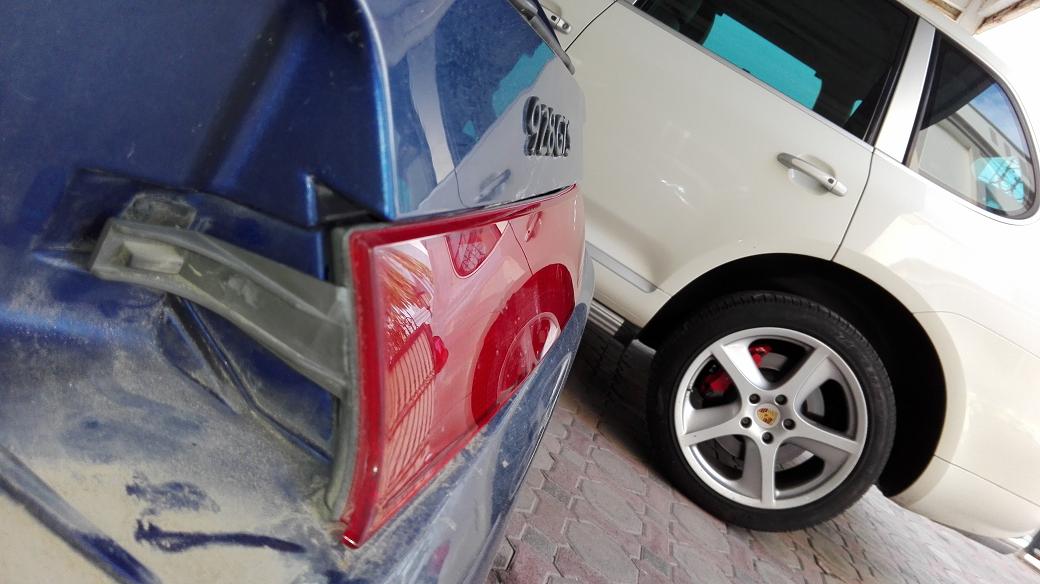
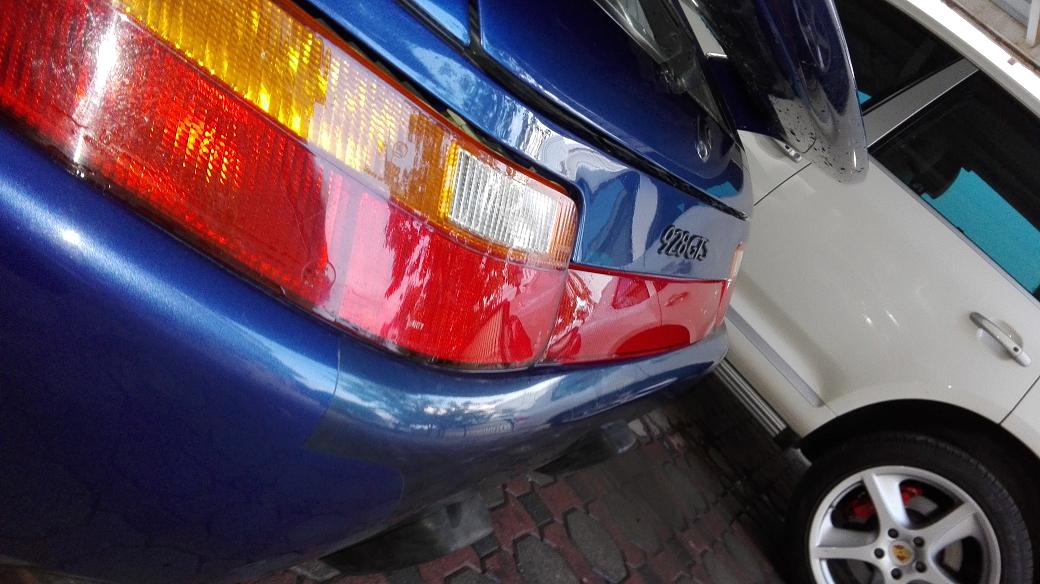
Bottom line using tape I felt I managed to get some improvement but it is simply not good enough so I will have to demolish the "Can" and get some of those bolts shortly- definitely needs a mechanical solution - see pics below.
Whilst at it, I poured a glass of water onto the deck of the light fitting receptacle and watched where it ponded- drilled a couple of 5mm drain holes in the liner and when assembled, put the hose on the area. Sure it filled with water but within a minute the water was gone- just have to trust there are no secondary consequences but easy enough to fill or plug if there were.
Rgds
Fred
12-14-2015, 02:58 PM
#50
Rennlist Member
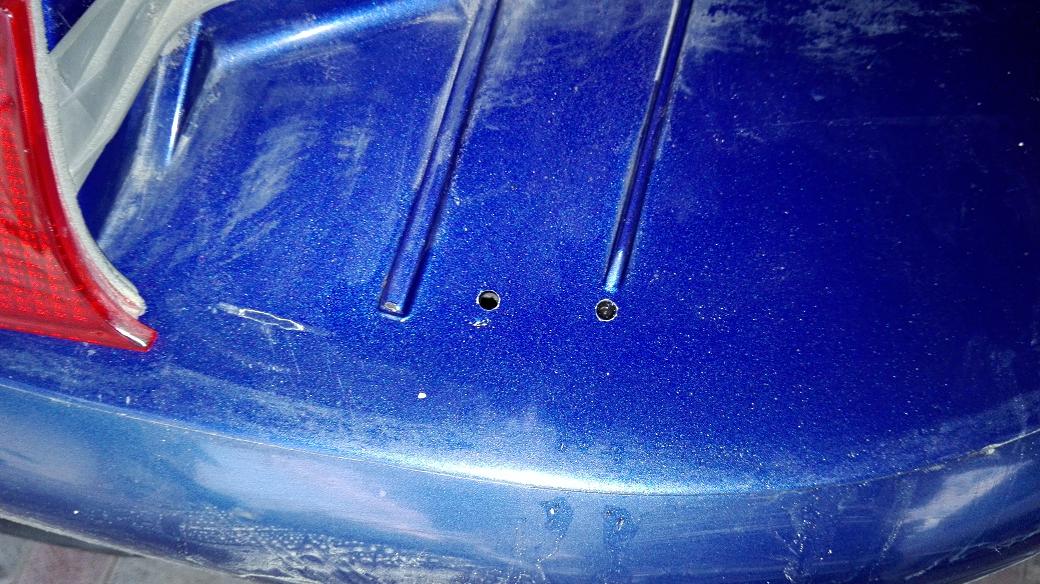
Got myself some toilet bolts about 75mm long x 8mm. Cut a slot in the cover from the top side to centre line using the Dremel and decided to see if I could cement it is place using a two pack epoxy metal filler. Took great care to ensure everything was square and then realised that the thing sits at about 45 degrees when placed in situ-- durrgh! Managed to break away the bolt and for some reason the heavens above smiled on me and the bolt seemed to seat quite nicely such that the bolt could now be installed horizontally.
So, drill out and drilled a pilot hole of 6mm and then progressively opened up the hole to 9mm to give a bit of leeway for alignment. Fitted some double sided sticky pads either side of the bolt and used some fine thread to hold the bolt at the required angle and fed it through the newly drilled hole. Had to use a light touch to engage the bolt with a nut and then pushed the assembly hard into the body and with alight touch threaded the nut on deeper. Then engaged a second nut and locked the outer one onto the inner one- bingo.
Now it sits very flat- still a small degree of curvature but much better than ever before.
Rgds
Fred
12-14-2015, 03:08 PM
#51
Addict
Rennlist Member
Rennlist Member
Got myself some toilet bolts about 75mm long x 8mm. Cut a slot in the cover from the top side to centre line using the Dremel and decided to see if I could cement it is place using a two pack epoxy metal filler. Took great care to ensure everything was square and then realised that the thing sits at about 45 degrees when placed in situ-- durrgh! Managed to break away the bolt and for some reason the heavens above smiled on me and the bolt seemed to seat quite nicely such that the bolt could now be installed horizontally.
So, drill out and drilled a pilot hole of 6mm and then progressively opened up the hole to 9mm to give a bit of leeway for alignment. Fitted some double sided sticky pads either side of the bolt and used some fine thread to hold the bolt at the required angle and fed it through the newly drilled hole. Had to use a light touch to engage the bolt with a nut and then pushed the assembly hard into the body and with alight touch threaded the nut on deeper. Then engaged a second nut and locked the outer one onto the inner one- bingo.
Now it sits very flat- still a small degree of curvature but much better than ever before.
Rgds
Fred
So, drill out and drilled a pilot hole of 6mm and then progressively opened up the hole to 9mm to give a bit of leeway for alignment. Fitted some double sided sticky pads either side of the bolt and used some fine thread to hold the bolt at the required angle and fed it through the newly drilled hole. Had to use a light touch to engage the bolt with a nut and then pushed the assembly hard into the body and with alight touch threaded the nut on deeper. Then engaged a second nut and locked the outer one onto the inner one- bingo.
Now it sits very flat- still a small degree of curvature but much better than ever before.
Rgds
Fred
👍🏼👍🏼