When you click on links to various merchants on this site and make a purchase, this can result in this site earning a commission. Affiliate programs and affiliations include, but are not limited to, the eBay Partner Network.
Well not gonna lie to ya...Tried the super duper 3M double sided stick anything to anything tape and guess what... Reflector came loose after a day.
Anyhoo, thought I'd at least try.
So, as I said in my previous post, I'd go from less to more invasive to fix this issue as it bugs the snot out of me seeing the reflector bowed on the back of the car.
Toilet bolts to the rescue!
I was really apprehensive about doing this, after folks were hyping it up..
"OH MY GOD, DON'T DRILL INTO THE BODY!!"
But in the end, It's NOT a big deal, The toilet bolts are 1/4 inch which is REALLY pretty small.
And I went one step further, I just put one in the middle. The bowing of MY reflector is enough to overcome double sided tape, but if you push on it to make it straight, it's not that much force. So I figured one toilet bolt in the middle is enough.
It took me maybe a 1/2 hour to do everyting, used only one toillet bolt and it was pretty easy. There is already a dot (or guide) on the back of the reflector to Zero in your bolt. Dremmel out your vertical rectangle, insert your toilet bolt and turn 90 degrees. 1/4 inch drill bit through bumper cover and through the back of the body. Again, this is really SMALL! WTF is the big deal?? NOT SURE??
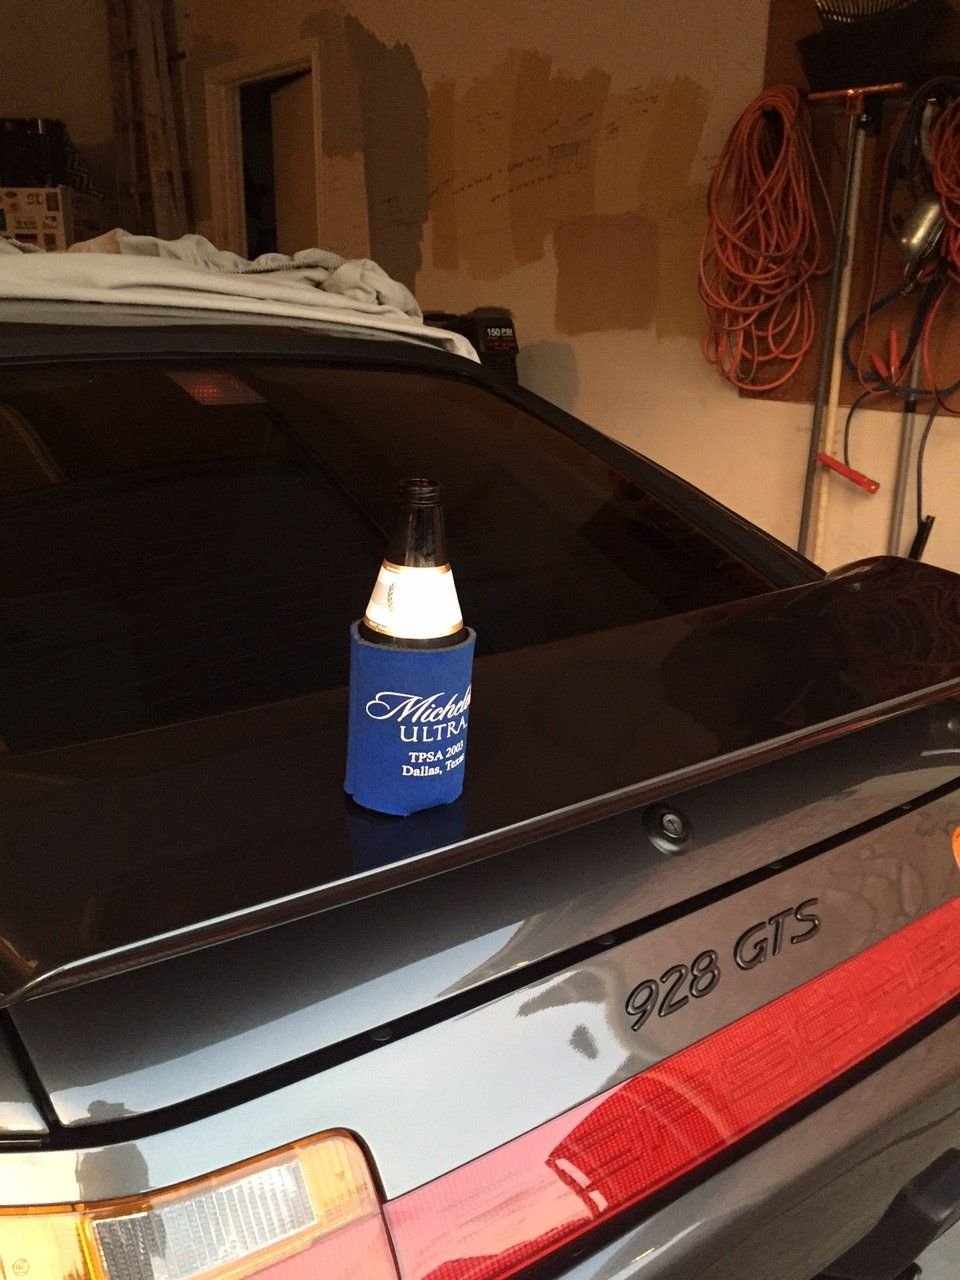
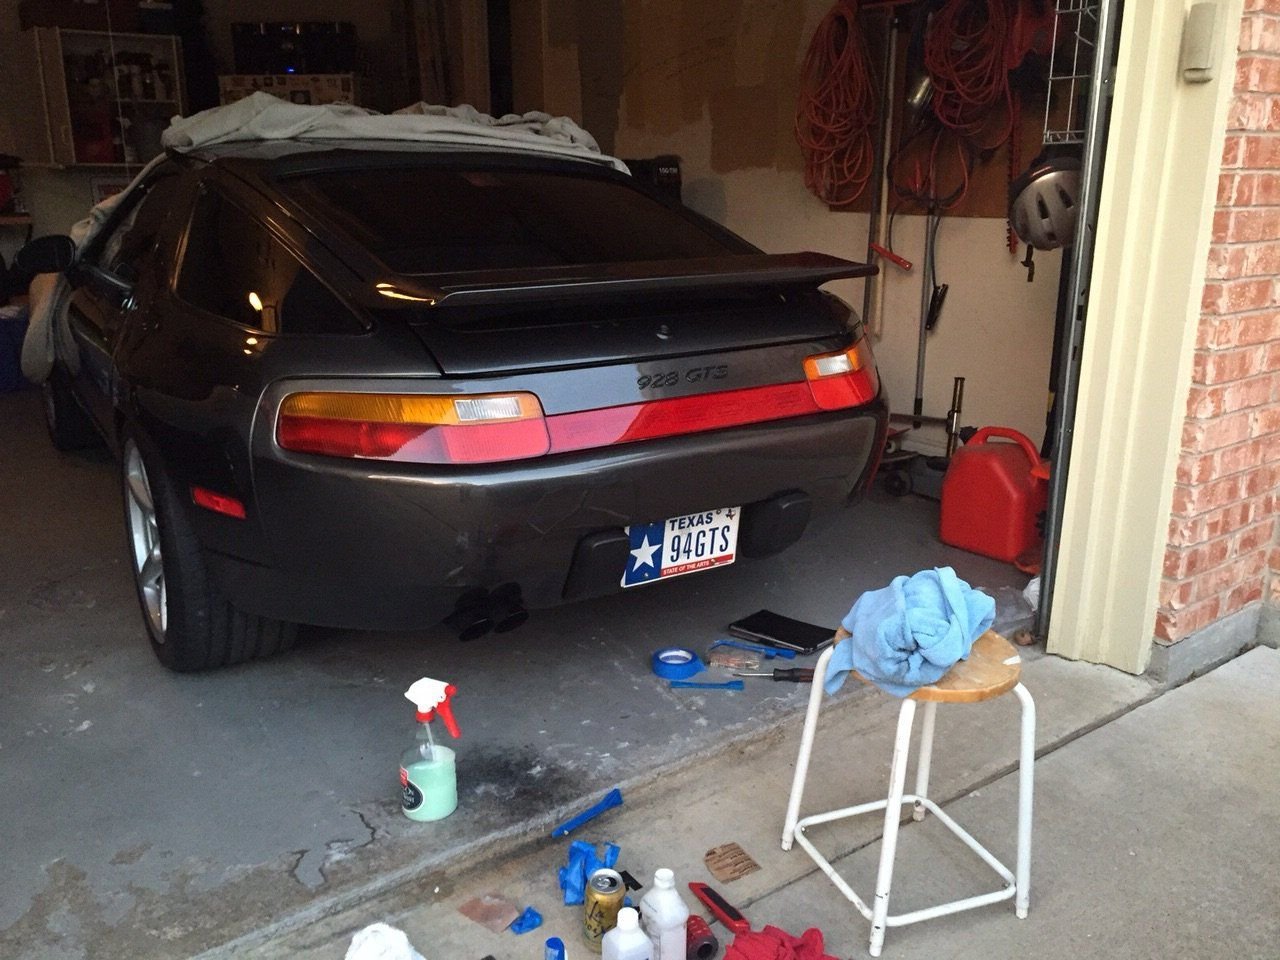
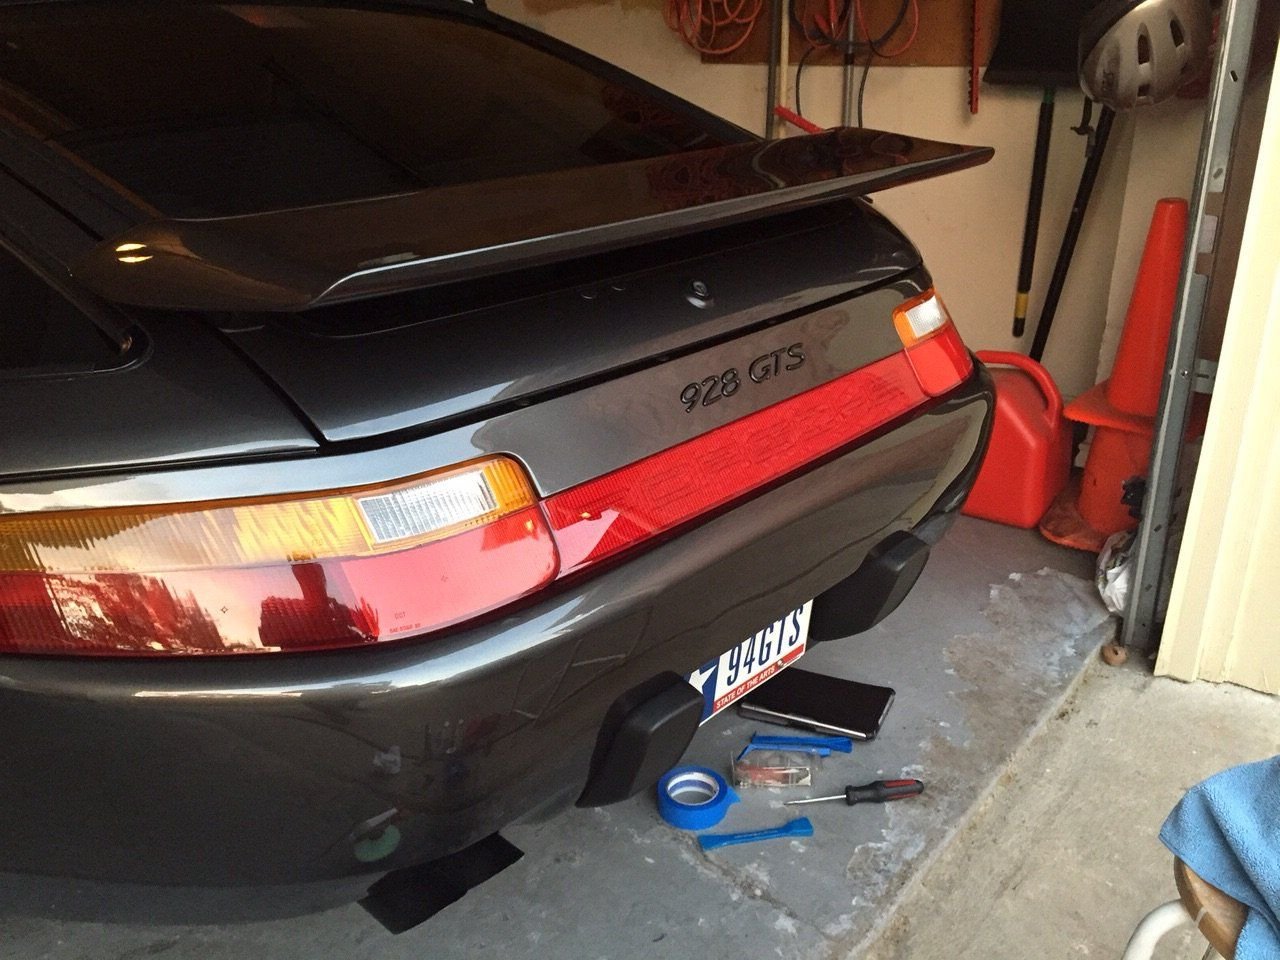
Reflector looks good again, I was really happy and I'm thinking this is going to be a Mechanical/permanant fix. For those that used double sided tape and it worked, more power to you, just letting everyone know it didn't work for me.
So after I looked at this thing from all different angles, the only thing I need to do is take it apart and spray paint the head of the bolt. (Flat Black)
From a certain angle, you can slightly see a lighter color in a small area (bolt head) so the black will cure it.
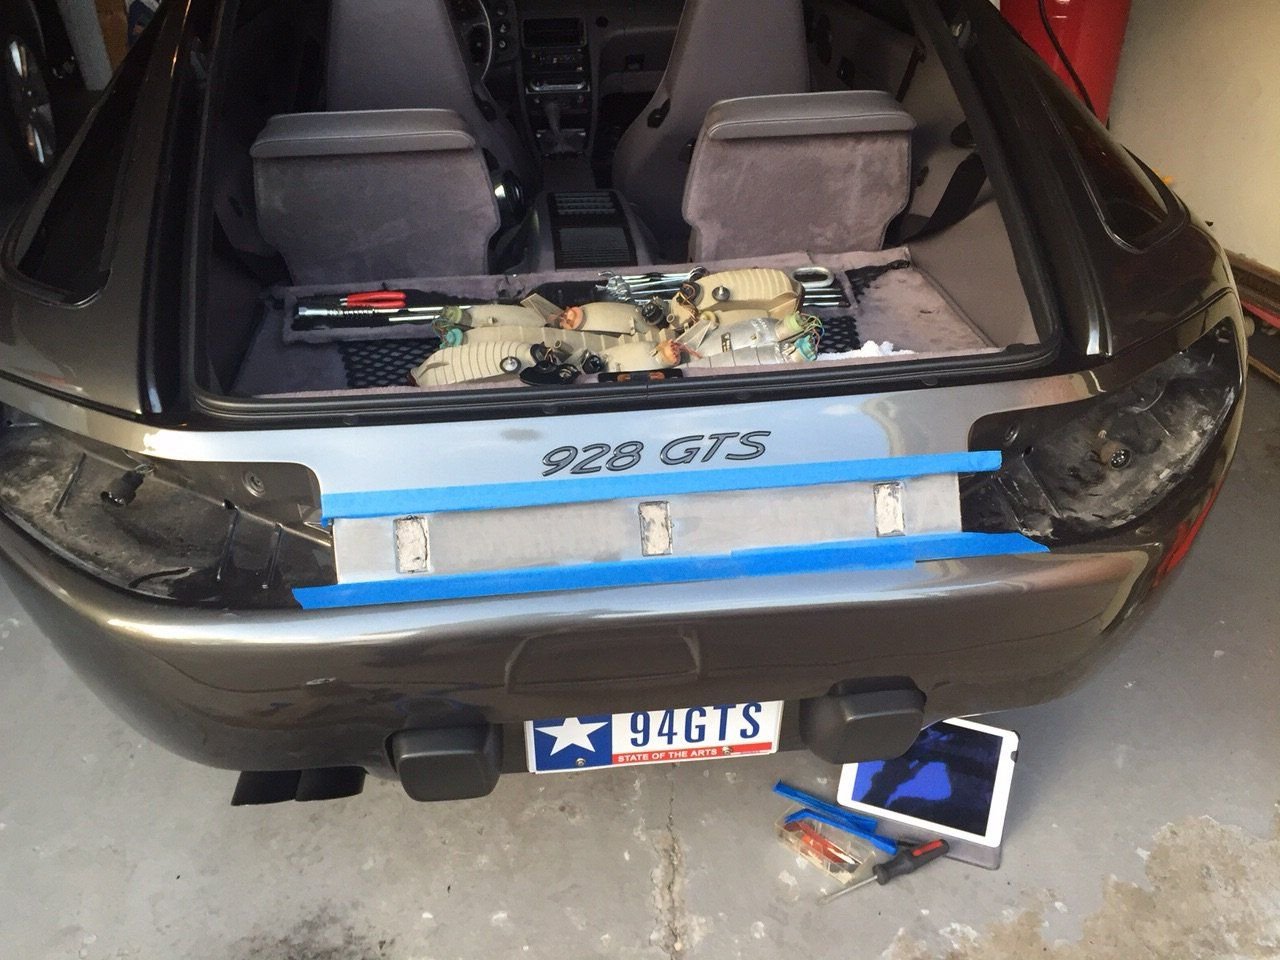
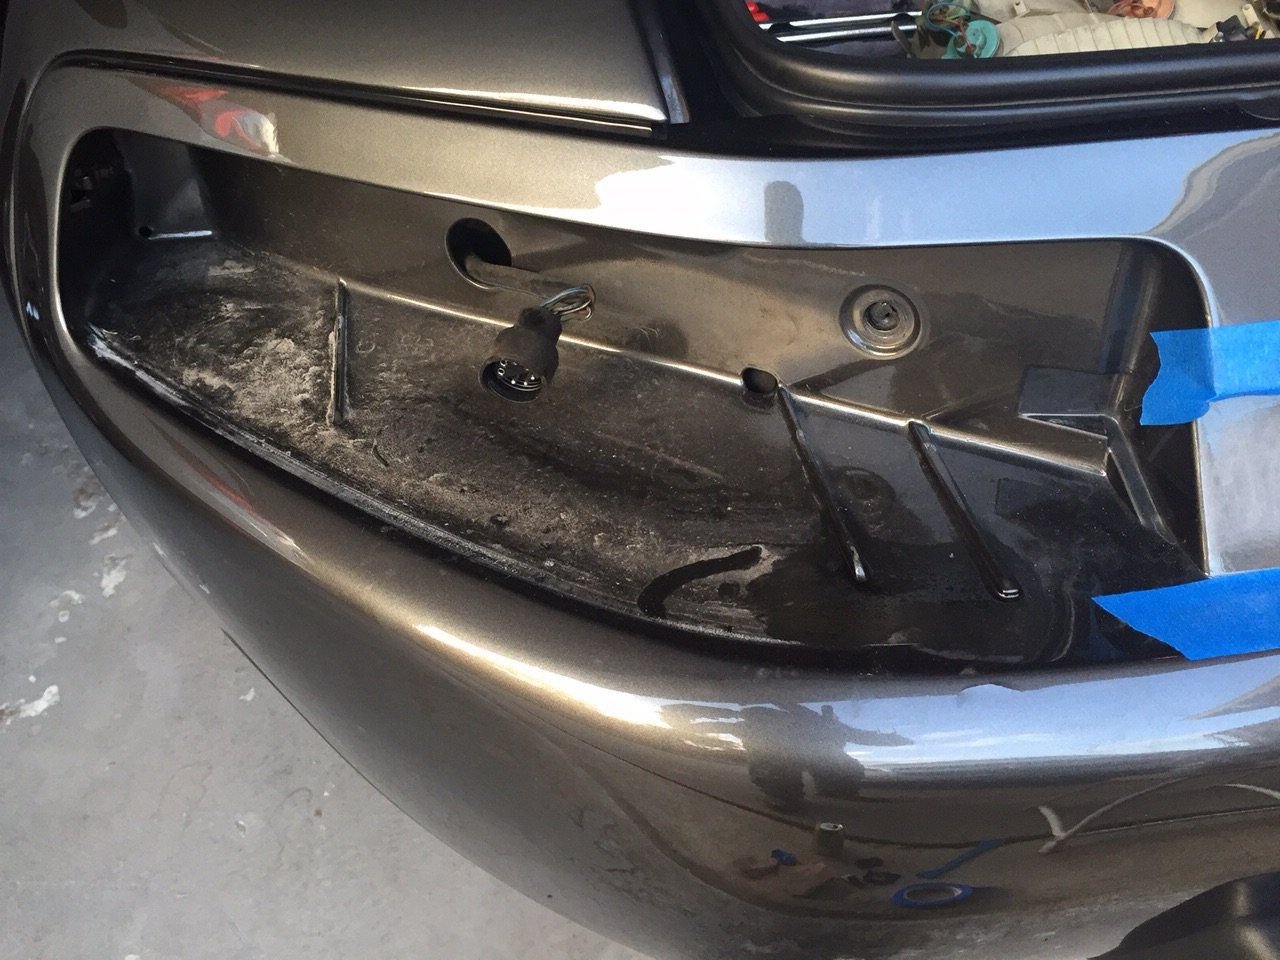
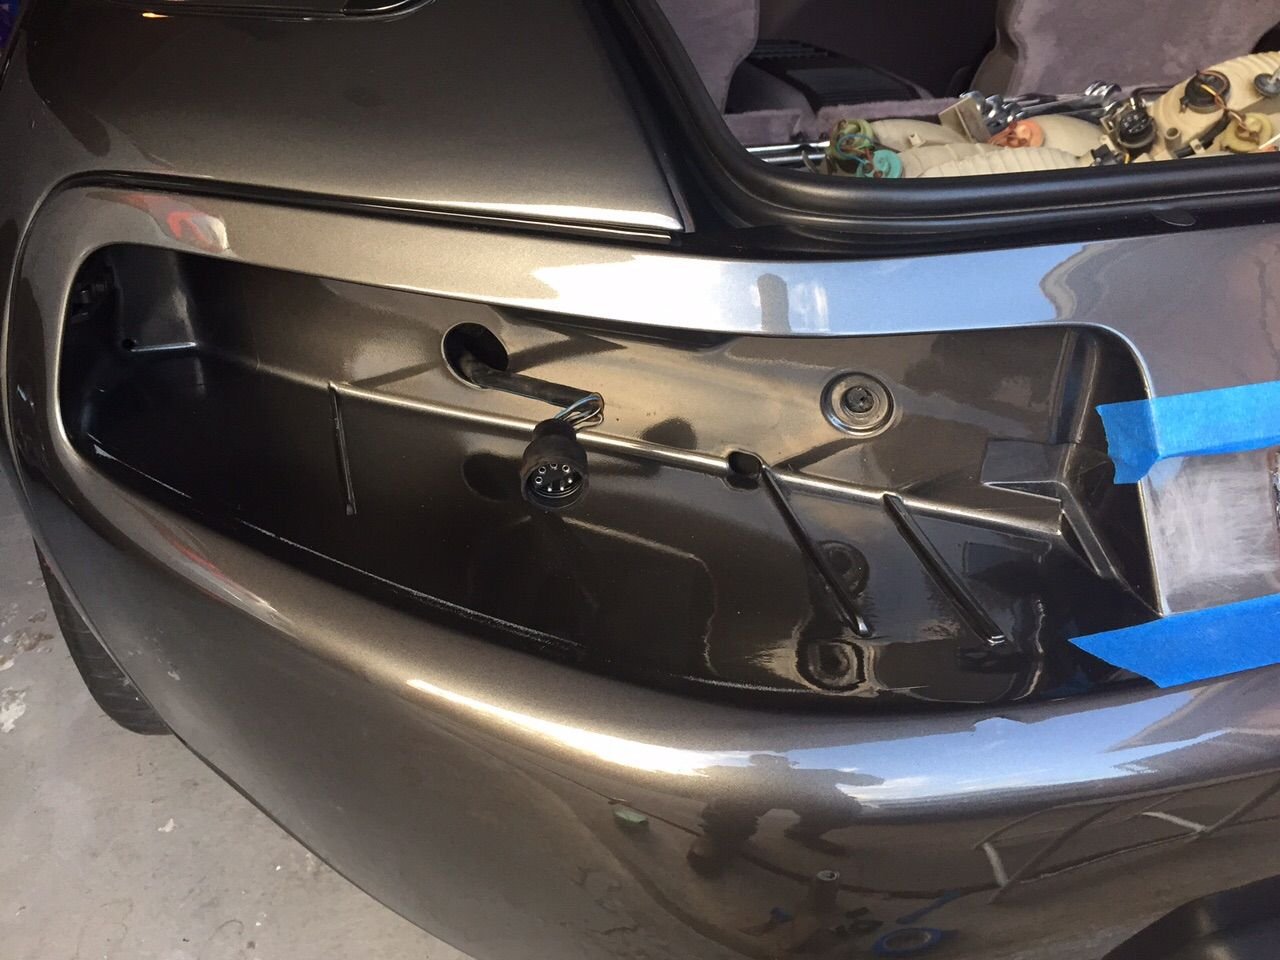
Below are a few shots. Before/After, etc. Pic 4 looks like a hack job, I did end up cleaning it up w the dremmel...
Will give feeback long term on this one..
Yes - about 6 years ago I tried heat. It seems the dissimilar plastics just have different expansion rates and if I recall correctly, heating 'emphasized' the curvature. I certainly recall that it didn't help.
Would like to apply a fix ti my reflector before it drops off.
Struggling to understand the bolt method- feel as though I am missing something picture wise as I have not grasped how to mount the bolt and what is required to facilitate it- presumably a hole drilled in the inboard cover? Getting the hole[s] drilled in the exact location is presumably the trick to success.
I did the bolt fix on mine as well, but there is really no need to cut the reflector plastic. High strength epoxy will securely hold the bolt in place on the reflector. Surface prep is the key, as you're looking for a mechanical bond. Not cutting the reflector will prevent moisture (probably not a huge issue but still) from getting inside the reflector. Some careful measuring and one drilled hole through the urethane bumper and then the body metal behind the tool cover is all that is needed. I used one "toilet bowl bolt" centered on the reflector rear side.
Yes - about 6 years ago I tried heat. It seems the dissimilar plastics just have different expansion rates and if I recall correctly, heating 'emphasized' the curvature. I certainly recall that it didn't help.
Would like to apply a fix ti my reflector before it drops off.
Struggling to understand the bolt method- feel as though I am missing something picture wise as I have not grasped how to mount the bolt and what is required to facilitate it- presumably a hole drilled in the inboard cover? Getting the hole[s] drilled in the exact location is presumably the trick to success.
Regards
Fred
Fred,
Check out the pics above.
So, you simply use the middle dot of the reflector as a reference point. Scribe the outline of the head of the bolt as in the pic. There is a small space between the backing (grey) and the actual reflector red. Push the rectangular head of the bolt into that area and turn it 90 degrees so now it's "horizontal" or sideways. It will not pull out now as the rectangular head is bigger than the hole you are trying to pull it out of.
The bolt is now sticking straight out of the middle of the reflector.
Now to drill through bumper cover and body.
The very center of the bumper is about 13 1/16 from either side of the recess for your taillights. Mark w a sharpie.
Measure center up and down as well.
Take 1/4 inch drill (or convert to metric system on all these measurements)
Drill straight through cover and through body. A 1/4 hole is very small.
The slot you have the bolt in (in the reflector) allows a little left/right and up/down movement to help you maneuver through the bumper cover and body holes. Push until reflector is flat, put washer and nut (hand tight) on toilet bolt.
DONE.
One less hole in bumper/body/reflector.


 11-25-2015, 09:32 PM