When you click on links to various merchants on this site and make a purchase, this can result in this site earning a commission. Affiliate programs and affiliations include, but are not limited to, the eBay Partner Network.
Ah, ok. Definitely did not know that. With Ake's engineering/fabrication prowess I assumed it was something he whipped up. LOL. Thanks for the clarification.
This is a WYAIT thing. Sort of like "WYAIT replace the steering rack mounts when you replace the motor mounts"
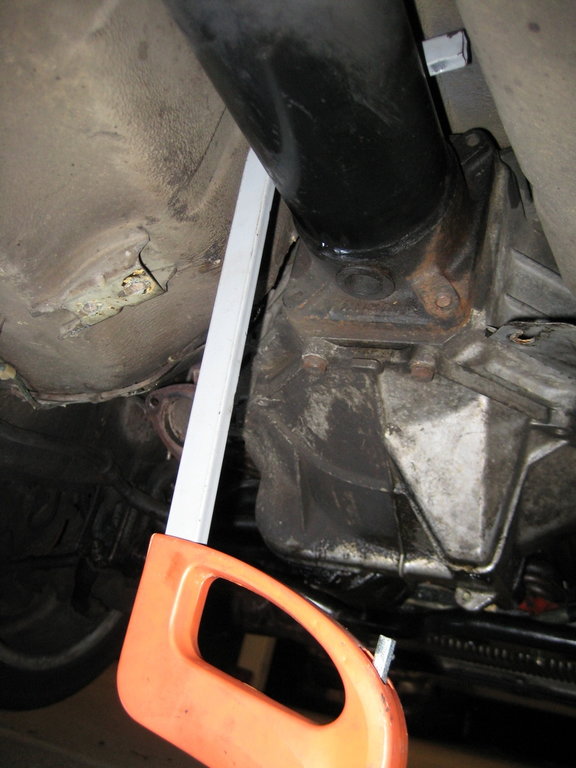
We recommend to replace the forward shifter ball cup WYAIT replacing the motor mounts, as in the moments after you have taken the motor mounts out, you can lower the engine making much more room above the TTube between the TTube and the body. Also, remove the air filter box on early cars - you can actually get fairly good access to the shifter ball cup from the top on some cars.
OR
If you drop the TTube for any service, WYAIT replace both the front and the rear shifter ball cups.
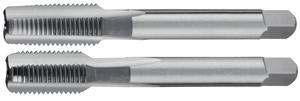
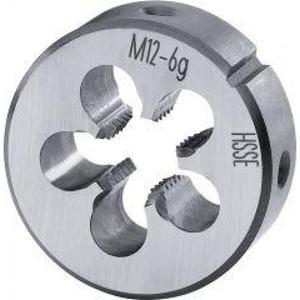
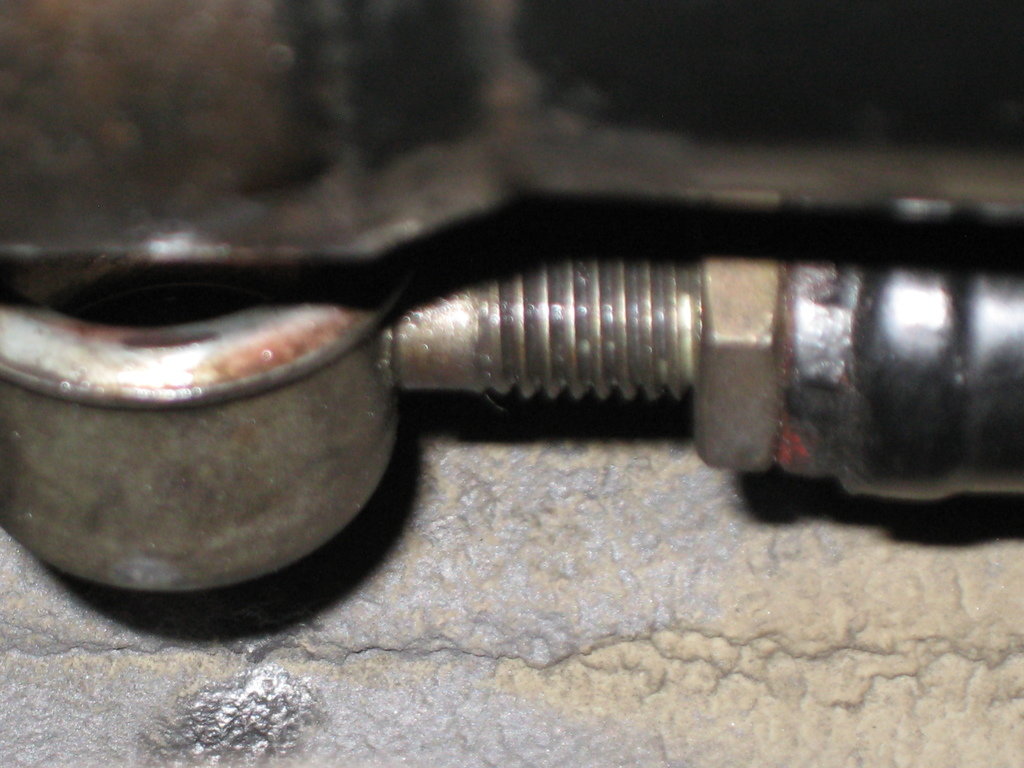
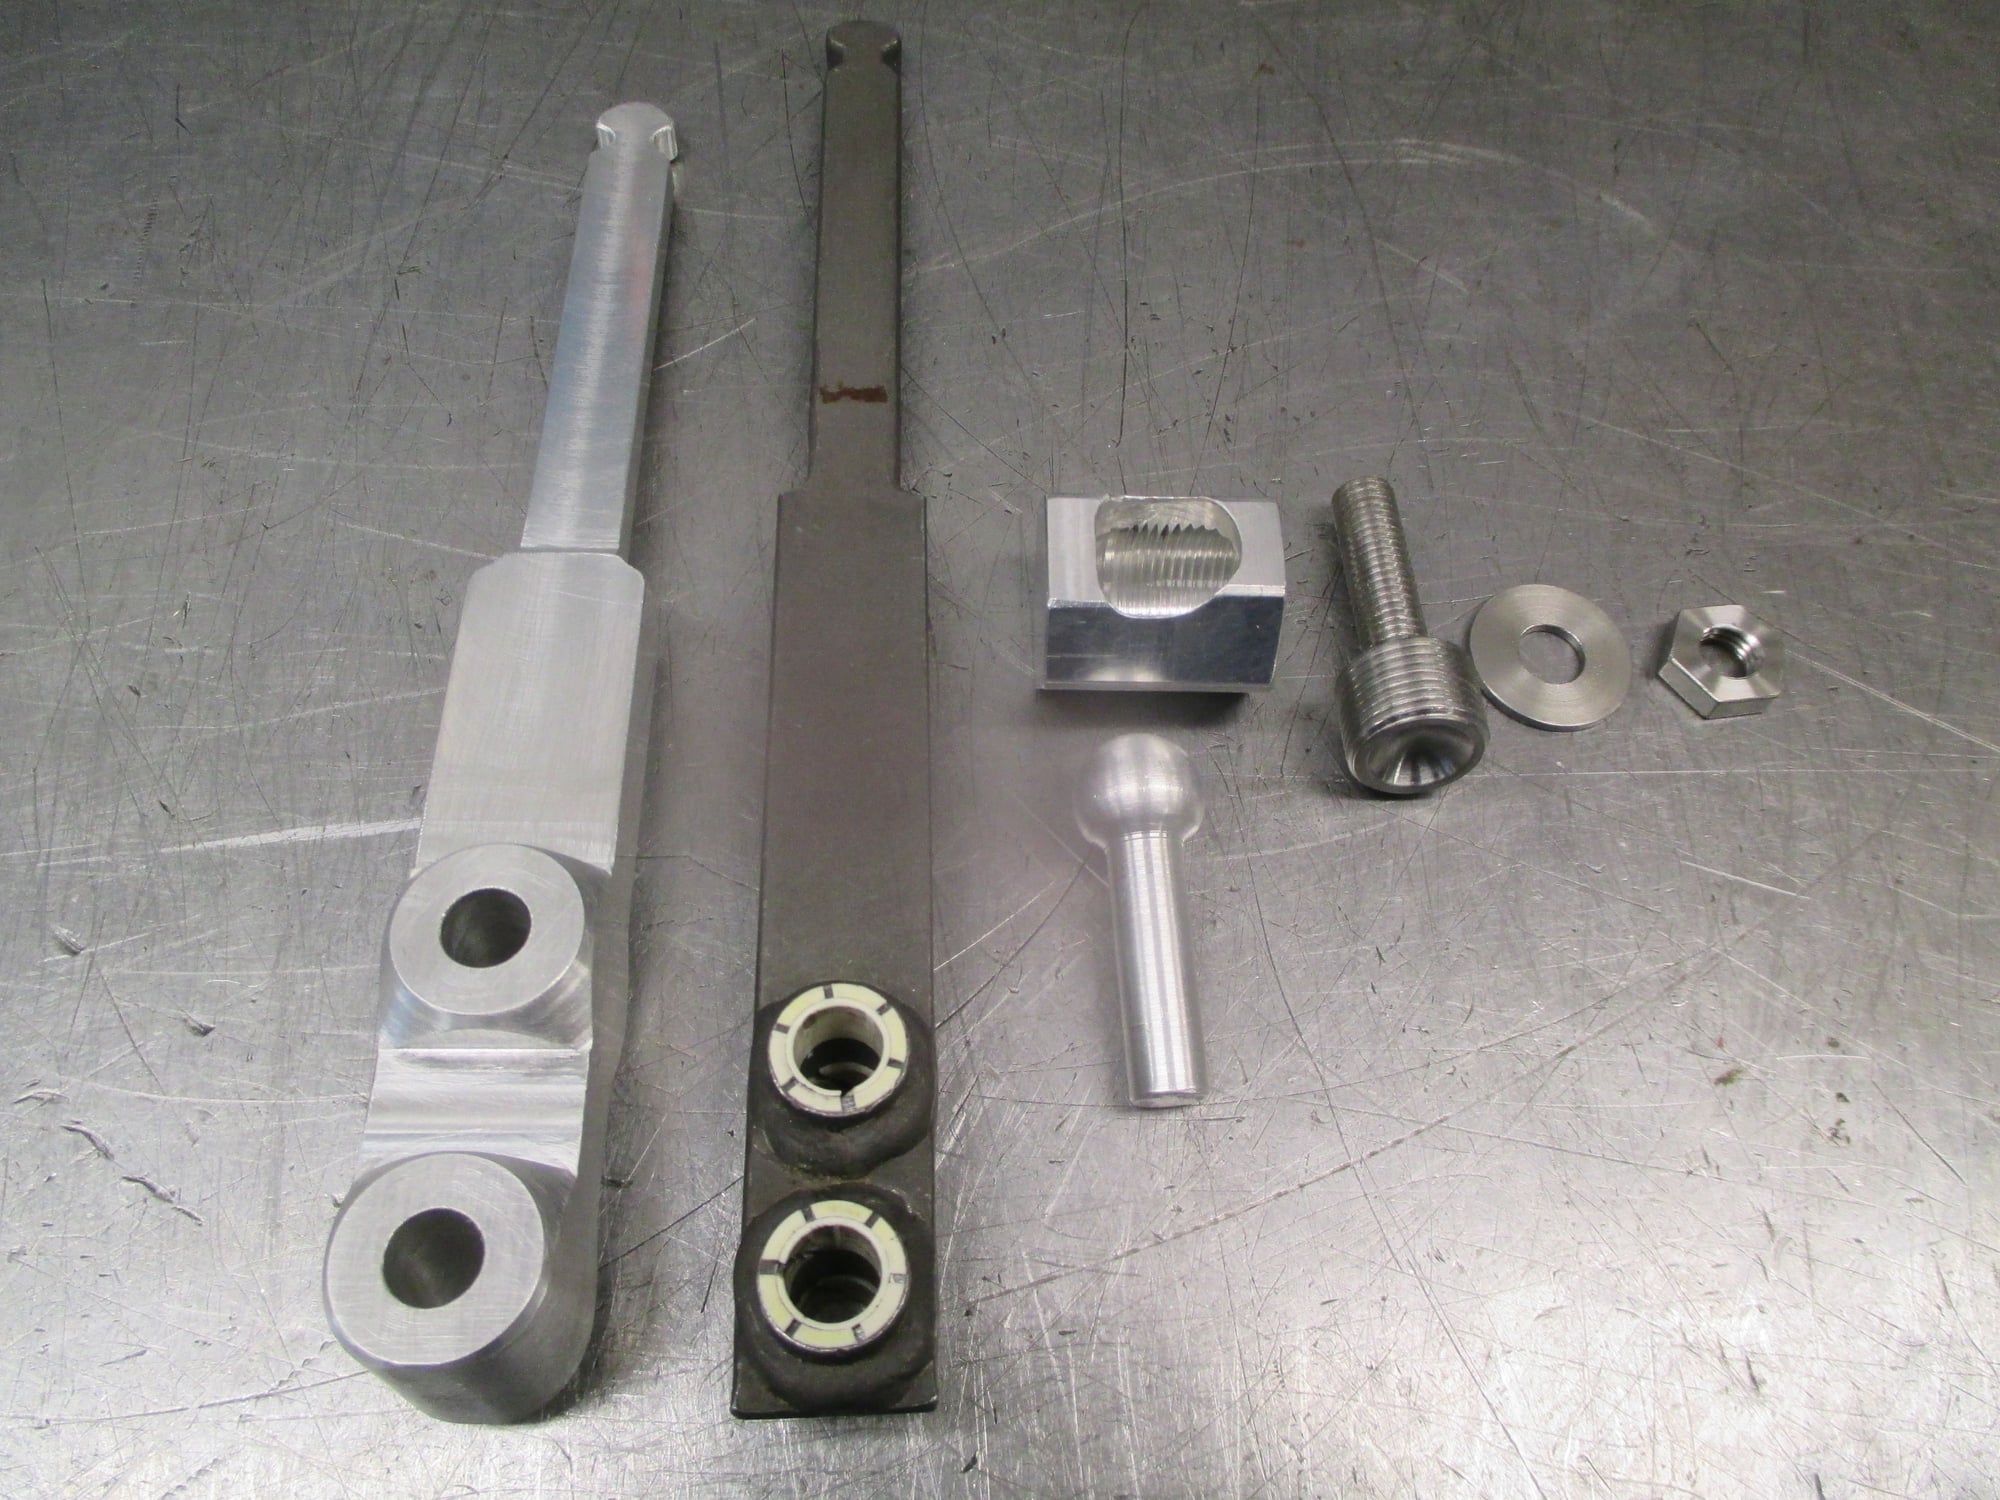
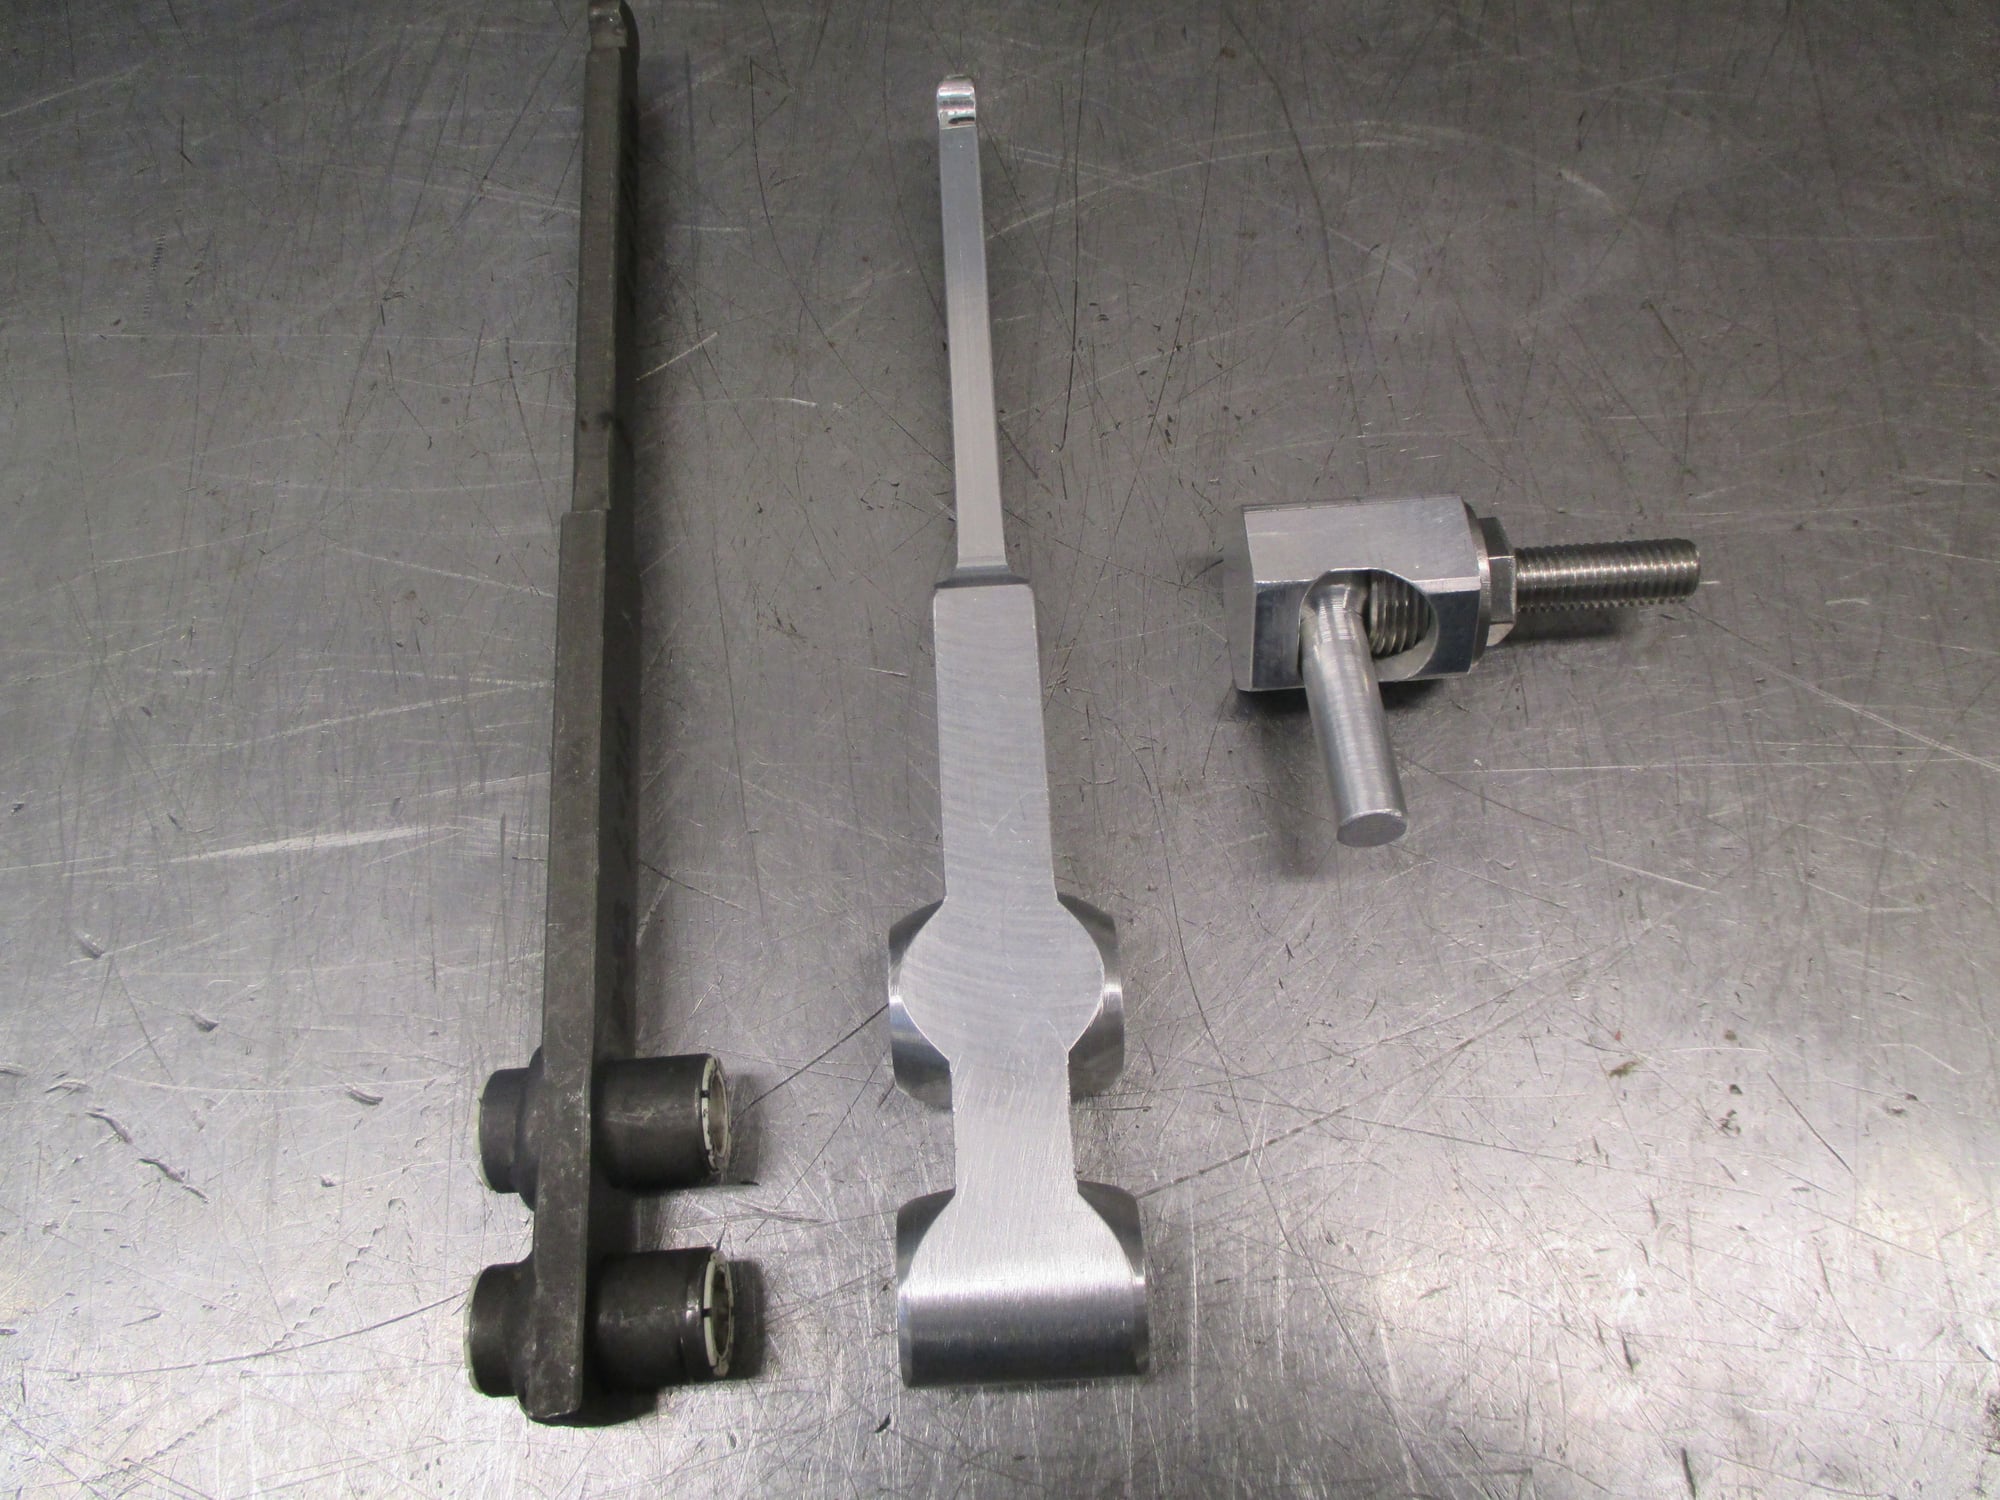
Well, I did finish and I have also installed the metal shifter ball cup. The house is made of aluminum and the concave screw of stainless steel (the ball in the picture is for testing only). I must say it was kind of tricky to install the ball cup without lowering the torque tube but after a lot of cursing it was in place. I had to make a couple of special tools in order to tighten the lock nut. When I was there I took the opportunity to manufacture an aluminum short shift lever. Earlier I had fixed the rear shifter coupler with bronze bushings. I am still doing work on the blue car but I had the opportunity to test drive it with the improved shifting mechanism and I am happy with the result, short shift, very distinct, no rattling, no uncomfortable vibrations. �ke
Hi Ake,
Nice work as always.
I used to supply the brass bushings for the rear coupler but most of our customers found that they made a "sizzling" noise at the shifter.
We changed to "round hole" poly bushings and the issue went away.
Hope that helps.
Best Roger
__________________
Does it have the "Do It Yourself" manual transmission, or the superior "Fully Equipped by Porsche" Automatic Transmission? George Layton March 2014
928 Owners are ".....a secret sect of quietly assured Porsche pragmatists who in near anonymity appreciate the prodigious, easy going prowess of the 928."
Hi Ake,
Nice work as always.
I used to supply the brass bushings for the rear coupler but most of our customers found that they made a "sizzling" noise at the shifter.
We changed to "round hole" poly bushings and the issue went away.
Hope that helps.
Best Roger
Roger, I do not know exactly what you mean bu sizzling noise, not even google can translate it. Anyhow the test drives I have made so far (the car is now taken apart for other work) did not indicate any unusual noise nor vibrations.
�ke
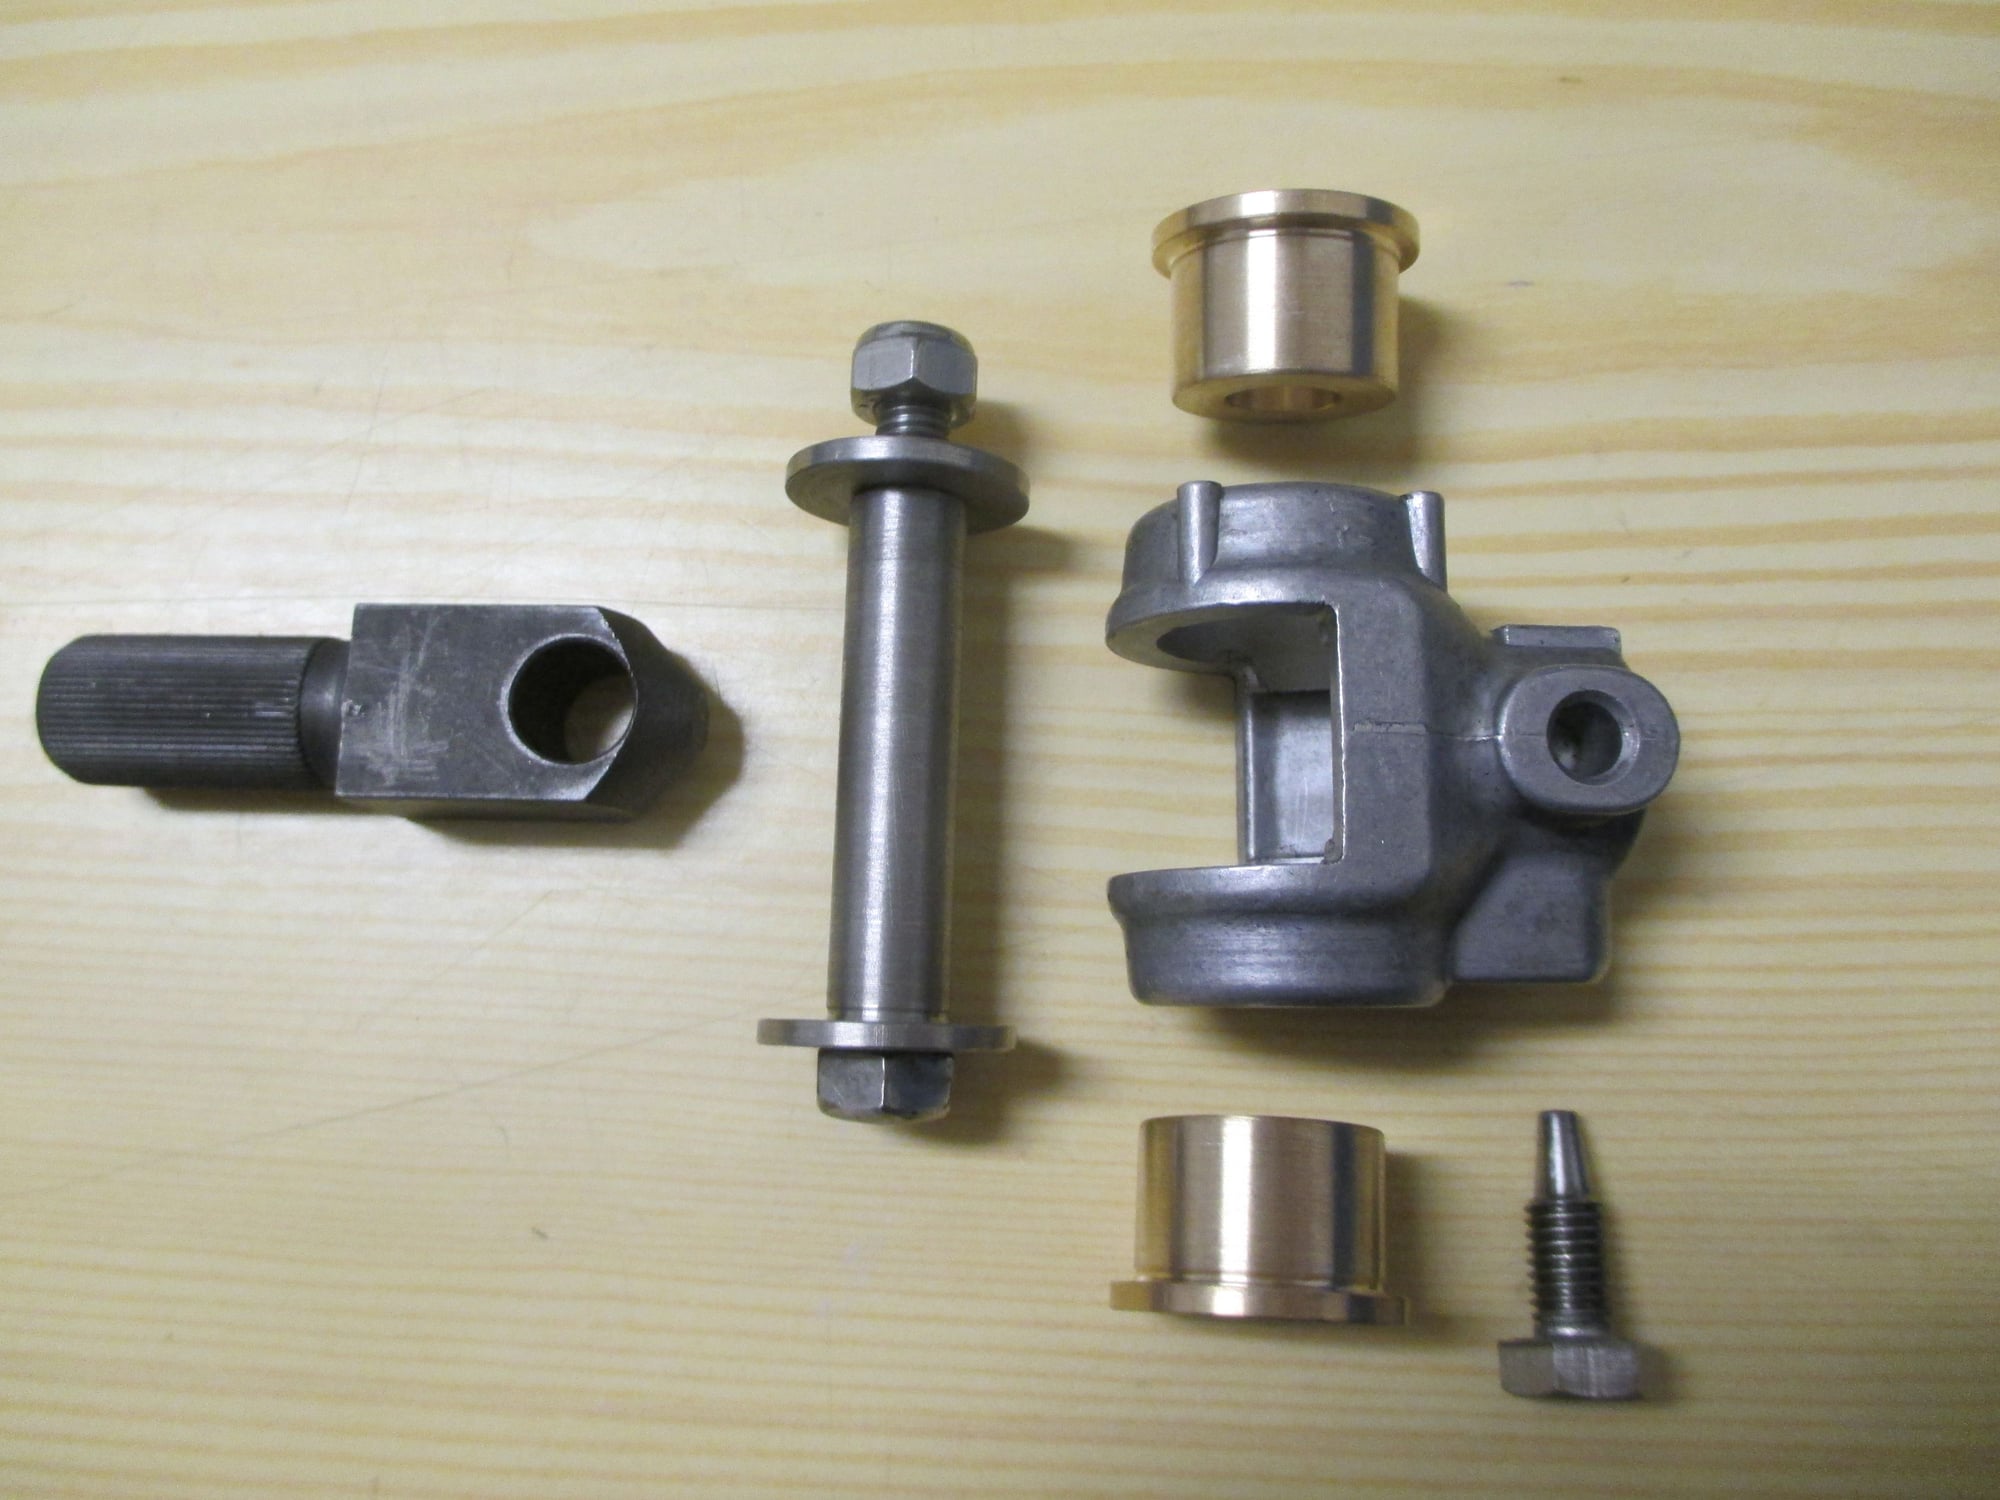
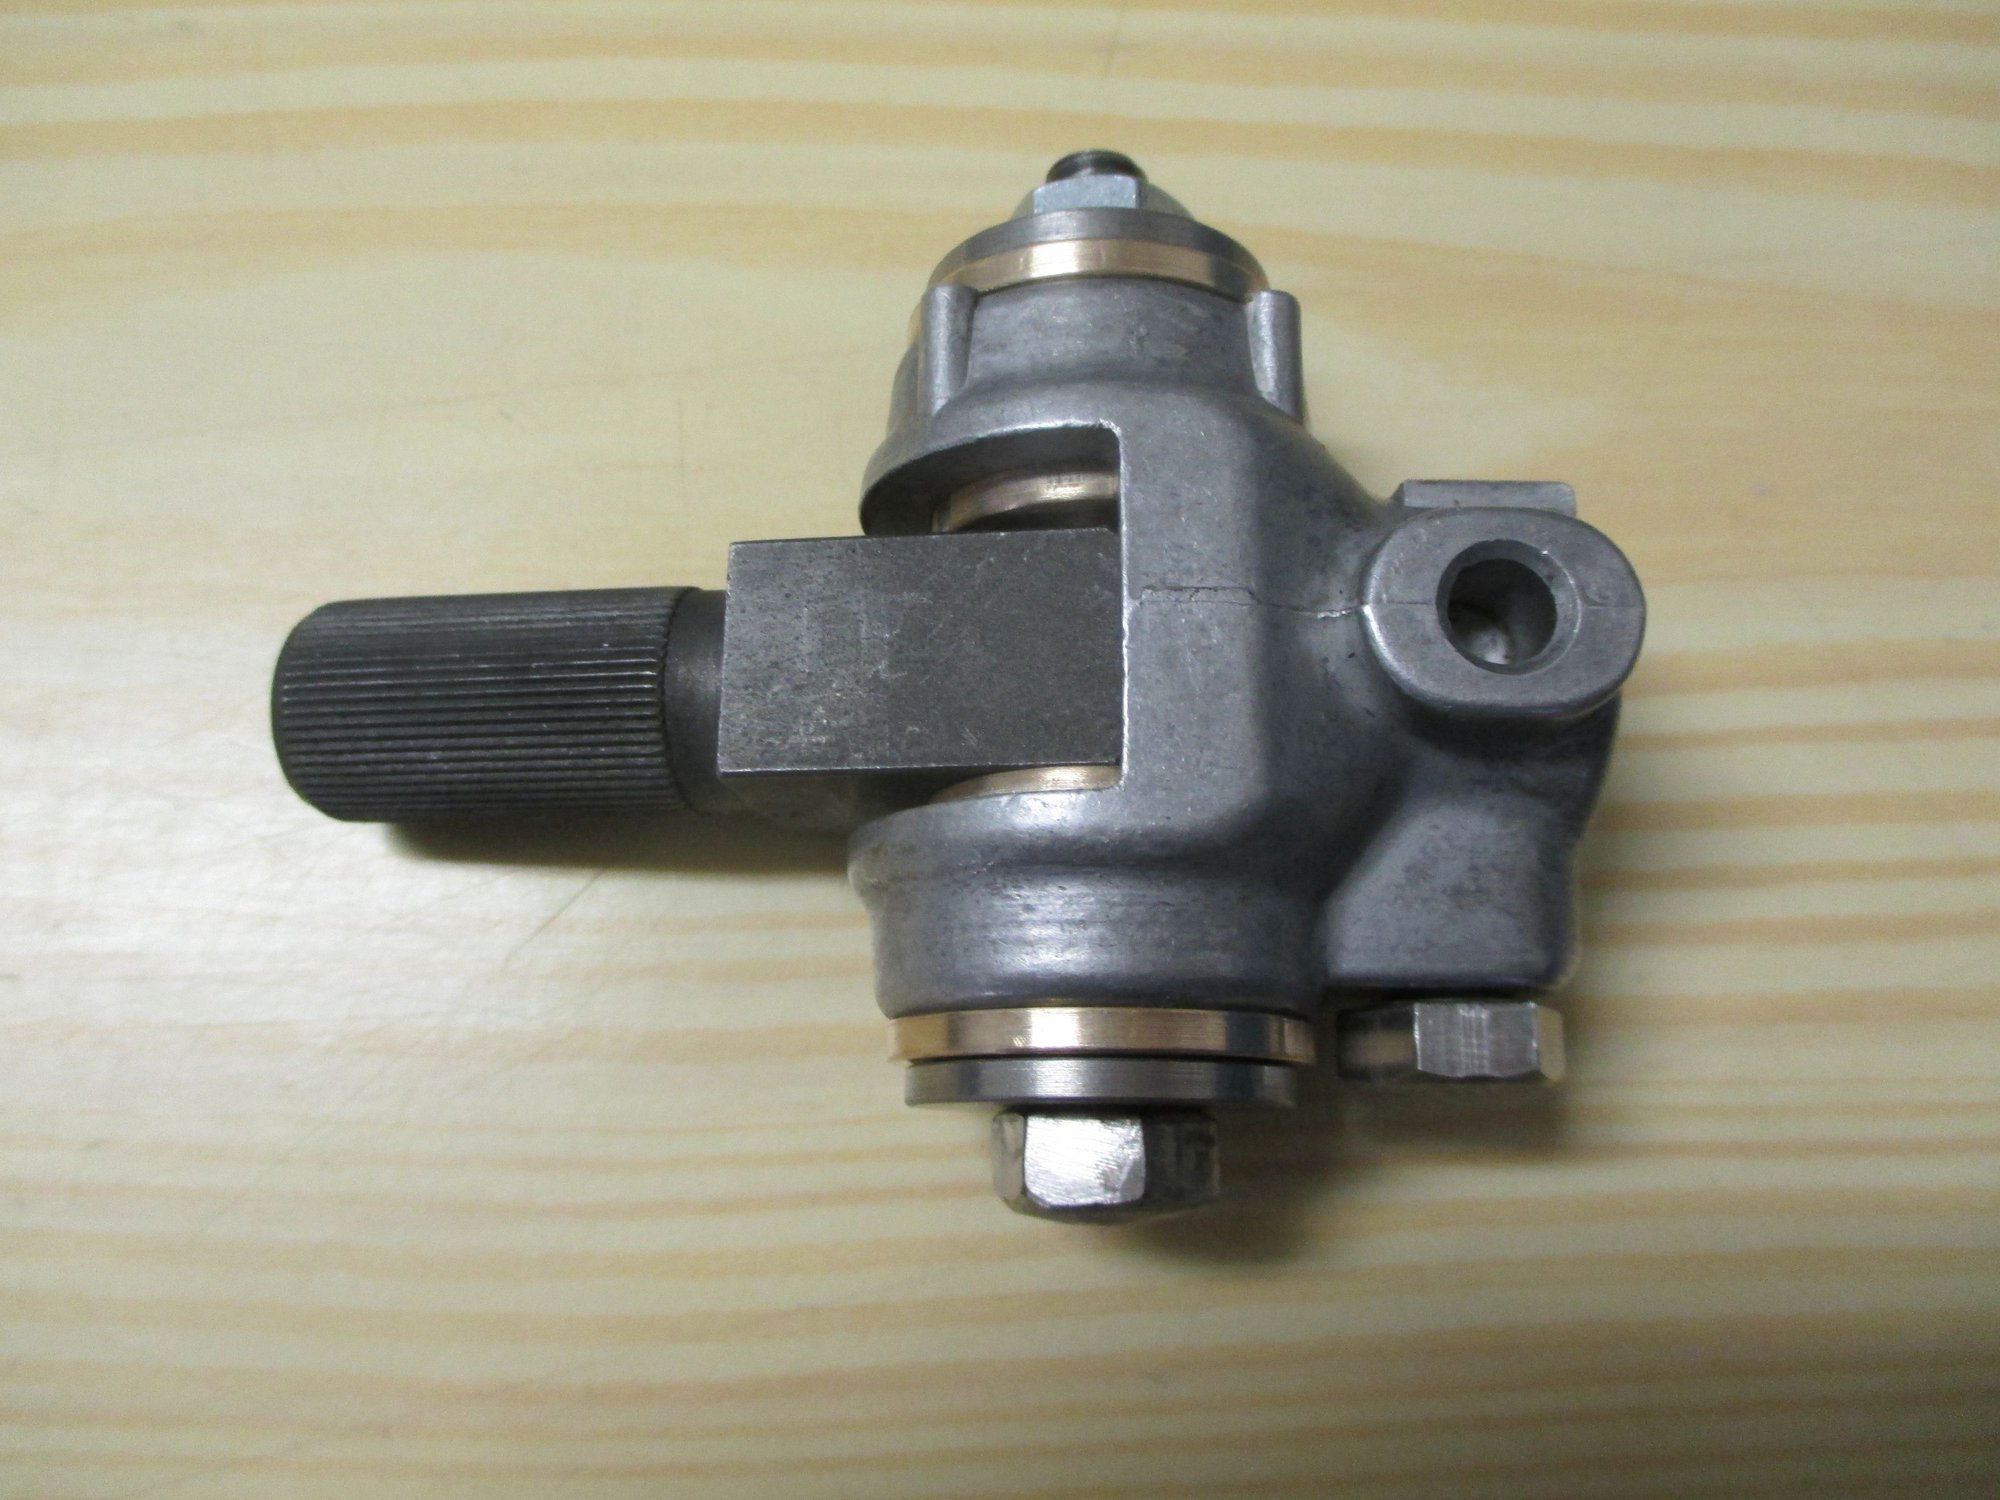
"sizzling" is the high-frequency buzzing noise that frying bacon makes. Every tiny vibration in the engine or gearbox rattles the shift rod. Your adjustable clamp over the ball lets you eliminate the clearance for rattles and buzzing at the front. For the rear coupling, you could pack the joint with grease and clamp it in a section of rubber hose to eliminate the noises. Oillite bronze bushings (impregnated with lubrication) would work if the gaiter/boot was installed correctly to keep it all clean.
Curious if anybody or why nobody has tried to replace that front joint with a Heim joint (spherical rod end) for this duty.
There's a good reason why Porsche "shifted" to cables and little bellcranks for road car shift management. Noise transmission into the cabin is dramatically reduced, with virtually no reduction is "feel" for the driver.
Curious if anybody or why nobody has tried to replace that front joint with a Heim joint (spherical rod end) for this duty.
I've been thinking about that as well, and may try my luck at it, since my car needs a new front bushing.
The fun is going to be determining just how best to secure the joint to the torque tube, and if the existing ball mounting point can be reused to mount the Heim joint.
I would need to do some digging to verify just how much rotation that the current shift linkage allows, since Heim joints are limited in their misalignment angle. A quick bit of digging turned up some interesting material, including some manufacturers offering "high misalignment angle" joints, but even the "high" options don't give you a huge amount of added play.


 04-01-2019, 11:05 AM


 George Layton March 2014
