When you click on links to various merchants on this site and make a purchase, this can result in this site earning a commission. Affiliate programs and affiliations include, but are not limited to, the eBay Partner Network.
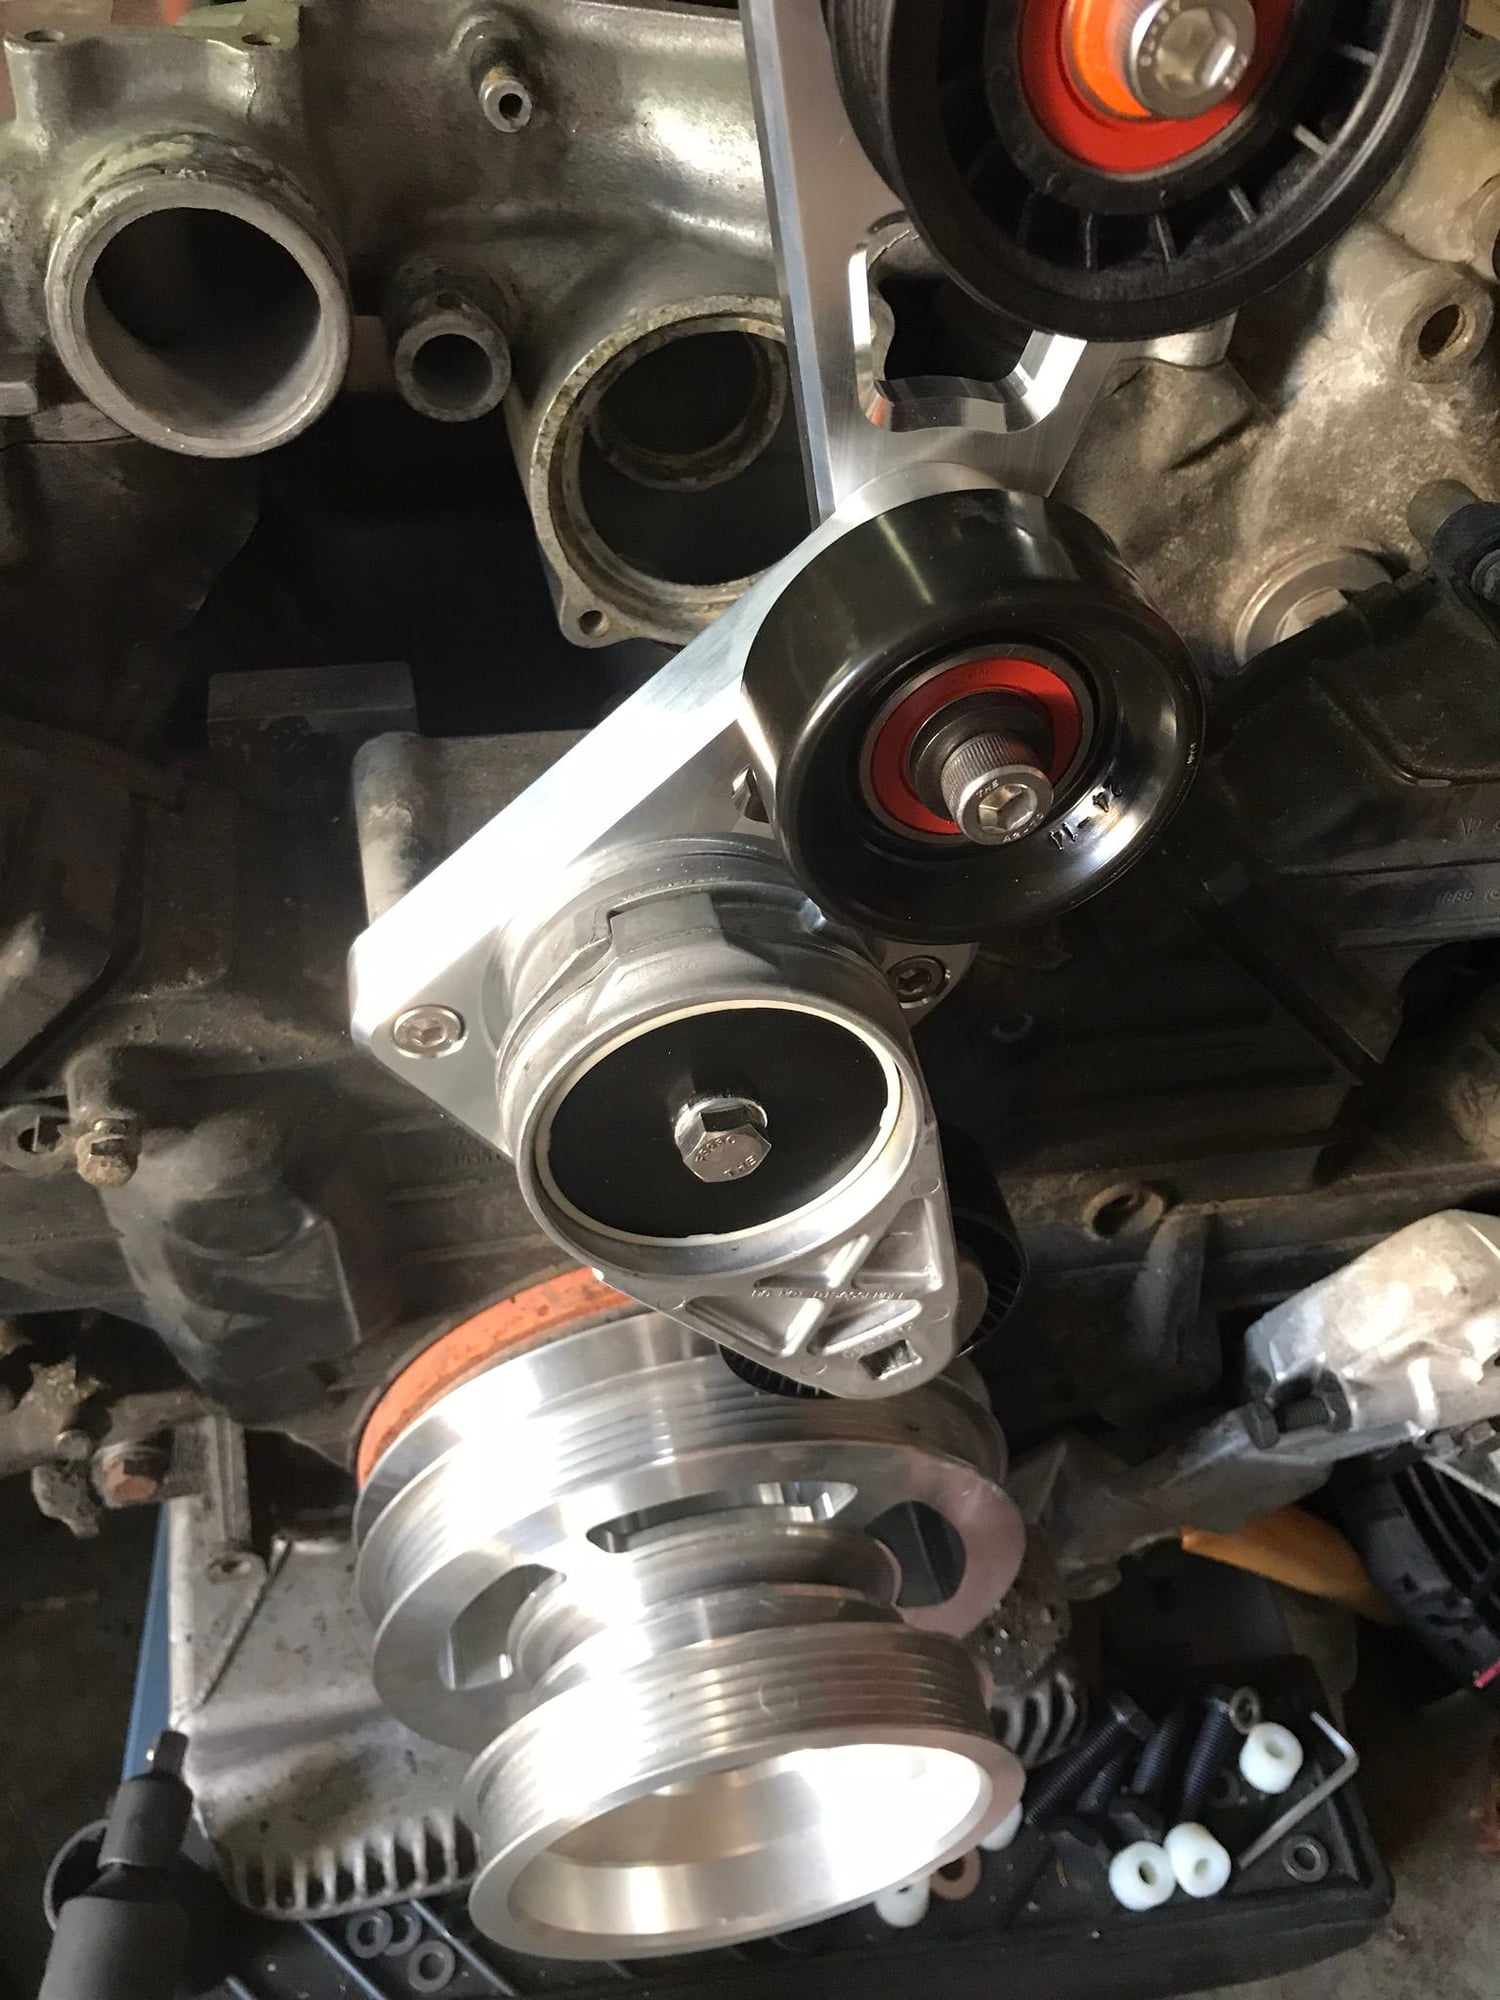
I released the purchase order for the tensioner brackets yesterday. I had been holding them, which ended up being a good idea, as I needed to make a last minute change to improve the front harness routing. There is now a machined channel behind the tensioner bracket that holds the front harness and the two spark plug wires that cross over to the driver side distributor cap. The other two wires will route above the waterpump and below the new thermostat housing.
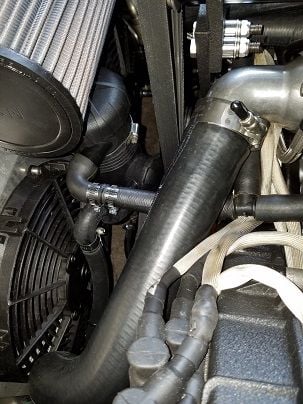
Mock up plastic pictures attached. Thermostat housing fits with just enough room to spare, but does not rub on the timing belt cover and the factory hose is used with just the last 50mm removed. Note that there is actually a bit more room that shown between the belt and the hose, I will get a better picture tonight mounted on a car with a radiator installed. Also the photo shows the tensioner in the fully extended position, so this is the closest the belt will get to itself in this current routing. The actual belt used will be shorter, but the plastic parts are not strong enough to hold up to tension.
Thermostat housing is out for bids today. The fitting is over the counter from an electric waterpump.
The new regulators came in, and I tested the first one last night. I have a good mounting solution for it using the fasteners for the factory coolant expansion tank. I need to look at the second regulator tonight to see if it will fit on the back of the throttle inlet, but I am leaning towards the remote mounting in that rear passenger corner.
I should be able to release the throttle inlet housing for bids tomorrow after finalizing the regulator location selection.
Hoping my machine shop can return the tensioner parts before, but its getting tight. The wait paid off though, incorporating the engine harness passthrough was a large improvement. Wouldn't have caught it until I installed the test bracket on my 89 that has been out in the sun for a decade and the harness is old, hard, and stubborn - It did not like the idea of being relocated.
Throttle inlet will be out for bid this week. Next part up on the agenda is the front-mount heat exchanger. I need to look at non-destructive flap component removal procedures to get the size core I would like in there. My 89 has volunteered for the job. Its an auto too, so the "worse case scenario" for designing the core/bracket/lines. If I can get the core large enough, I wont need to have the holding tank fabricated for under the passenger headlight.
Hans getting that belt system sorted out is a time consuming task for sure, yours looks great!
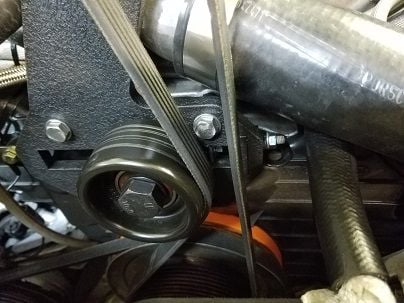
It's funny I'm currently working on redoing the old Andy Keel kit's, moving the tensioner pulley to the "slack" side and making the adjuster a "puller" like the Alt and AC compressor and not a pusher bolt.
Without making a completely new bracket, as the dip stick gets in the way to push the pulley from the cars right side.
I also feel like I own a BOAT, because I just busted out another thou, 044 FP, S4 Reg, Super MAF, Provent.. it doesn't stop
Hoping my machine shop can return the tensioner parts before, but its getting tight. The wait paid off though, incorporating the engine harness passthrough was a large improvement. Wouldn't have caught it until I installed the test bracket on my 89 that has been out in the sun for a decade and the harness is old, hard, and stubborn - It did not like the idea of being relocated.
I know a guy in Denton, Texas that makes a helluva new year model specific 928 Engine harness using all new connectors and 21st century materials. The sub-harnesses are oriented correctly where they break away from the main harness, the wire colors are correct and the harness is plug and play.
Oh, that's right. You know him, too.
Dave, i have an old Andy Keel system as well. I'd be interested to see how you got that belt past the thermostat housing and how you converted to a puller tensioner.
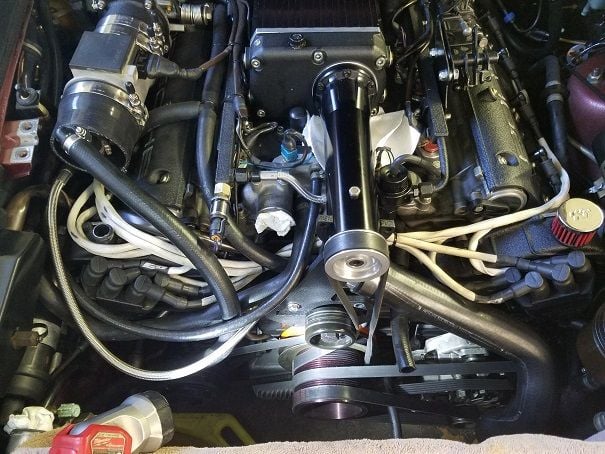
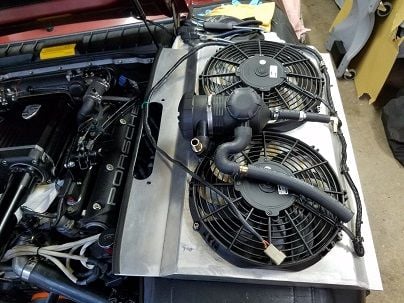
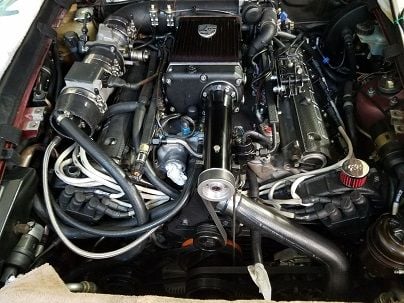
I've been working on a few things at once, I removed the basic Oil Air separator (an aluminum can w/vent and drain) and installed a Provent with a new filter where it fits nicely between the custom shroud&Fans.
As for the Pulley move, mine also was tight, so tight the SC belt just touched the AC pulley and took of a mm before it would settle in. In speaking with Darin N. it seems all the kits varied a bit.
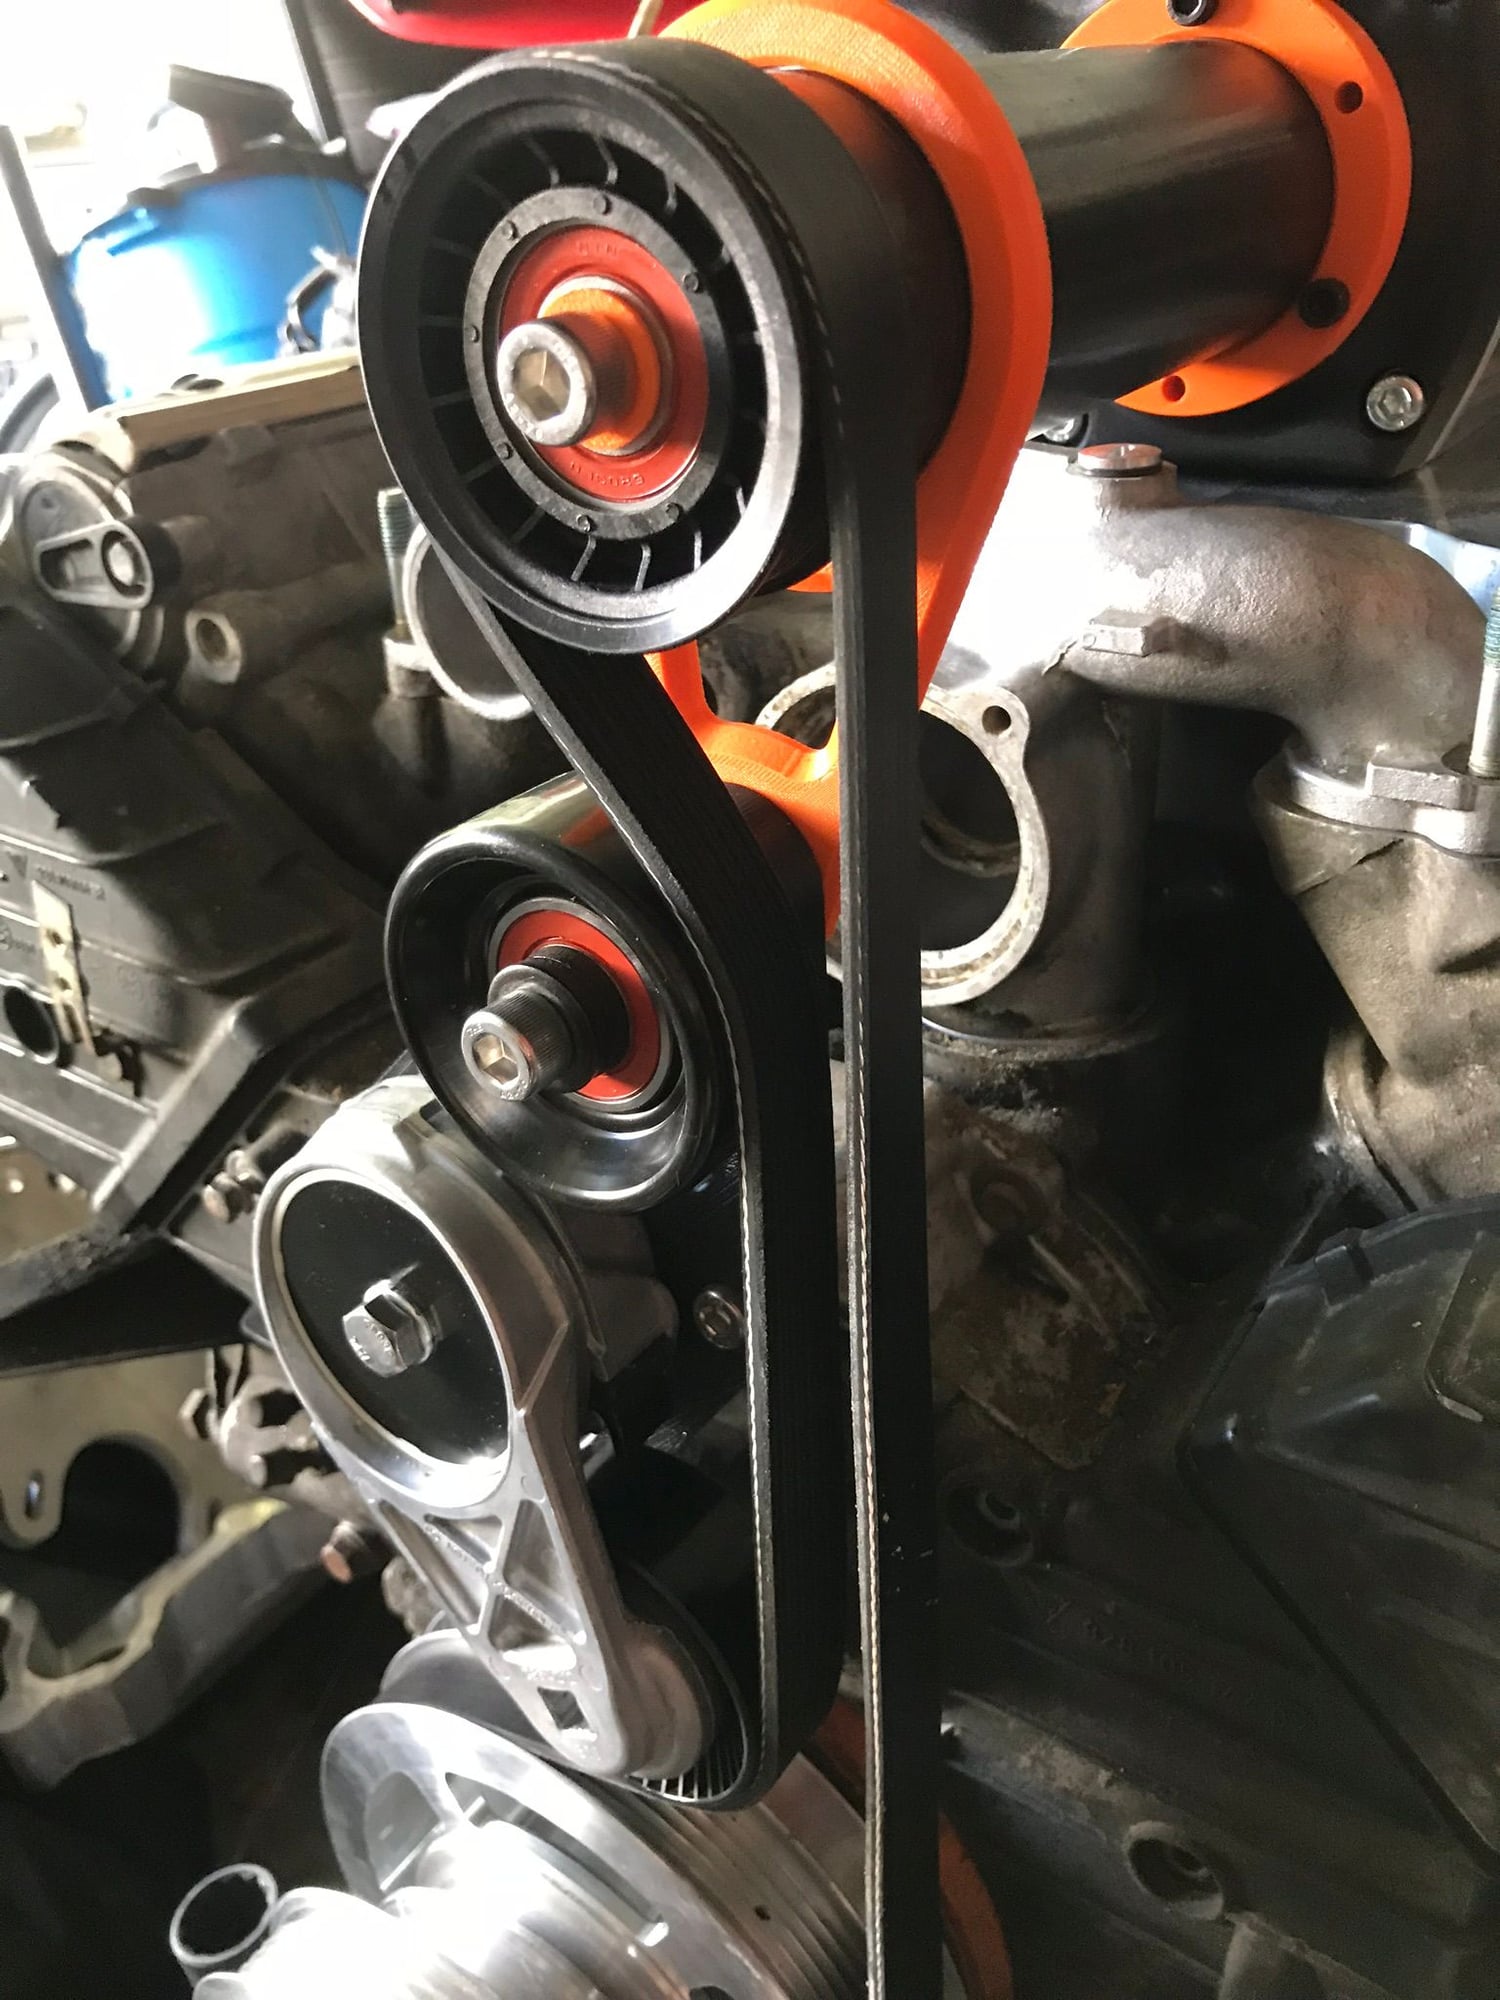
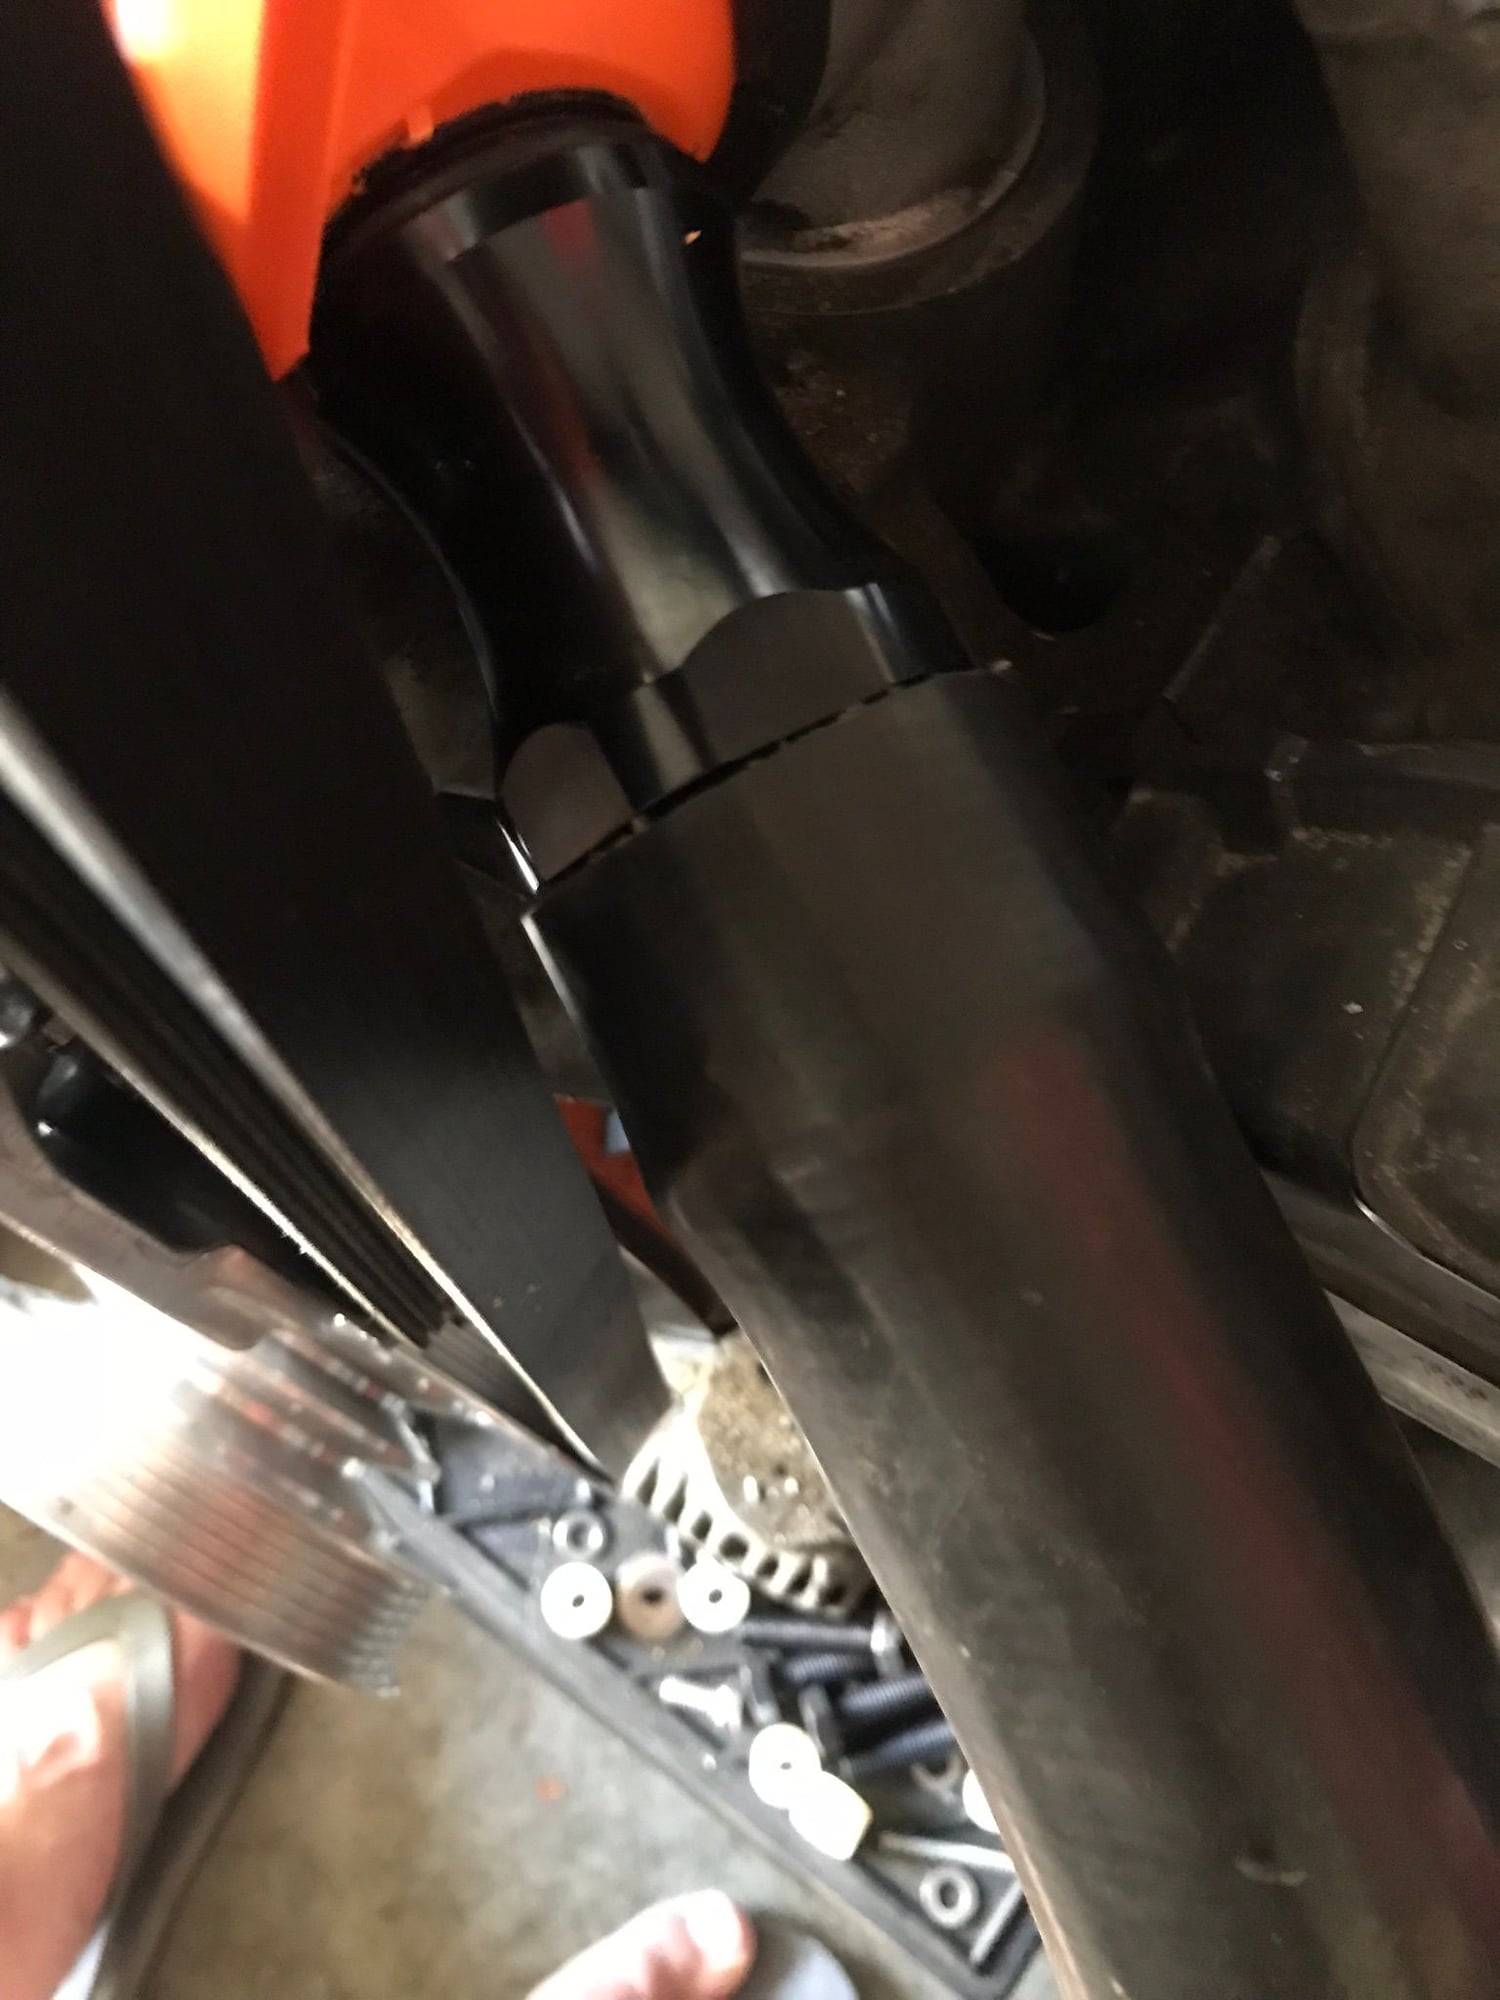
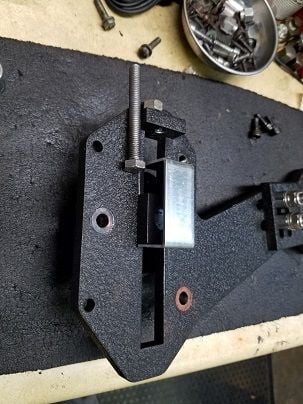
So I can only lay out the basic method I used to achieve the goal of making it a pull type tensioner and not the push bolt.
I used a "U" pre-bent bracket I had in my scrap box, a slightly thinner bolt 8mm shank and not the 10mm so I would not have to drill out the threads in the bracket (i didn't know if it would work).
Then I notched the "U' bracket so that it sits flush to the back of the Tensioner bolt mount and drilled a hole for the bolt, I also used a steel sleeve over the end so that the new adjuster nut would not hit the bracket.
It worked great and I'm going to improve it and keep it this way.
Here are some pics
FWIW..i got an extra water neck and cut the bend out and welded it to the end of the stock piece. It gave me just the room to run the belt down with out interfering with the rad hose.
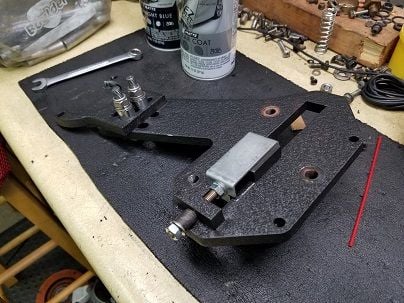
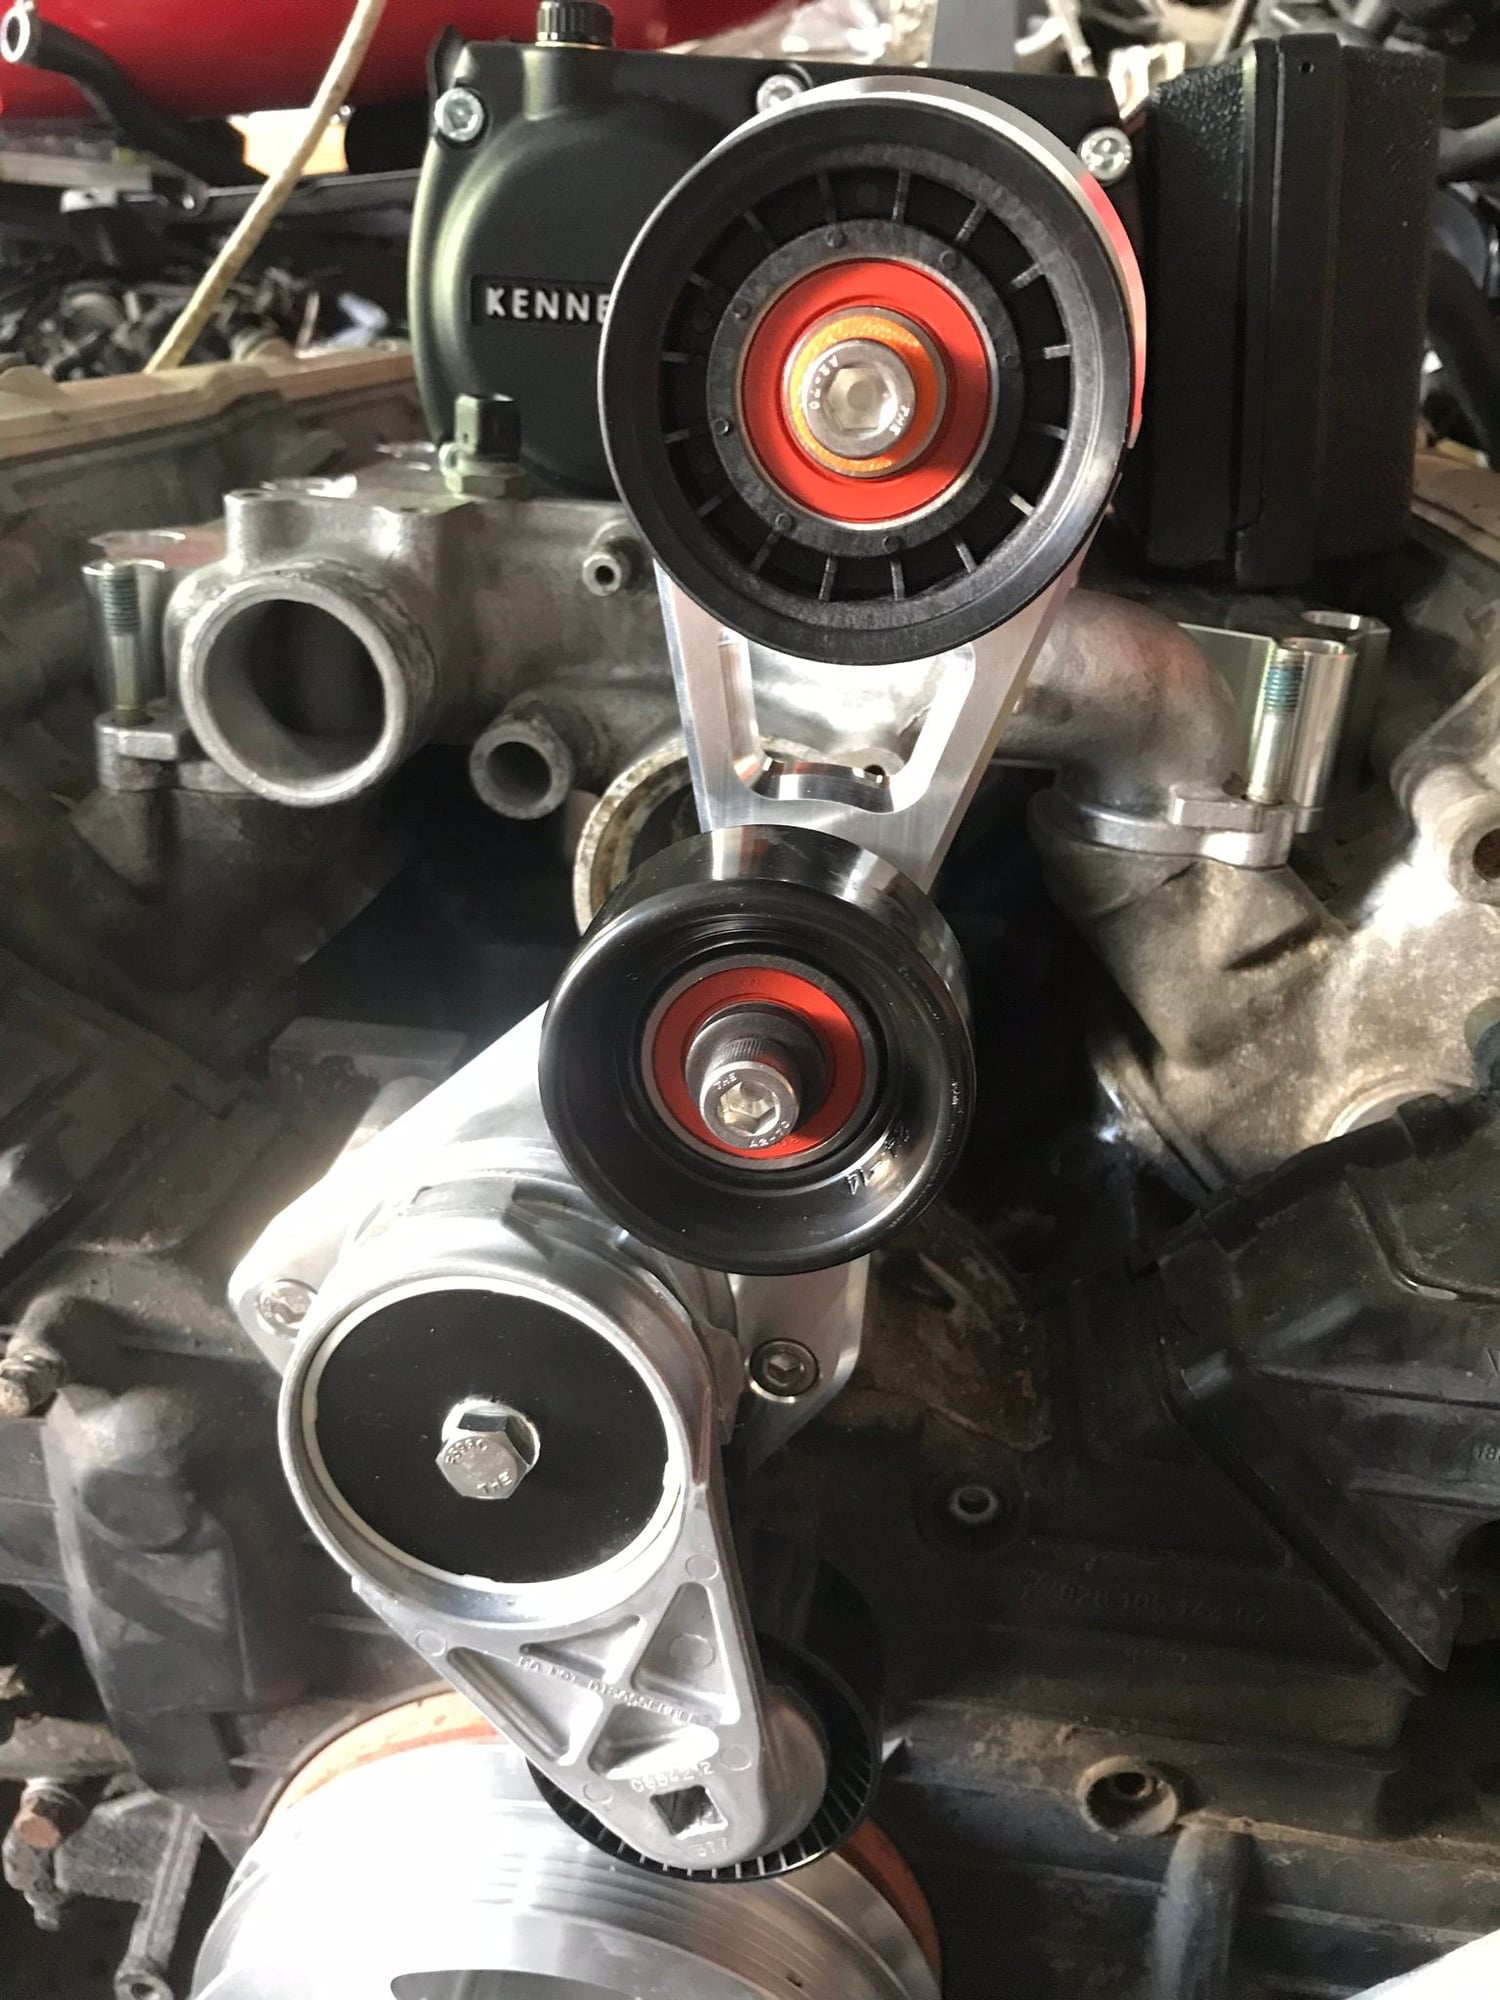
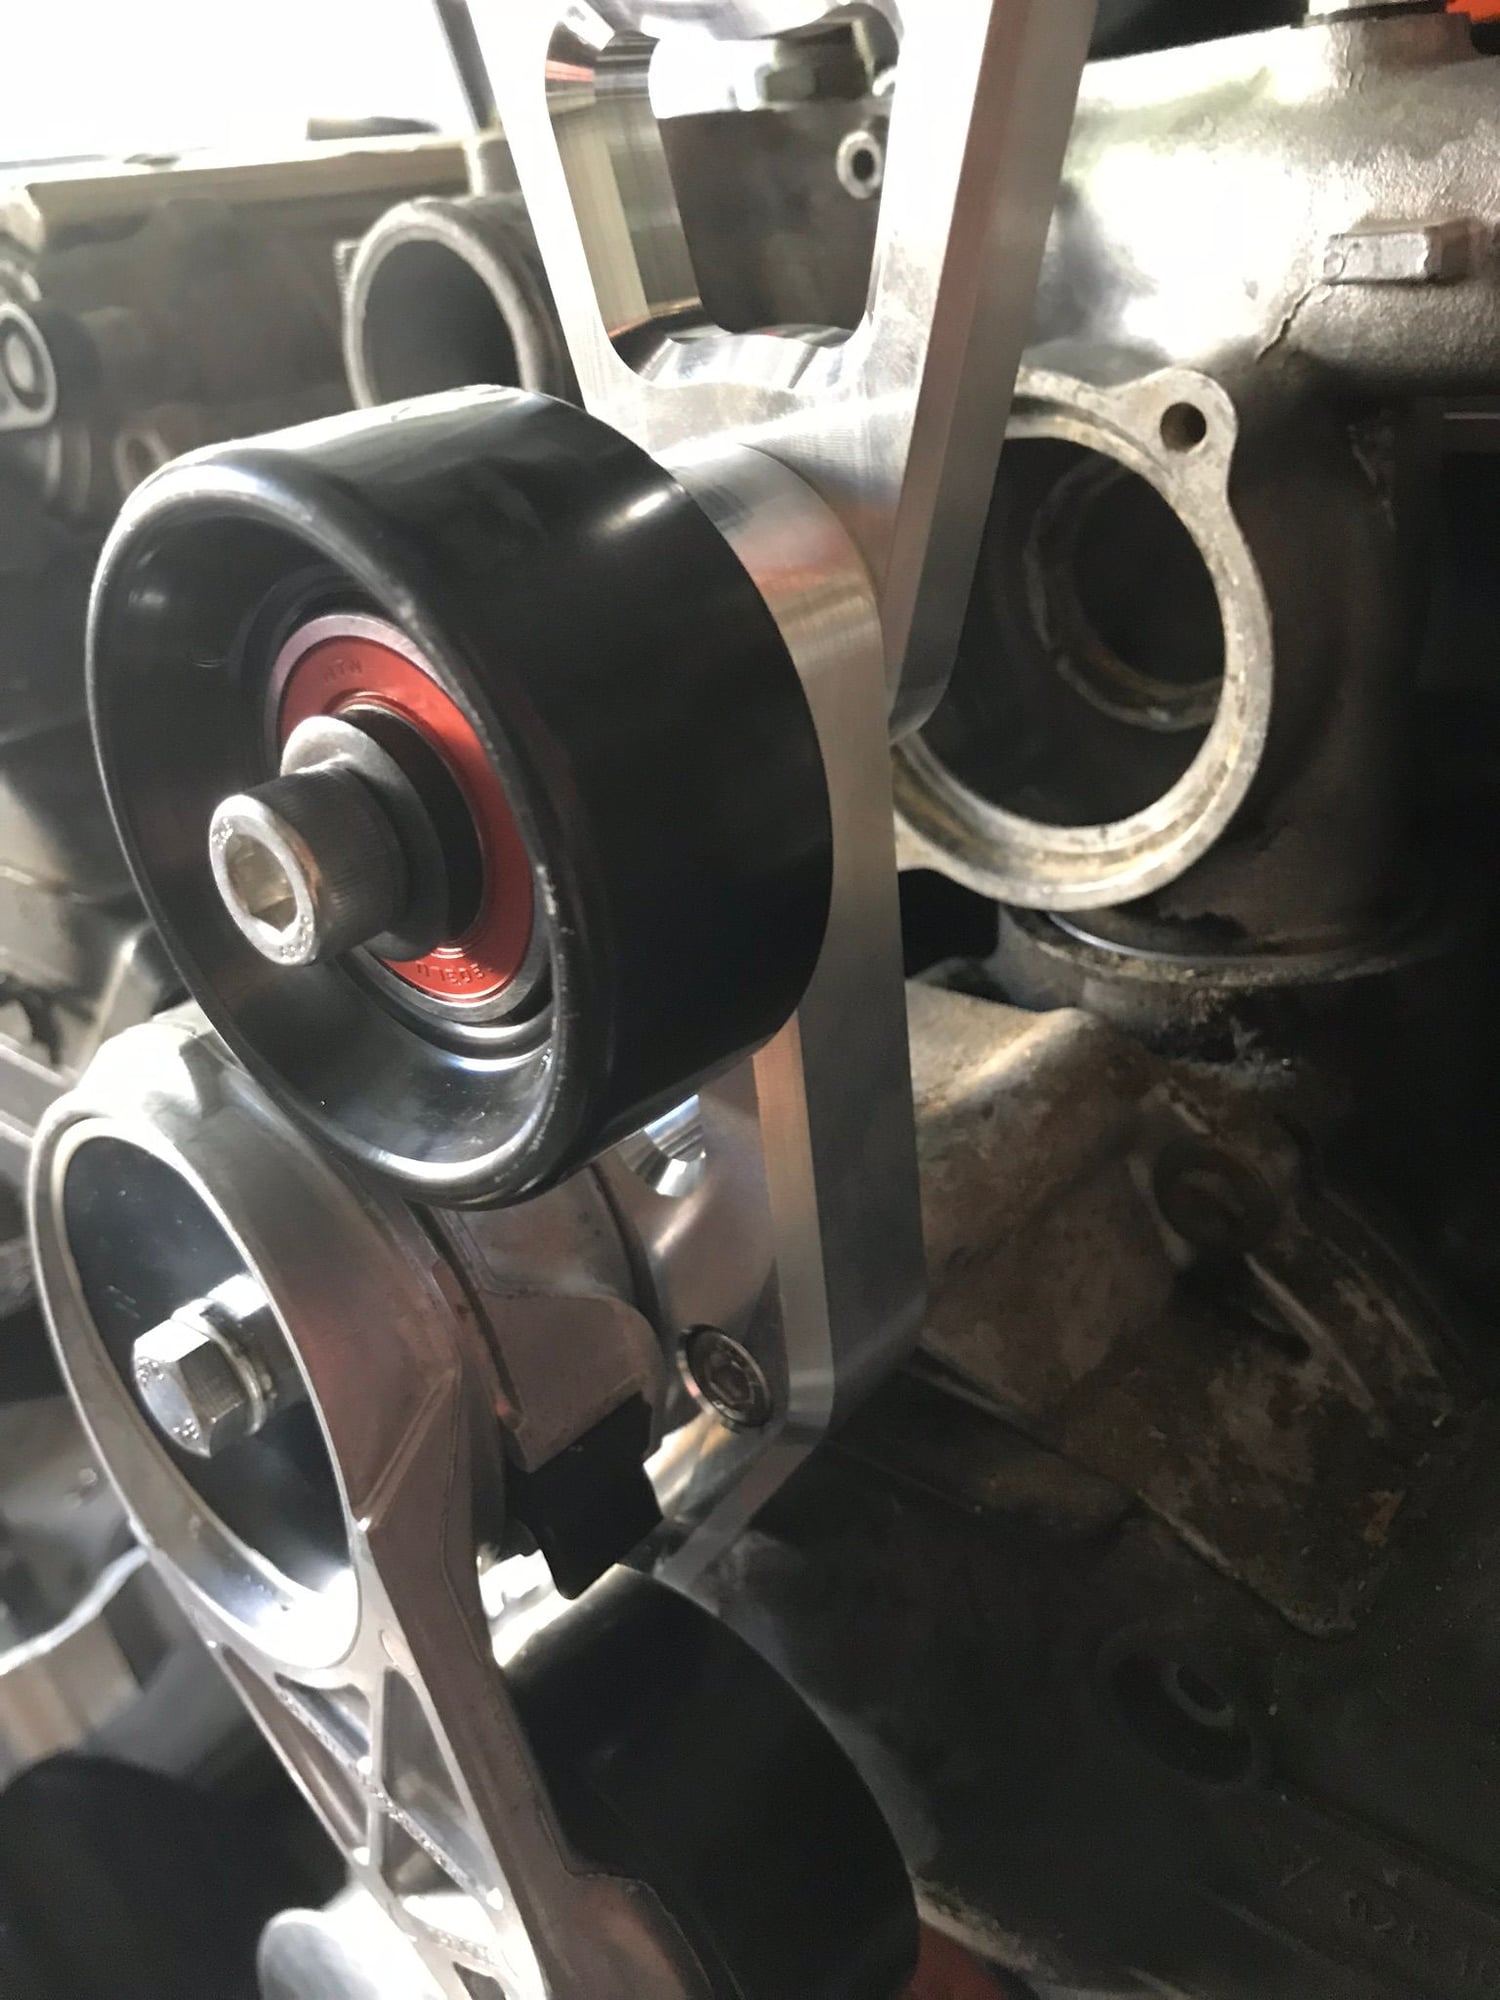
I received the tensioner parts right before SITM, so was able to take an assembly down. You will find pictures below of the real machined parts (they look fantastic). Right now it is assembled with some spare hardware, and a place-holder Dayco idler pulley. I am looking at having 70mm idlers machined, but the Dayco pulleys are readily available and inexpensive. Also shown is an OEM Dayco tensioner for most modern "Hemi" Mopar motors. The bracket was machined in a way that a billet upgraded tensioner sourced from American Racing Solutions can be used interchangeably.
I have initial quotes back on the throttle-inlet housing. They are expensive (as expected) but reasonable. I am reaching out to one more shop before sending the purchase orders out. When you consider that fact that the monoblock construction also incorporates the cost of two throttle bodies (about $400/set at trade pricing) it makes it much more mentally approachable. A fabricated inlet would be significantly less expensive, but cosmetically and dimensionally, I really feel that billet is the way to go.
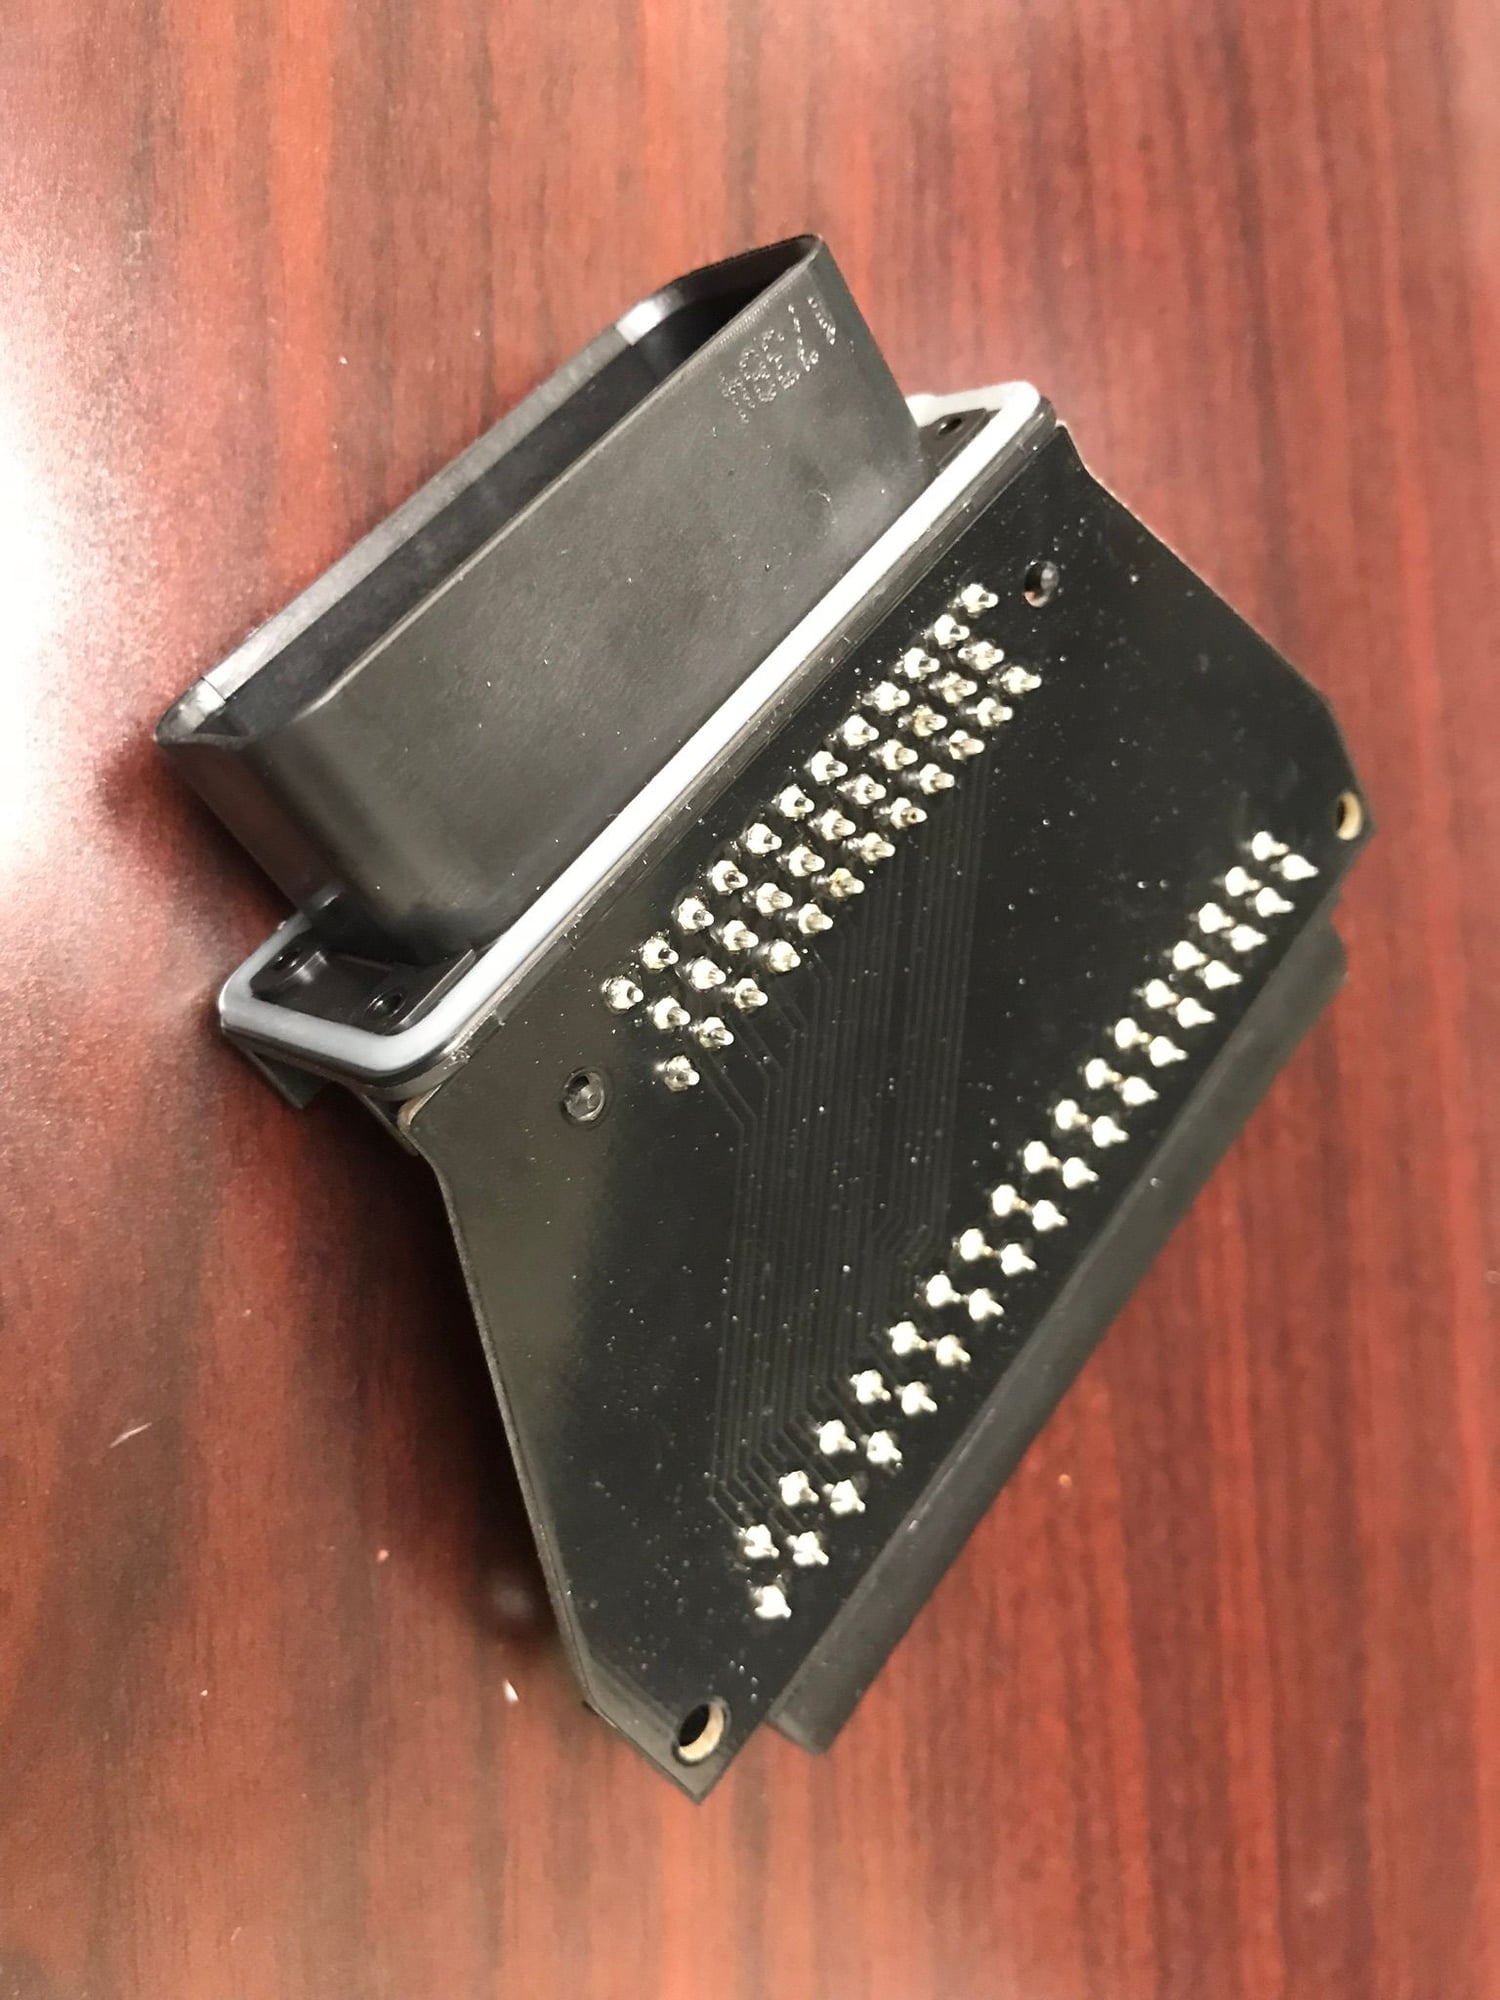
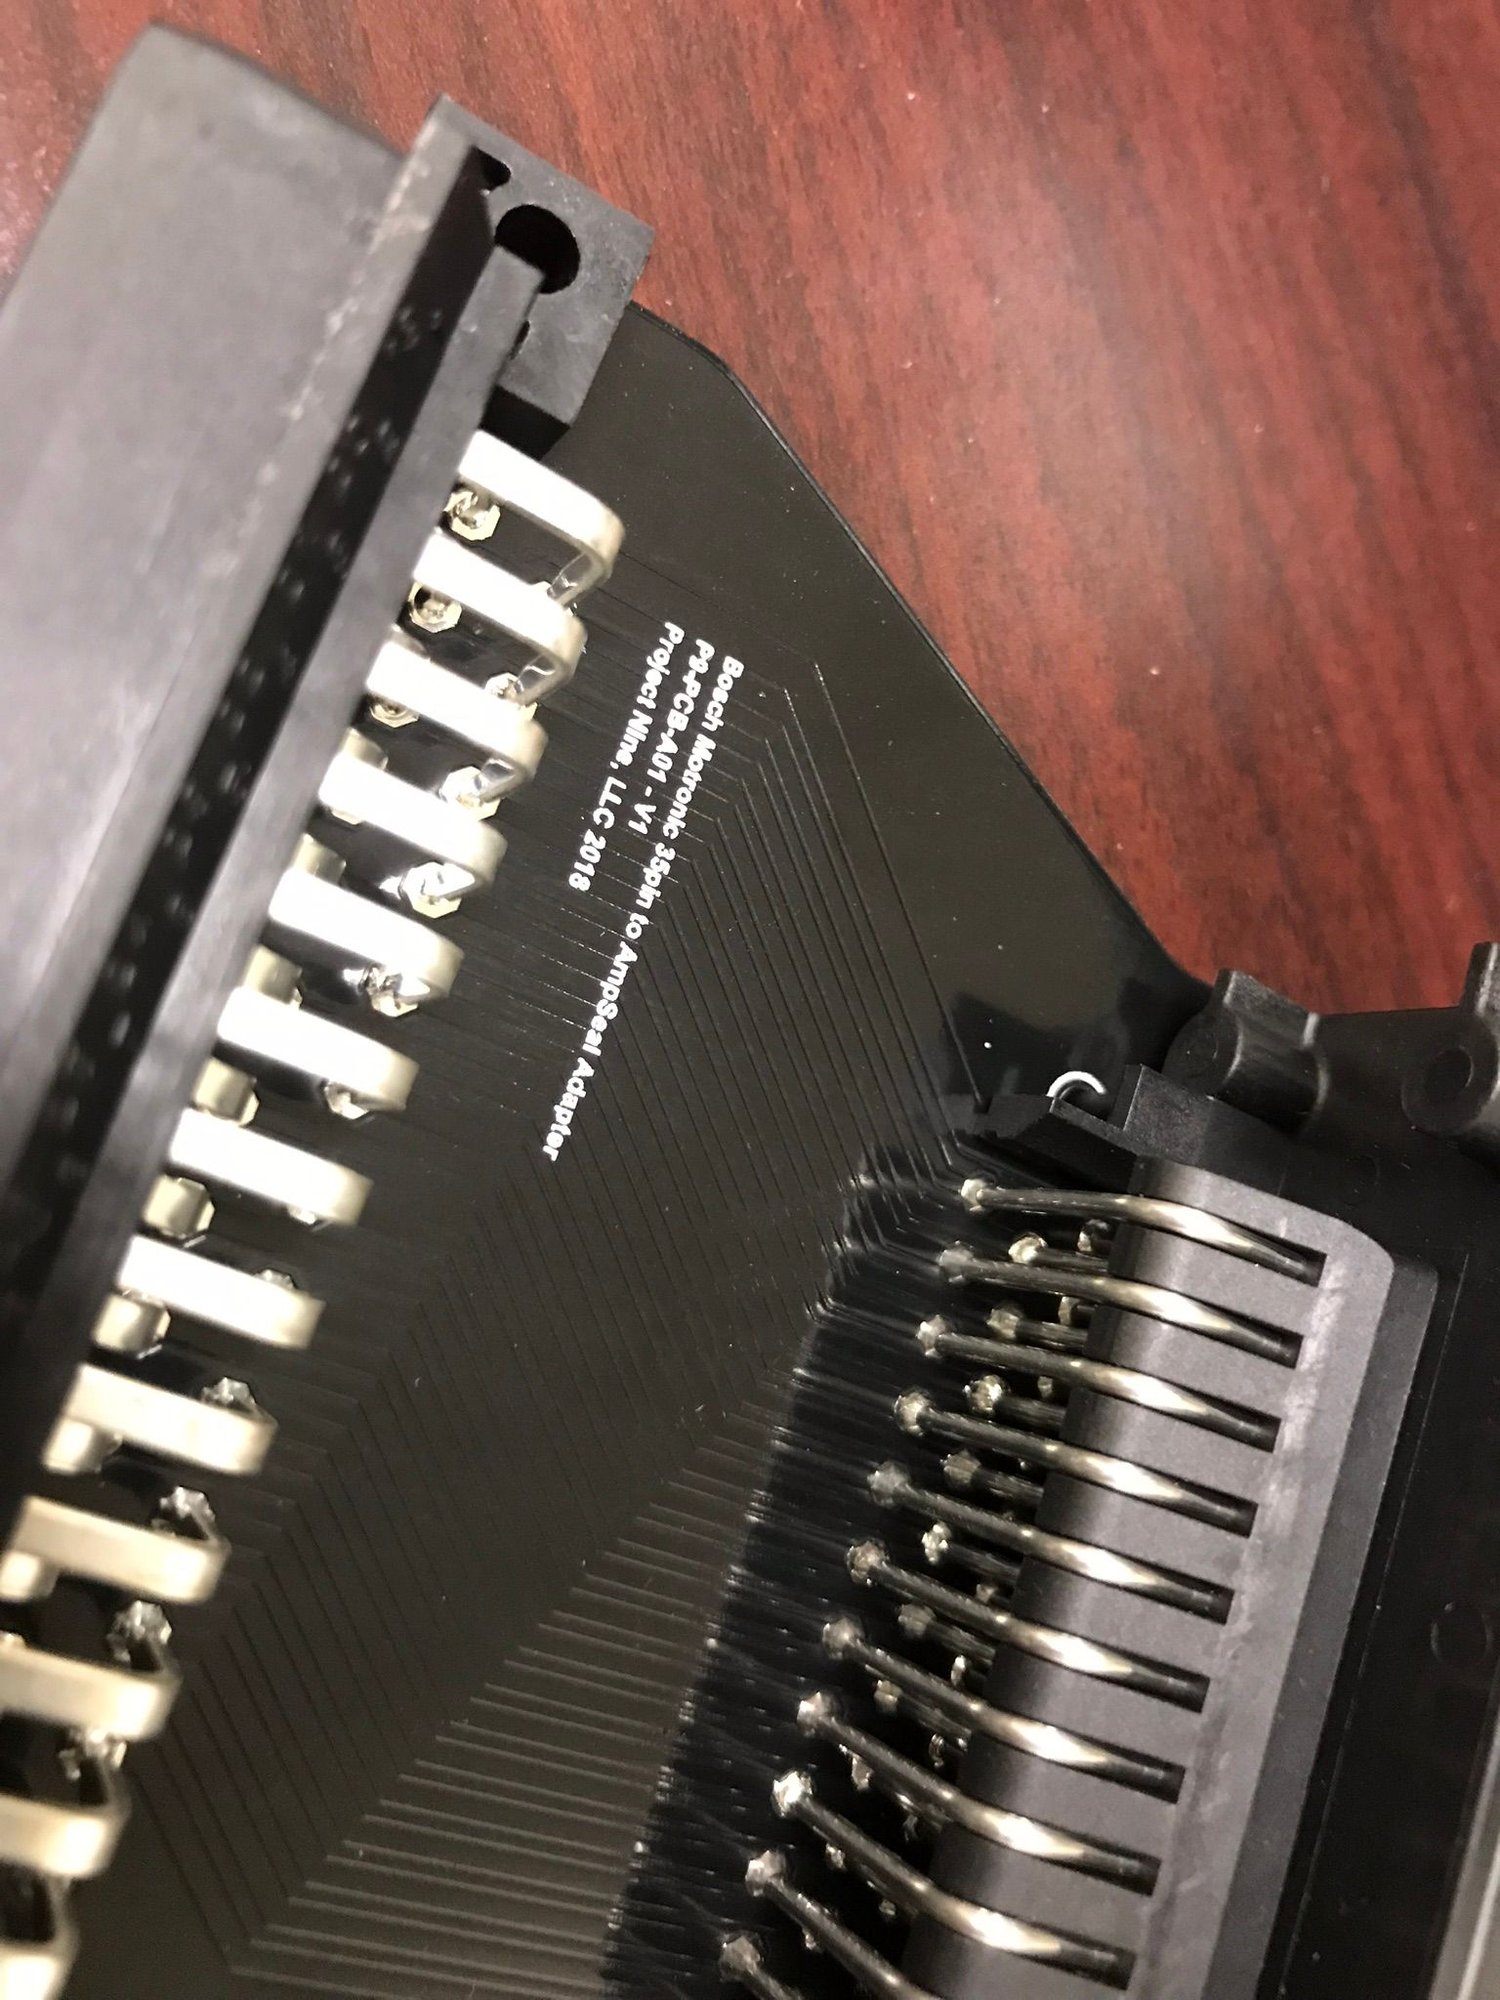
The adapter PCBs for interfacing the stock engine harness have been ordered, as have all the connectors for assembly.
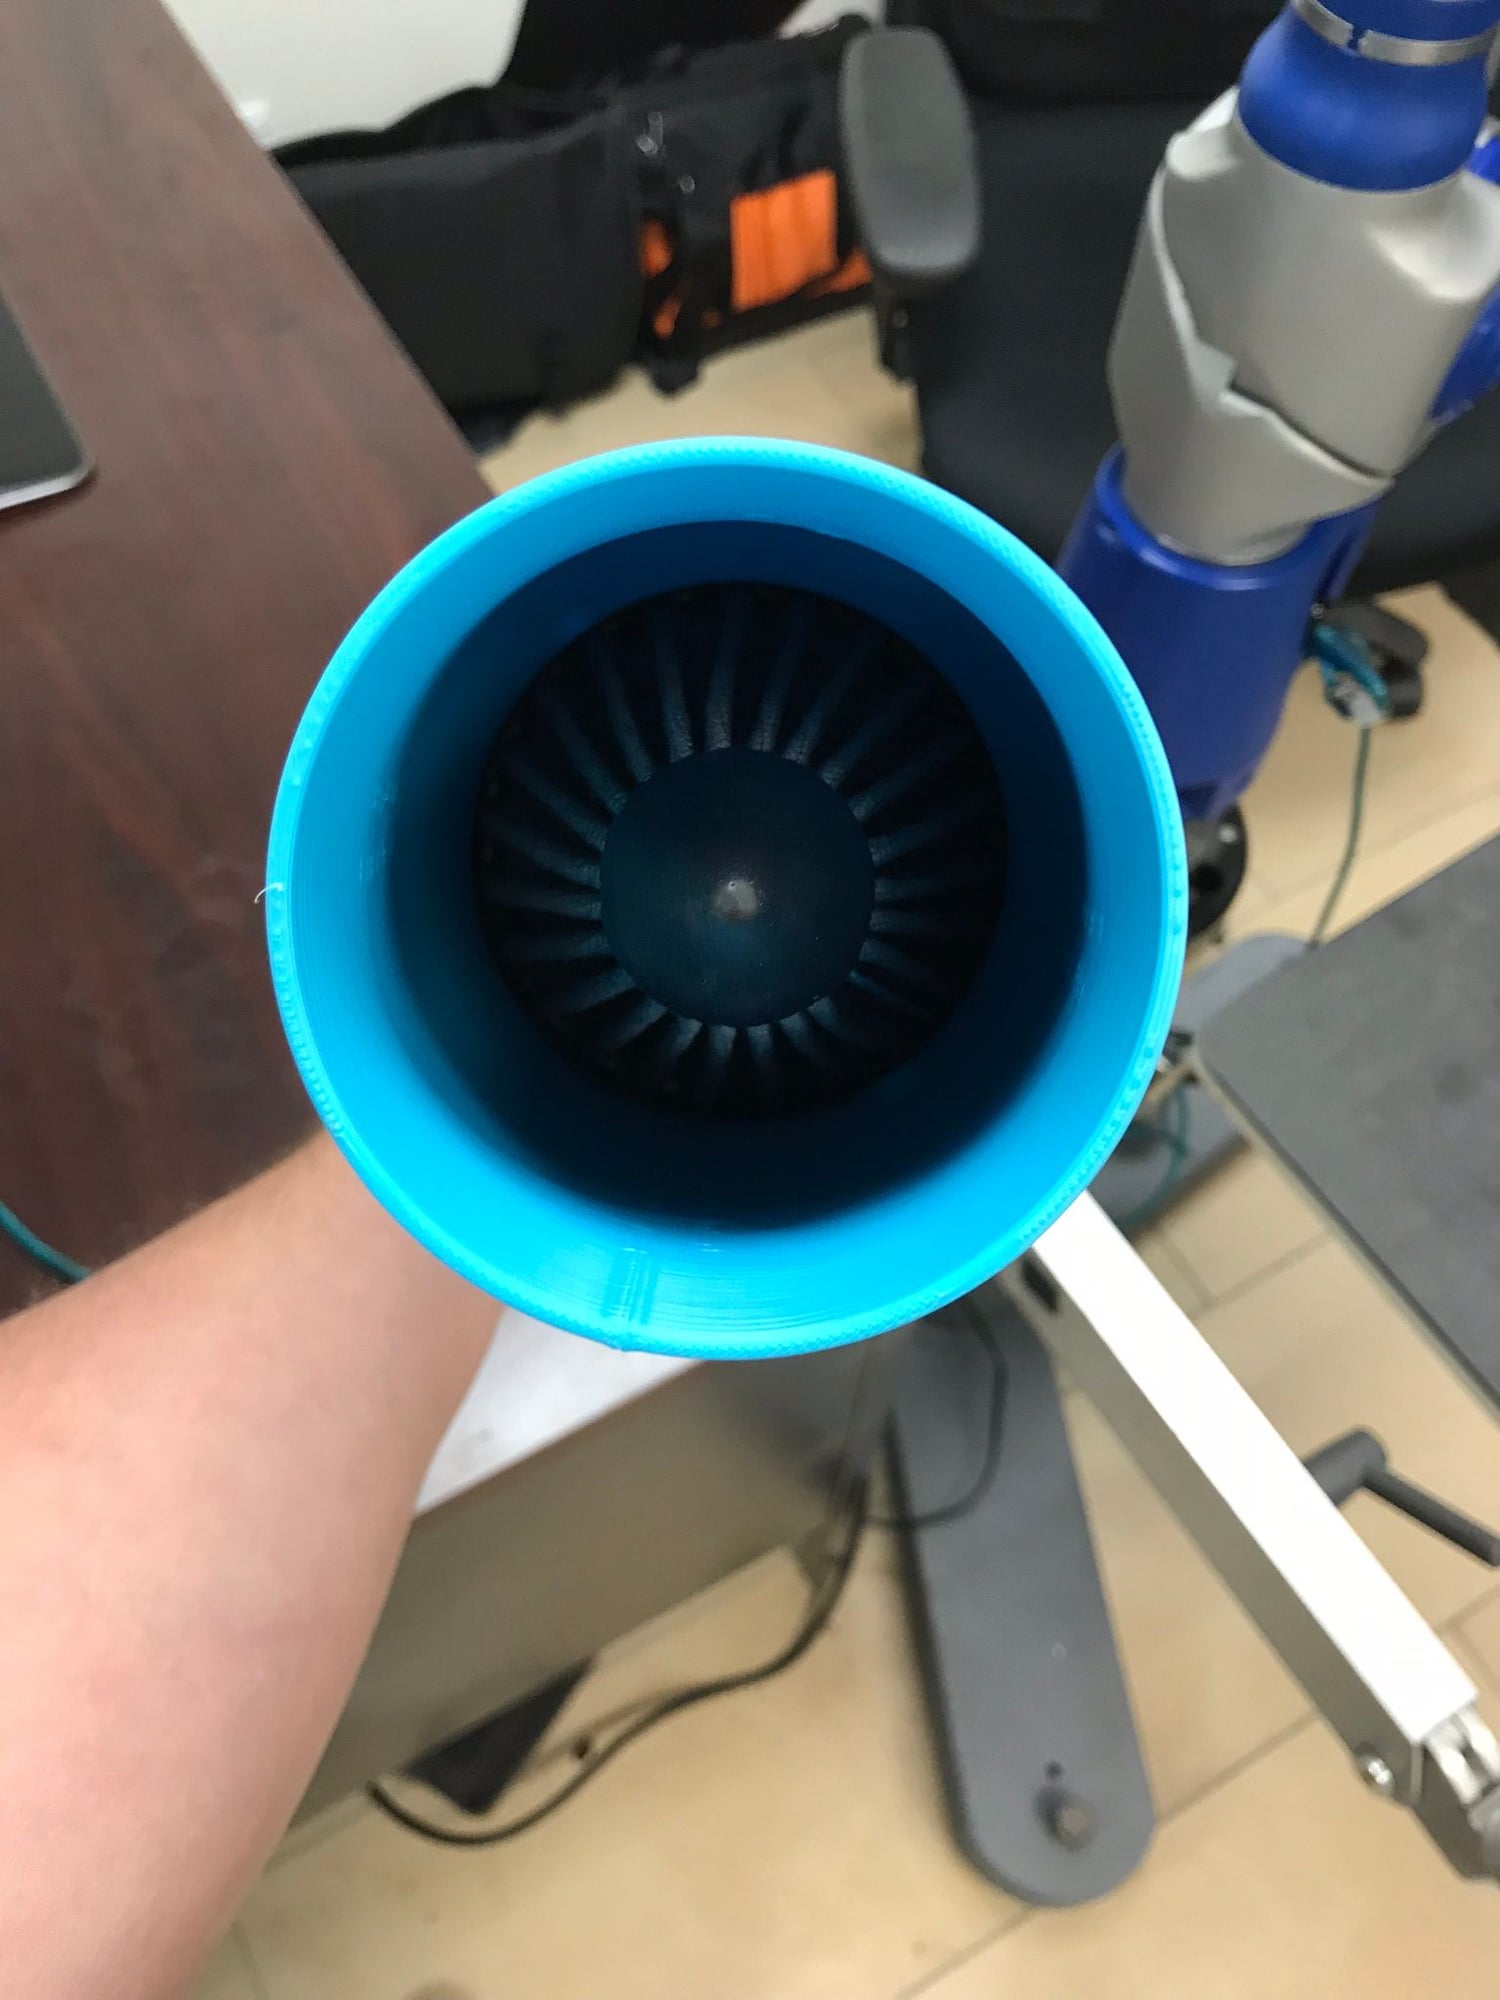
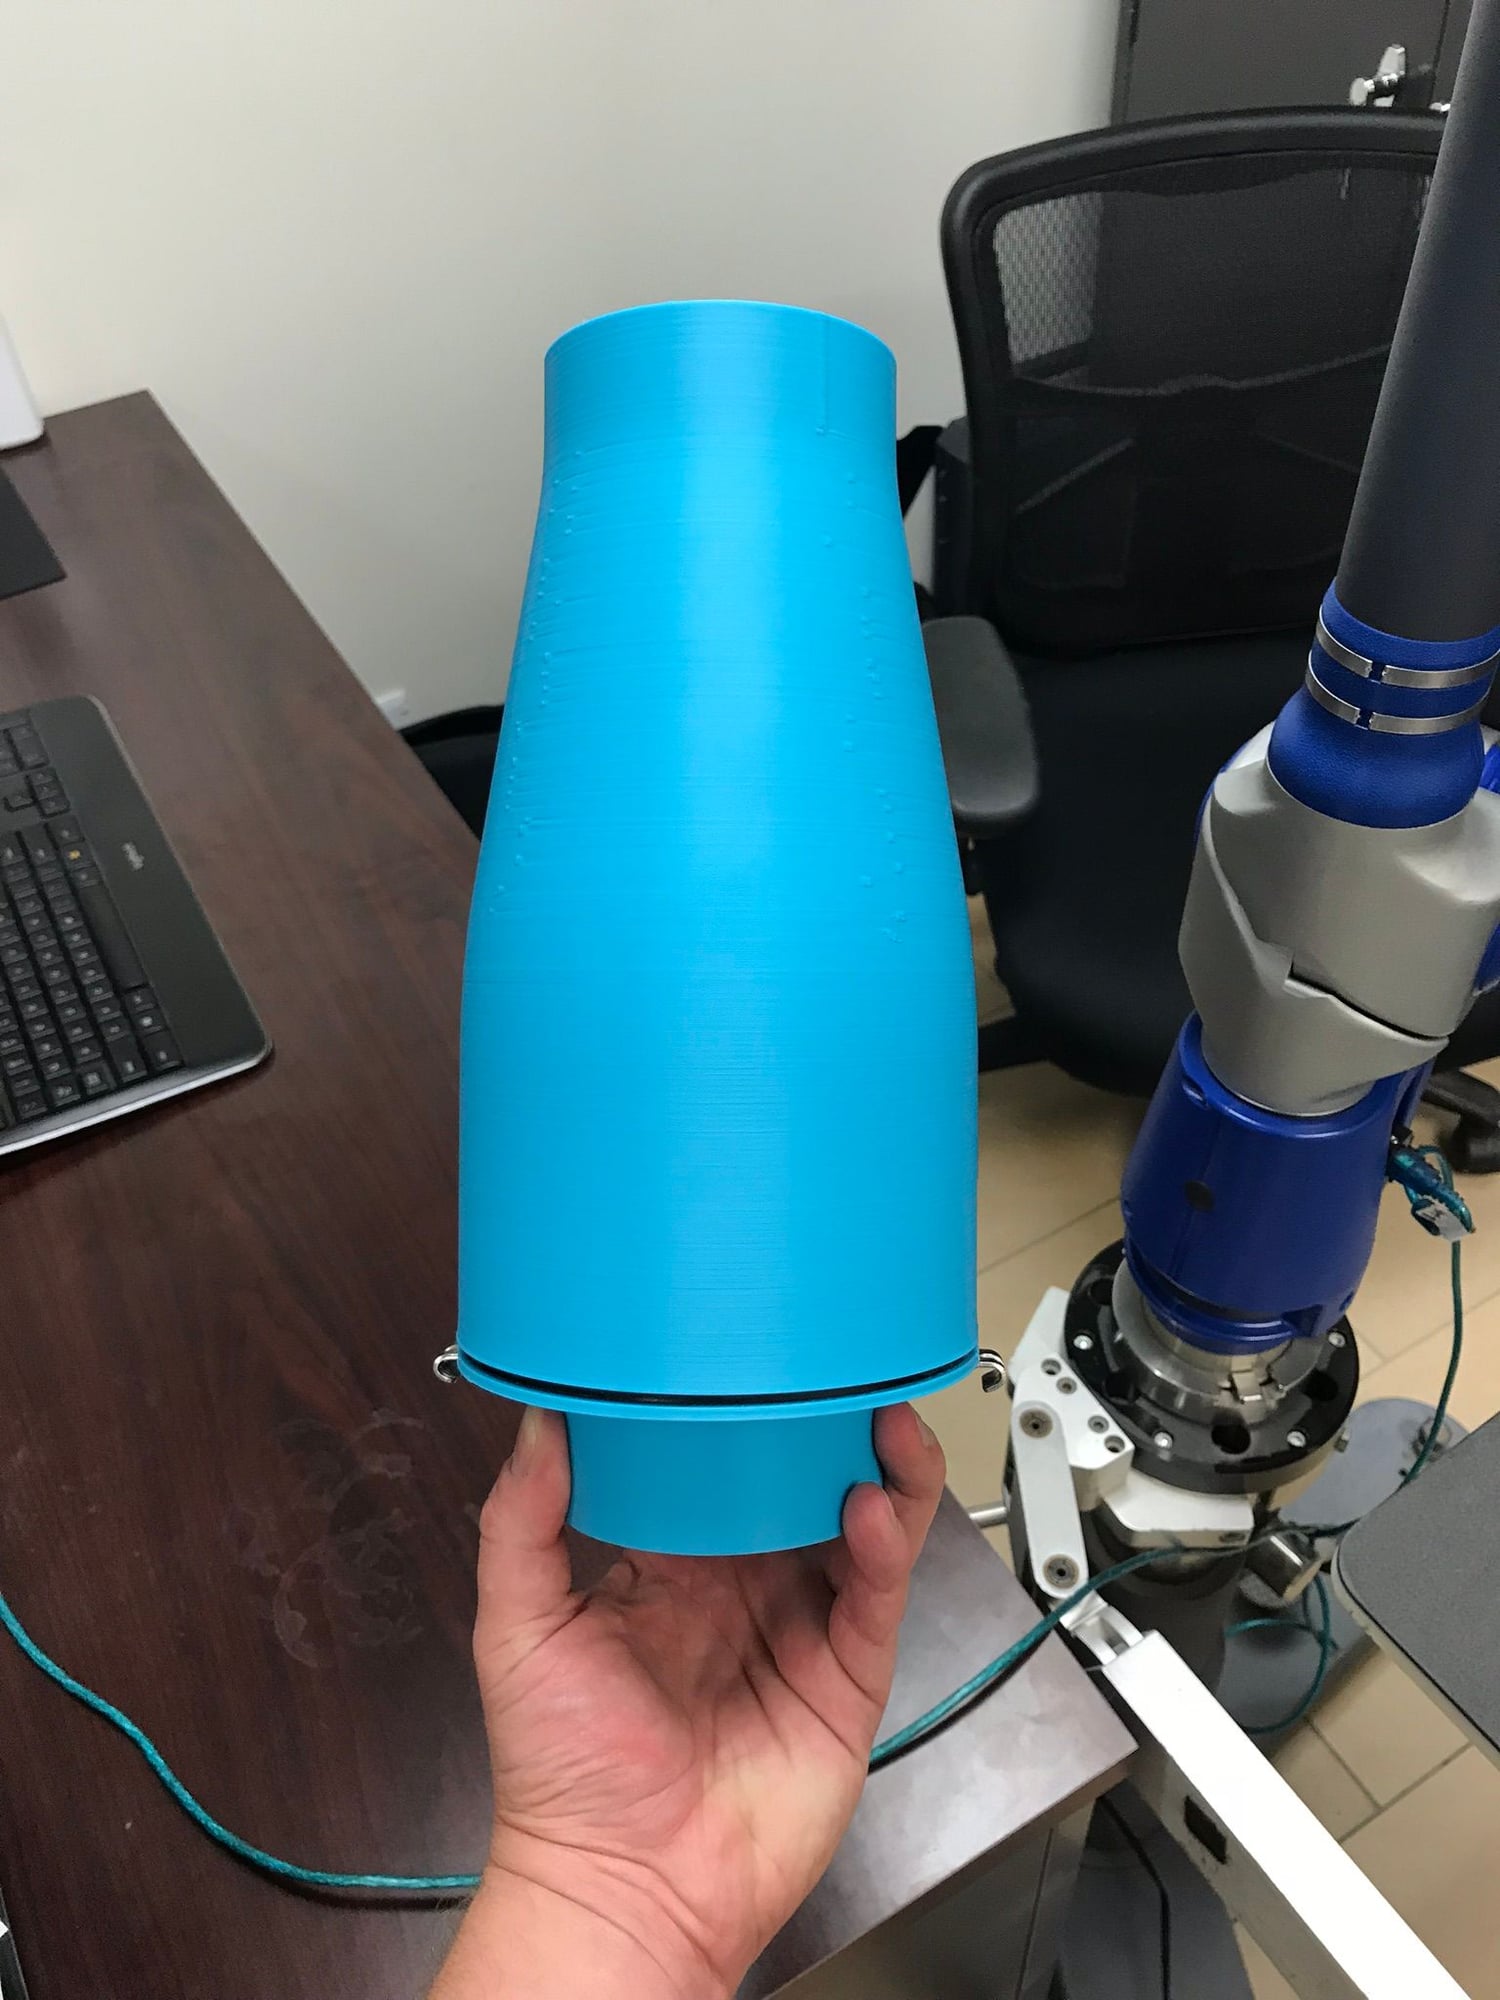
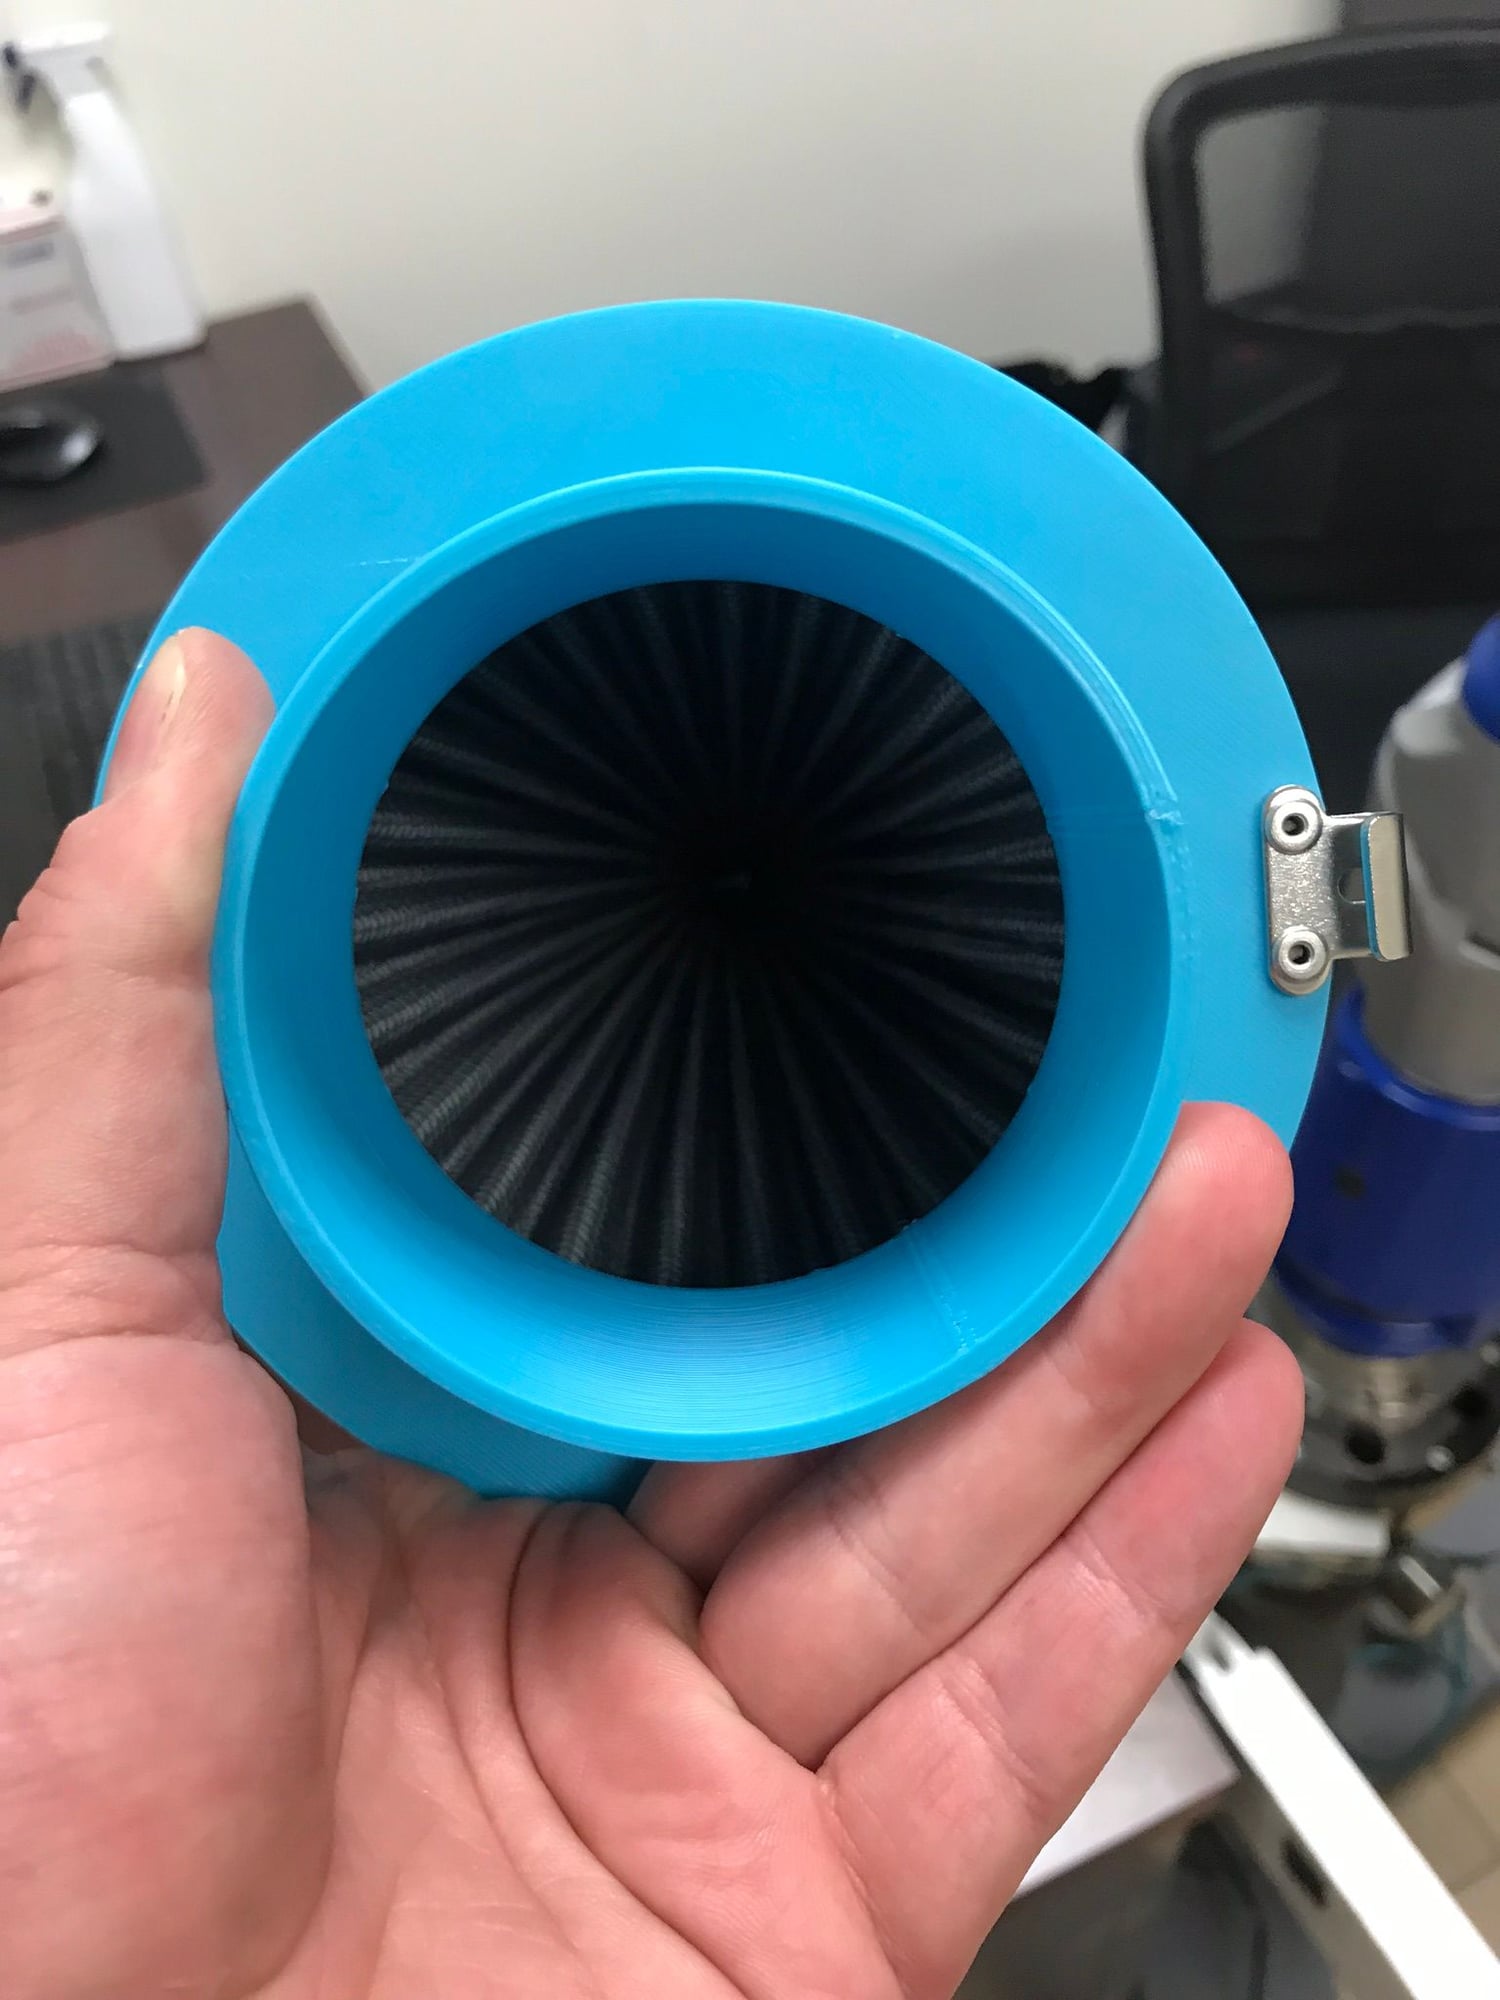
I have adjusted the dimensions of the filter housing, and printed several test parts. The final filter housings will be printed with a matte black carbon-fiber loaded nylon copolymer material. The lighter/brighter color material is useful in checking clearances on the car.
The front mount heat exchanger core has been selected. With the removal of the flap motor on the 87-89 cars (the actual flaps can stay) a 2.25 x 9.3 x 16" extruded tube core from Bell Intercoolers, configured in a single-pass construction with a total outside width of 19" fits between the AC dryer and the headlight motor lift arm. The extruded tube core is much stronger, and more efficient than braised construction, and the overall thermal capacity of the unit exceeds the potential of the supercharger. Extruded tube units are built as semi-custom in that the stack height is infinitely adjustable by removing a row (one tube and fin section at a height increase of approximately 0.4"). If any real-world testing reveals that the core height is significantly effecting radiator performance, the core height can be reduced without having to do a significant re-design. Any height above 8" with this core will support more than the theoretical capability of the supercharger itself (rule of thumb, as there are many variables, and the supercharger will not be run to its full extent).
Dave yours is looking good. I did the swap as well to put the tensioner on the right side of the snout, but it doesn't look near as "Purdy" as yours. That's an interesting looking setup on the back side. I just have a plain old "T" nut.
You know me, I always fry for a bit of form with my function.
The next big part is the throttle housing, and that is both literal and figurative. Its a pretty larger blank to cut, so worked with the shop a bit on a compromise and we will be turning the intake hose parts on a lathe and screwing them (or press-fit, leaving that choice up to them because the PO is for an assembled housing) to make the overall boring operation shorter.
I had a shop located that was going to make them about $200 cheaper per part, but they were 30days over due on the initial PO and hadn't even ordered material yet, so brought it back and the same shop that machined the manifolds is doing the inlet body, throttle shafts, and throttle blades. Its going to cost more, about the same as the actual supercharger manifold, but I get a great shop who is going to check the tolerances between all three components and press-fit the bearings as part of the price. It will be nice not having to worry about any fit issues.
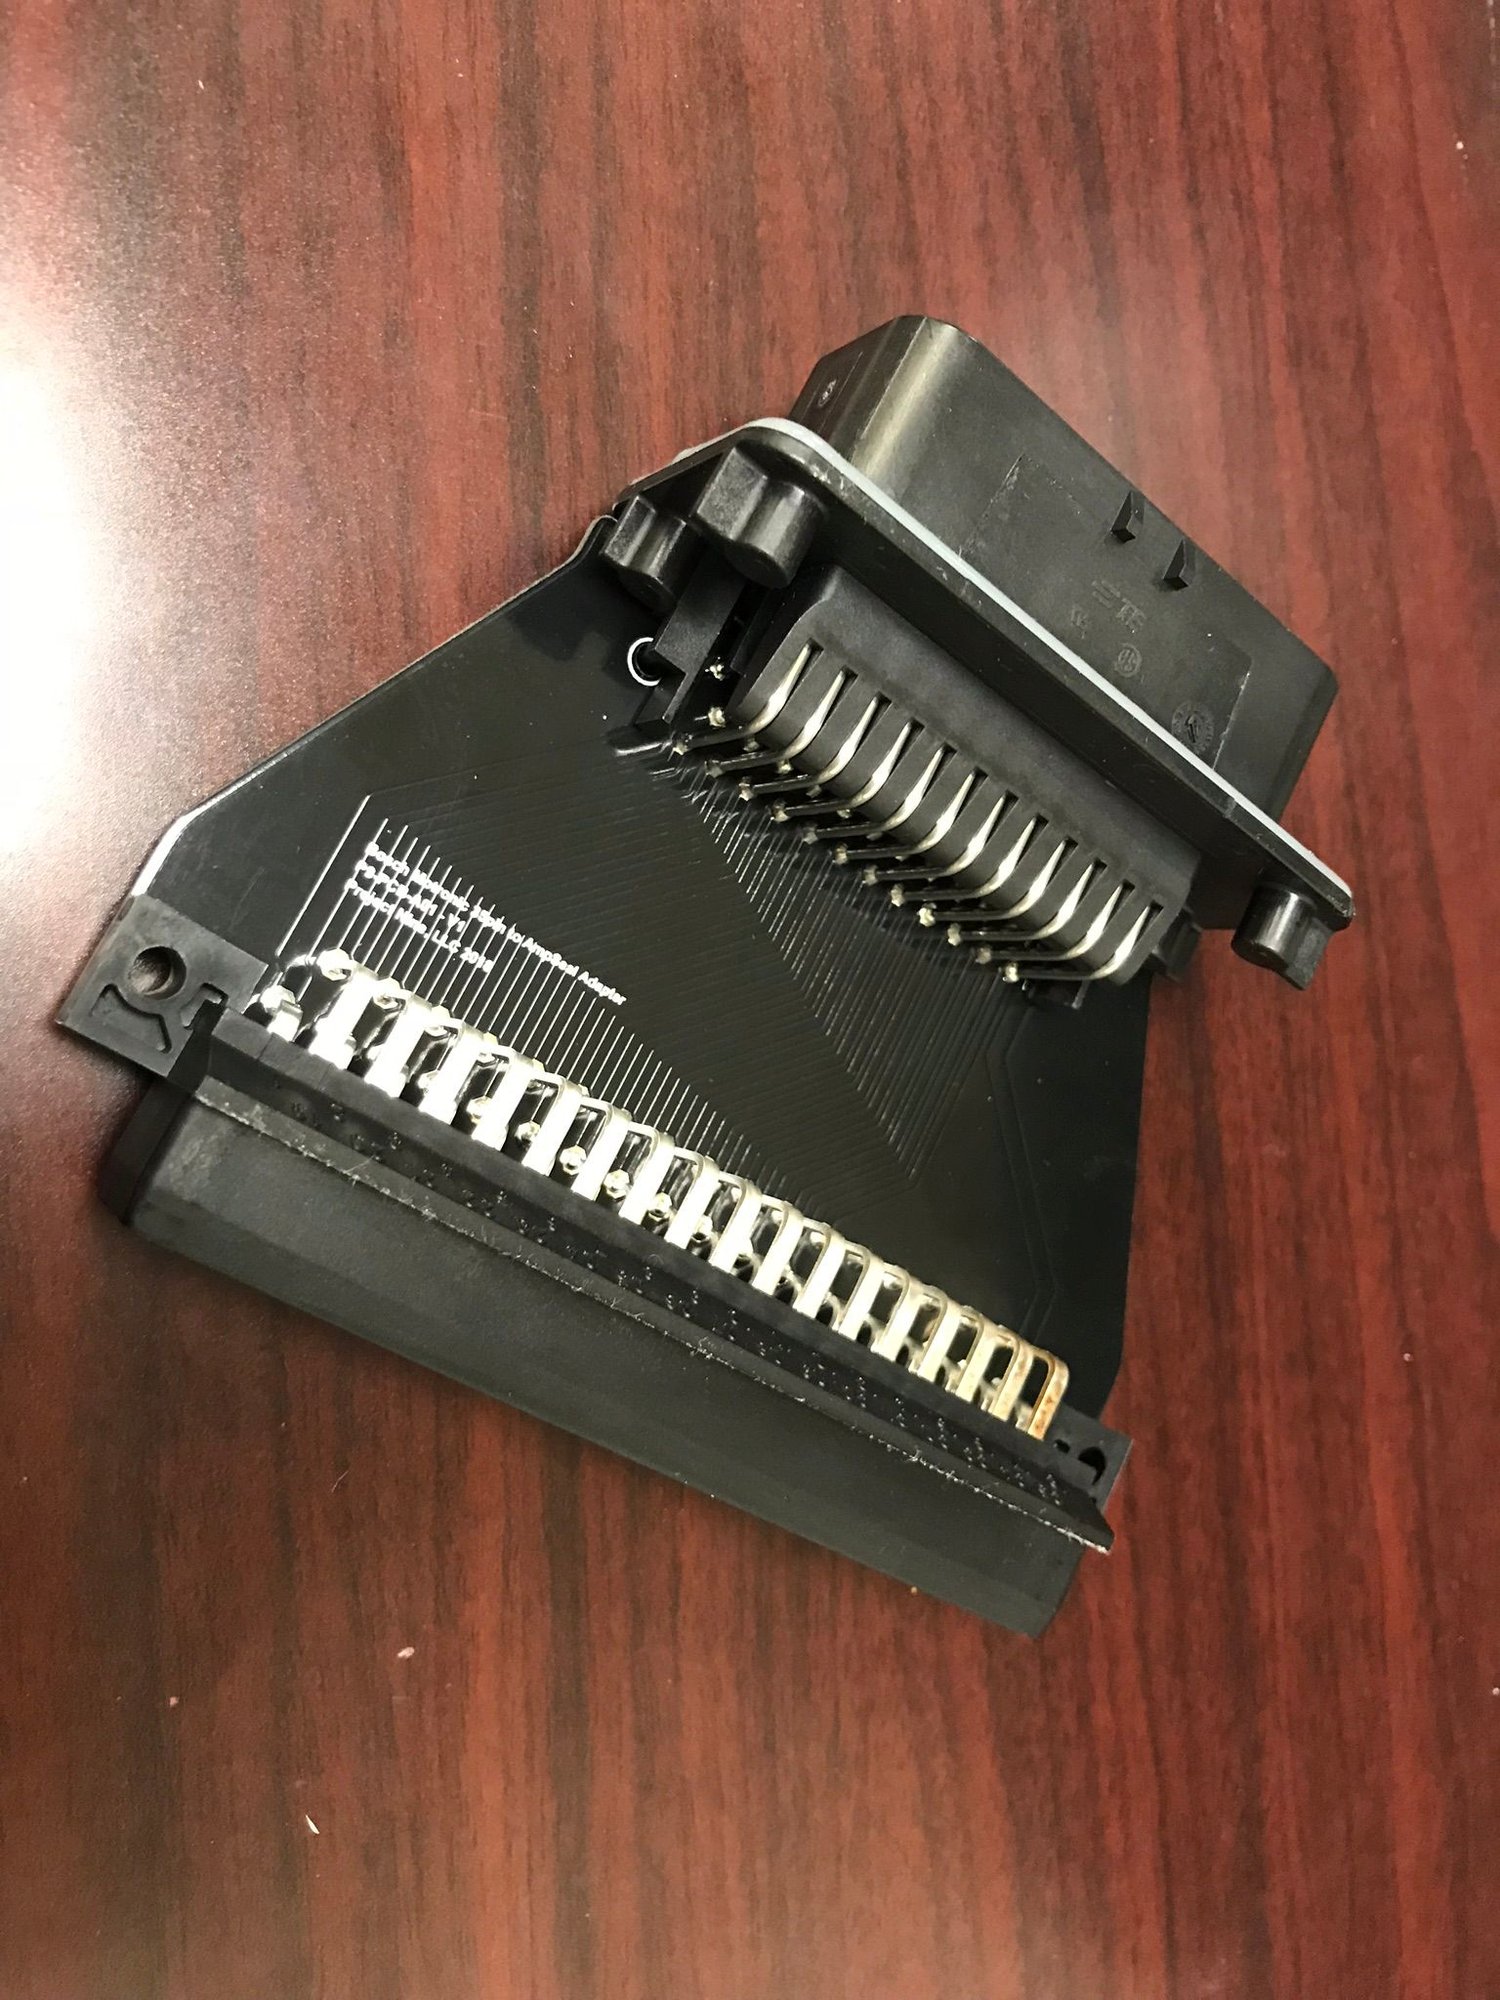
I got the LH/EZK adapter built. Still working through how I want to finish that project up, lots of options, but more difficult when watching the budget.
Lots of irons in the fire. Still need to finalize the heat exchanger design and get a prototype ordered.
It gives me the option of making a plug-and-play interface for replacing the LH and or EZK. It became much easier for me to just run with a MAP sensor instead of twin MAF sensors, so replacing the LH lets me use a number of more flexible sensors, and also do things like closed-loop O2 correction with fast sensors, closed loop idle control, boost control, failsafes based on oil/fuel/lambda/coolant temp... etc.
There are some people working on some new tricks with the LH that I am currently following, but I think its just money ahead to replace with a more comprehensive management system in this case. Filtered it down to either VEMs, MS3Pro, AEM 508 (ranked in order of price but also documentation/support).
Those adapters open up new doors to EFI. Given the old tech of the EZK and LH, I think MS3Pro or Microsquirt would be a great alternative for EFI. We in CA are limited unfortunately due to smog, and cannot change our ignition to anything distributorless (e.g. wasted spark, coil on plug, etc.). I'm not familiar with MS3Pro, but does that EFI allow for tuning distributor ignition systems?

 05-15-2018, 01:32 PM