When you click on links to various merchants on this site and make a purchase, this can result in this site earning a commission. Affiliate programs and affiliations include, but are not limited to, the eBay Partner Network.
I think I may have had more beer than you over the years.. I dont recall either. The car i had at Devek days is long gone...i got this one in 2001. Swapped all my upgrades to it before it was sold though.
Tony - thanks very much for the photos and videos. They are very helpful as I was having a hard time envisioning the process. Mine is an '87 as well.
I've got bubbling around the bottom of my rear quarter windows. Two visible spots on the right side and one on the left. All three pretty small (dime sized), but I want to get it taken care of. The car is always garaged and they've not really gotten bigger in the 6 years I've owned the car. My car is currently in the body shop I normally use because my son put a small dent above the left front wheel while parking. So, I told the shop to fix up those 3 small corrosion spots along with a couple of other minor touch-ups while it is getting the dent fixed. But, I got a call from them today. They want $1,100 to fix the dent on the left fender and to fix up the other scratches and dings. But, they want $2,600 to pull those rear quarter windows and repair the corrosion spots. So, I told them to just do the $1,100 work for now.
After reading through this thread on rear quarter window corrosion ( https://rennlist.com/forums/928-foru...ndow-rust.html ), it seems to me that I can pull the windows myself and hopefully save the trim and seals. Then, I can either try to mitigate the rust myself and have the shop just paint, or have them deal with the rust and paint. But, I feel like pulling the windows and saving the trim and seals should knock that $2,600 bill down quite a bit.
I am interested to hear others’ thoughts on the $2,600 quoted for repair and how much you should expect to pay a body shop to just spray and blend the areas you would normally expect to see the quarter window rust in.
Last edited by FRUNKenstein; 05-12-2020 at 11:02 PM.
The shop manual says to remove the trim, then cut out the rubber seal, Install the glass in the new rubber seal with sealant, then install the trim in the rubber seal and then install the new window assembly with sealant on the body using the rope or string method . I have seen some vids of people installing the glass in the rubber seal with no sealant and then the window assembly on the body with no sealant as well. No sealant might lead to leaks, it would be interesting to know from others such as Kiln Red what they do.
seal is on the glass fine and the trim went in easily with some soapy water on the barbed trim piece as well as in the channel it slots into.
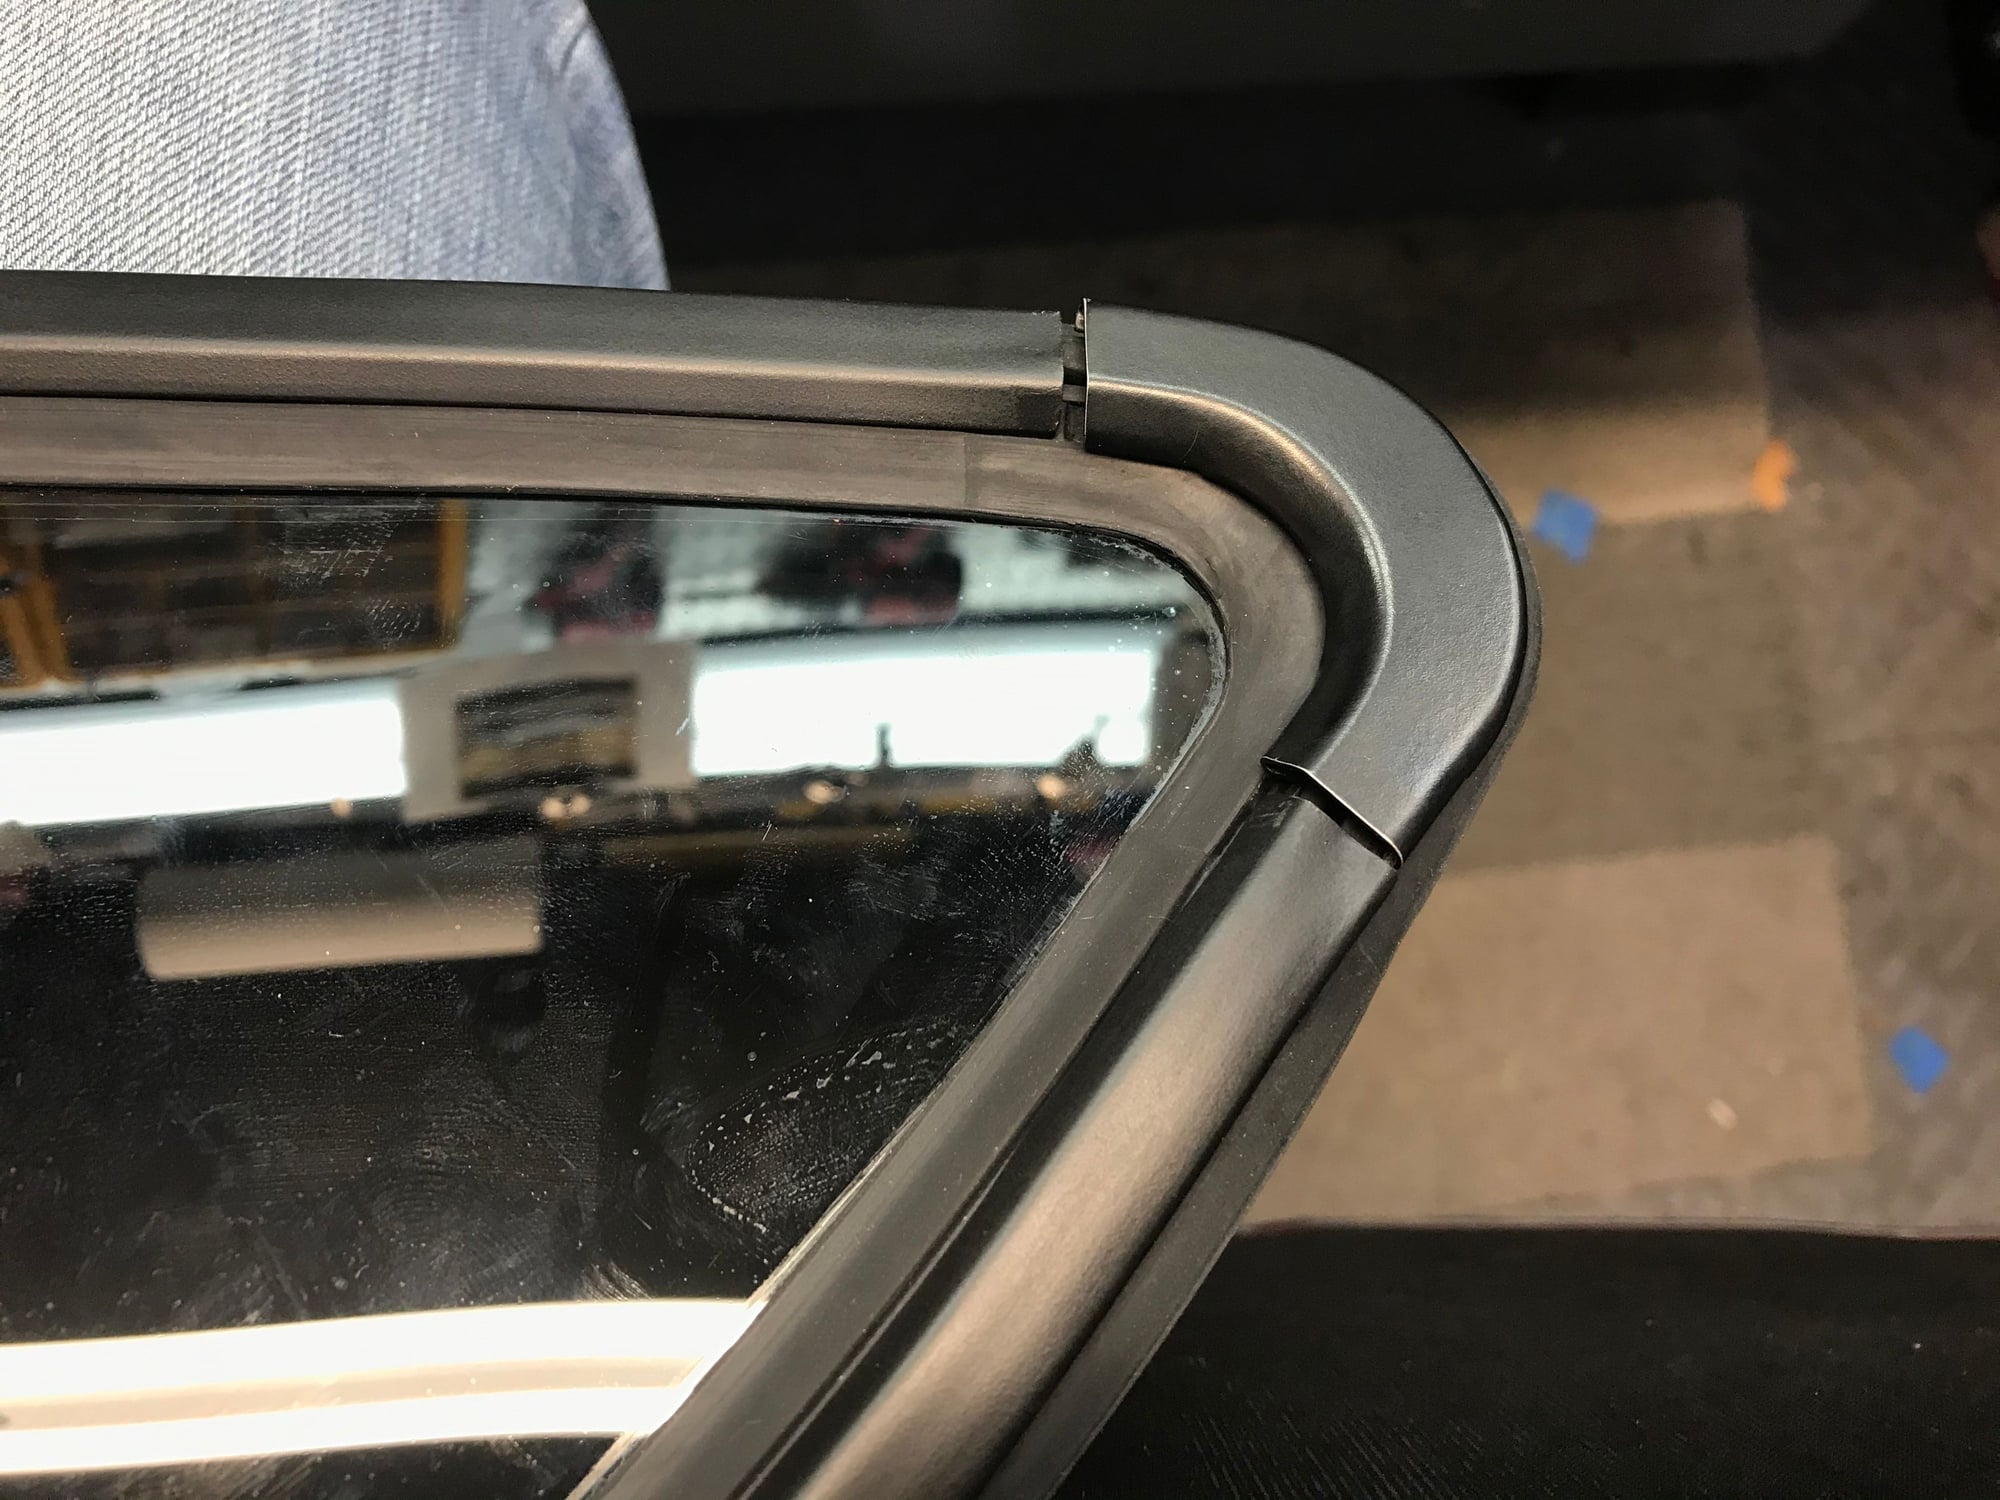
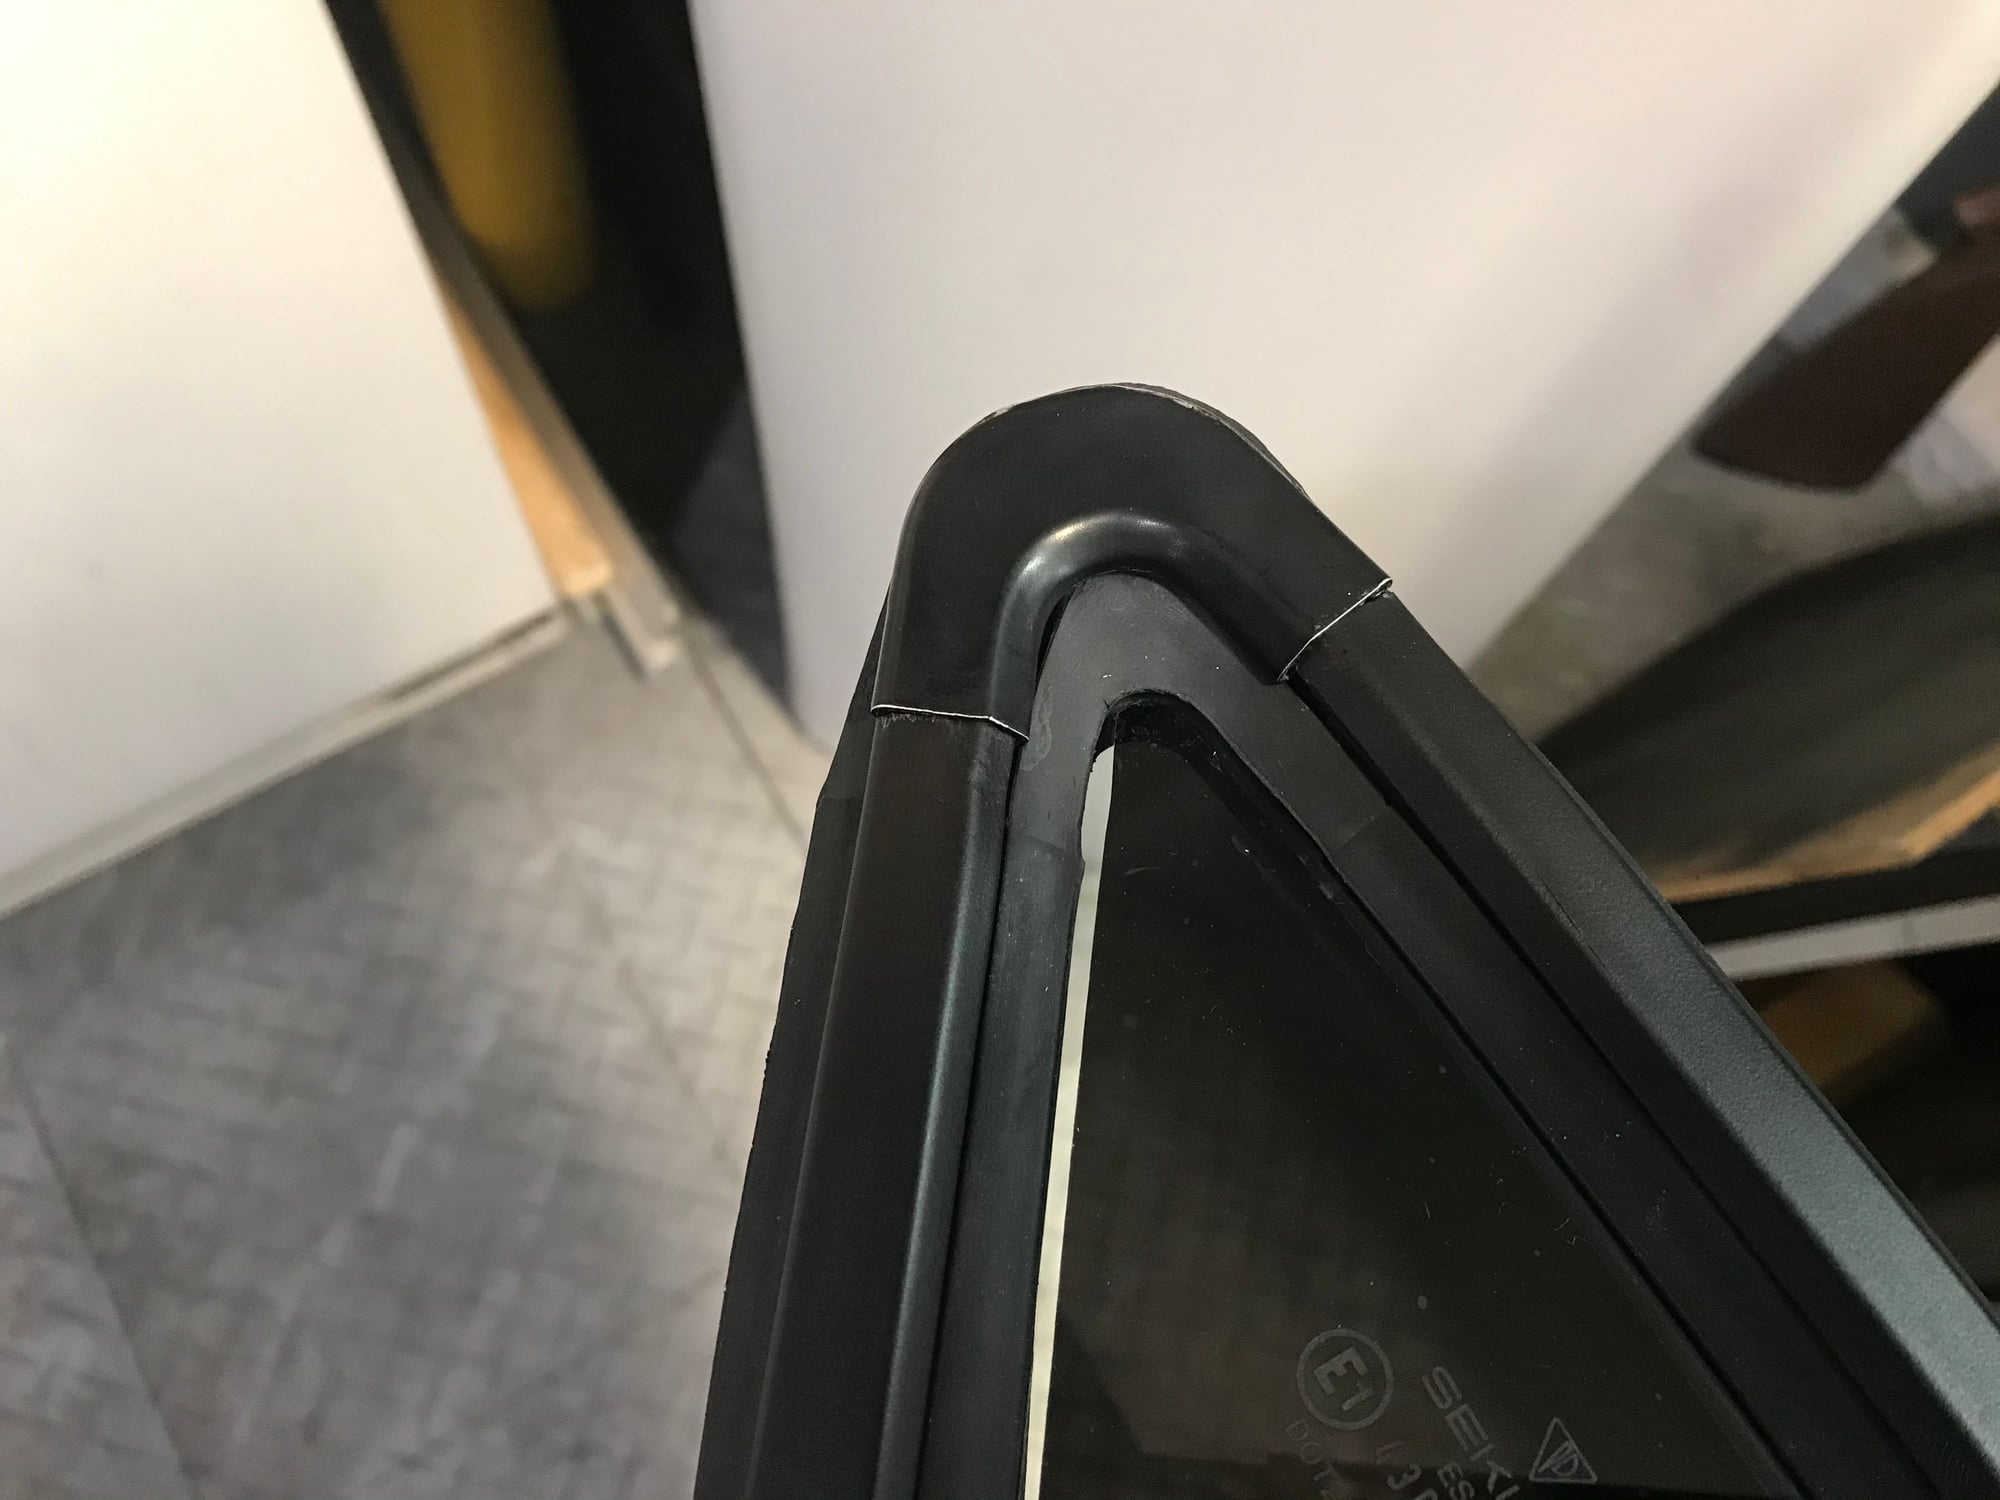
The issue I'm have is getting it all to the correct installtion spot on the rubber seal. At the ends there has to be enough trim left over to slide into the corner trim pieces. At this point it has just been trial and error and i always end up with a gap at either end. Im to the point where the gaps are even though.
I assume when the seal is installed in the car it compresses up against the glass and effectivly reduces its length and the trim parts “should” meet with the required overlap they need
Really only have one shot at doing it right which is why in thinking about putting the window in first then adding the trim with soap in the groove and pushing it in. Ive read success stories both ways....trim on...and trim off during rear quarter glass installation.
tips..ideas...
and they are the original plastic trim pieces i took out. Only replaced an upper metalcorner
I had the same problem when i try to place the corner pieces!
The problem resolve when install the glass on the car
1) Install the robber on the glass
2) Insert the long pieces
3) Install the glass on the car
4) Install the corner pieces
The robber shrinks and gets the right size.
(Sorry for my English, is not my first language).
thnx Jimmy. It echos what i was thinking....the rubber will have a smaller circumference once it is wedged and pushed into the window channel. Hopefully enough to make the ends meet the corner pieces.
I put it all in after the fact and it was a pain in the ***. If you can get it mostly in before hand that's probably the far easier option.
what isnt PITA on this car sometimes. Ive struggled through plenty of stuff over the last 20+ yrs but Im thinking I would rather have the seal in, then add the trim. That will assure me that the long parts are positioned correctly to mate with the corner pieces. If they are installed with the seal they will be really tough to get out and then re-adjust.
this window is only going in once.
Changing the fuel pump is easy compared my Durango's in tank pump at least.
I reused trim pieces from my parts car, so it's possible that years of sun made them less forgiving to install. I also reused my window seals (because I was too cheap to buy new ones). I found that, particularly around the bottom edge where the glass curves up along the door, that it was hard to get the trim in all the way. It still tries to roll out some at the very bottom.
But you gotta keep something small like that wrong to ward off the gremlins that break an otherwise functioning piece of machinery. Damn that murphy and his stupid laws.
I know people say they have gotten the trim in after installing the window but based on my n of 4 or 5 cars I really would advocate for assembling the trim on the gaskets and getting it all 'in' before trying to install the windows. Much easier to roll the outer edge of the gasket outwards to allow the 'tooth' of the spine of the trim to fully seat along its length this way. If you have the time, invest in a bottle of P80-THX as an assembly lube, both for the trim and along the window channel during installation. (EDIT- and for every rubber hose in the engine compartment/fuel system / outer lower door window seal installation/etc....)
It's also much easier to install if you have two people- One has the window and is maintaining pressure on the gasket as you place the window gasket onto the body seam. The other is inside the car and is pulling the rope and rolling the gasket fully over the seam. Start by forcing the assembly upwards and forwards into the opening, and start the rope at 12 oclock in the middle of the long upper straightaway. Outside person is maintaining pressure on the window right along where the rope is being pulled out to help force the gasket inward and fully seated.
We did a pair of quarter windows about 2 weeks ago in literally 20 minutes, once everything was assembled and lubed. It helps that William Anast is the undefeated bantamweight champion of the world when it comes to
quarter window installation.
I laughed at the straight swap of the BBS wheels. The mechanic knew what he was getting. I cringed at the fact that he didnt paint the headlight bases.....looks like crap with the lights up. And the lack of a gasket on the hood crest.
anyway...thnx. I wonder if he really did that window by himself ?

 04-17-2020, 12:35 PM
 I dont recall either. The car i had at Devek days is long gone...i got this one in 2001. Swapped all my upgrades to it before it was sold though.