When you click on links to various merchants on this site and make a purchase, this can result in this site earning a commission. Affiliate programs and affiliations include, but are not limited to, the eBay Partner Network.
had to leave the transmission fill plug challange for now, had a back injury and cannot crawl under the car for now so time to do the top end fuel rails and injectors. I had a strong smell of Petrol when I backed it into the Garage so there is a leak some place
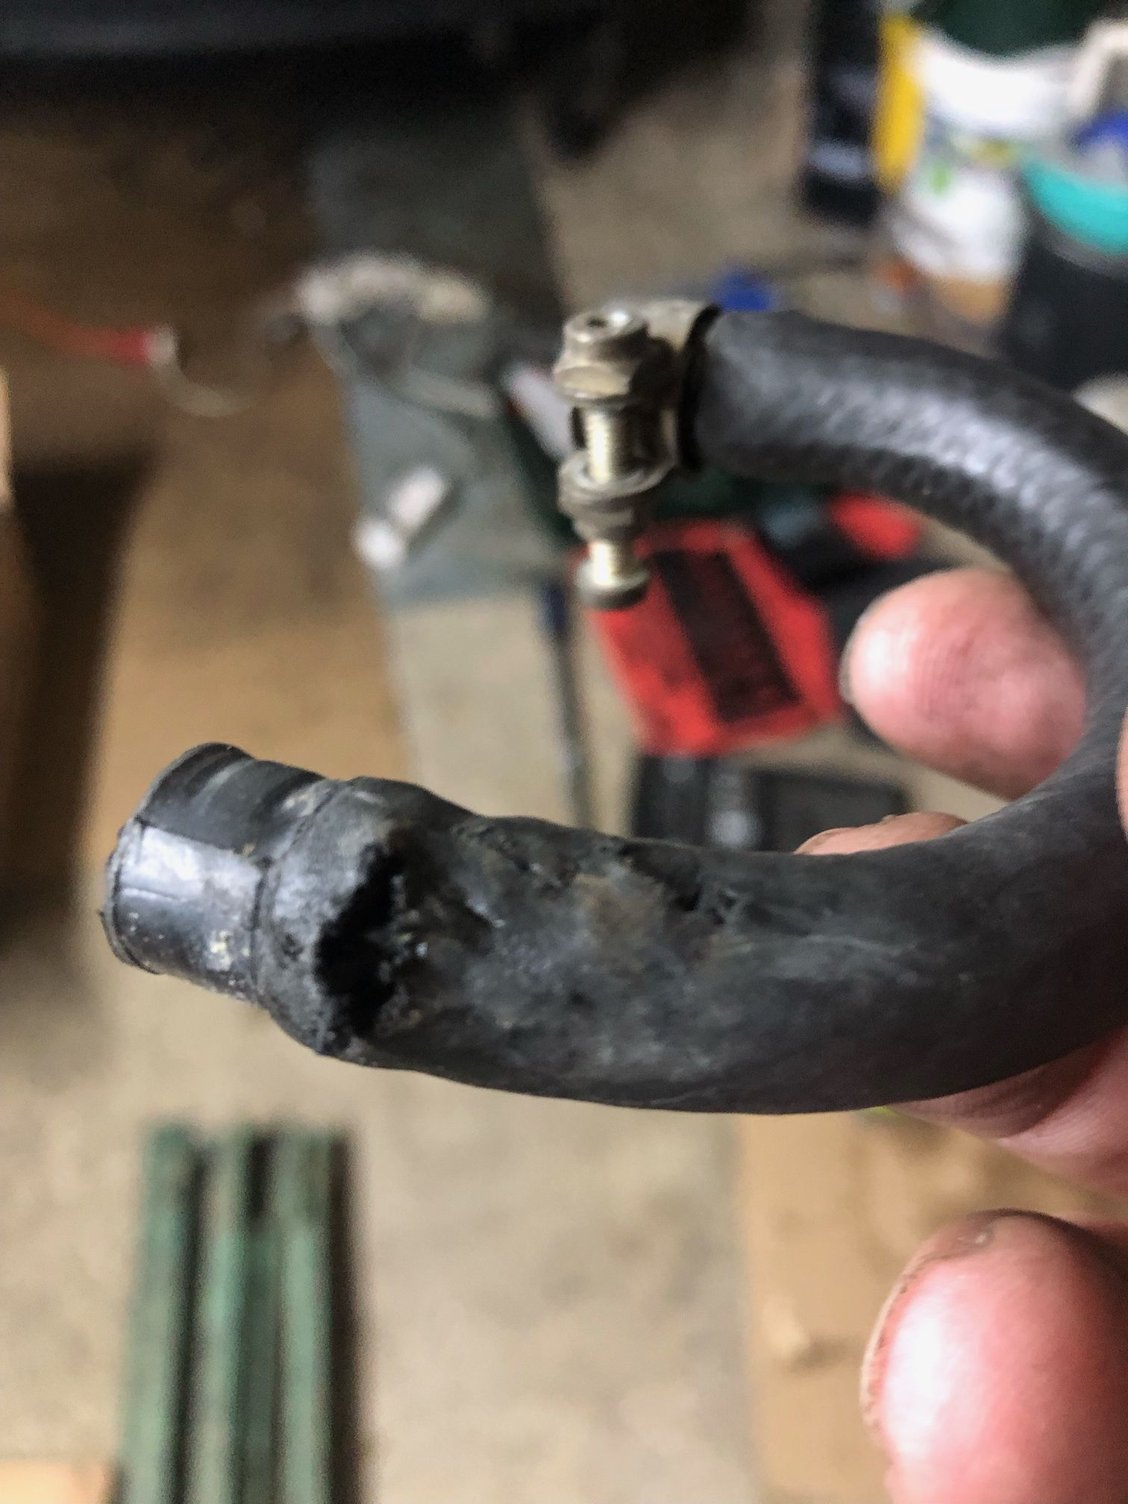
Pulled the the elbow hoses connecting the injectors to the reglulators, not looking too good there:
These get replaced
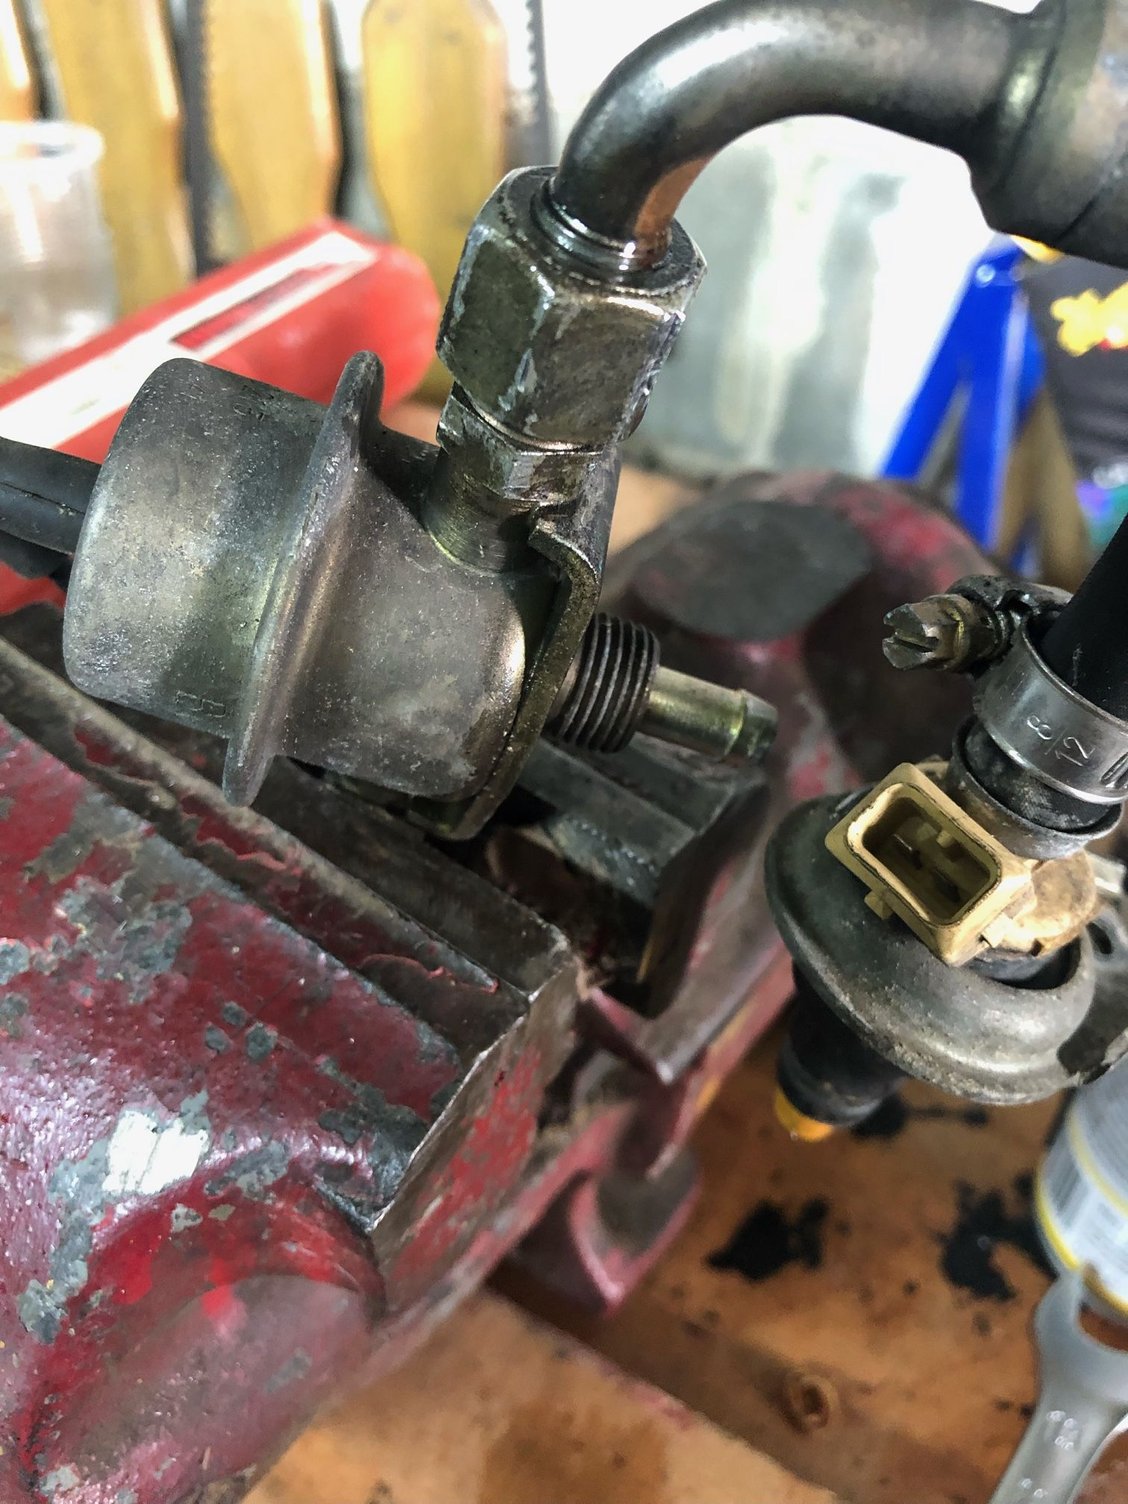
The rails came off no problem except for the fitting on the right side to the regulator to the rail , Ilittle Pfukar would not budge.
So I removed the regulator together with the fuel rail and thought I would try on the Bench have line wrenches and a good grip but the fitting would not move. I have line wrenches, still no good and amd biting into the fittings rather than getting results:
Right now I will leave as is unless there2 are any solutions to this let me know. not a problem unless I need to change the regulator at some point, then I have to pull the whole rail again.
Next working on the injector hoses have the OEM Porsche kits. in the WSM model it says remove the hoses & hats with soldering Iron and snips. not sure what Porsche snips are made of but will have to get a set of those someday, they must be awsome.
Going to get a higher watt soldering iron in the morning as what I have is not doing anything, more progress with the xacto Knife.
Does the soldering Iron deal work? with my Iron no luck so picking up a 100 watt model in the morning.
I've cut the crimp rings with a typical side cutter style pliers. It takes several bites and a lot of bending, but they will eventually come off. The fuel lines I've removed with an X-acto knife, carefully cutting to make sure you don't damage the barbed fittings. I can't imagine using less than a 250W soldering iron to remove the hoses, that fuel line is substantial.
You were right Andrew, had a 100watt soldering iron and melting was not one of my favorite tasks.... and takes a while.
here in Germany with our labour costs to cover Health benefits, & 5 week + vacation time your whould have thought there was a more labour efficent method for this. Guess we expected to export more where hourly labour was cheaper.
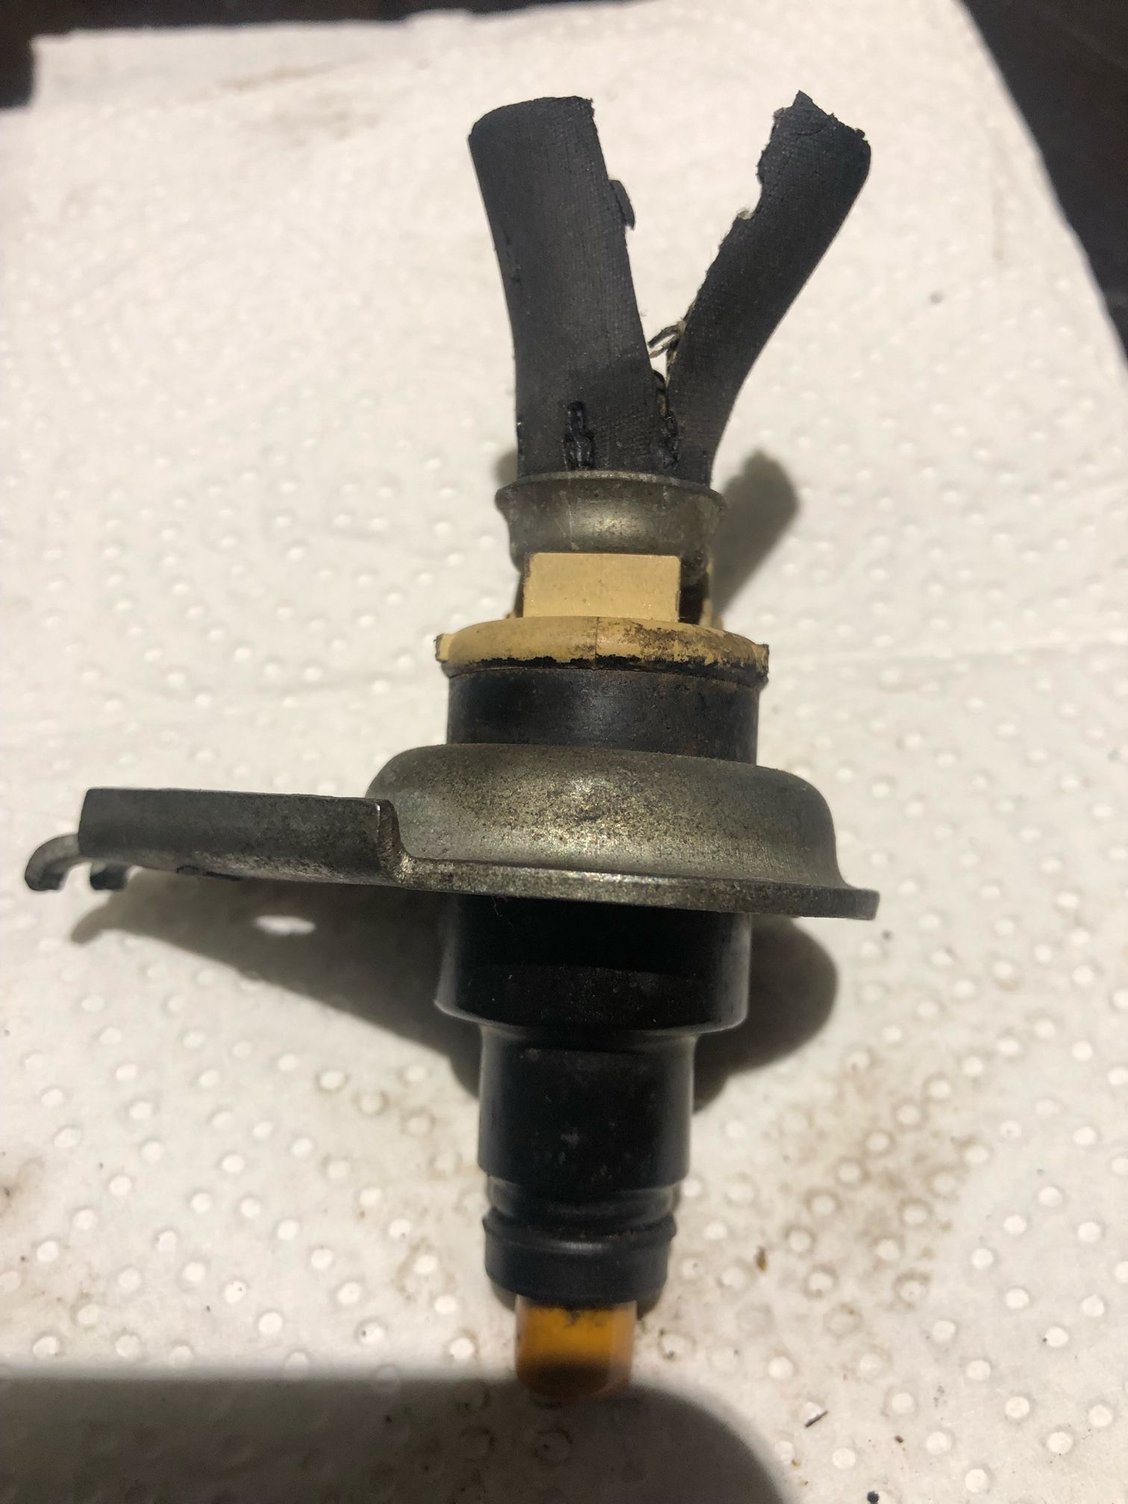
heres what I did:
-Cut the hats with a Dremmel- this is steady hand work as there is less than a milimeter before your hit the ingector housing or a Barb. (I nicked a Bard on an injector 0,33mm but think it will live) but not having the Magic Porsche WSM snips this worked:
instead of an Xacto knife I used a small carpet knife as I could extend the depth to what I wanted and not hit the barbs.
-the dremmel cuts i did on both sides and stuck the 100w soldering iron in the slot to pray it open and melt the hose. then I pulled both sides of the cut hose to "make a wish"
Not one of my more favorte jobs, rather do motor mounts.........
still have the regulator attached to the right hand side fuel rail cant get the Mudder Phukher off.
If that fails use a chisel and hit the socket open. Or weld a cheap Allen 17 mm nut on it.
I know the chisel trick and am not hot on Welding (skill i never aquired) .....
but did the chisel and all else, have now pulled the transmission back plate and will take it from there.
no Locktite in sight but think somone just over did it putting it back and it needed a new plug.as it was never comming out. will drill it out in the morning.
Question to dropping the exhaust:
I am going to change the cork seal on the Axel and to gain acsess I need to drop the rear muffler.
at the far end before the Kats there are two Torx bols I need to remove....do I need to lift the entire exhaust from its mounts or it there an easyer way to lower the rear muffler to gain acsess?
[QUOTE=Darklands;19596950]If that fails use a chisel and hit the socket open. Or weld a cheap Allen 17 mm nut on it.[/QUOTE
Karsten- Just an update...tried everything and wound up removing the backplate on the transmission. Used heat, Knipex, lefthanded drill, extractor but die "Schlampe" did not move. Now at machine shop and they have not yet had glory and still at it...think Bud Spenser put this one in.
on one hand not happy about the bill i am going to get but on the other nice to know I am not an idiot.......
* question one is as I install the new radiatior I noticed the part listed in PET as 928 106 271 02 which is the insulation strip on the radiator was missin so i ordered one from PZ. does anyone have a picture as to what his should look like installed?
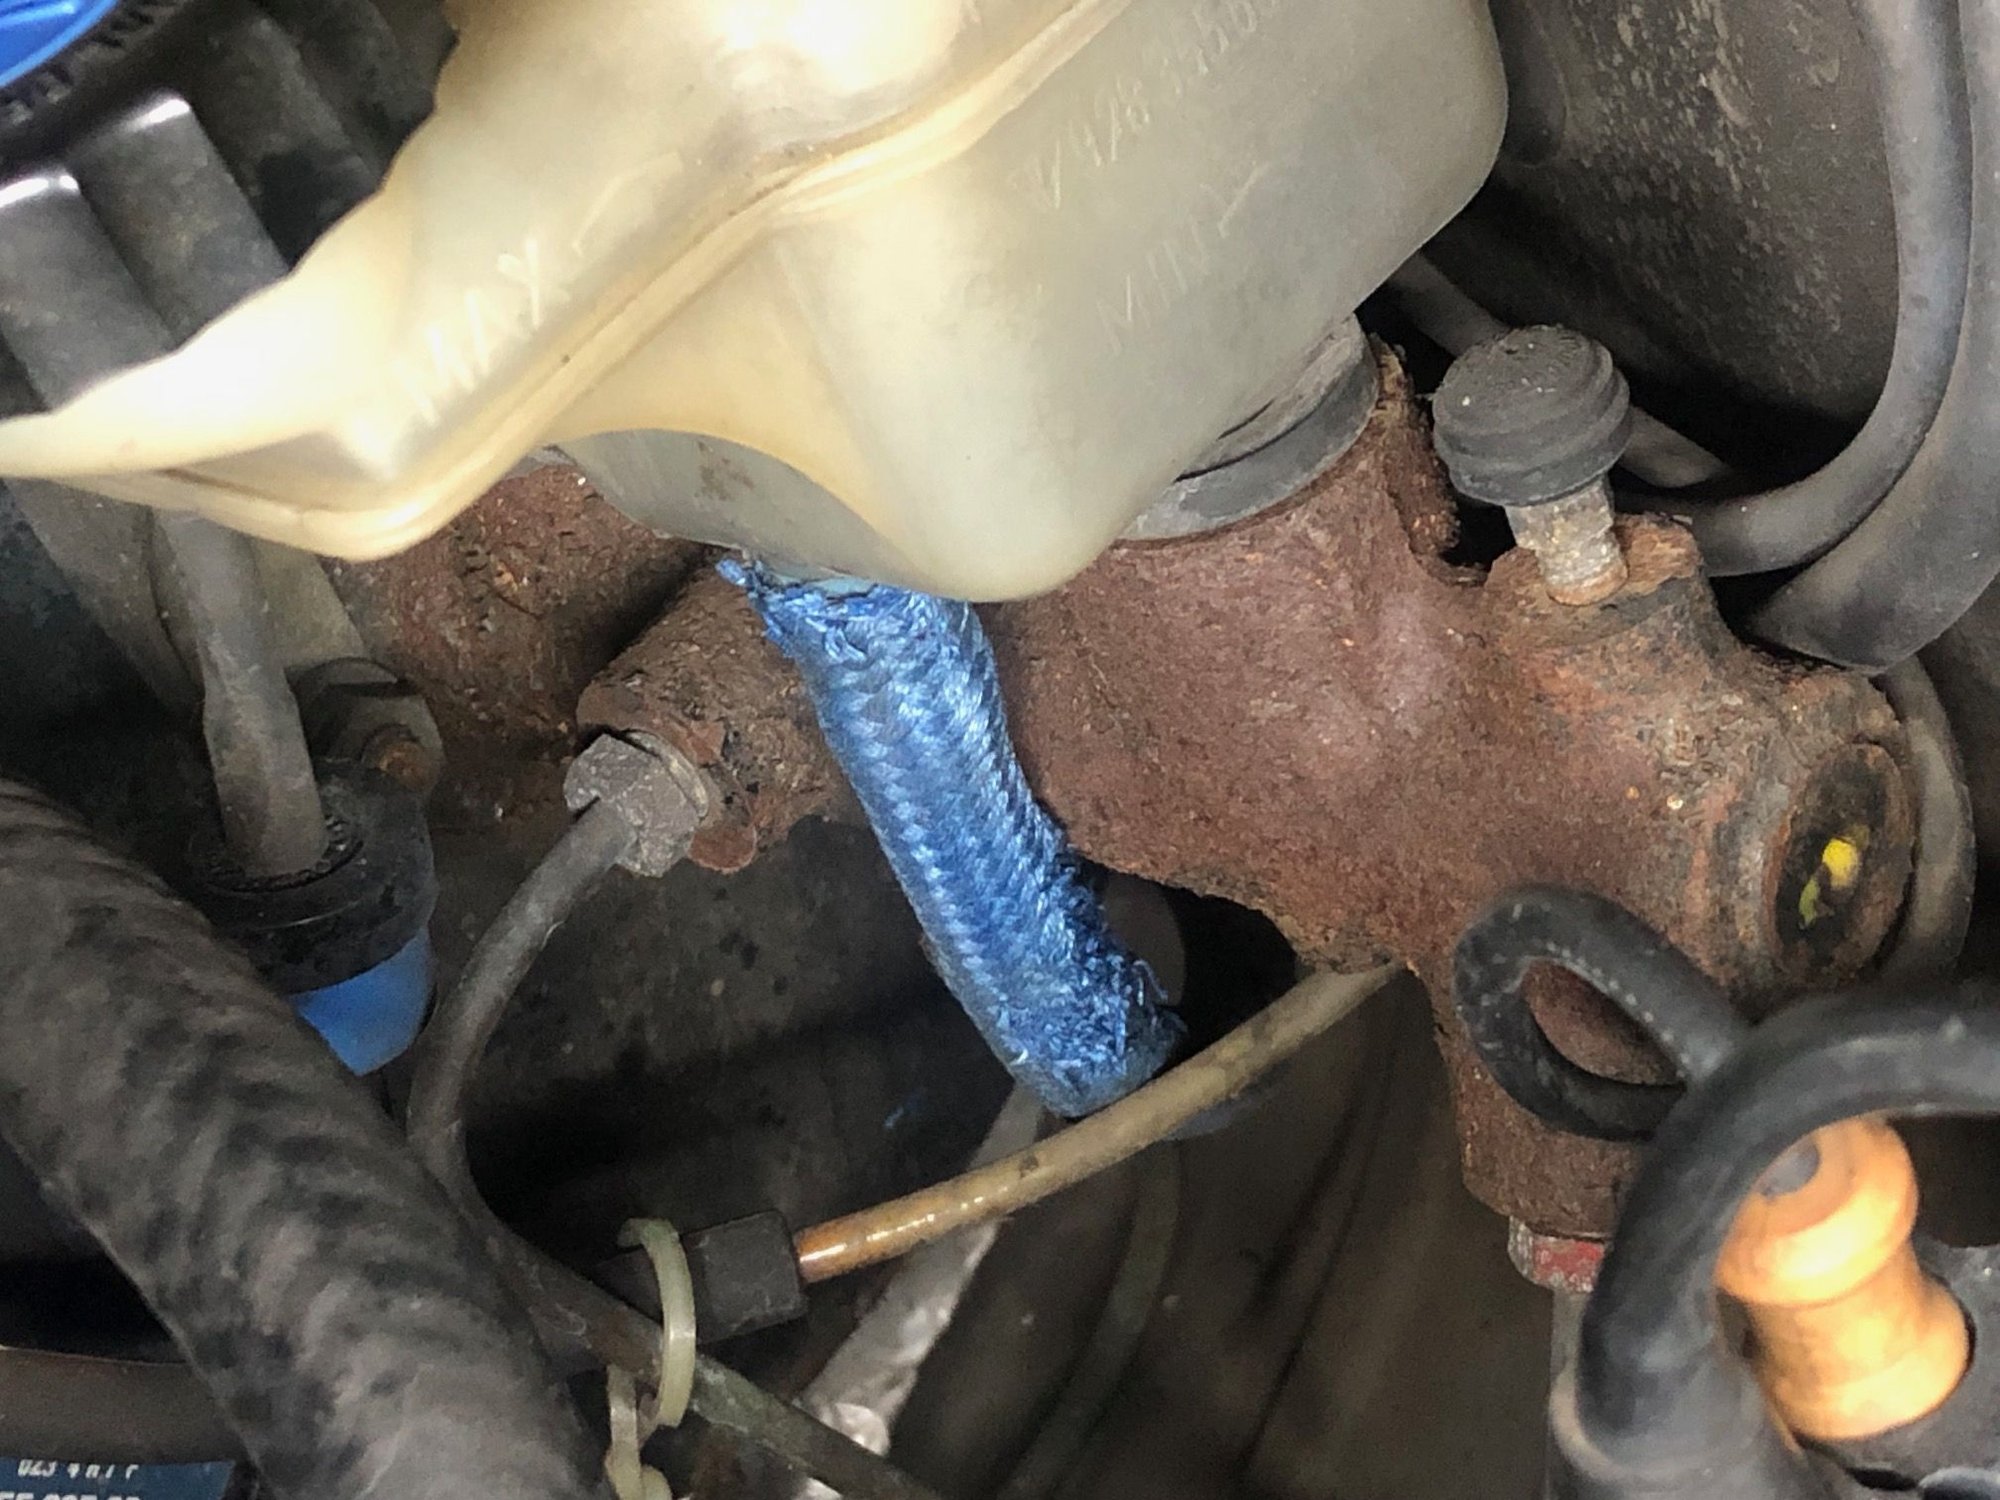
" I have a rust free car and just needs a deep clean. was surpriesd that the brake Master Cylendar looks like it should be a part recovered for the wreck of the Titanic. Looks very out of place, is this an indicator of another problem? (man i as weaned on Brit cars that trive on rust and their brake masters never looked like this....their seals failed ...but the housings did not rust)
The reservoir could have been overfilled and brake fluid flowed onto the master cylinder. Brake fluid QUICKLY dissolves paint, so it would become unprotected steel, which rusts quickly in air if the relative humidity is above 50-60%.
Great work you are doing in the Tabi garage'. Took a ride in one on a visit to Berlin a few years back. Certainly not built by Porsche!! - HA.
Thanks Gary, was just wondering if there was an issue attached to this or not...I will replace this at some time but need to get the car turned around, where it is now up against the wall i just cant bend that way
this hose and the braded hose over it have my OCD in over drive...what iis the big one and it an easy replace (availability ) ? I cant seem to locate on PET
Many thanks,
D-Day
fo
Alright, I had a bad experience with aftermarkt specs on two ocassions that cost me time...so here I shelled out the 100� for an OEM hose I know I could have gotten for less jut to "Get 'er done".
Have gone through the posts on the and find a lot on alternatives and little on how to install just the longer lower hose.
what the easiset way to get at it and change just the lower one?
looked at it an my arm fits to get the clamp on top unscrewed i think but not sure reistall with be doable.
with the fender up against the wall in my little garage I can not get at the side.
As always many thanks in advance for any feedback.


 08-14-2024, 10:00 AM