When you click on links to various merchants on this site and make a purchase, this can result in this site earning a commission. Affiliate programs and affiliations include, but are not limited to, the eBay Partner Network.
Dash attention
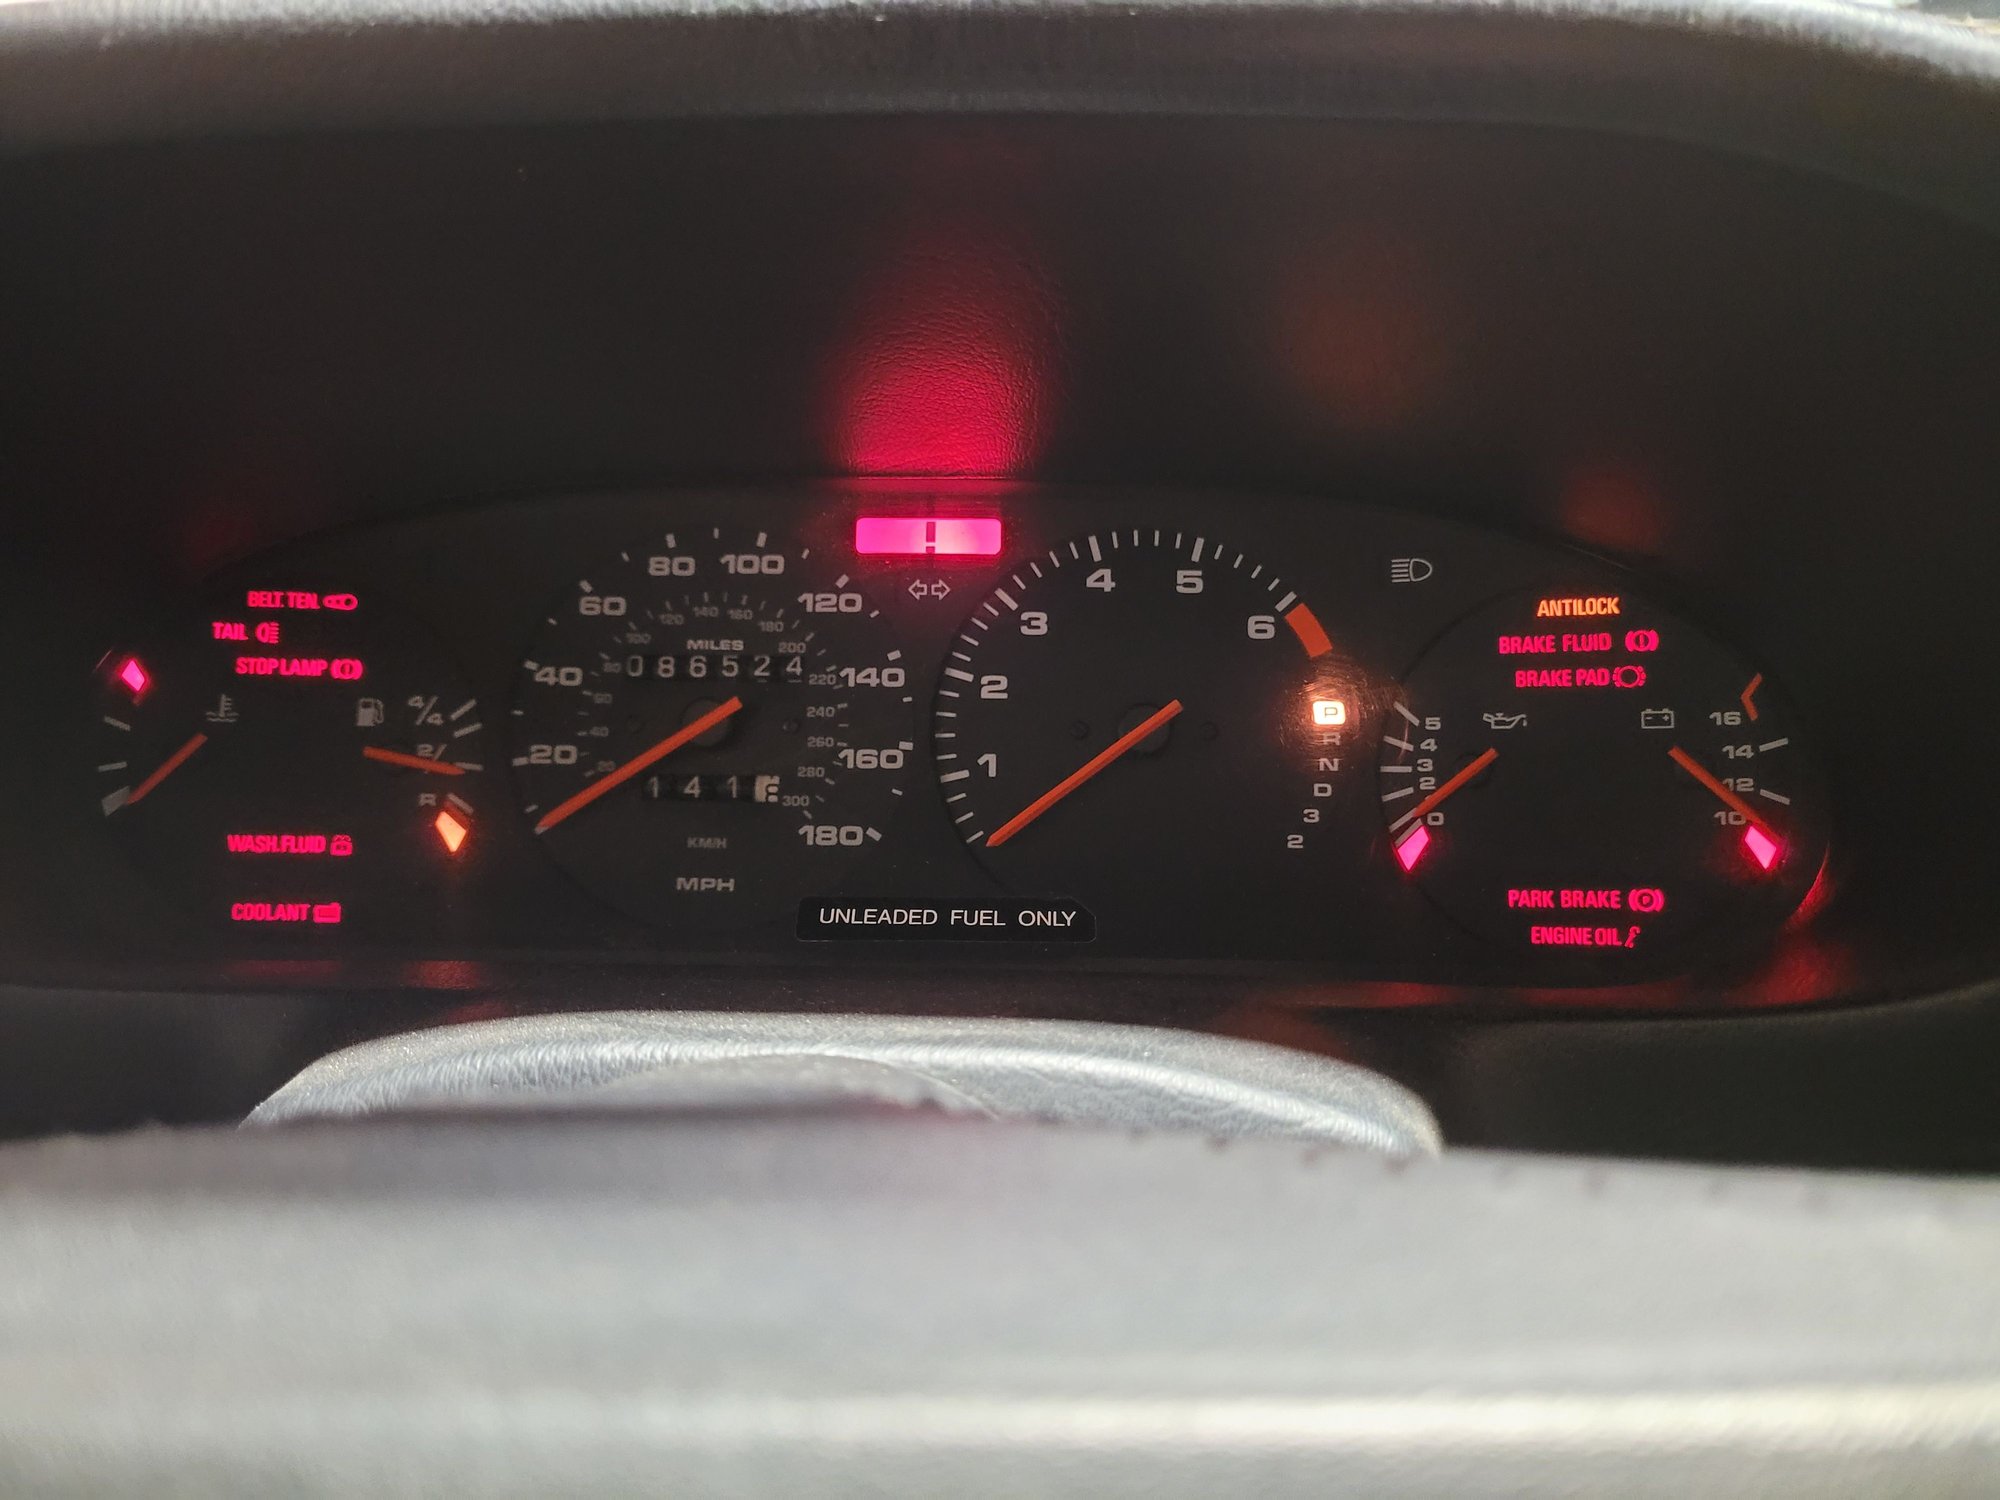
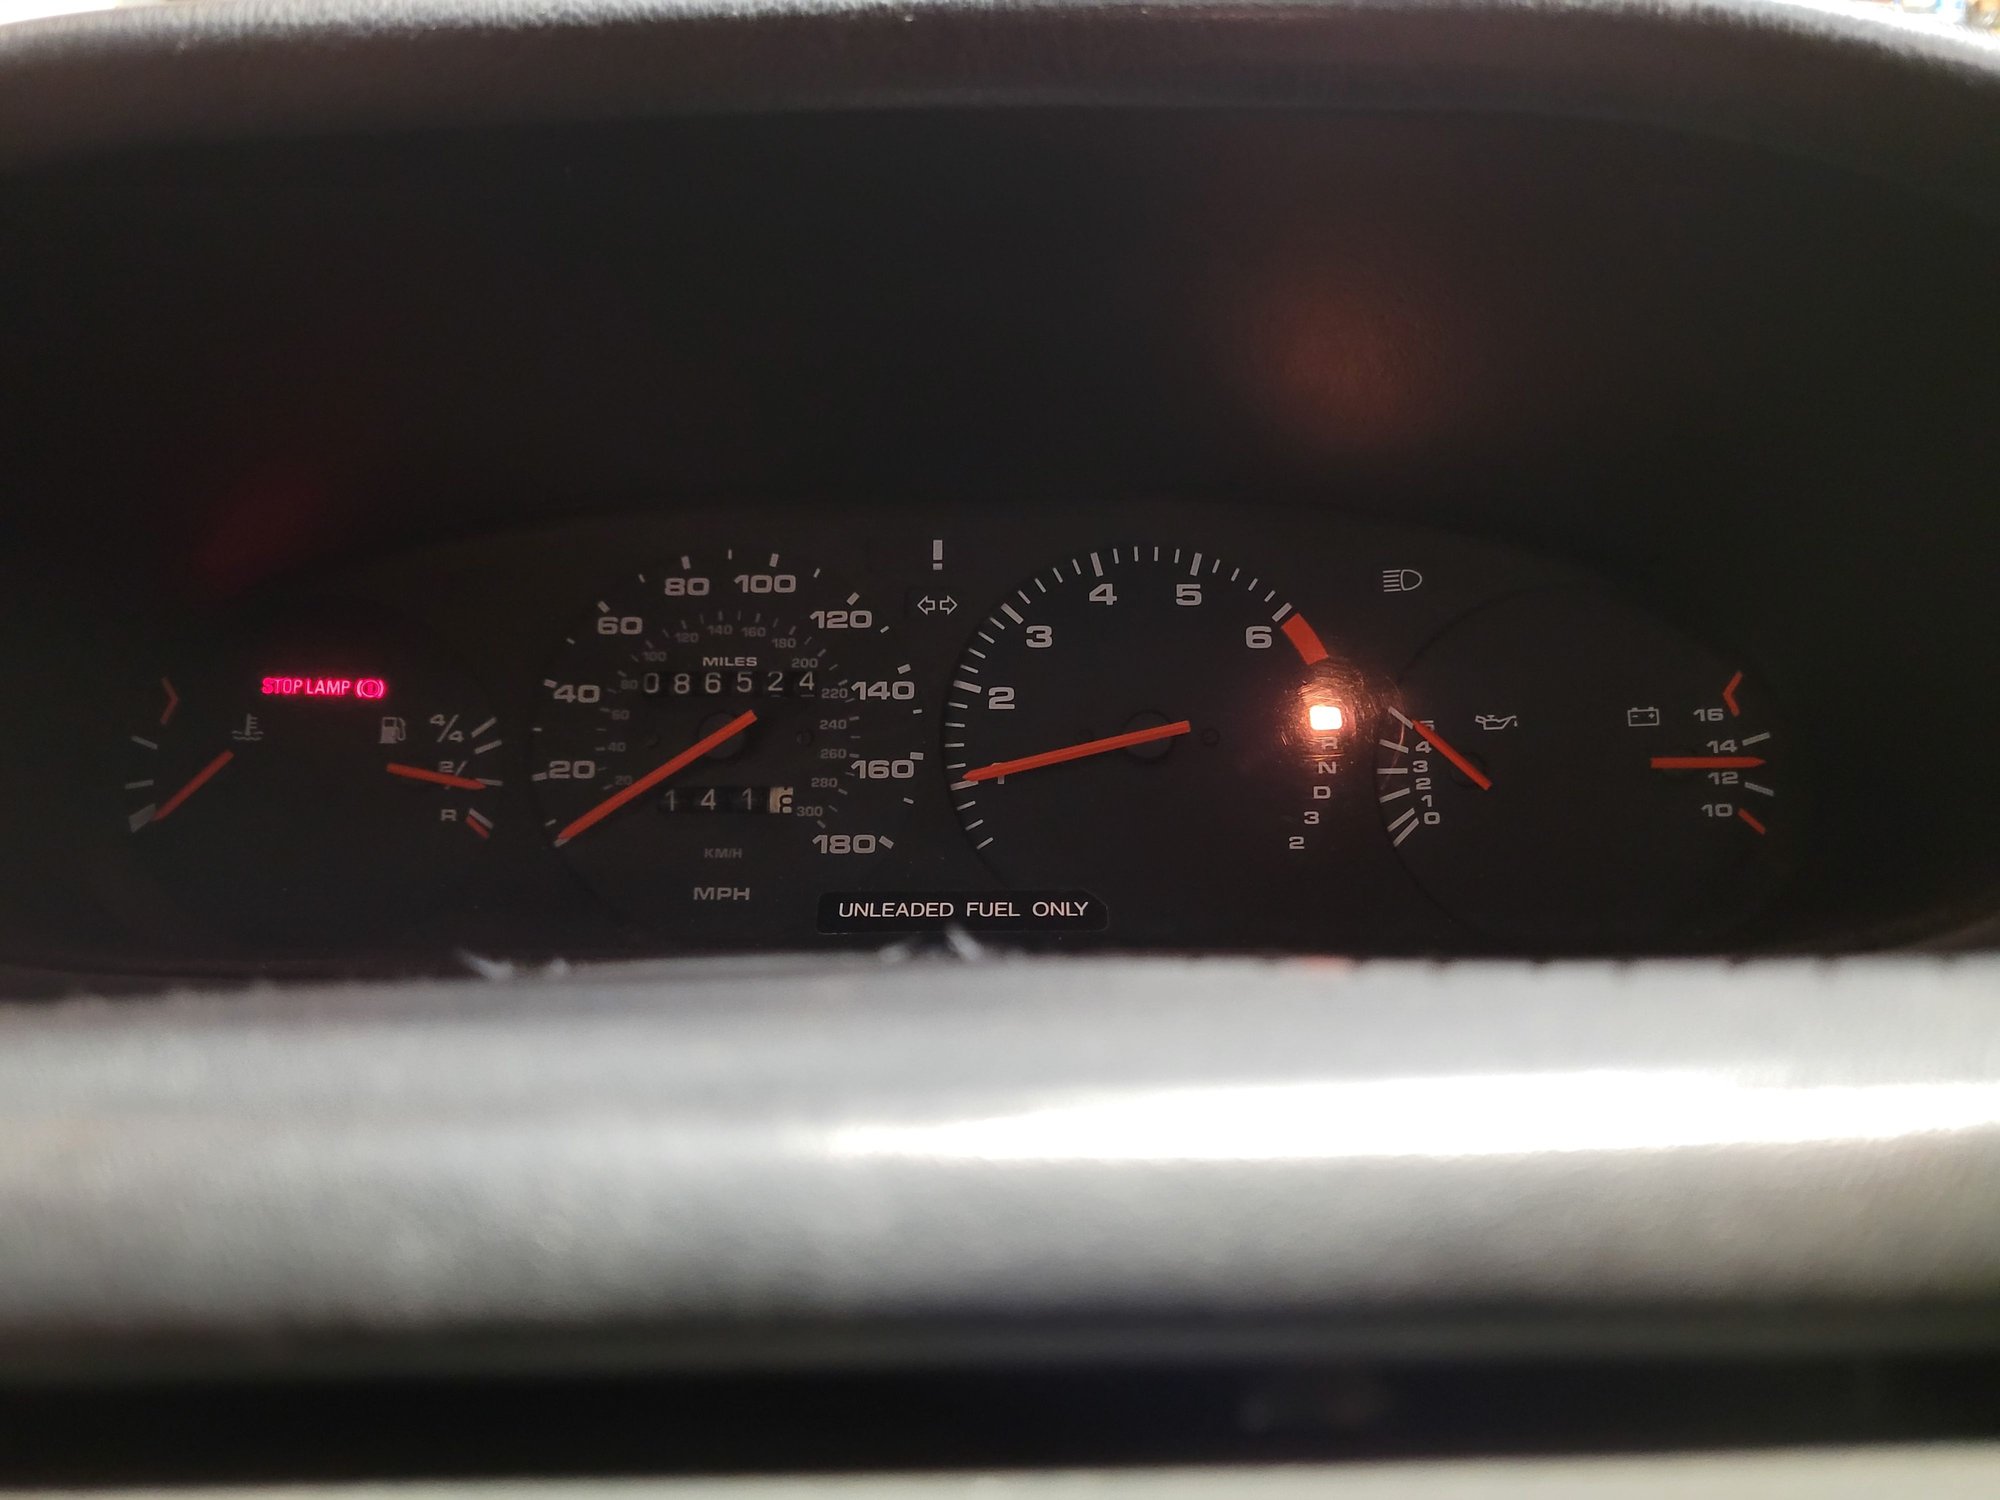
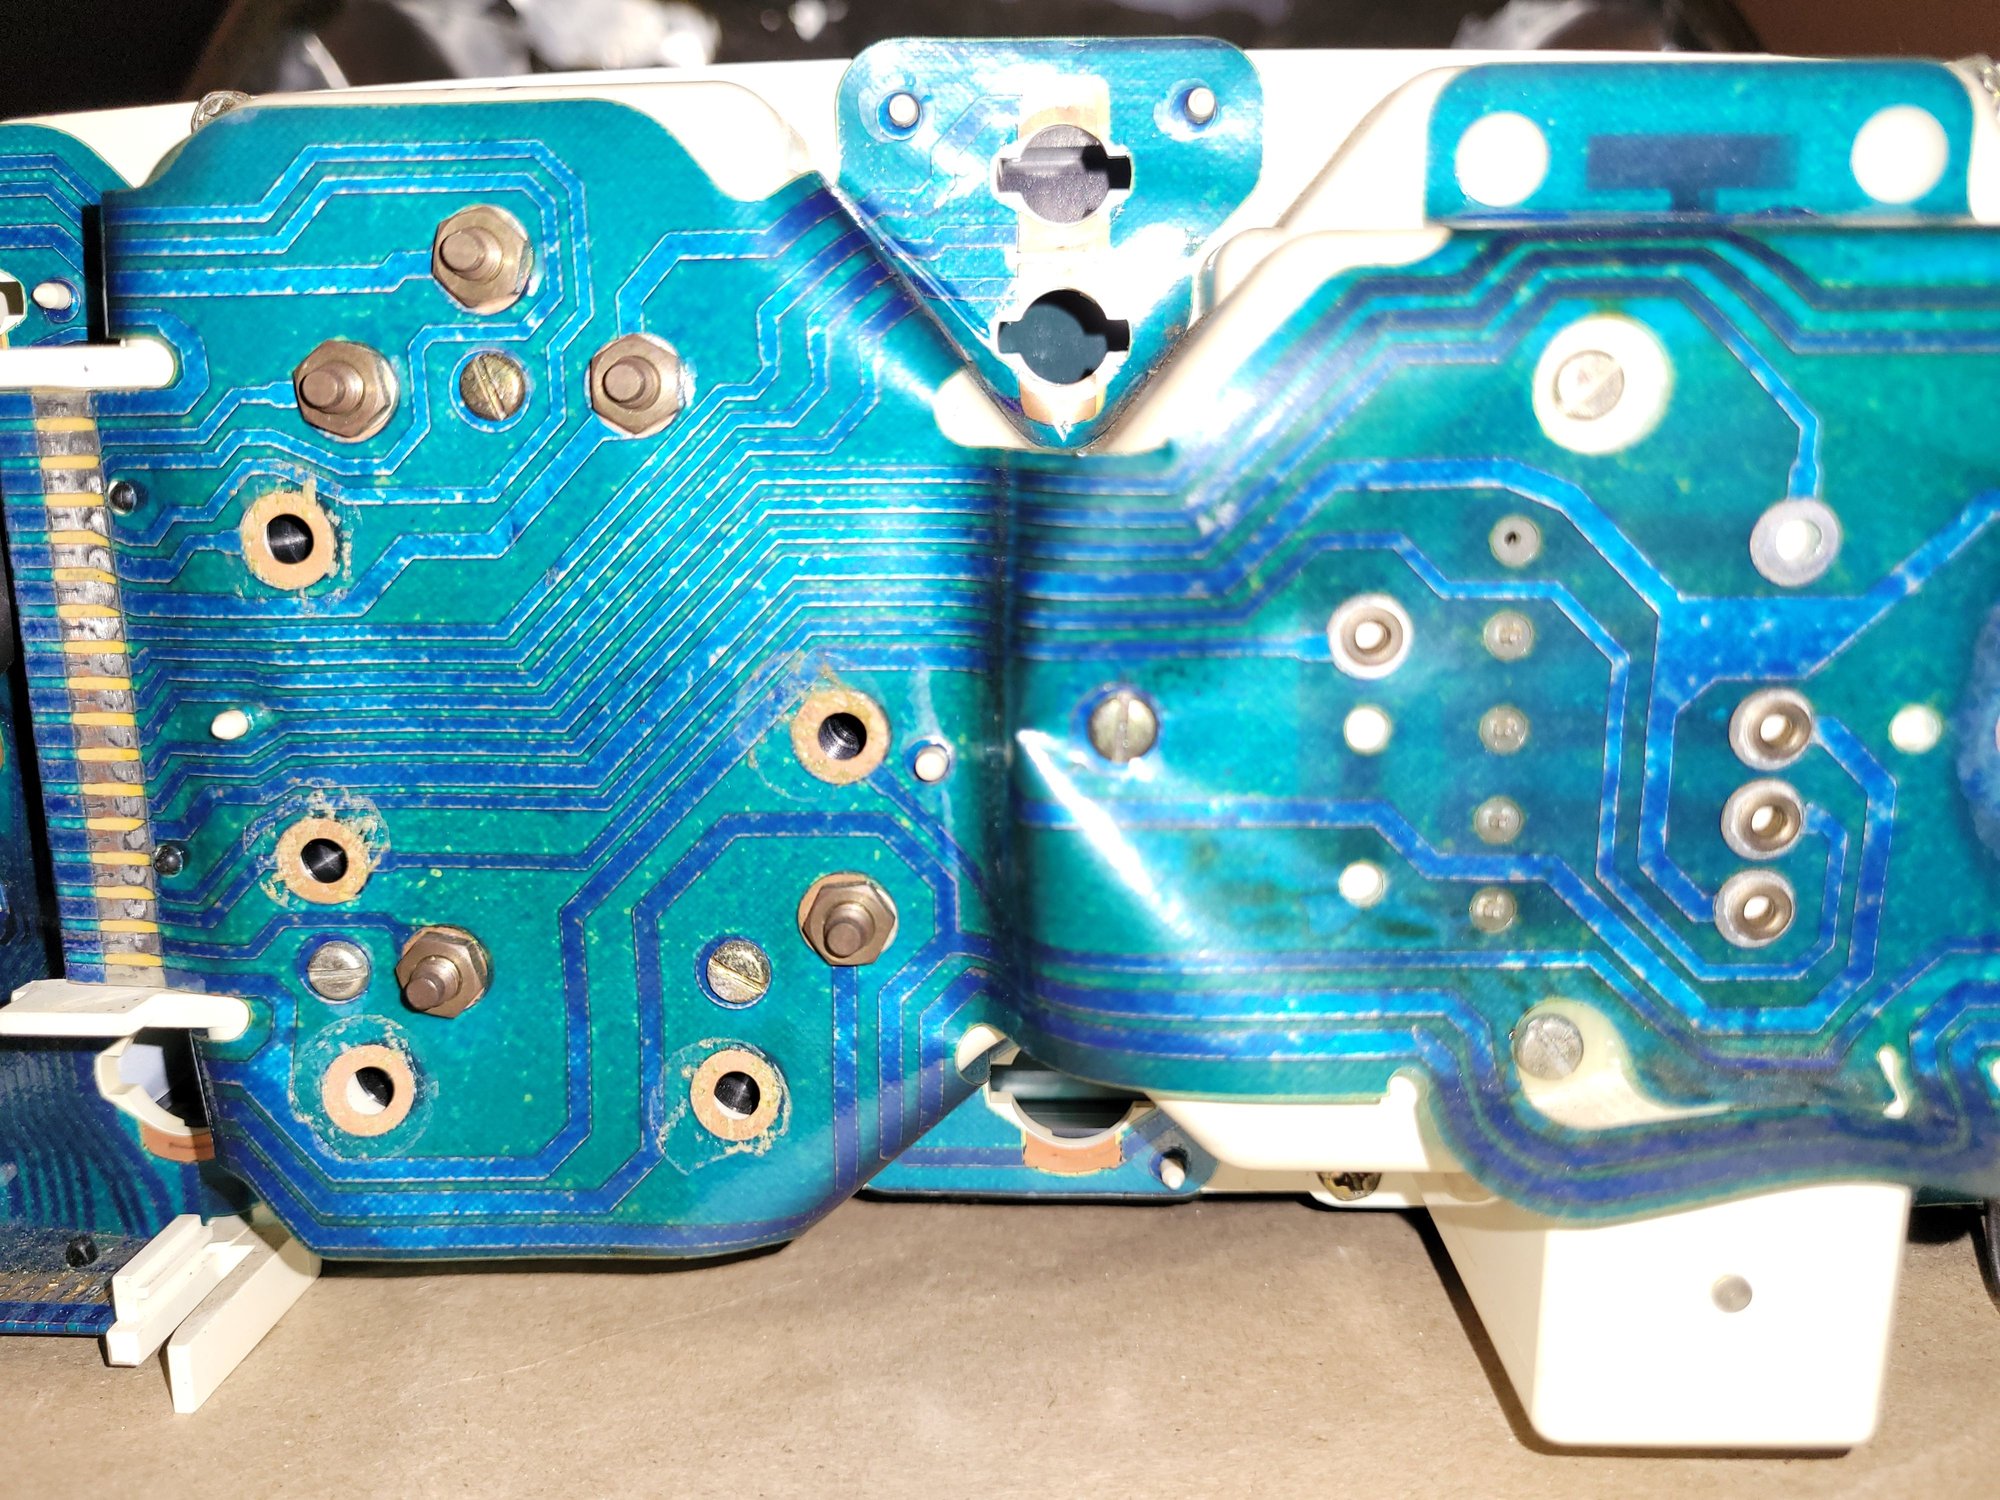
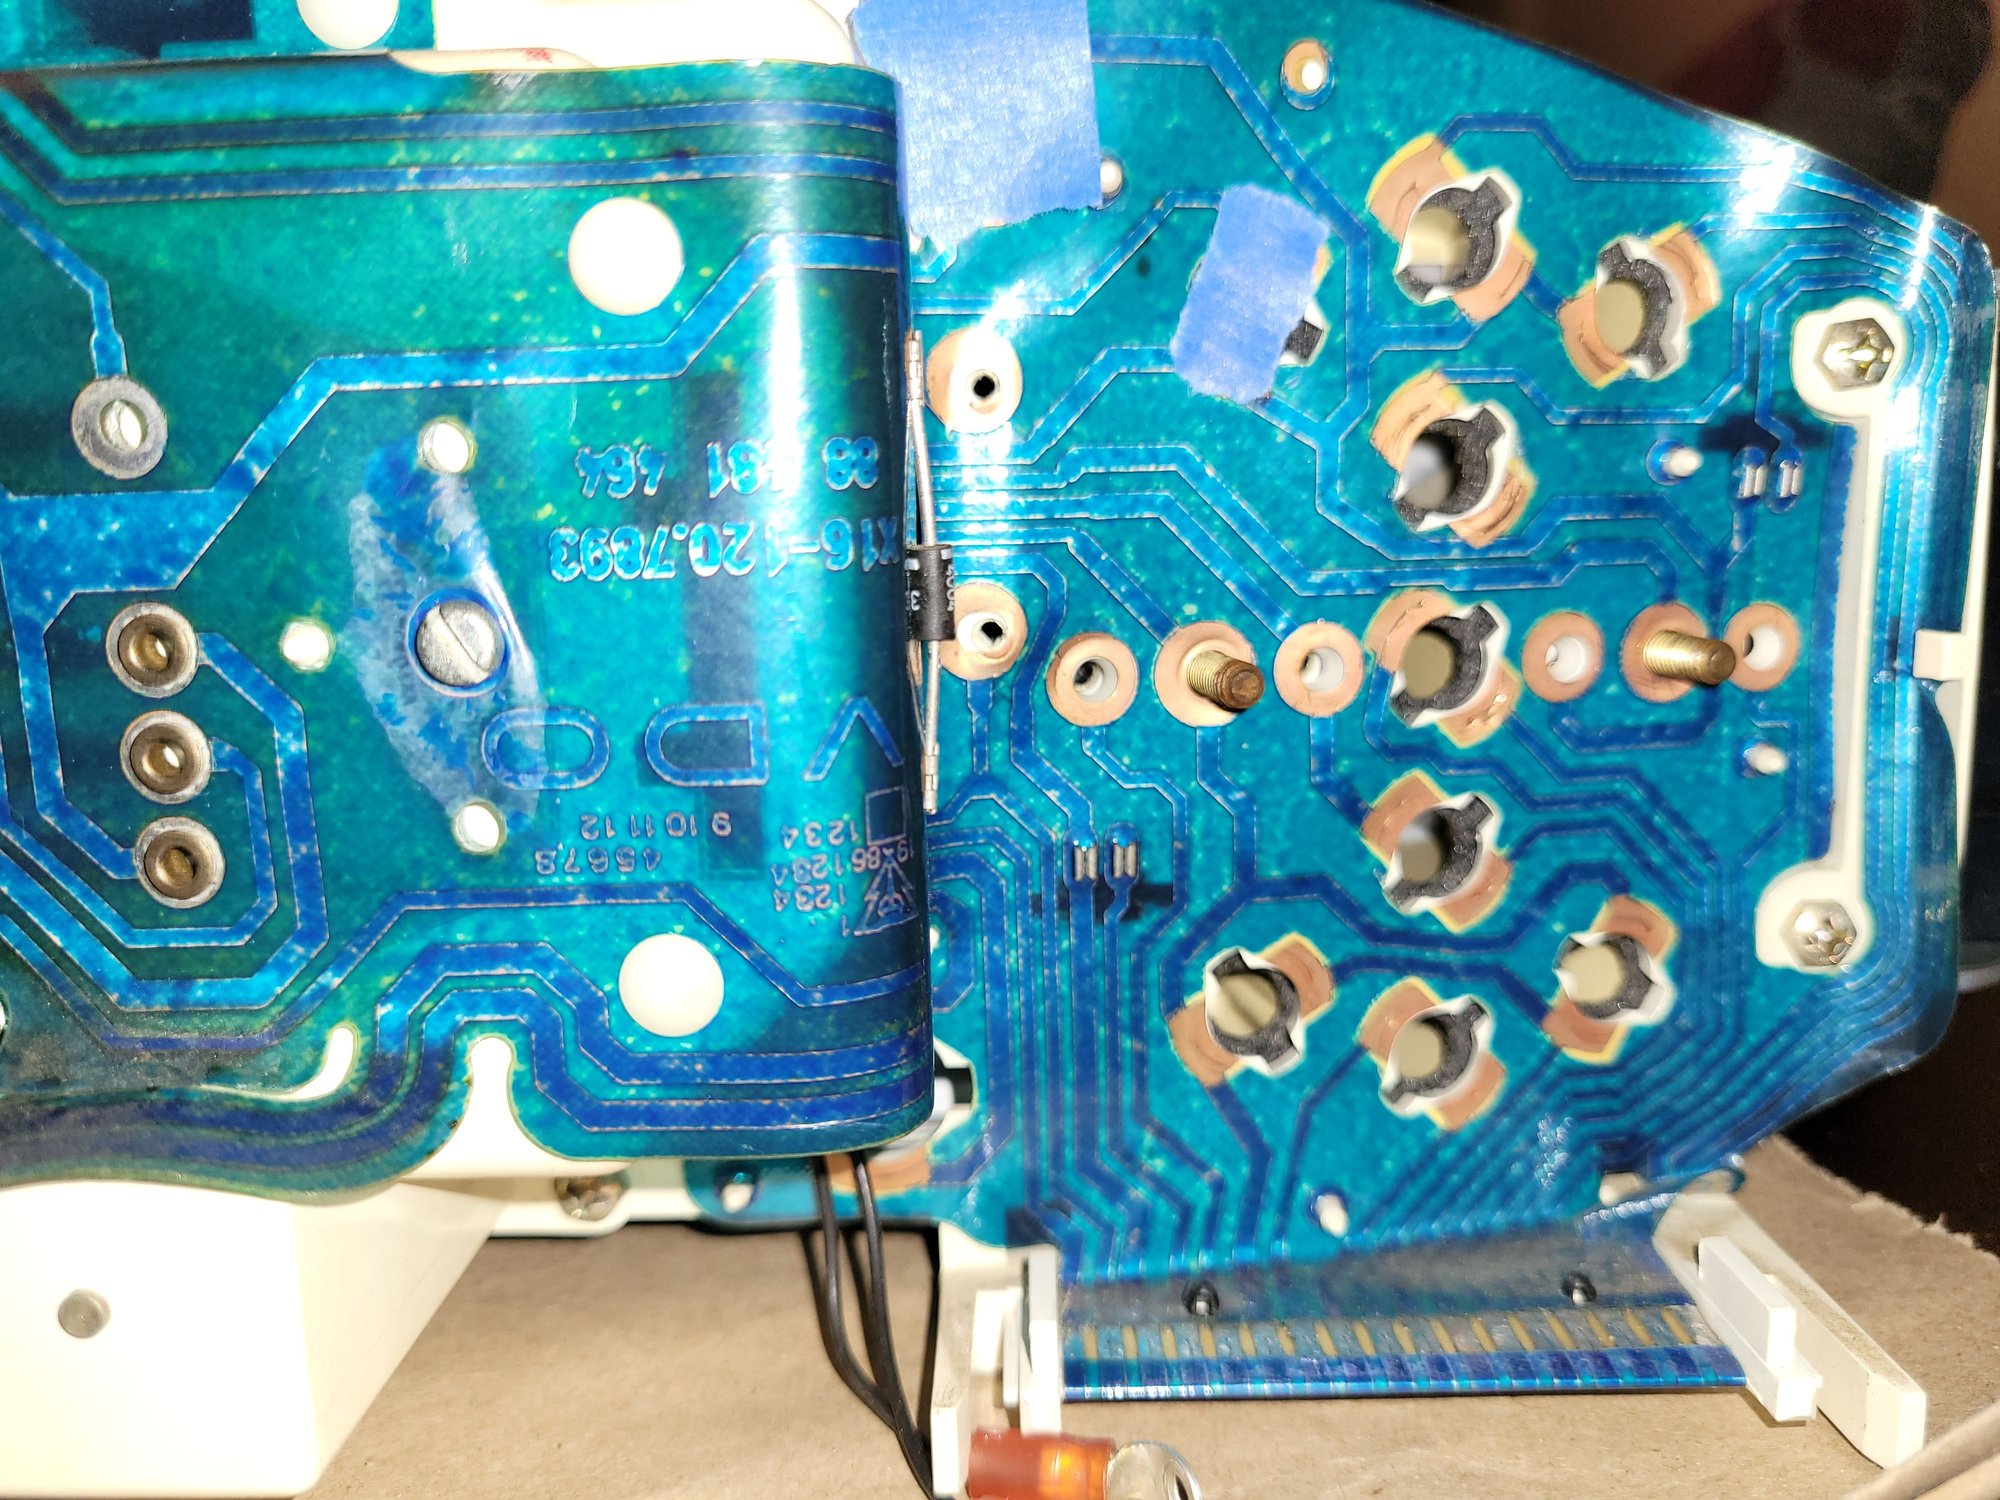
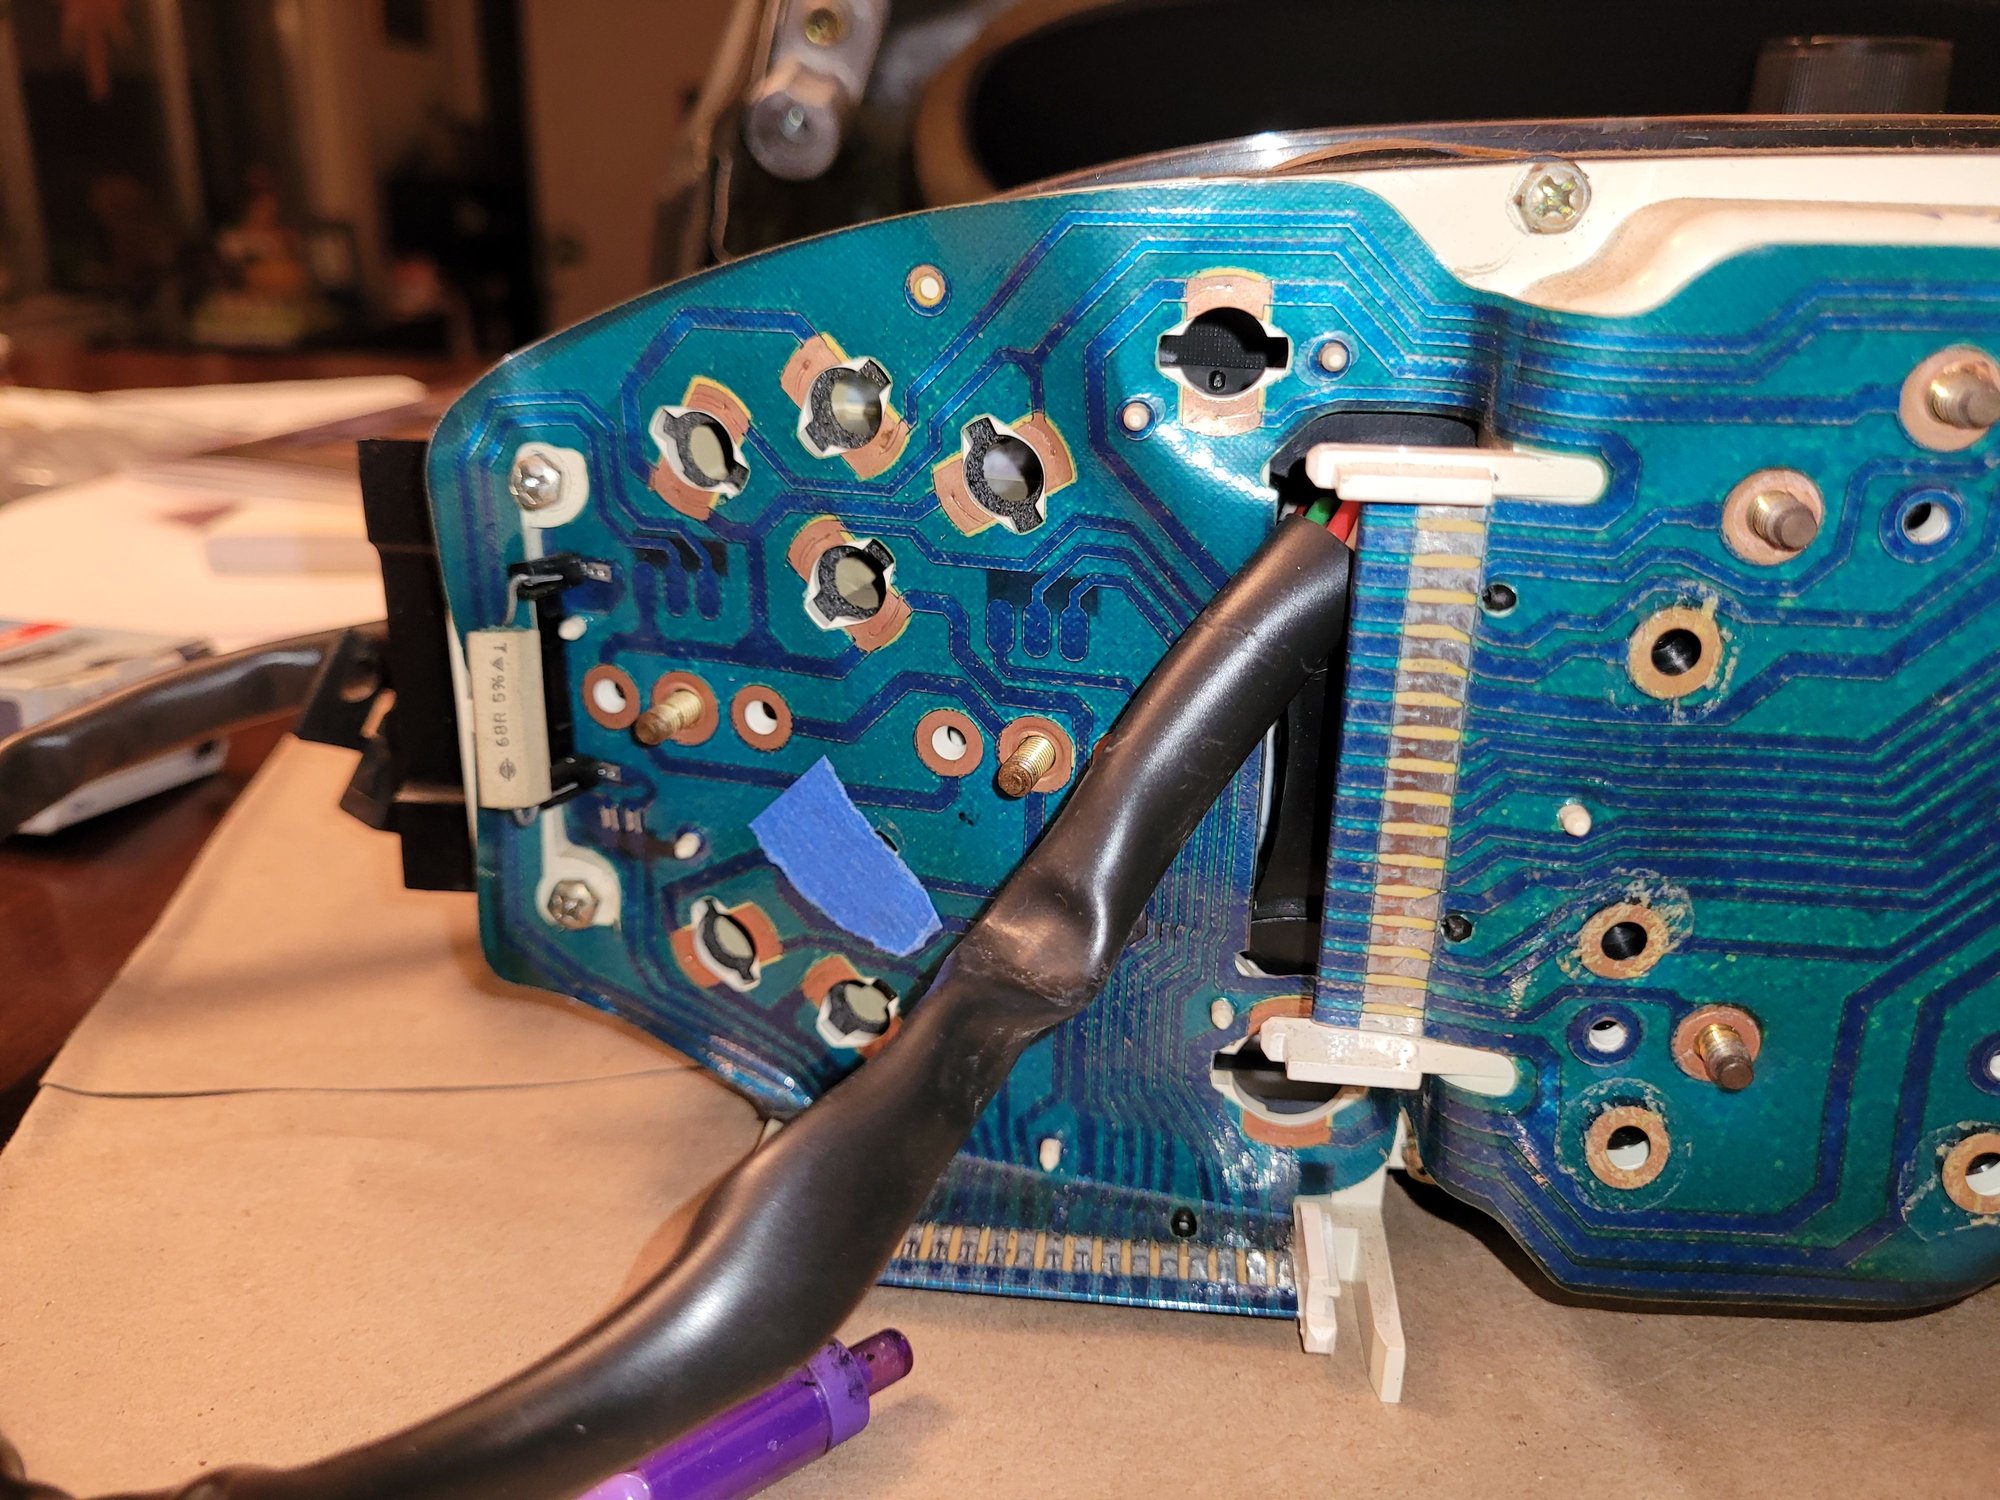
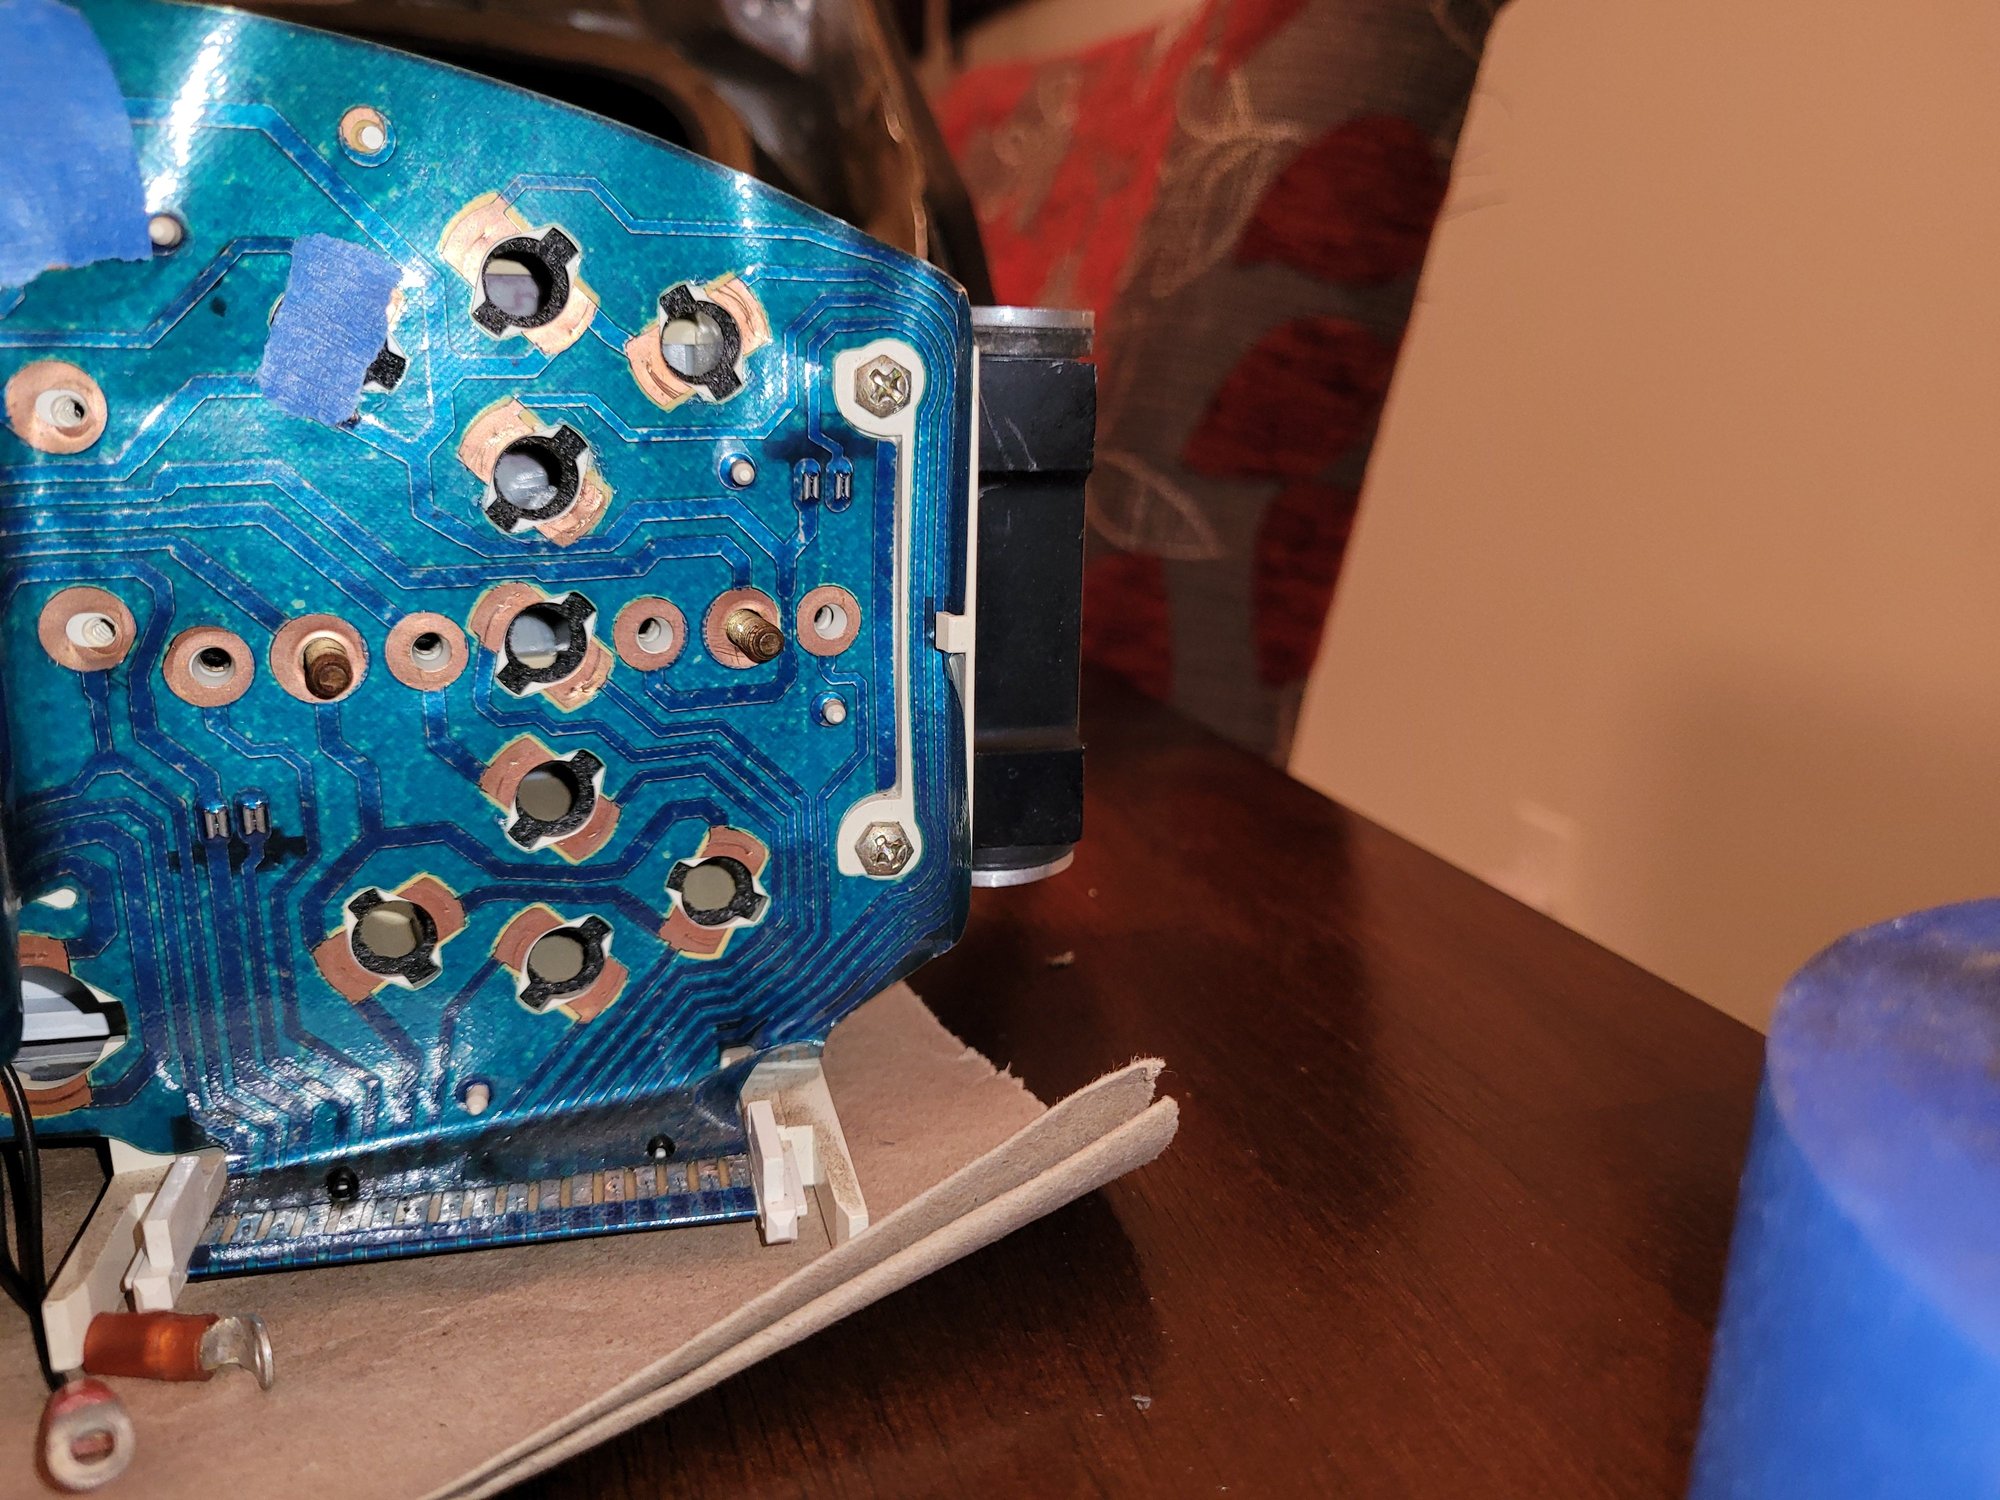
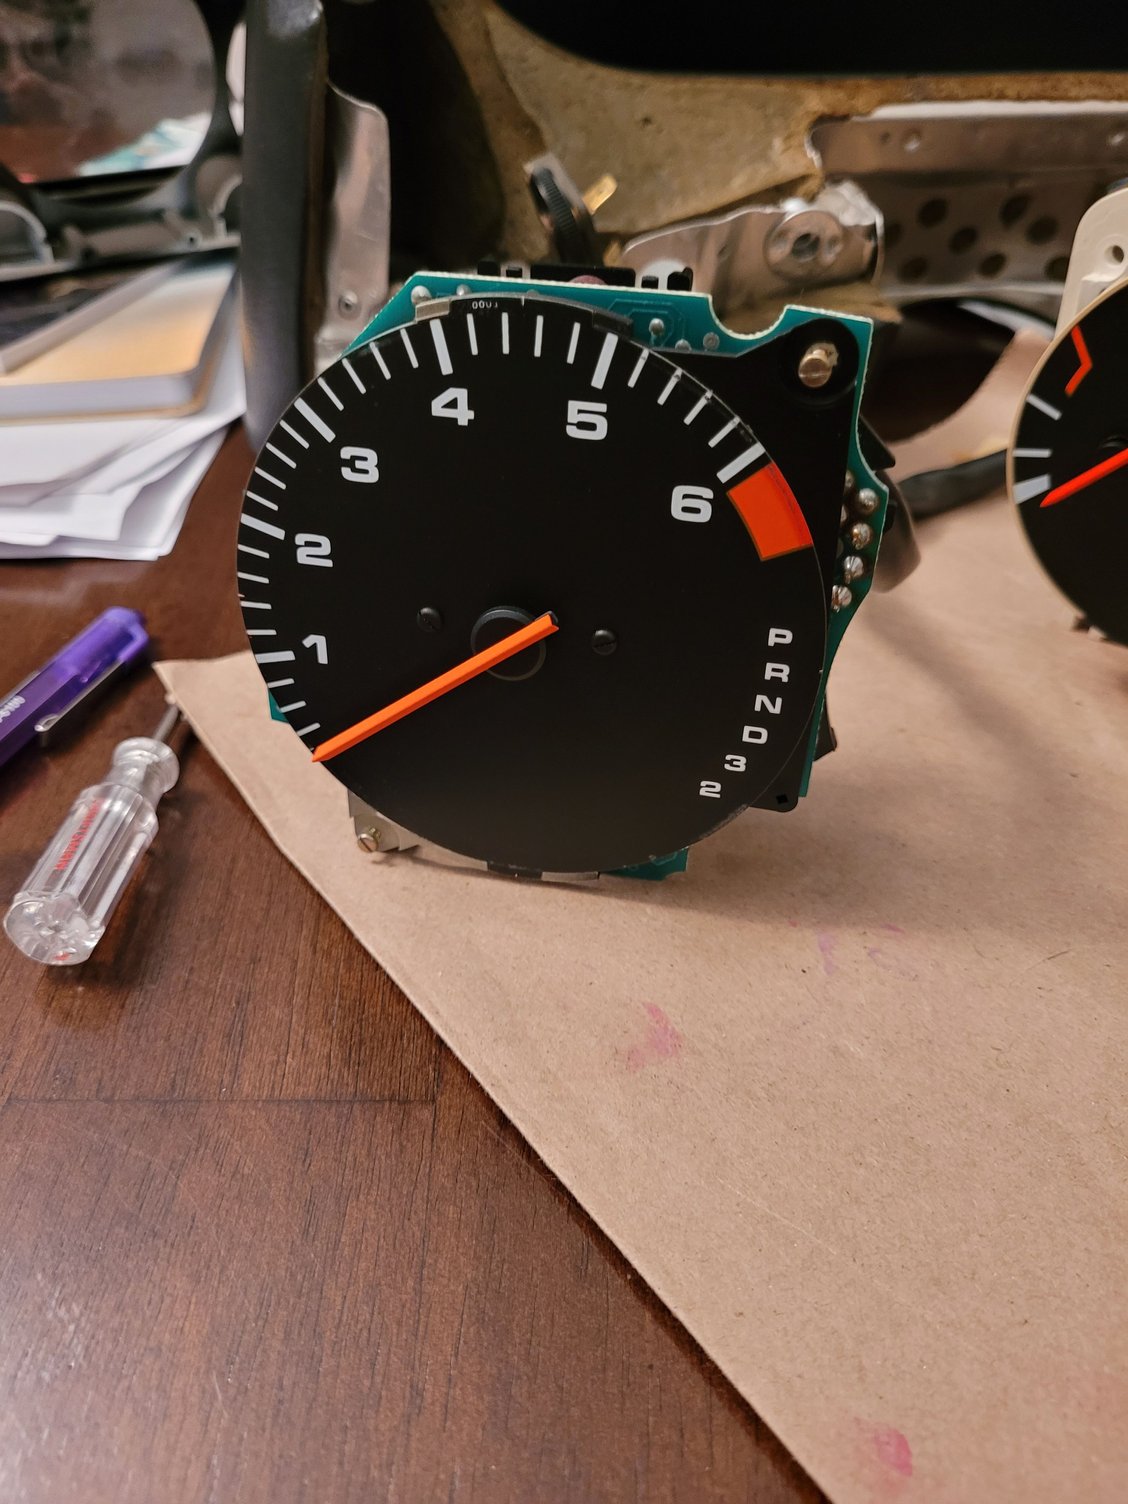
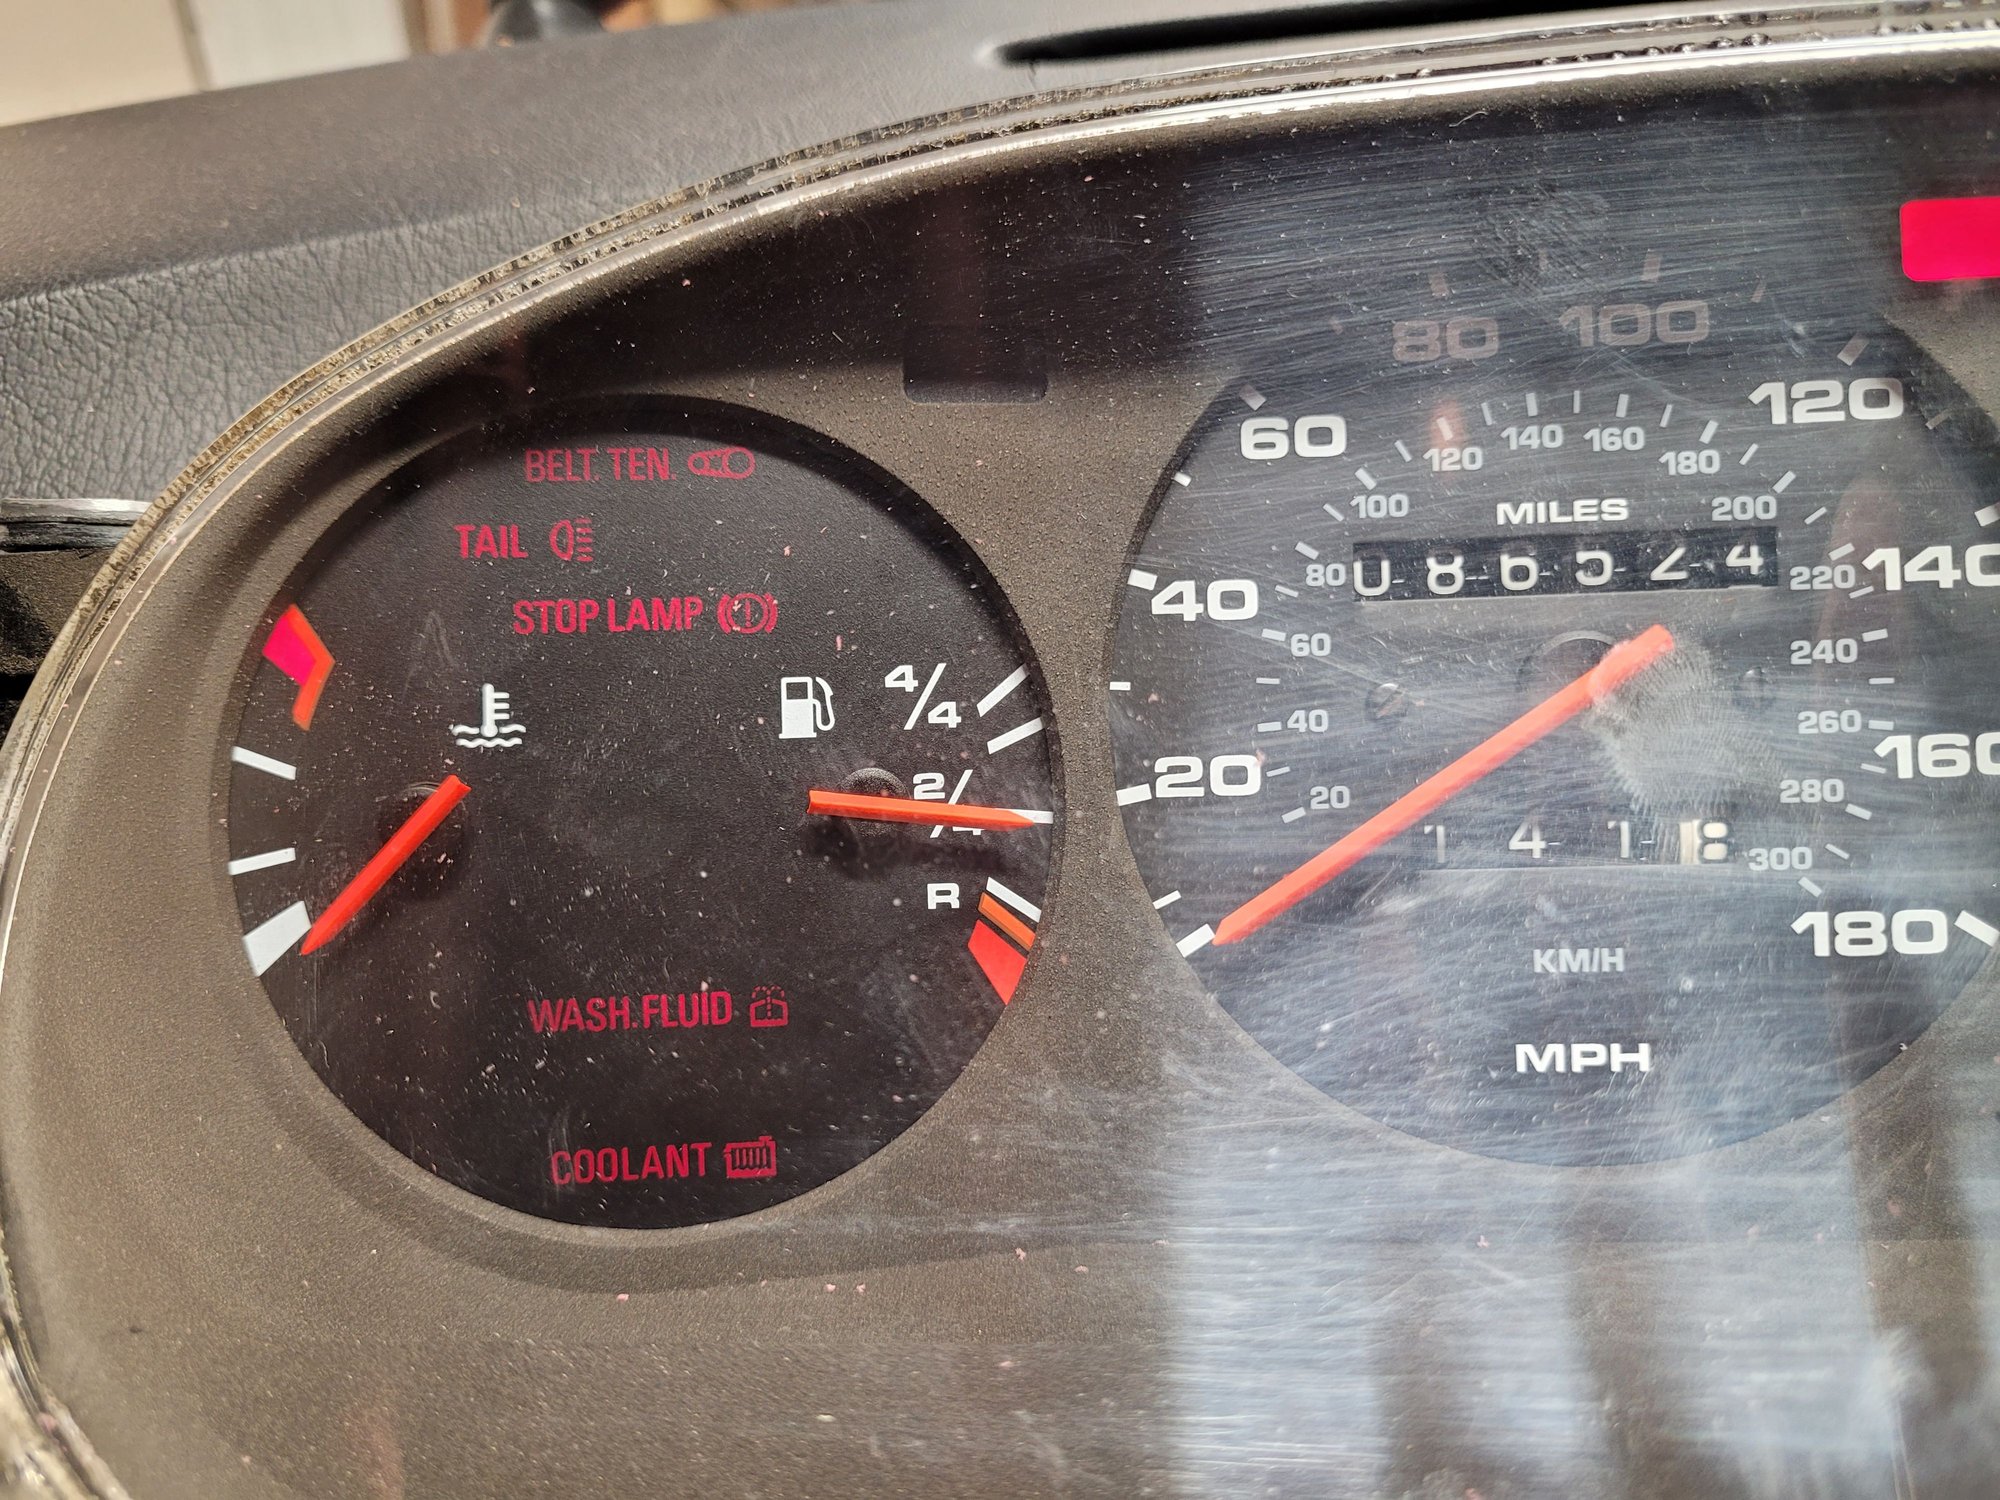
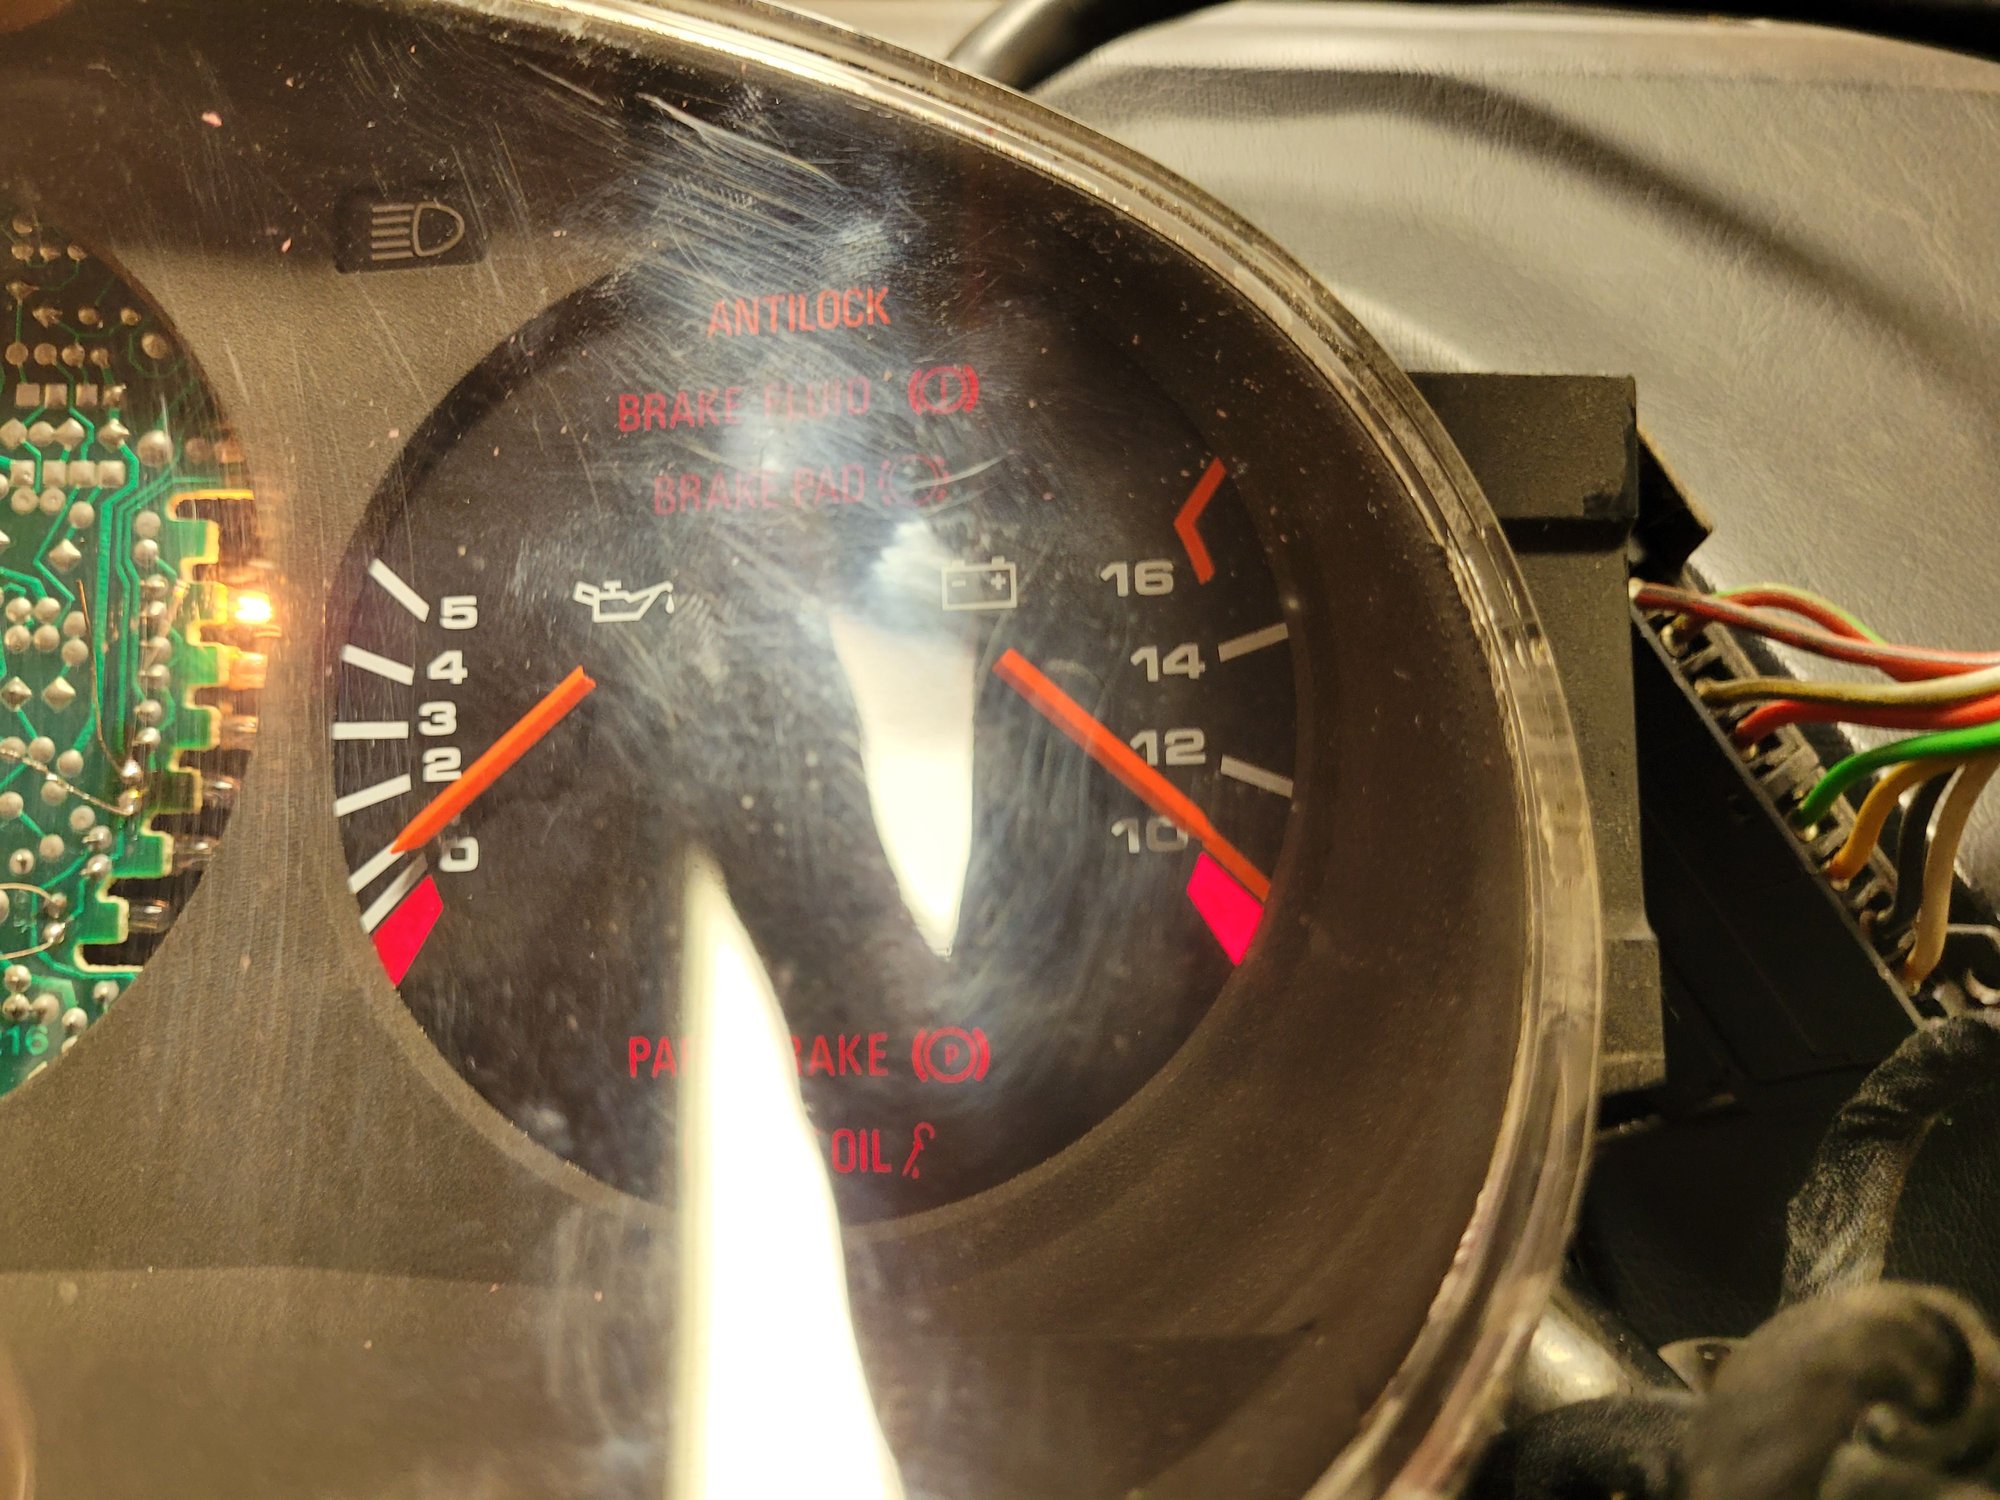
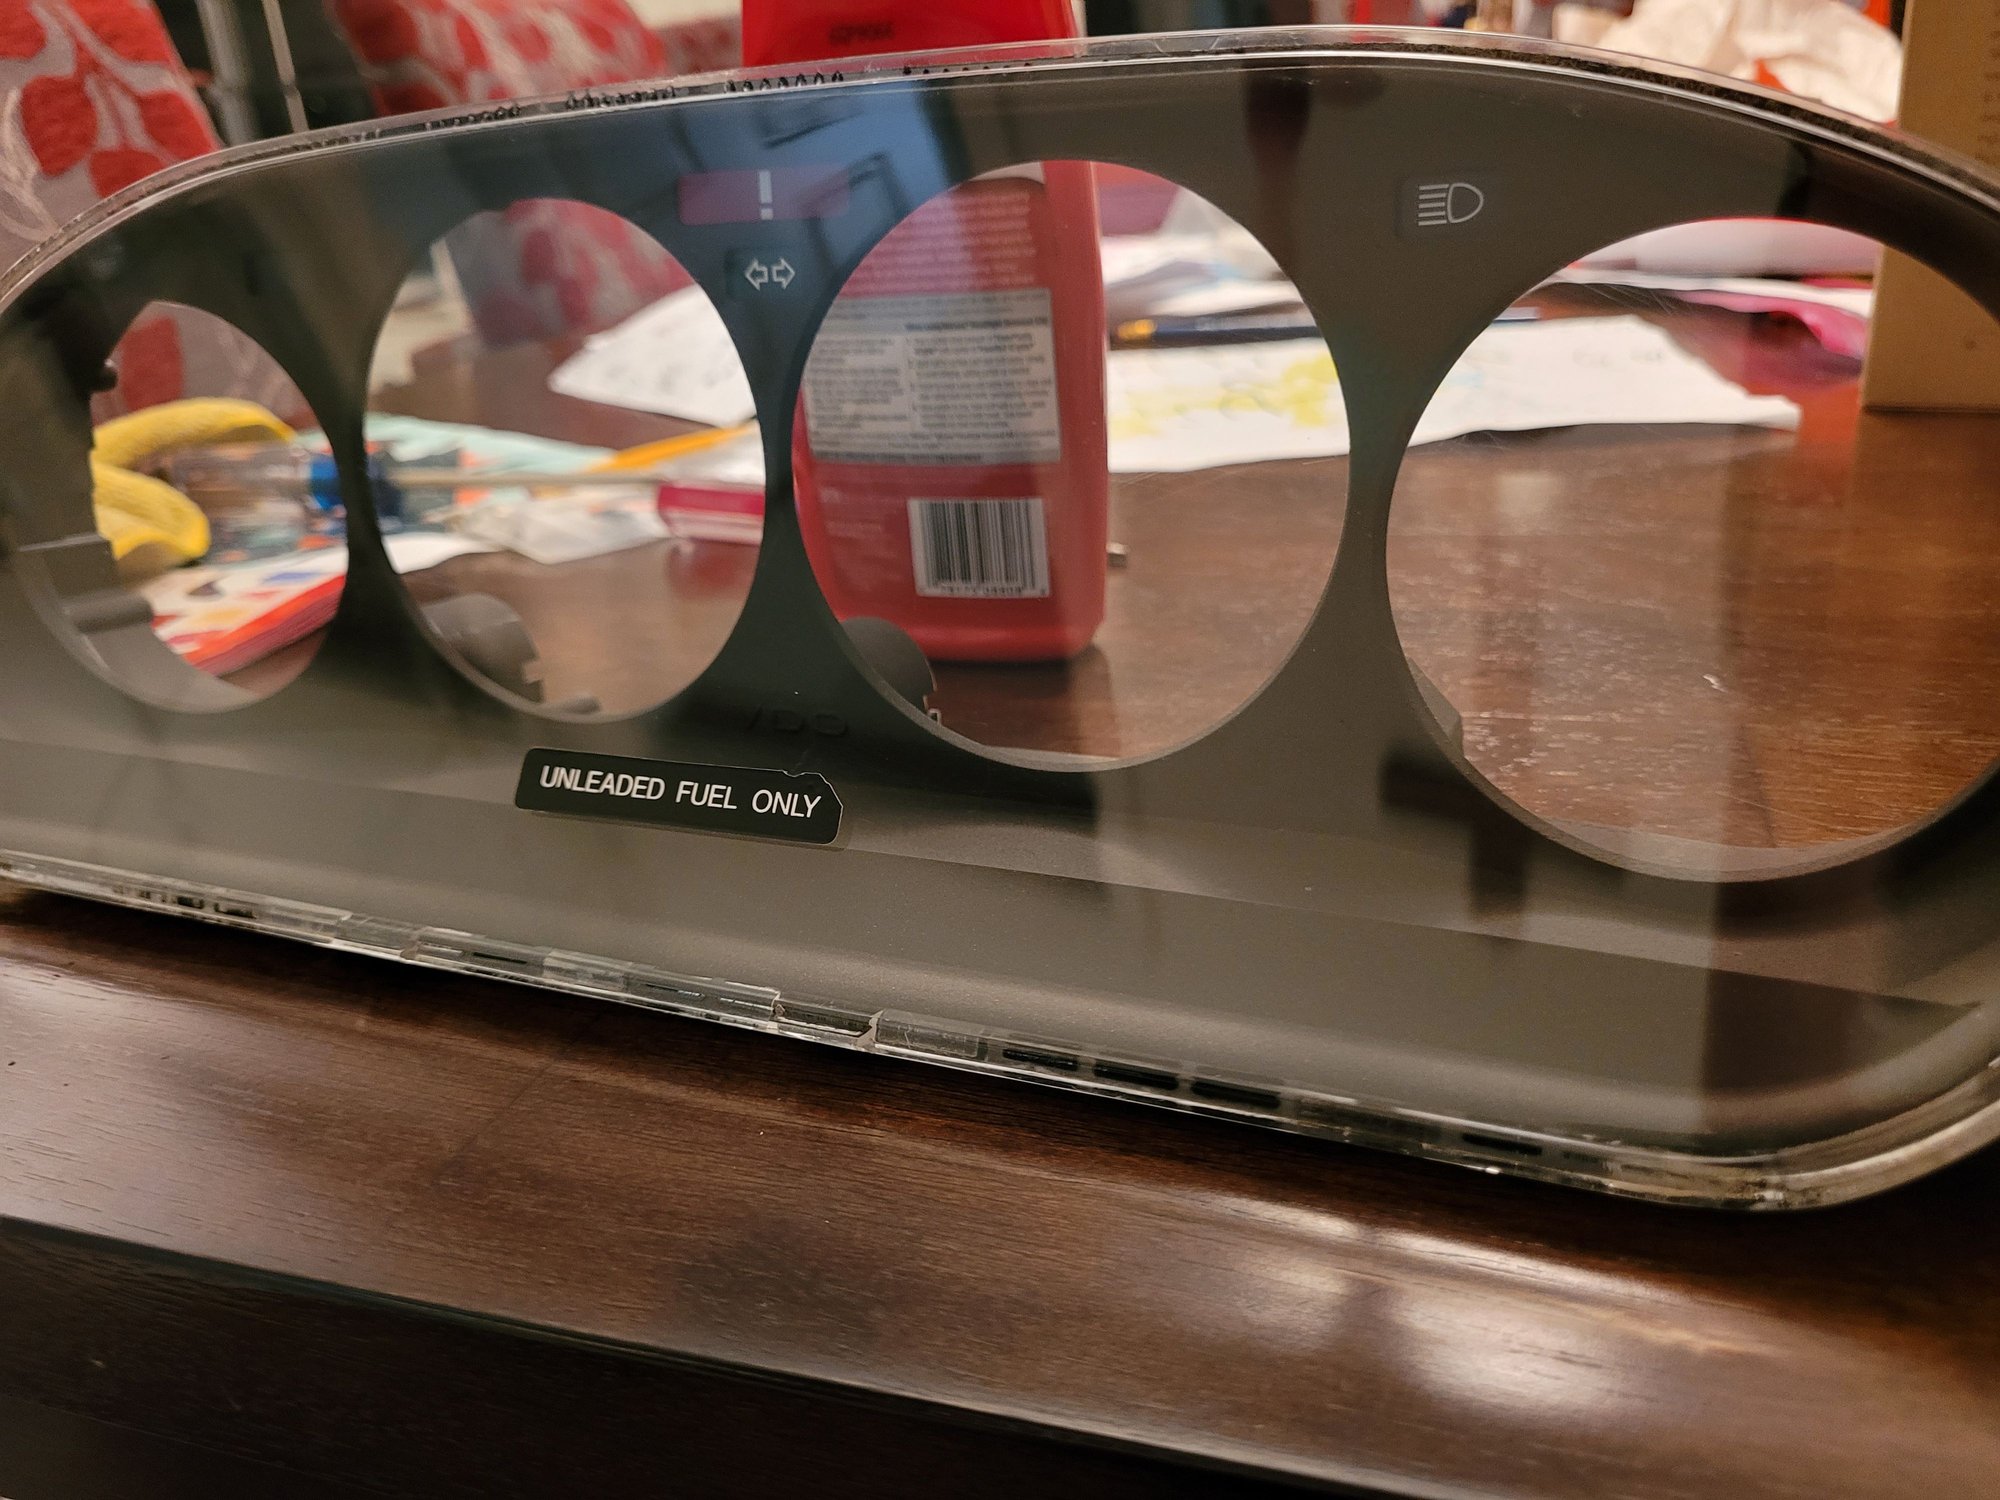
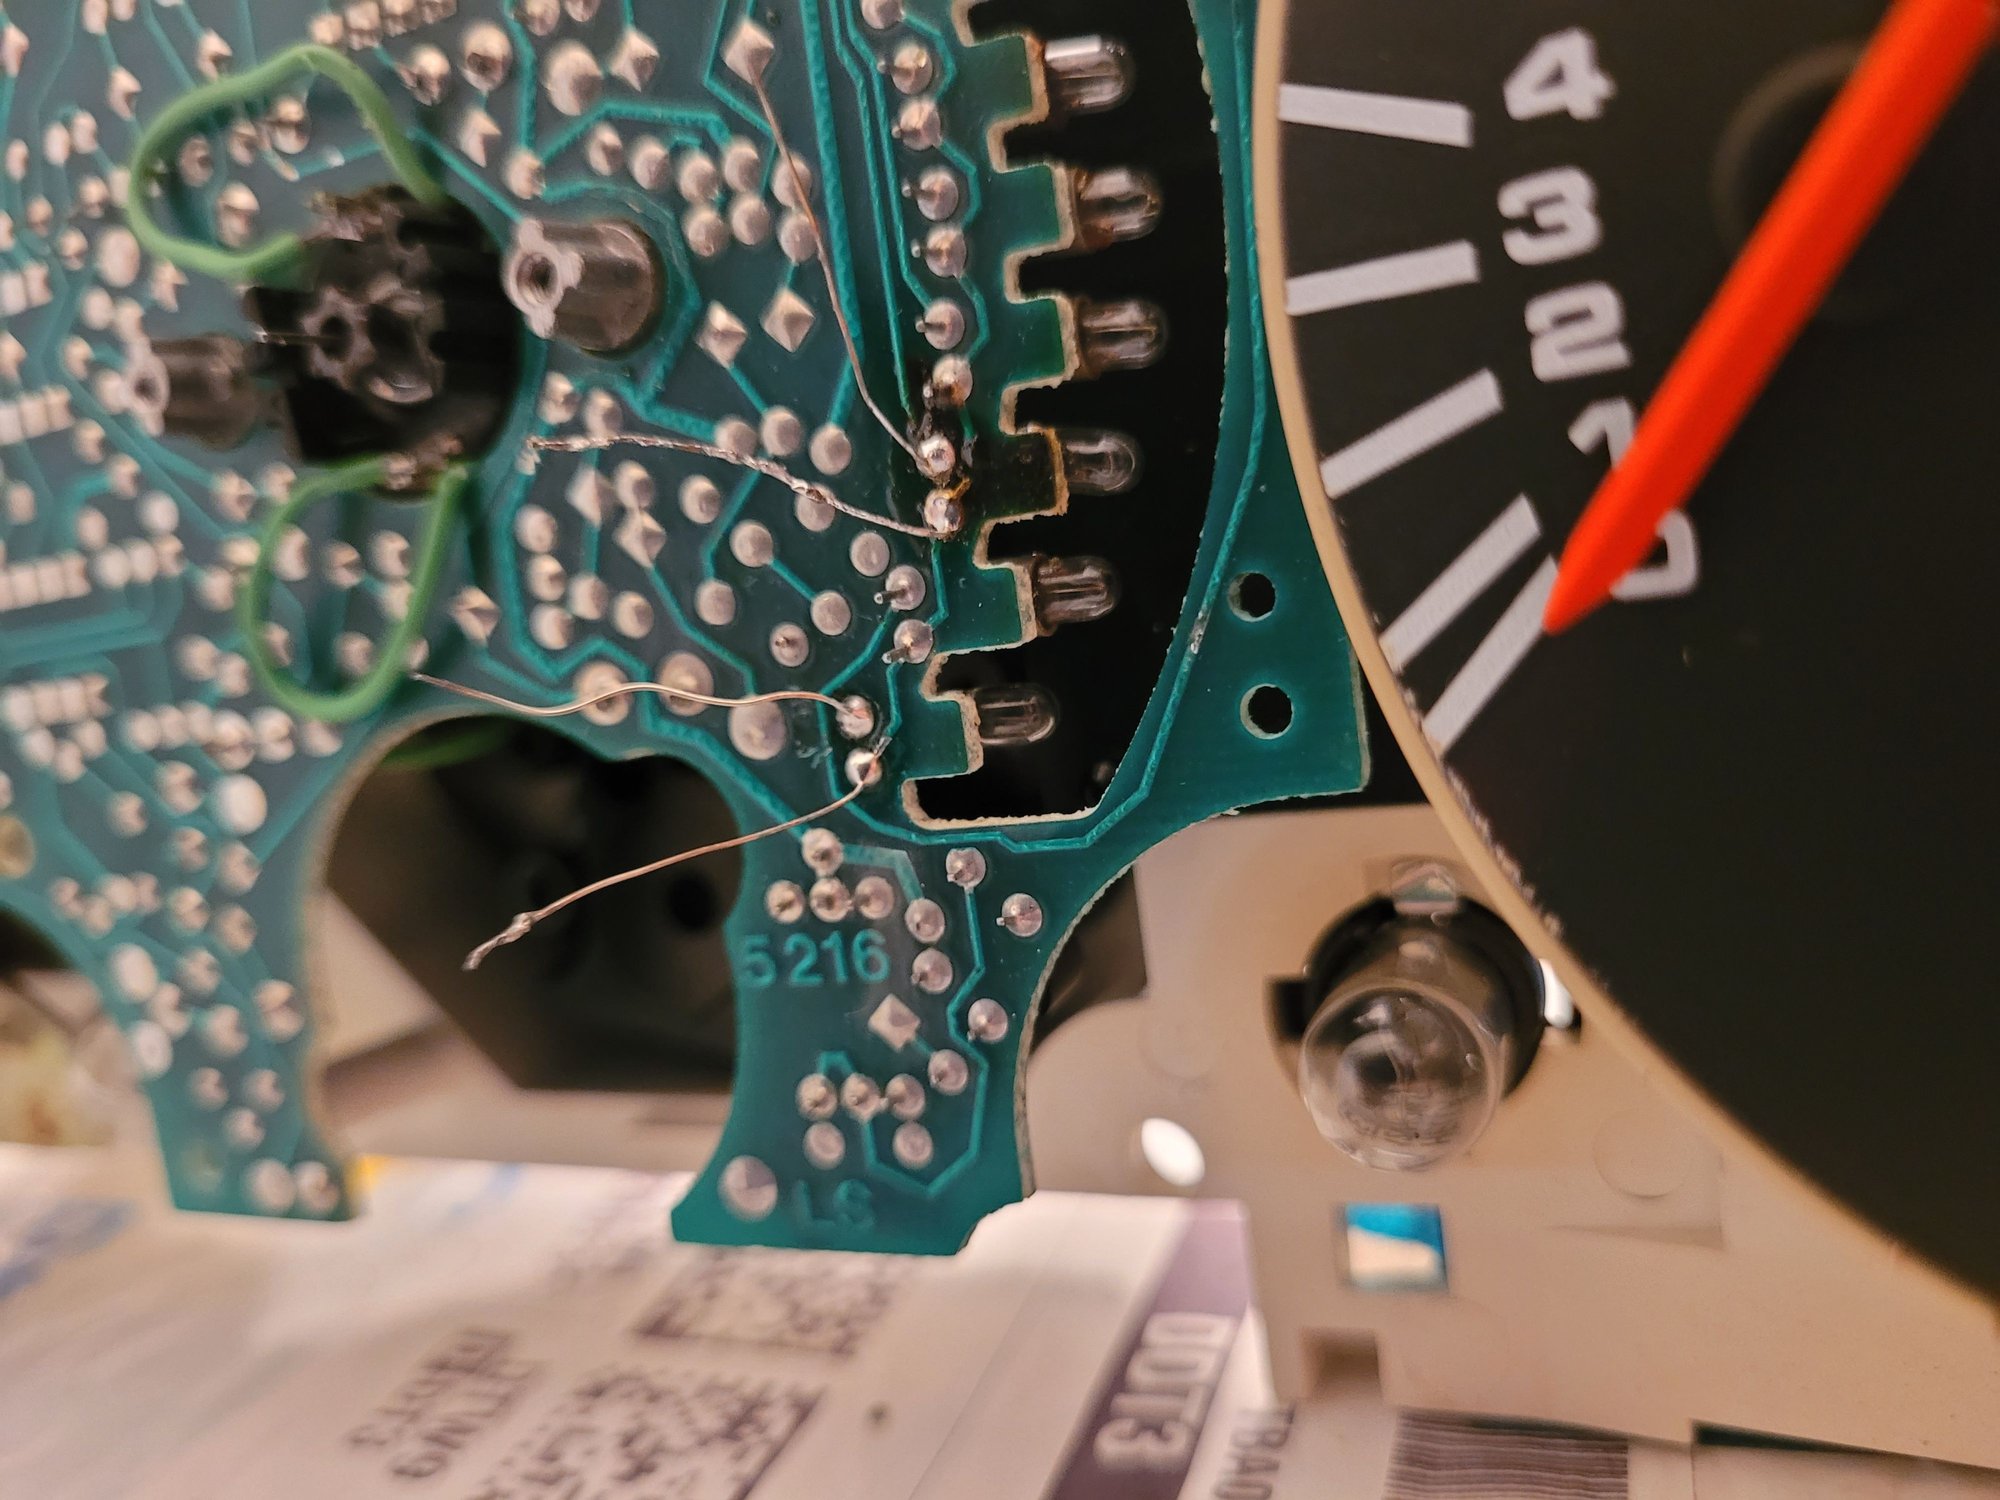
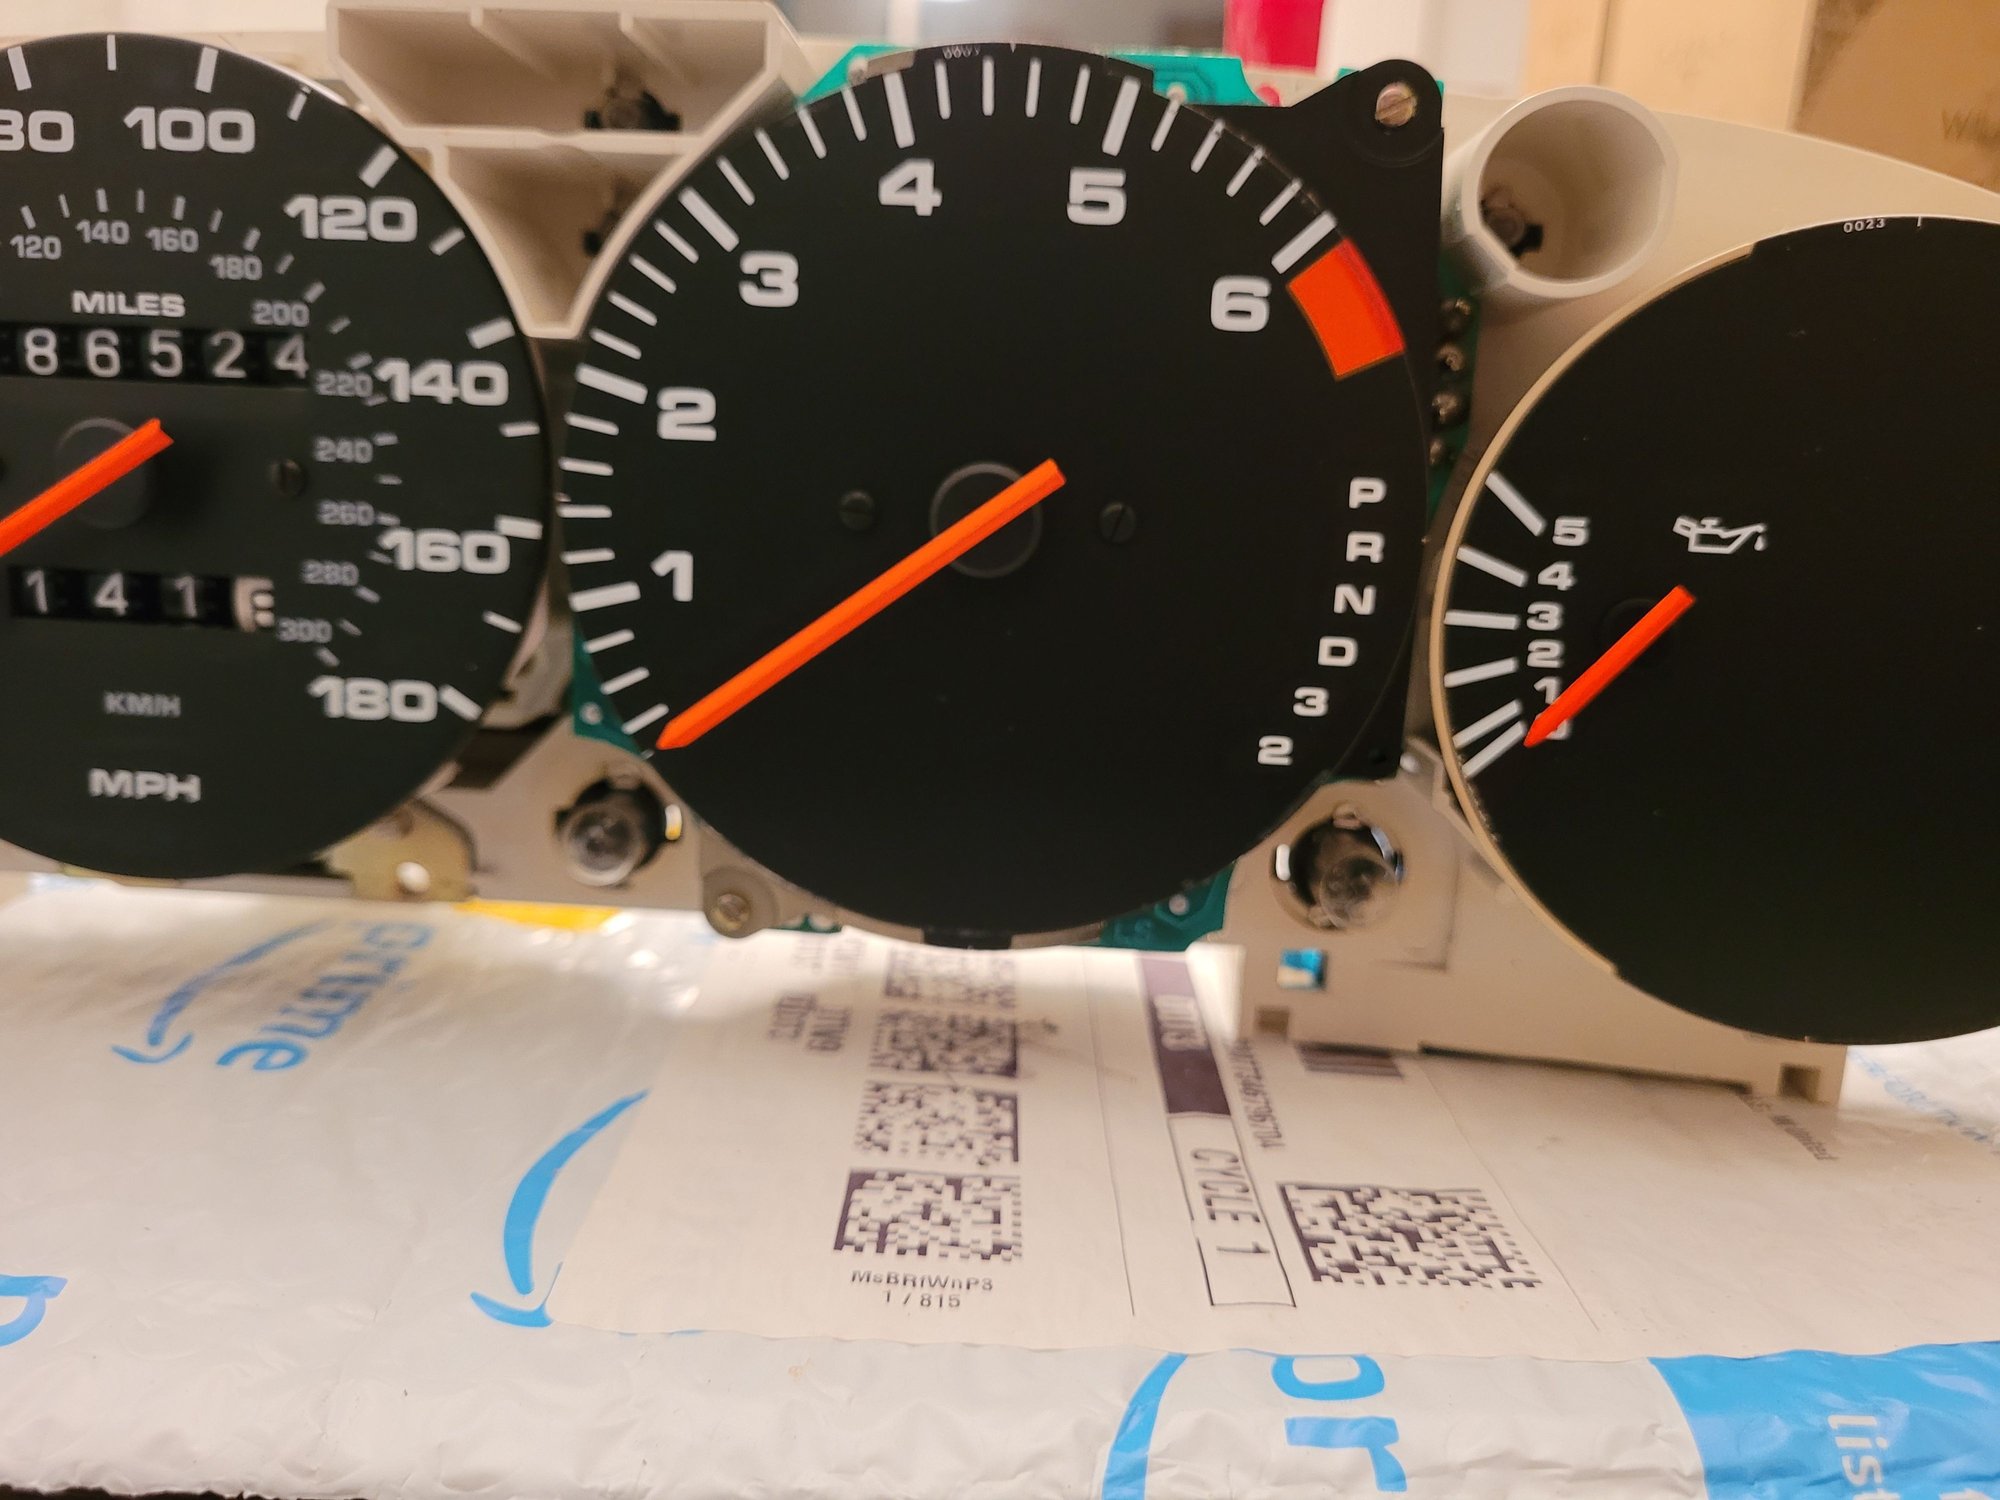
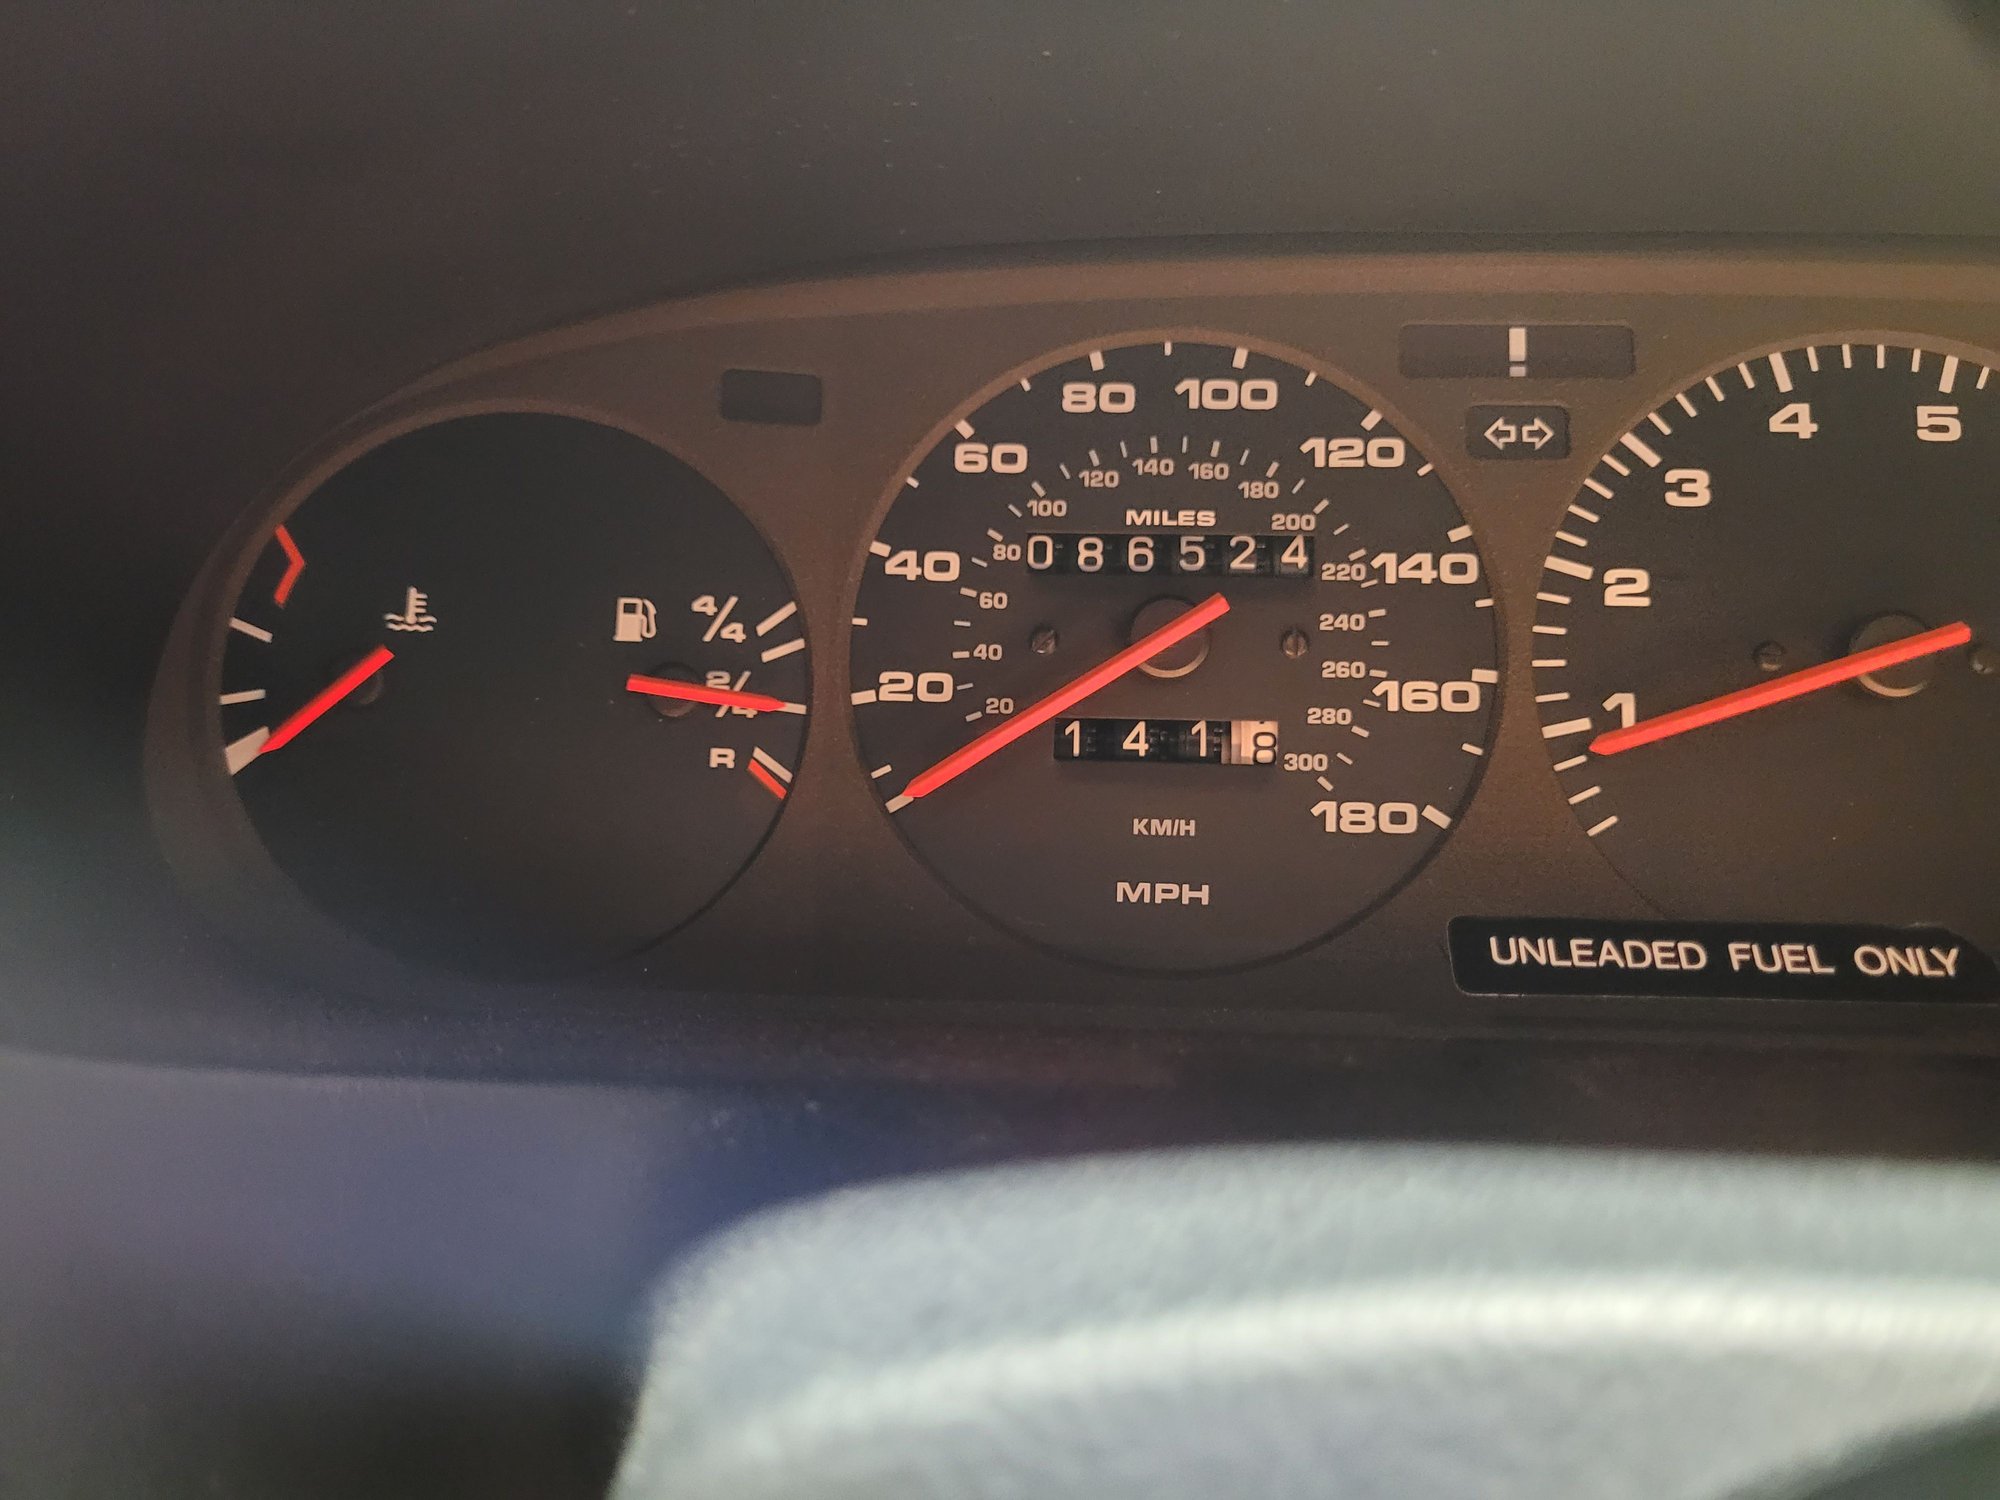
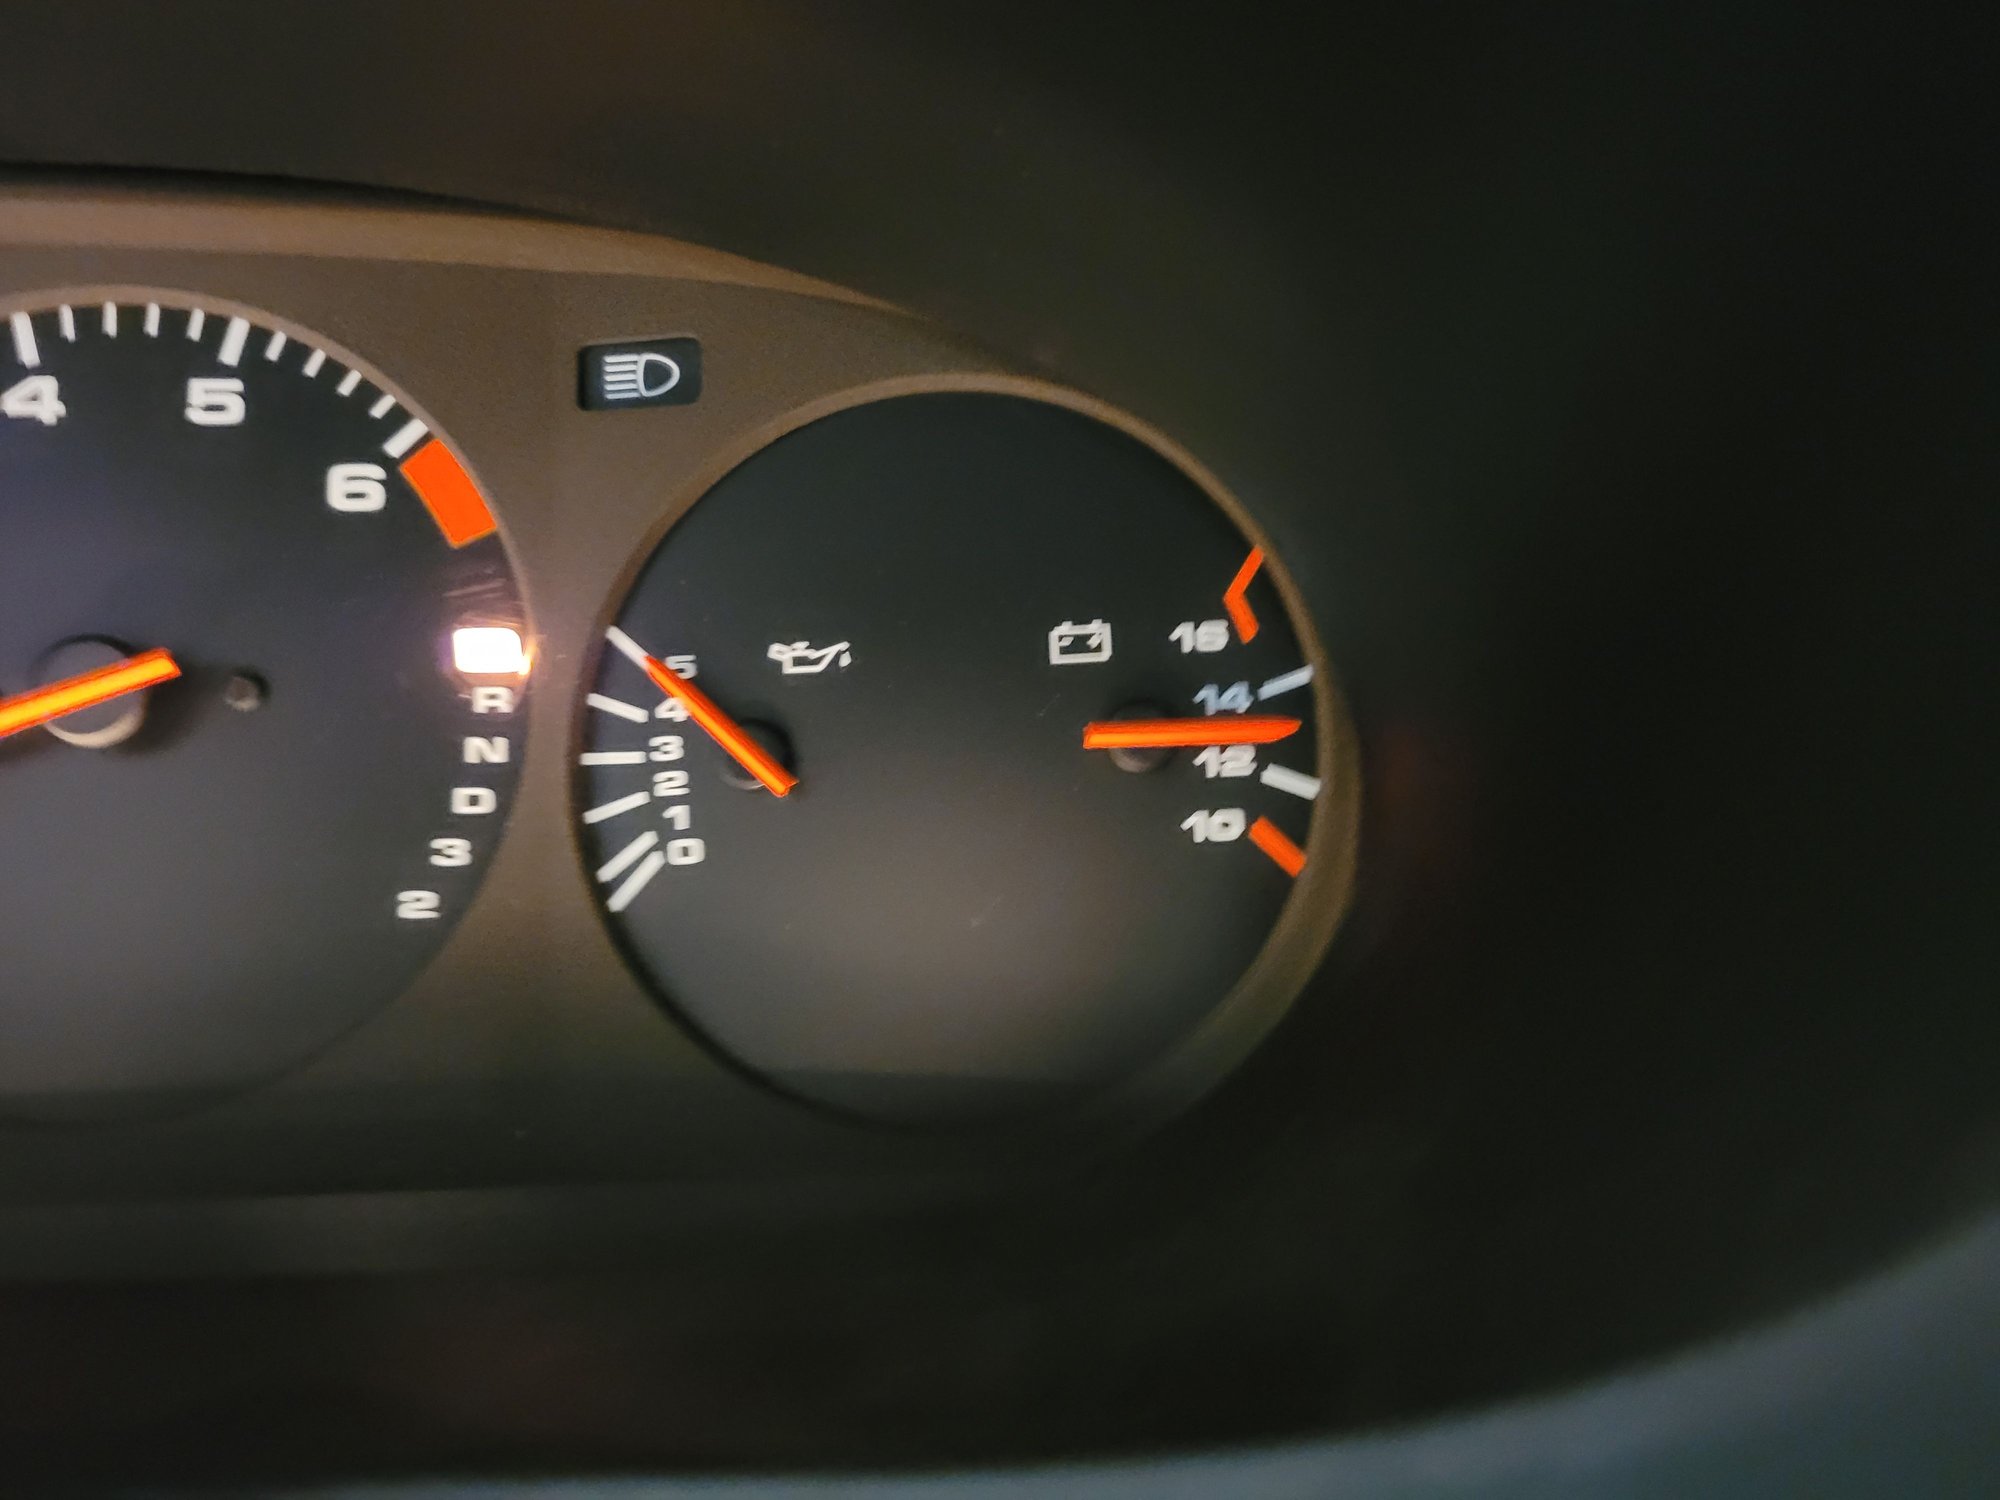
Gauge and light check before pulling pod to clean all the connections and reolace the burned out gear indicator lights Cleaning all the connections on the ribbon. Tach removed getting ready for bulb swap Checking gauge level post cleaning. Gas gauge moved up around a needle width and now reads full when full. (Compare to first pic of post) Unfortunatley volt meter did not change, still reads about 1v low. Lens after a clean and polish New bulbs just after soldering. Quite a trick to get these in and soldered. Theyre quite small. Gauges after install and car running.
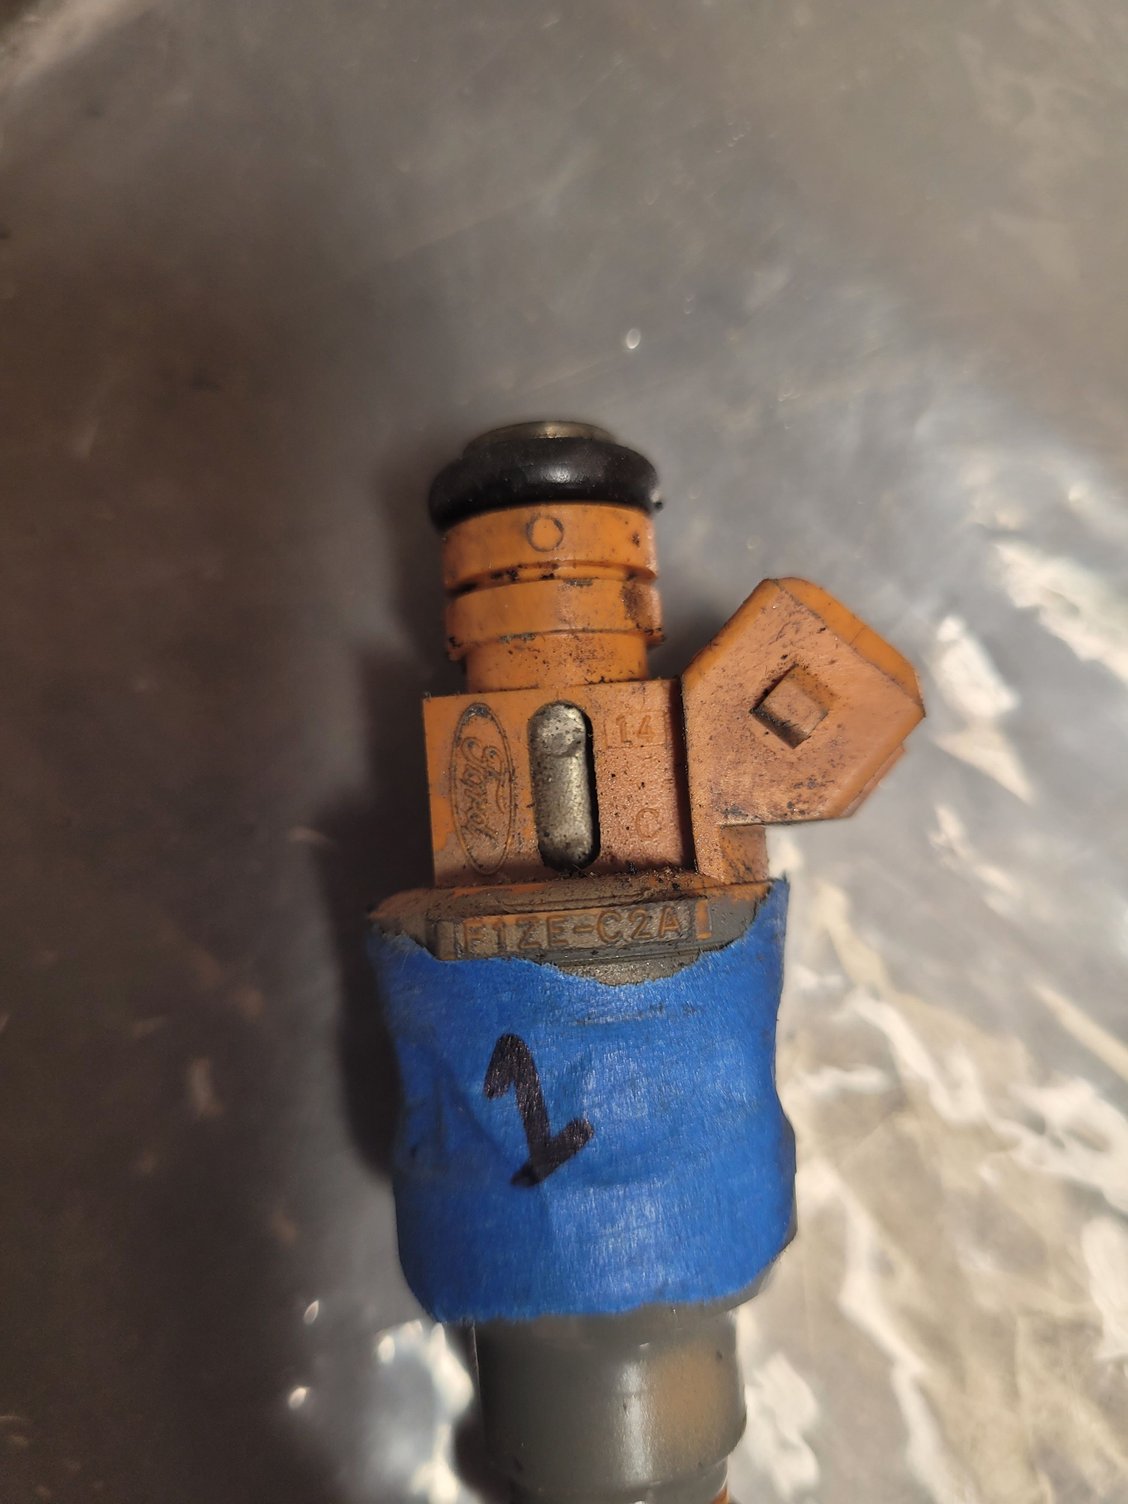
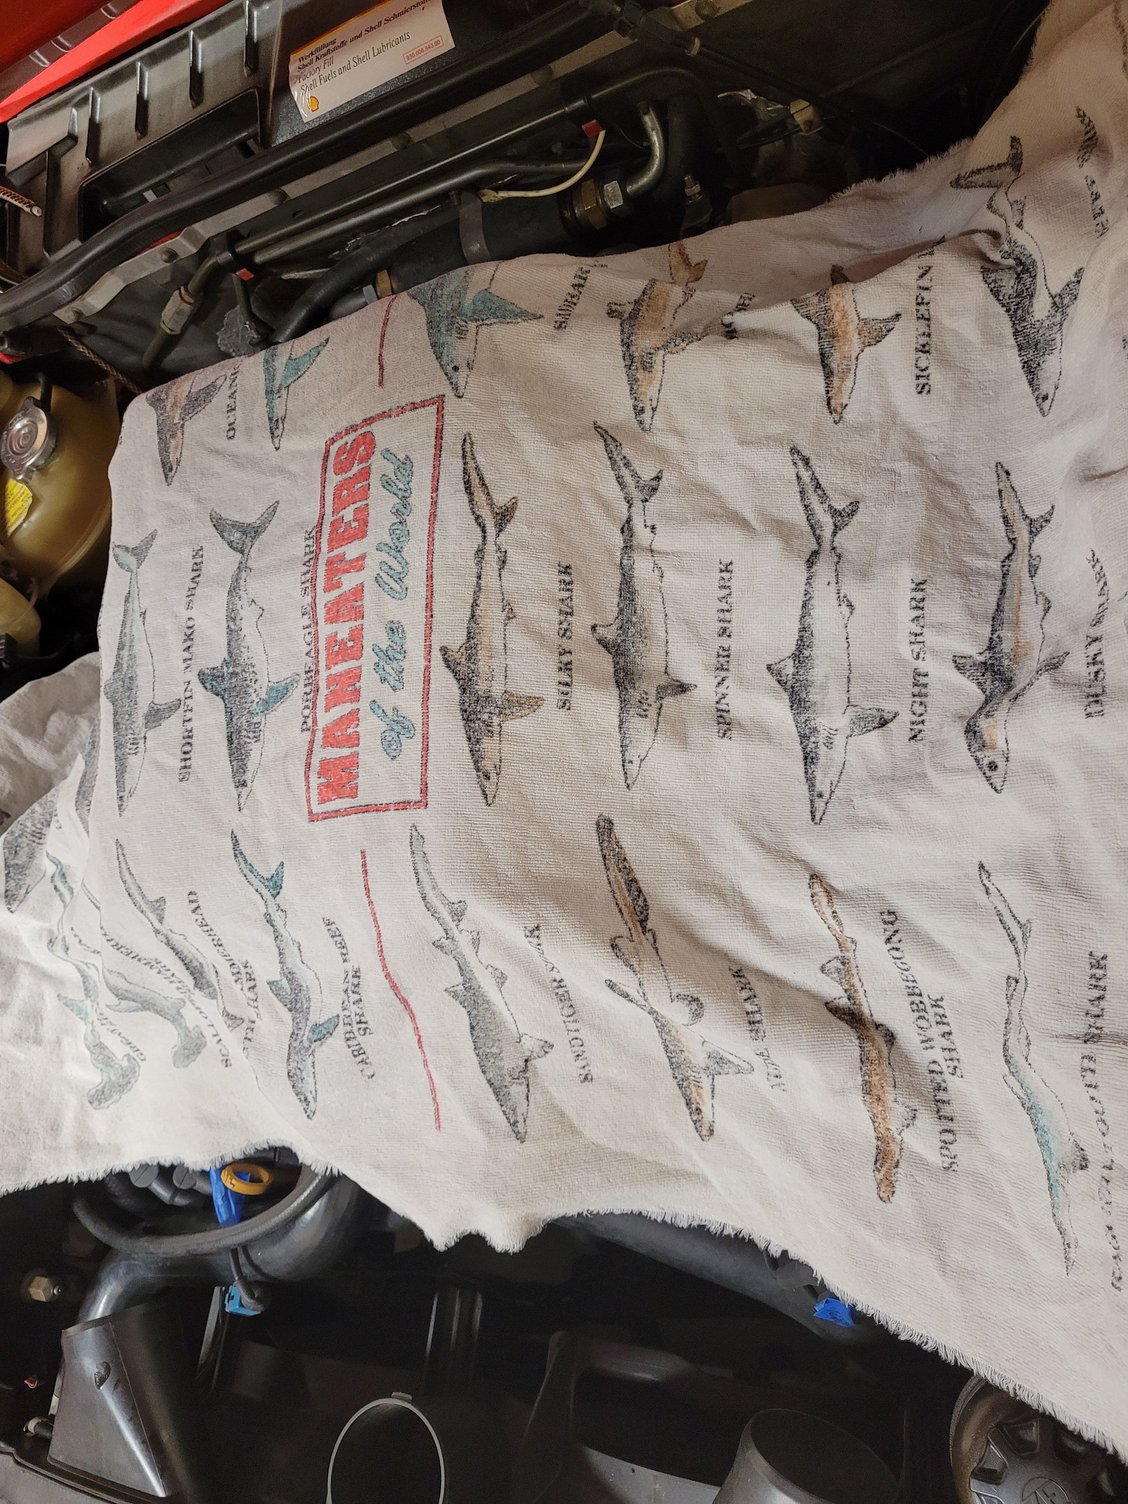
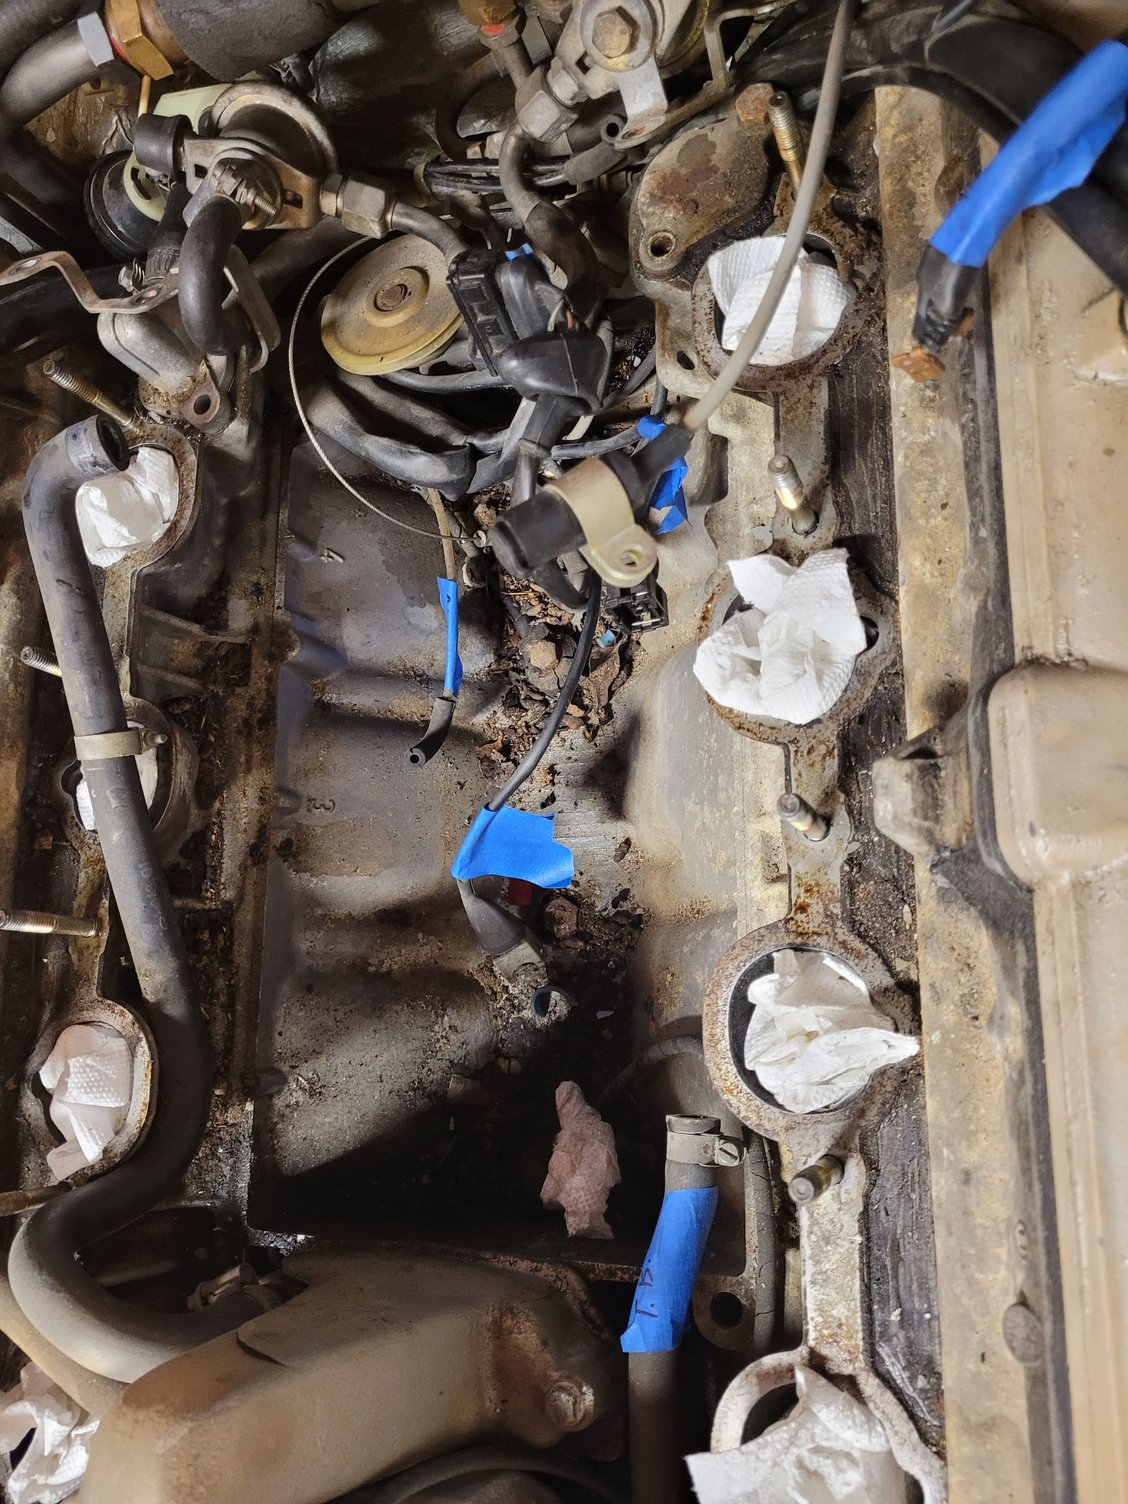
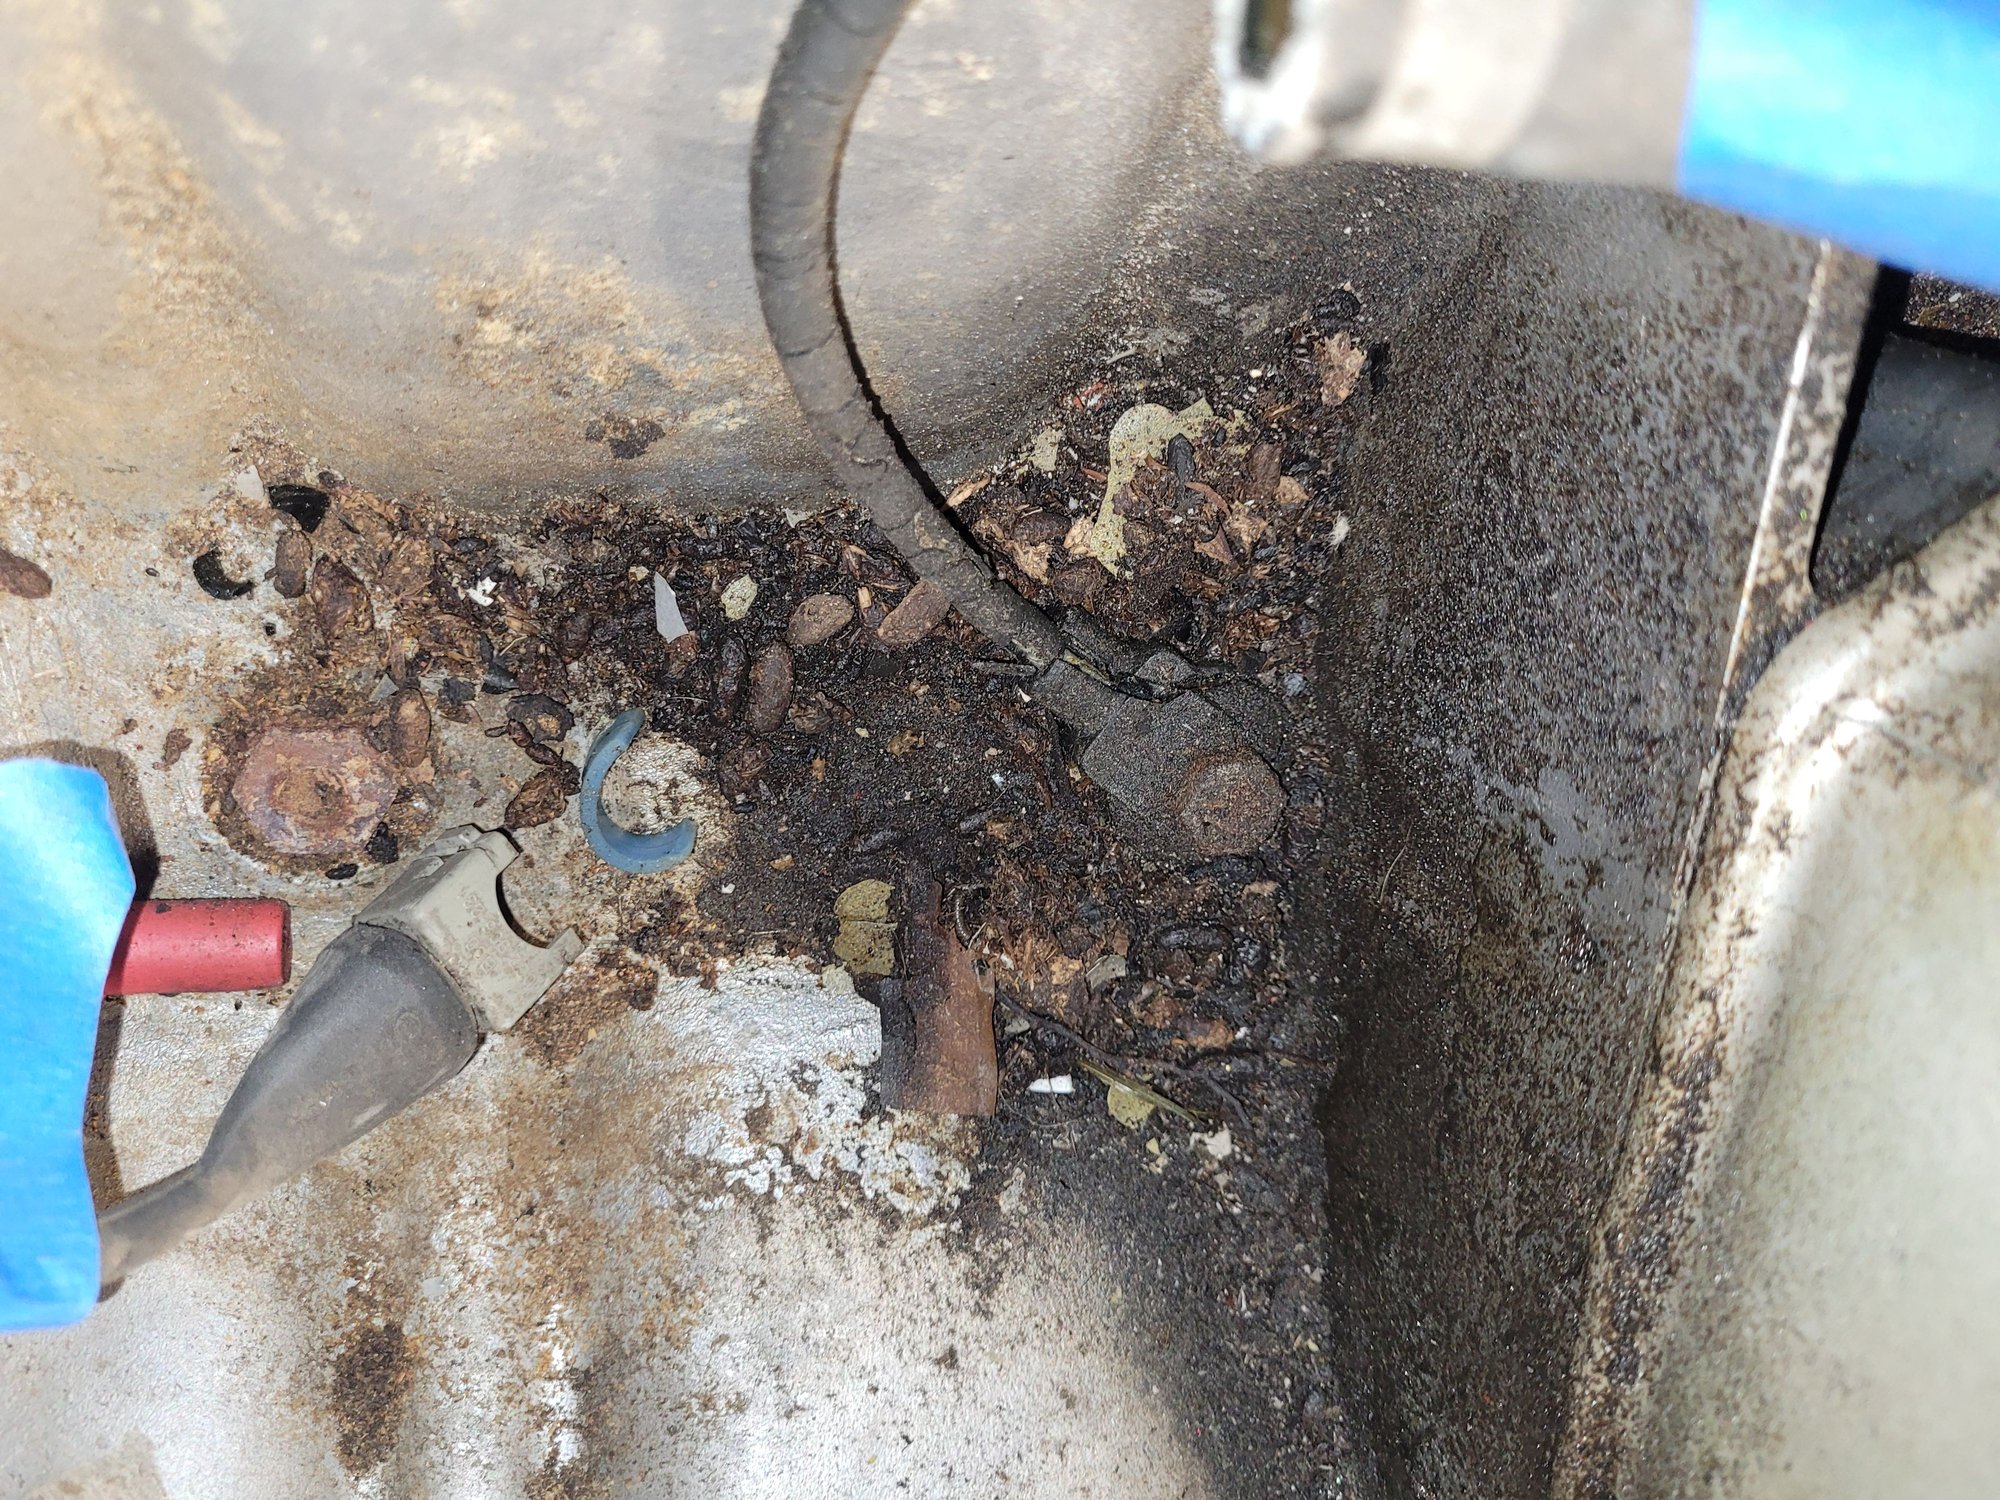
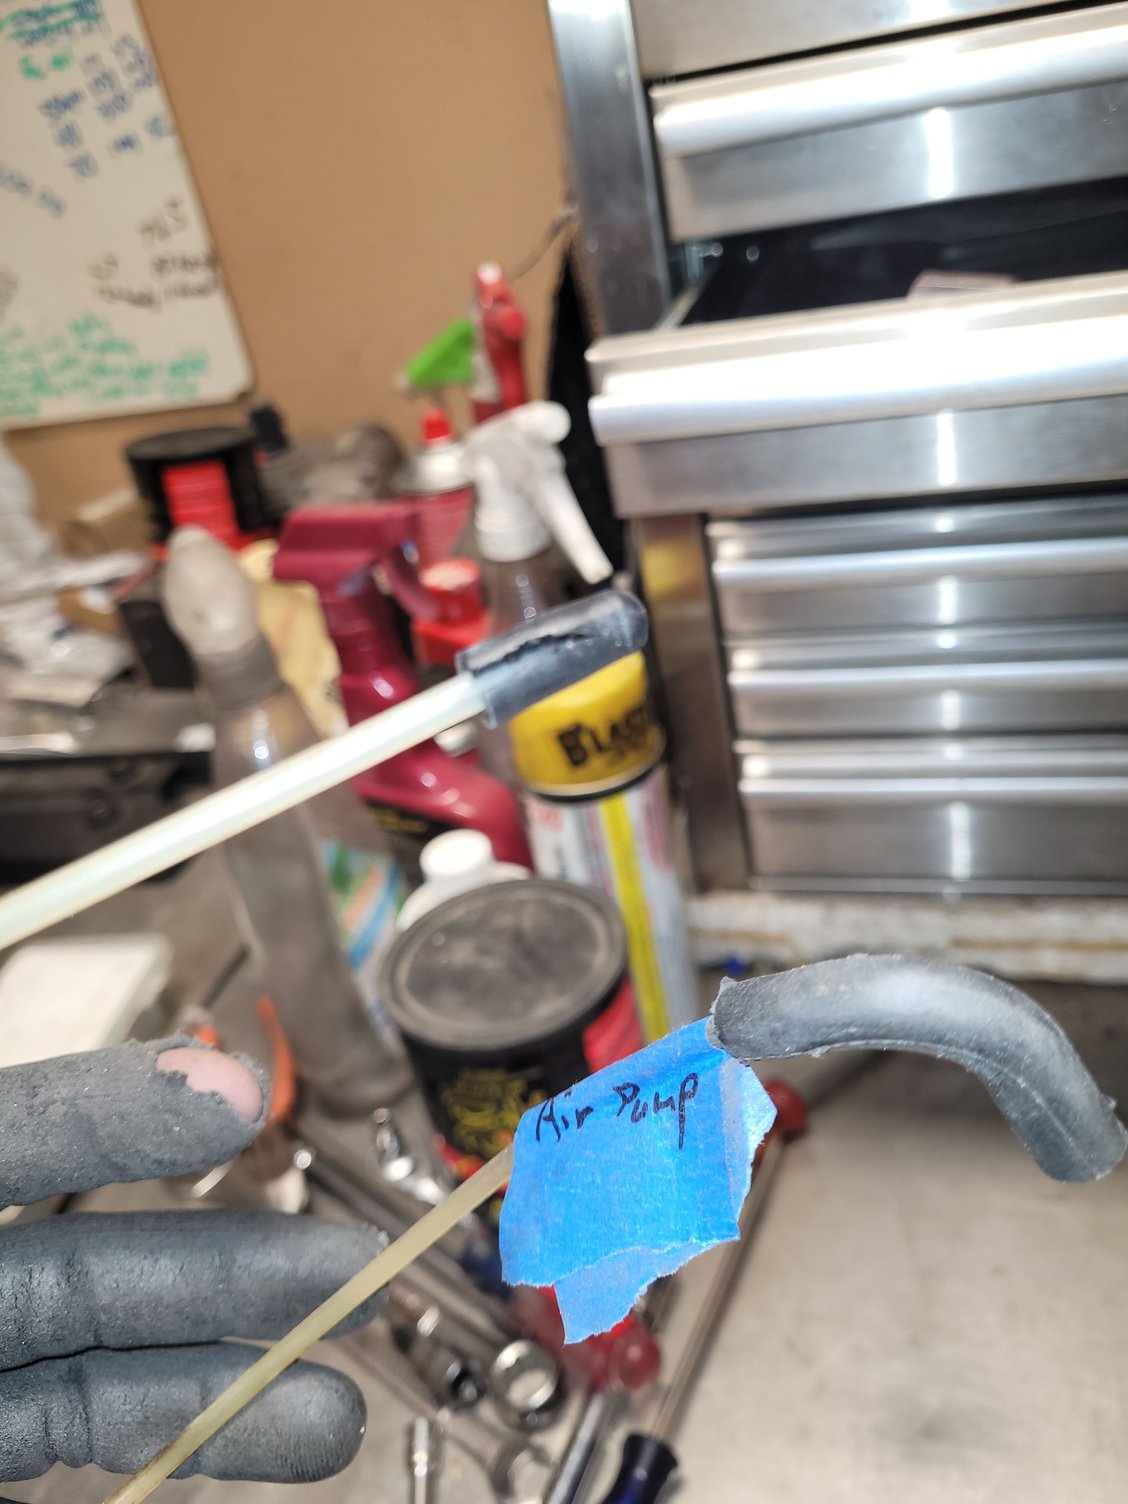
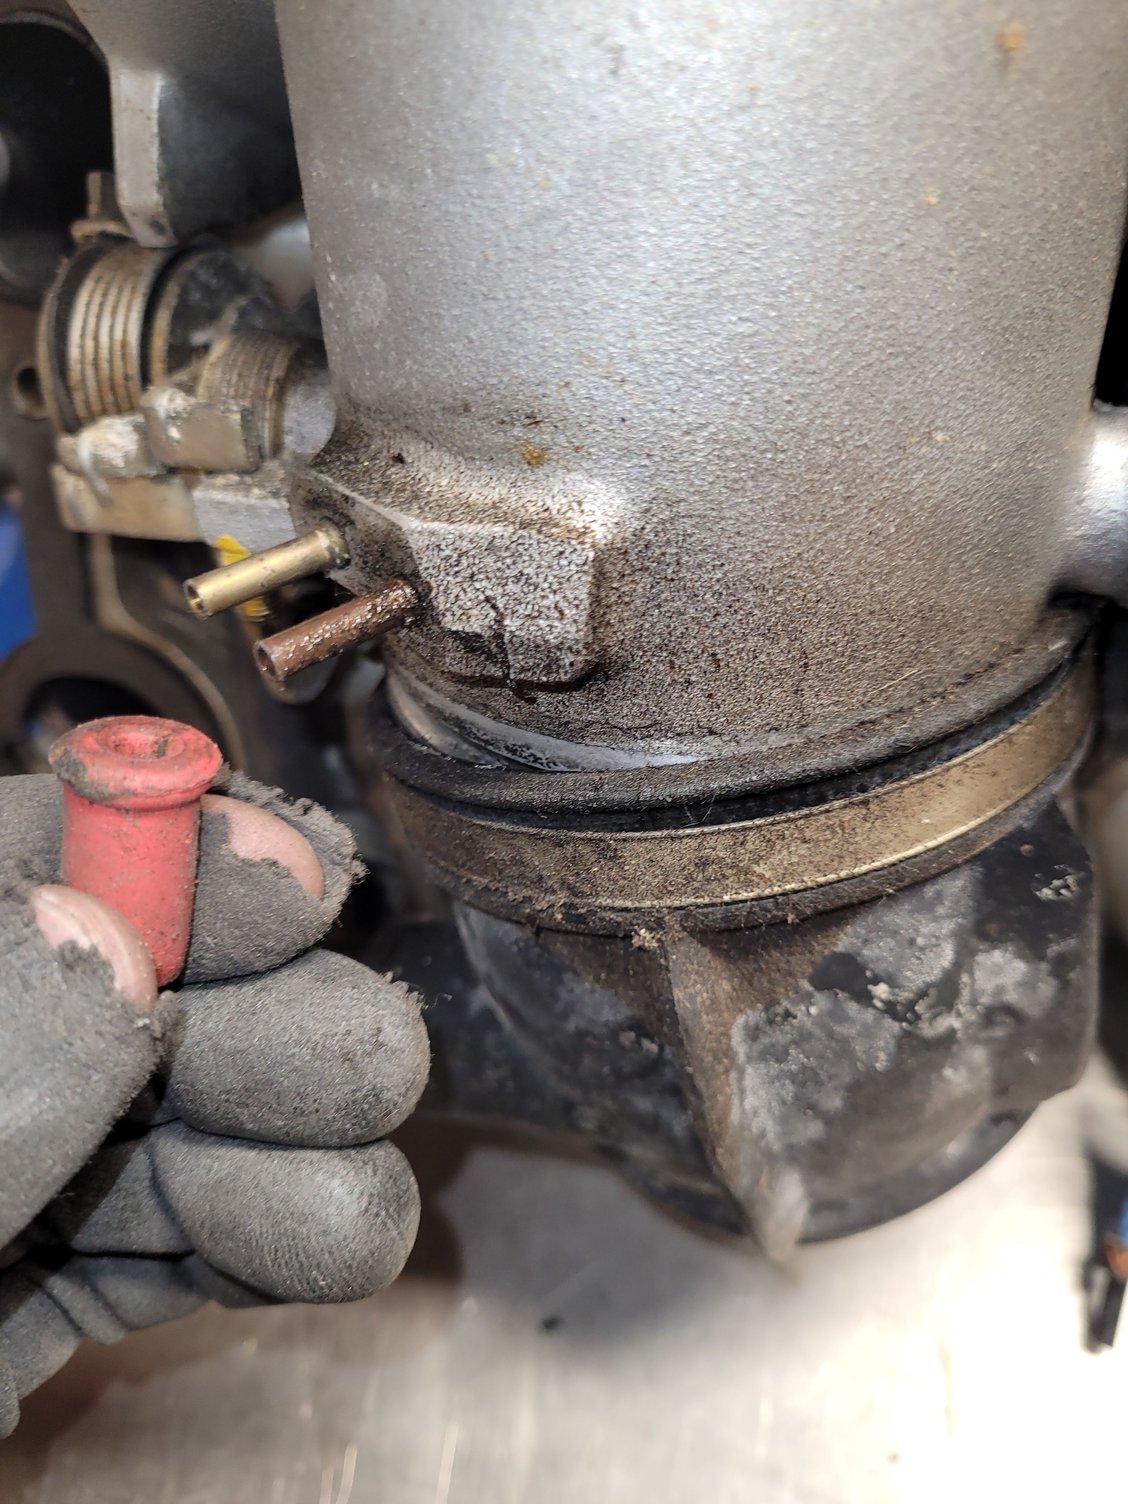
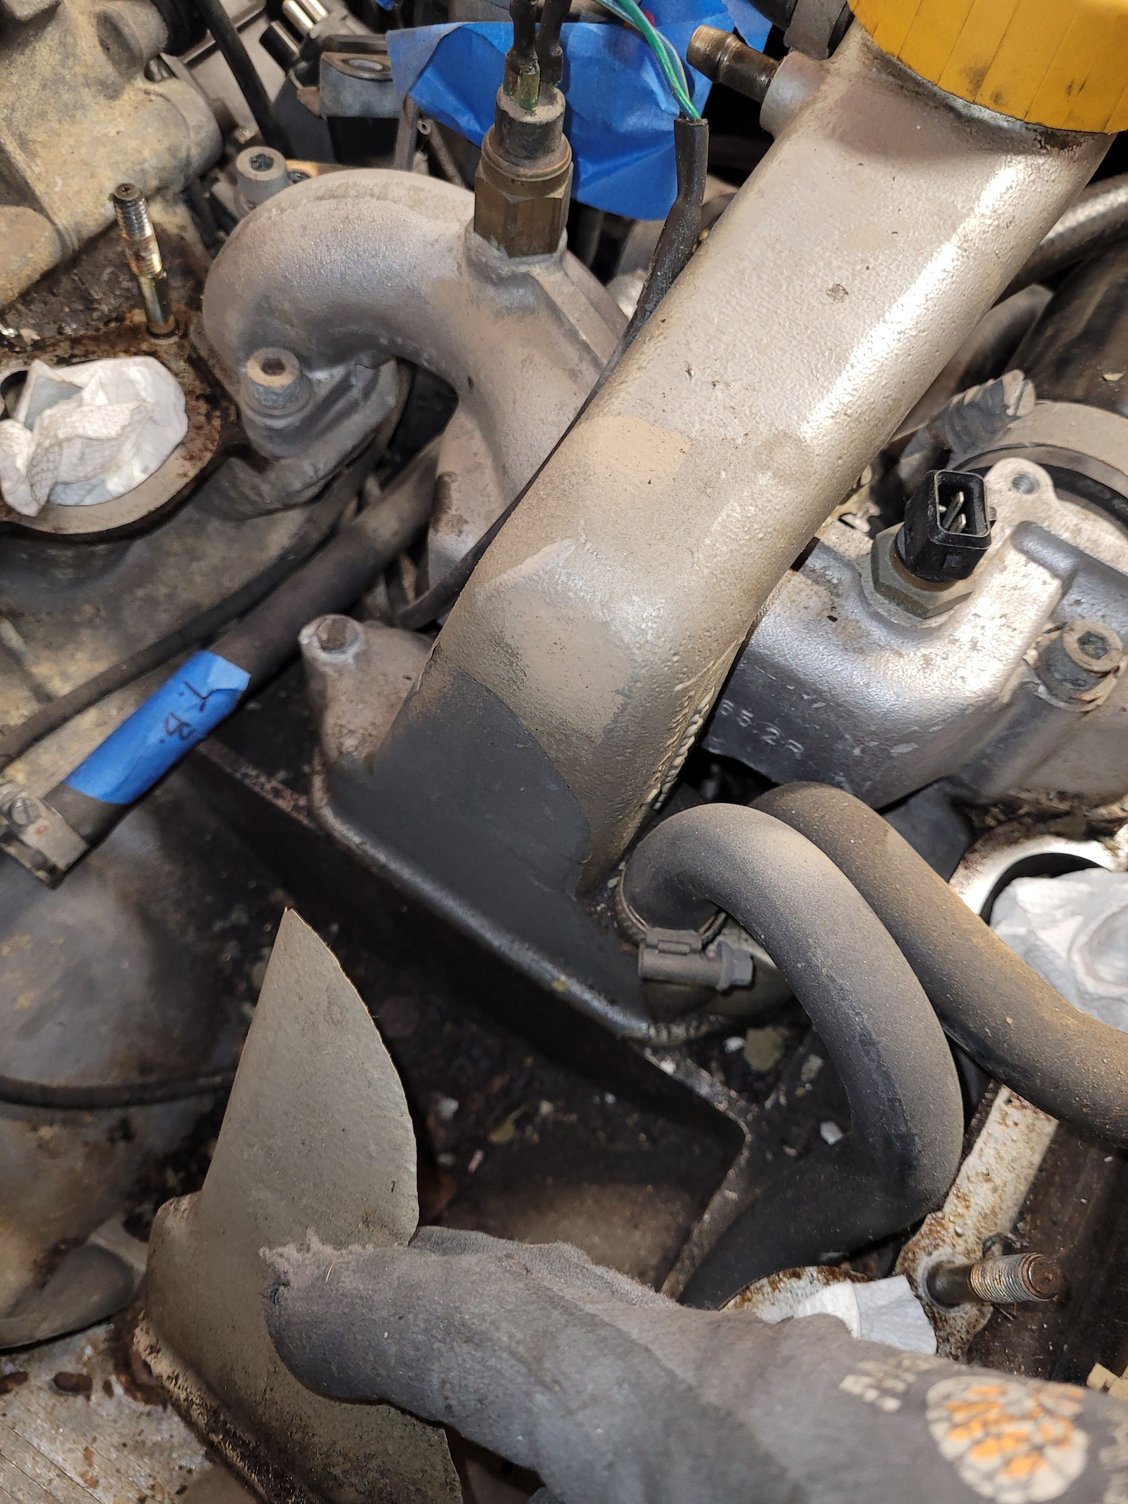
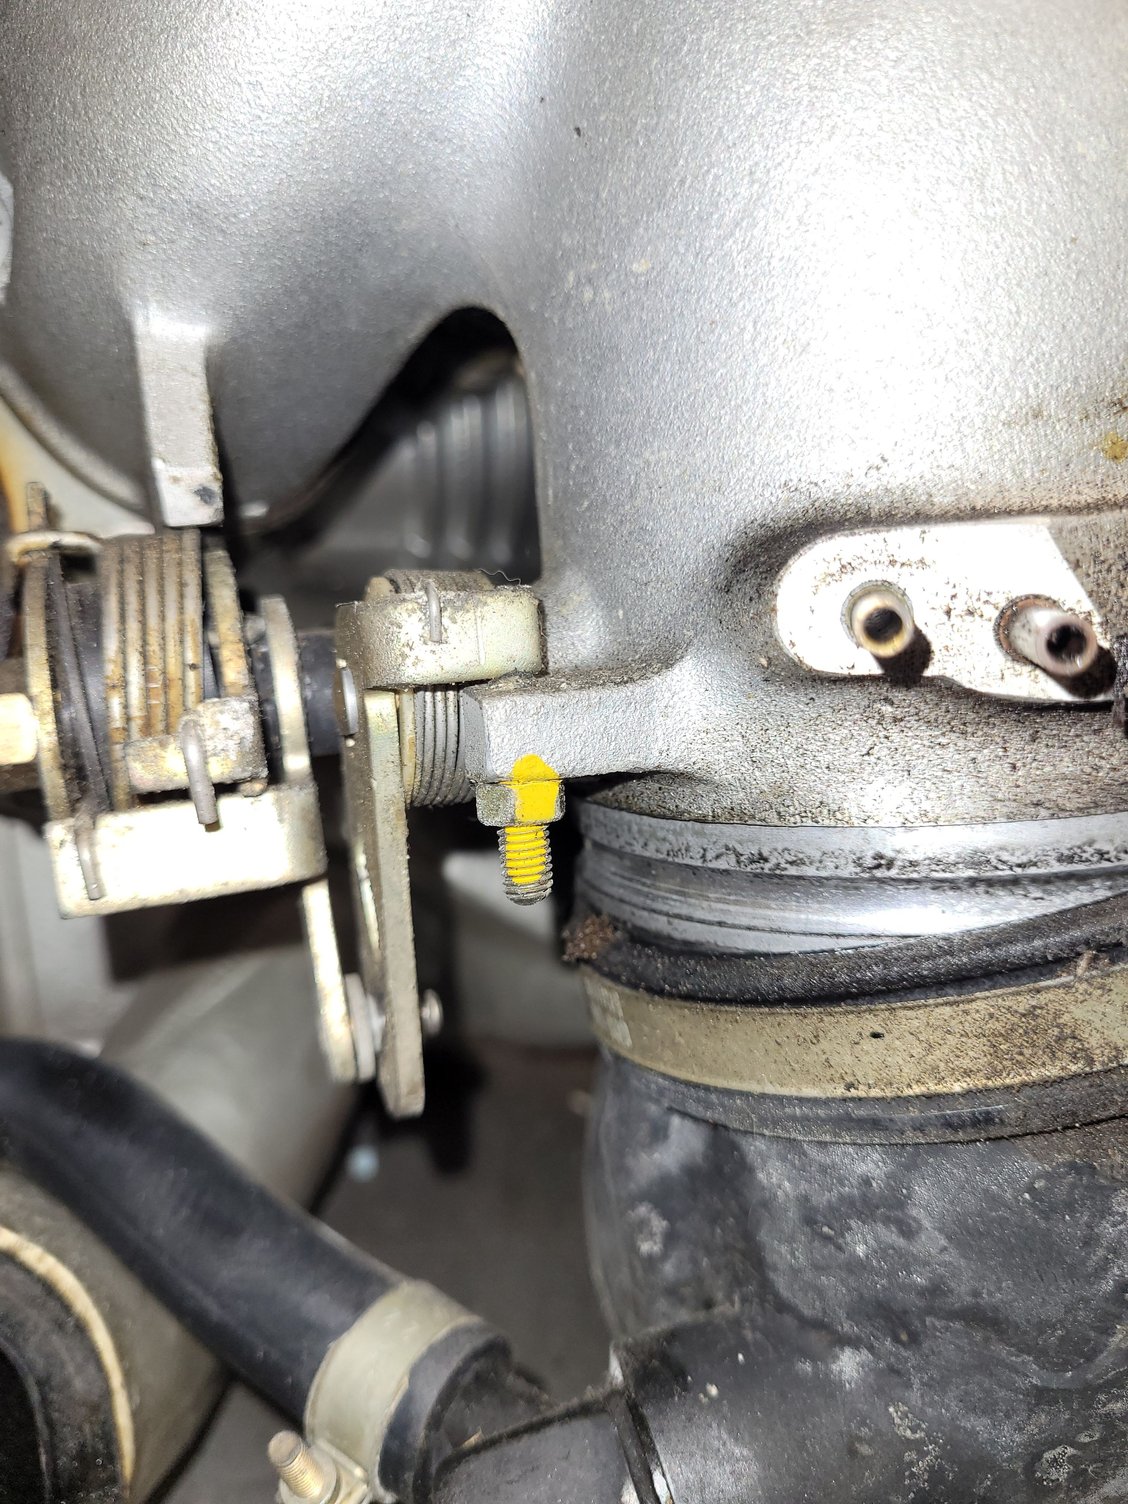
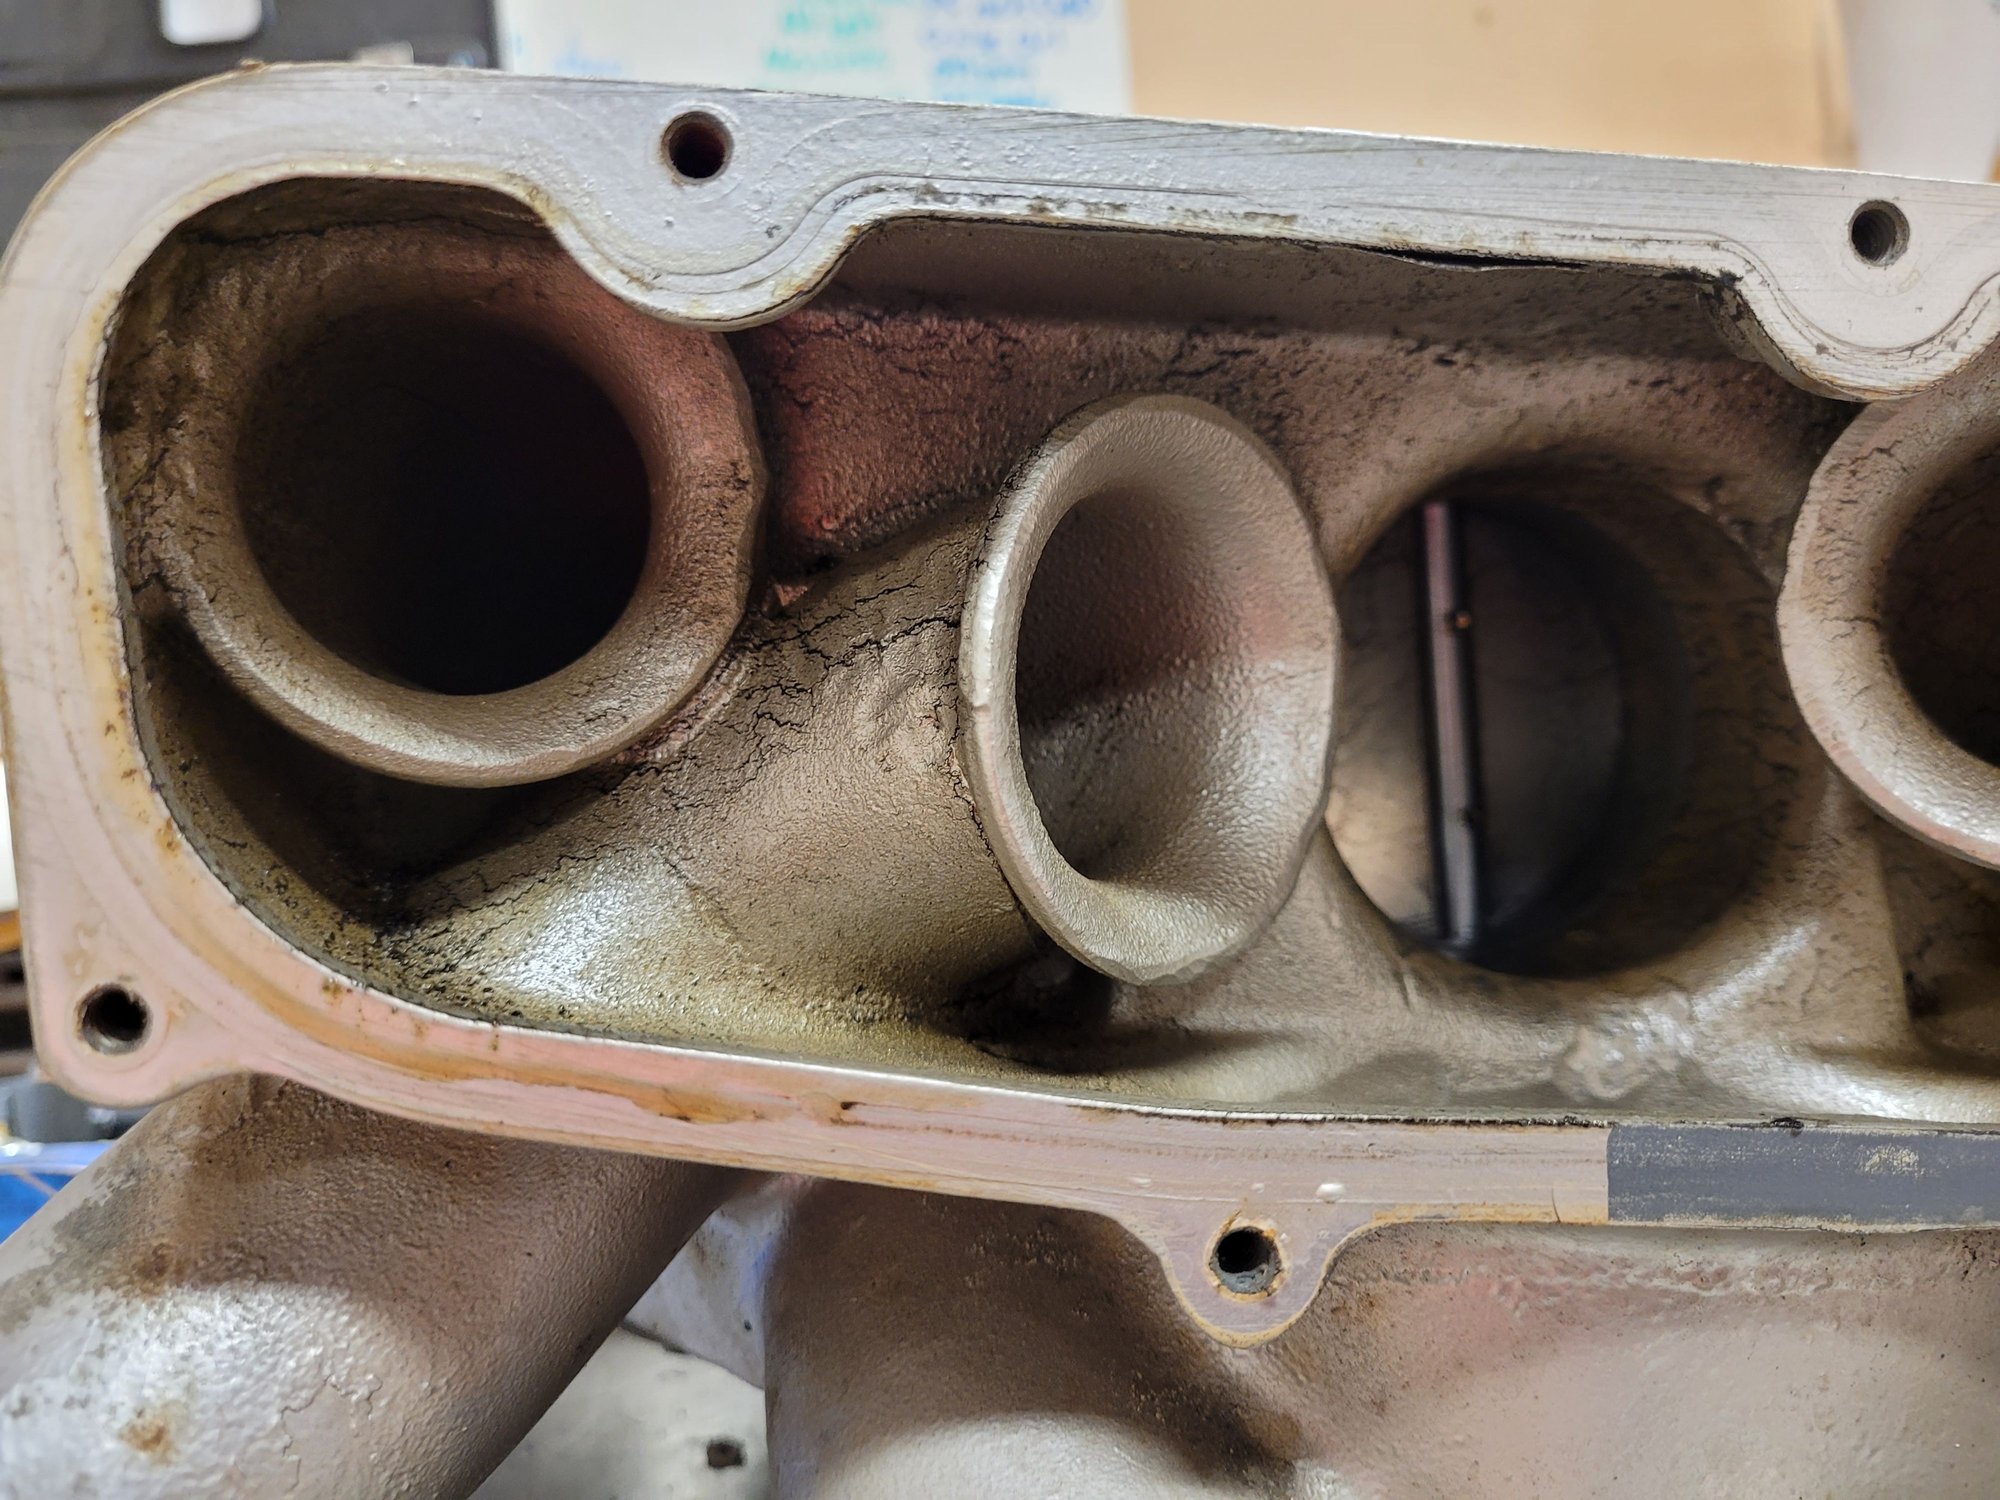
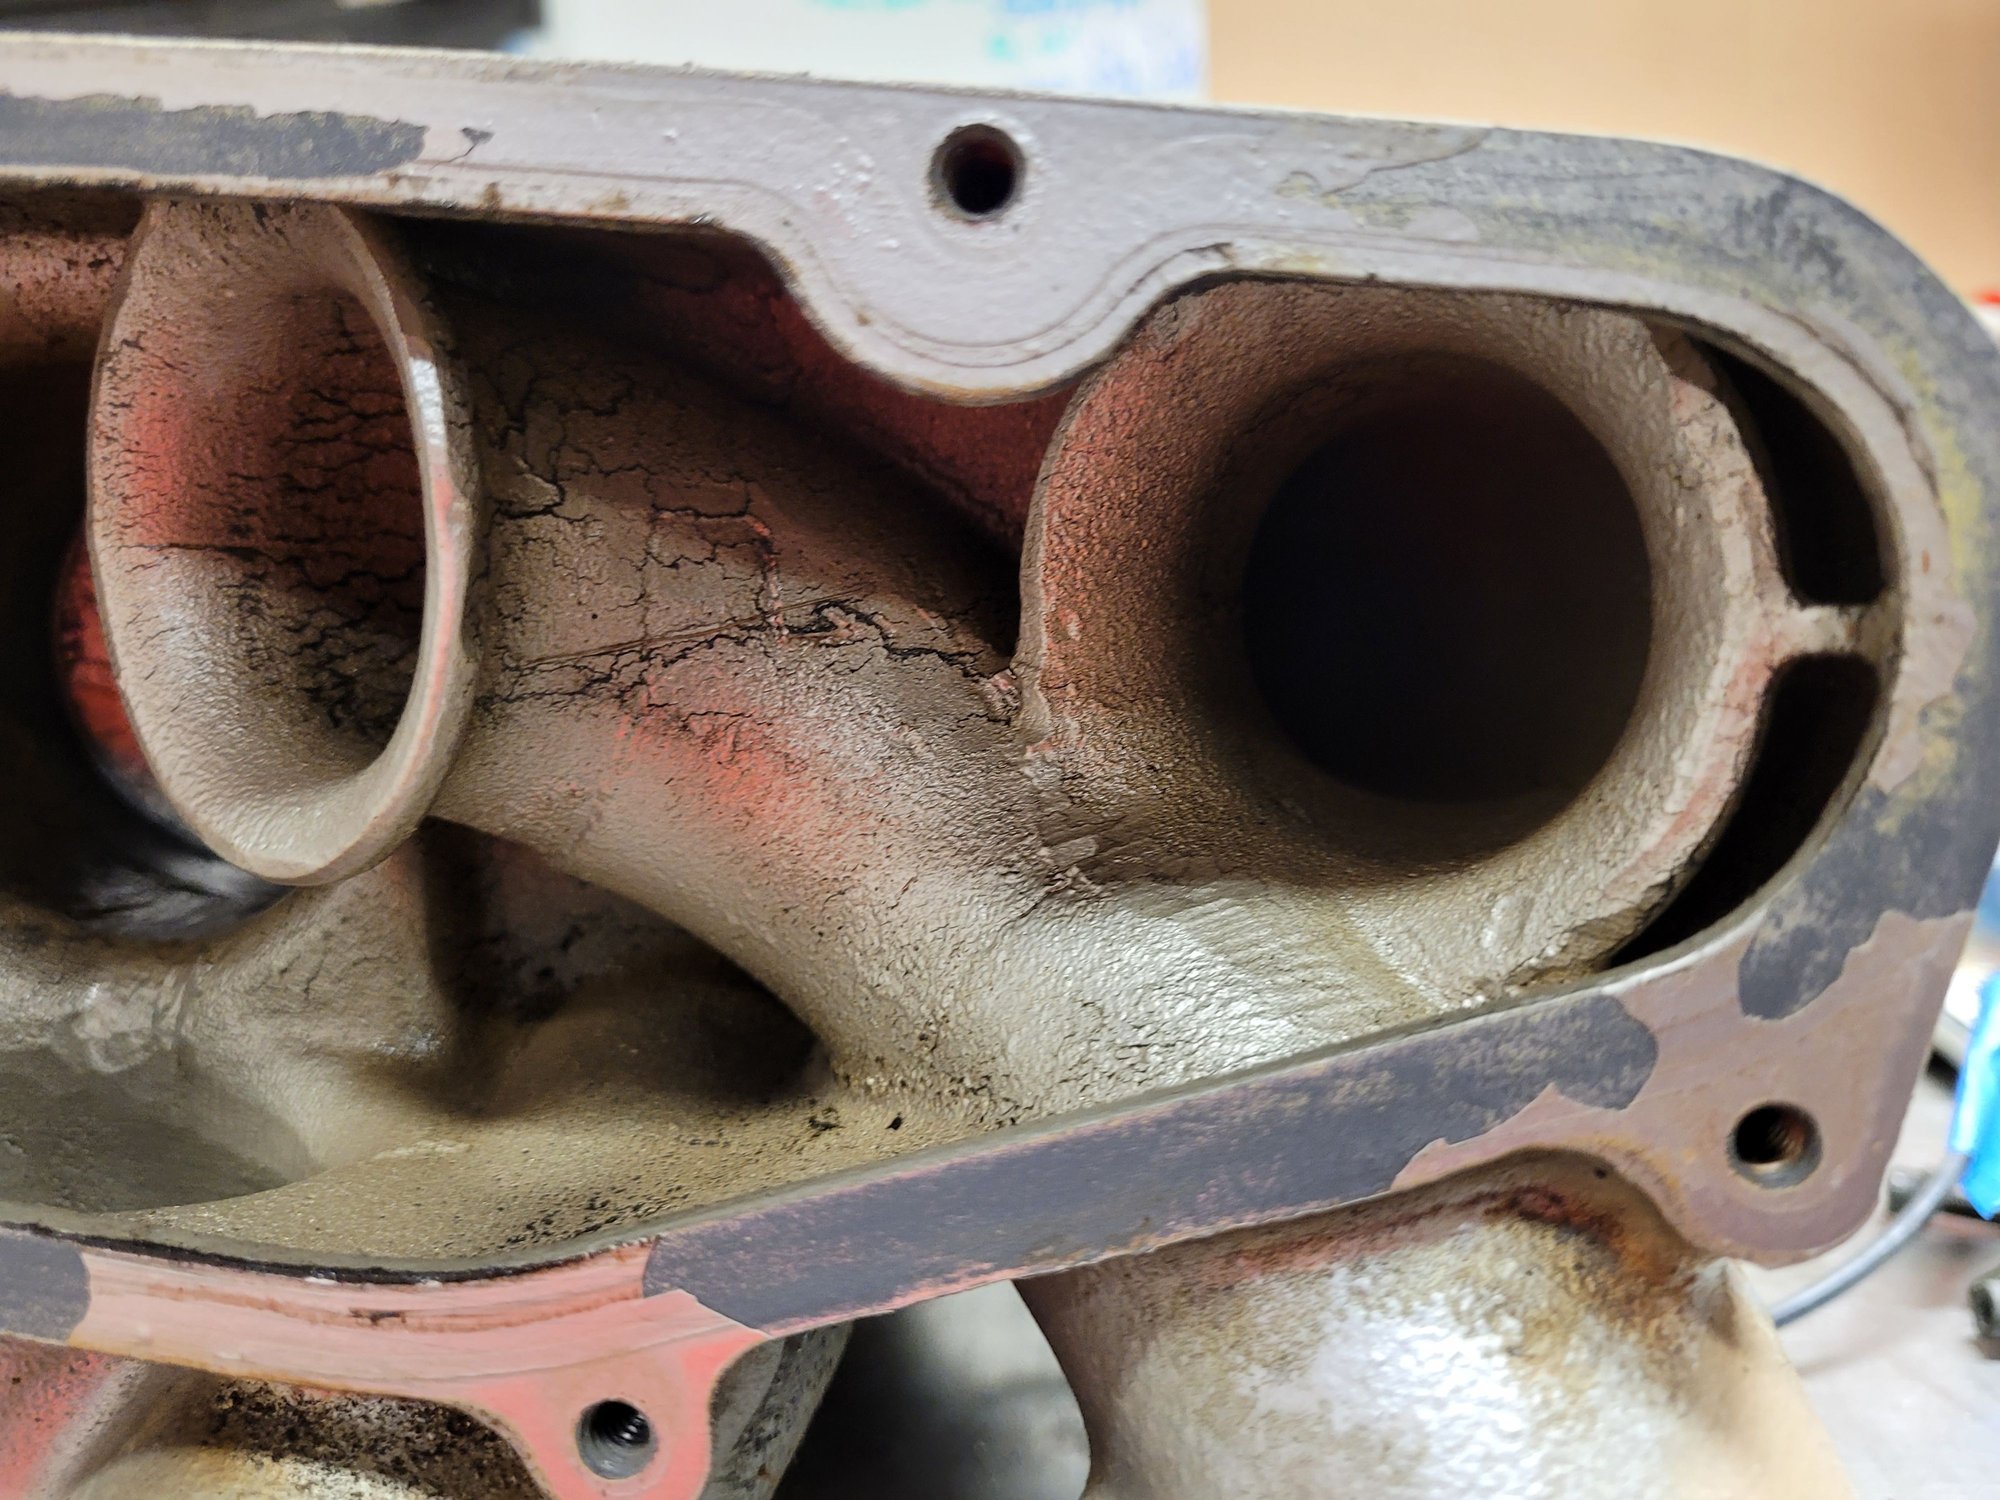
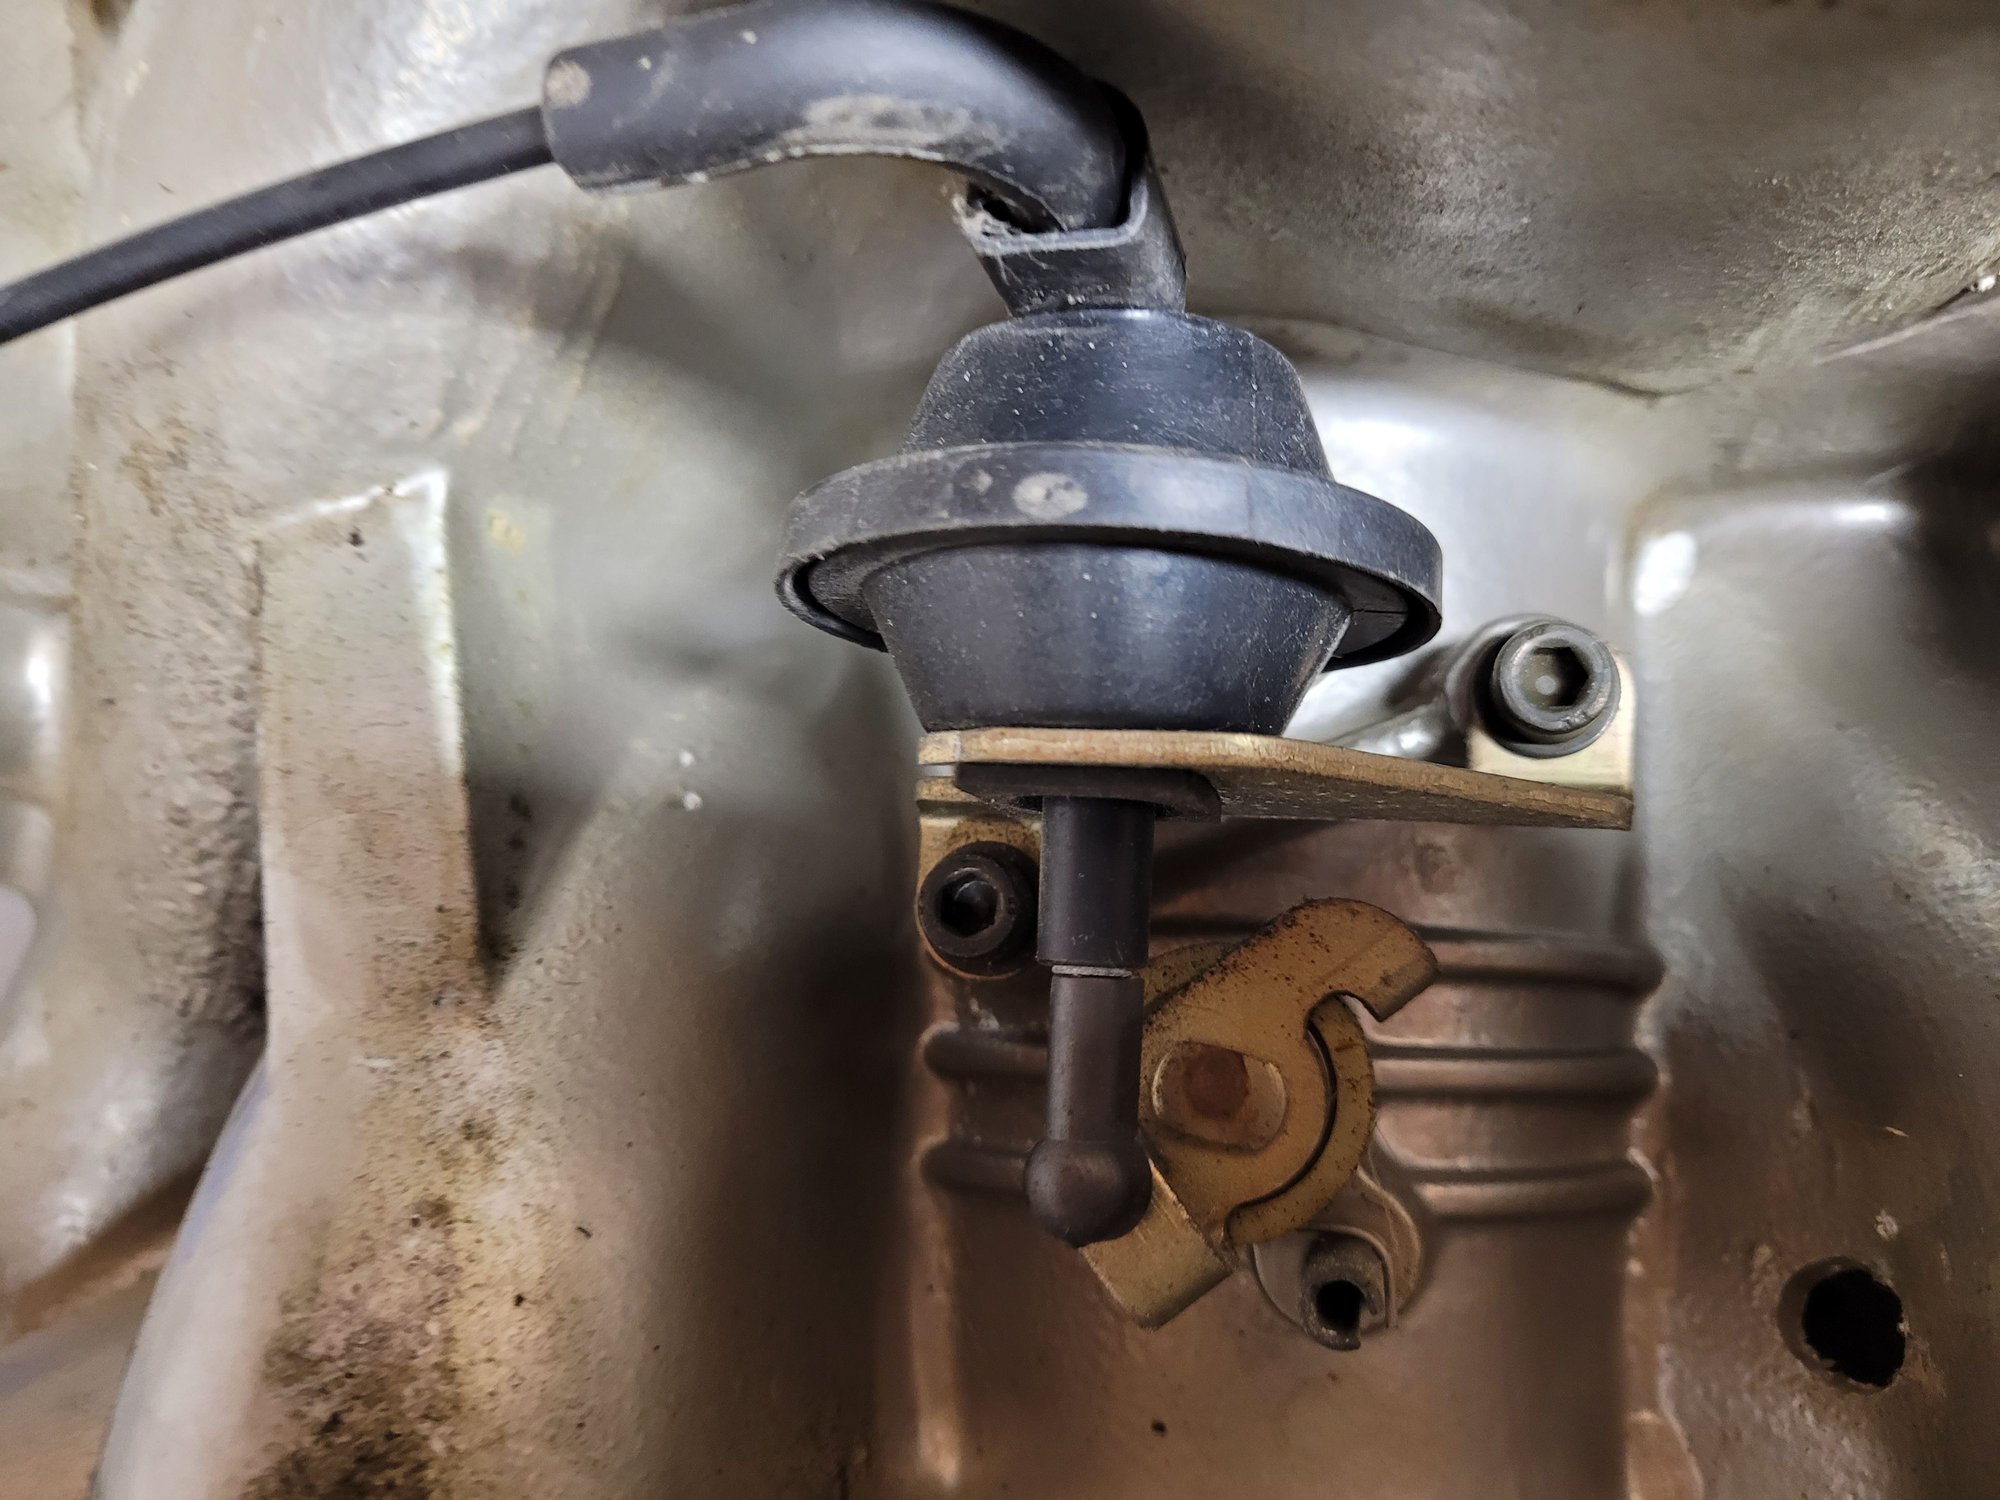
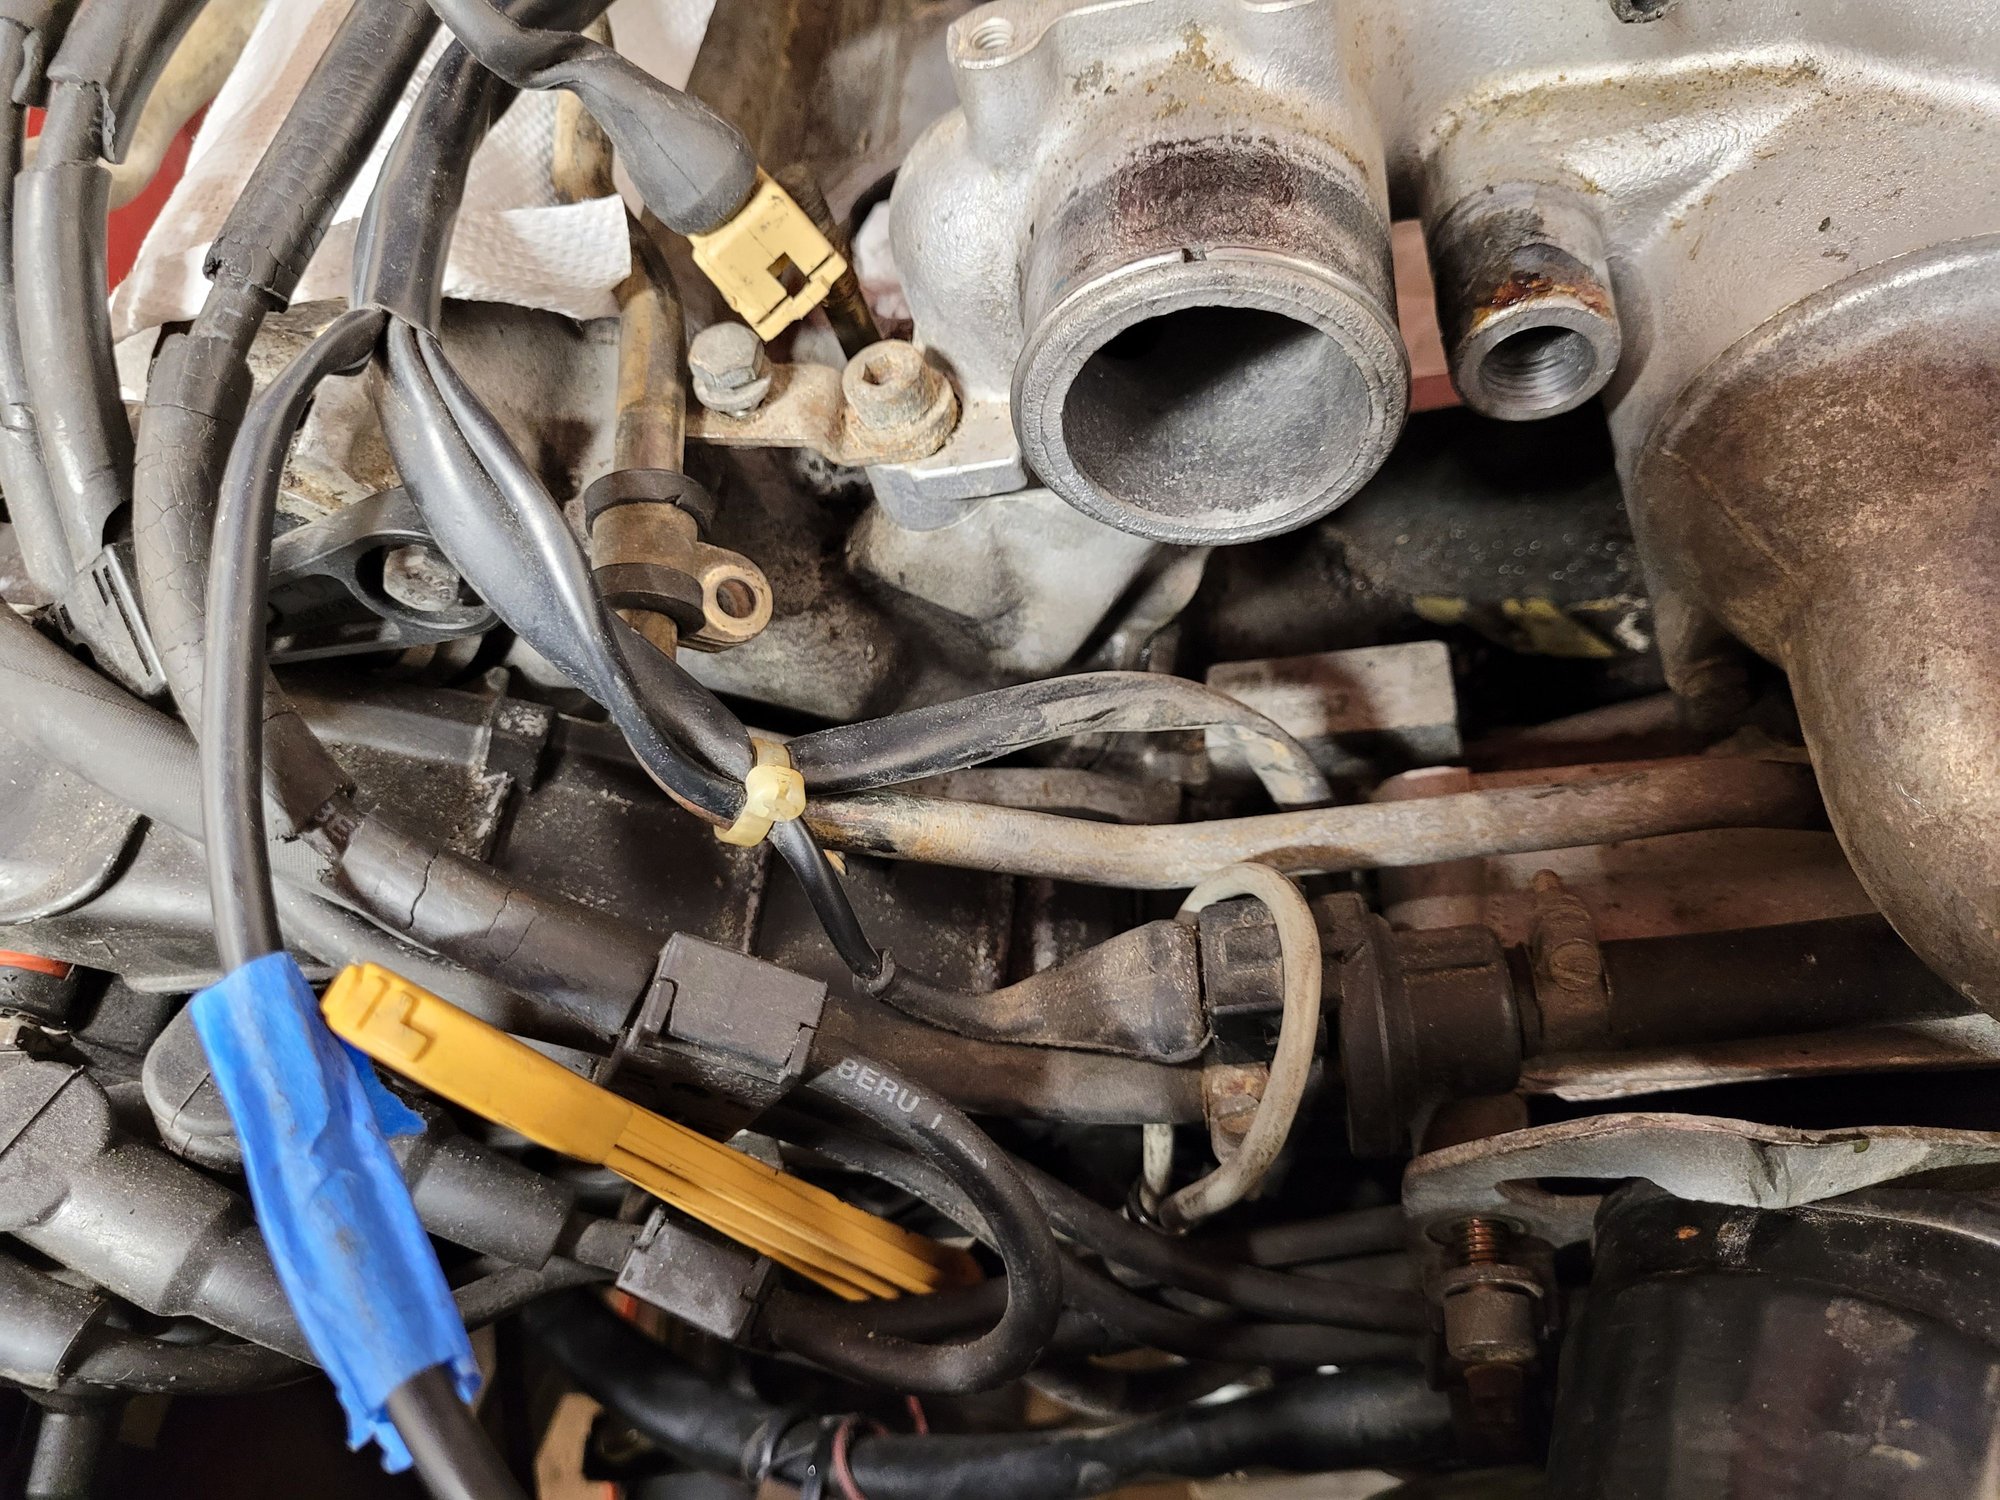
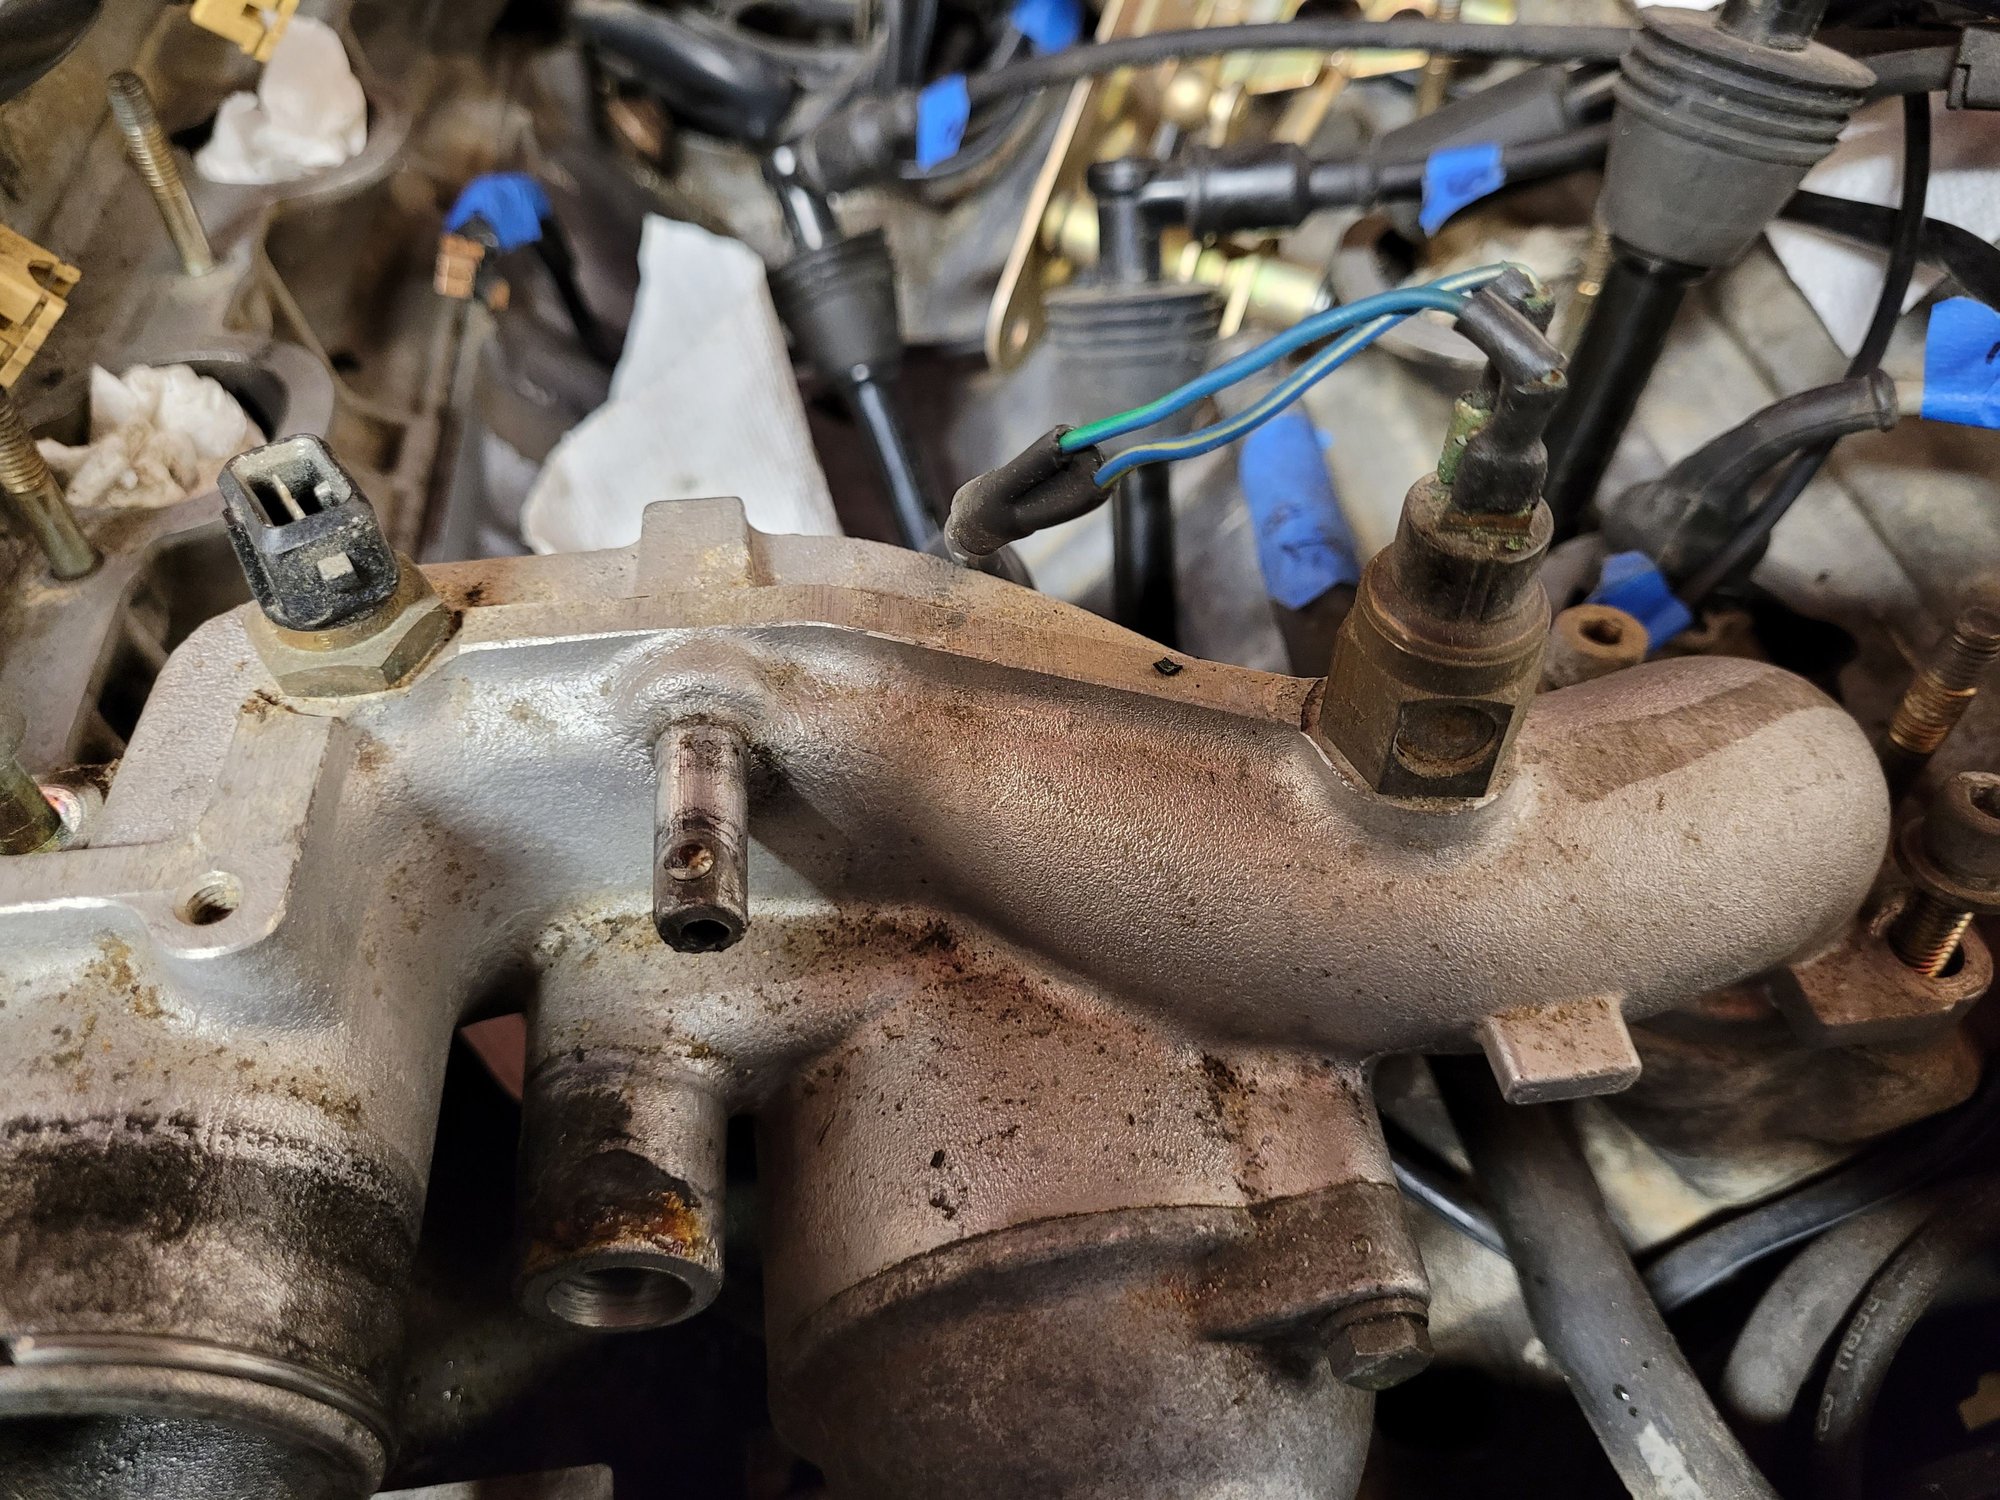
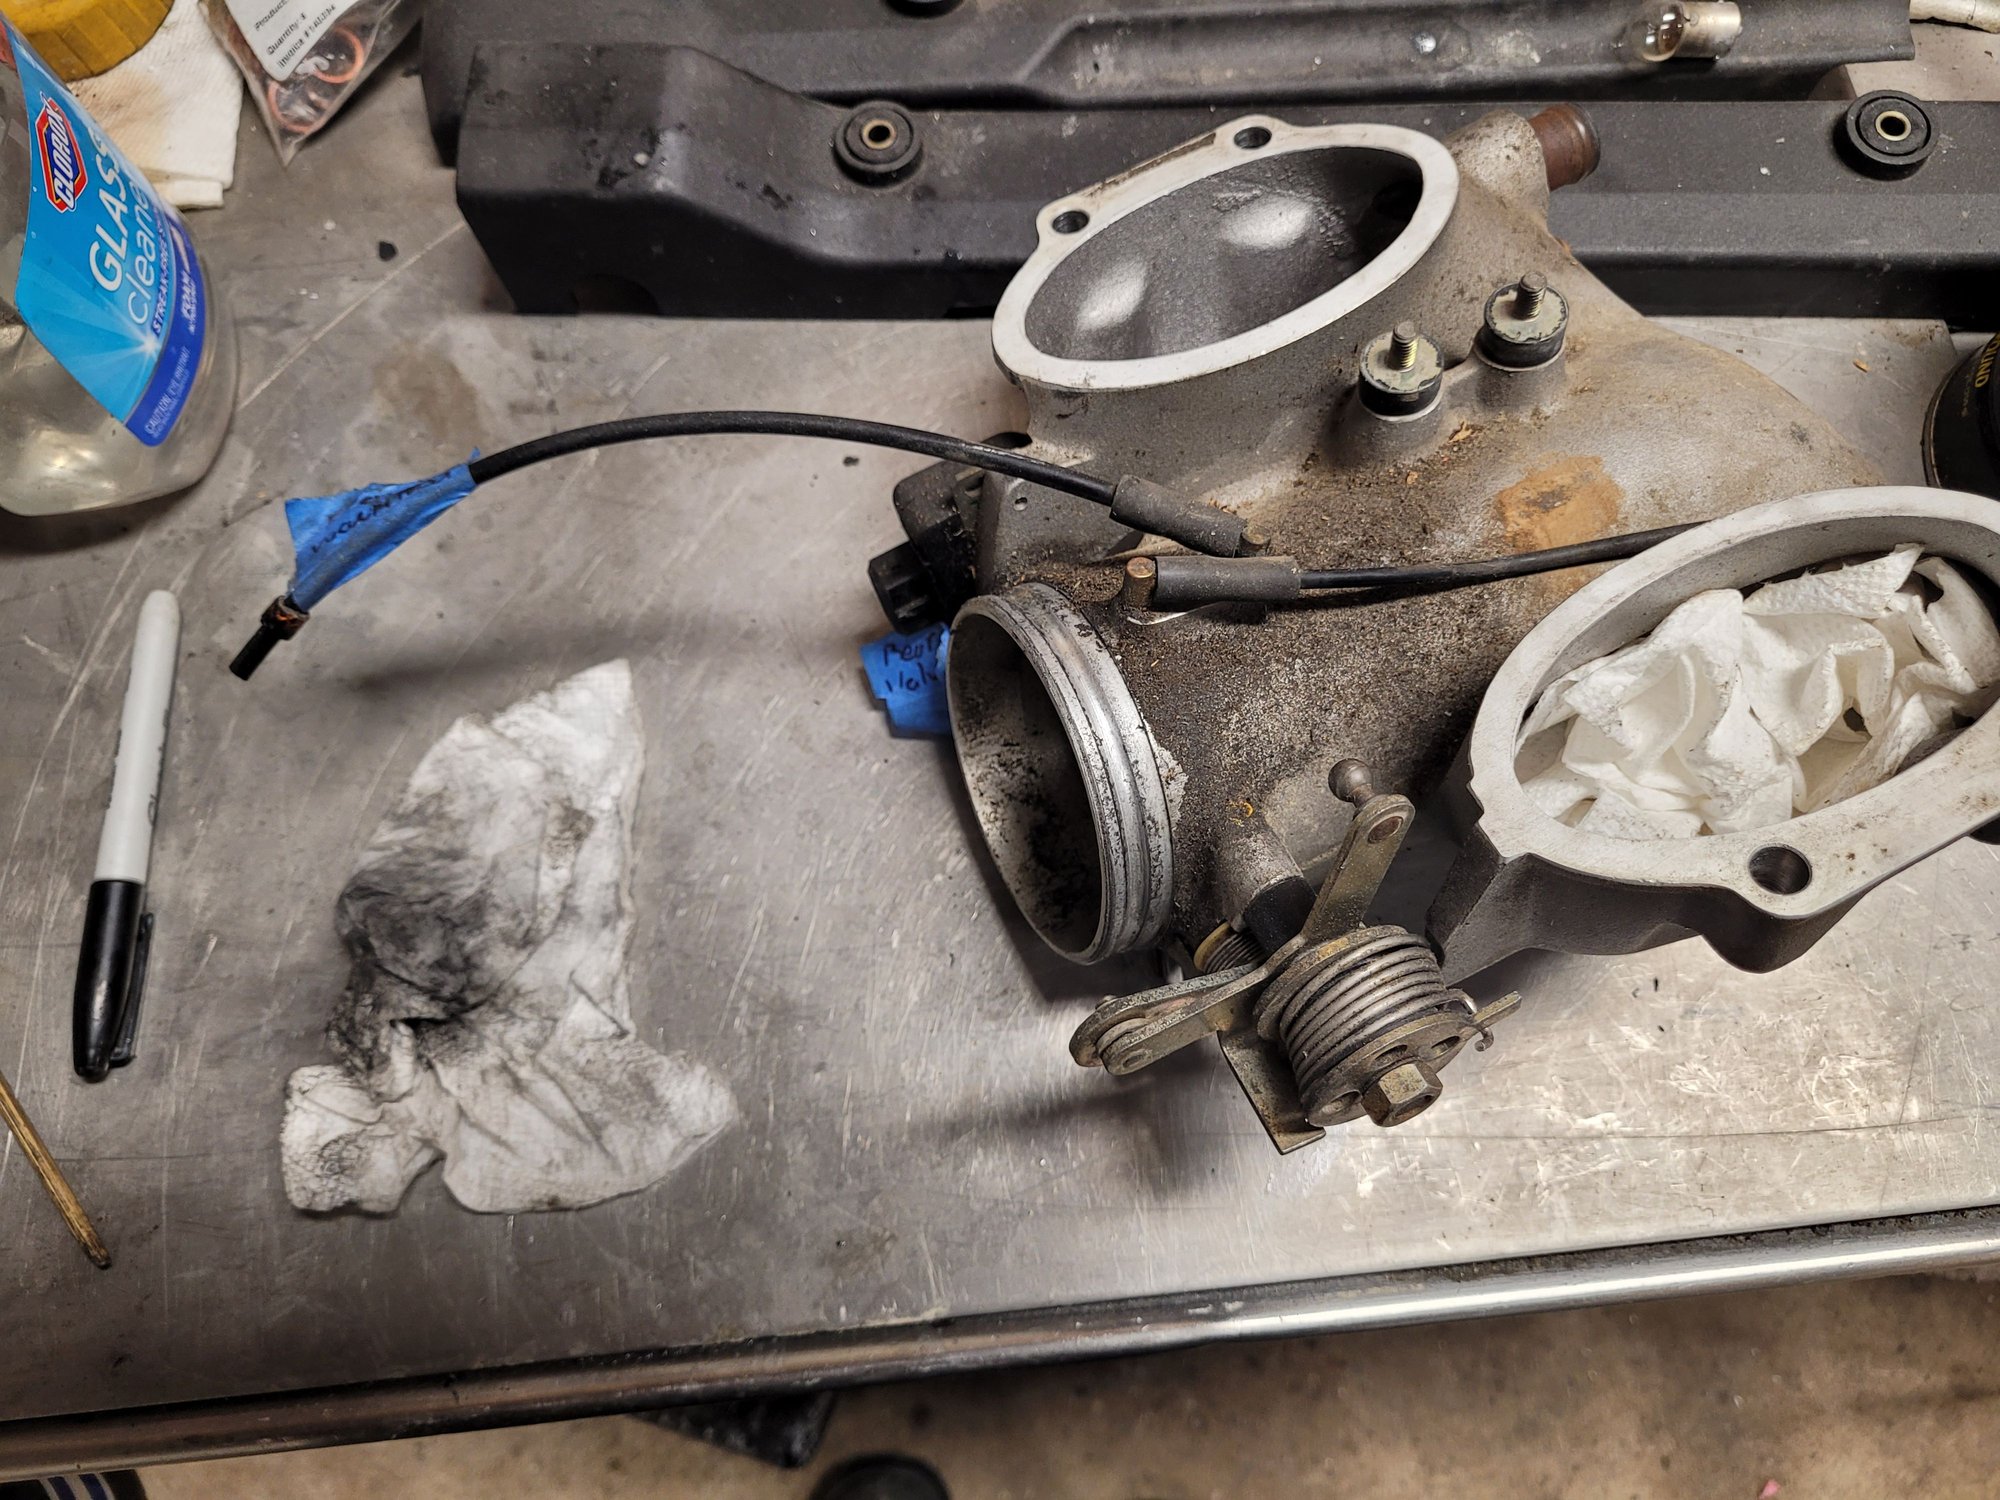
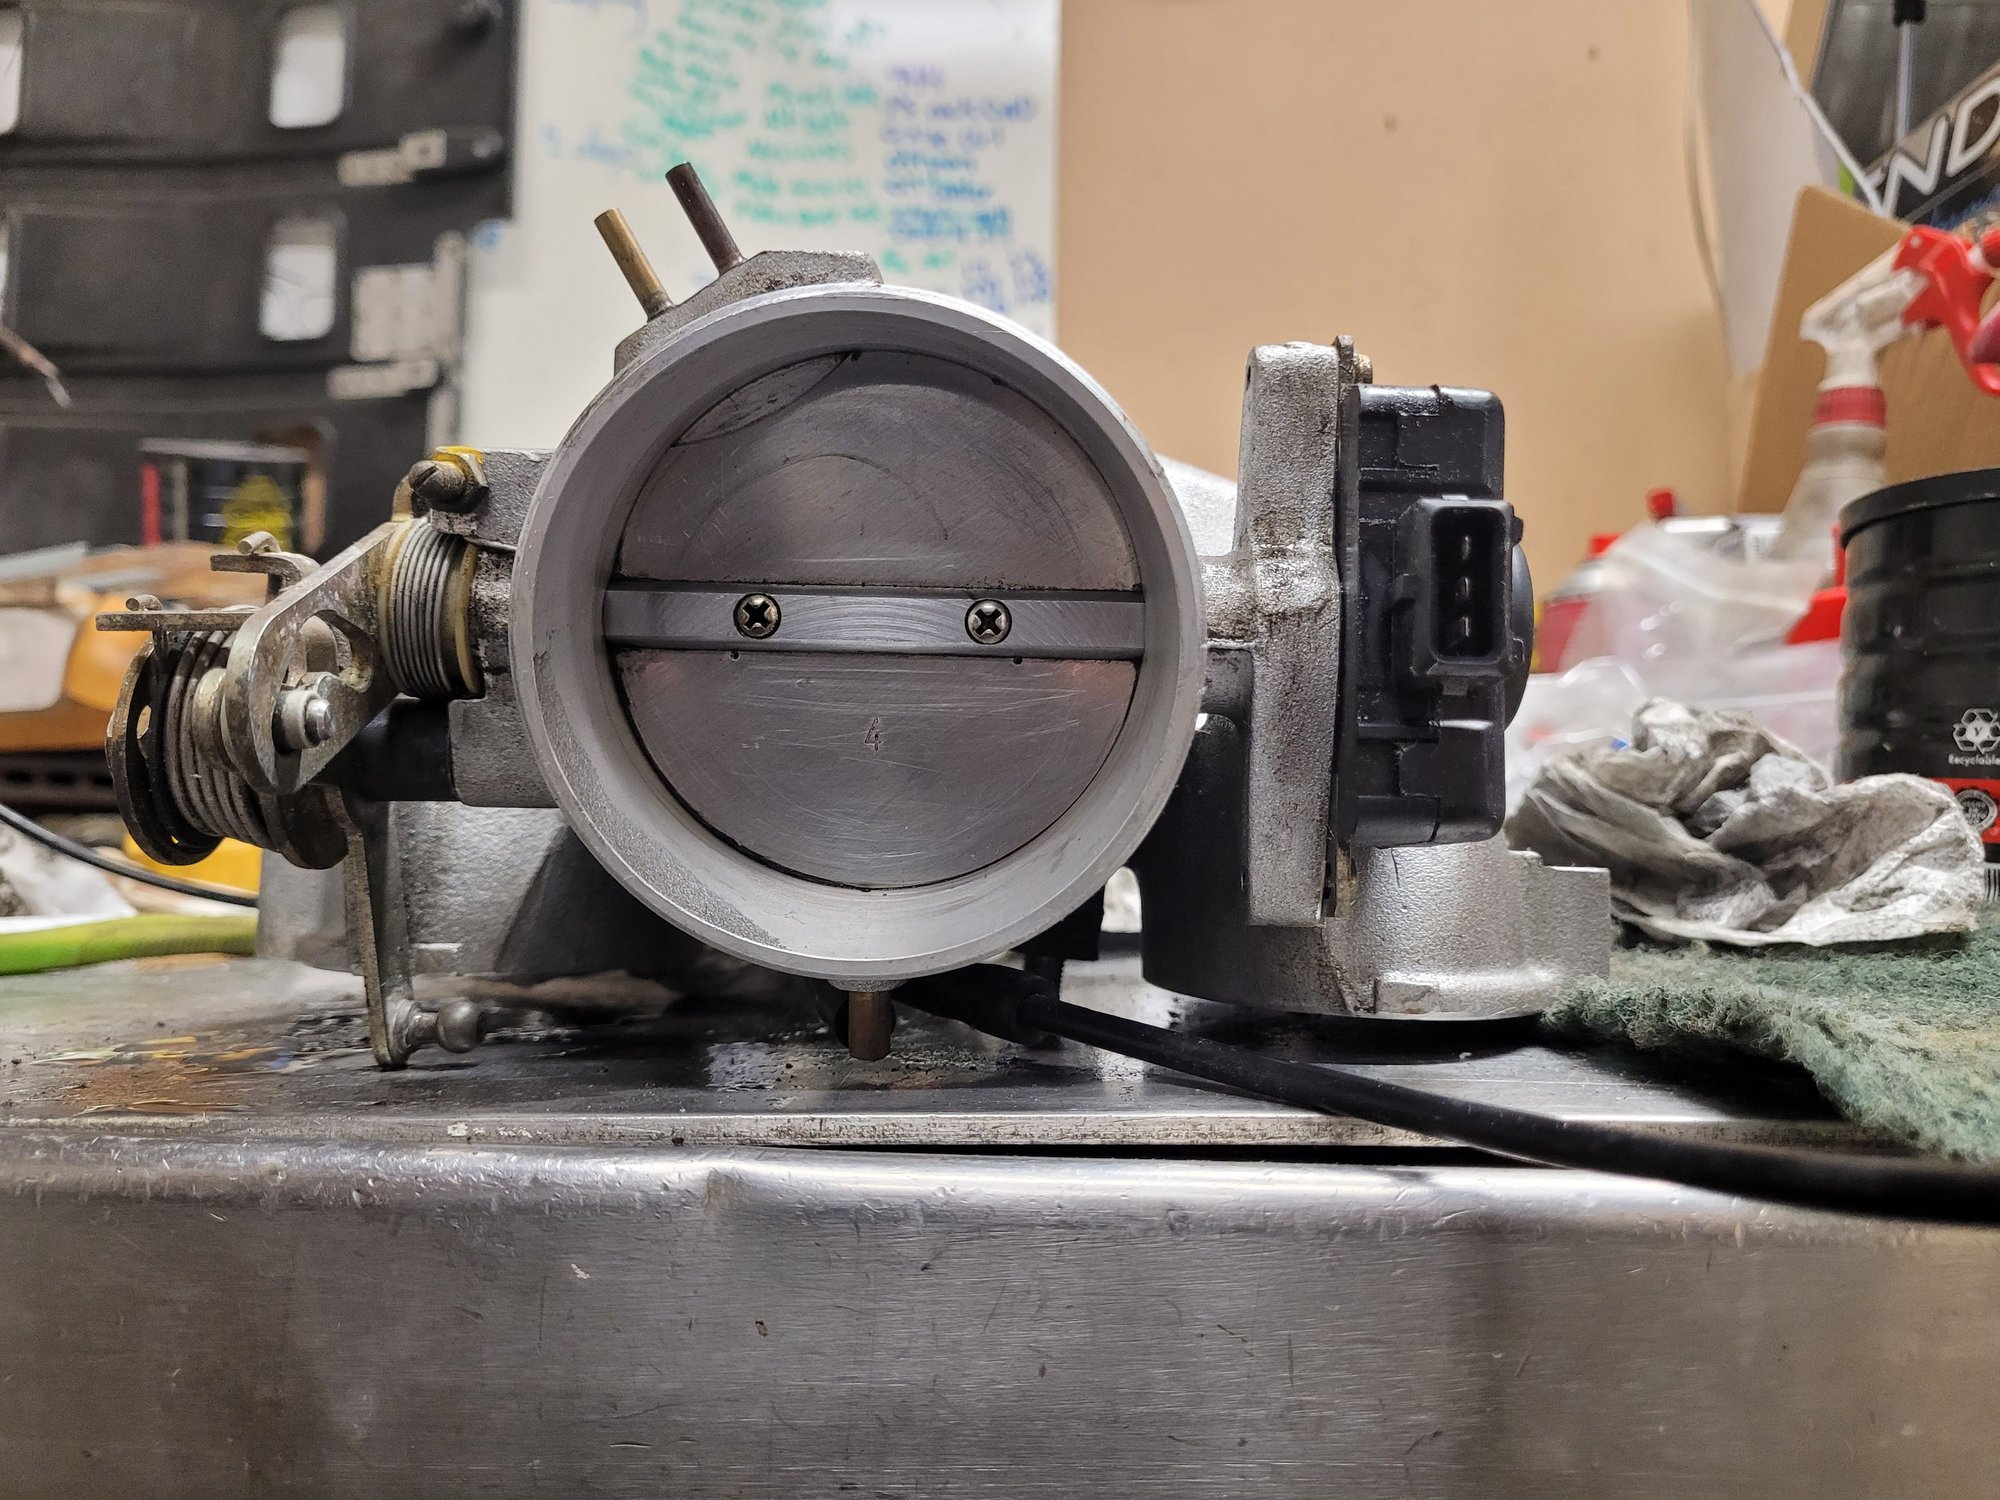
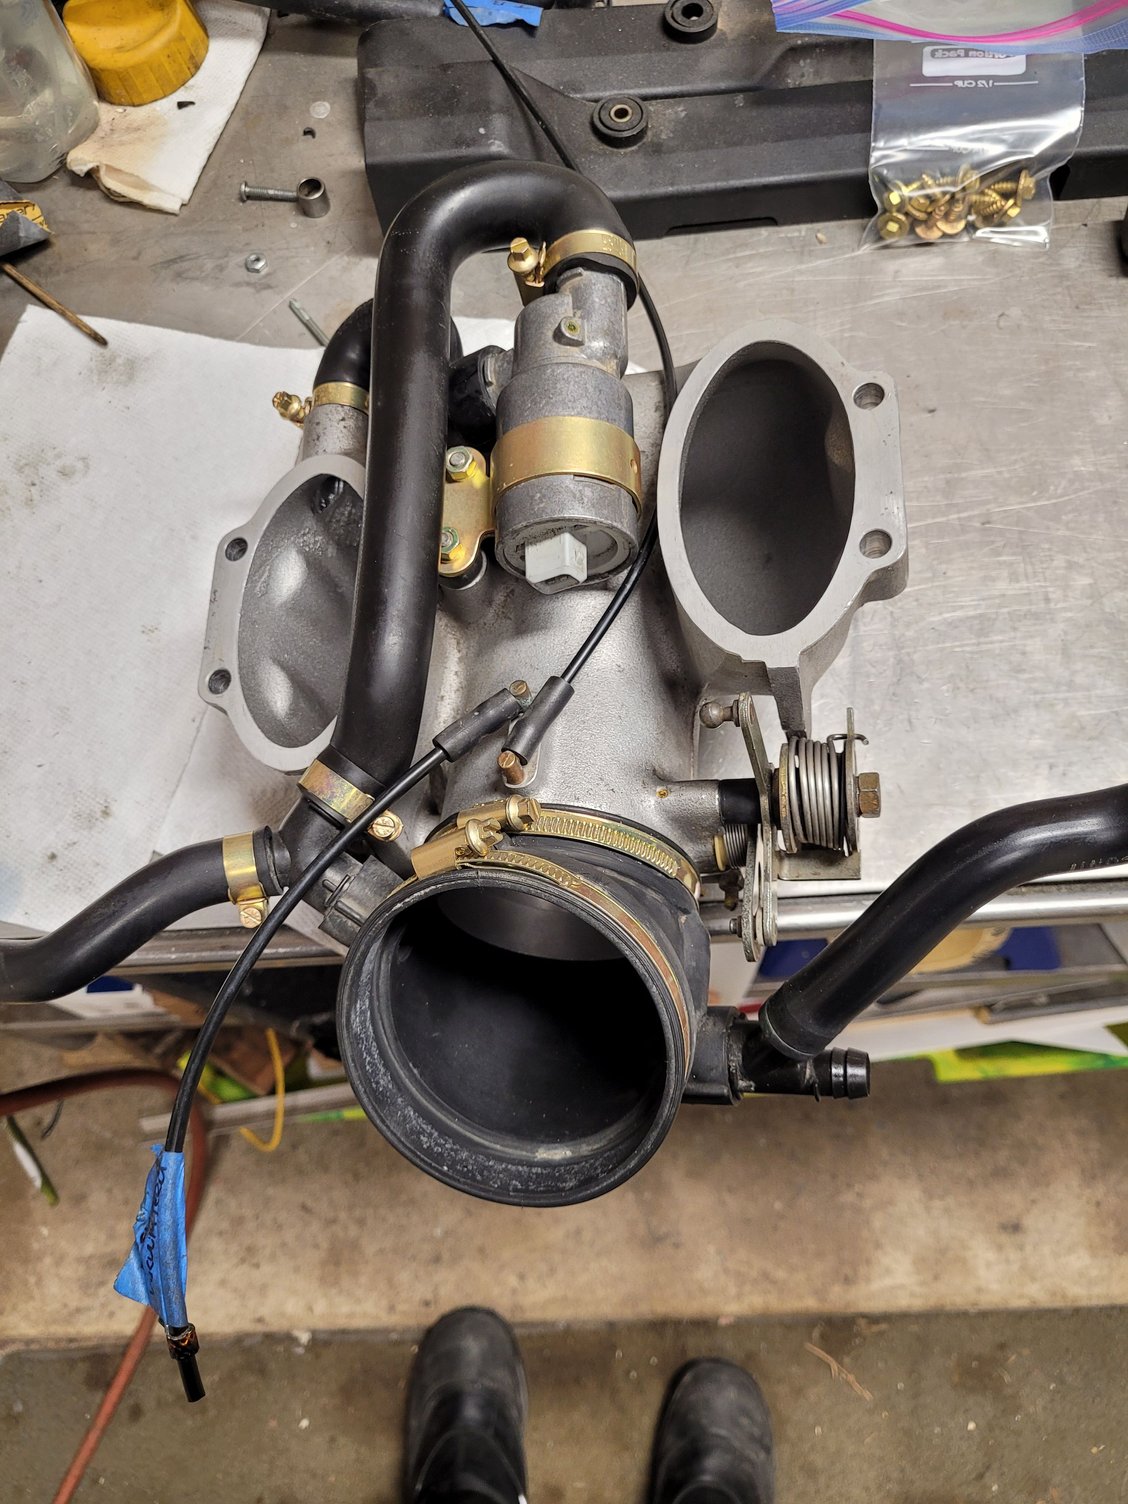
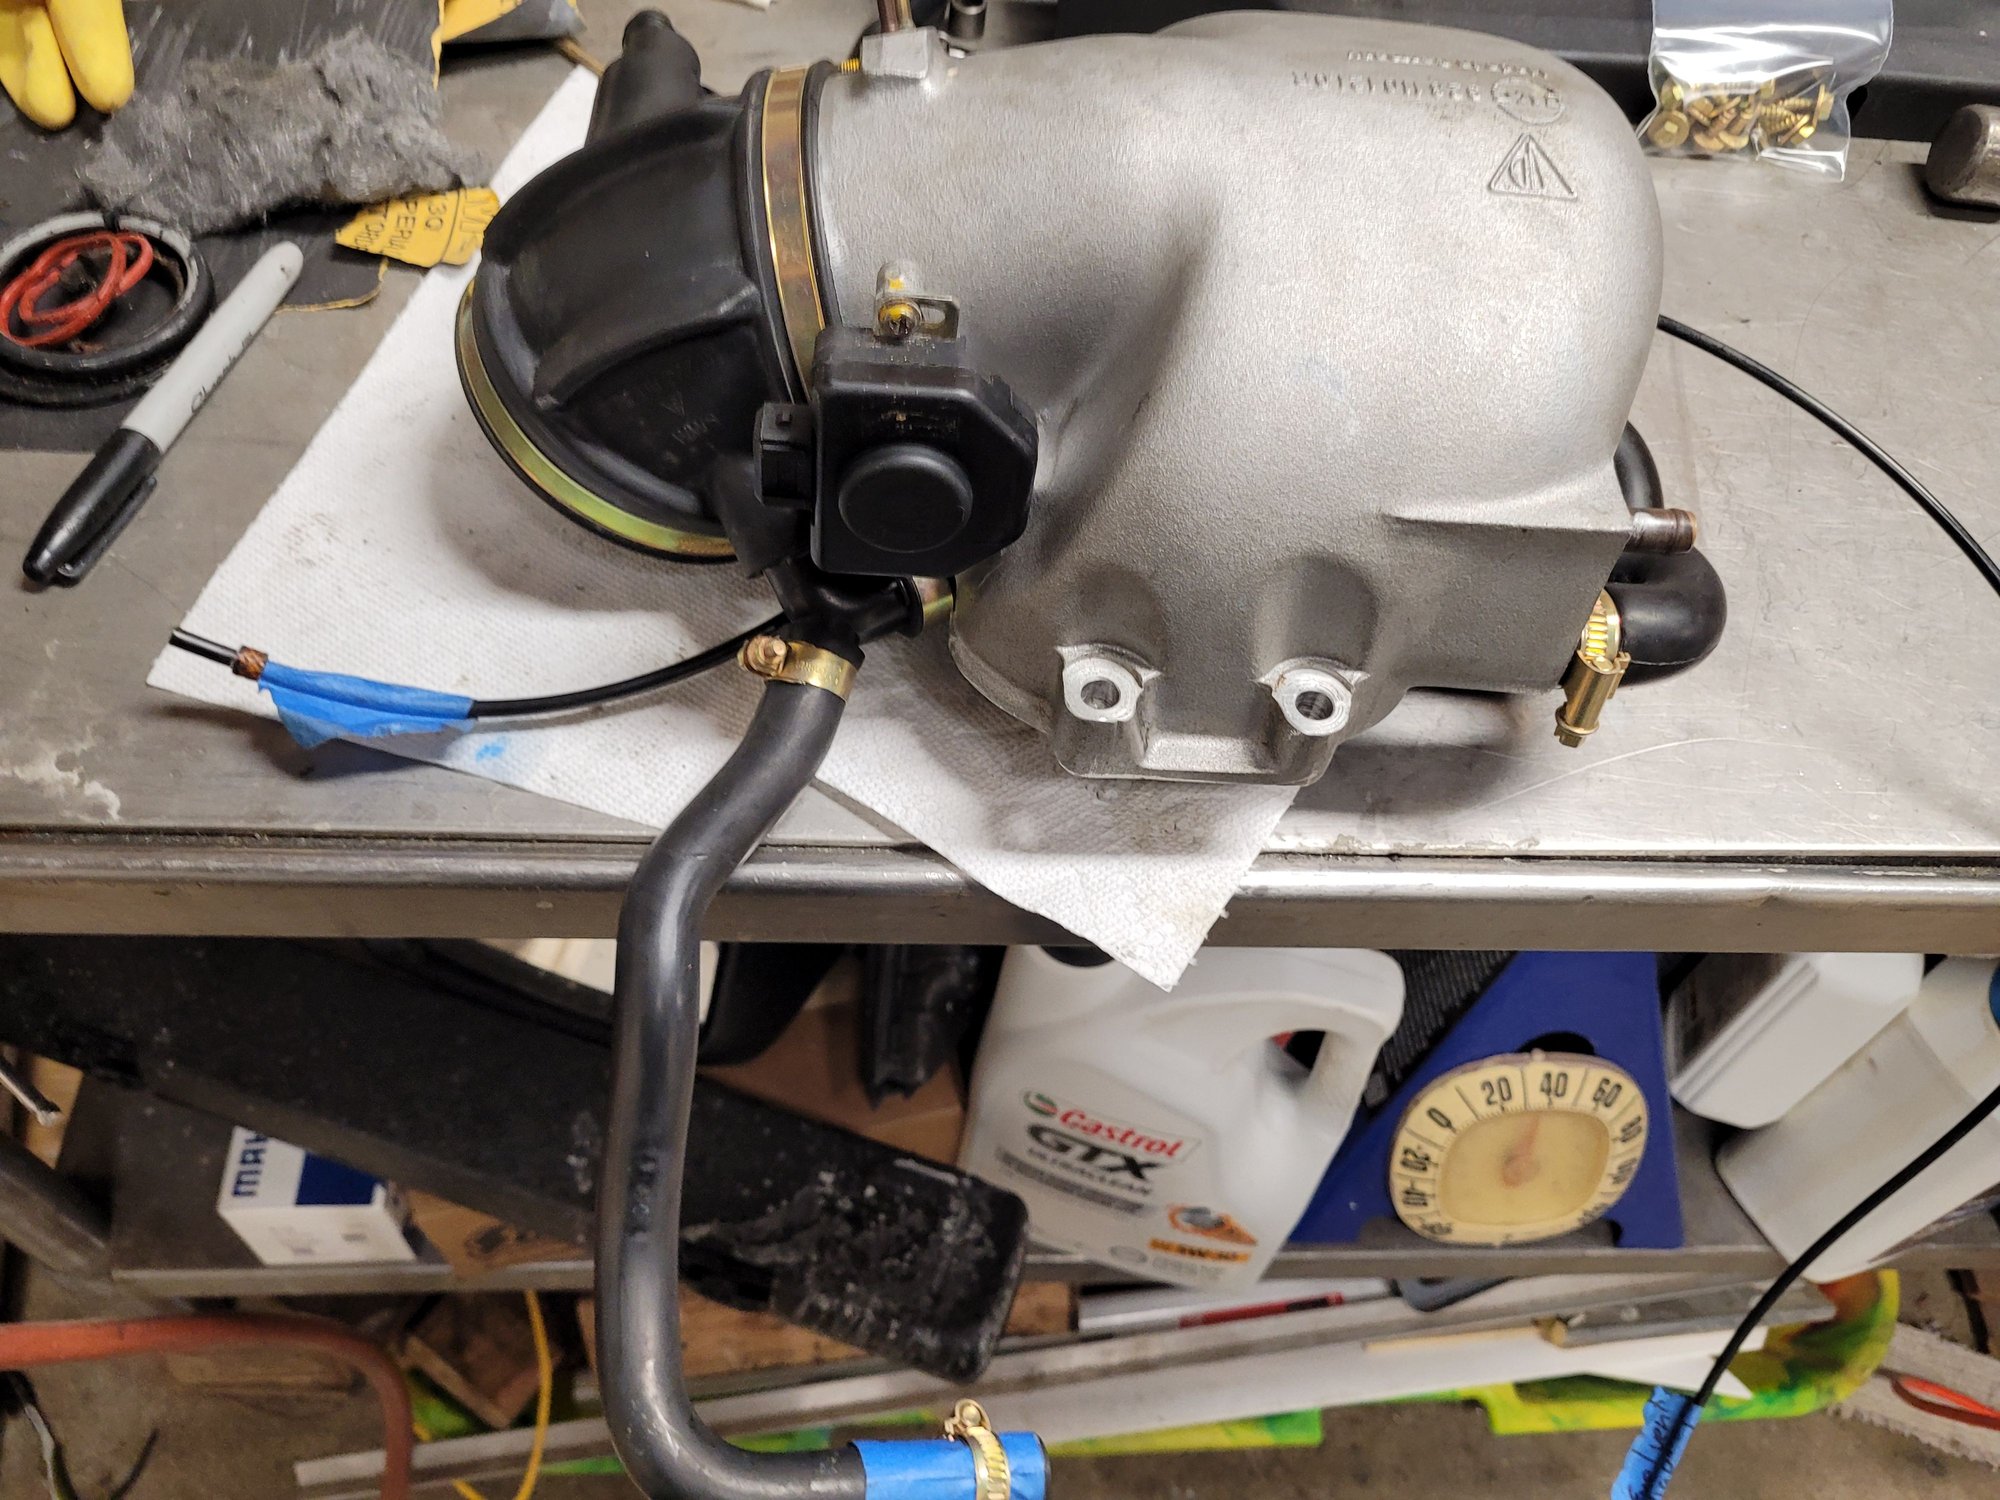
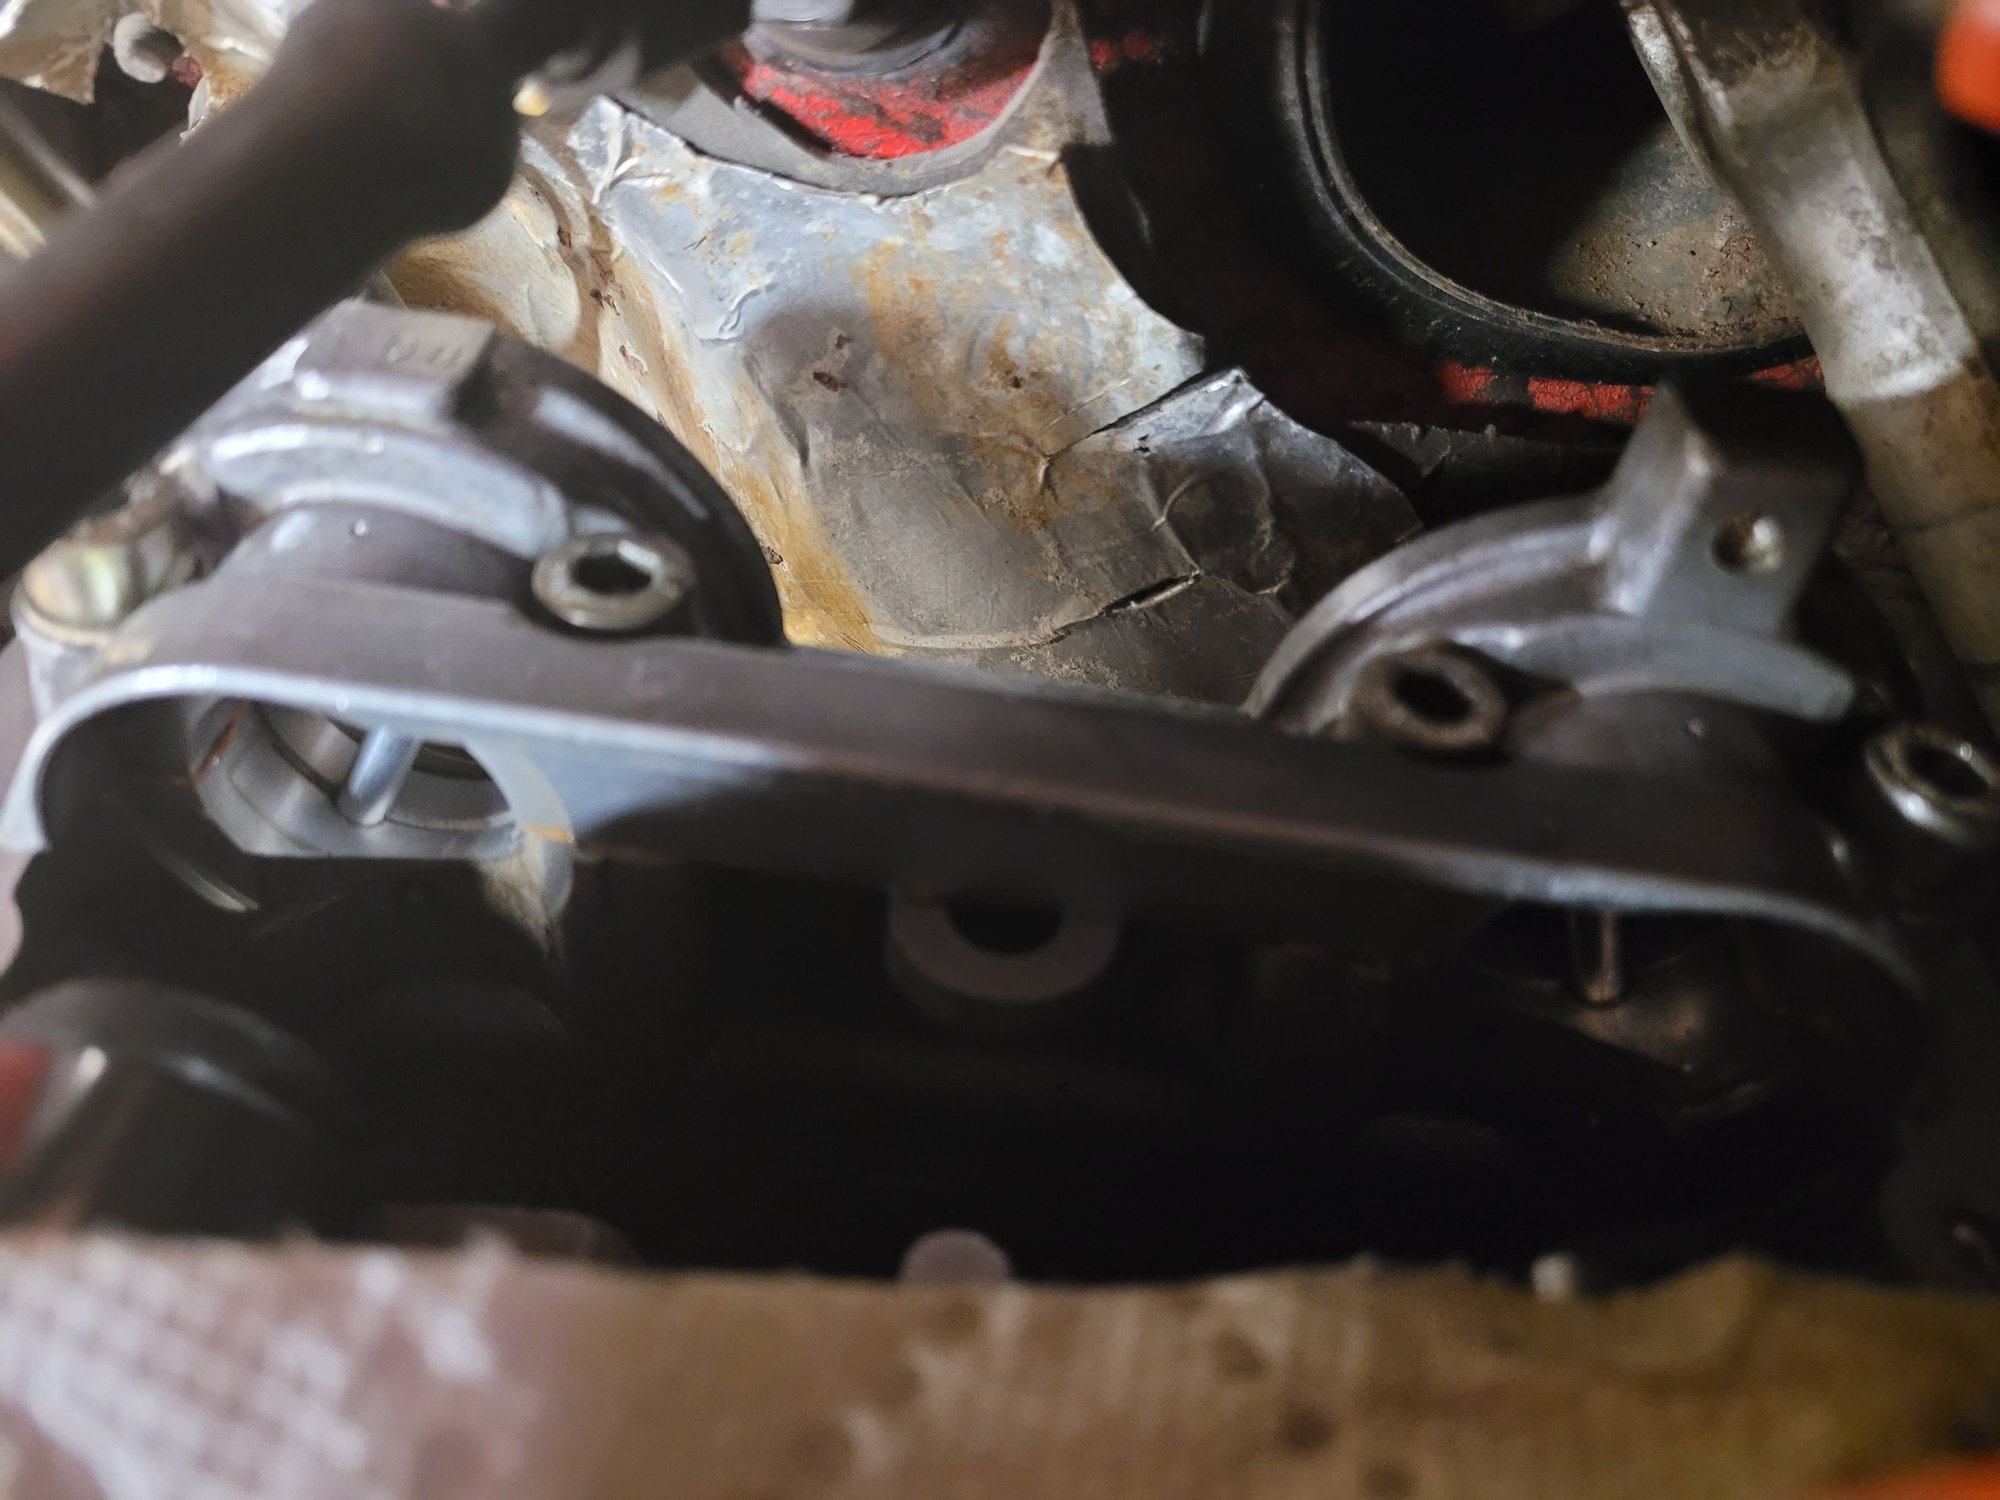
Next up was the intake refresh. Pictures as I disassembled. Found ford injectors had already been installed. Decided to have them cleaned and reused. Also found tan paint oversoray on them. Someone sprayed the intake tan to try to hide the flaking off paint. Seemed an appropriate towel for a shark! Found a fair amount of goodies in the valley One of the plugs for the throttle body vacuum port had deterioted and fallen off. Vacuum leak #1 found The vacuum line for the air pump system had been caoped off but the cap cracked. Leak #2. Coating flaking off of the filler neck Flappy valve actuator found to be missing the hex stop.
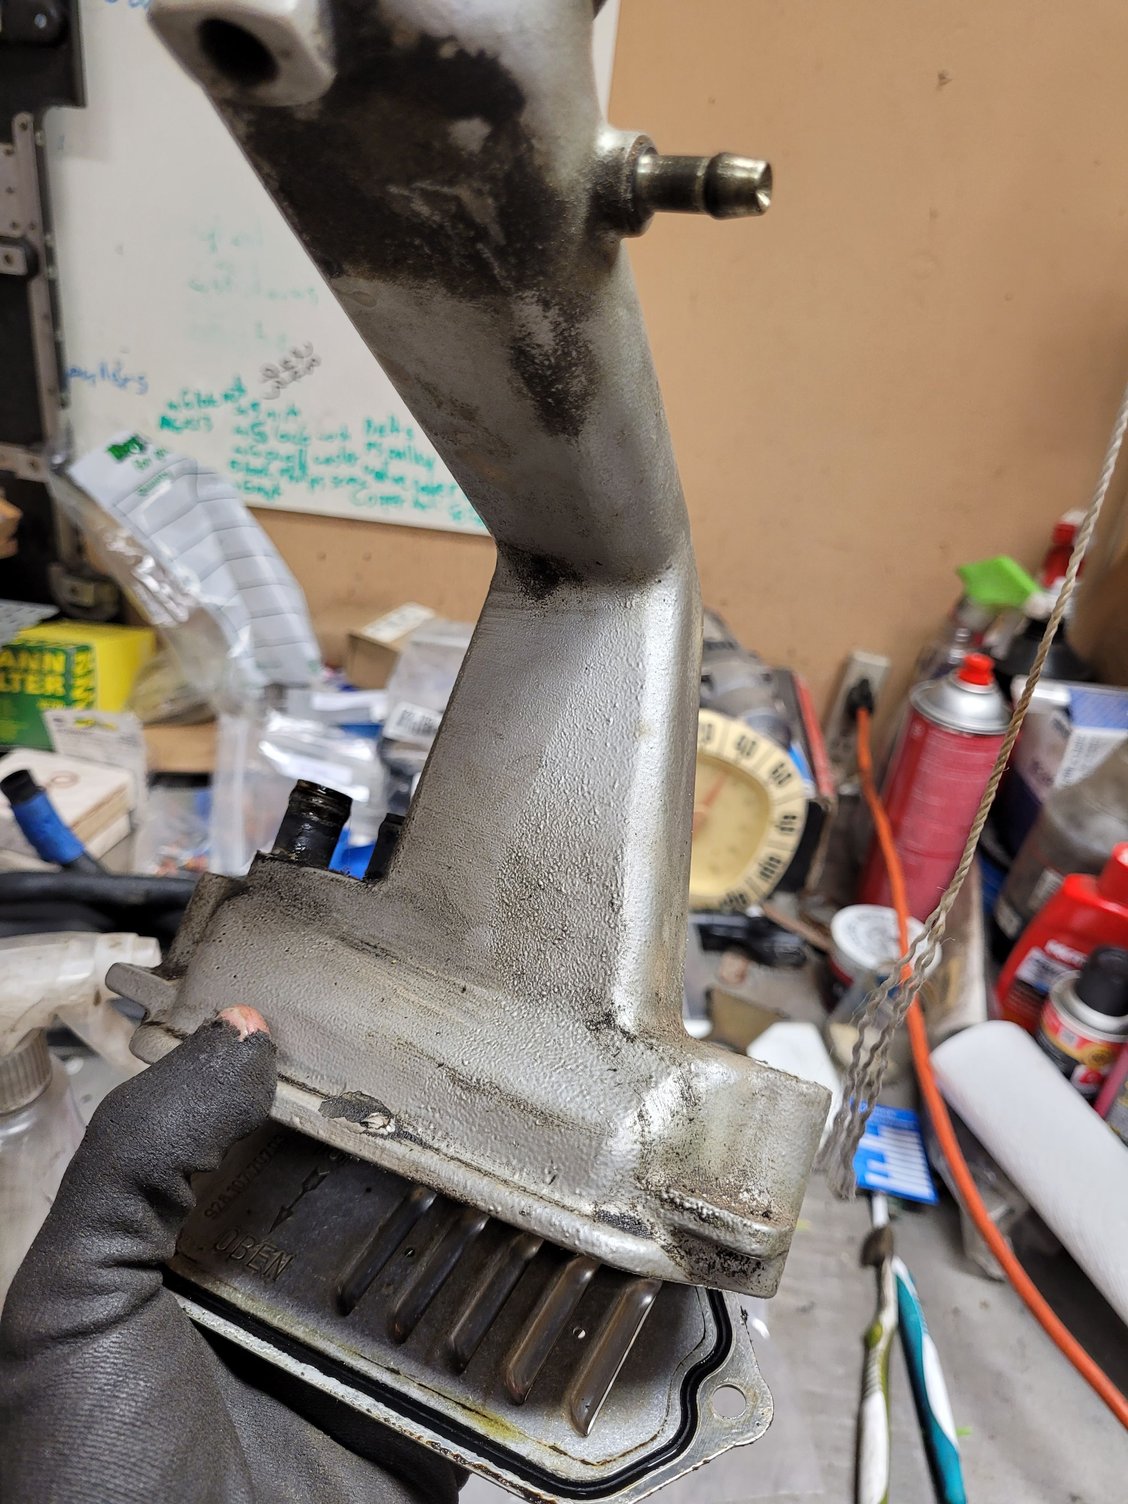
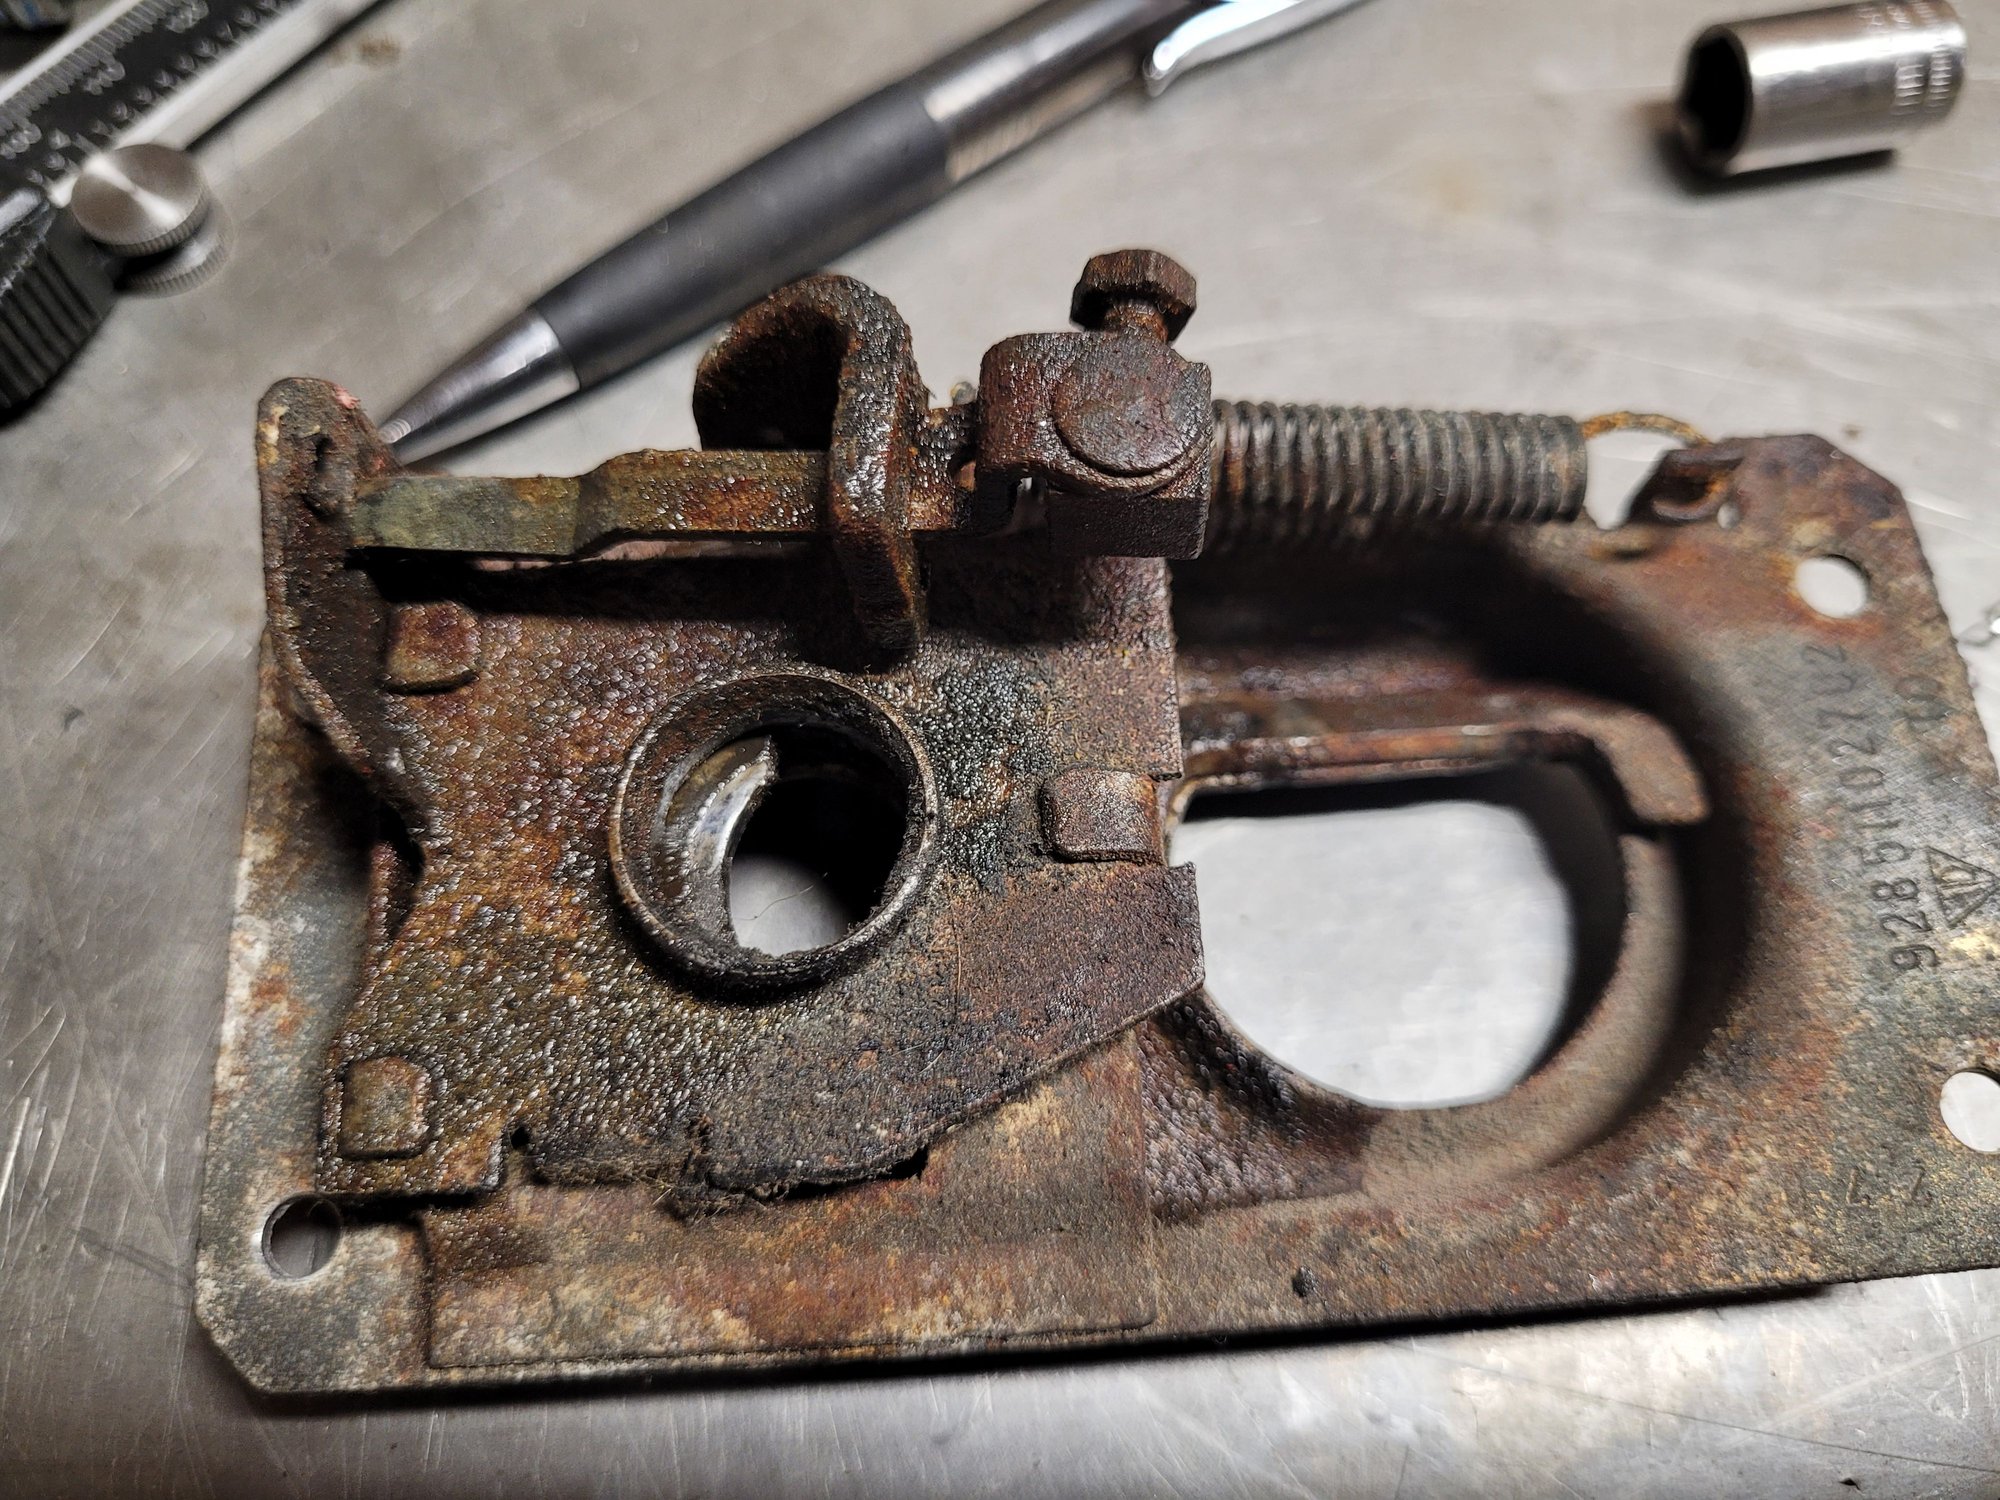
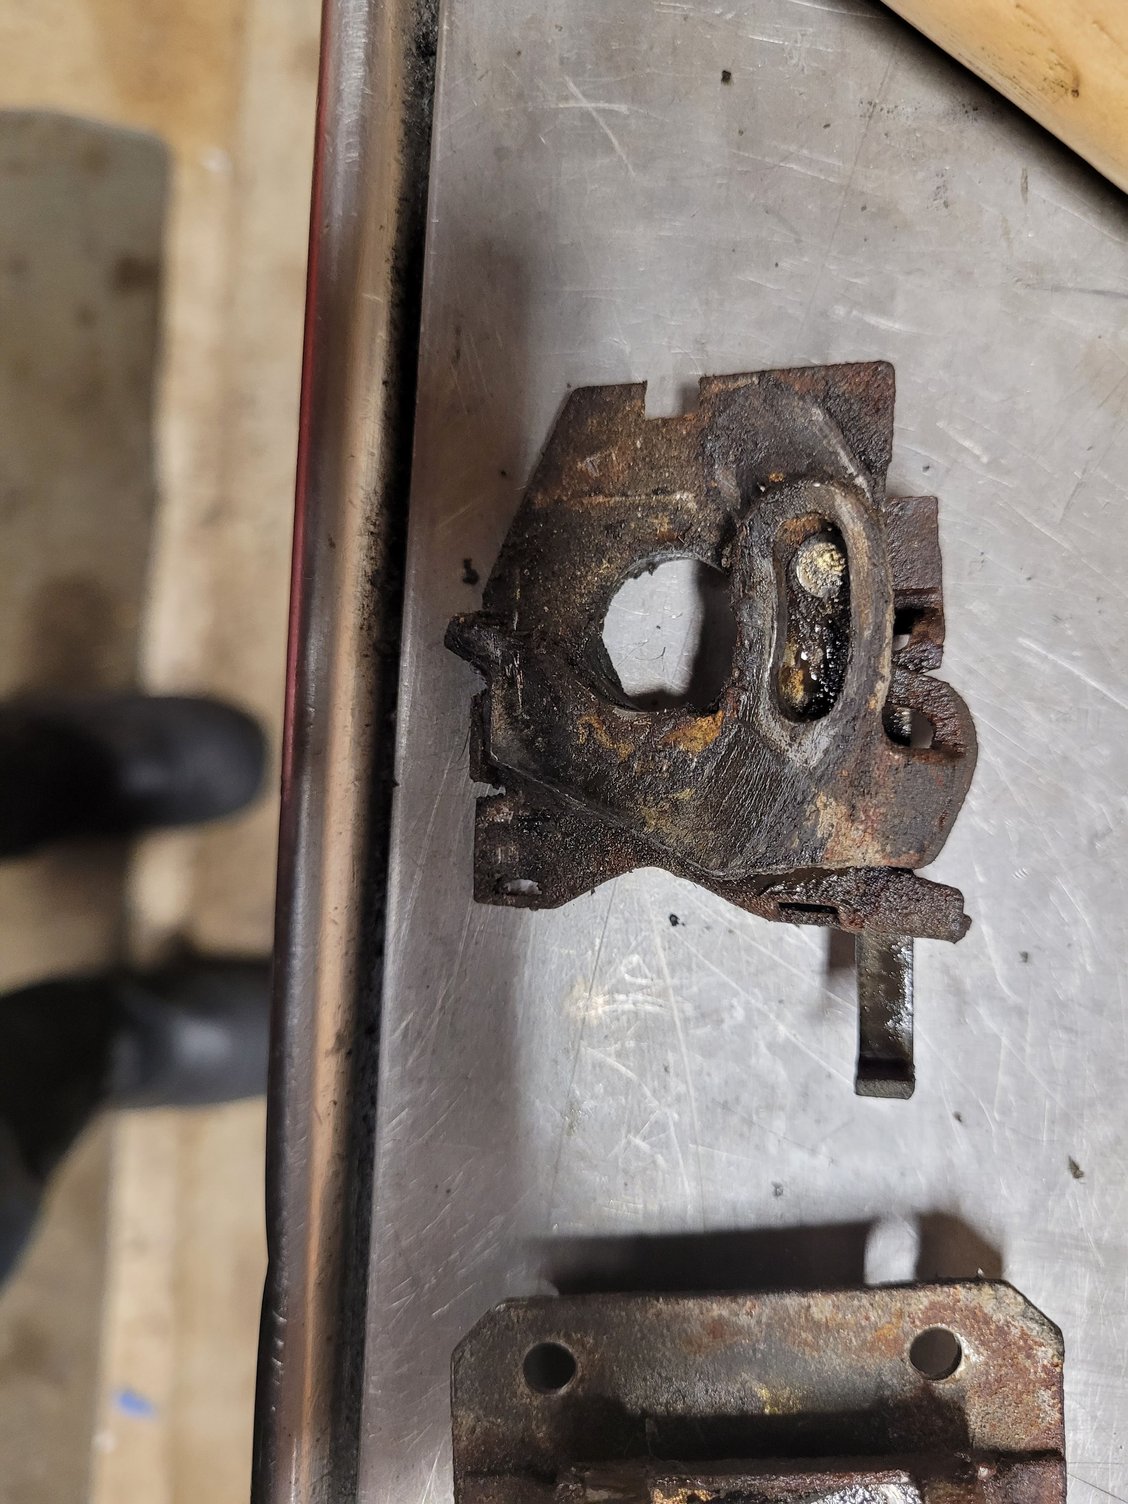
Oil filler, valvecovers and intake were pulled off in a hurry before I went out of town. Then disassembly continued with fuel system. Hood latch receiver prepping to get plated.
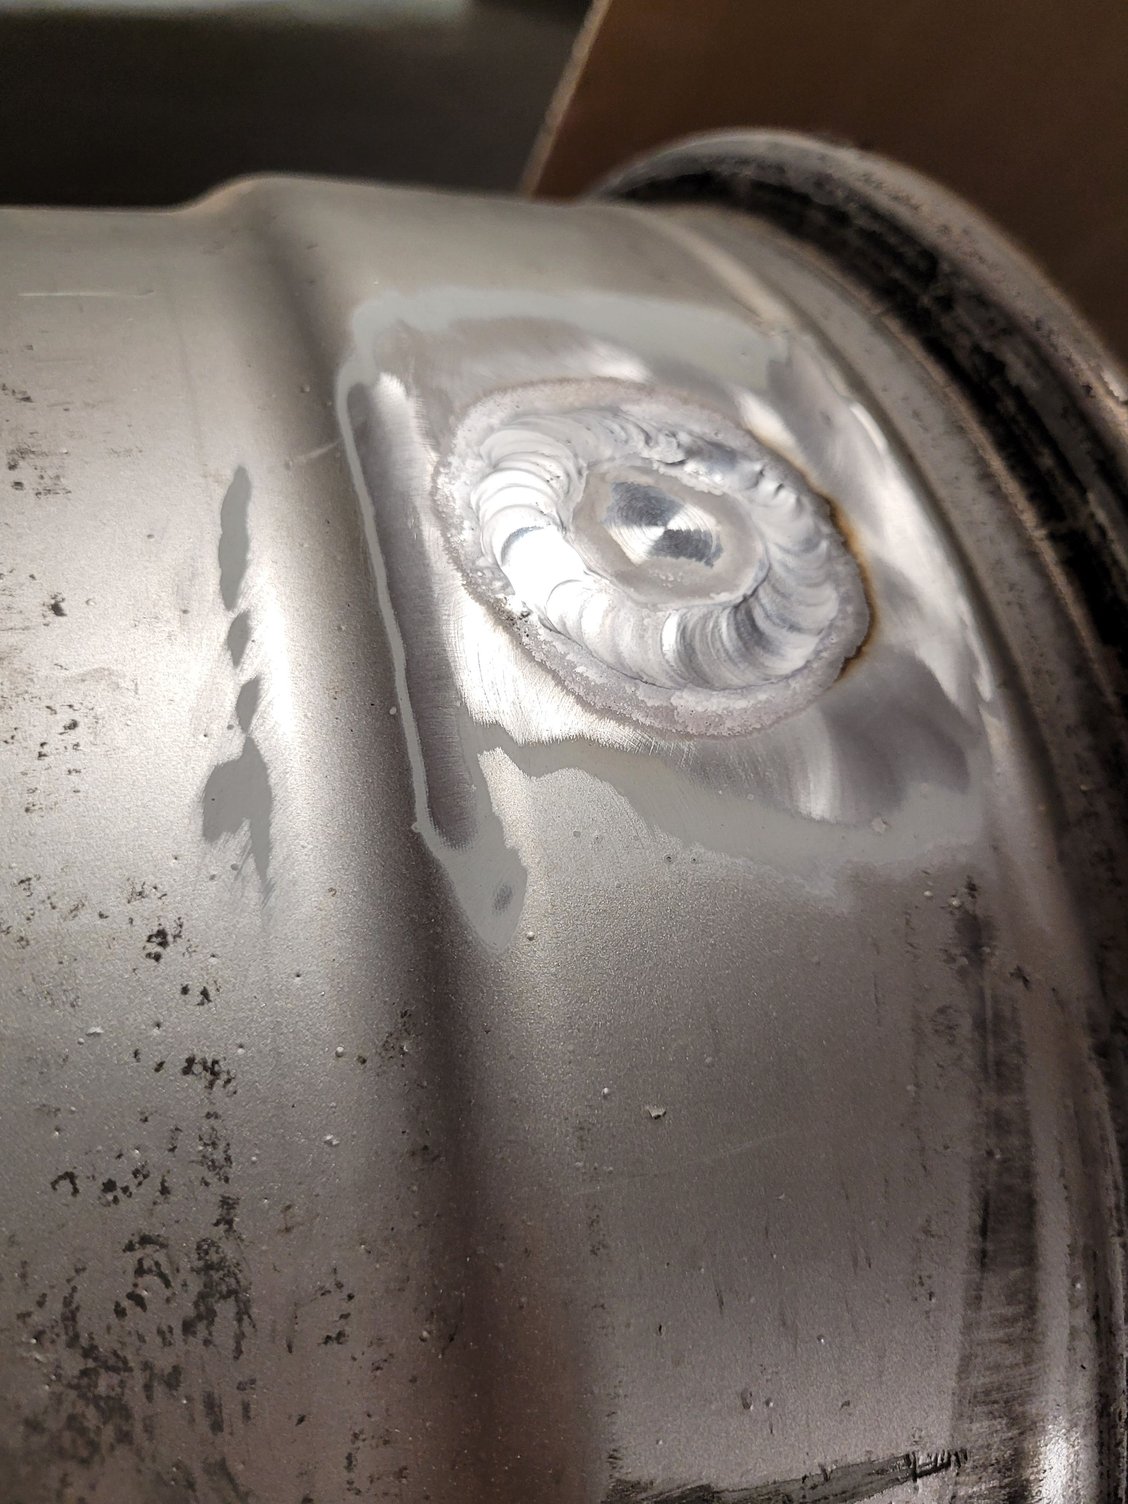
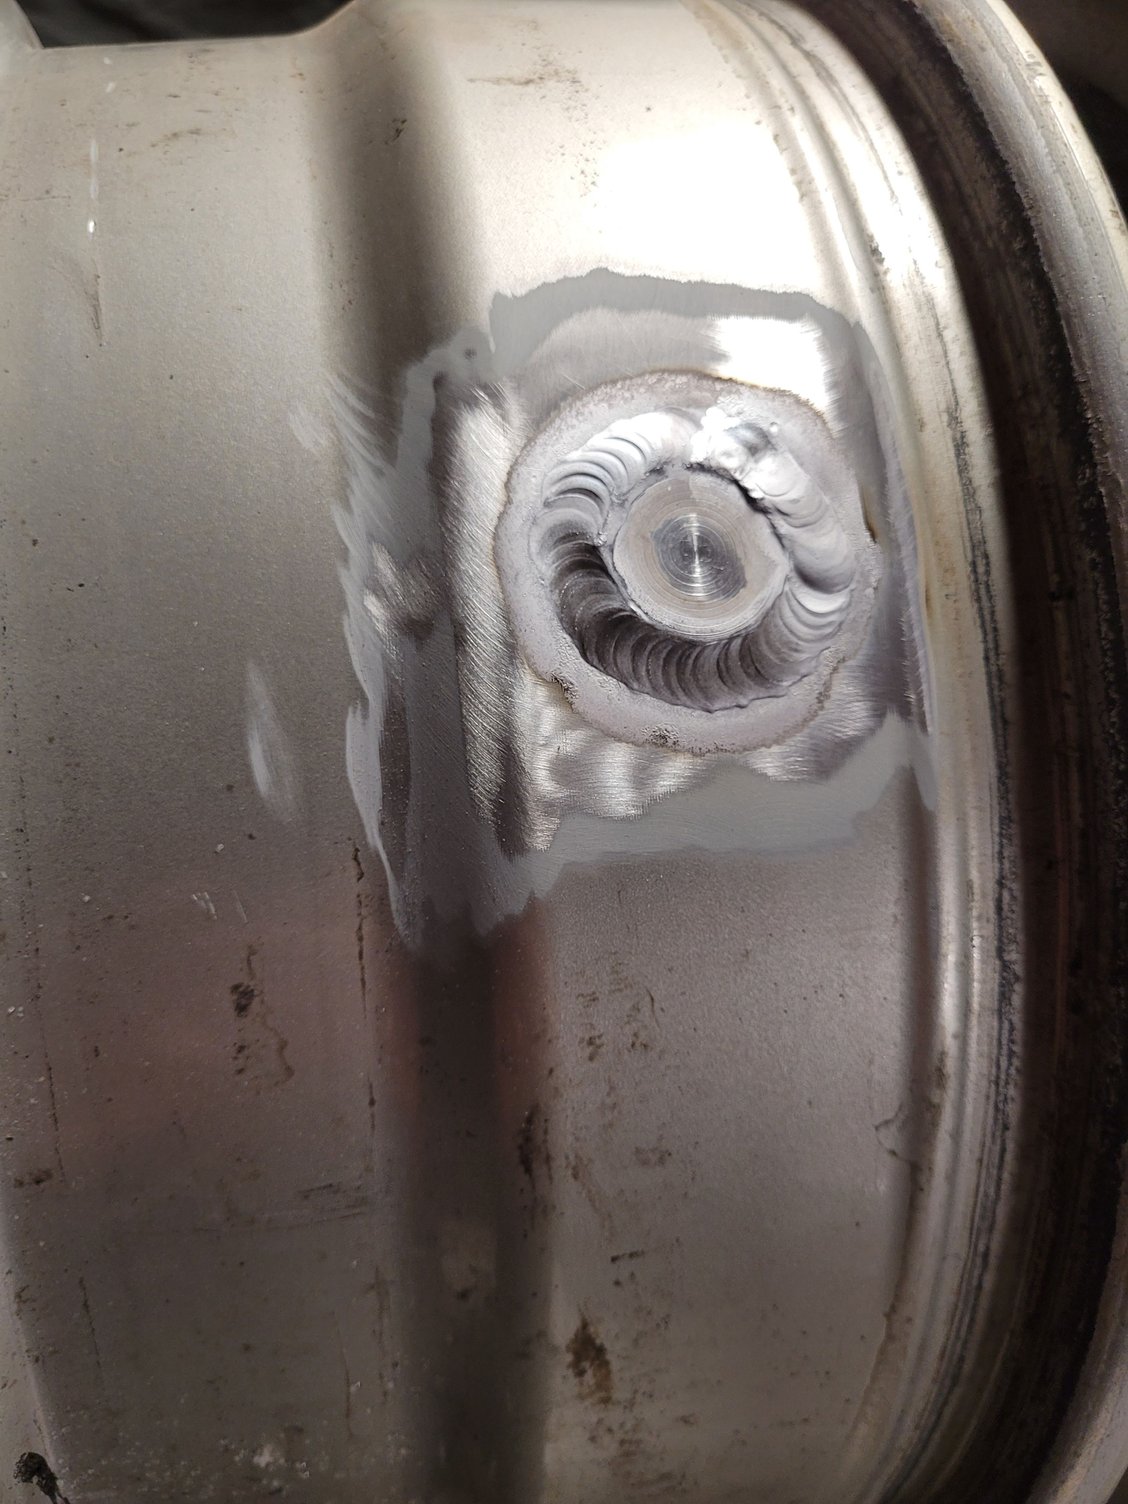
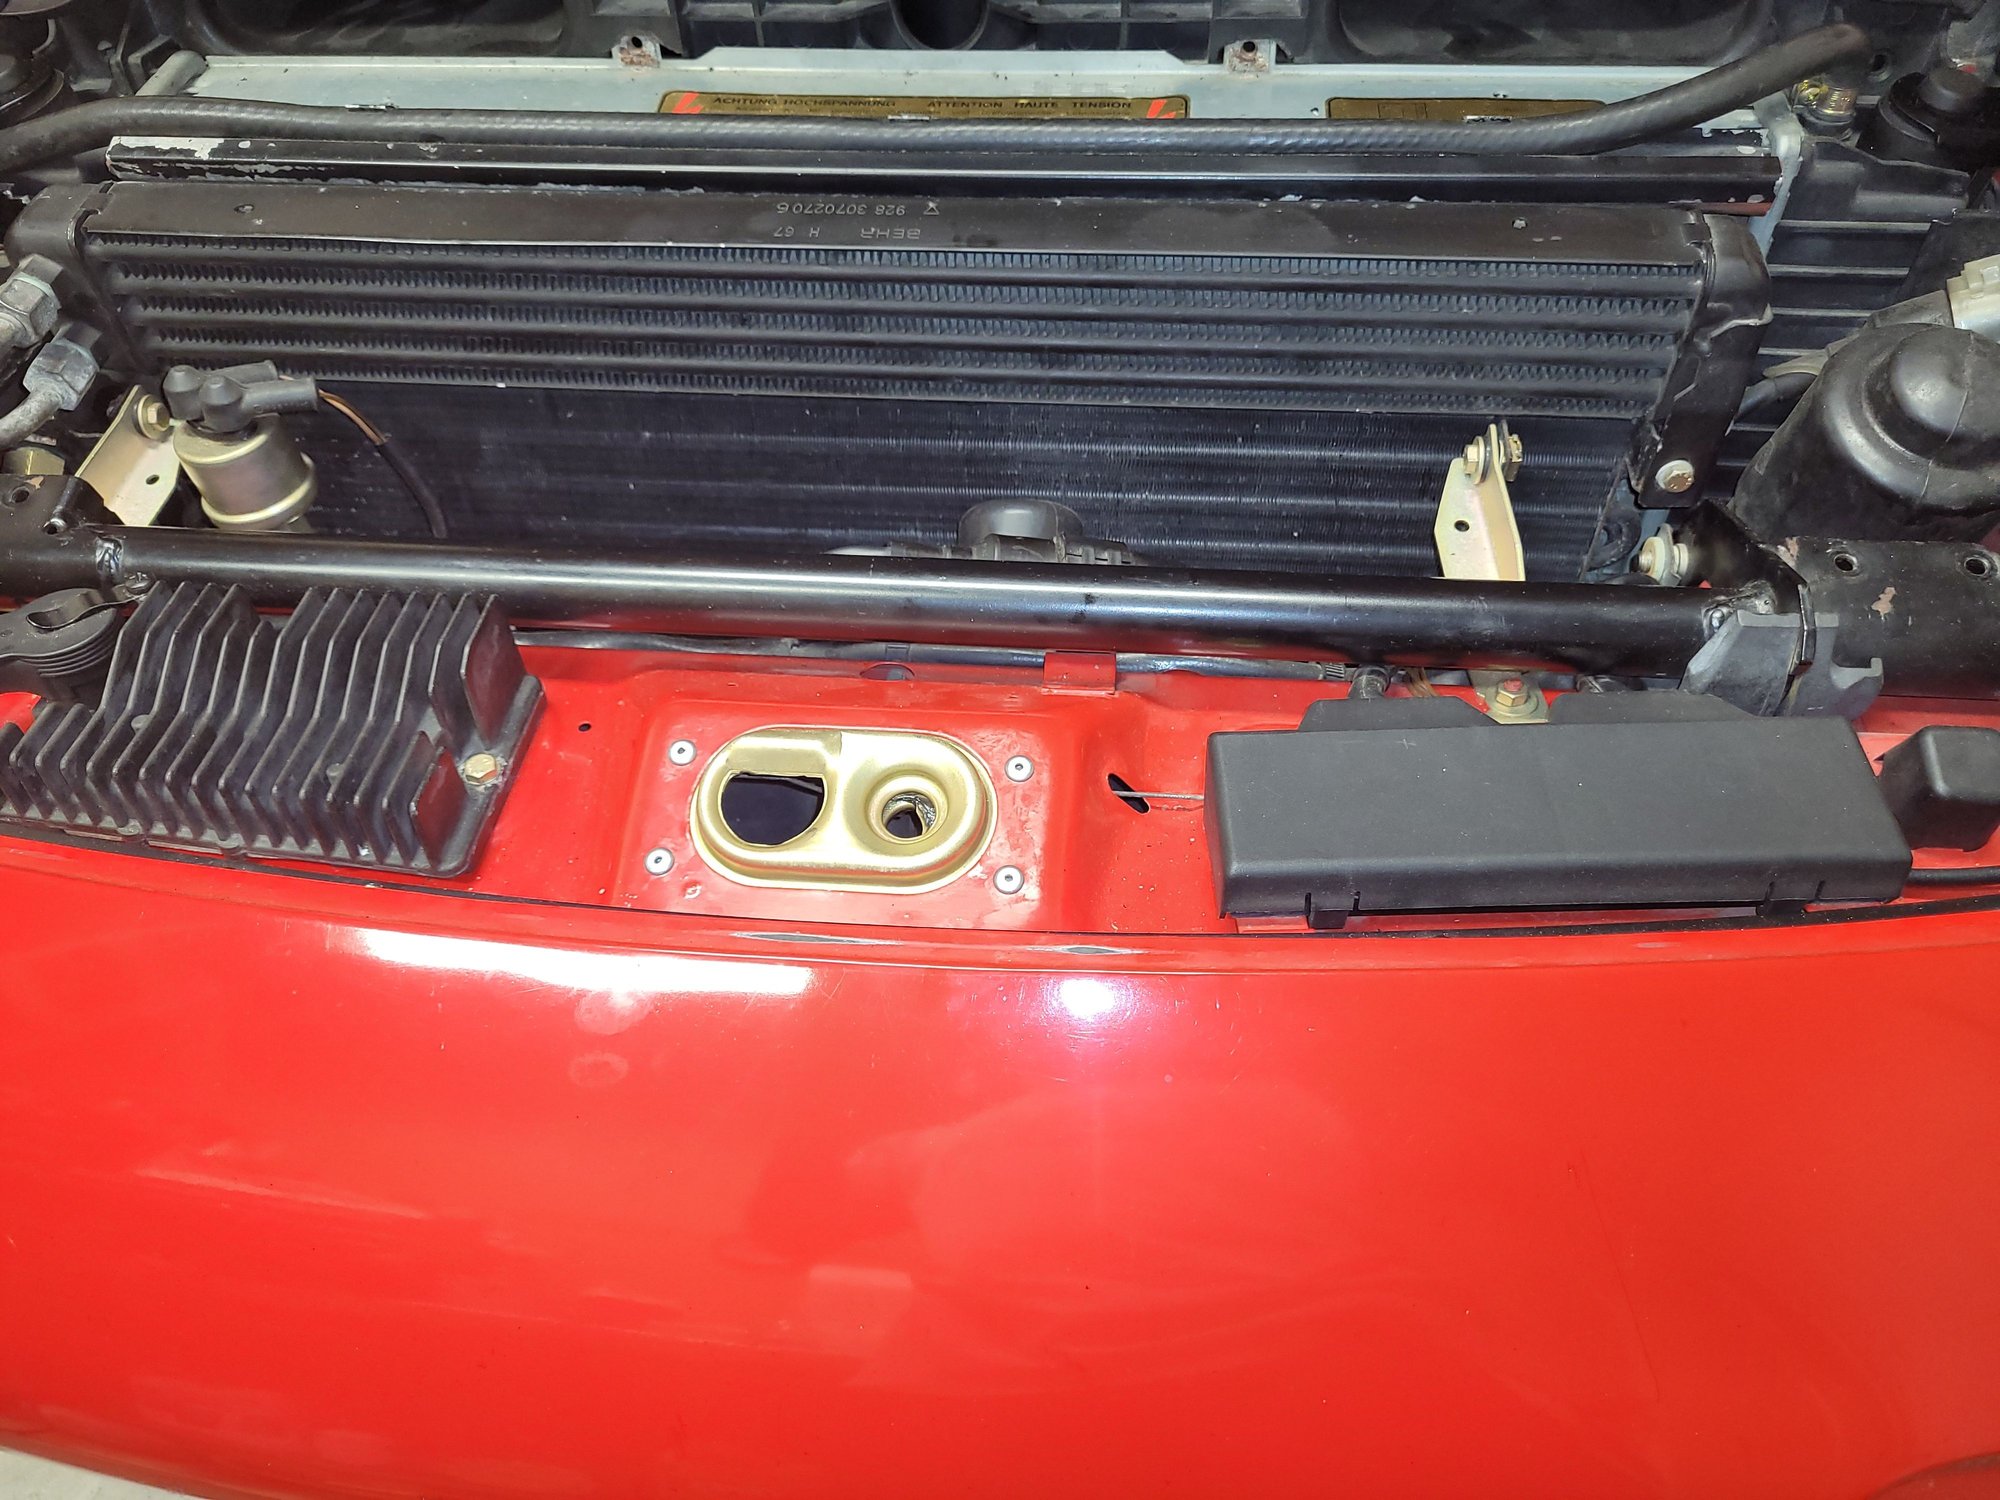
A bit of potpourri. Wheels came back from the welder with terrific results. When the tires were mounted I had one that needed no balancing weights. Don't think I've ever seen that before. Then pictures of the hood light disassembled for plating and continuing disassembly of the intake system. These were 928 d90s with the pressure sensors. I didnt want to hassle/liability of the sensors so i sold them and had the holes welded by an aerospace certified welder.
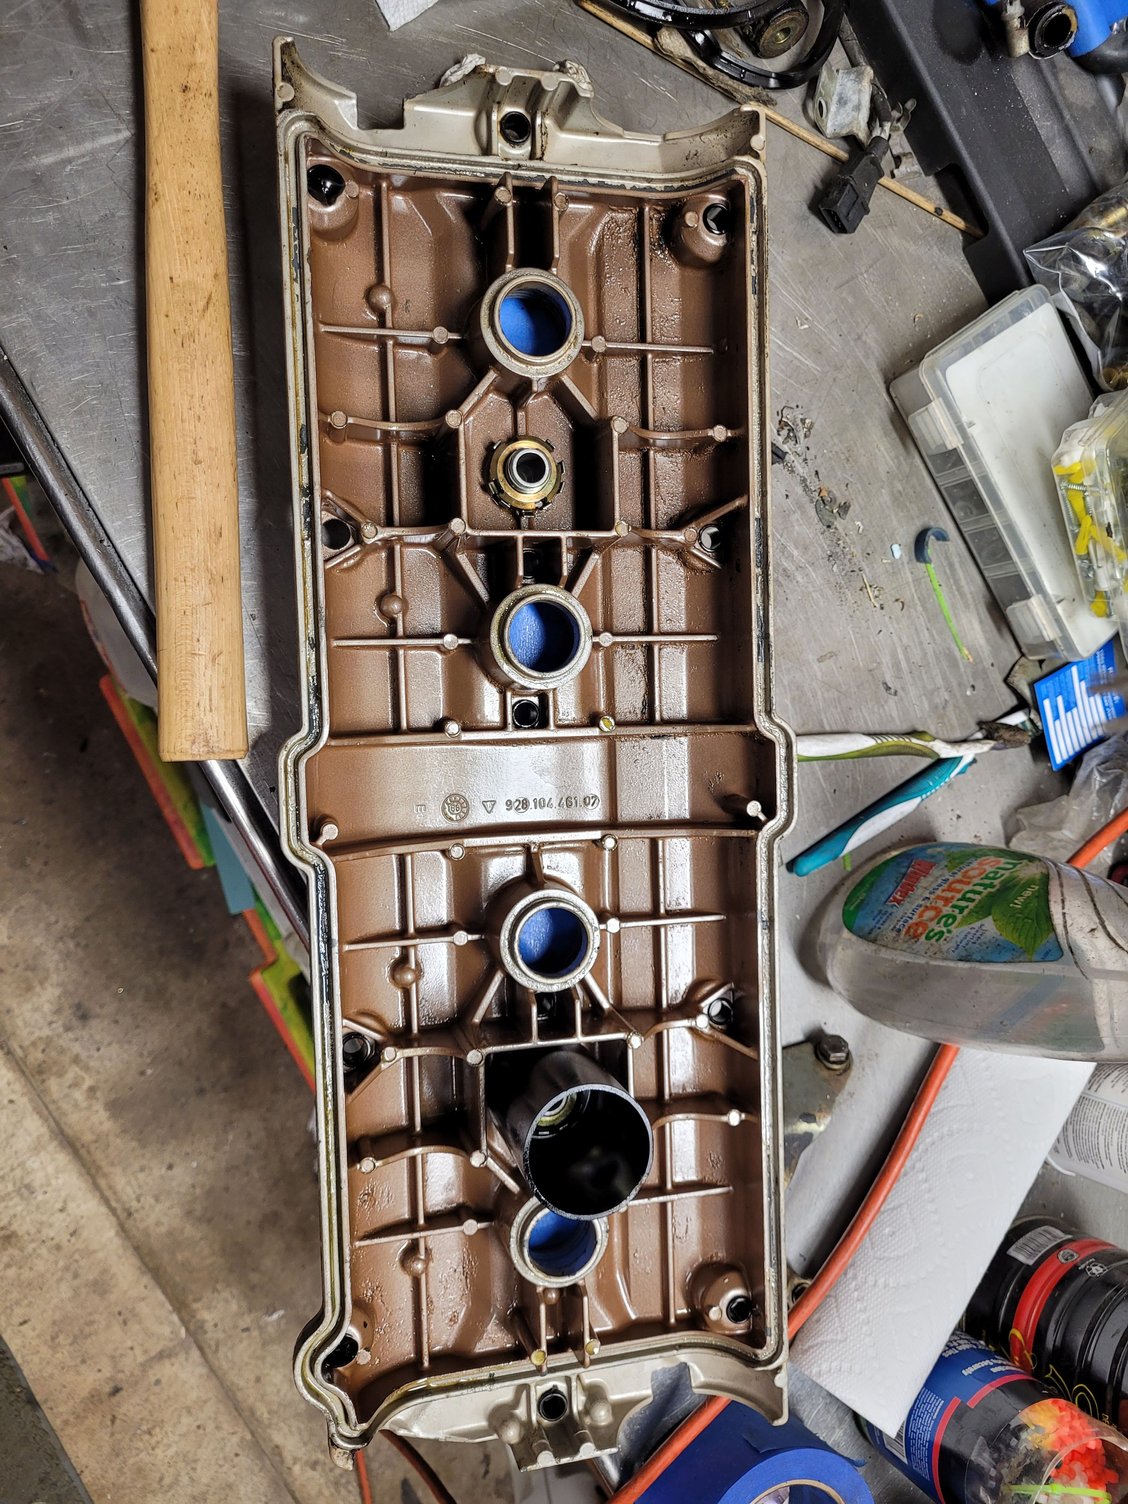
Water bridge after cleaning and new seals. Ready for assembly.
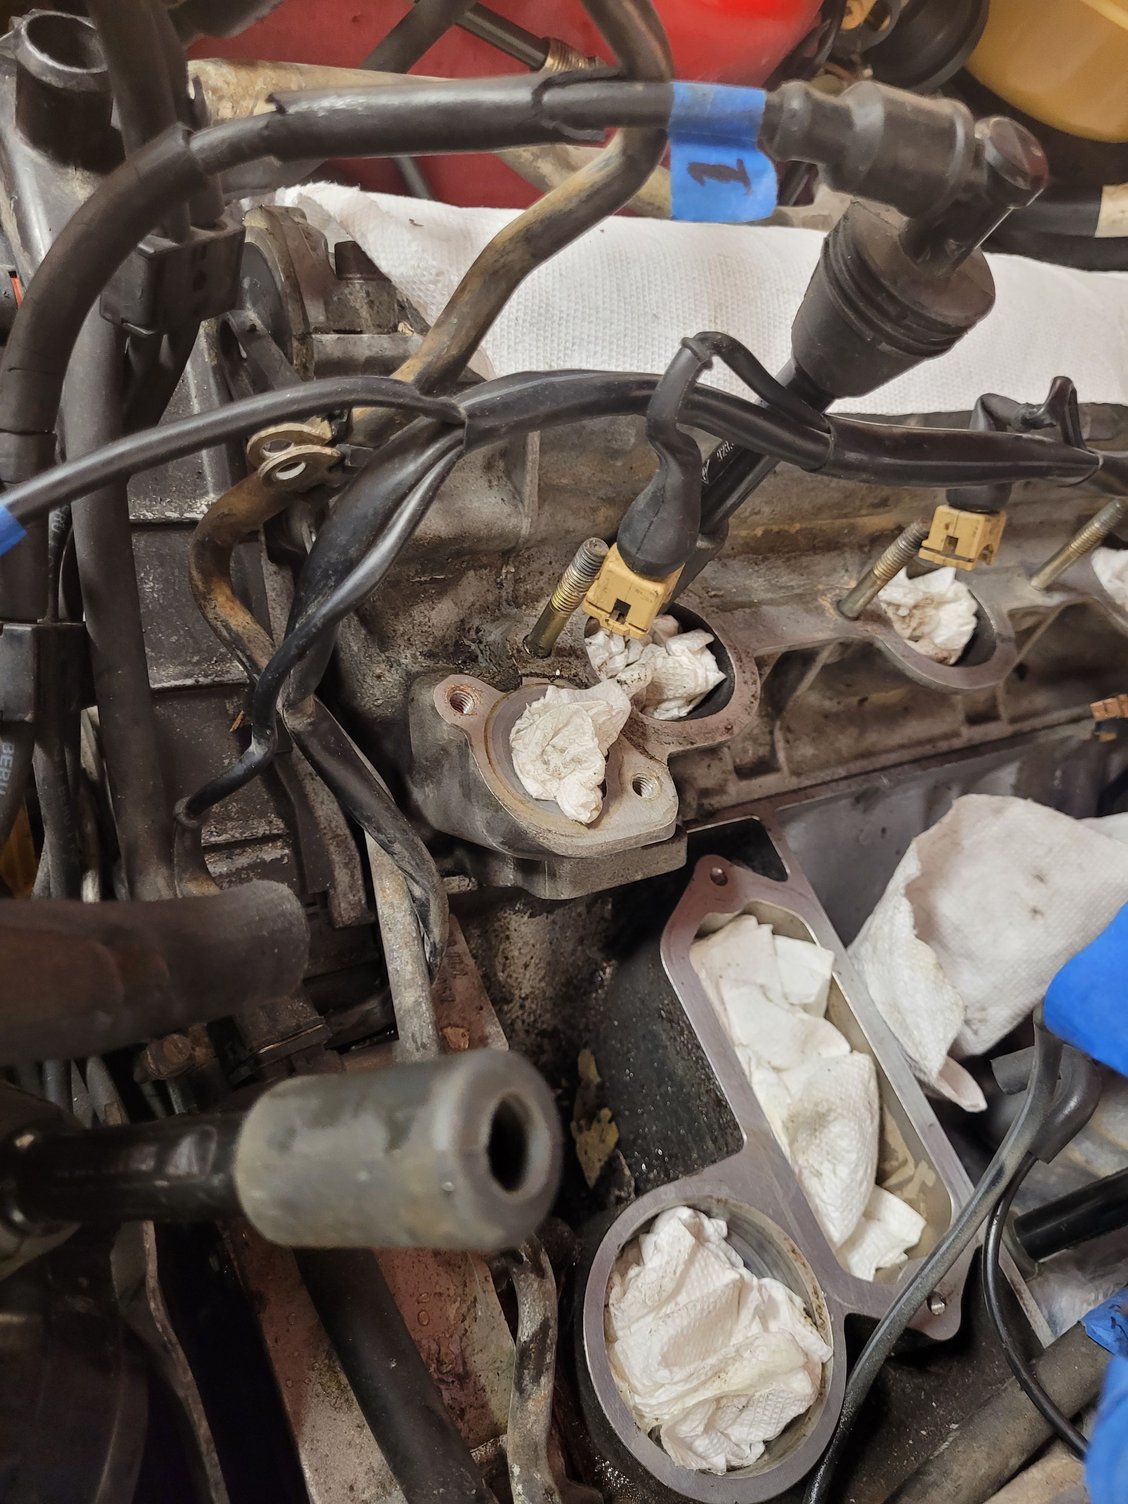
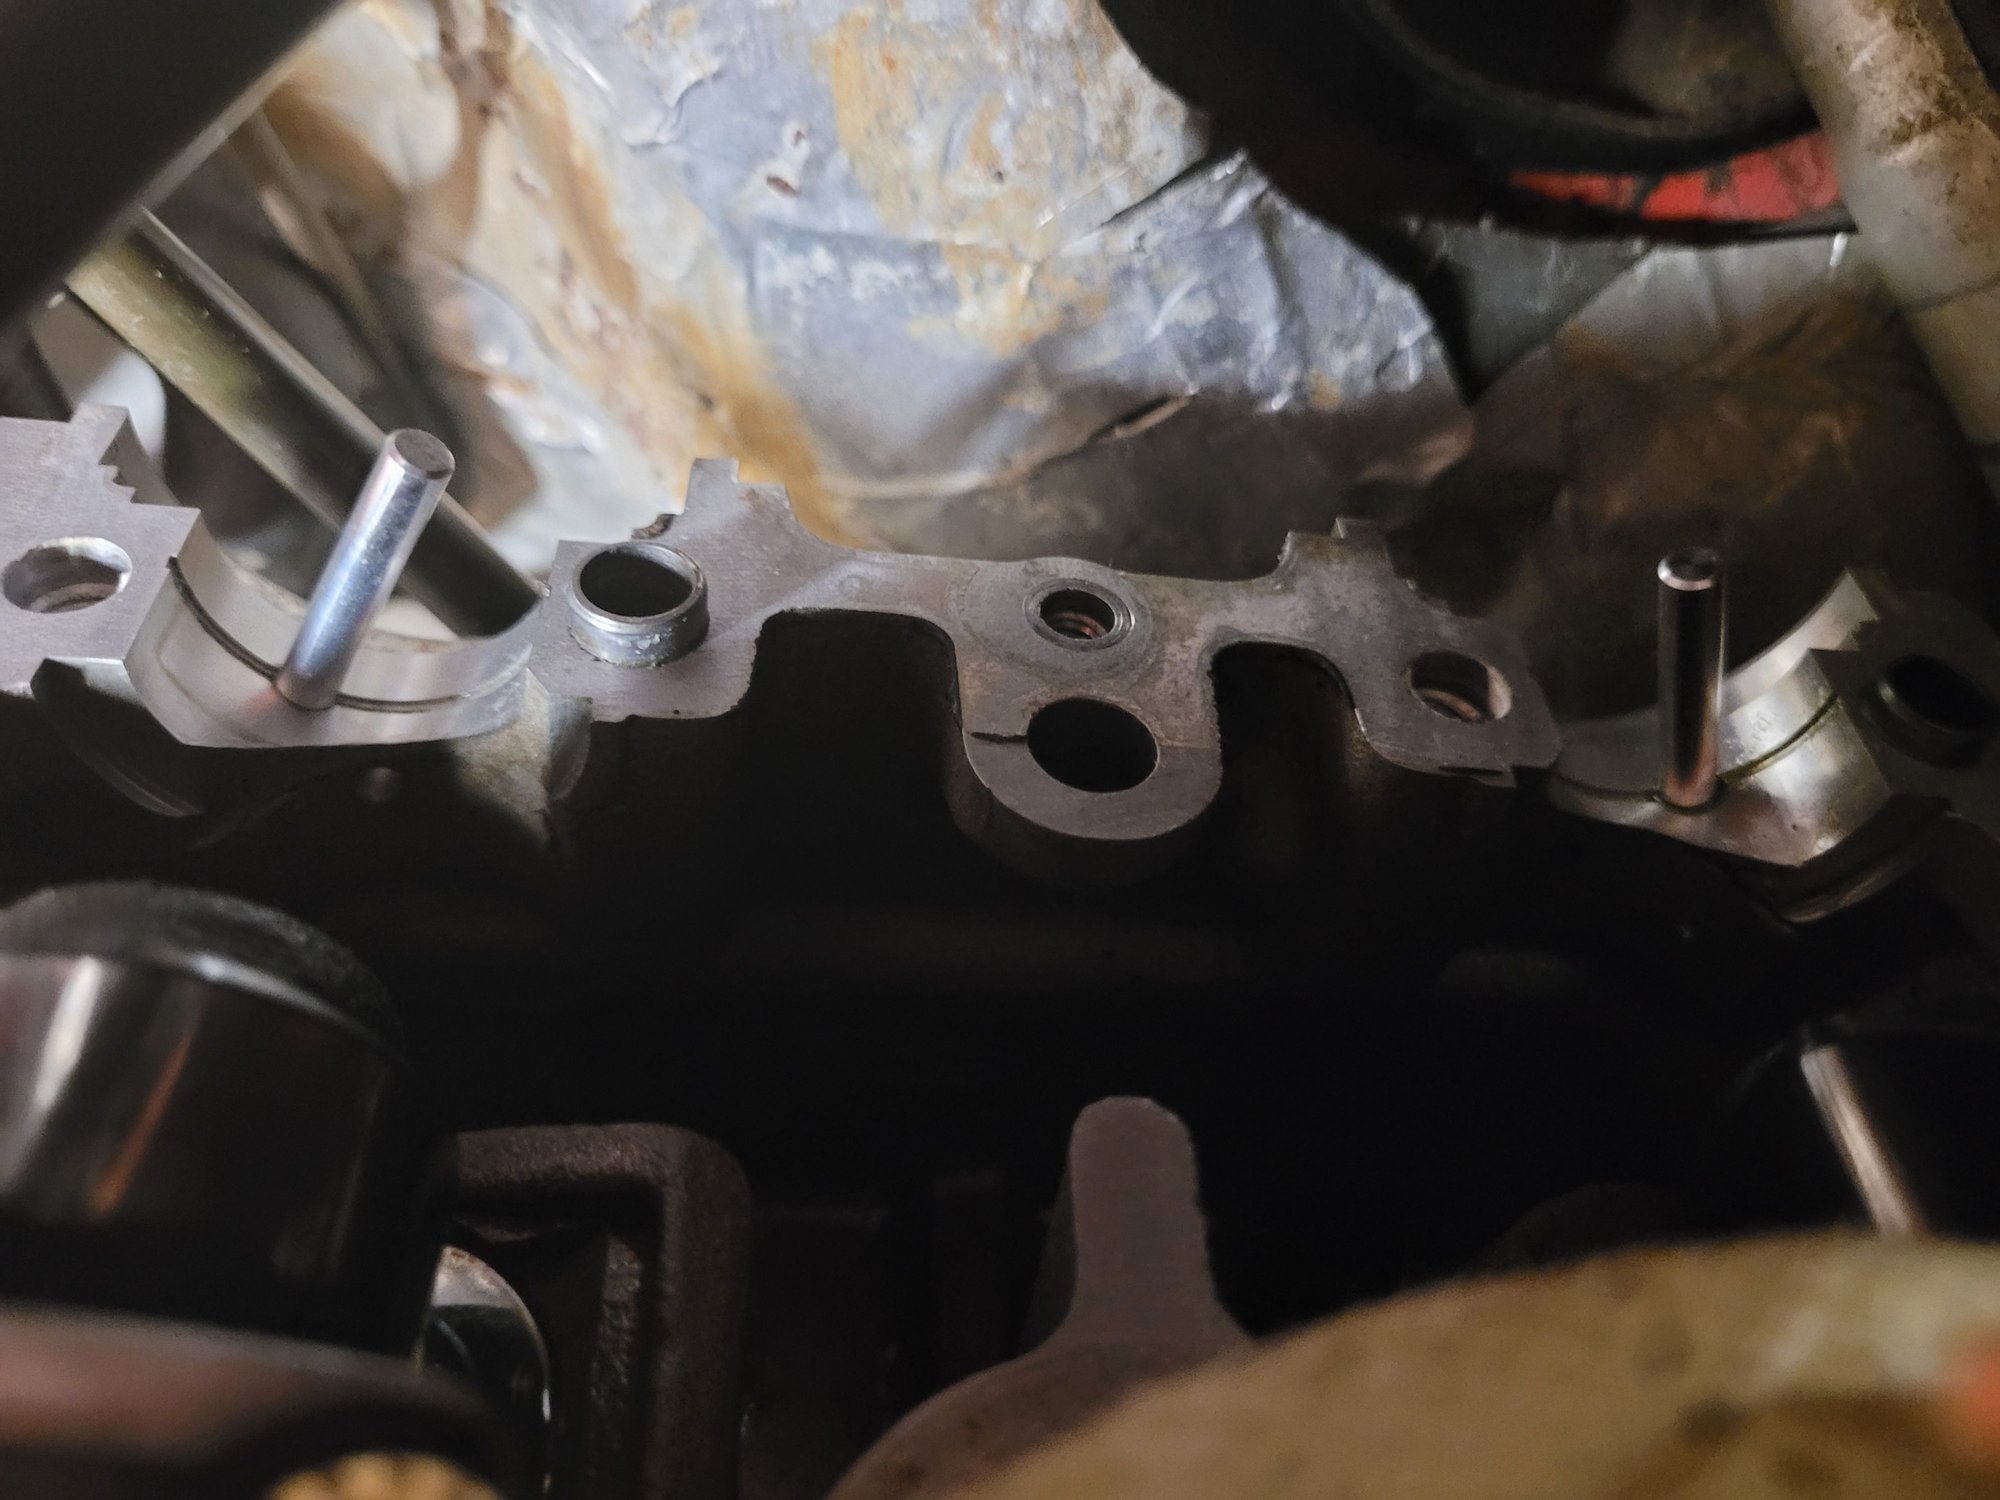
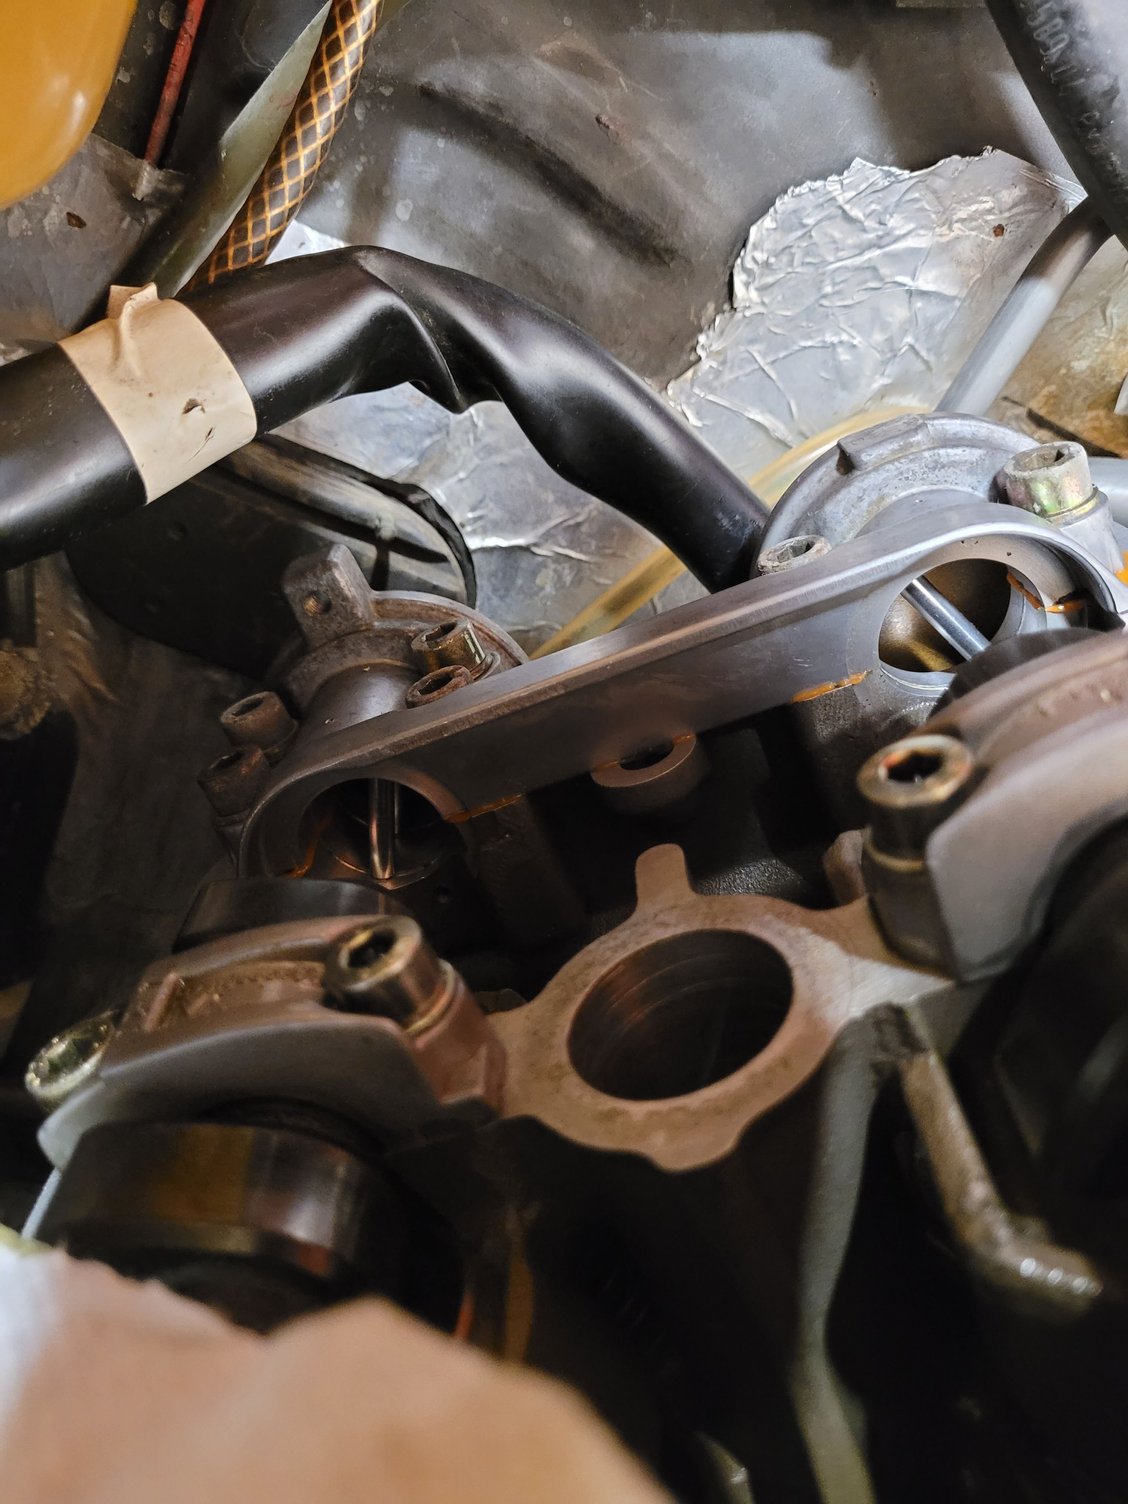
Throttle body assembly built back up ready for leak testing. Block SN when things were apart. Removed rear cam caps while valvecovers were off to replace the blockoff pins. Replaced the caps while they were out also. Original pins as found. Hadnt fallen out. Comparing the new press in pins. went in no issues
Last edited by Popoboy944; 04-10-2023 at 05:01 PM.
nice detailed pictures, your gonna have a nice looking engine when your finished
If you dont mind you should post a picture of your intake throttle body into Mike Bennos thread since he messed his up rebuilding it.
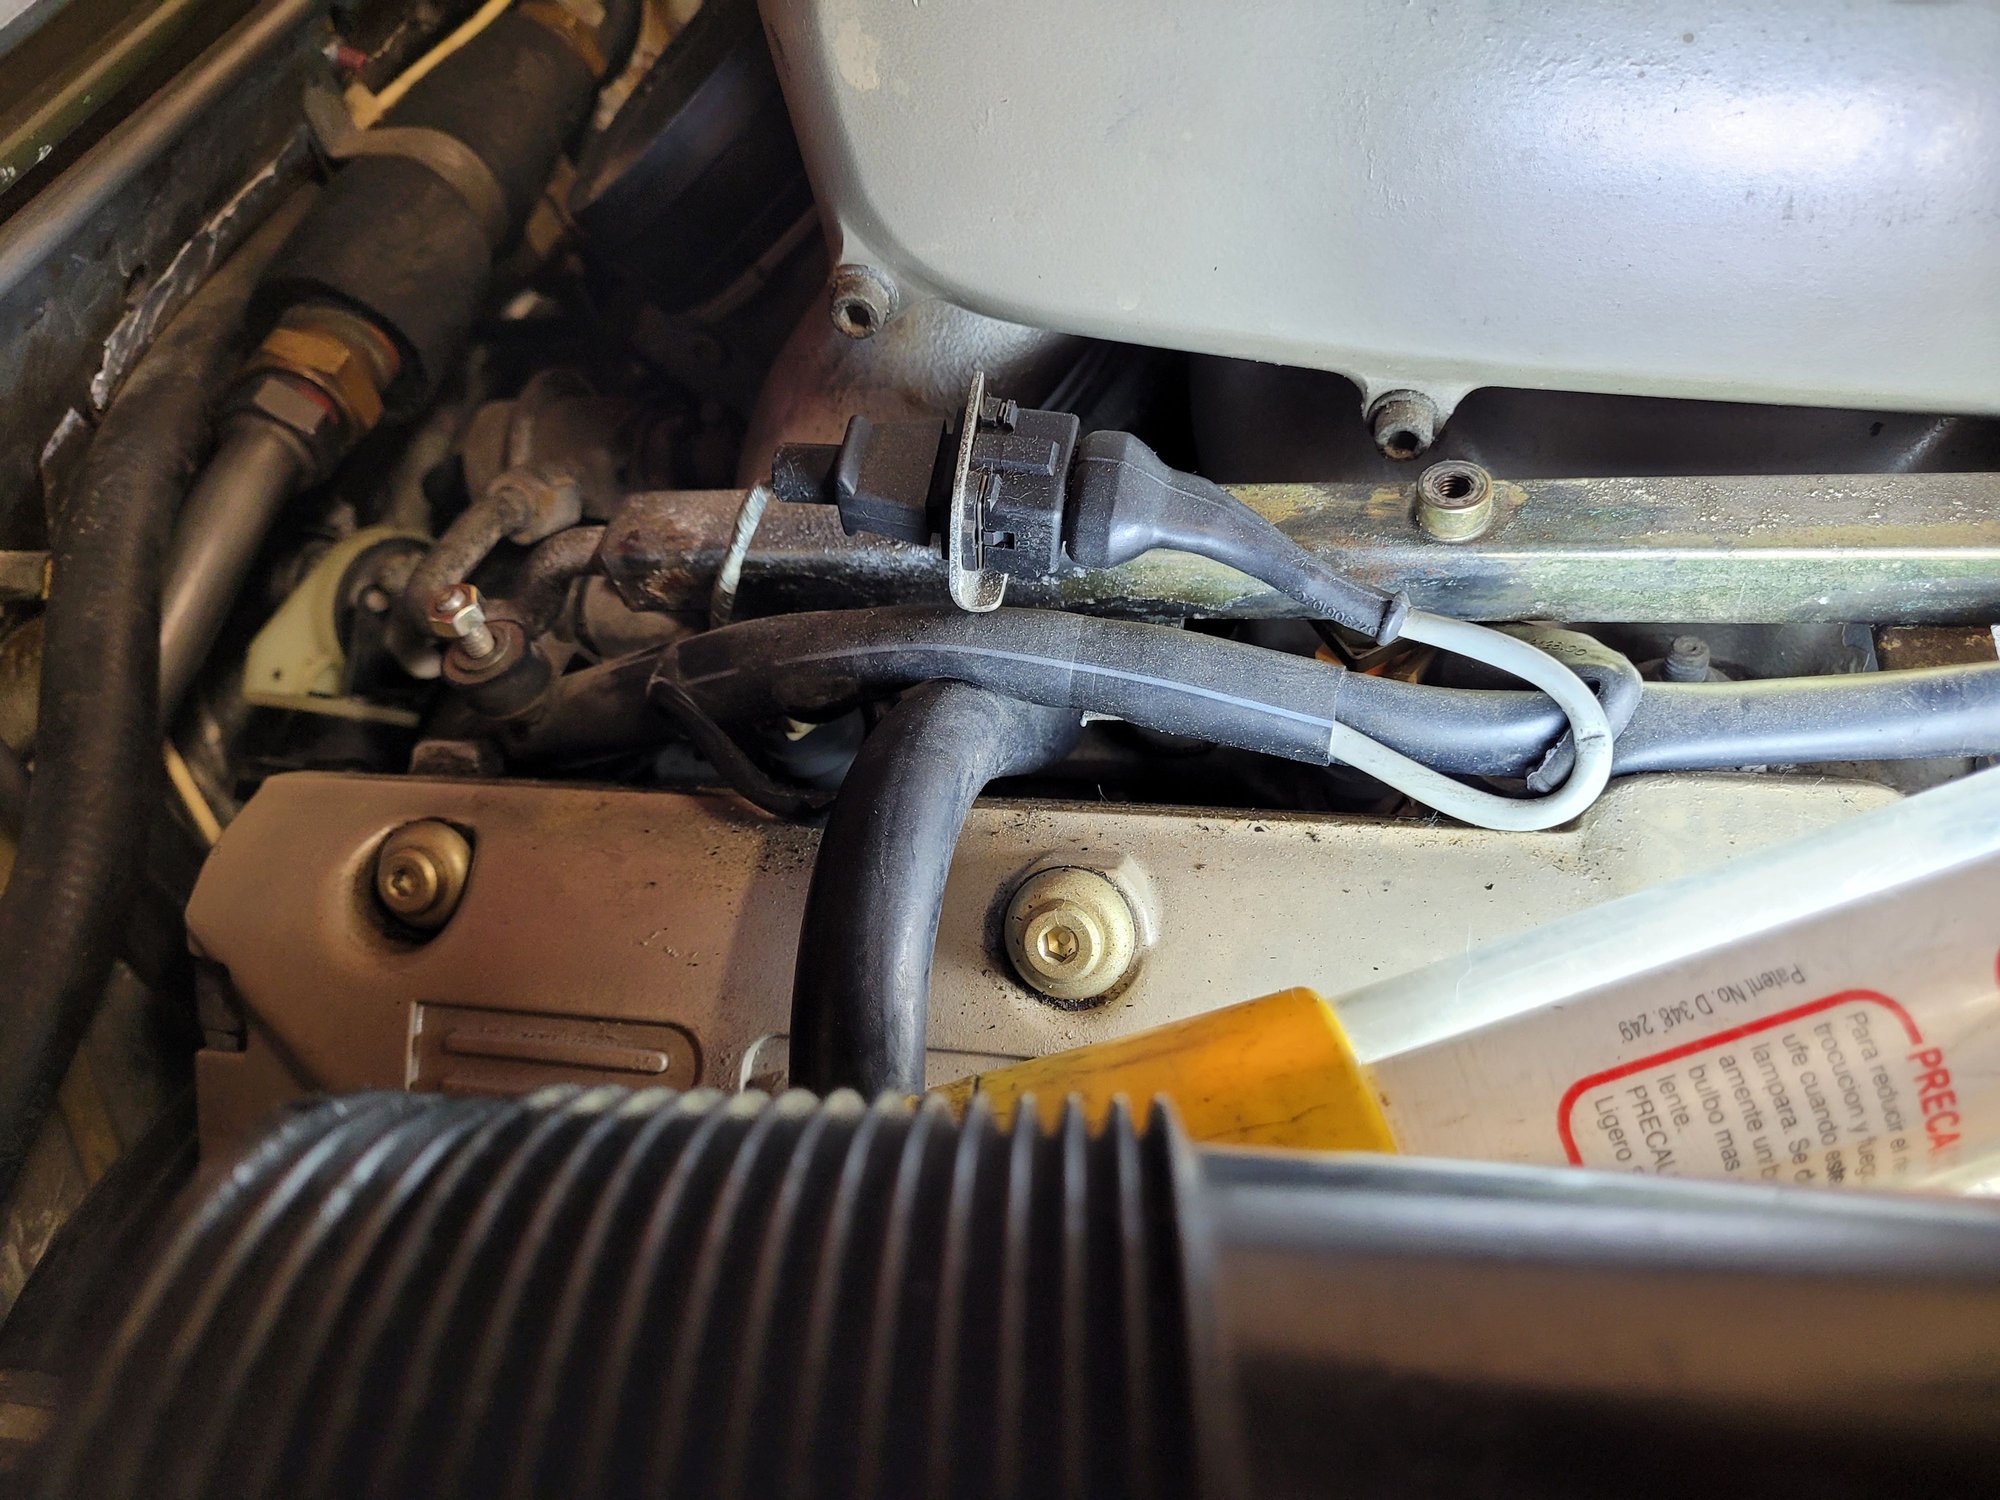
NOTE If you didnt already do this also replace the plastic junctions that plug into the MAF boot , they crack overtime and cause false air leaks
and for full effect the hobby store had brass tubes that fit perfectly into the openings these can be super glued in,
they will stiffen the internal tubes of these junctions.
nice detailed pictures, your gonna have a nice looking engine when your finished
If you dont mind you should post a picture of your intake throttle body into Mike Bennos thread since he messed his up rebuilding it.
NOTE If you didnt already do this also replace the plastic junctions that plug into the MAF boot , they crack overtime and cause false air leaks
and for full effect the hobby store had brass tubes that fit perfectly into the openings these can be super glued in,
they will stiffen the internal tubes of these junctions.
thanks @Mrmerlin ! I saw Mike's thread, It definitely brought back memories of putting my throttle blade back in. Any detail in particular I should show? Just the throttle plate, or more than that? You are totally right on those plastic junctions. I actually have my engine back together now, but I did find the boot itself the holes the junctions plug into were loose, and then when I pulled out one of the plastic junctions it cracked. So both got replaced, and the boot. Hope to have the rest of the results posted up here in short order today.
Last edited by Popoboy944; 04-10-2023 at 05:10 PM.
Powder coating back from don buswell! Came out looking great. Feather bronze is the color, which is supposed to be the best match to original. Looks good to me!
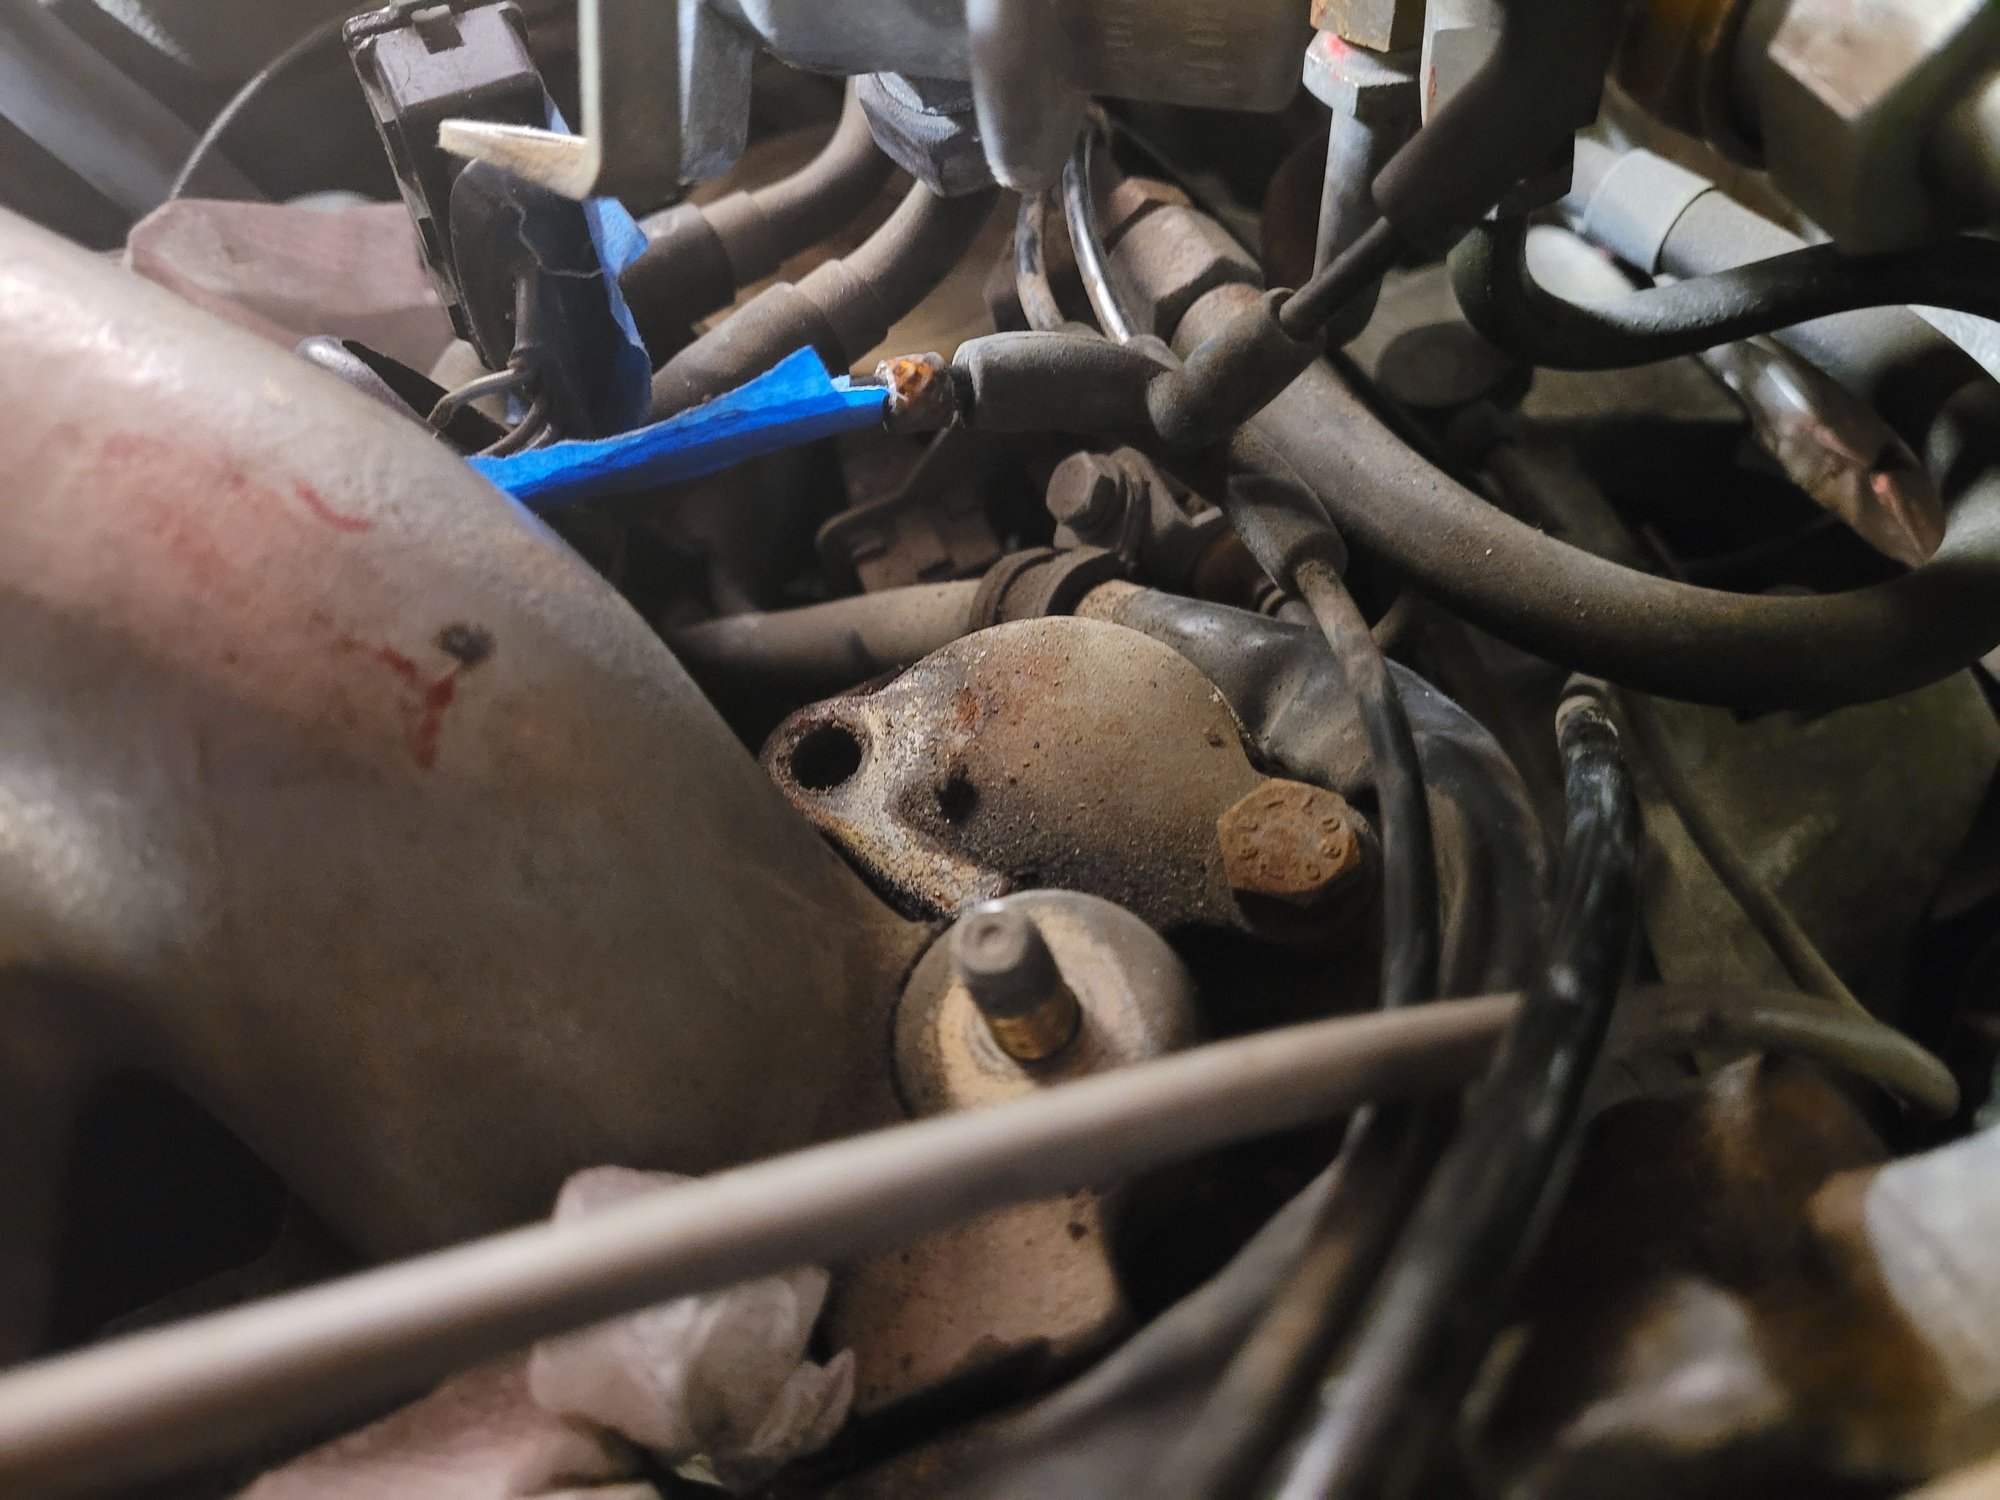
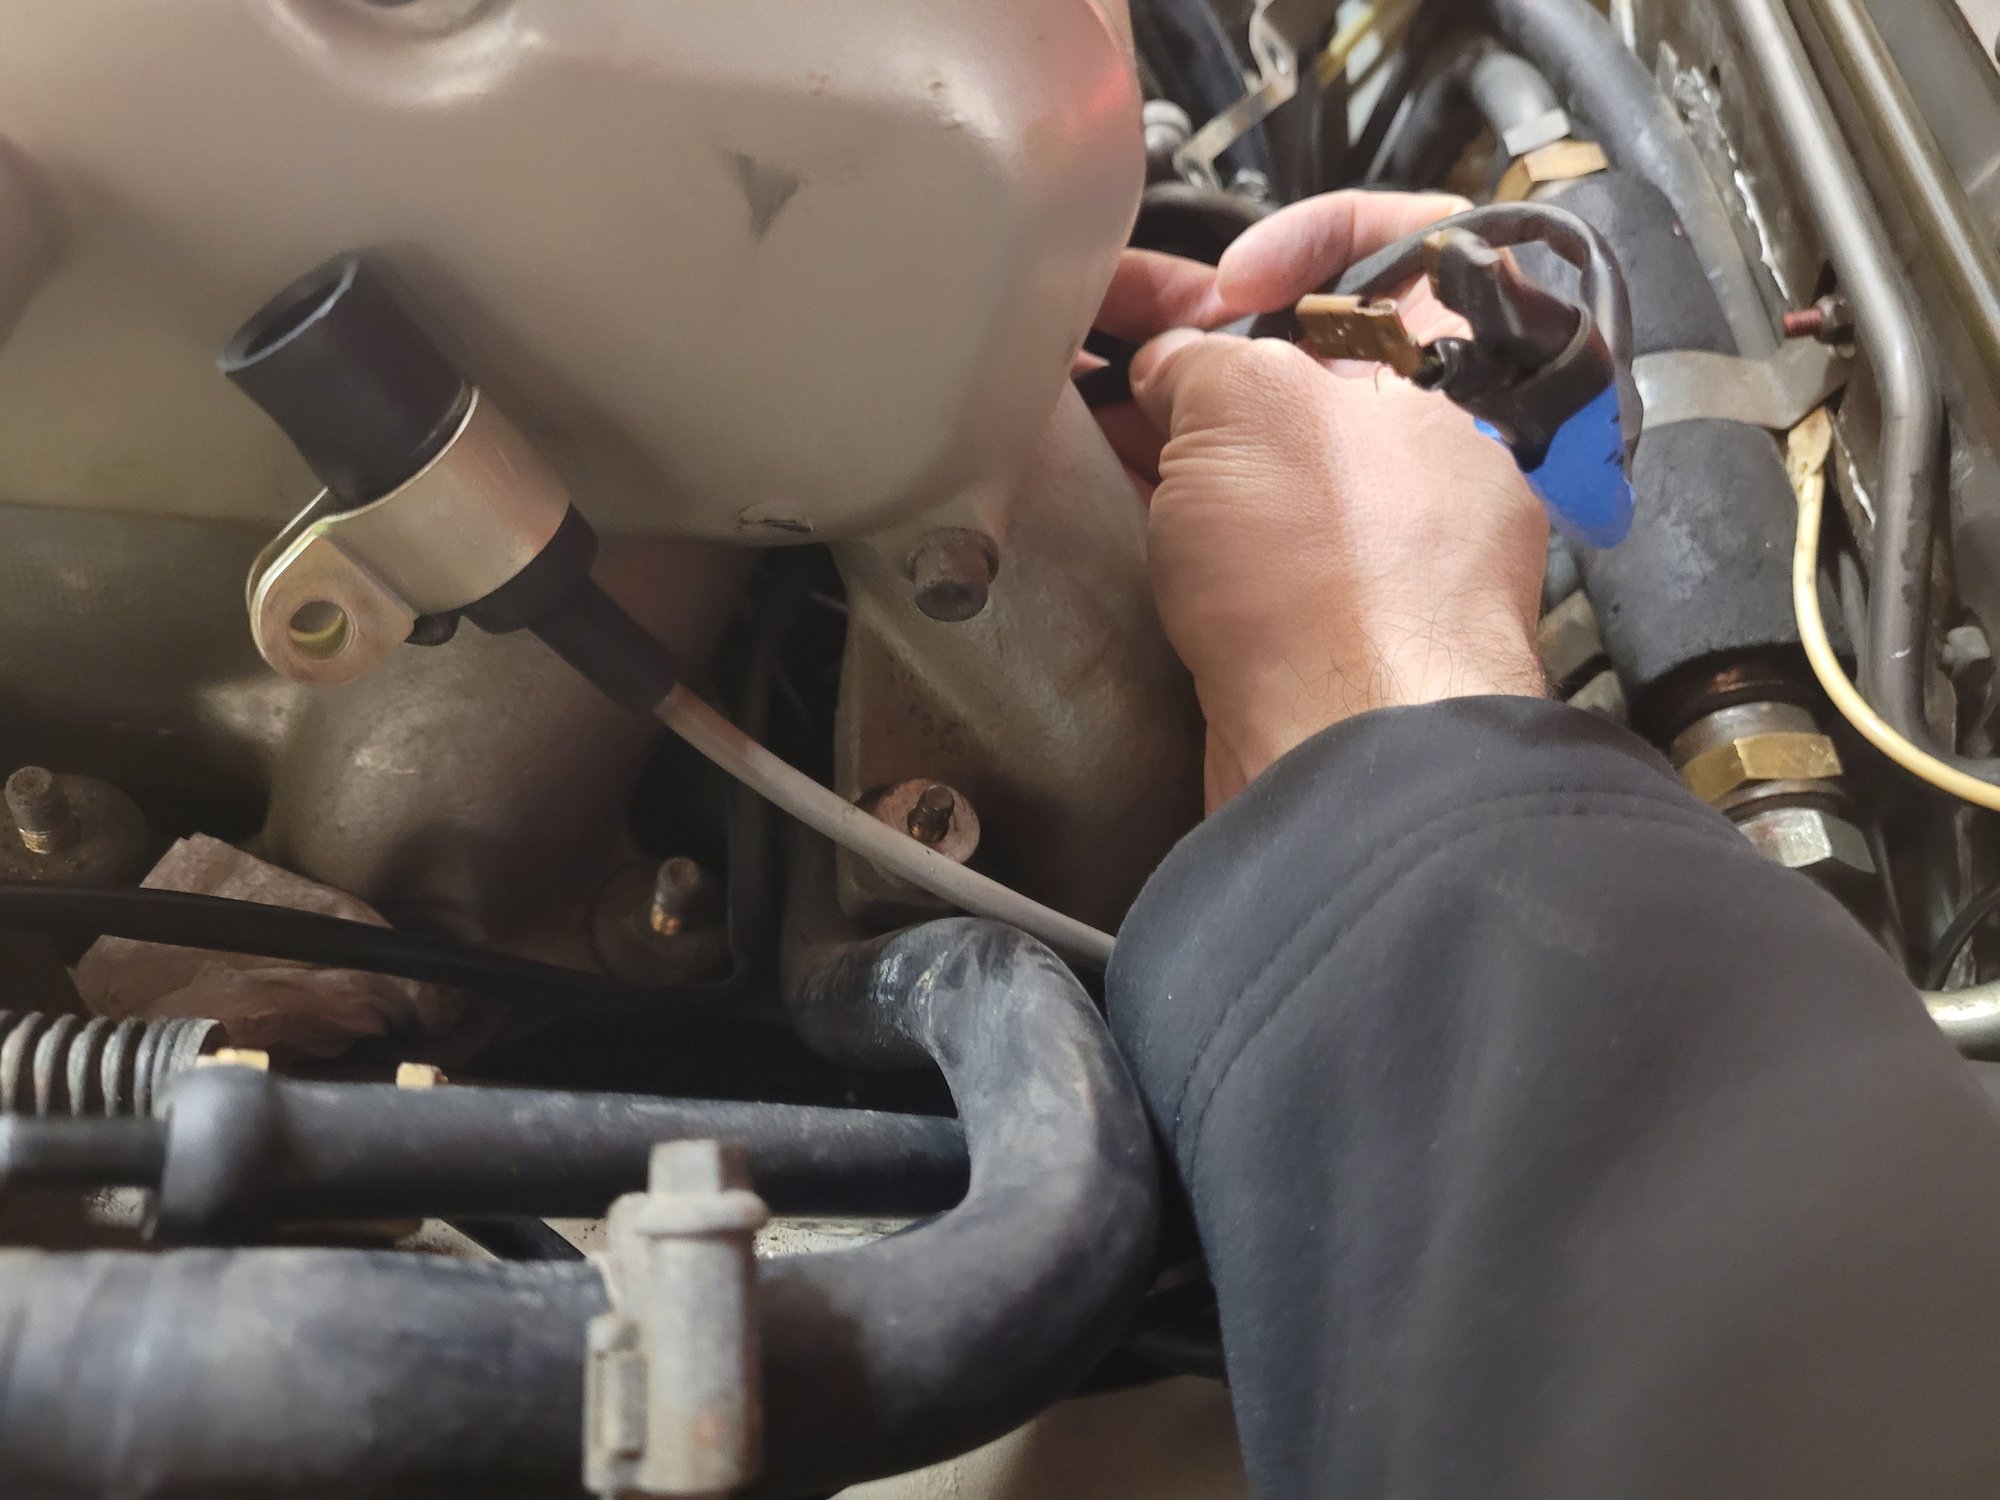
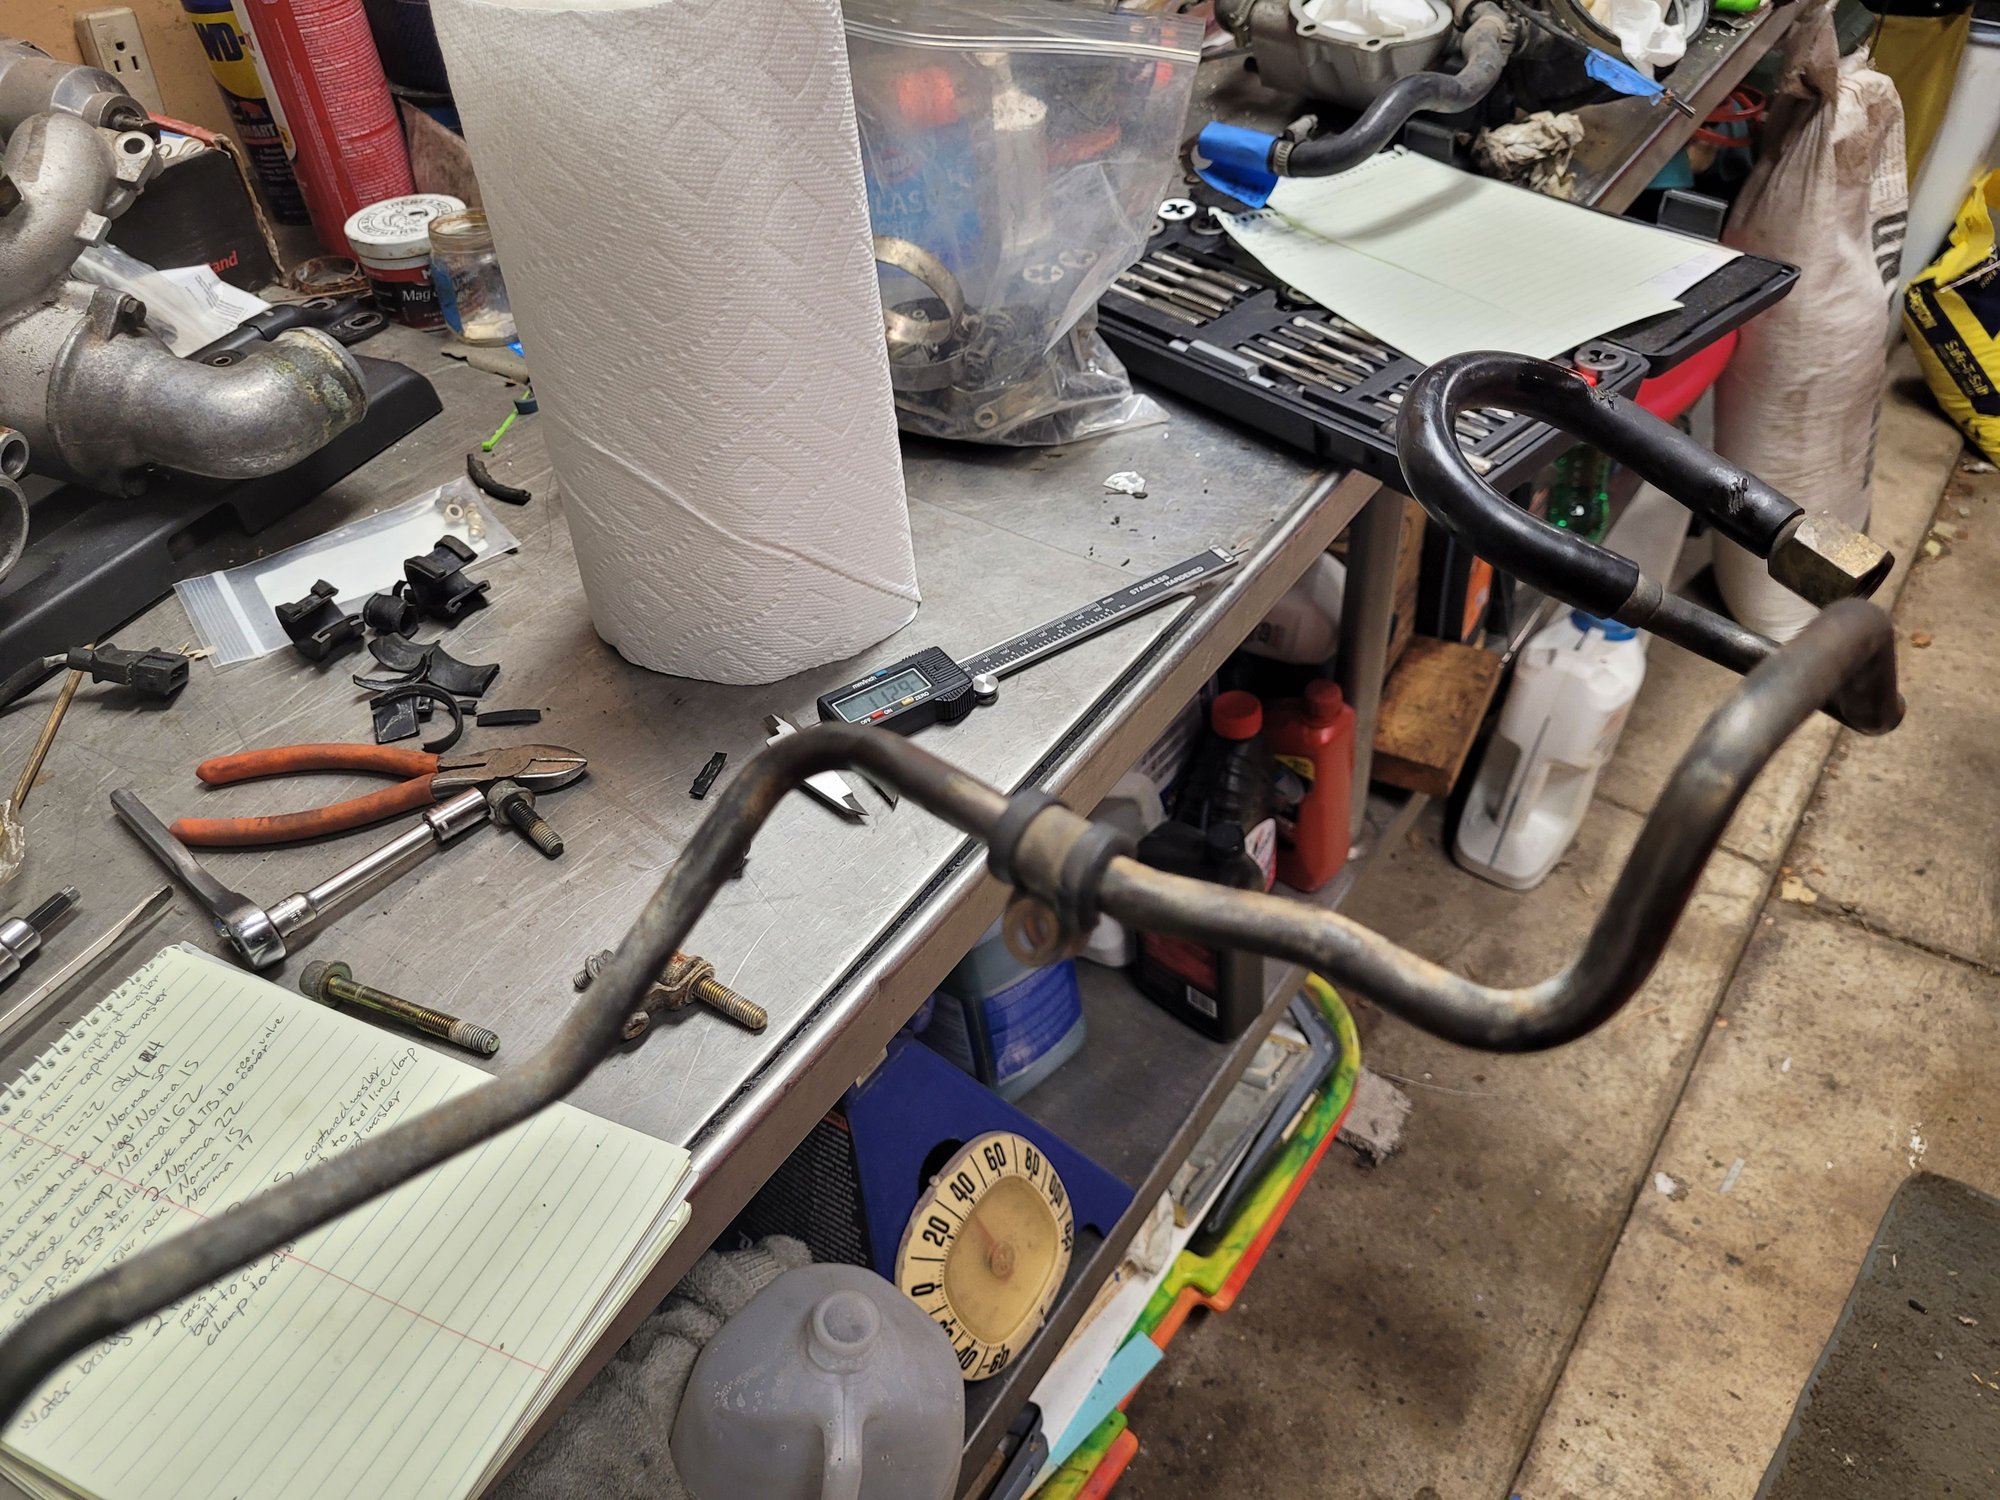
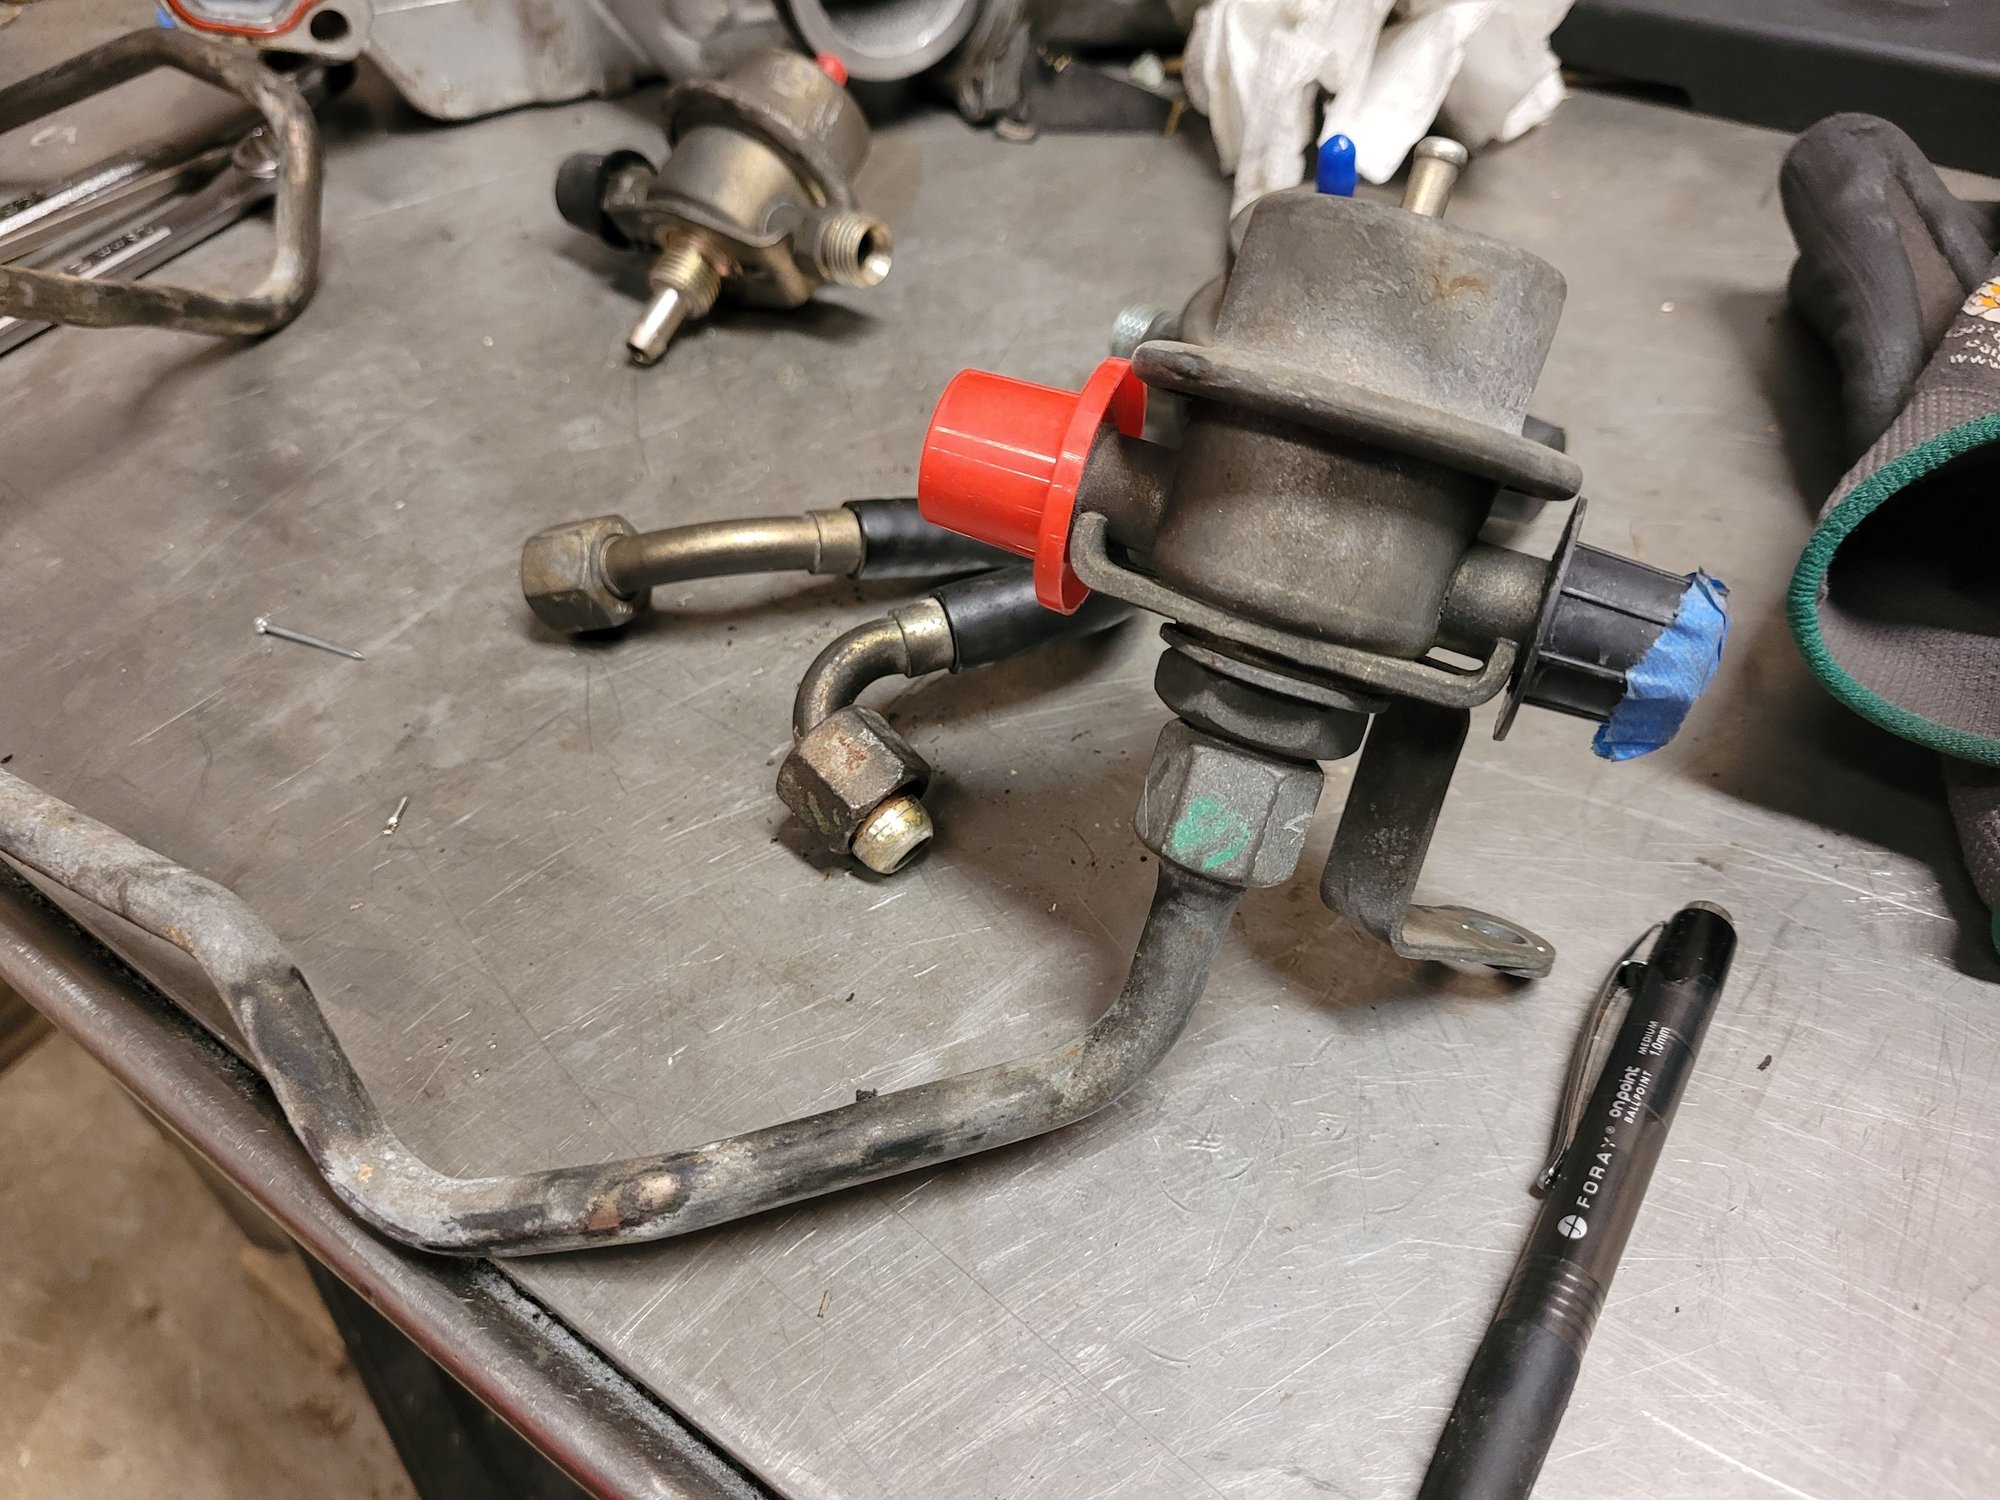
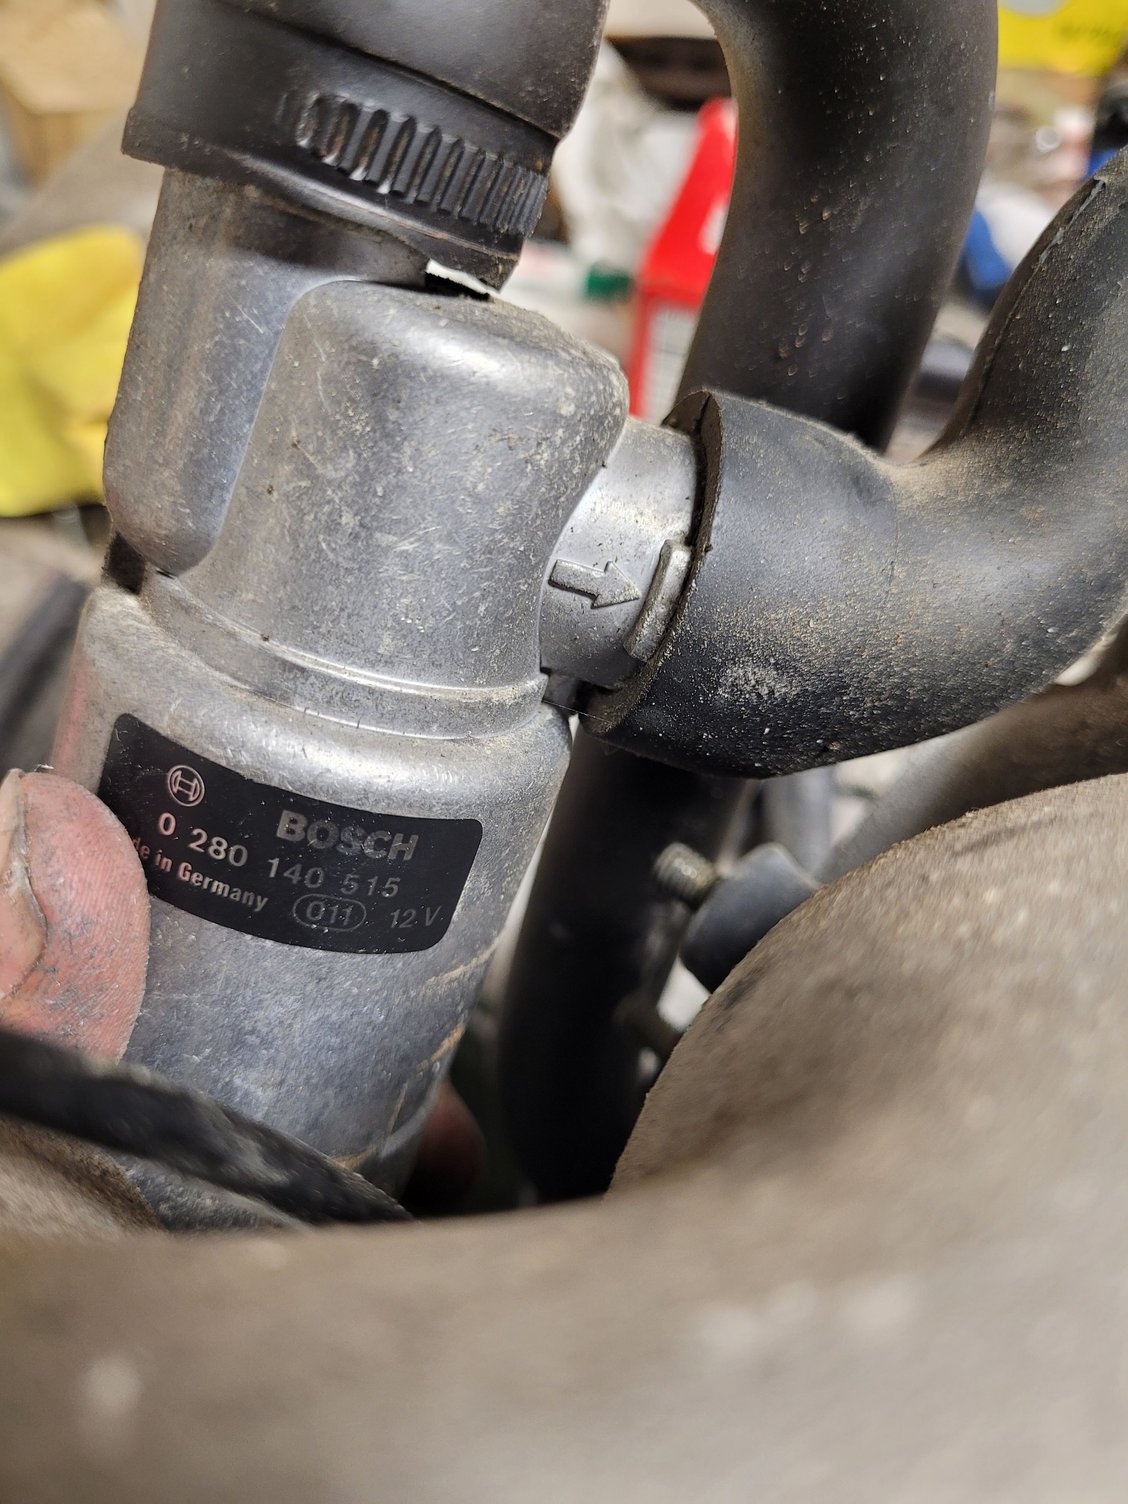
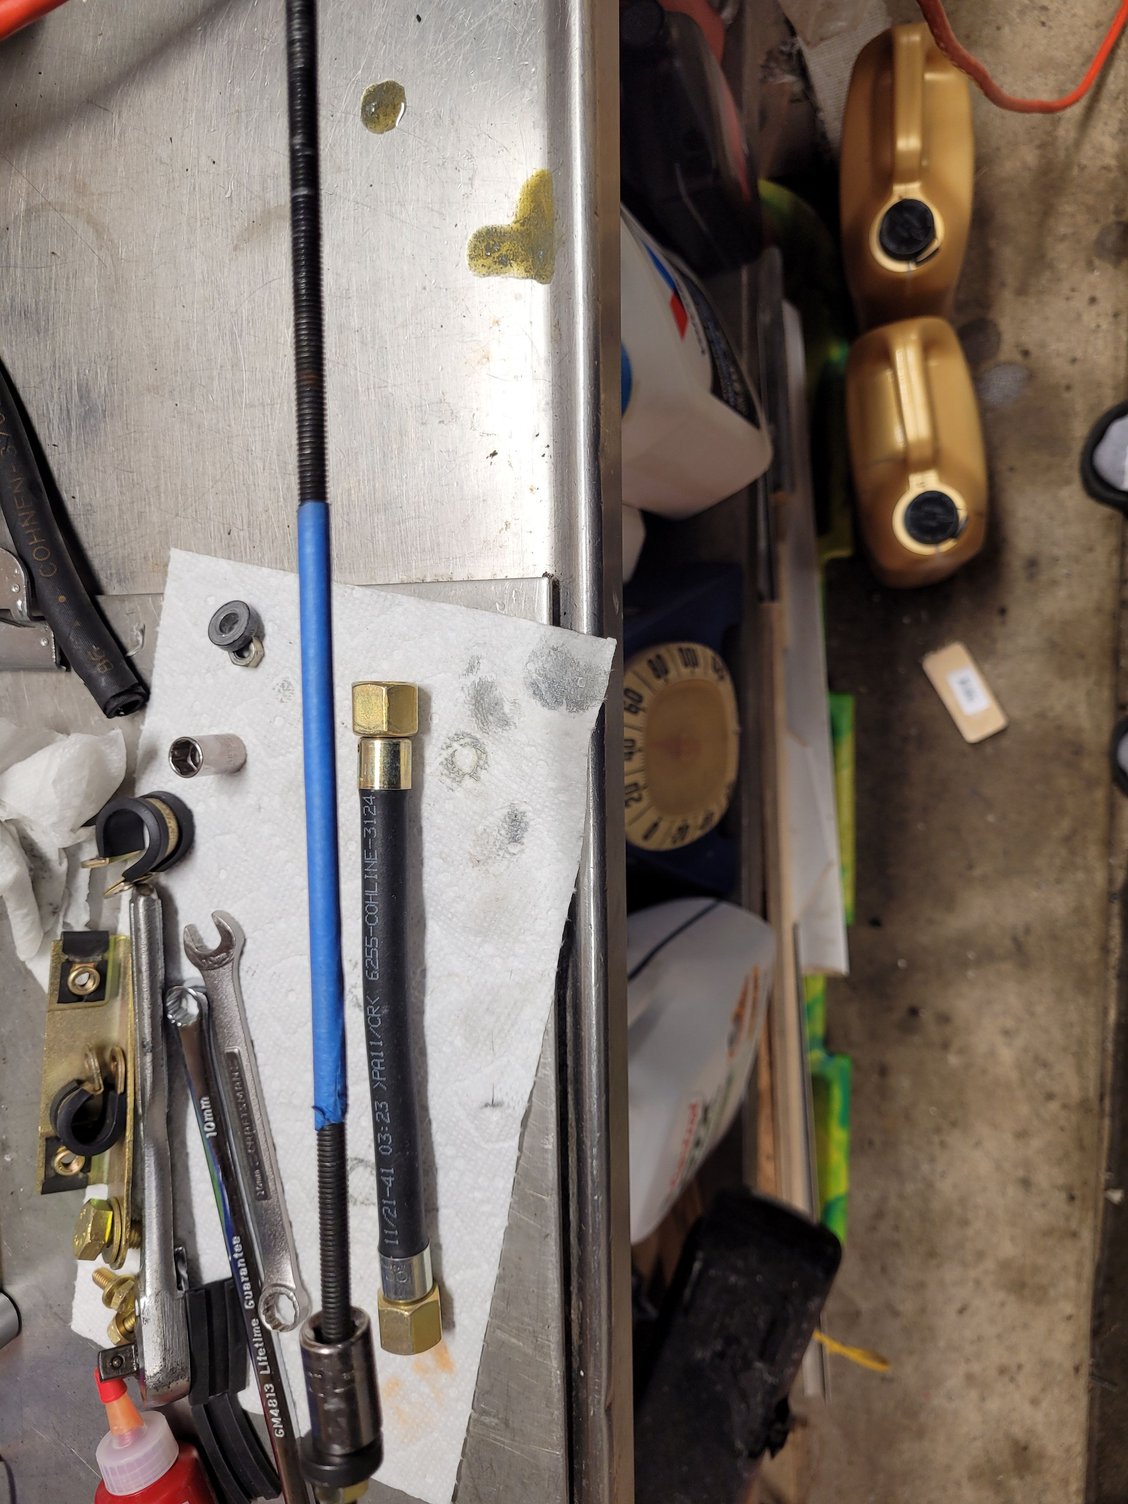
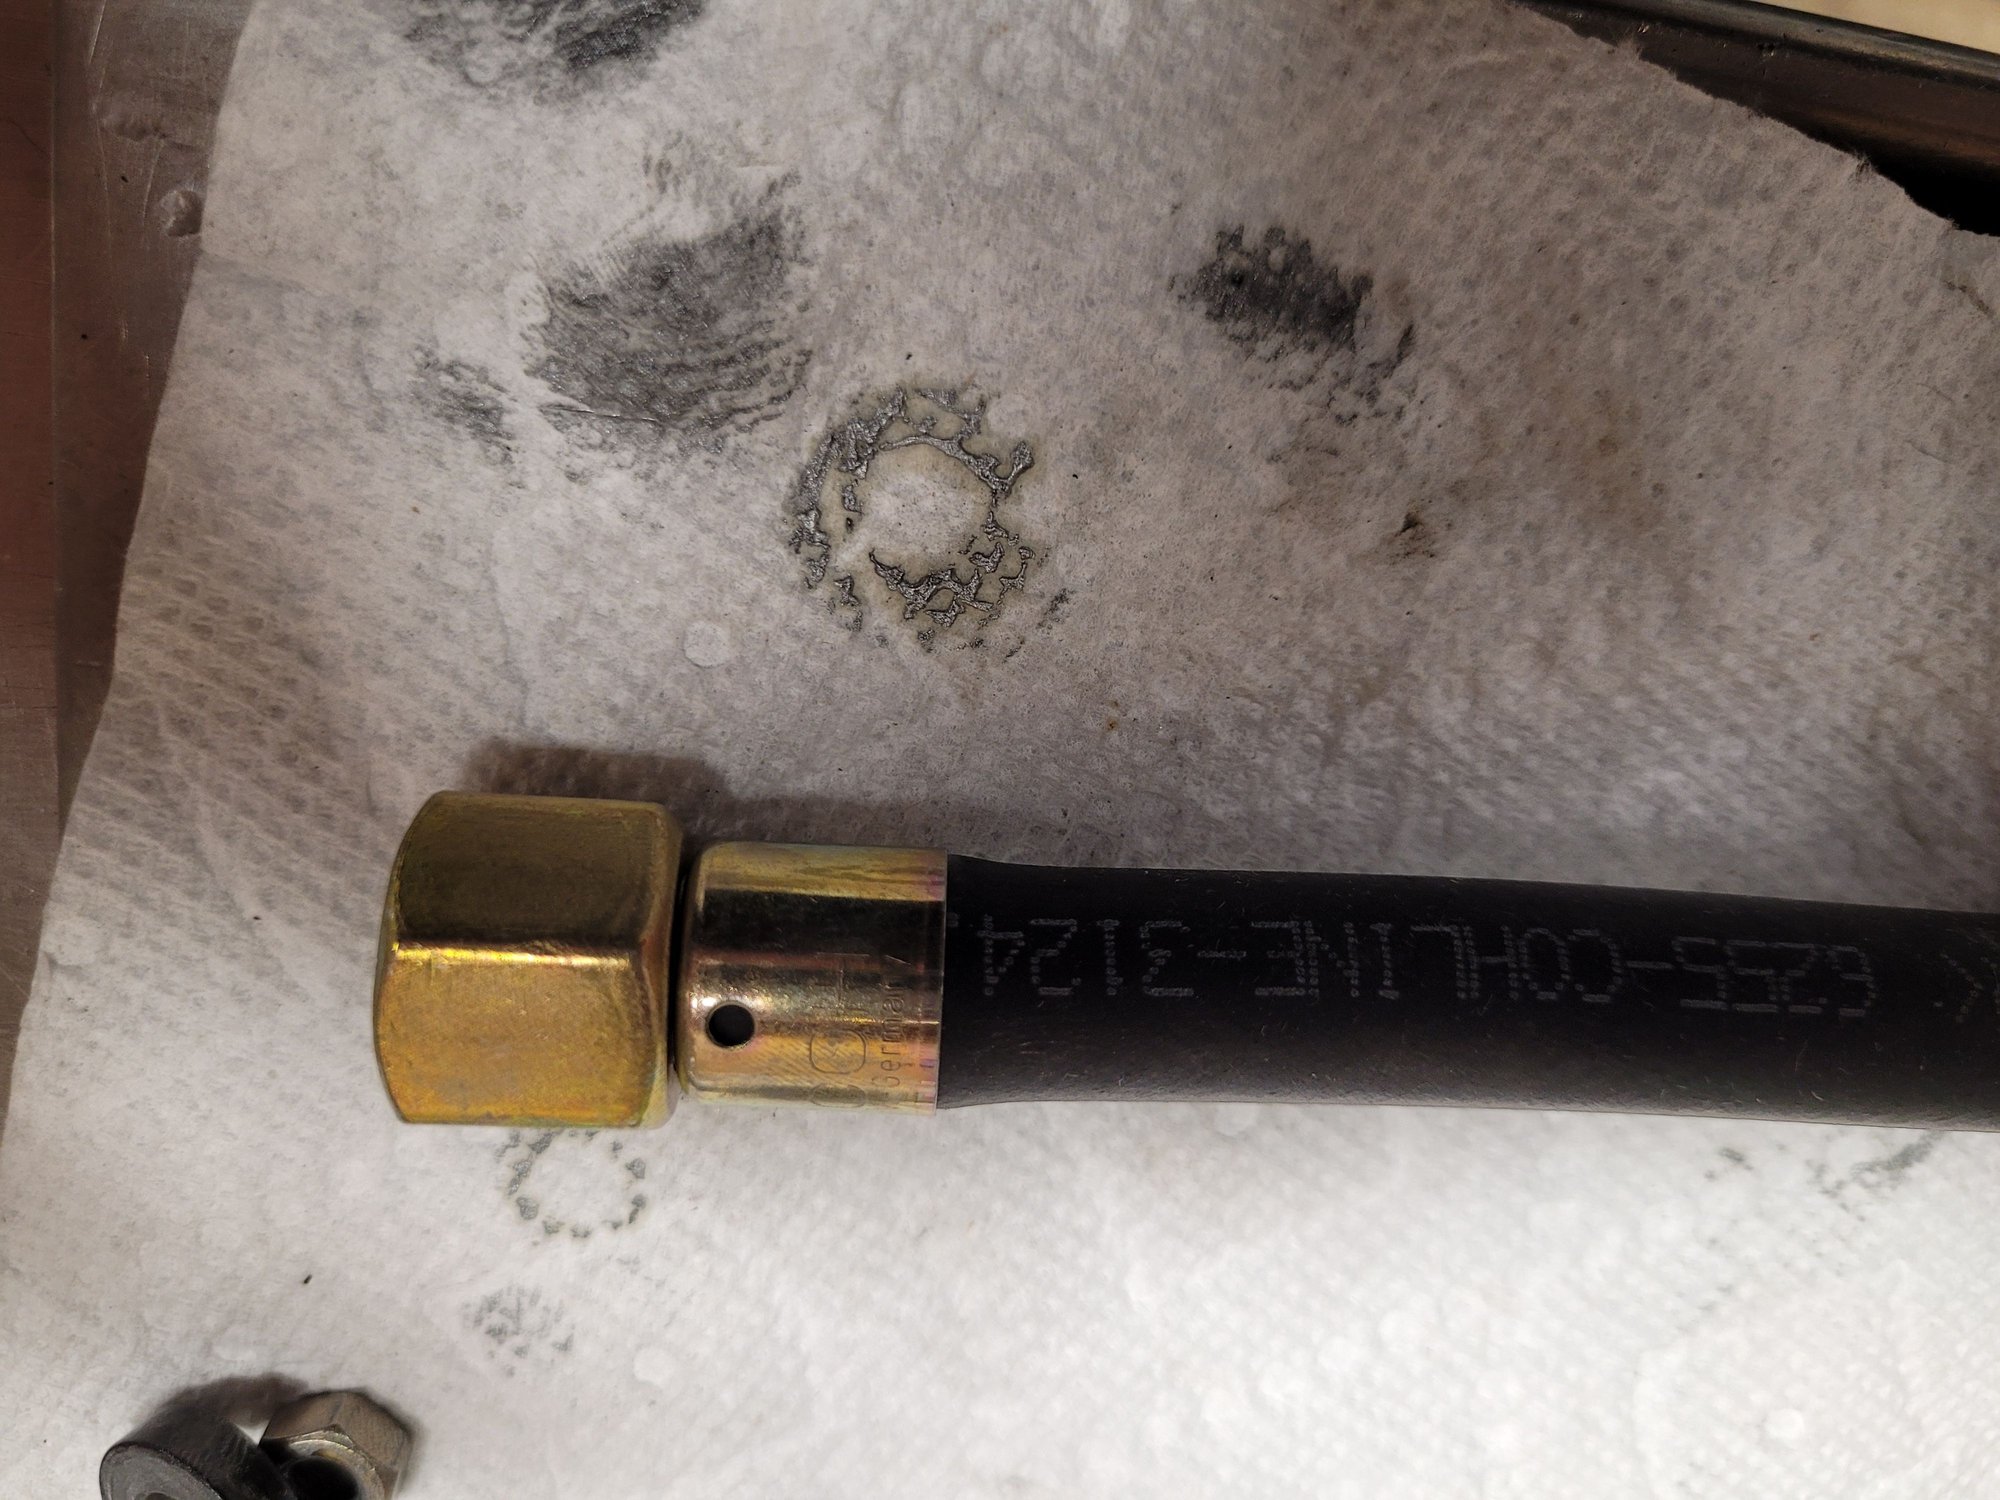
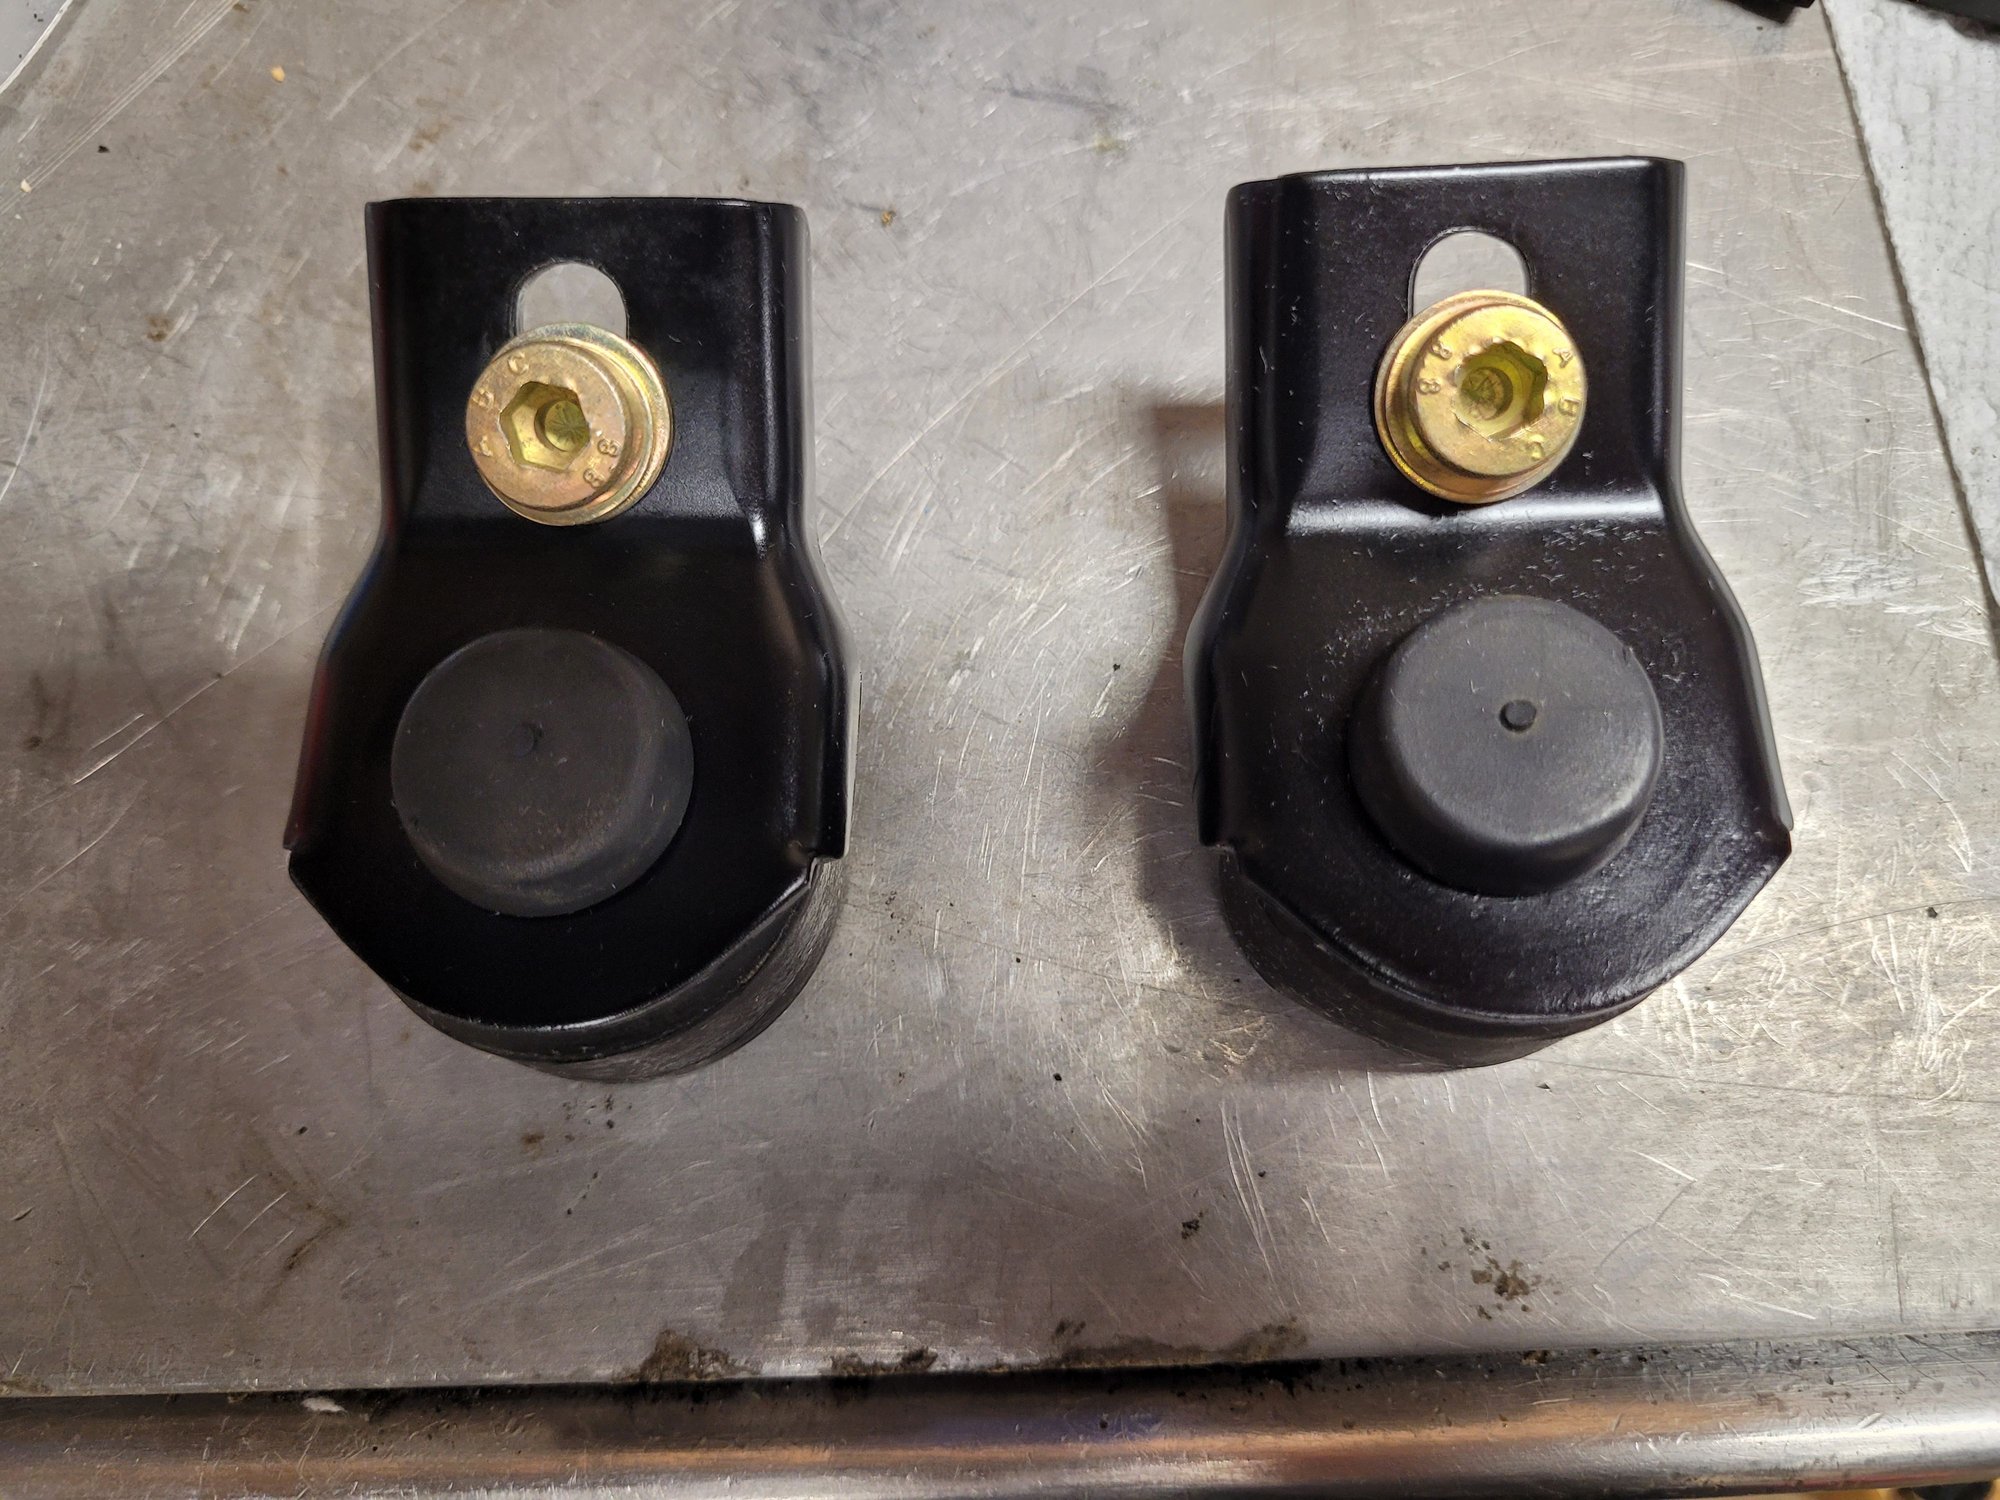
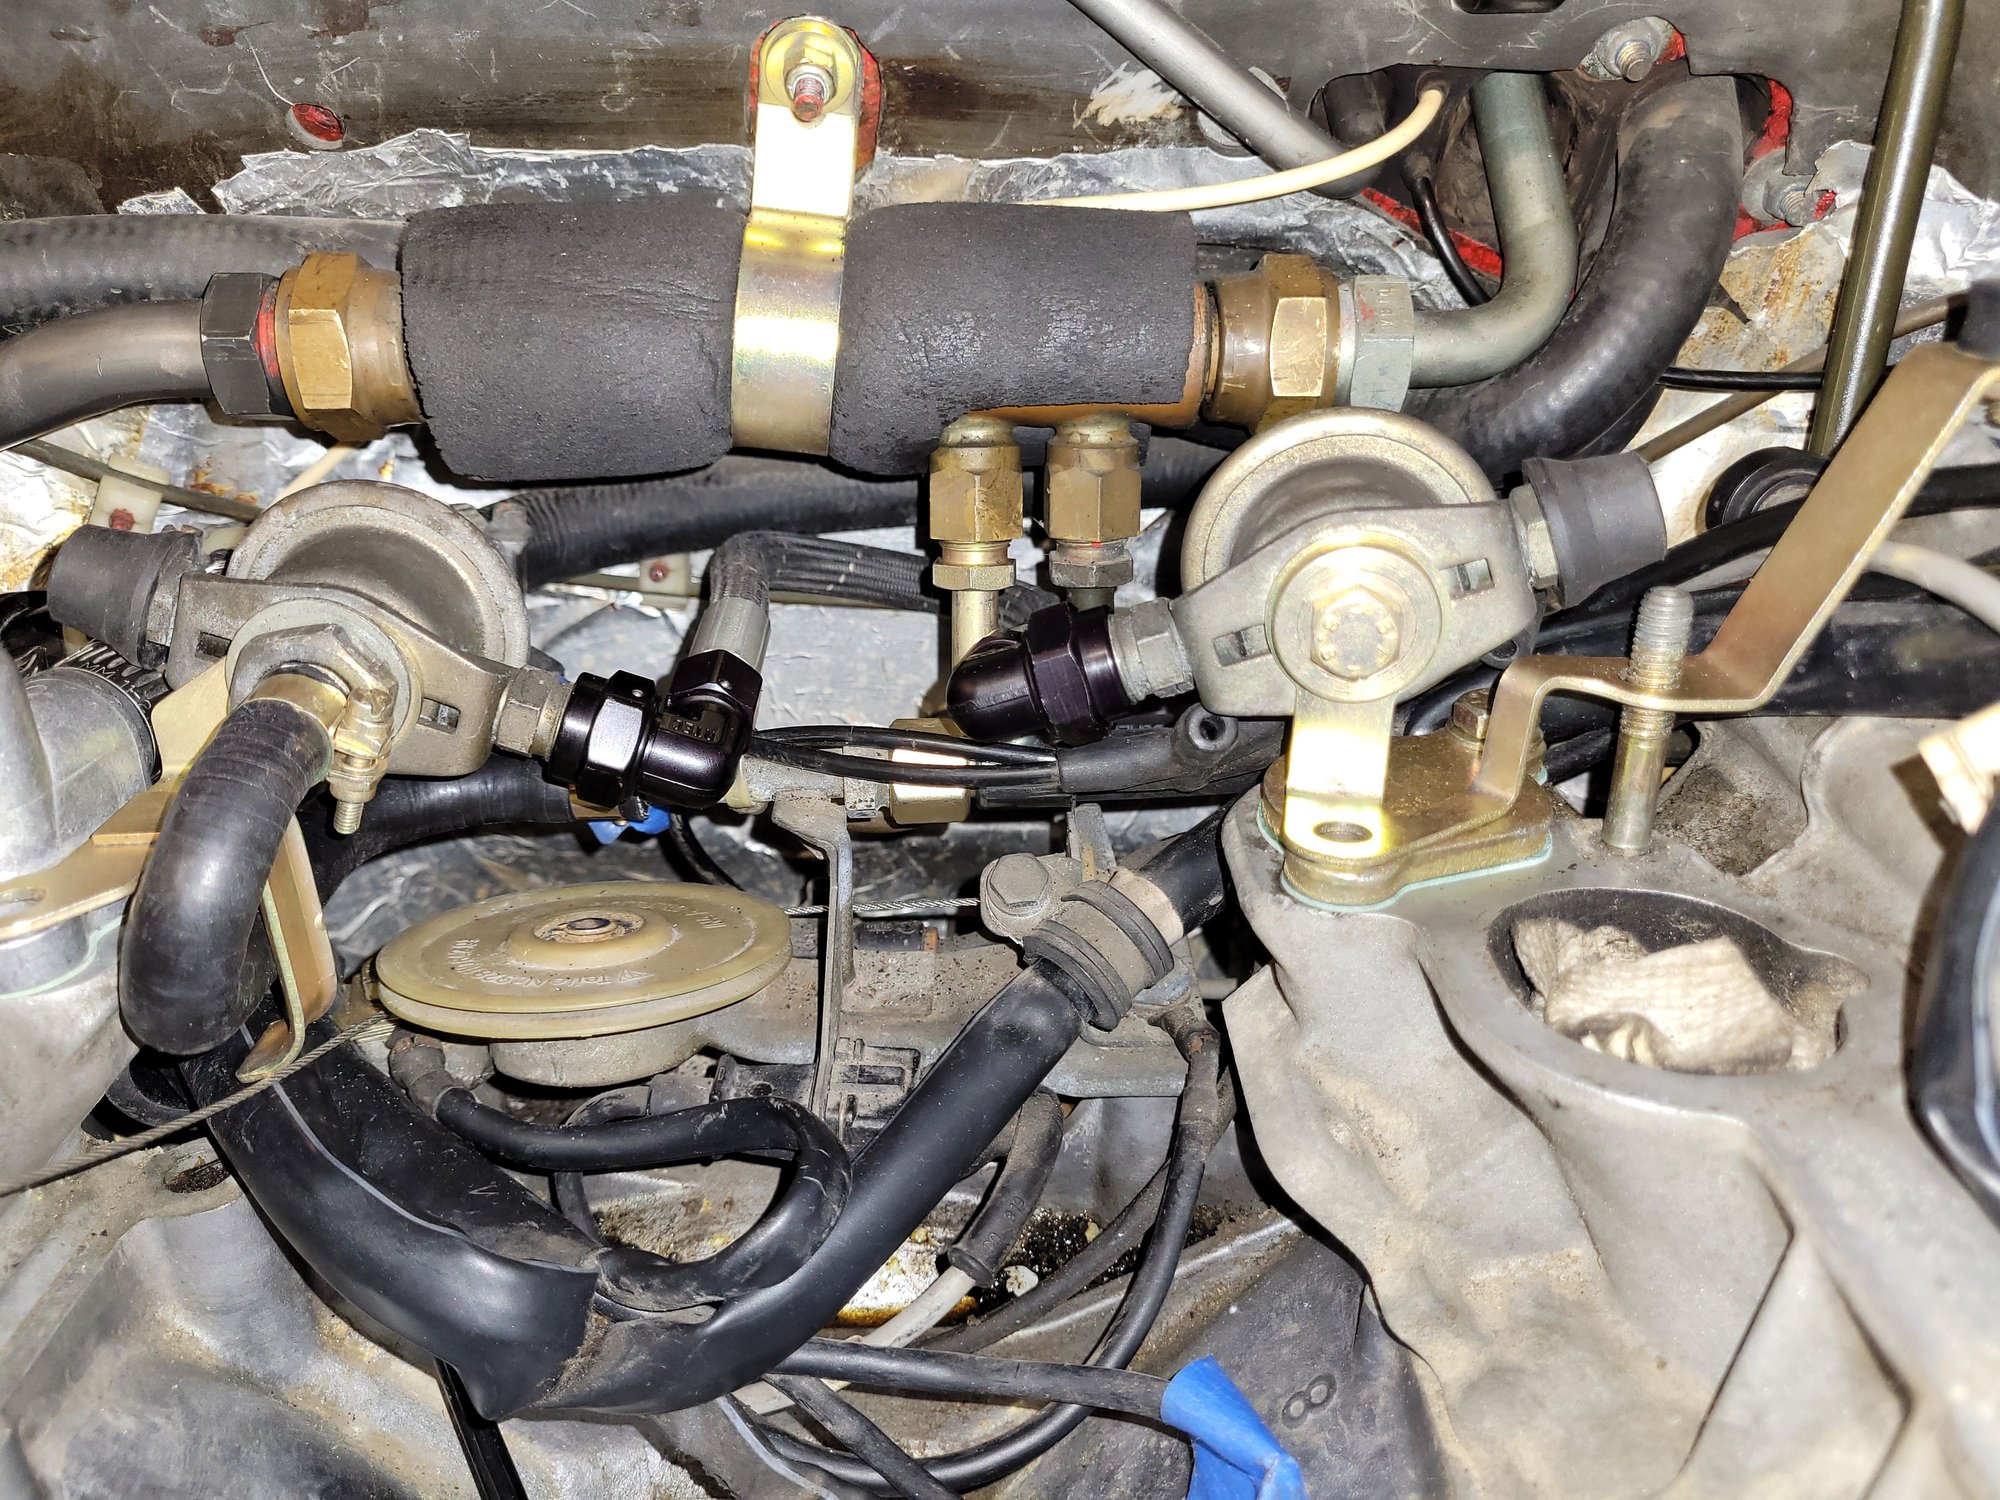
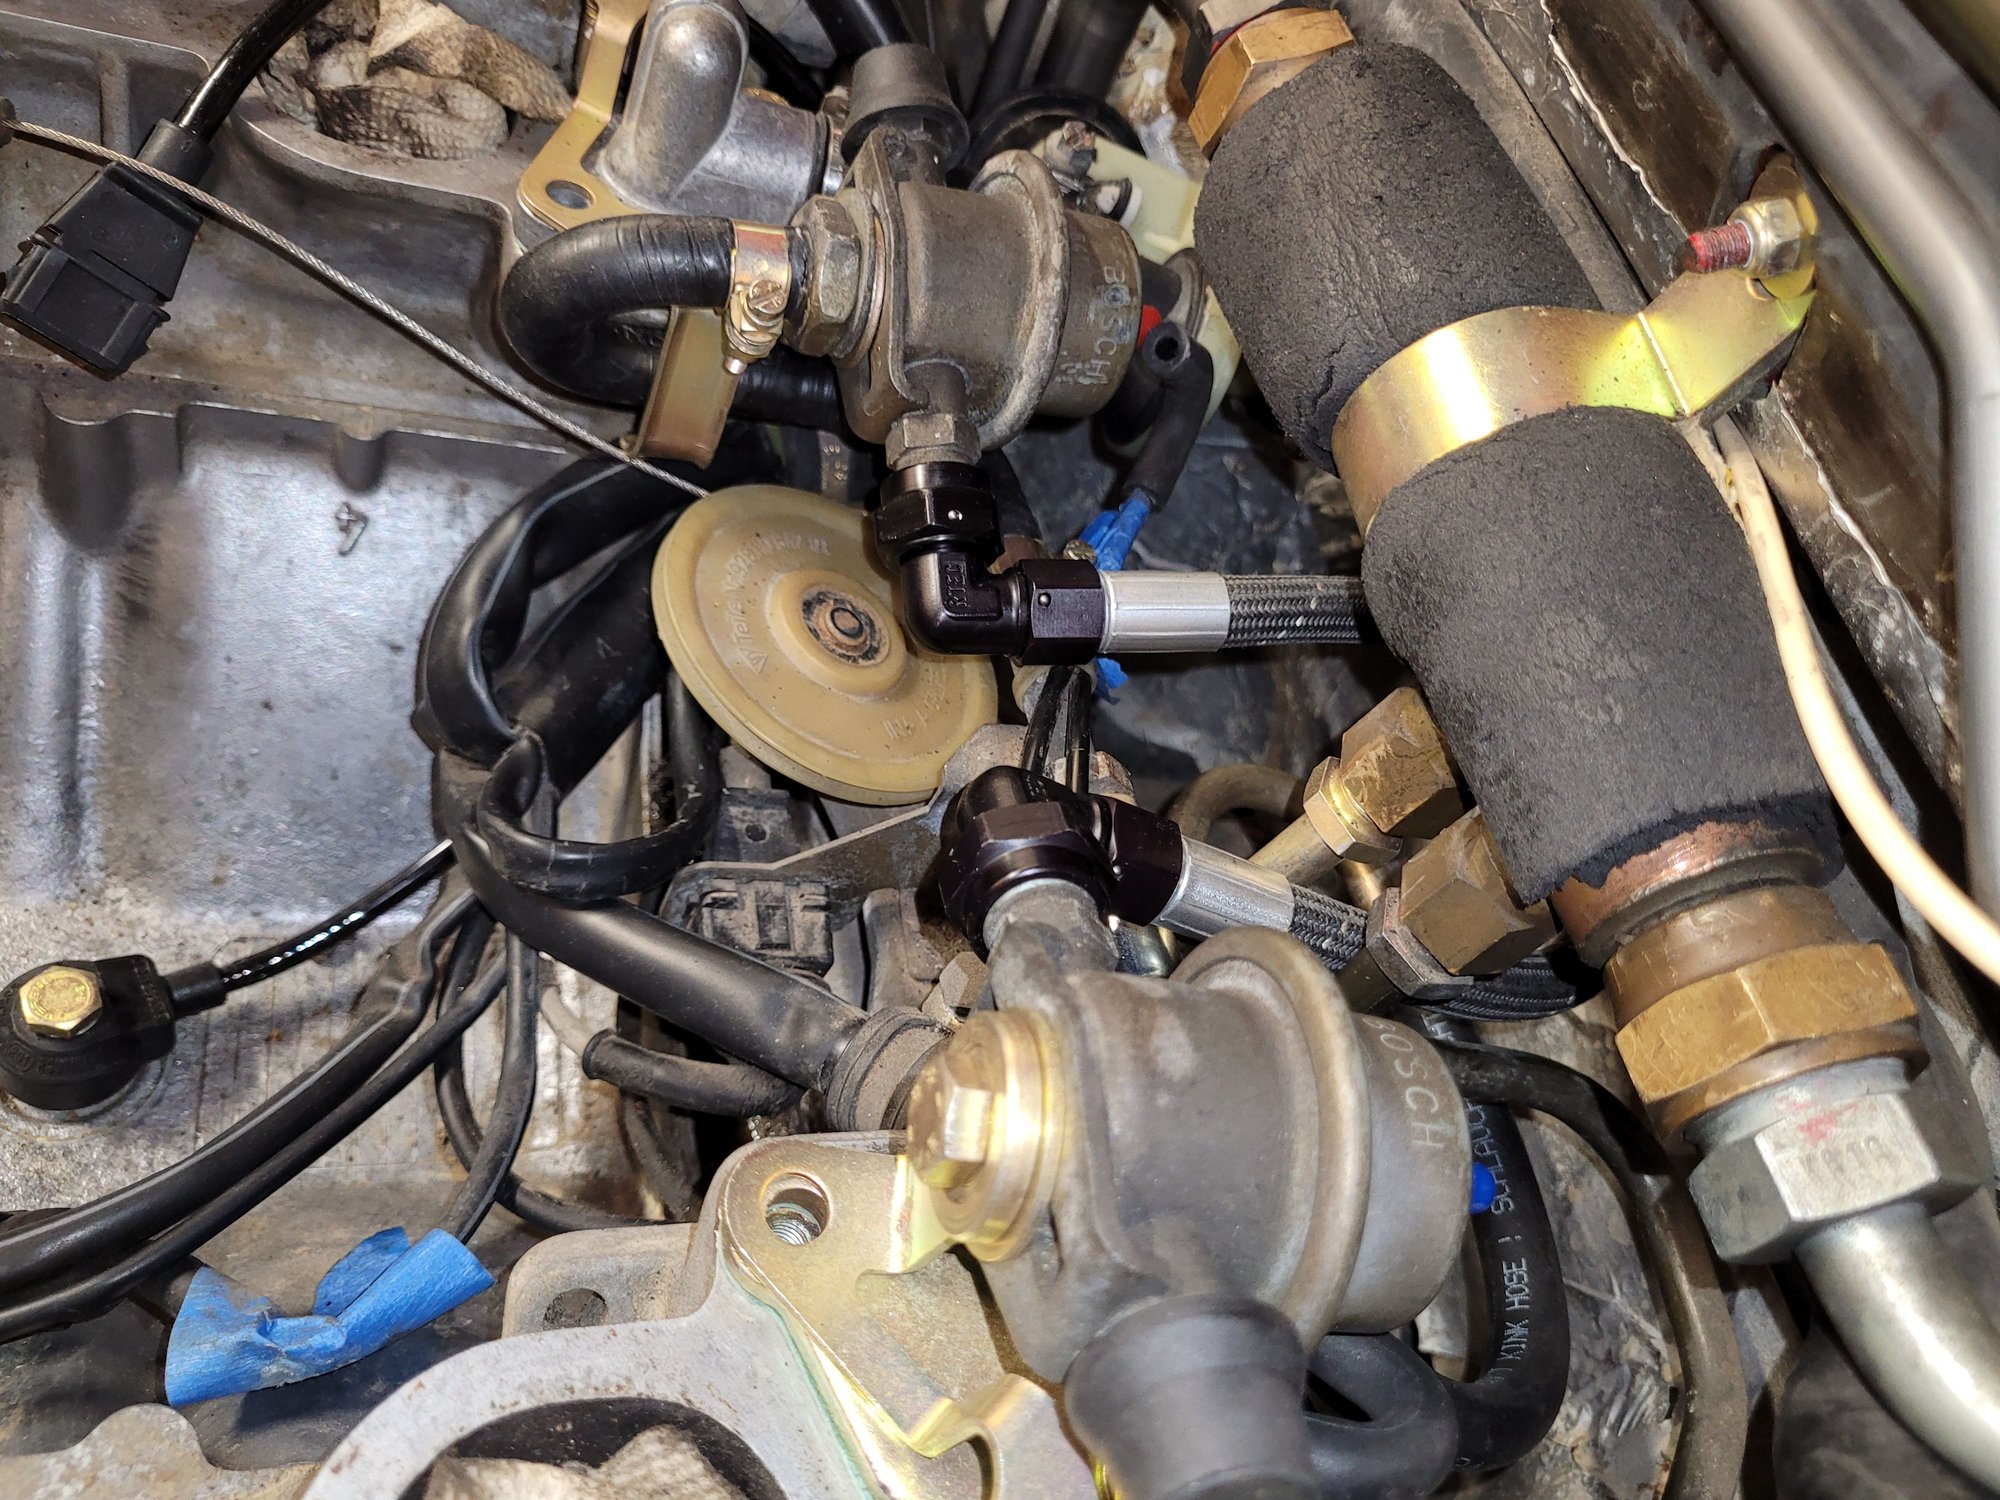
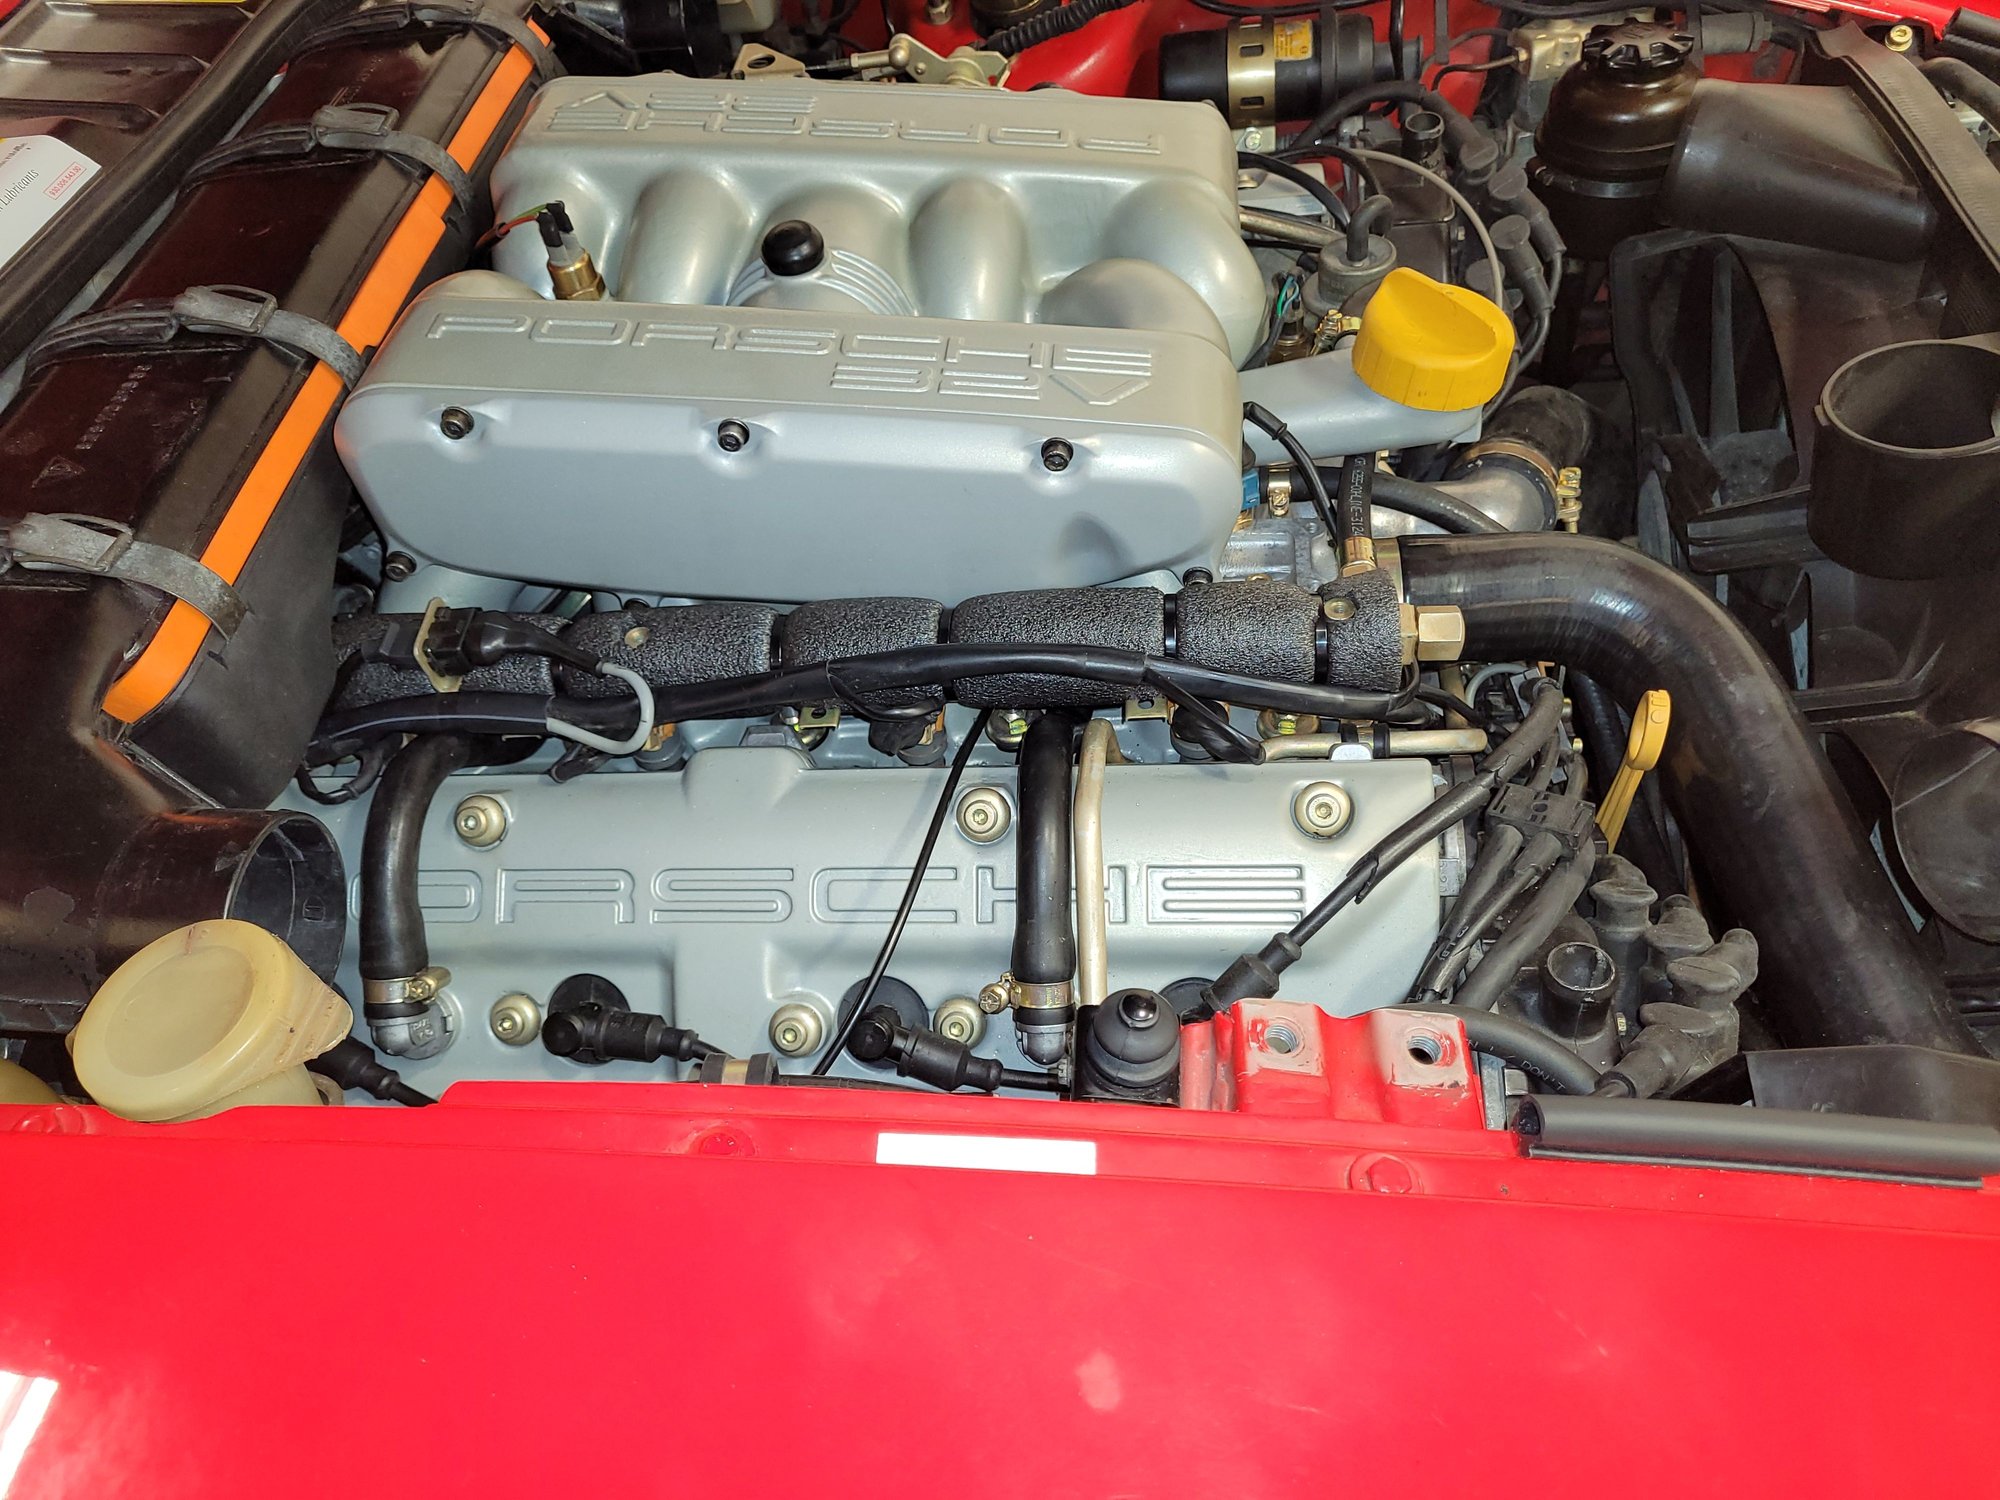
More pictures during the cam blockoff pin install. Head mating area clean and pins in. Can see left pin this pic Right pin this pic. Assembled fuel hose with proper cohline hose and sleeves. Roger at 928s r us only had 3 the right size left, and cohline is not supplying them anymore. Is it a coincidence that cohline stopped offering them publically when porsche started selling these lines new again with cohline fittings? In any case, the barbed ends are available from belmetric.So, if you want to make your own hoses like i did, drill the end fittings out from the inside of your existing hoses in order to harvest the sleeves. Completed hose pressed together. The straight hose was easy to slide over a threaded rod with some tape covering the threads where it will hit the hose. Then put a fitting on the threaded rods with washers and nuts at both ends and crank the fitting slowly down with the nut/washer. Hold onto the washer so it doesnt spin on the end of the fitting. Do one side/fitting at a time and youll be amazed at how well they go on. All in half the porsche cost and probably took 20 min. Well worth it. Rad clamps after plating and painting Compressor with all fresh plated hardware Fuel cooler with replated clamp, and new fuel line running to cooler.
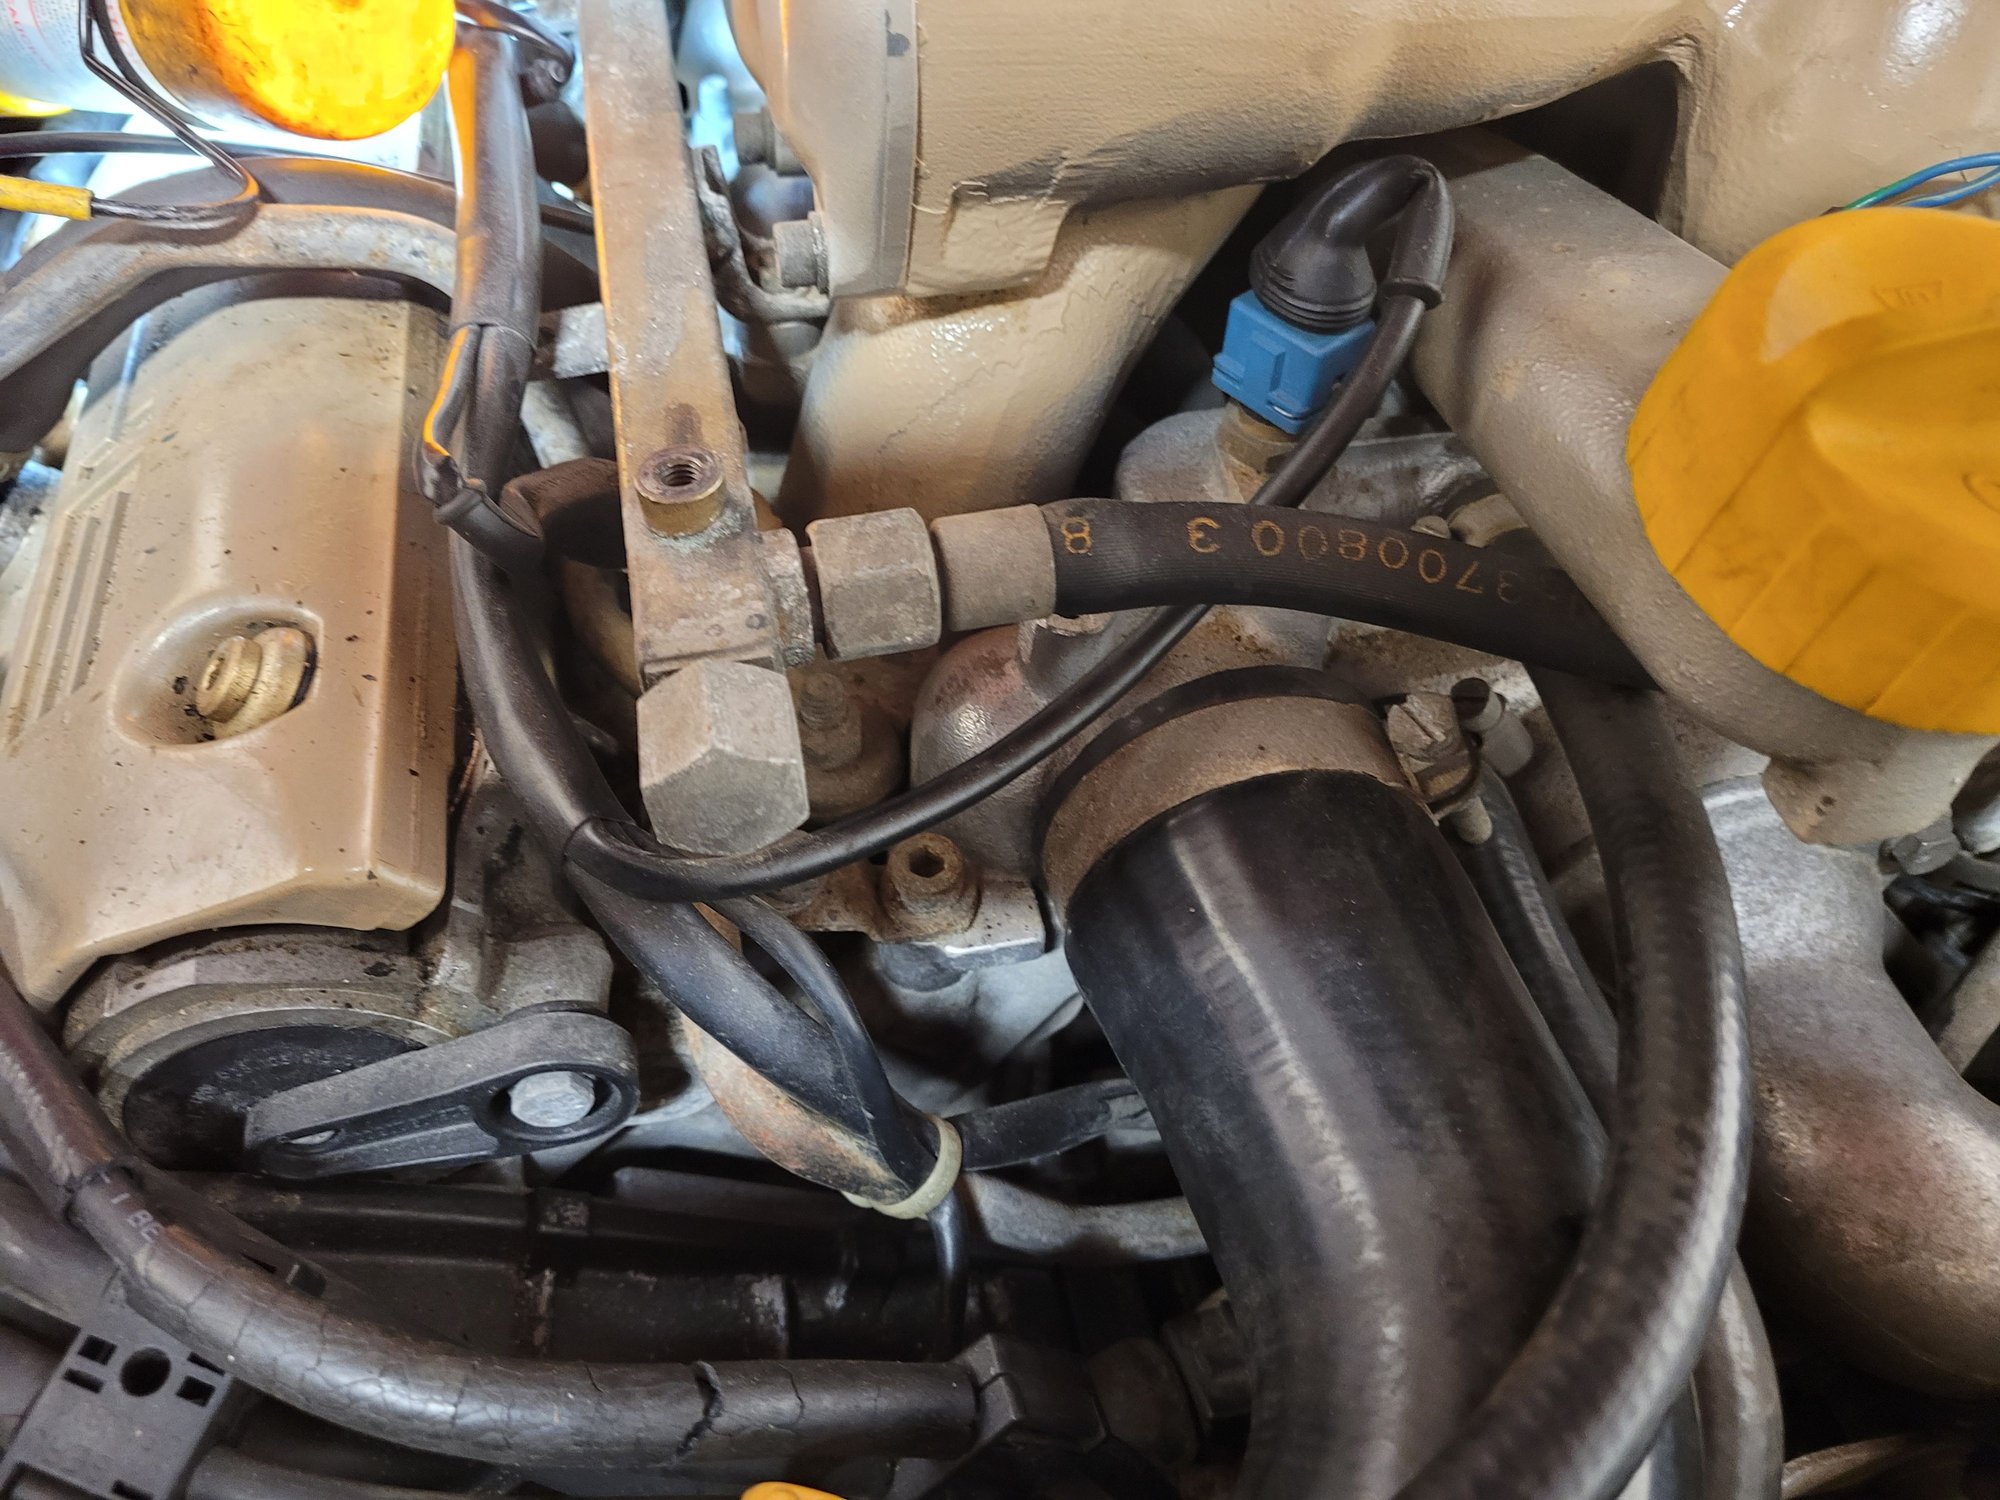
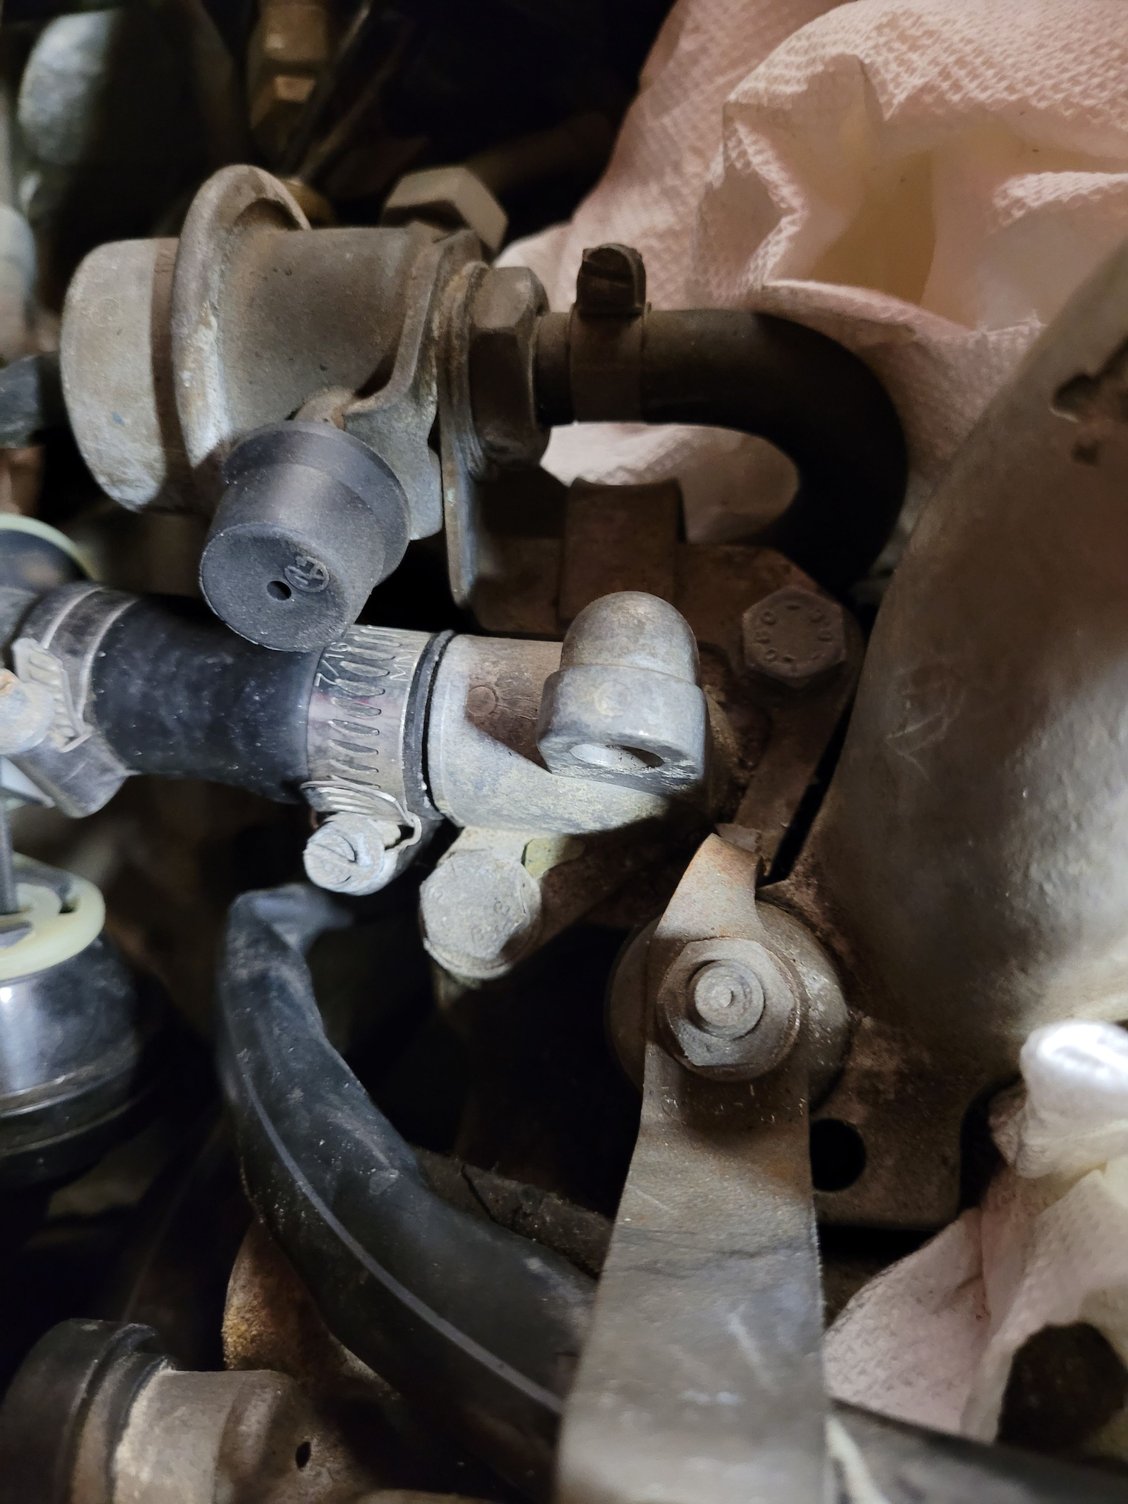
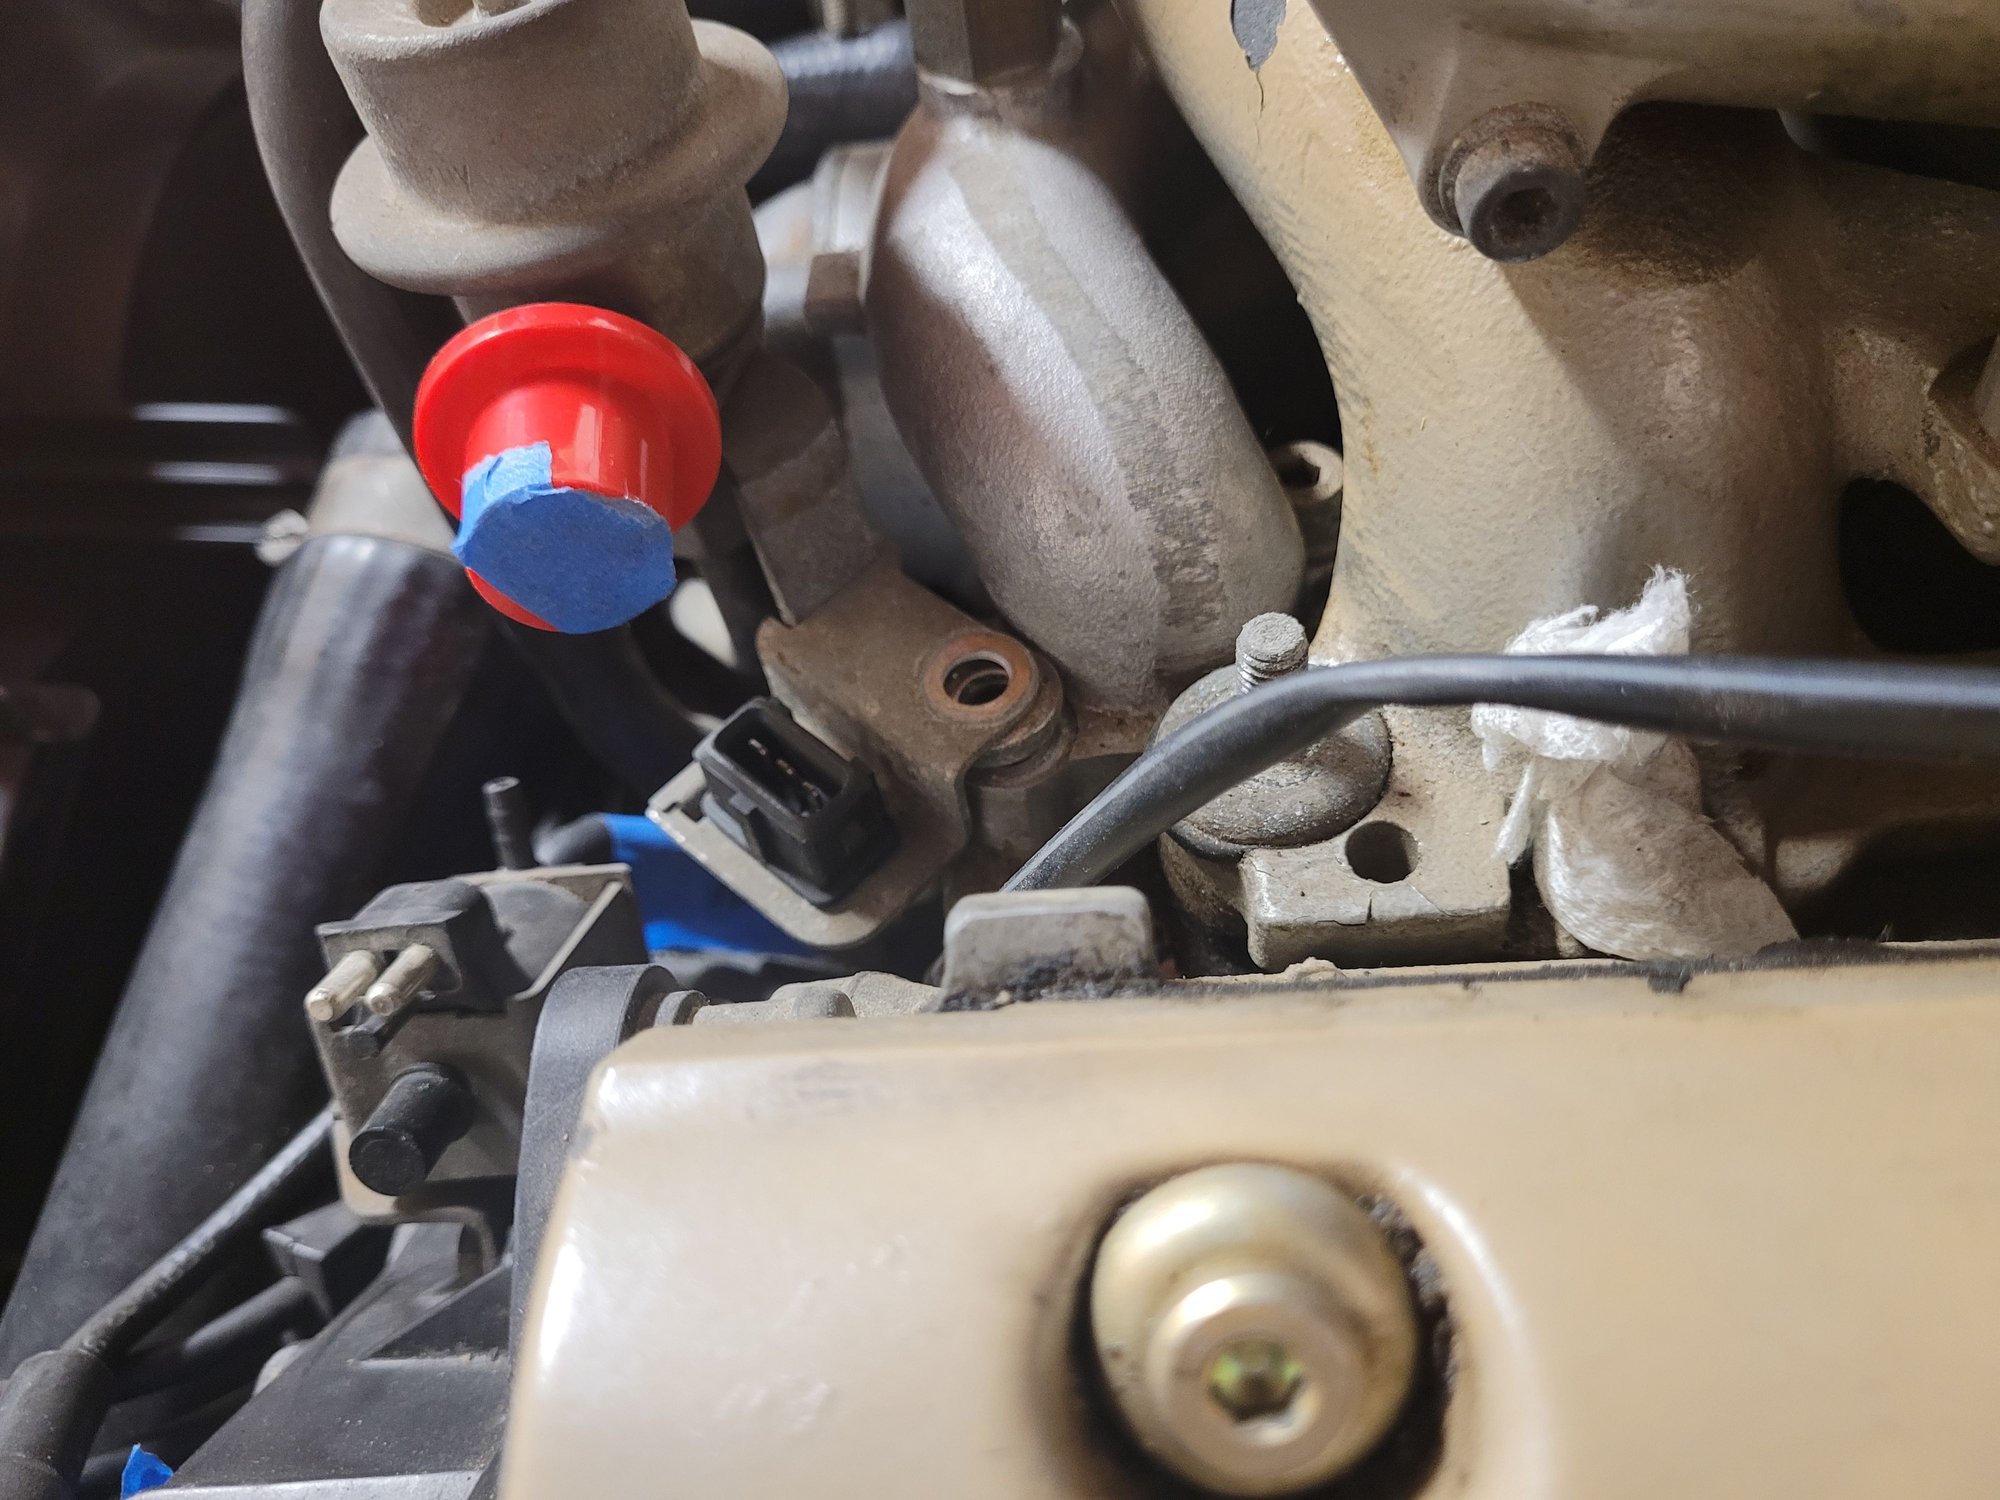
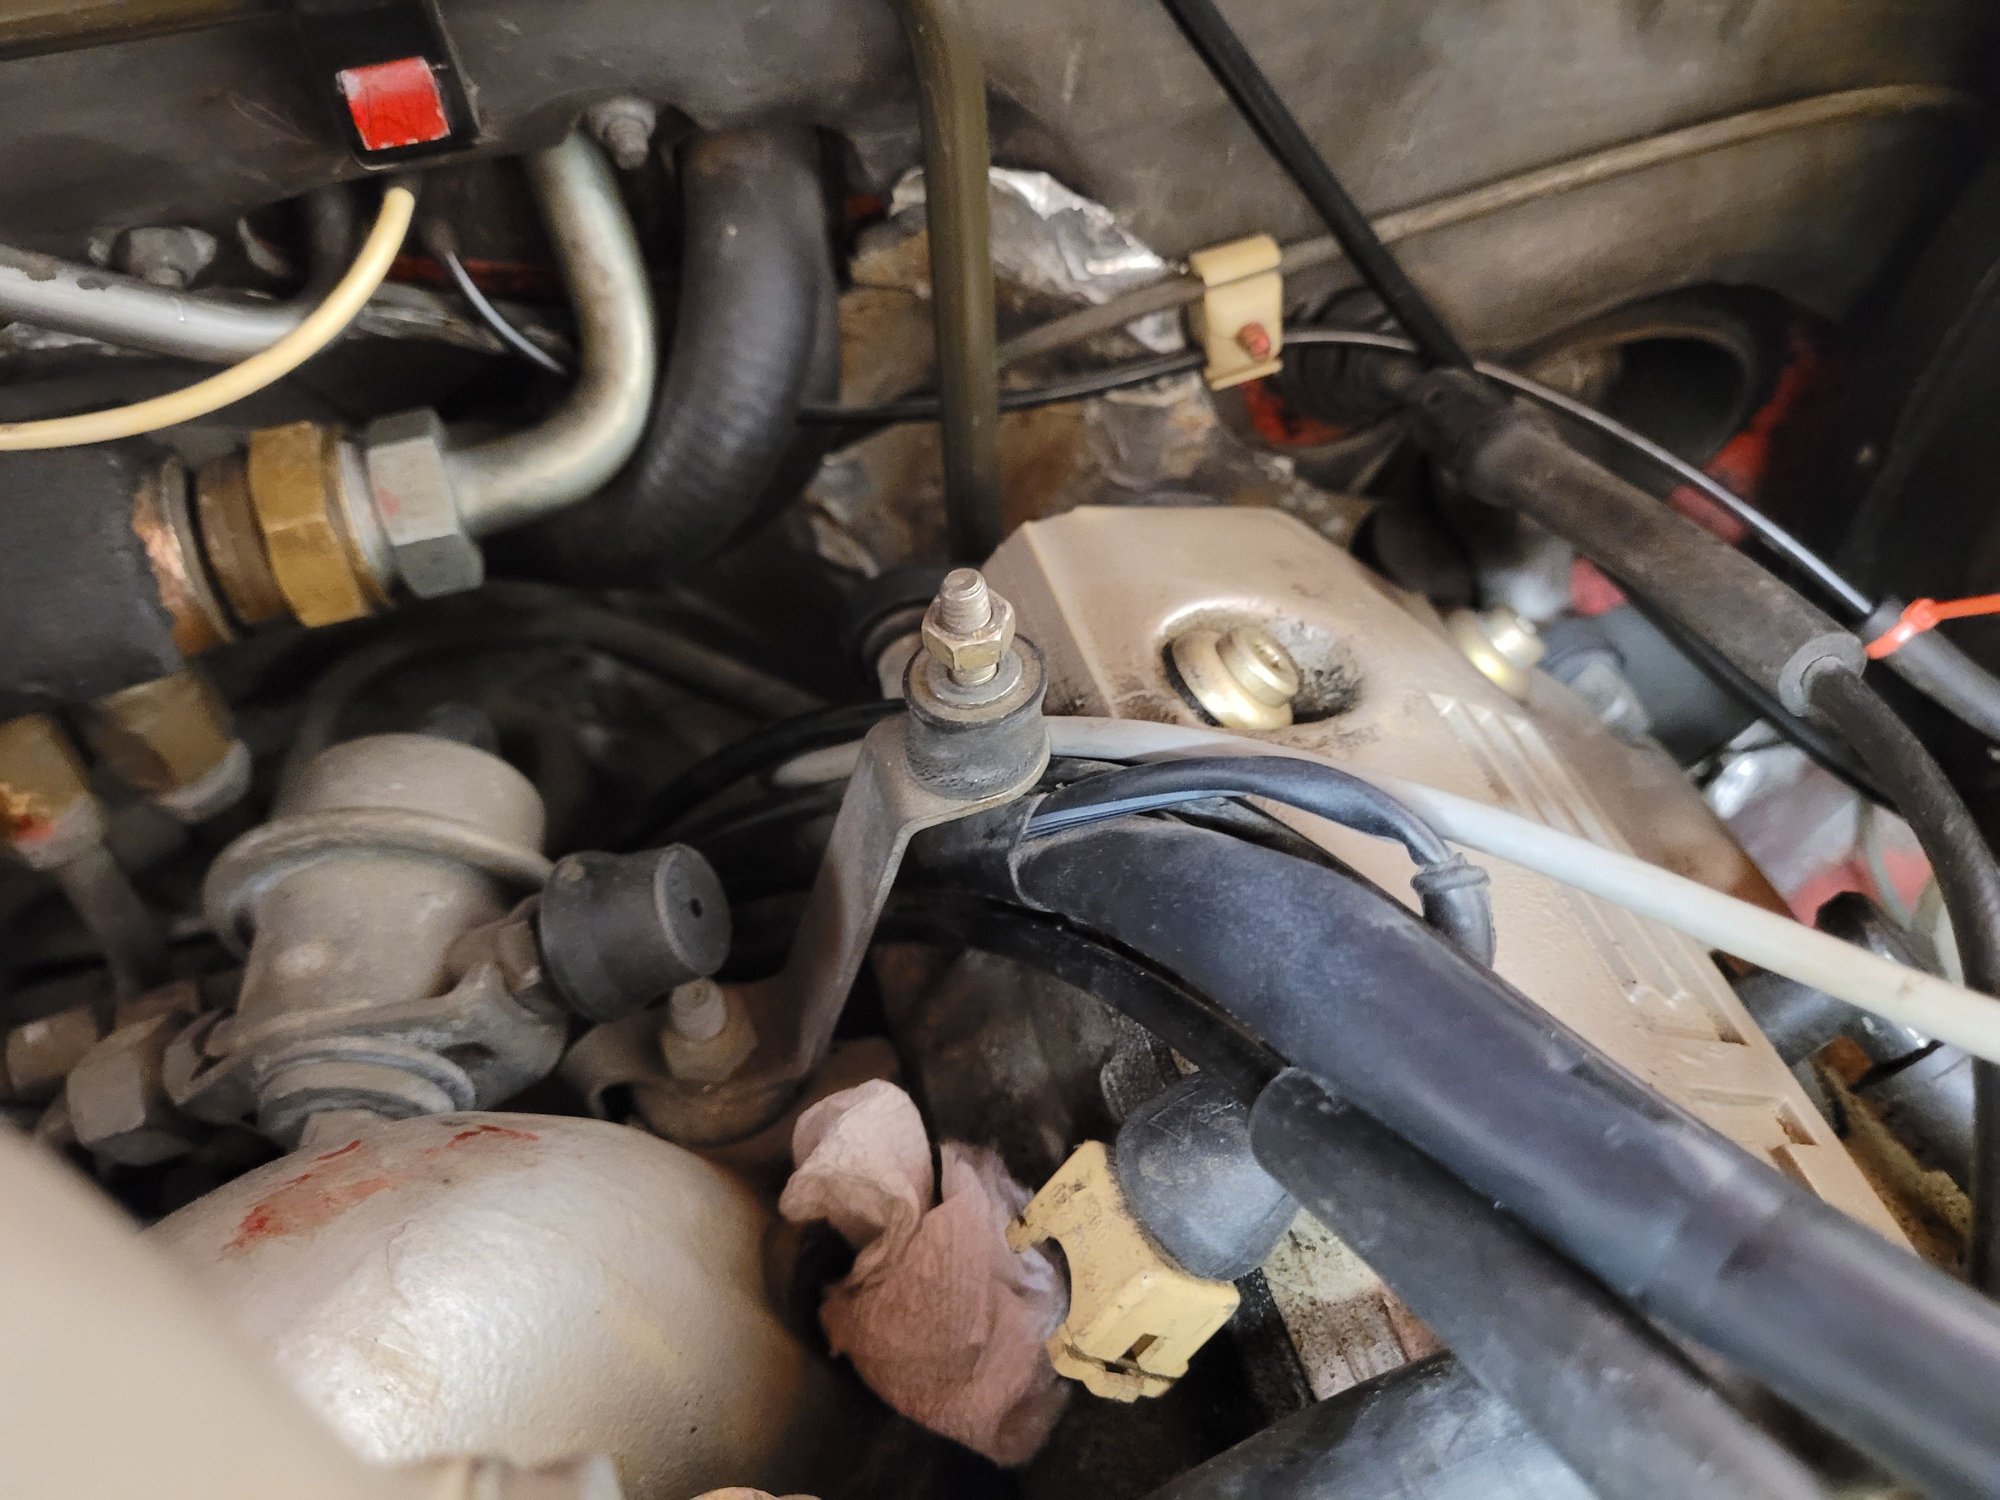
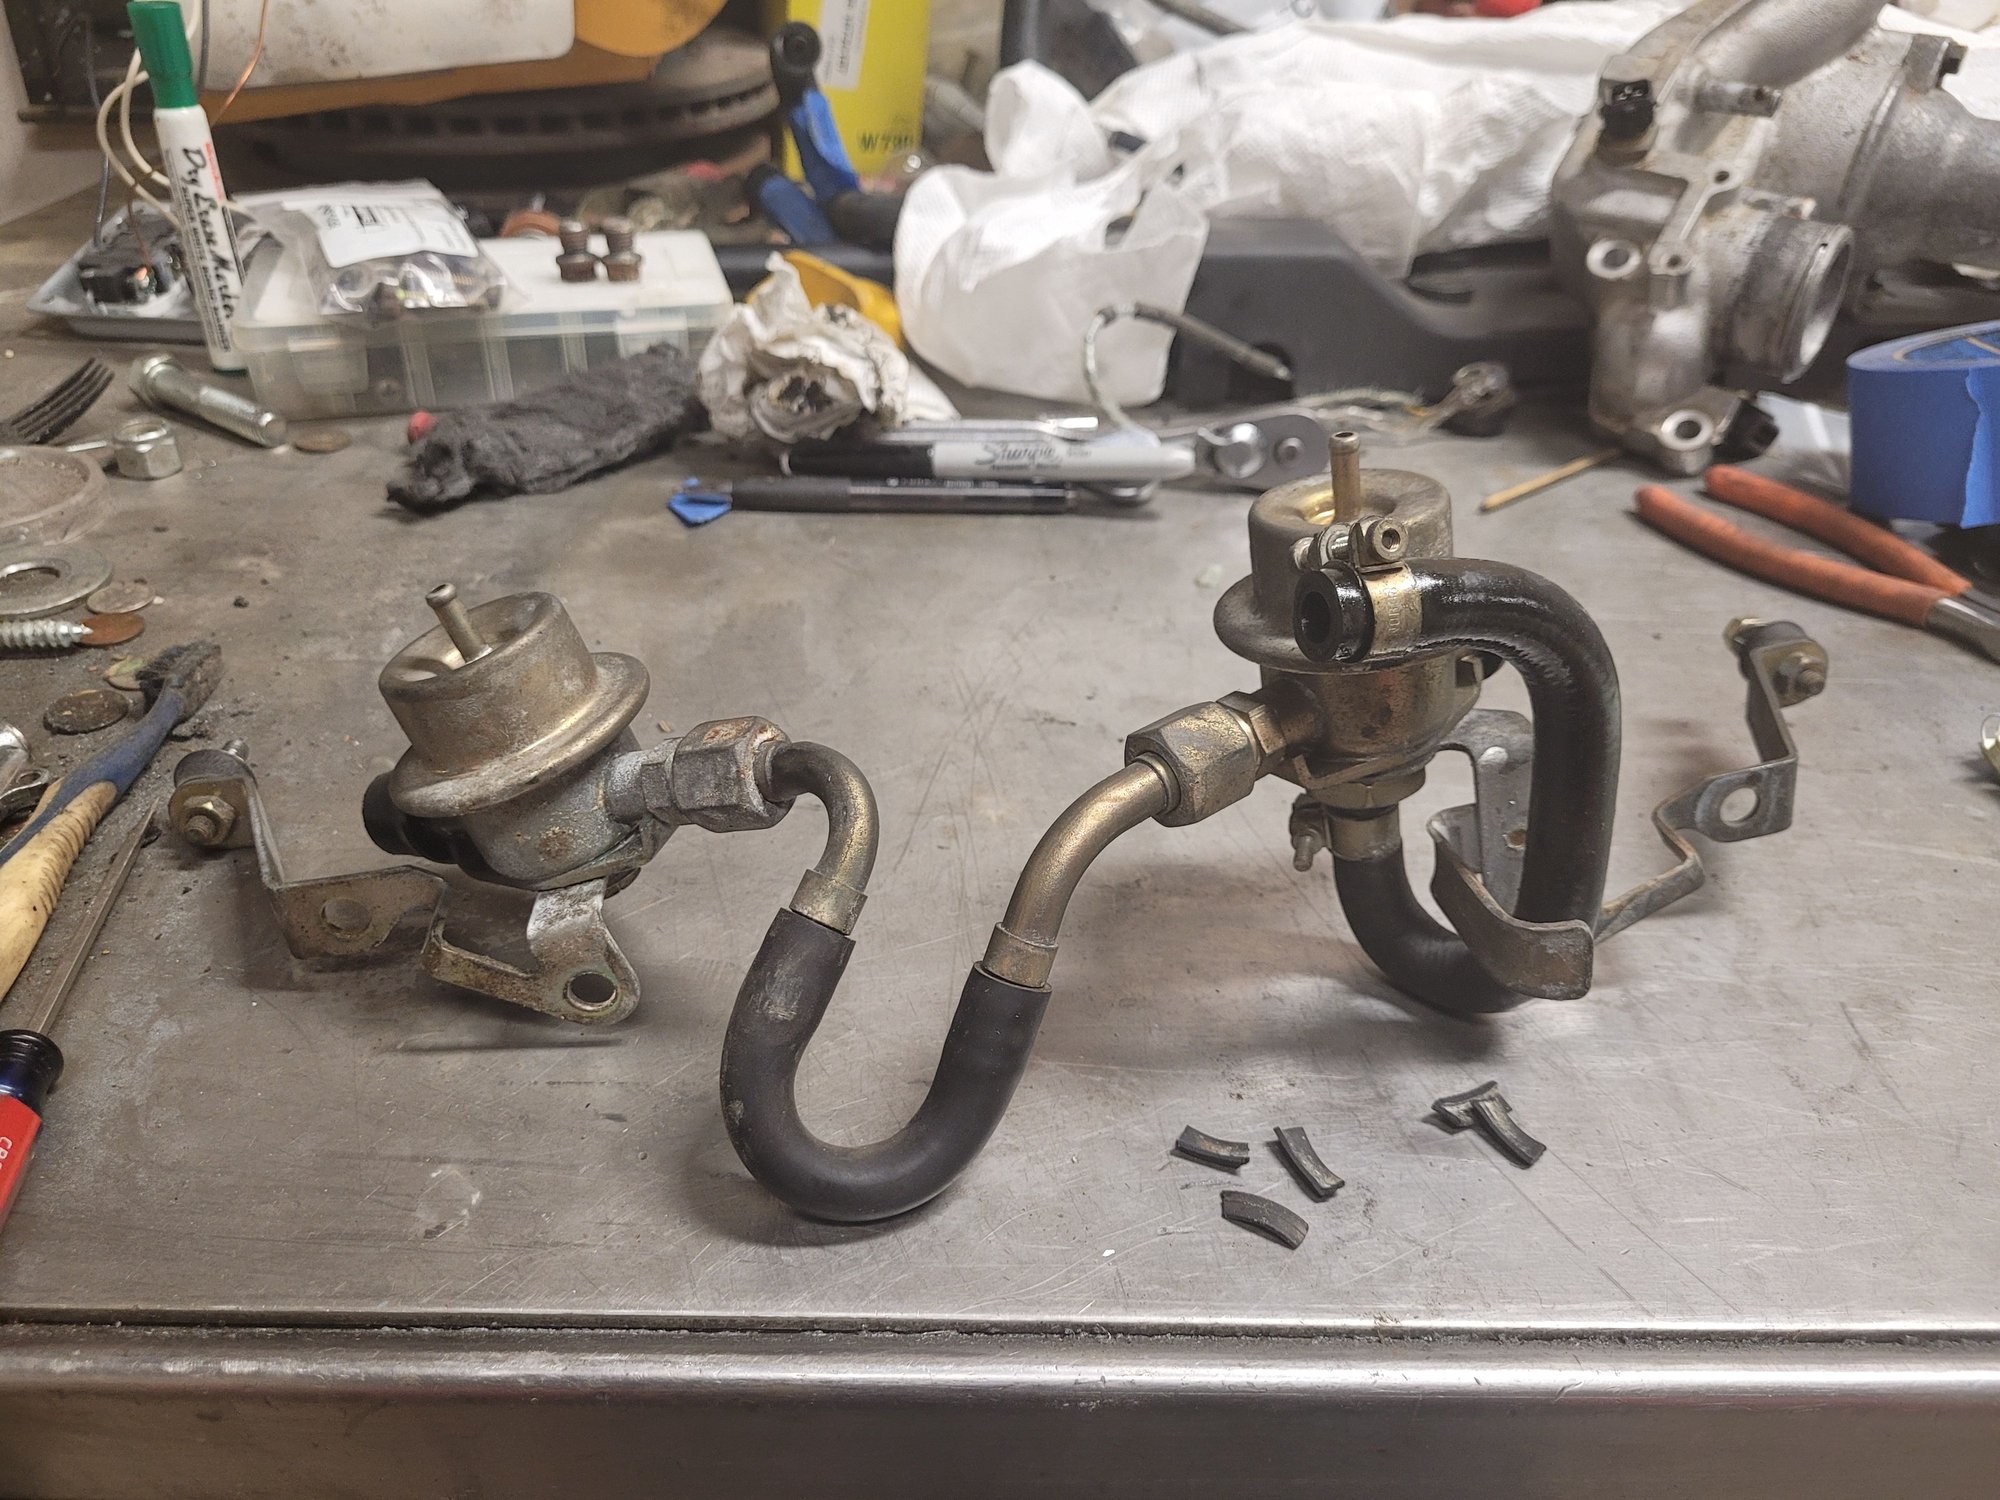
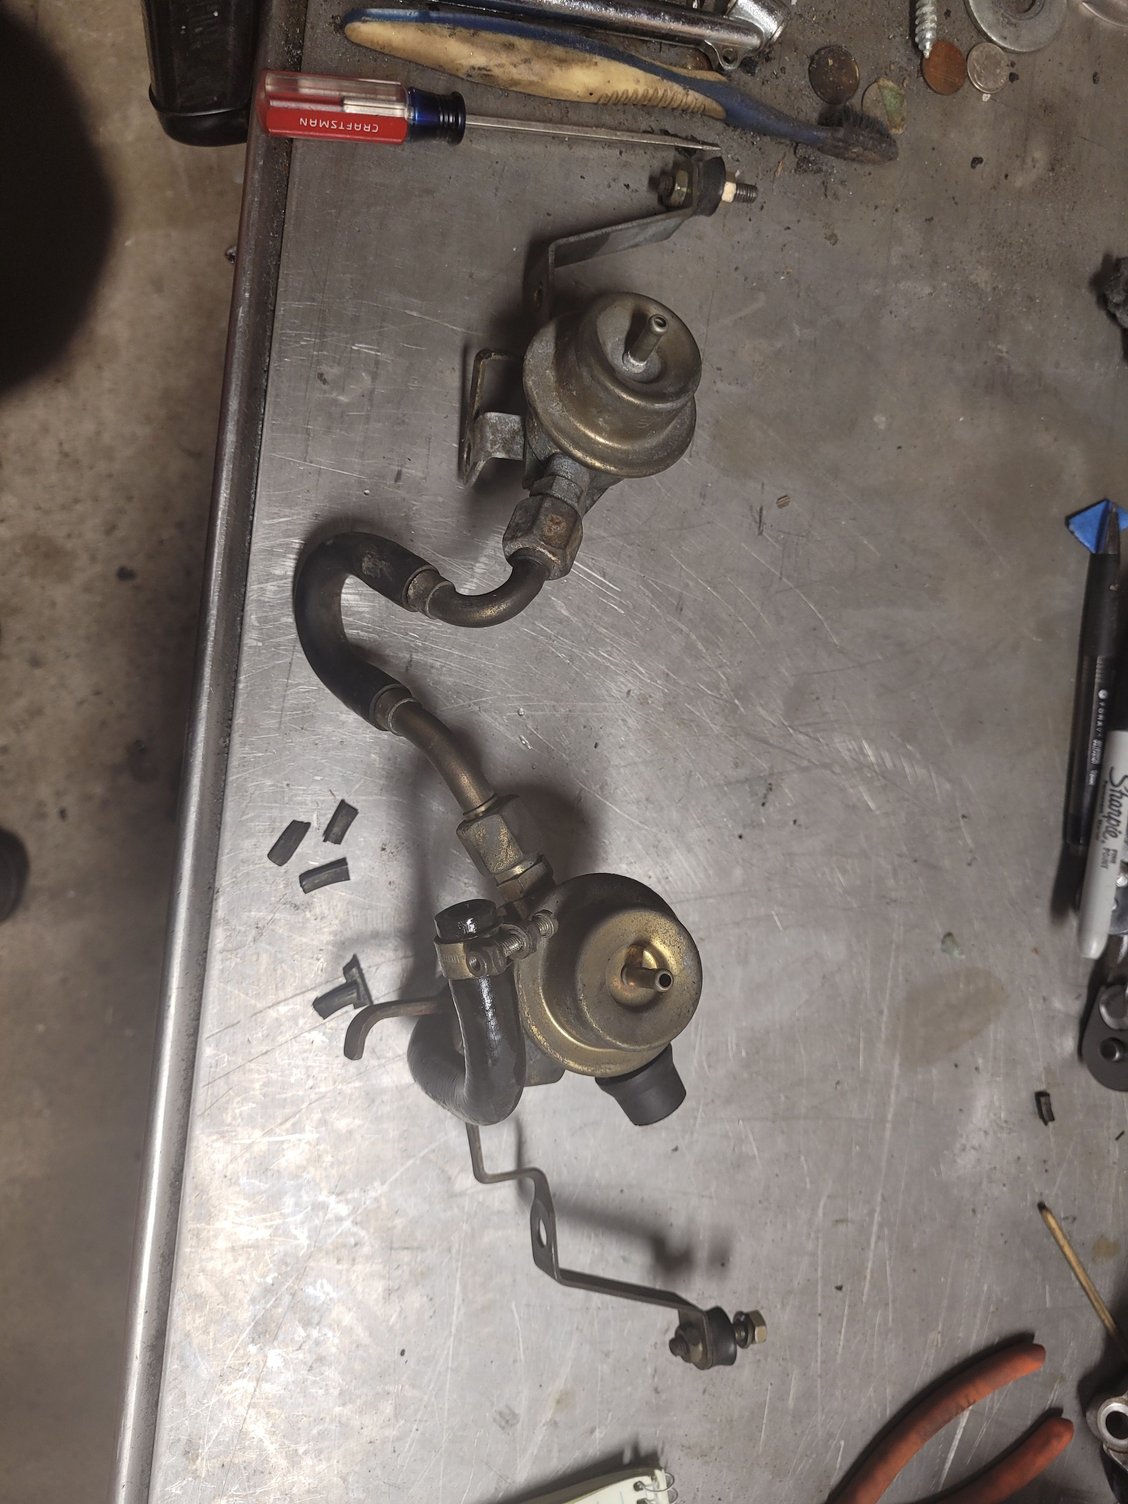
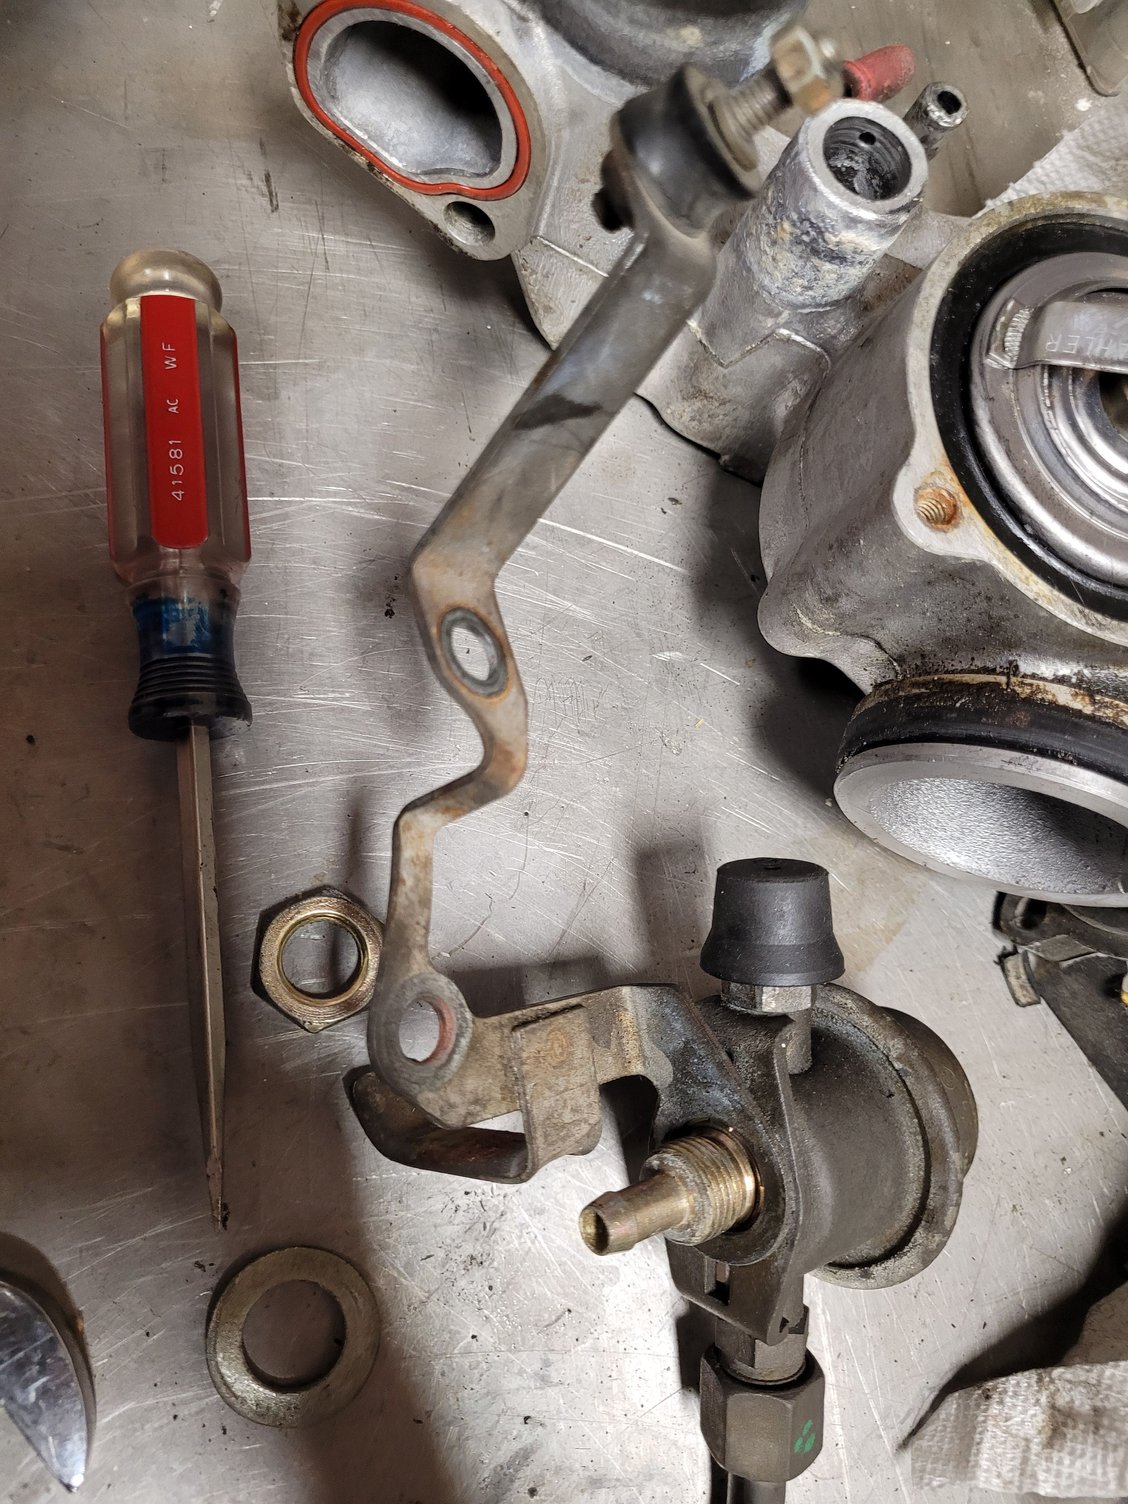
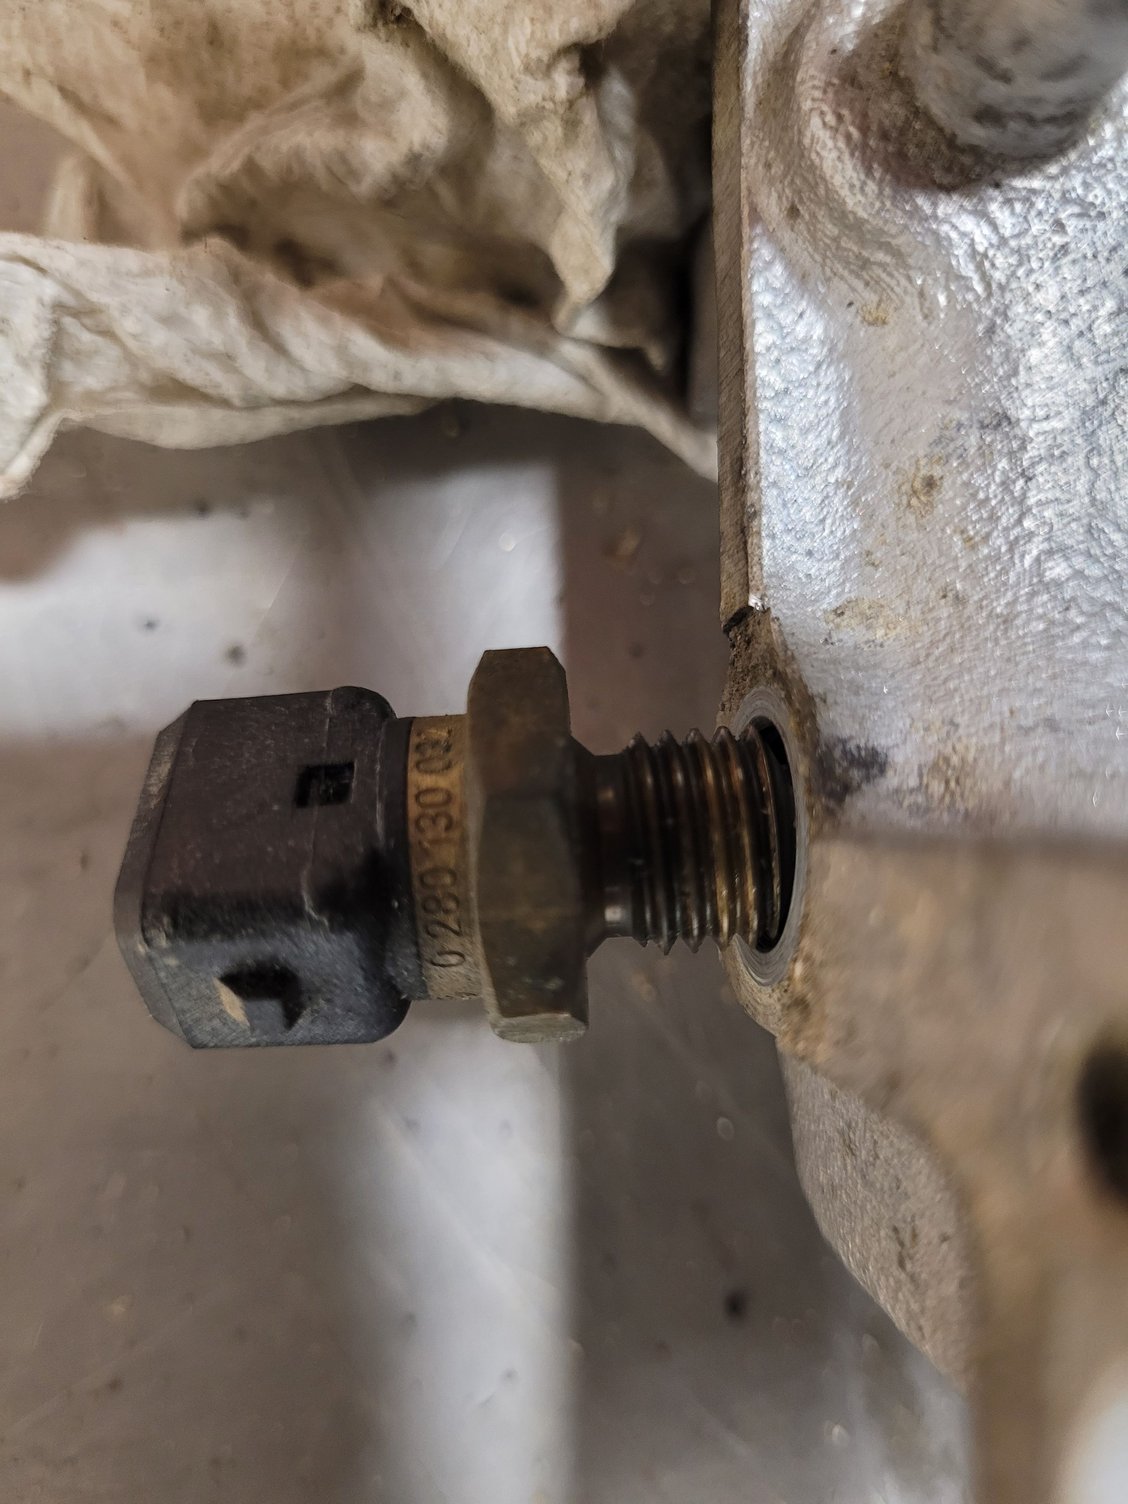
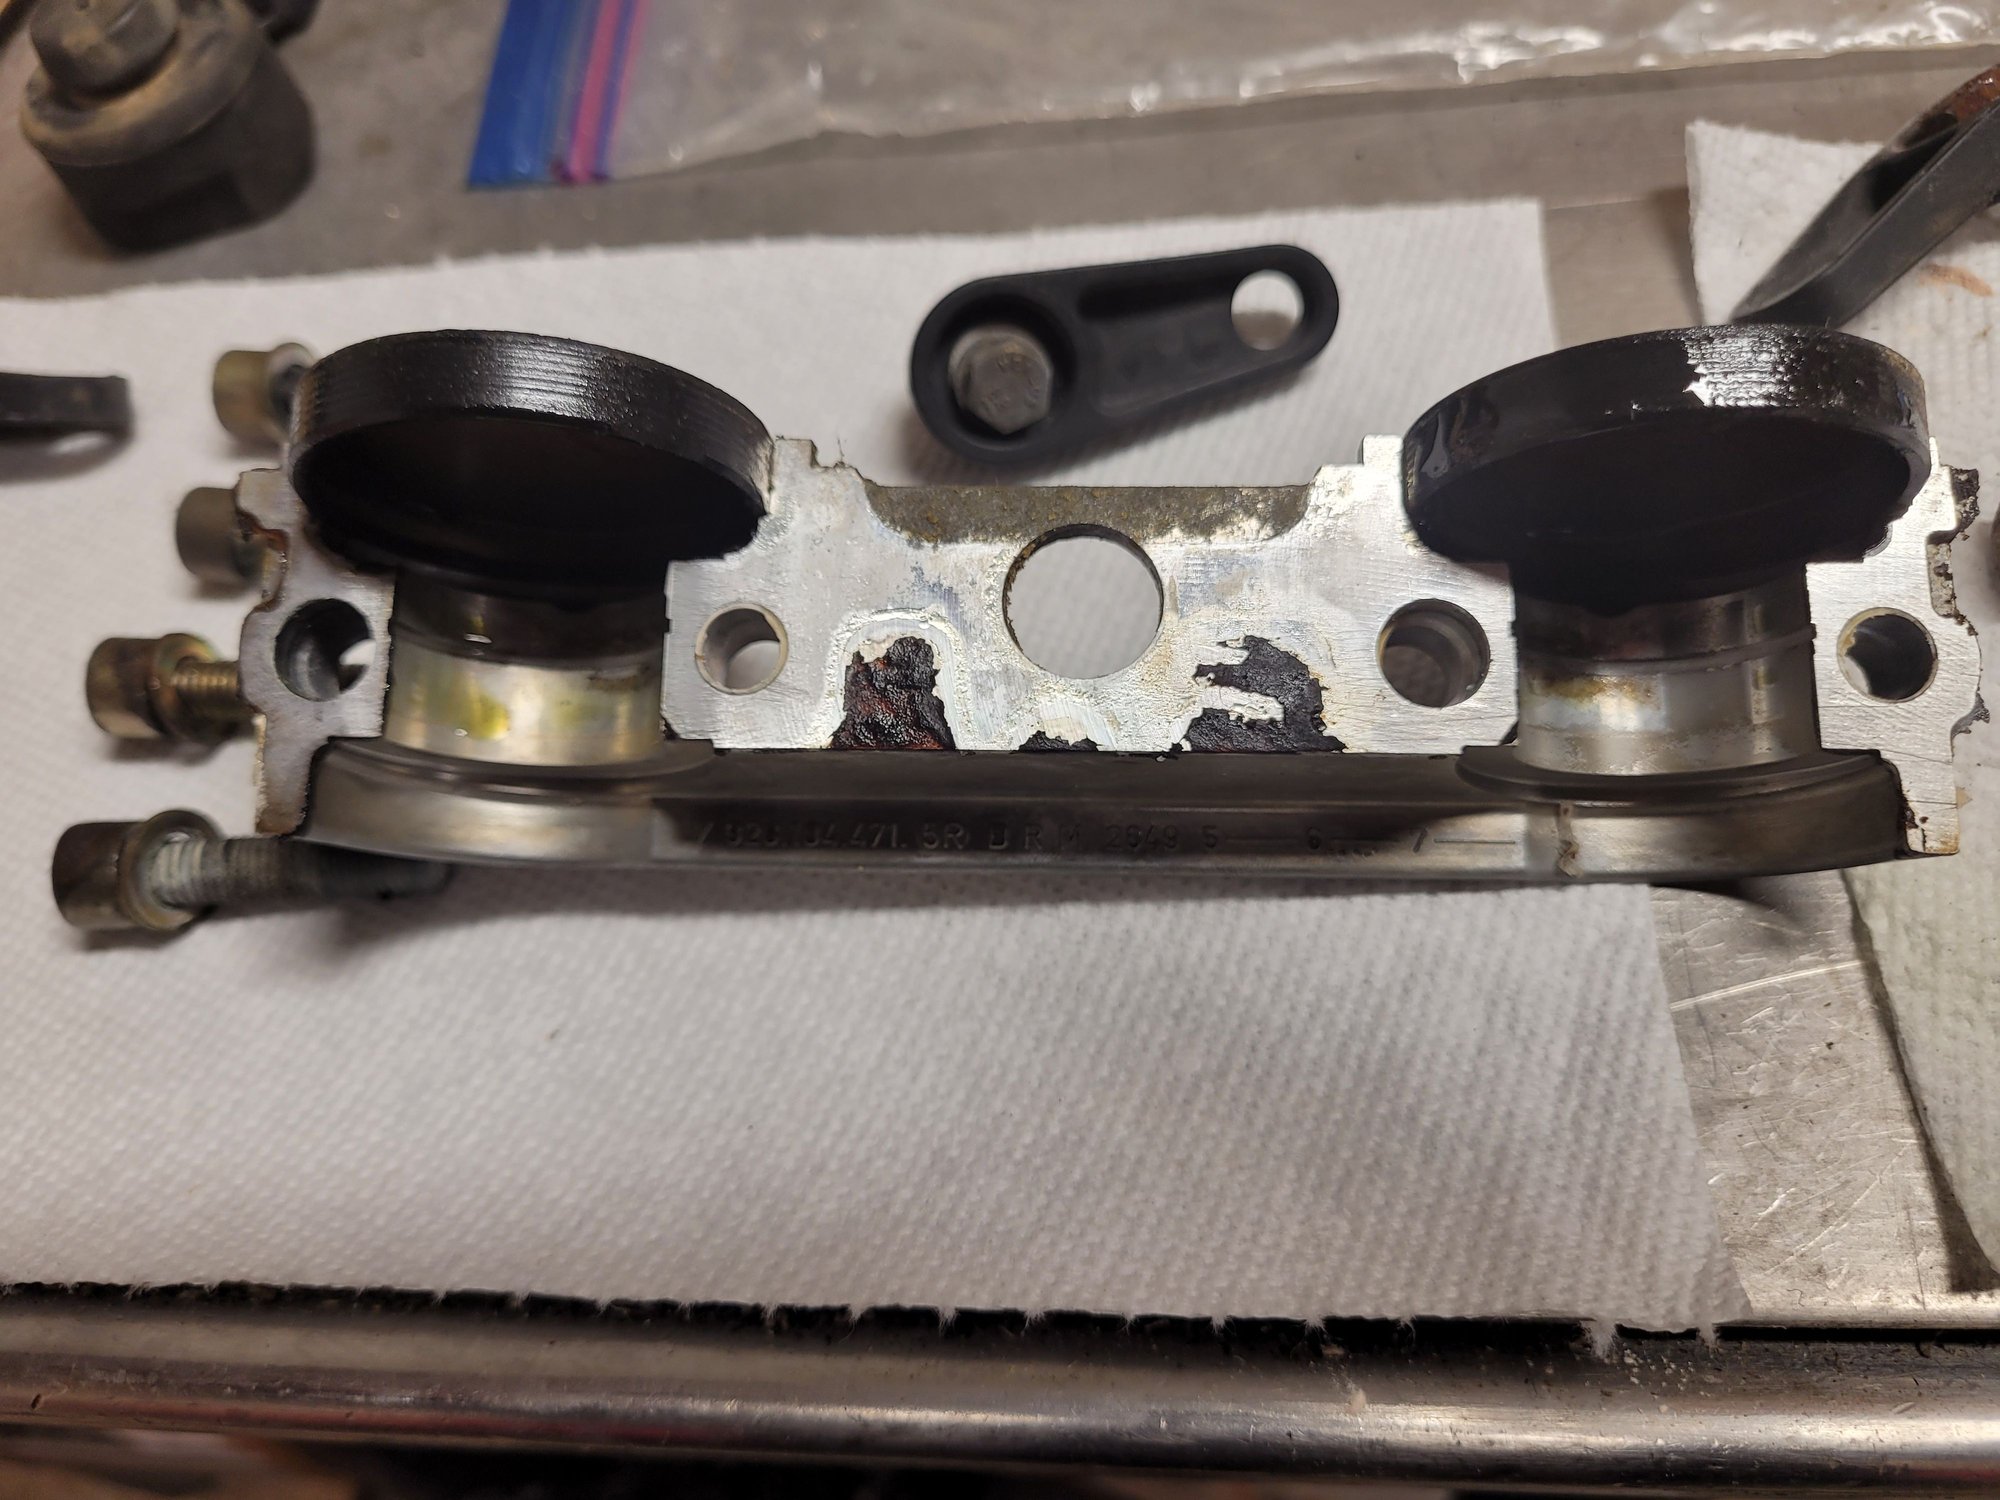
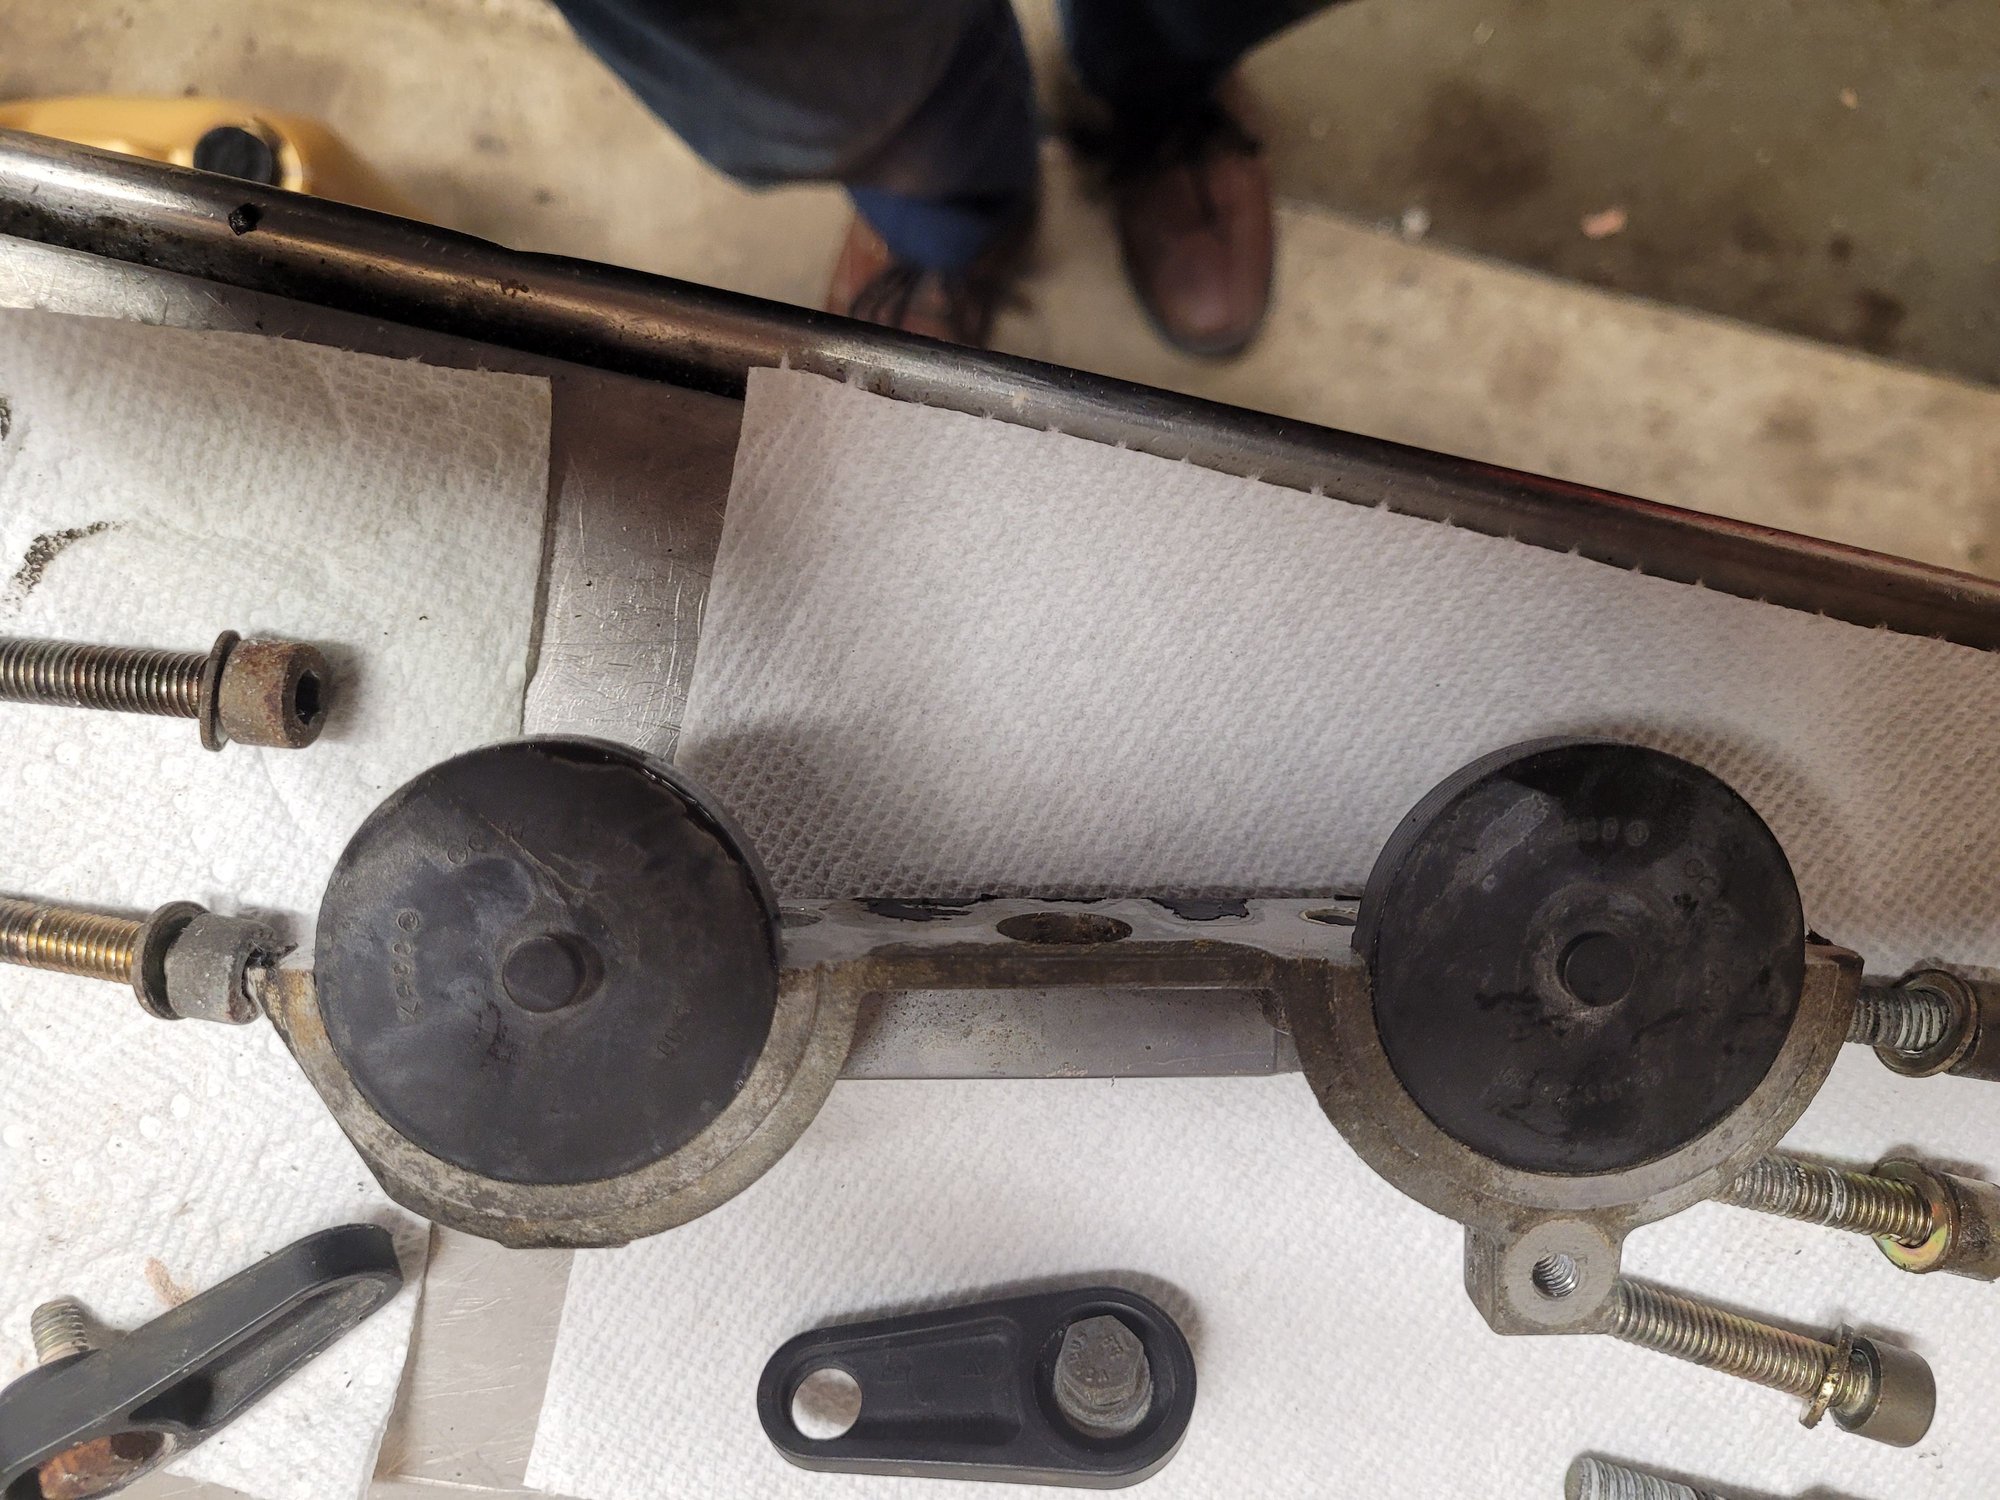
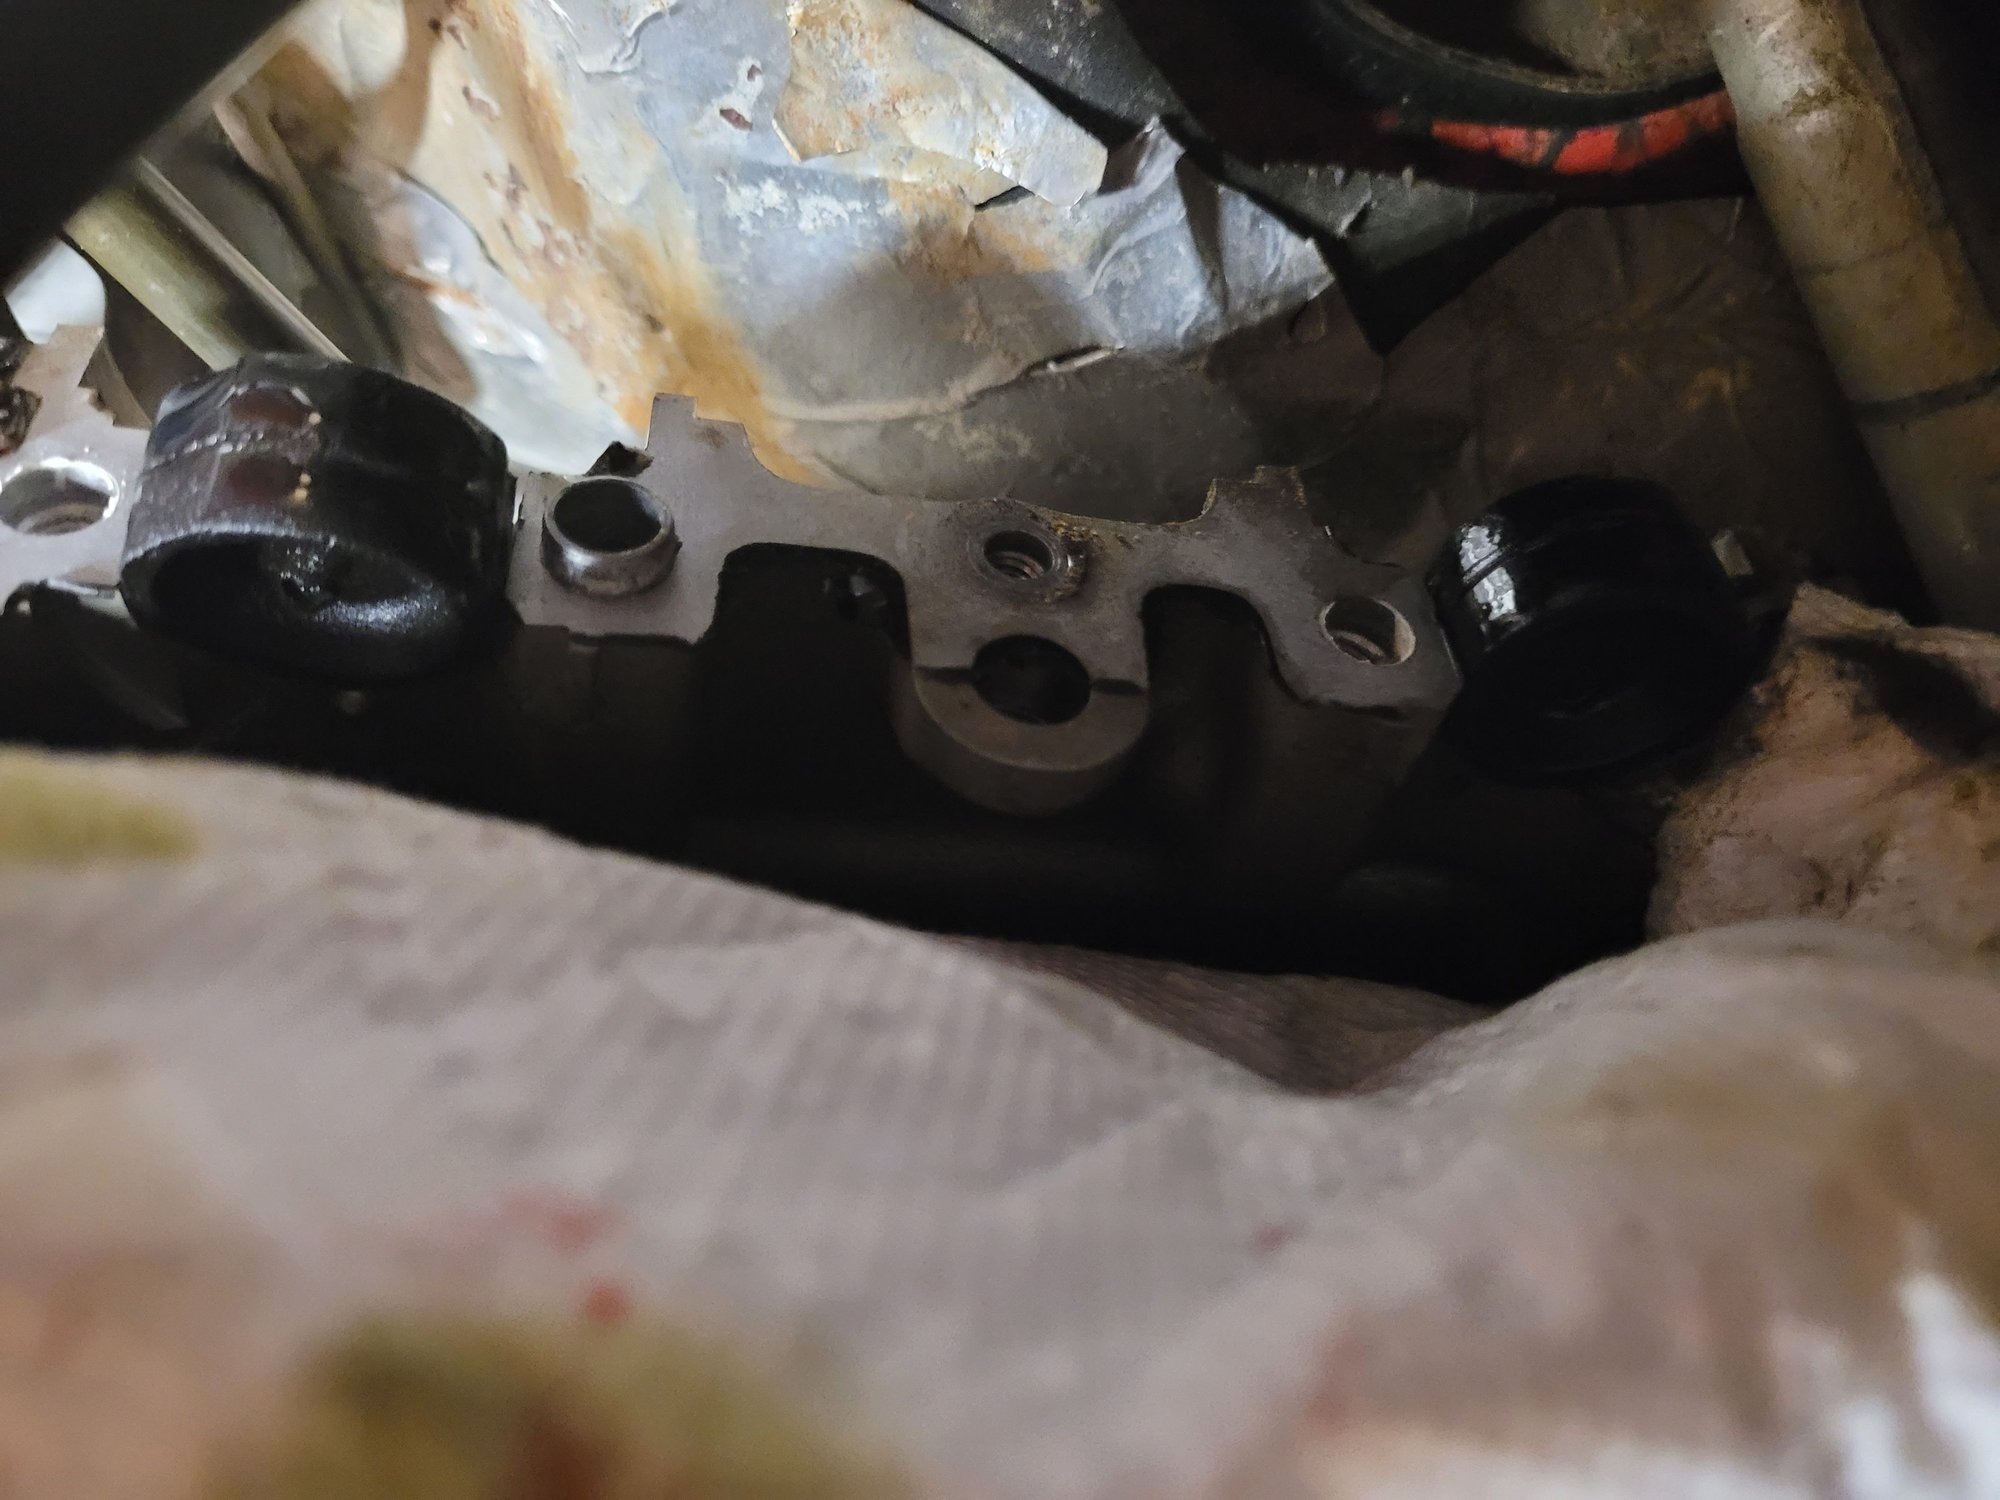
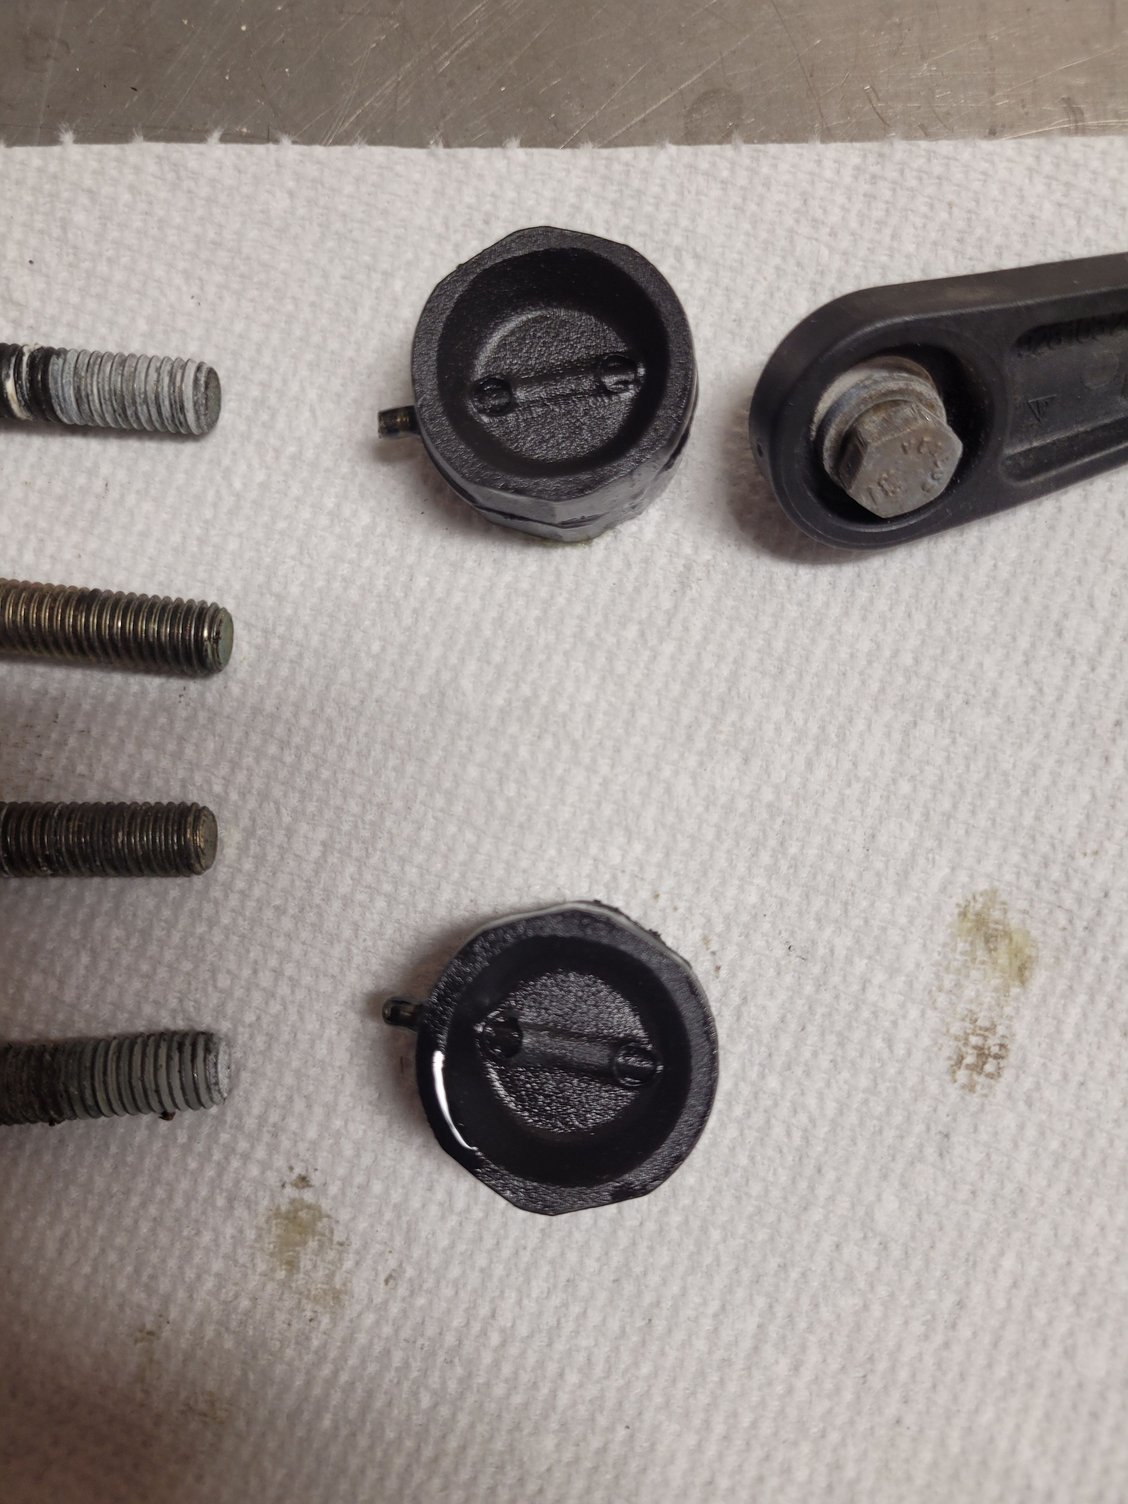
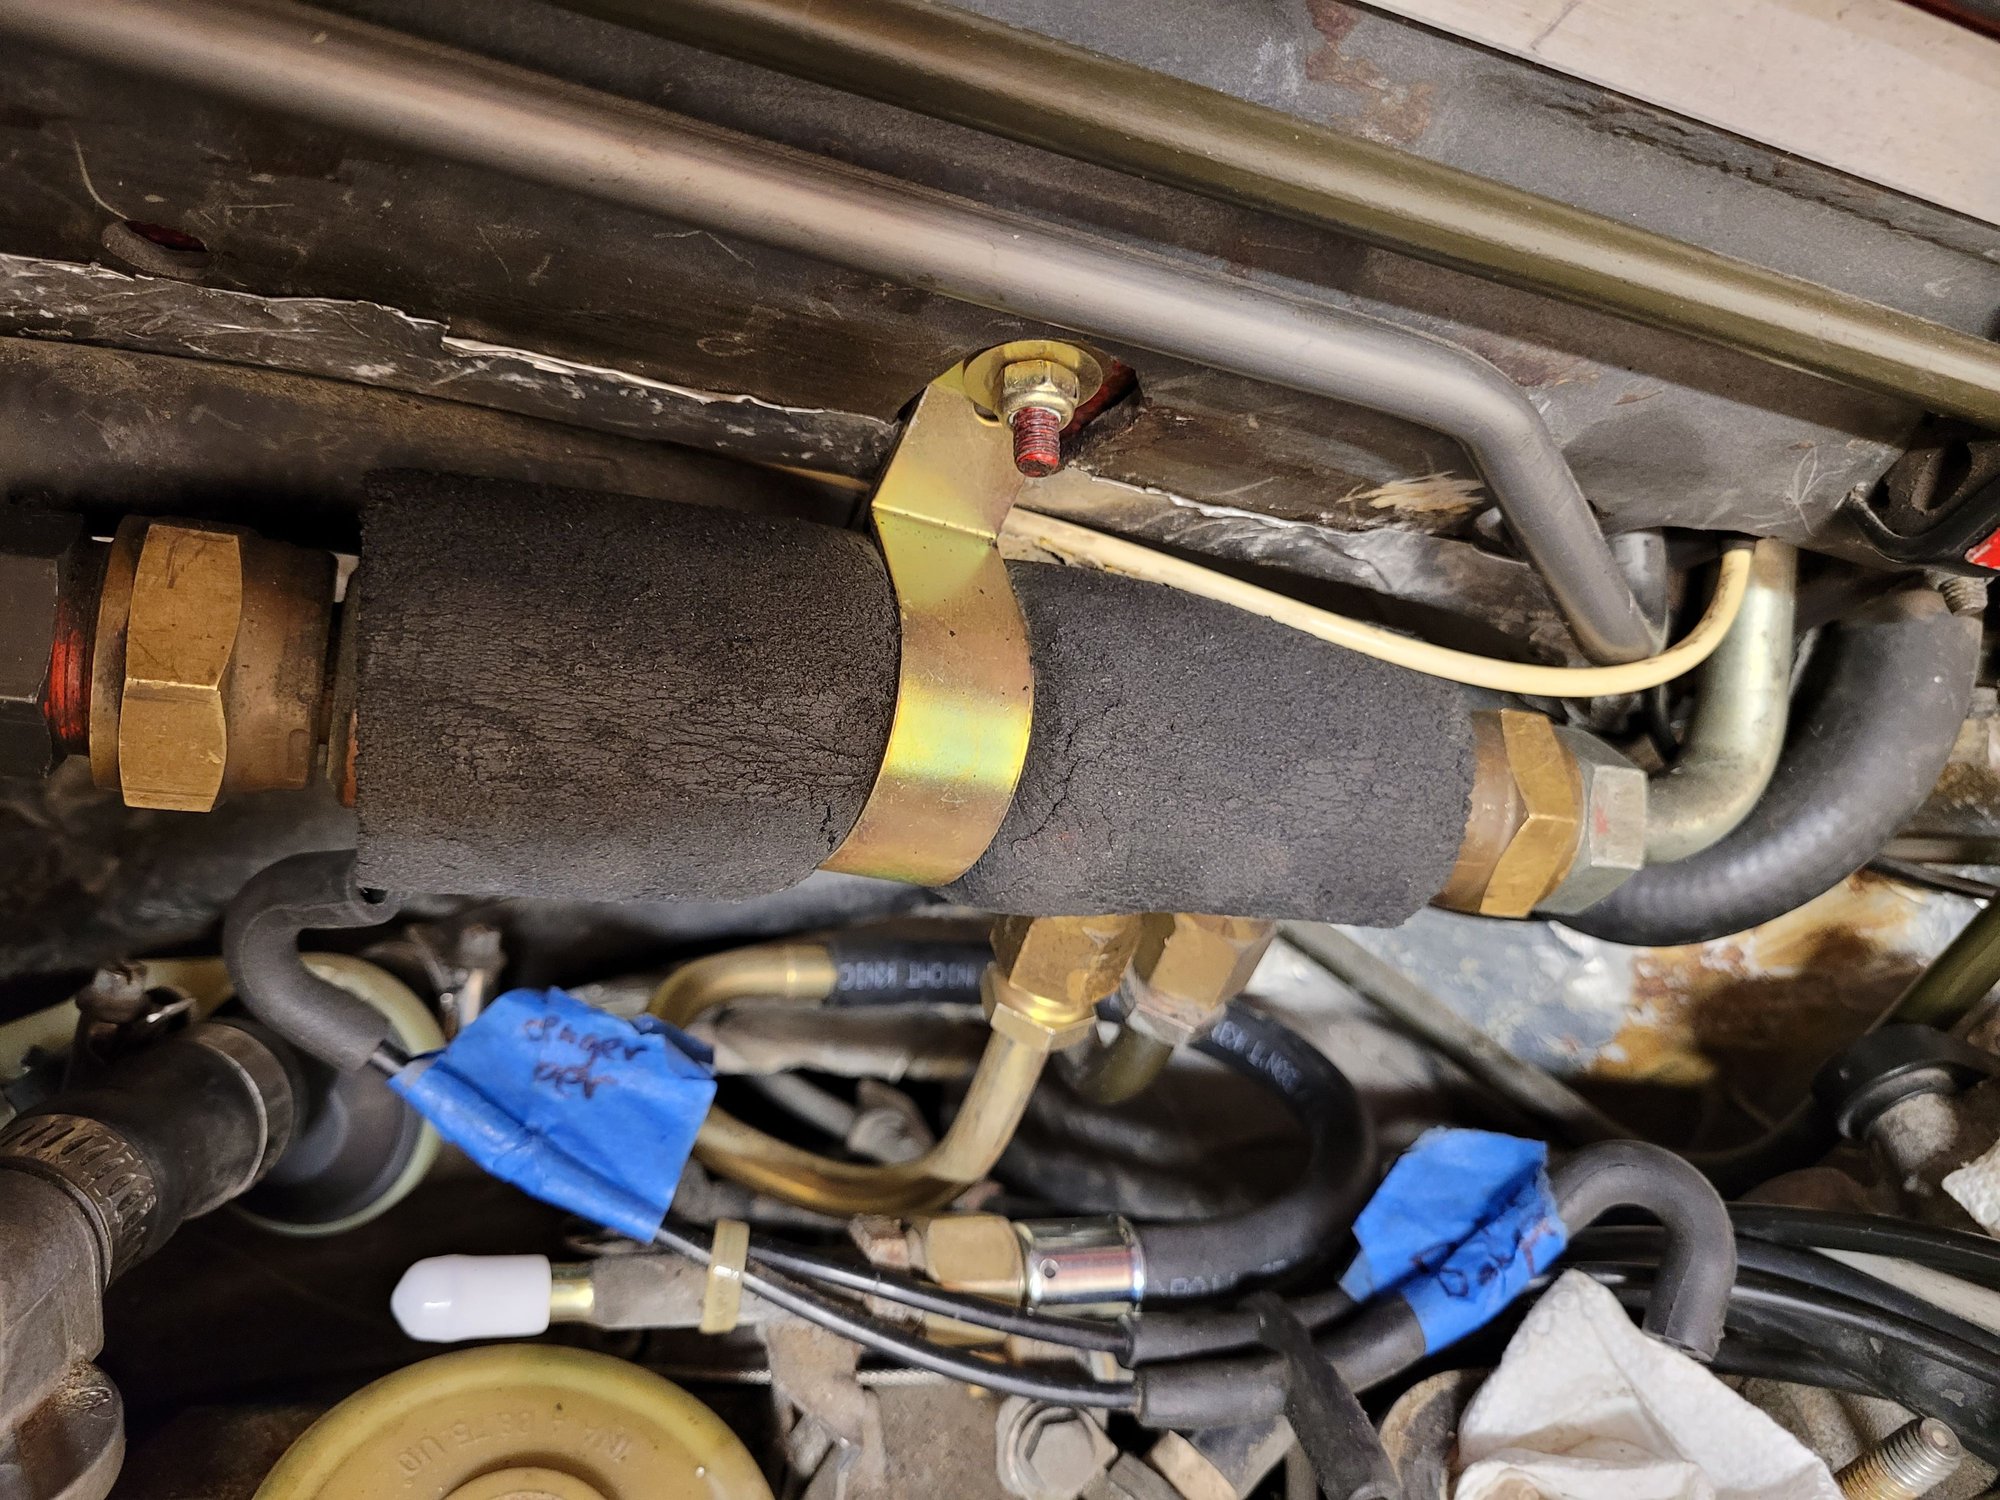
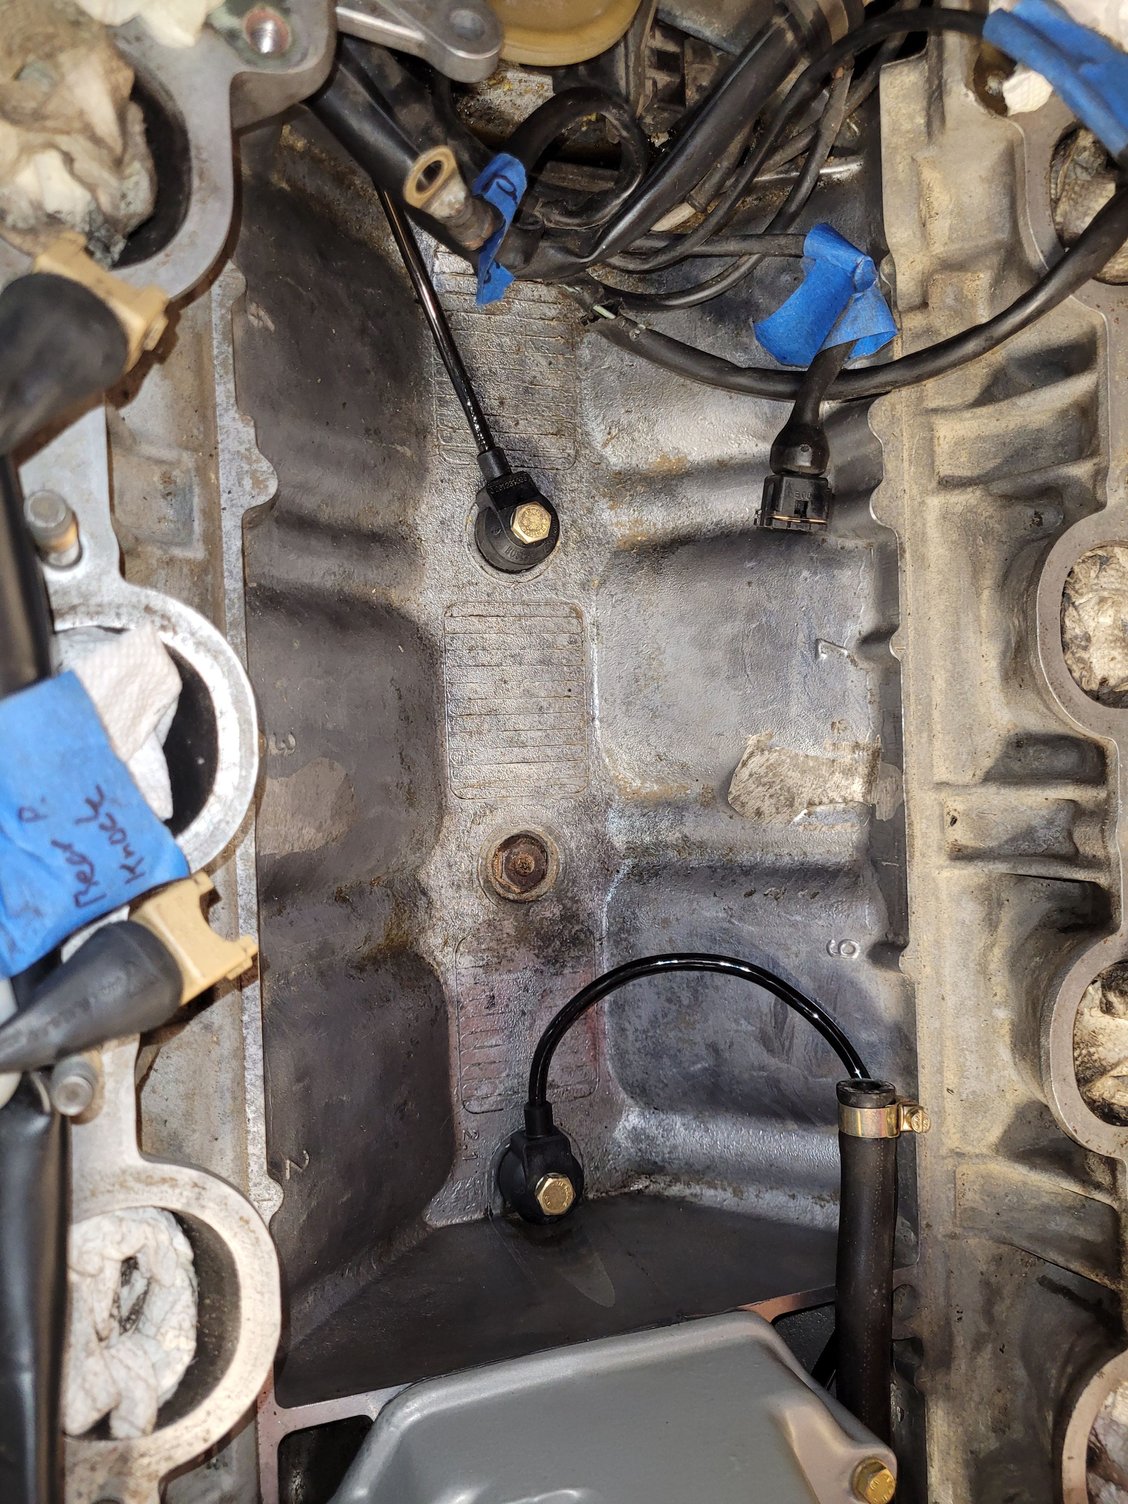
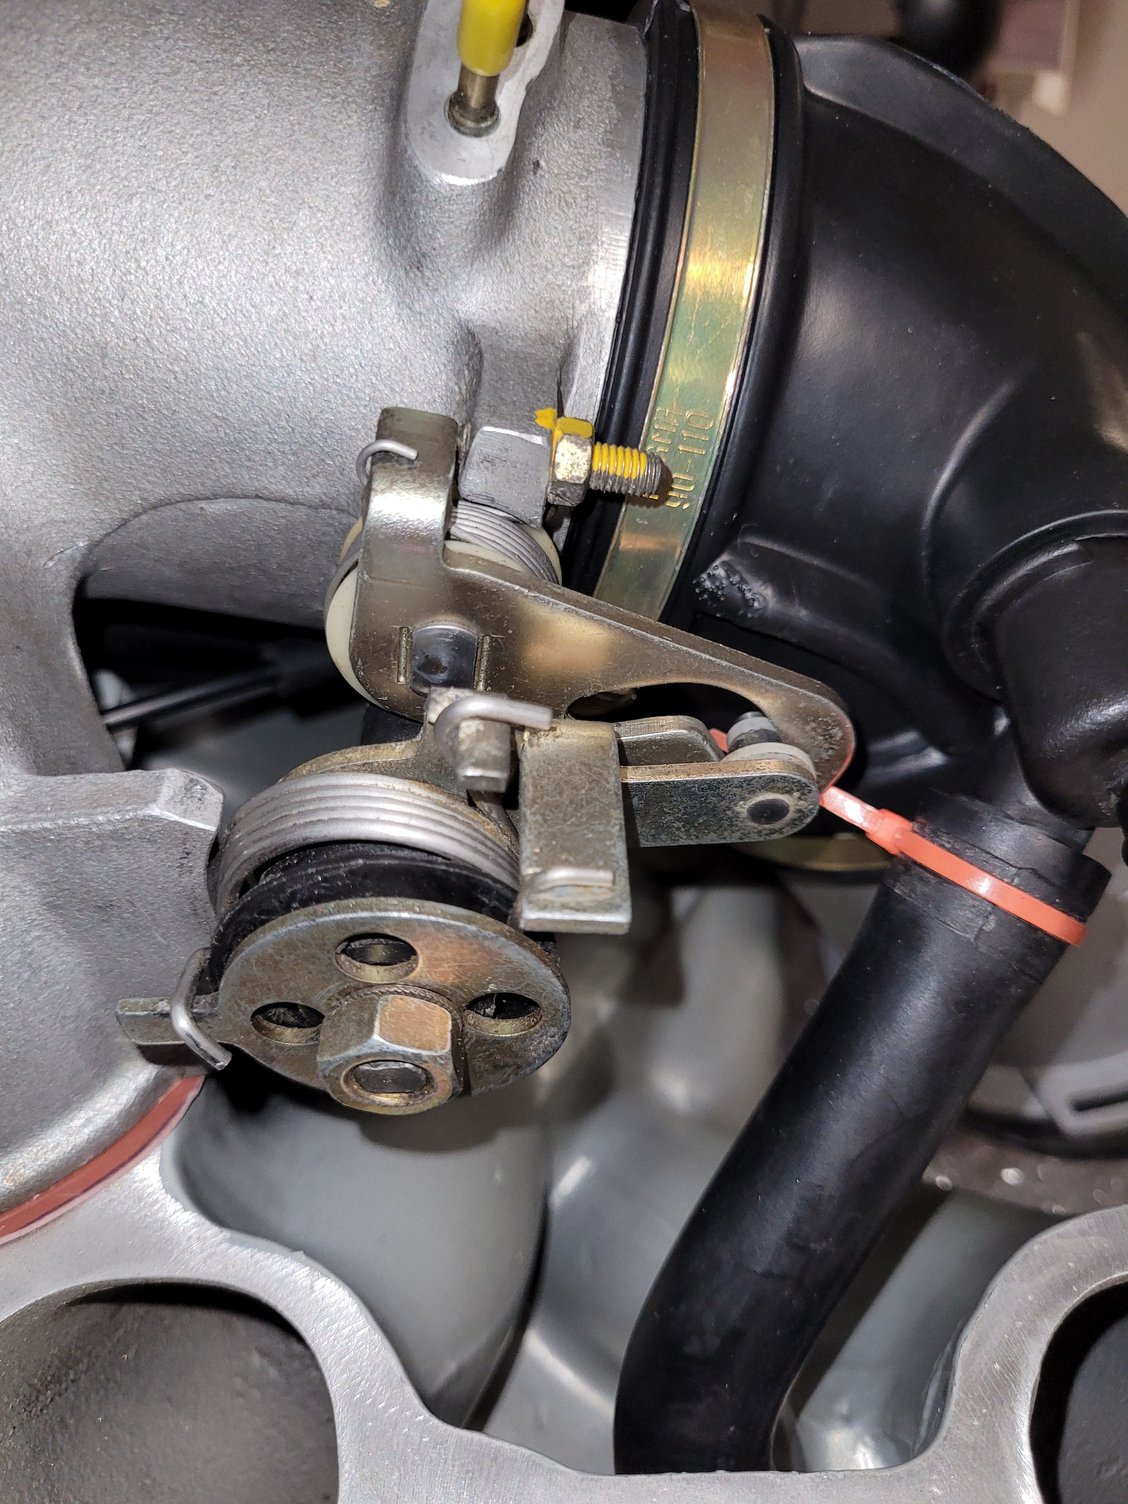
April 18-25. Cleaned up engine valley, new knock sensors. Throttle return mechanism back on, and Greg brown u shaped fuel hose installed with replated mounts and dampers/regulators installed. The routing of the gb hose was tricky, but they supplied good instructions with the hose.
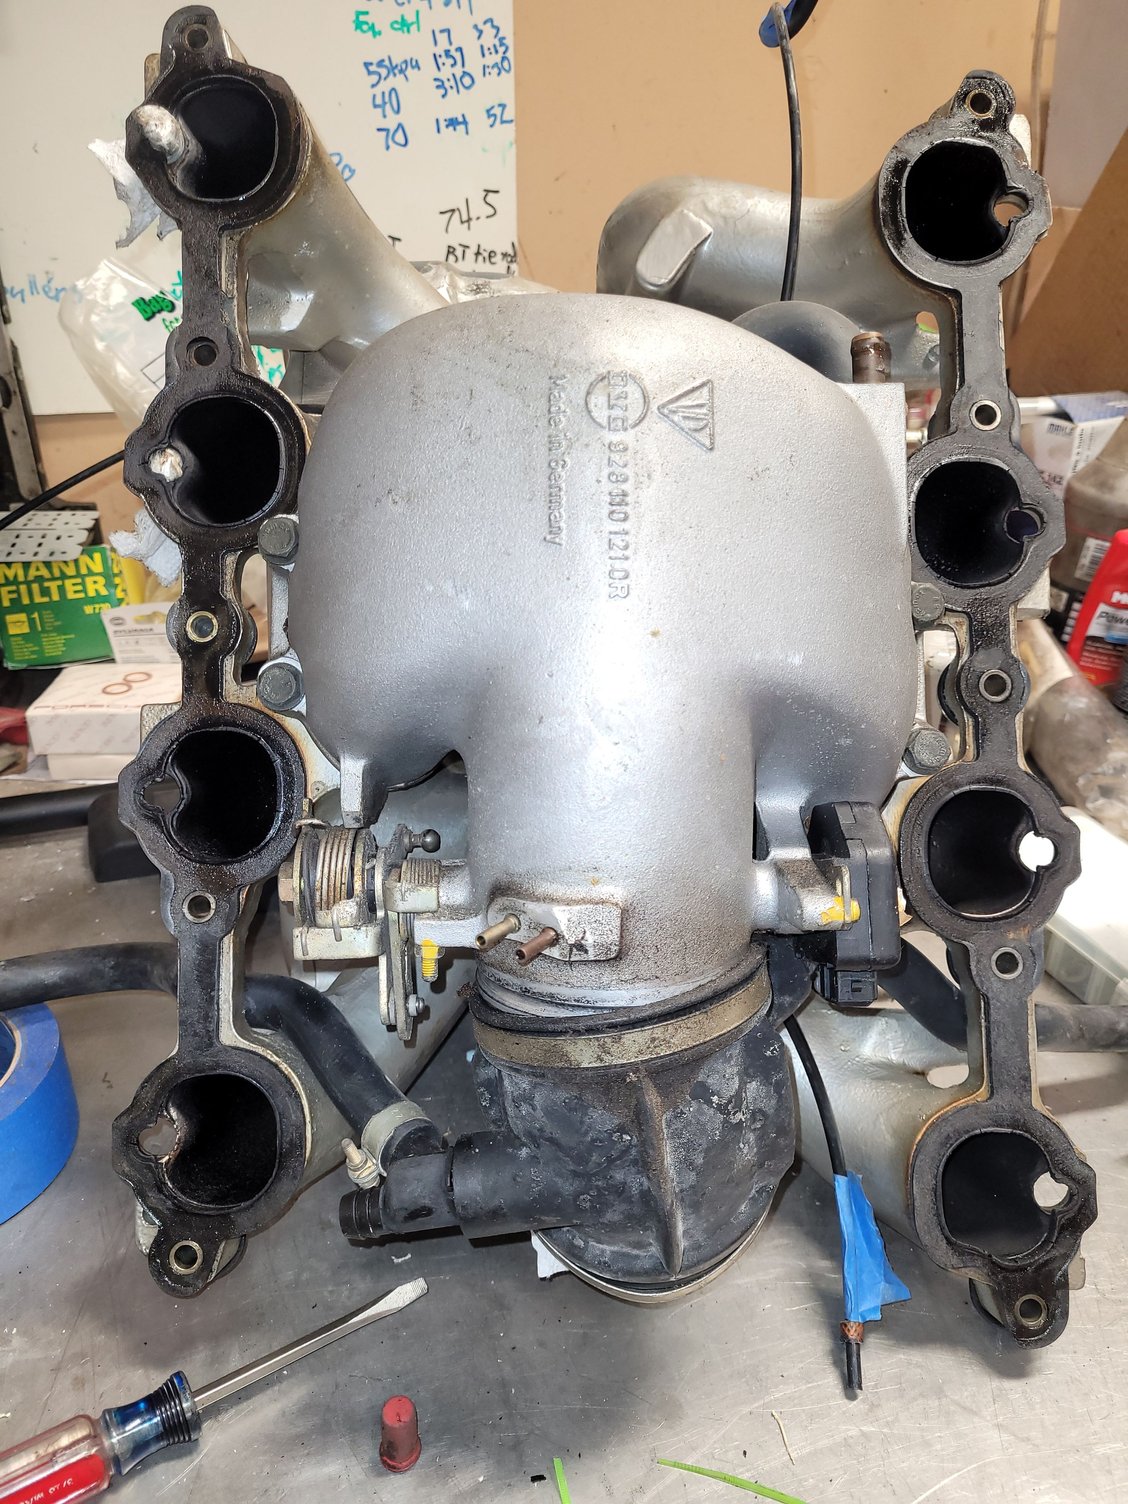
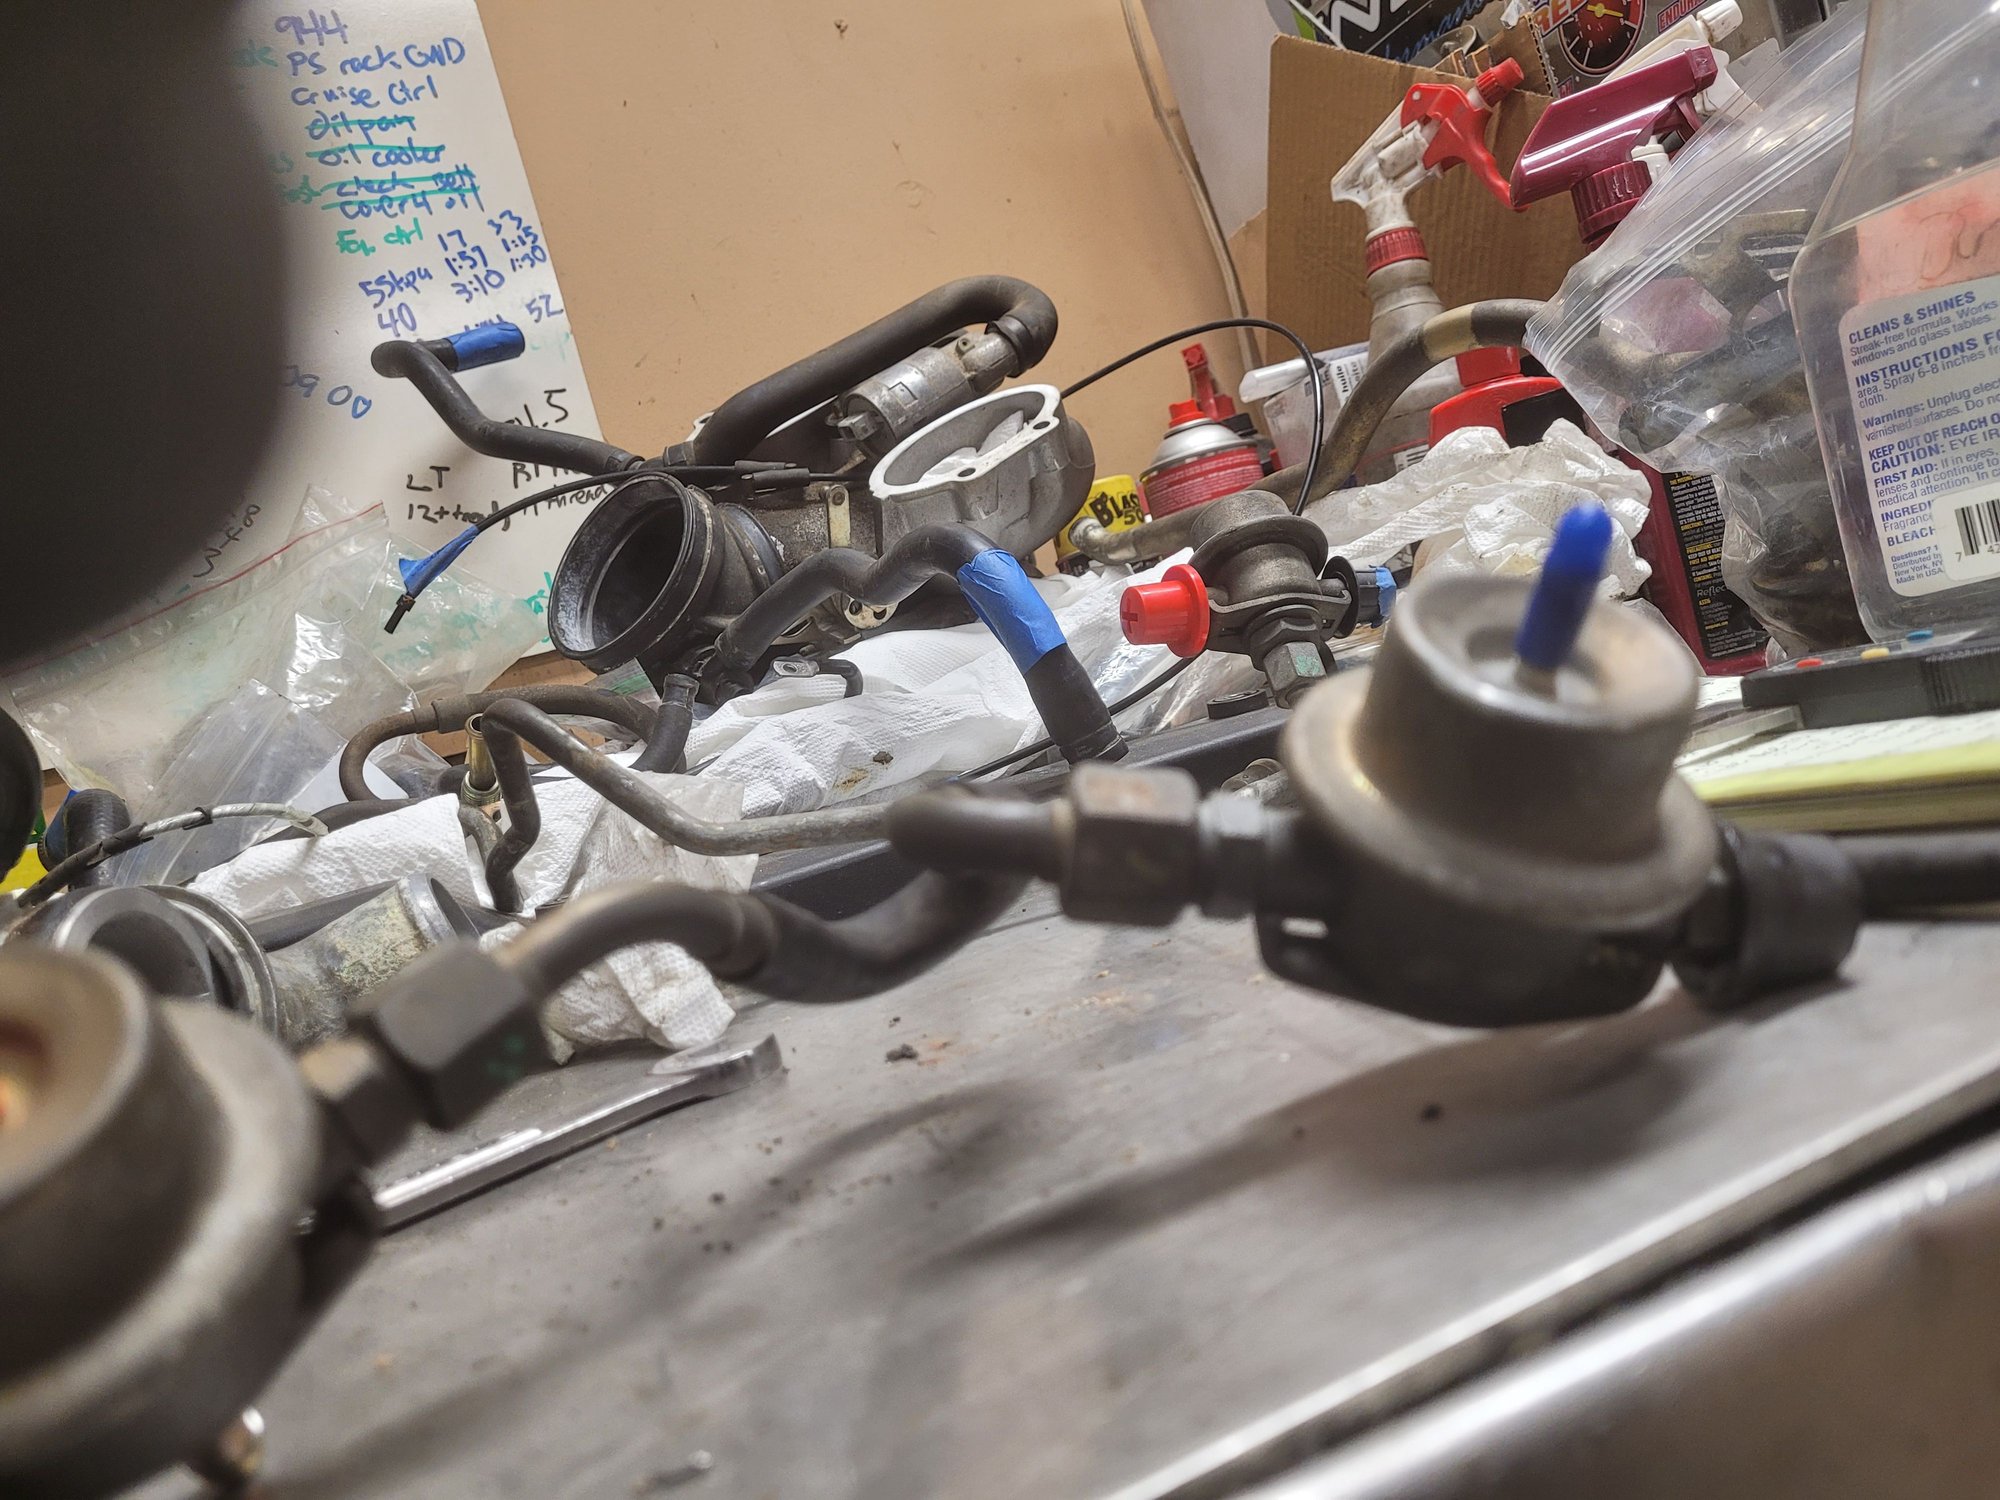
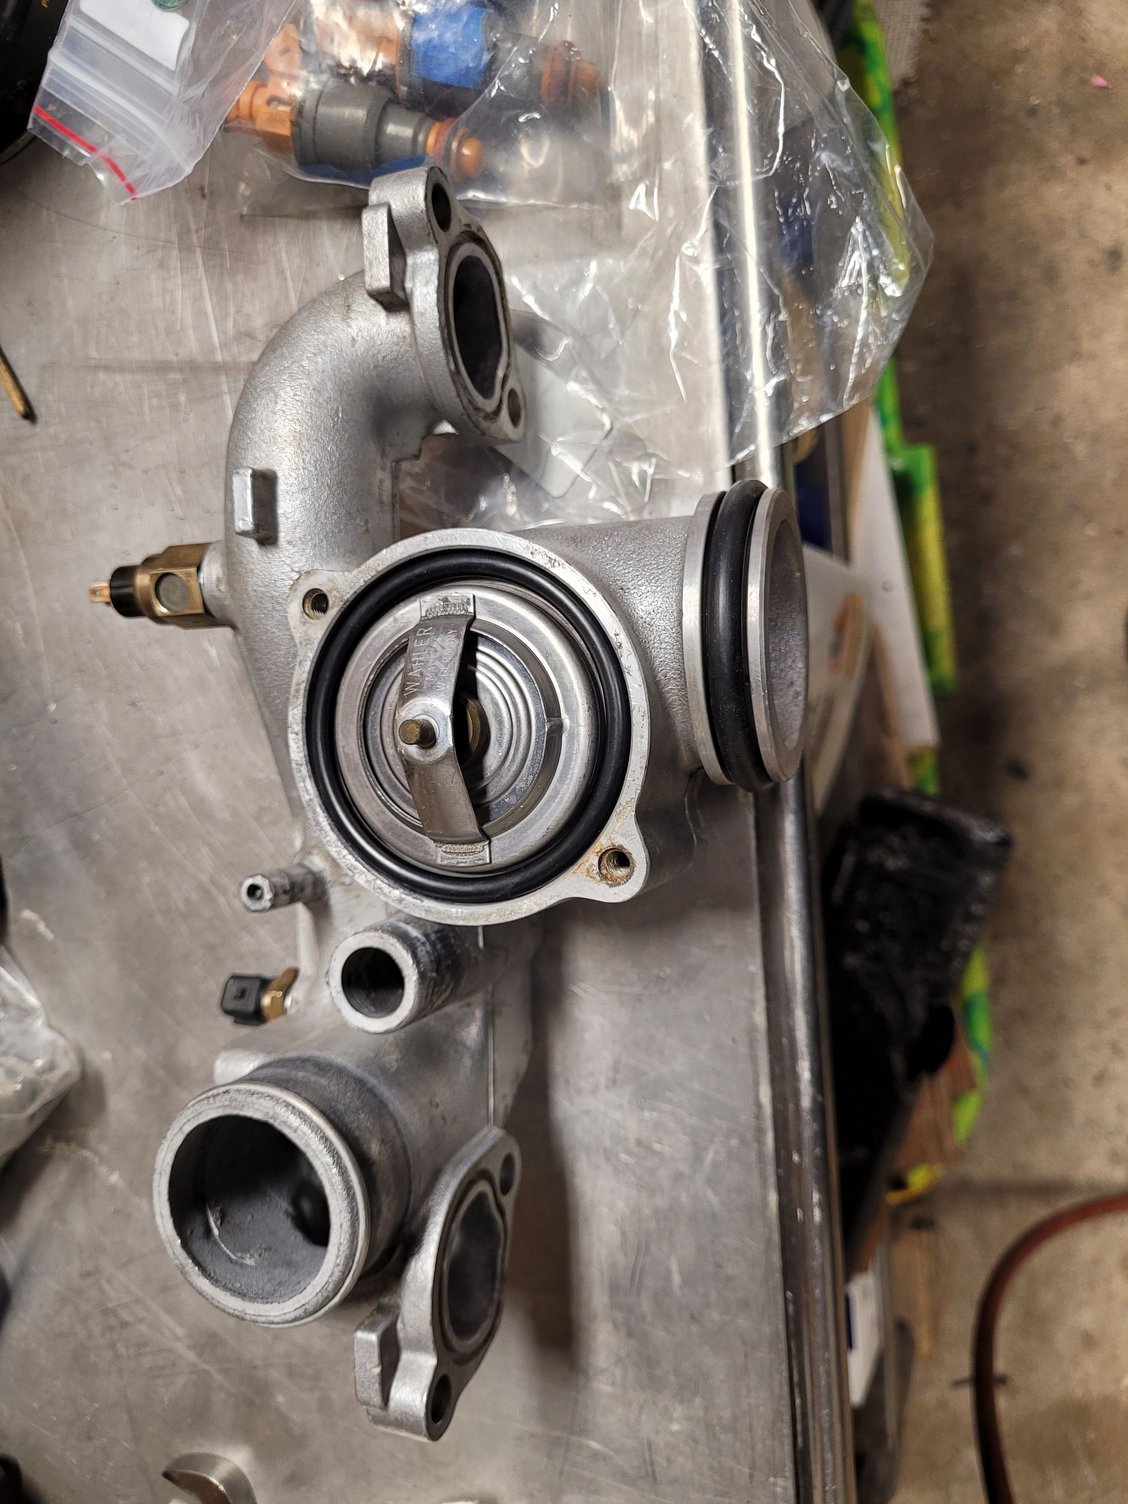
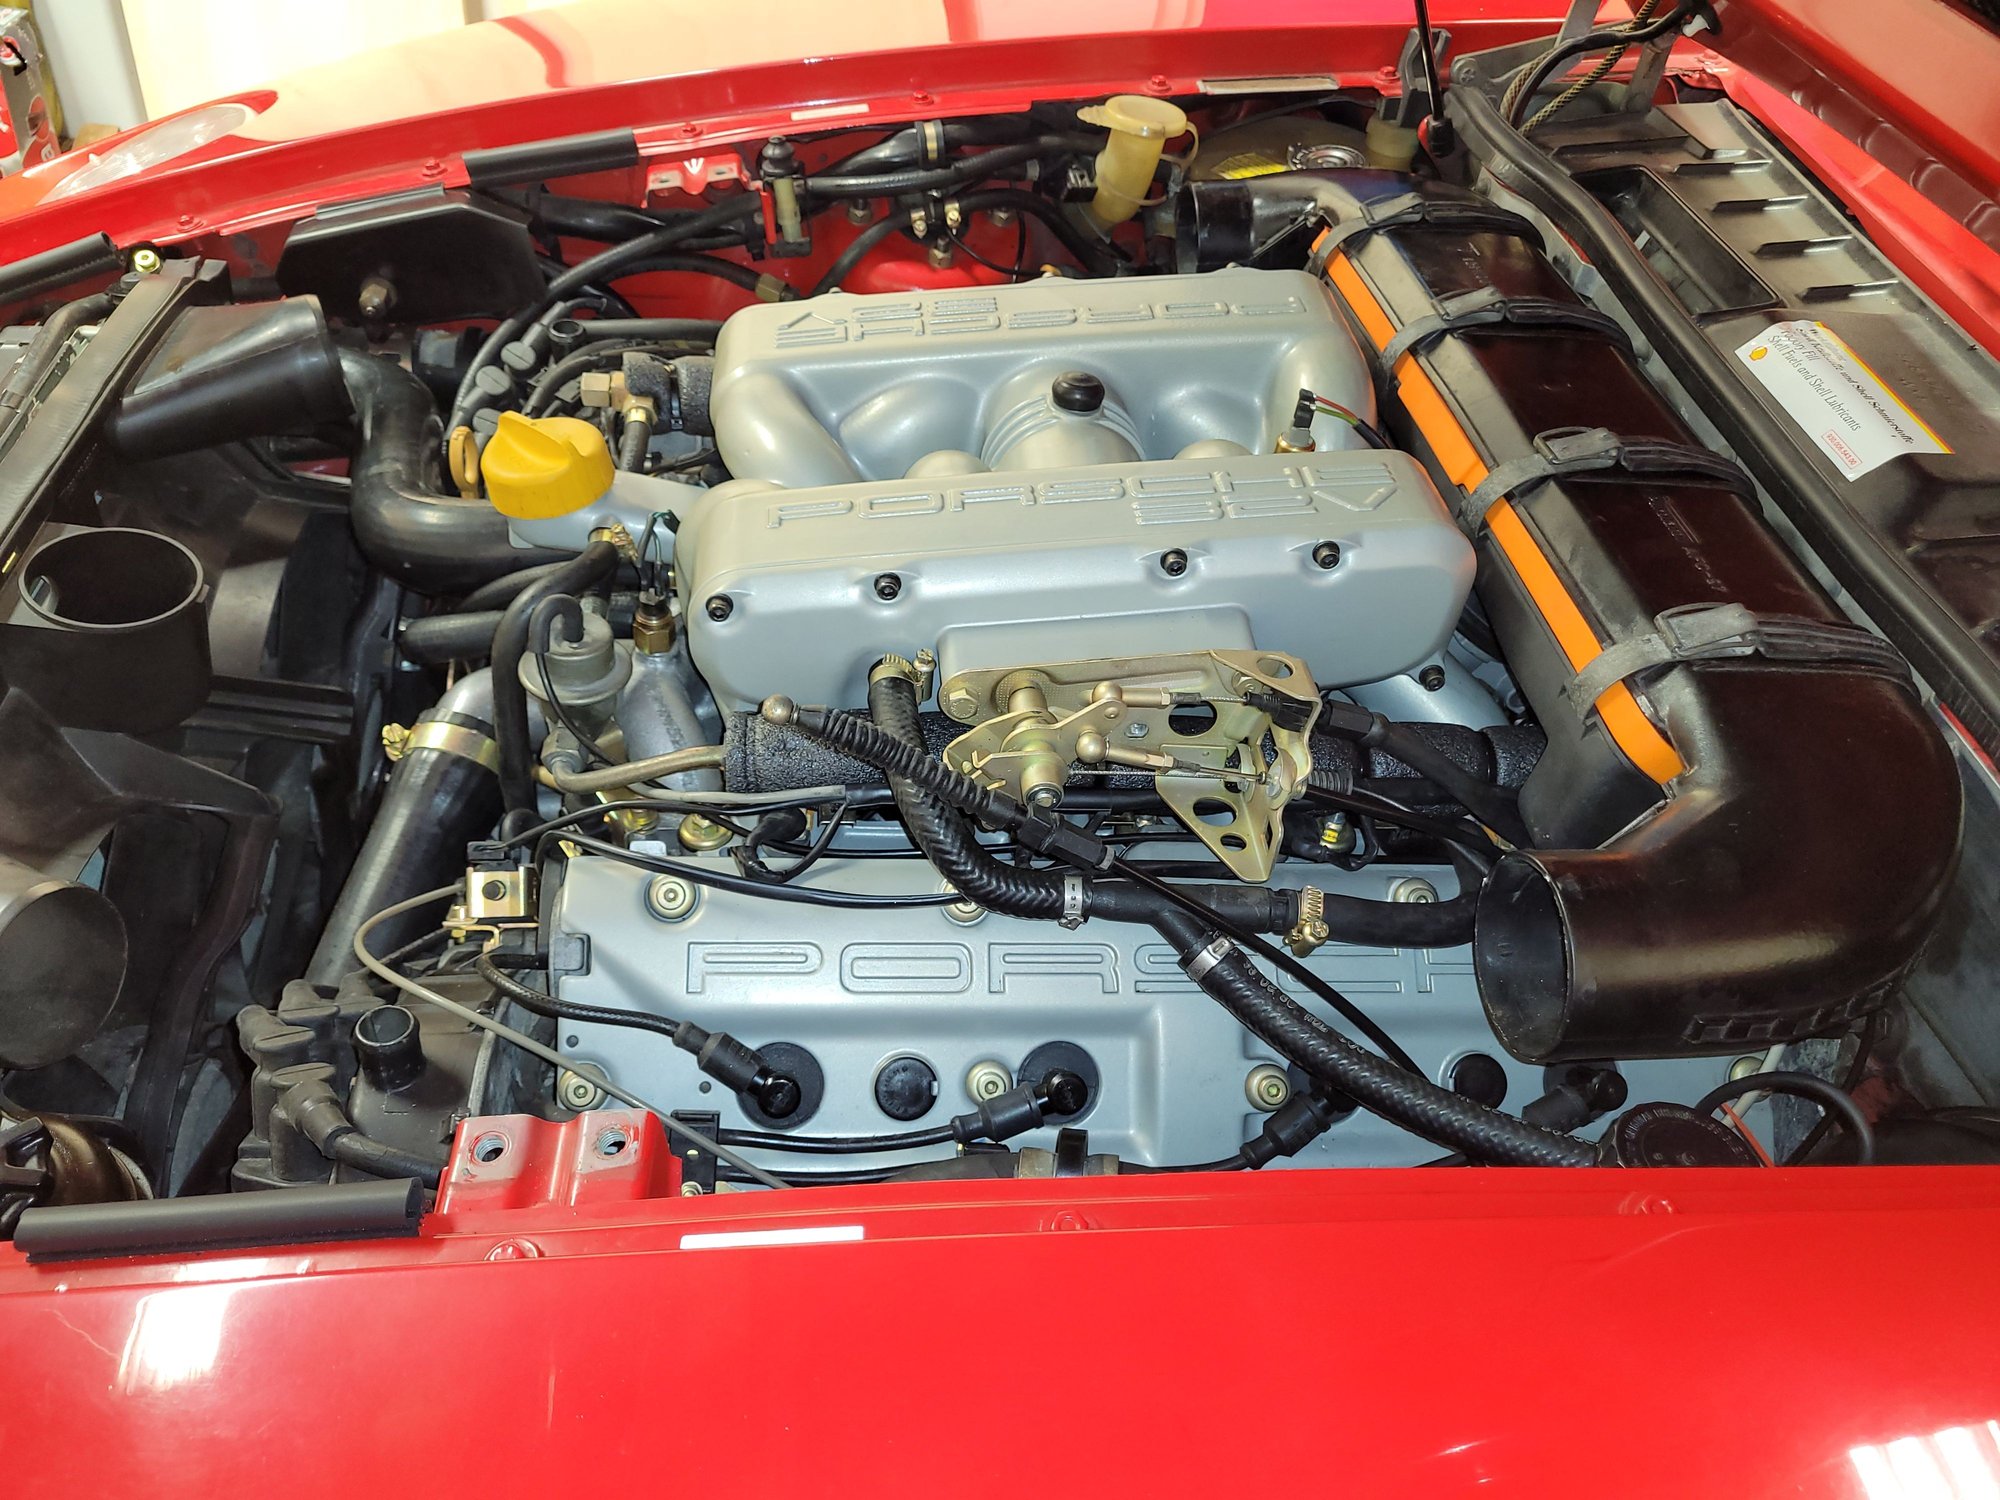
May 2 2022. Throttle body and intake manifold assembly complete and leak tested. Ready to go on the motor. Sitting on top of the studs. Ready to go on.
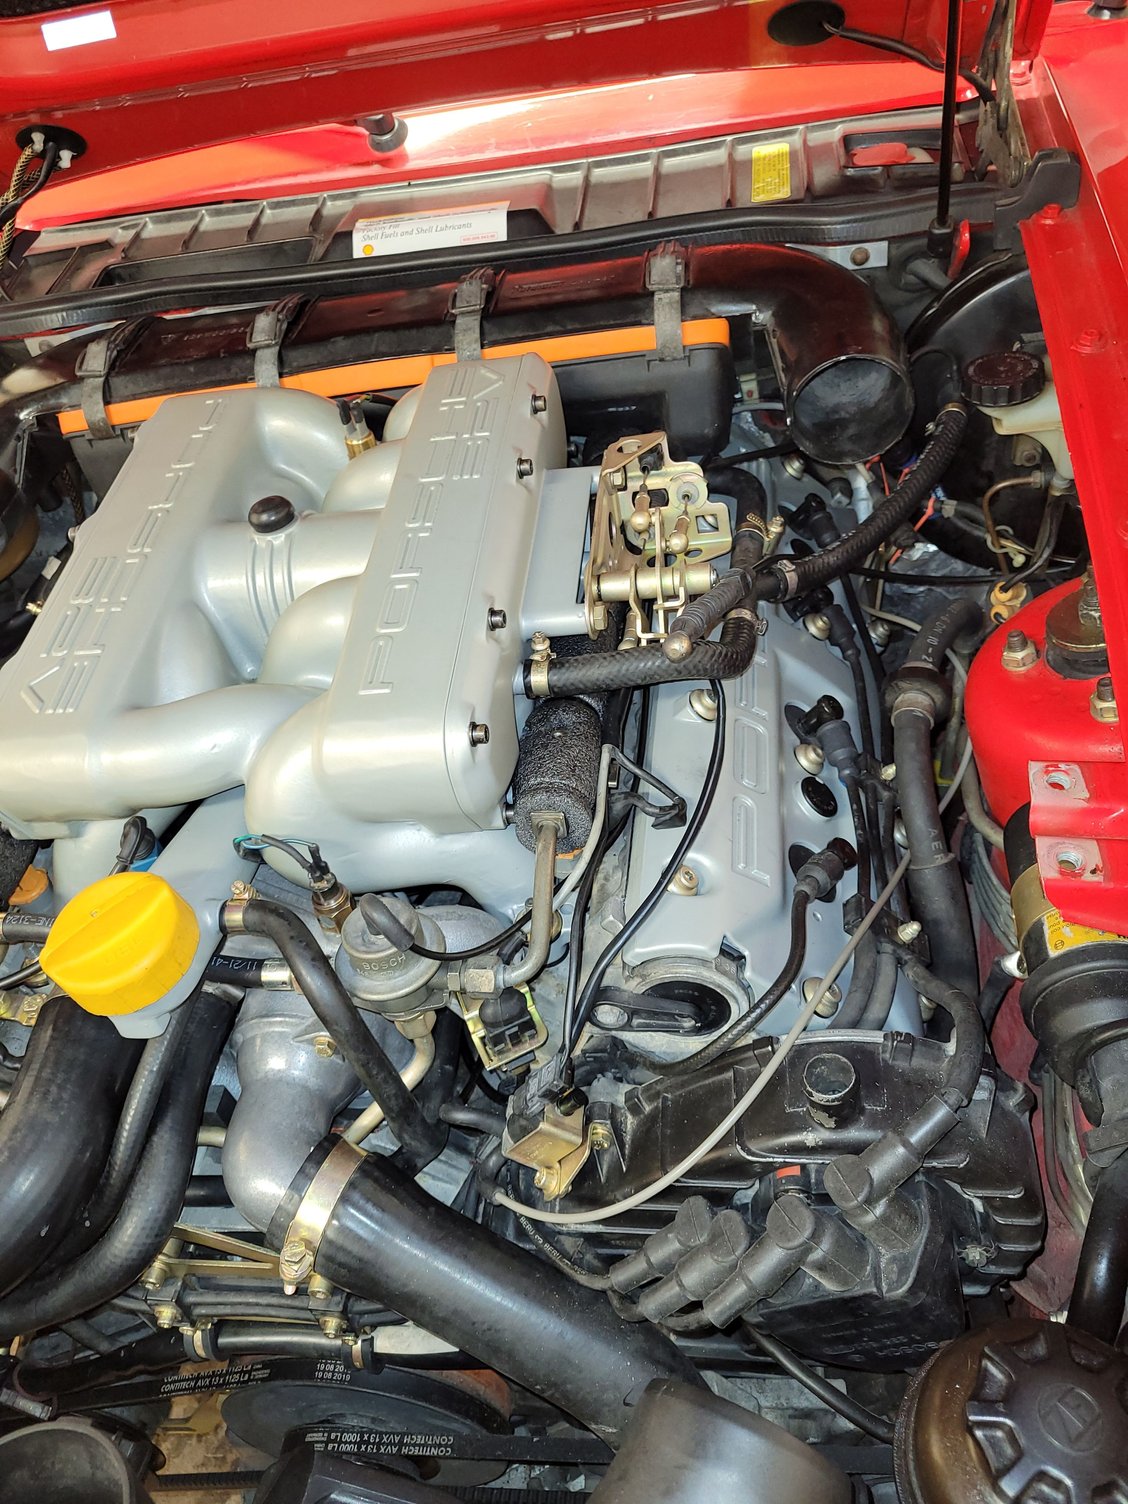
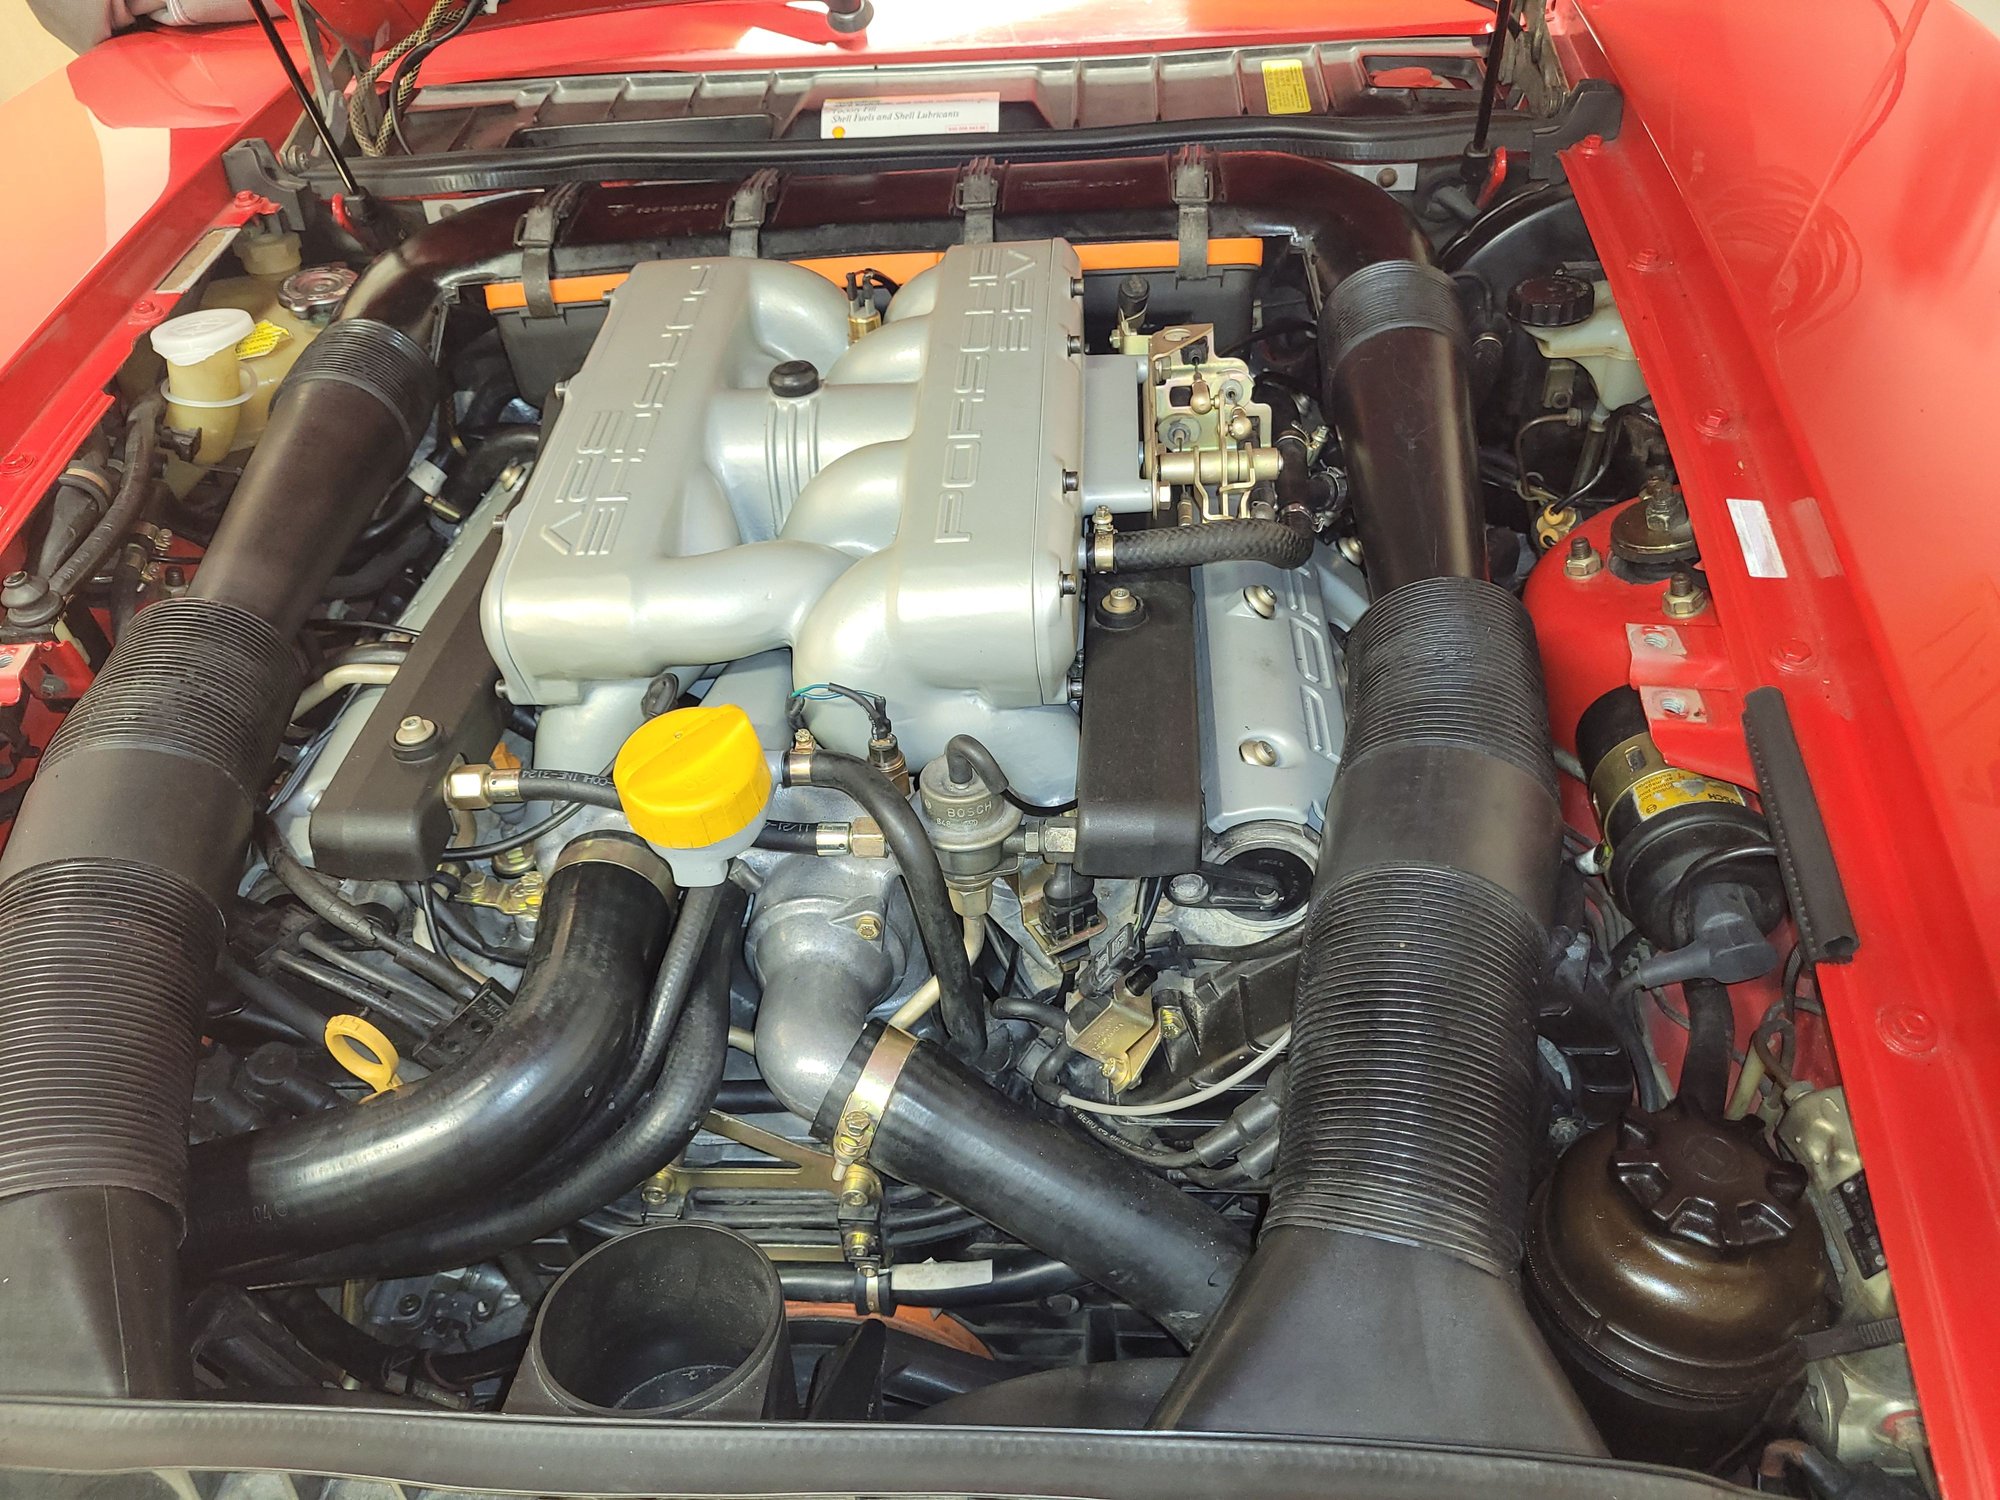
Intake install in final stages. I tried the insulation trick from dwayynes writeup, but in the end i did not use the insulation on the fuel rails. It just didnt fit inside the covers properly. Replated and riveted hood latch receiver. And replaced oil cooler supports. Intake refresh complete! First startup yielded 675 rpm idle. Success!
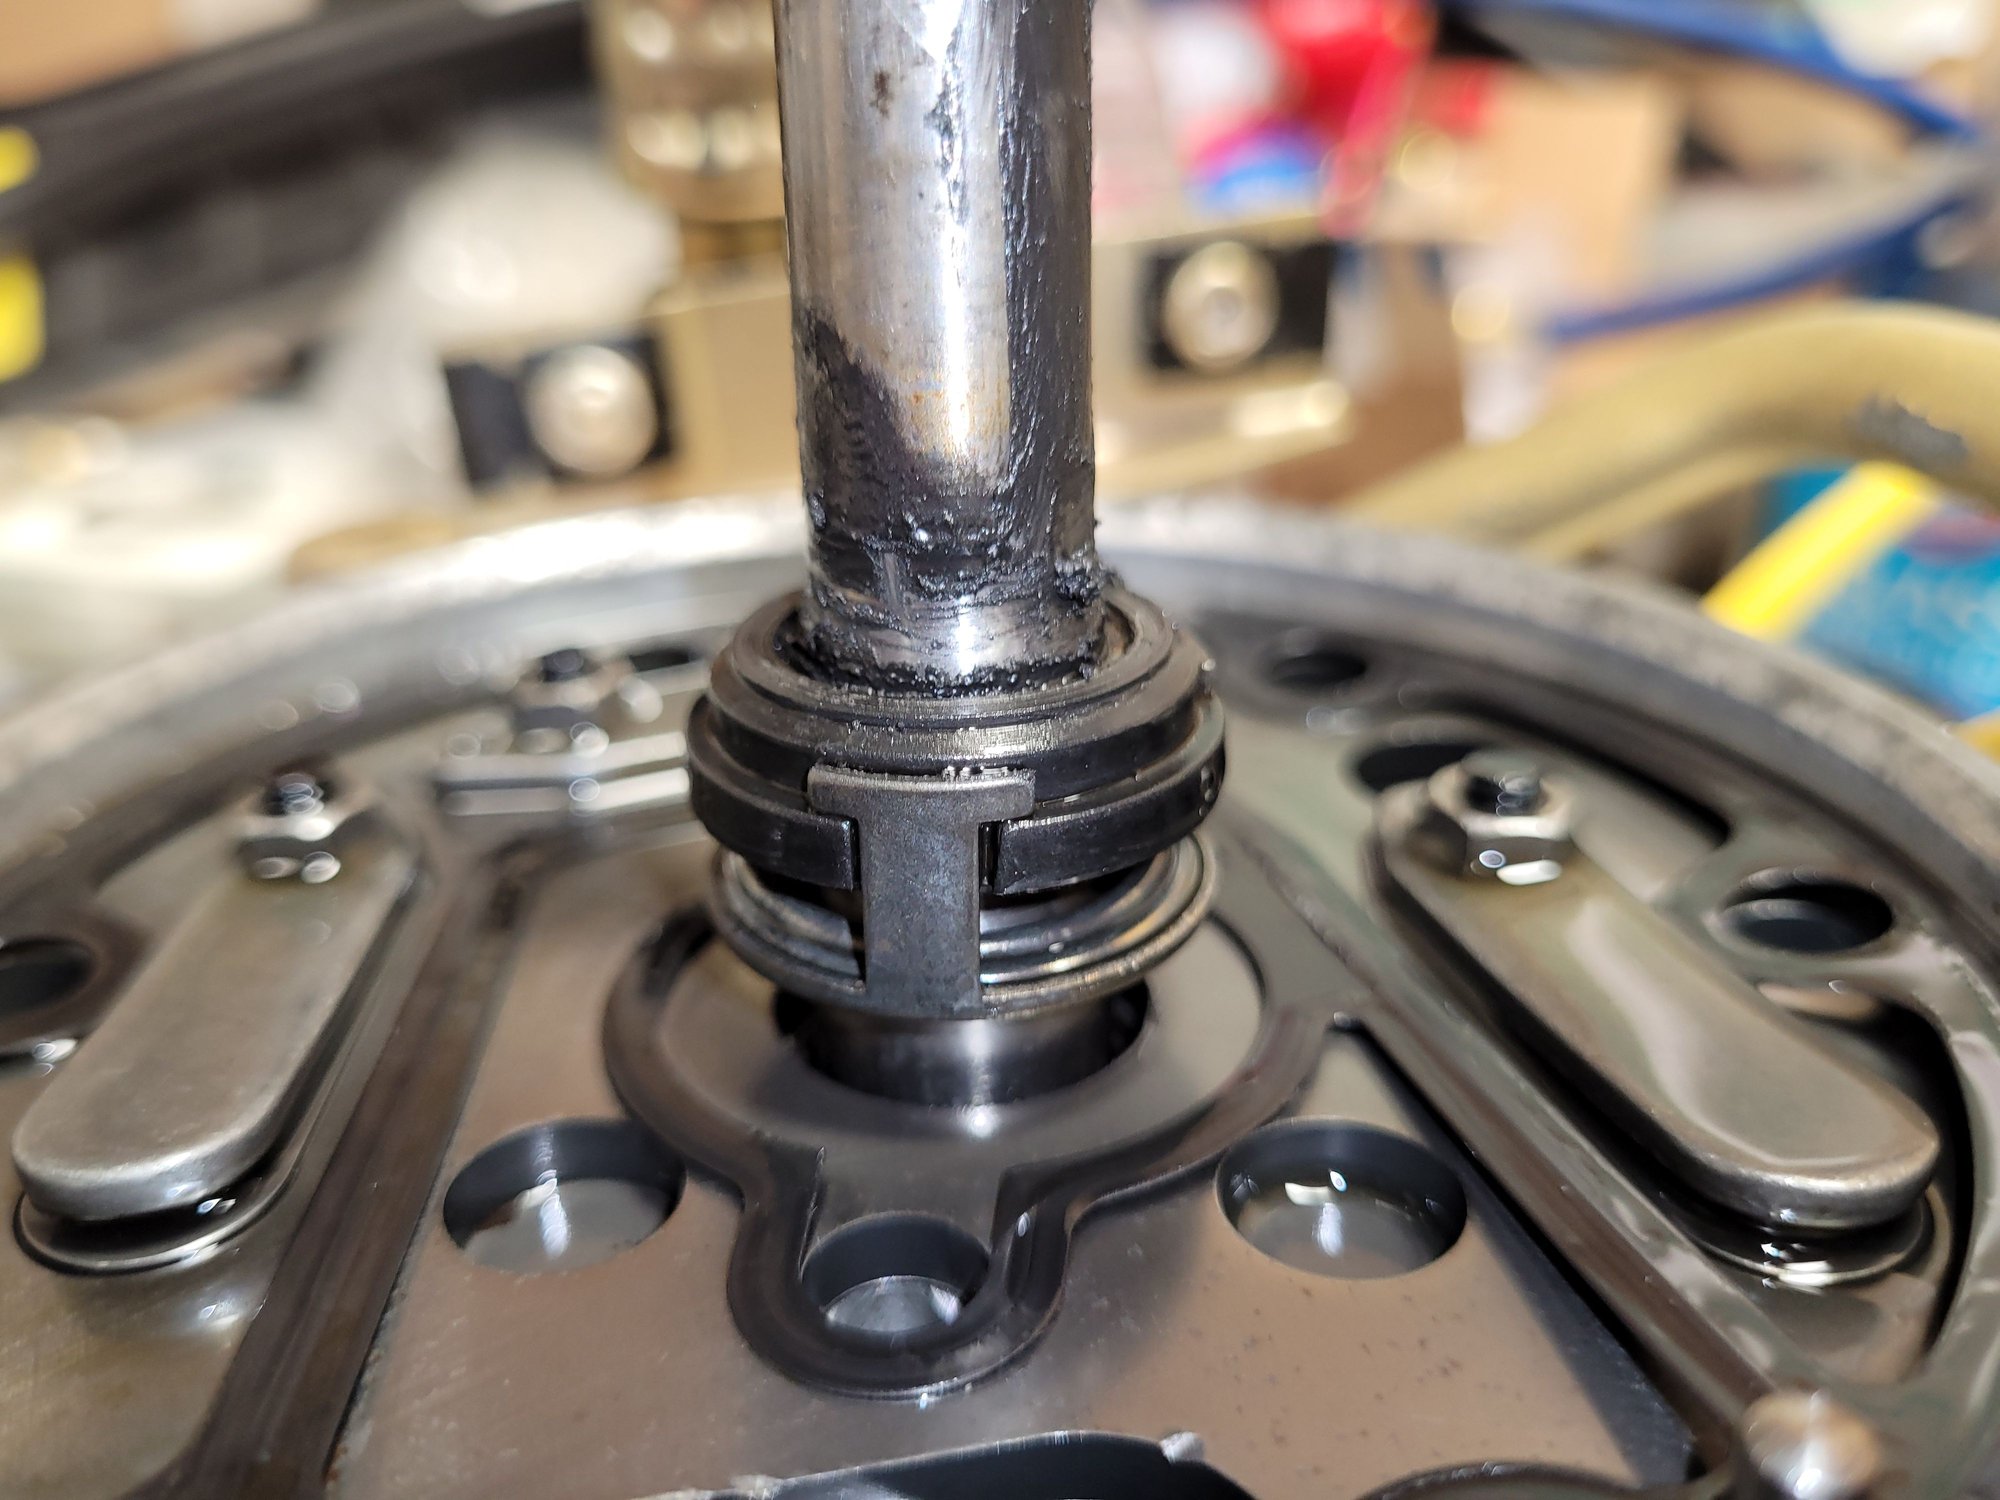
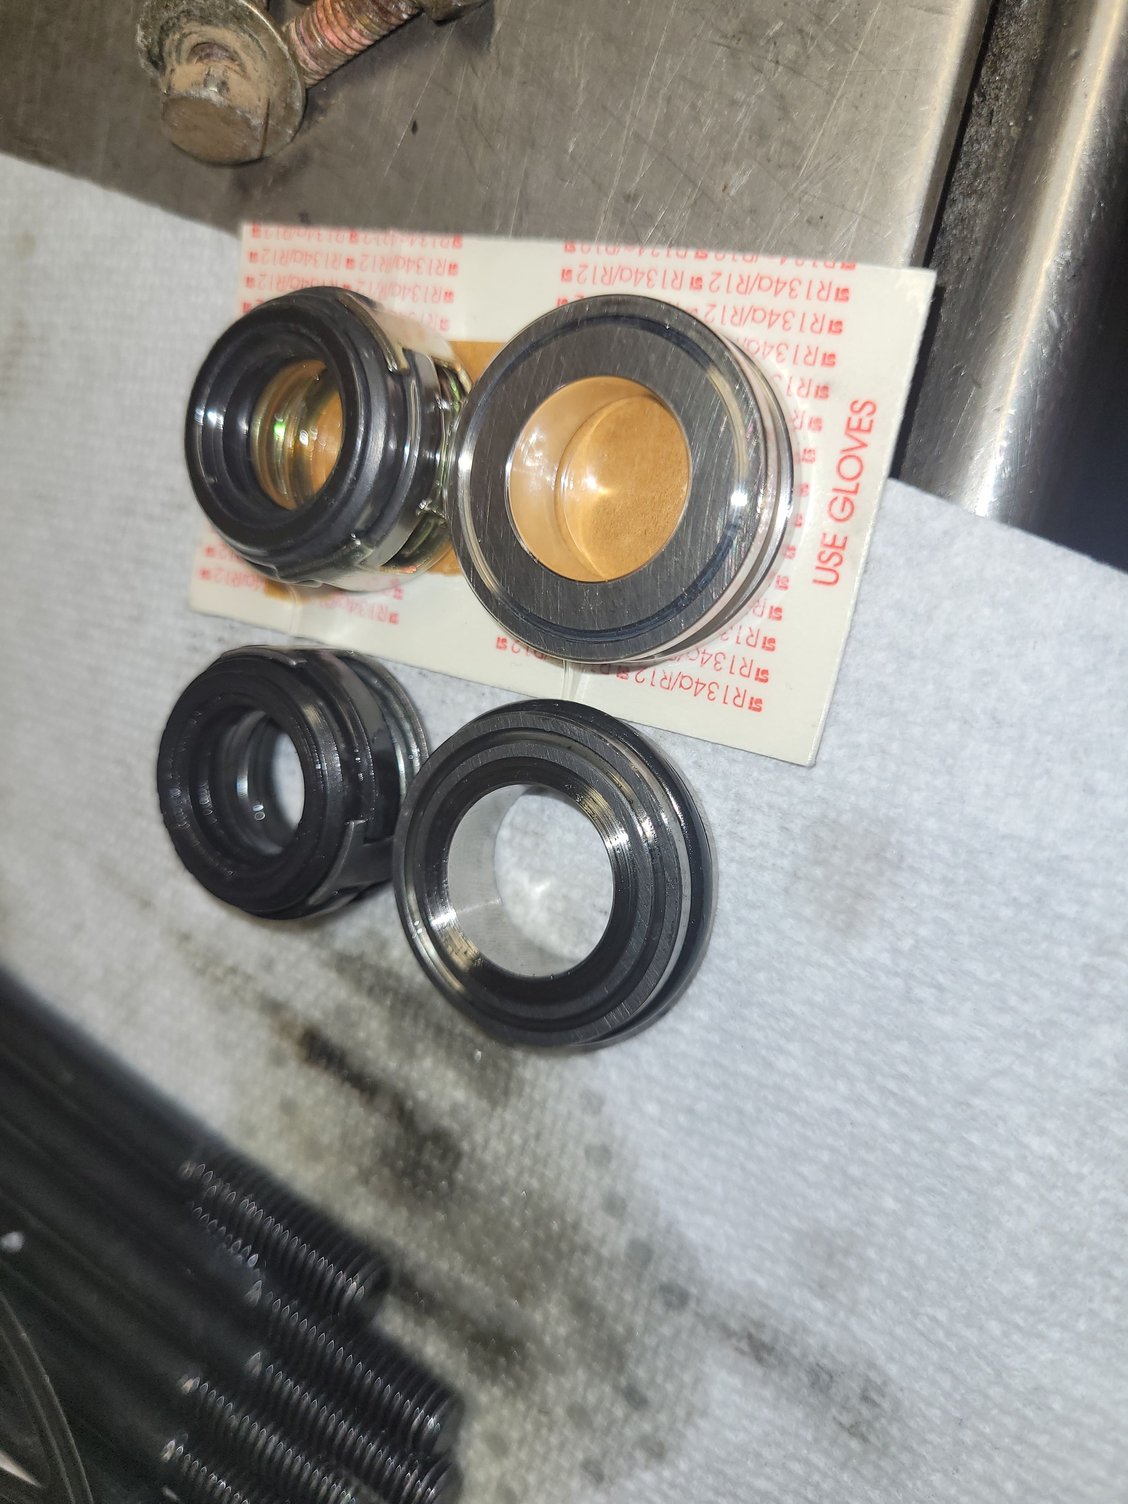
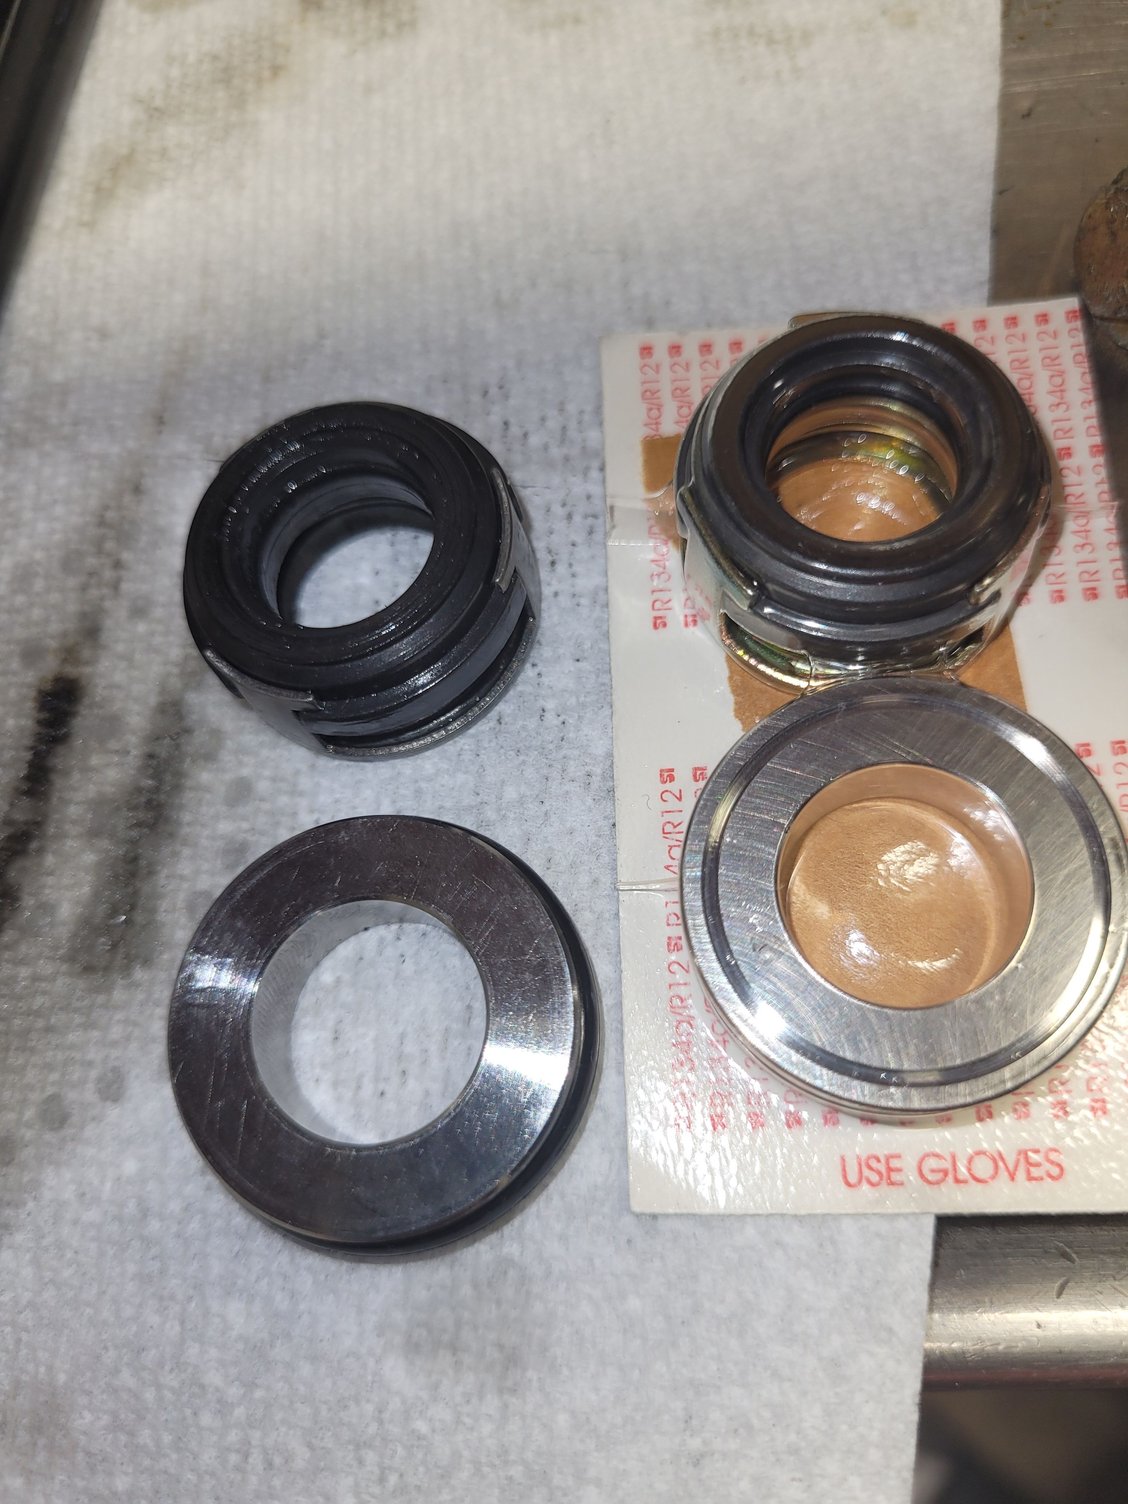
July 2022. Next was the rebuilt compressor infant mortality. For whatever reason the carbon shaft seal in the rebuild kit just ground itself to pieces and made this pasty mess. I tried one more time with another seal, and when it happened again I decided to get a new compressor and reflush the entire system, just to be on the safe side, even though it seems like the paste came out of the compressor and didn't go in, thanks to the pressurized refrigerant blowing it out around the shaft. Carbon/refrigerant oil paste all over the shaft. Ruined carbon seal and new, also about to be ruined carbon seal.

 04-01-2023, 10:09 PM