When you click on links to various merchants on this site and make a purchase, this can result in this site earning a commission. Affiliate programs and affiliations include, but are not limited to, the eBay Partner Network.
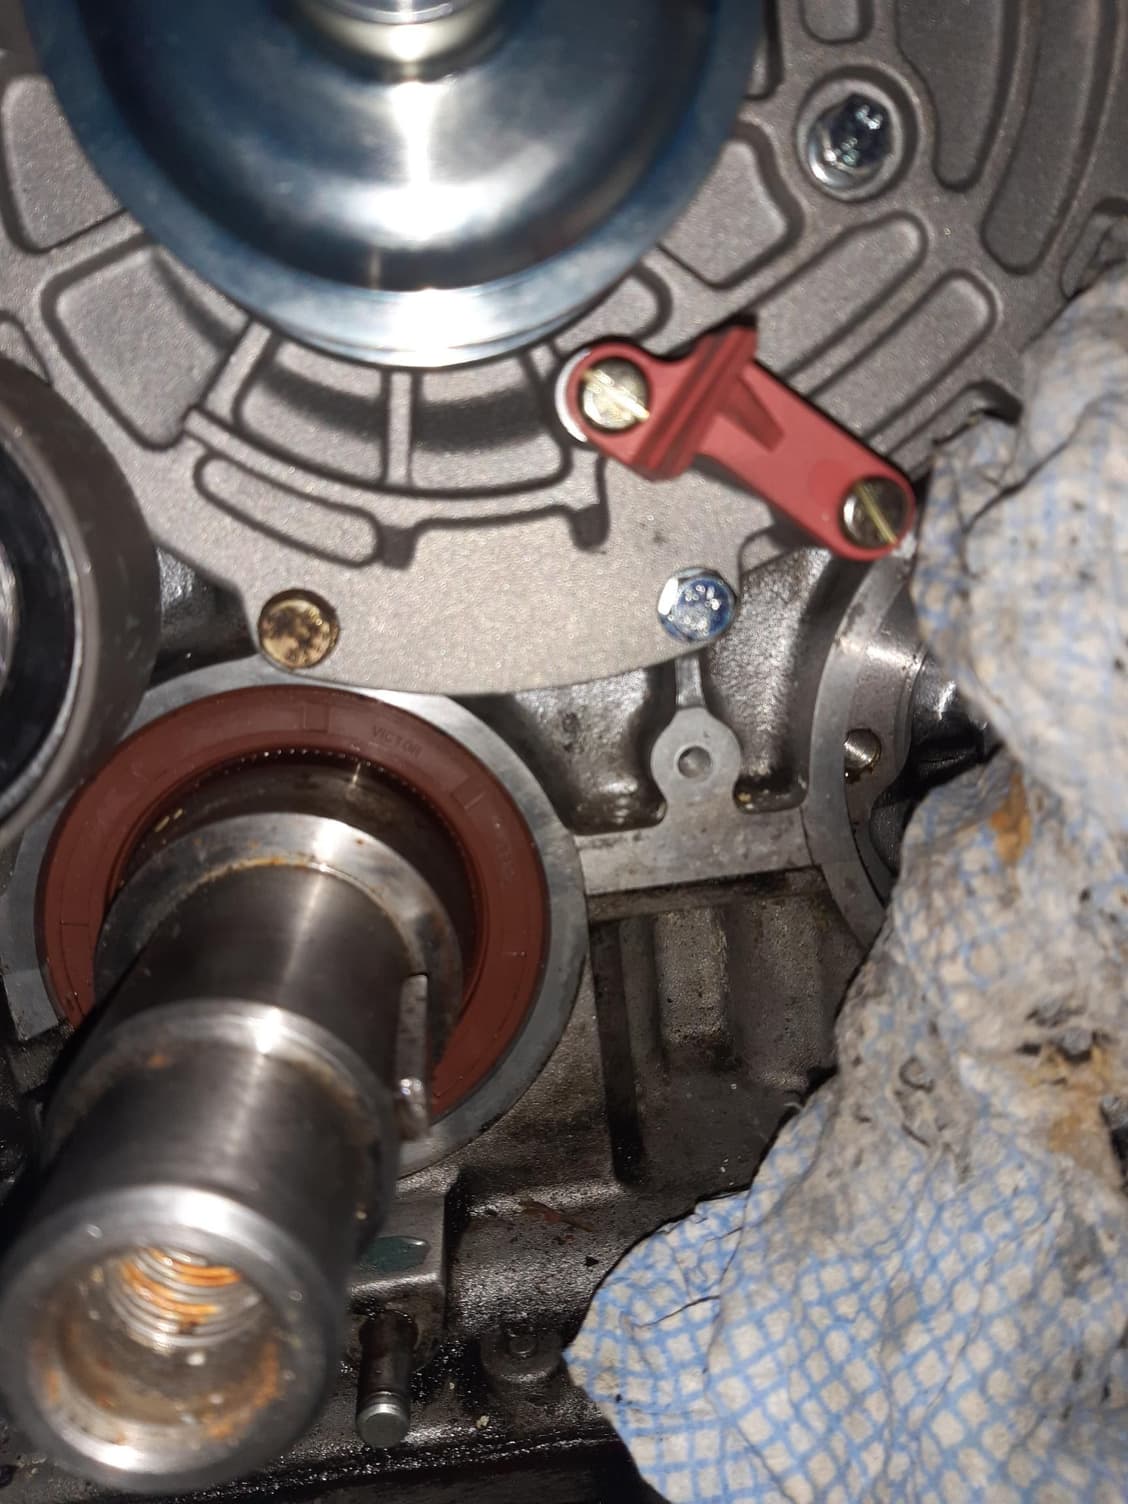
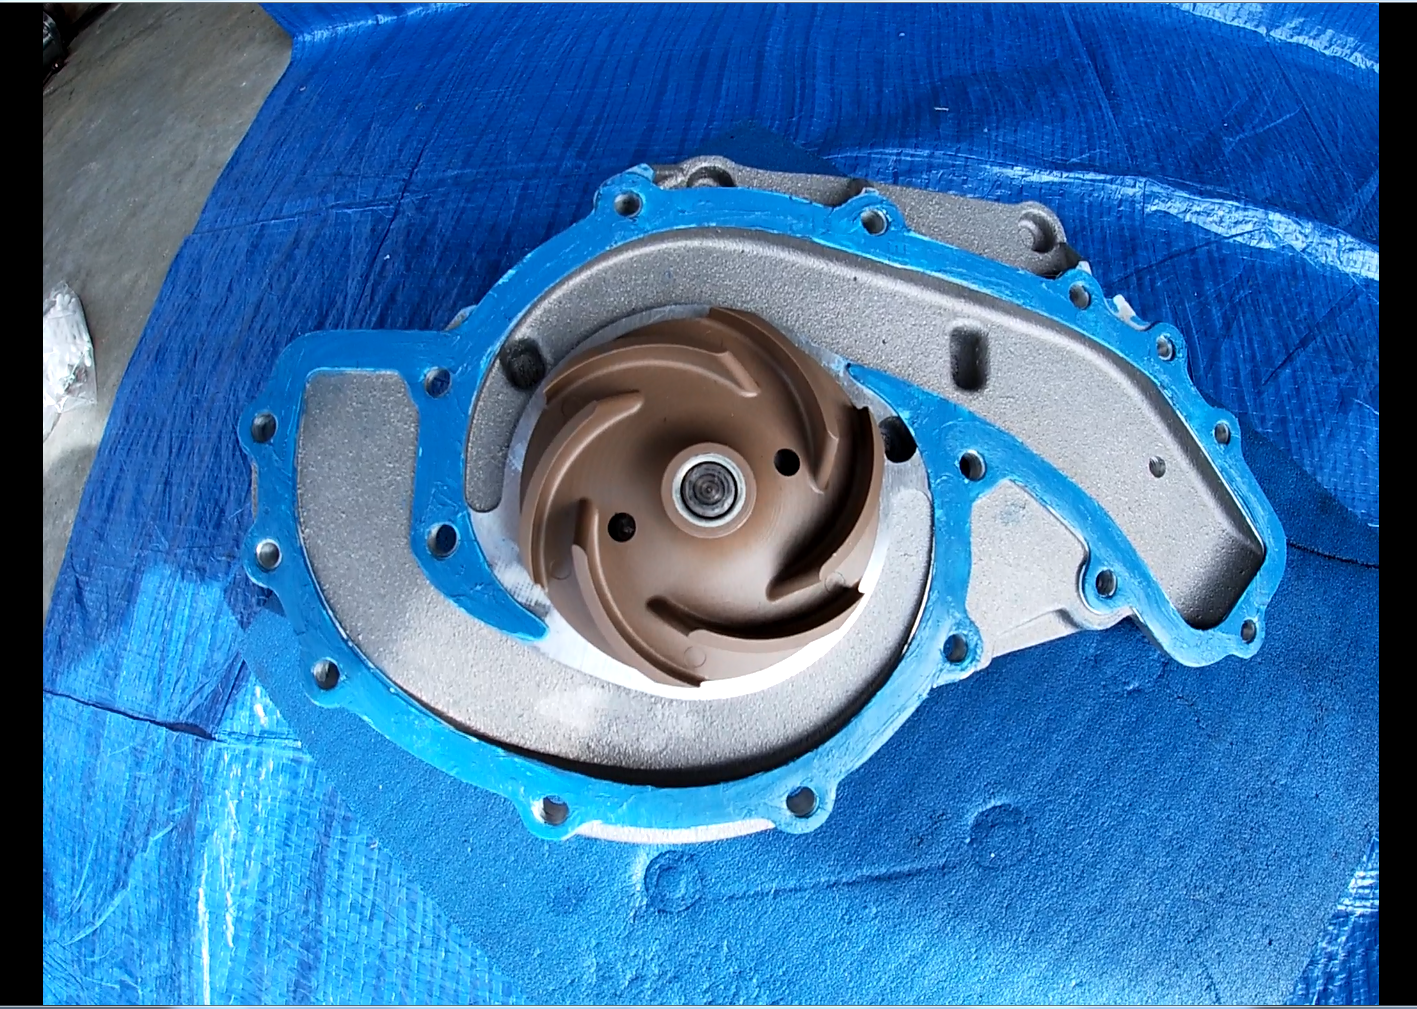
I am replacing the water pump whilst I do the TB. As I was tightening the various replacement bolts to 7 NP, one bolt didn�t bite. Rather than strip it completely, I backed it out. Although the bolt looked fine, I thought I would try with an old bolt, but I had the same issue. I was able to get this bolt to about 4 NP before I could feel it reducing the bite.
What should I do?
There are 13 other bolts on the water pump, is it fine just to leave it as it is?
I could take it out and put some thread locker on it and try to tighten it back to the 4 NP (hopefully), so at least it won't come out
Should I remove it (and the pump and the gasket) and use a thread repair insert. If so, how safe is it at the back of this hole when i drill it out: does it open out into the coolant or oil chambers or is there just more metal. I haven�t used an insert before (but I suspect this wouldn�t be the last). Is there a particular type/size I should use?
Helicoil or timesert (preferred). I would fix it. You may be okay though, because the torque spec is so low on these bolts, that some thread engagement may be sufficient. Still, after all this work, why risk a future leak and/or breakdown?
Use a digital caliper to measure the depth of the hole you're screwing the bolt into. If the bolt you're using is a bit shorter than the depth, get one that's just a bit longer (or cut one down) as there are probably good threads just past the stripped ones and the tip of the slightly longer bolt will secure into them. Make sure the new bolt isn't bottoming out in the hole though.
thanks all.
i was able to sort this using a longer bolt, but a bit shorter than the total hole length - there was enough thread in the hole to be able to torque it up nicely. Just didn't occur to me to try this - i learn something new everyday.
thanks again
I had the same issue. Beforehand I had used a plastic stirrer thing to probe the grooves on the all the holes and felt/heard good indications that the threads were all good. Turns out 1 was no good and there was no way I was taking that off, it was on so tight just from the 2 little positioning pegs. Plus the difficulty of doing the insert there.
I found a great shortcut on YT. First there is a special GOOP that you should use on the threads in any case that works as an anti-seize and as a LEAK BLOCKER. So my only concern was getting some grab on those threads. The YT video advice was copper thread! The copper thread in the hole with GOOP provided enough filler to let that bolt be secure!