When you click on links to various merchants on this site and make a purchase, this can result in this site earning a commission. Affiliate programs and affiliations include, but are not limited to, the eBay Partner Network.
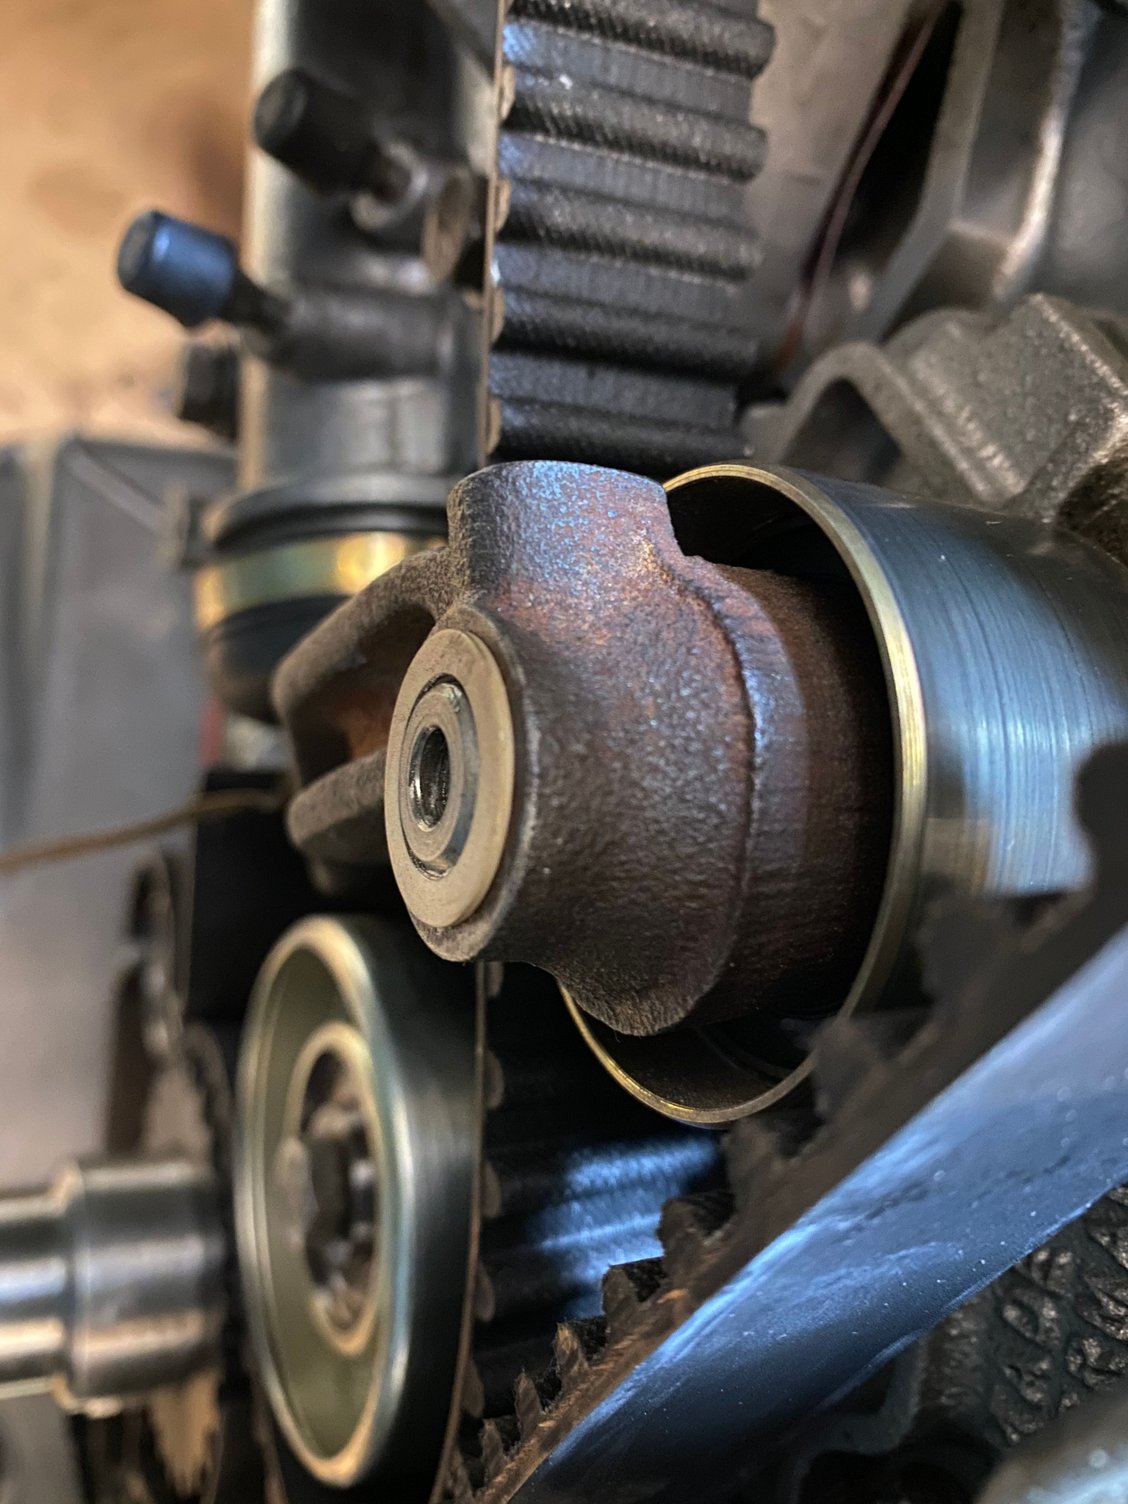
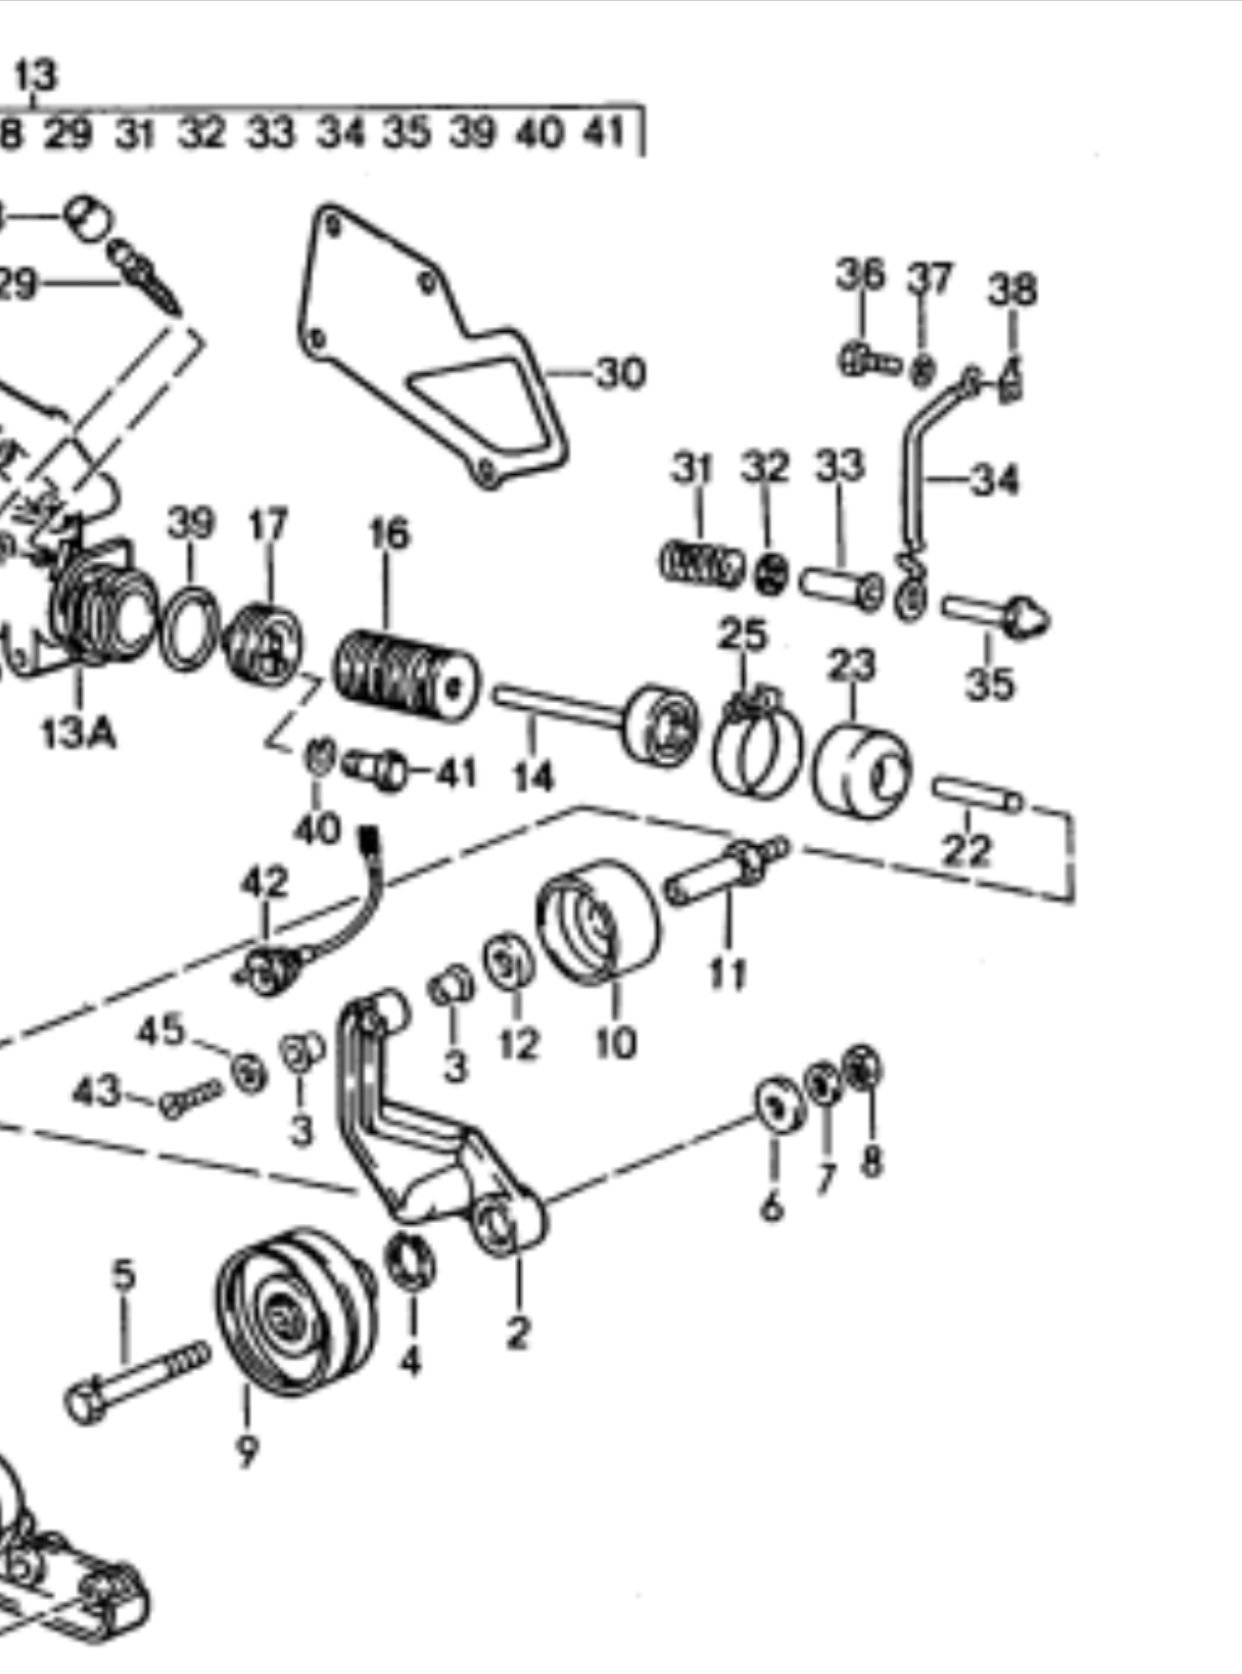
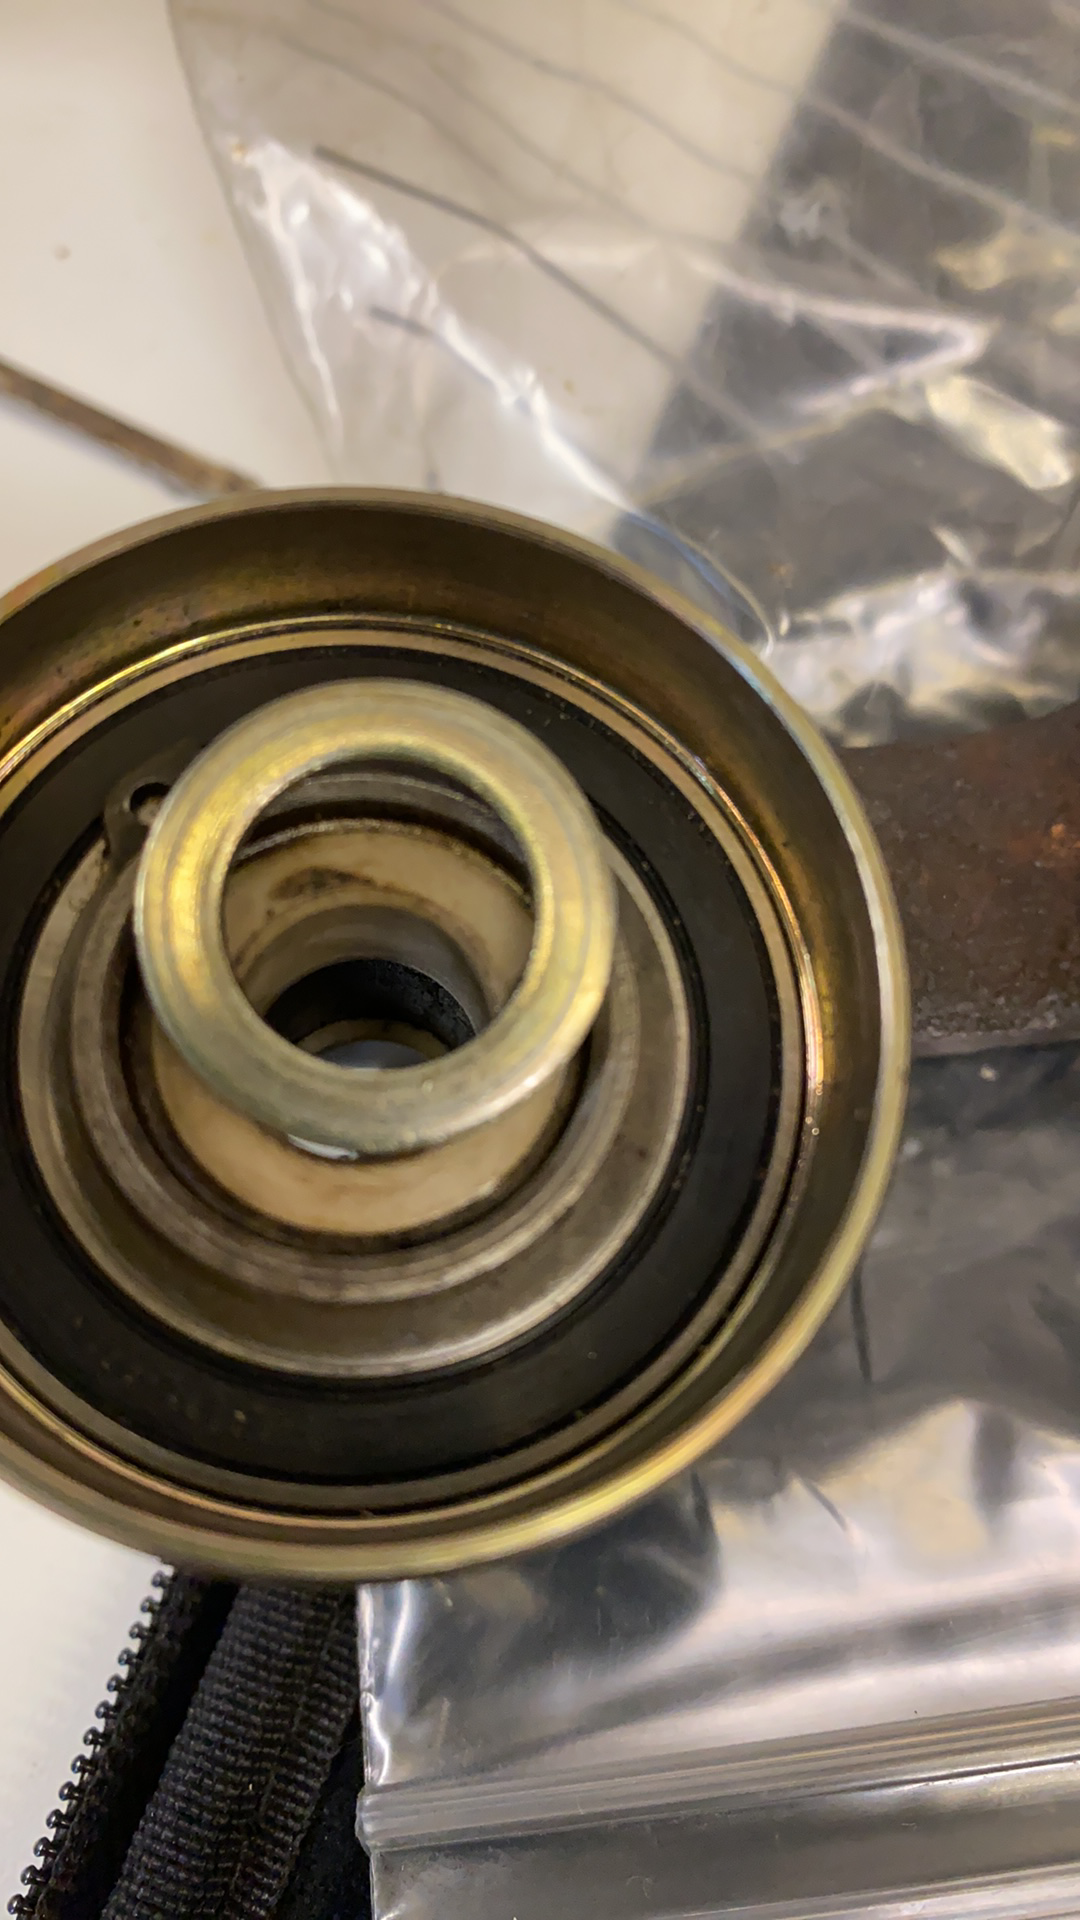
Hi all! I’m doing my timing belt. I have a question regarding washer #12 in the drawing. With a washer installed, the tensioner arm bushing is no longer flush with the stud, and the arm will bind when I snug up the screw at the end. That’s clearly not right. On the other hand it doesn’t seem right that the inner plastic bushing should ride directly on the hex portion of the stud, without a washer. Also, note the wear marks on my rollers, obviously offset, somewhat. What’s the correct way of installing things here?
Without washer Note spacer/washer #12 in this drawing With washer installed The washer in question Note off set wear marks
No washer on your model, in the location you are questioning.
Make sure there is a circlip on the shaft of the tensioner roller, which is required to space it correctly.
The circlip needs to be transferred/replaced when that roller is replaced.
Common for it to be missed, by rookies.
I'll carry om with the assembly and ignore the somewhat offset wear marks on the rollers.
Remove the "big" roller from the arm and make sure the circlip that holds the roller at the proper position is present. (There's a groove in the shaft for the circlip.)
I've seen some amazing things done, in this area....everything from no circlip (allowing the roller to move back and forth) to washers stuffed on the shaft.

 05-09-2021, 07:09 AM