When you click on links to various merchants on this site and make a purchase, this can result in this site earning a commission. Affiliate programs and affiliations include, but are not limited to, the eBay Partner Network.
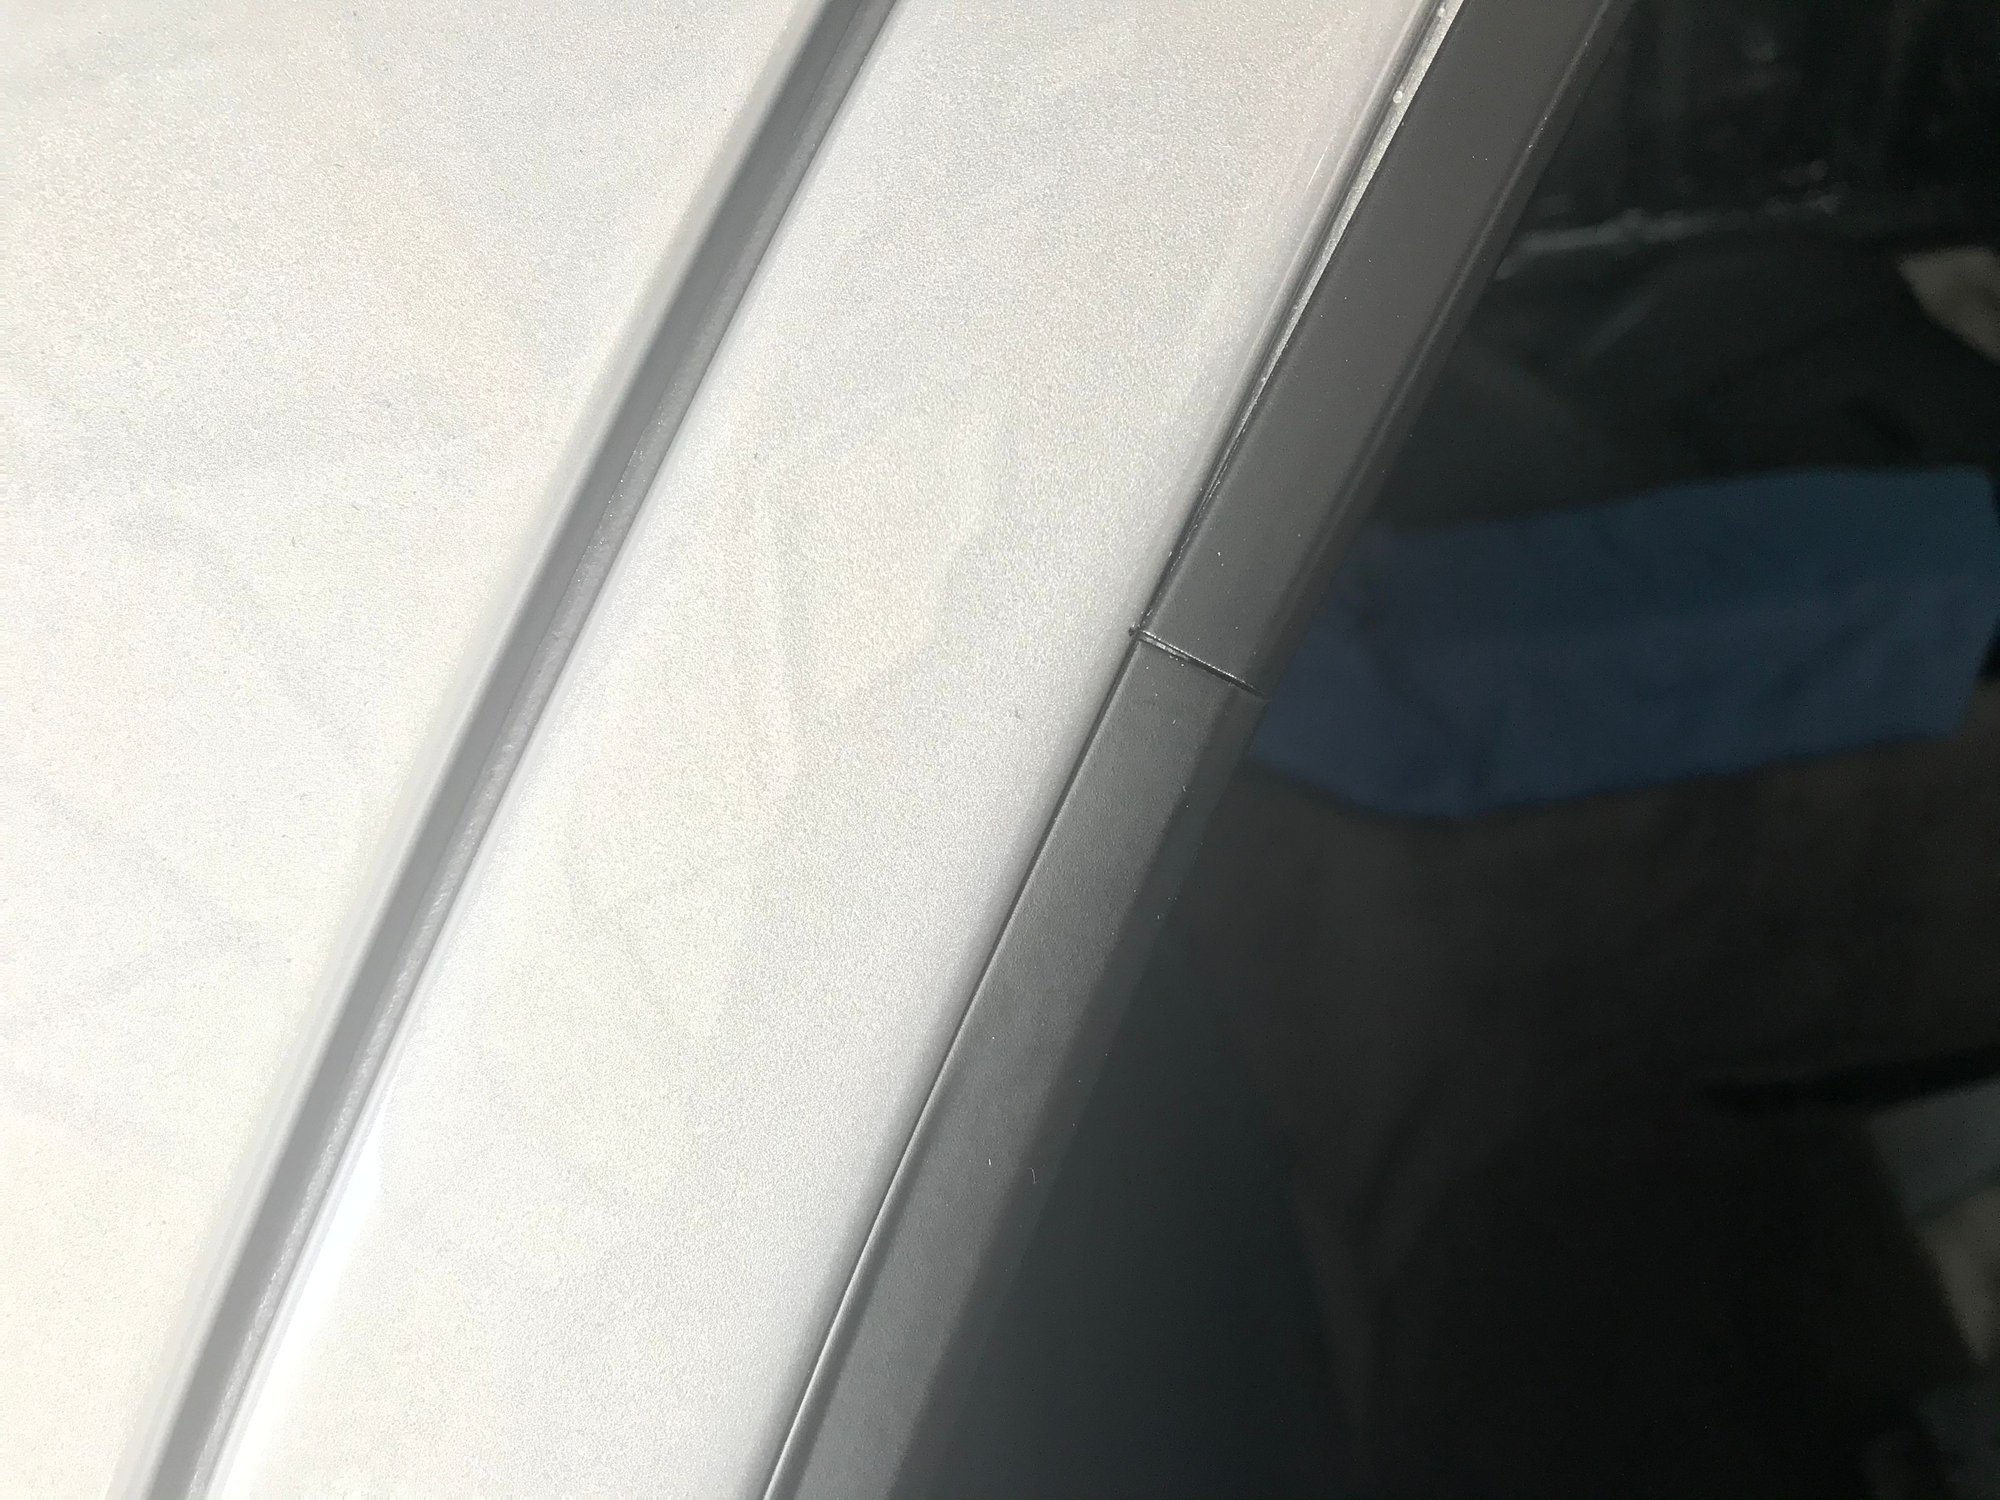
how on this earth do you close this gap on the outer window trim. it's not much, but the factory installation had zero. it has to be installed at an angle due to the shape of the trim and how it extends into the upper corner. you can get it started and then bend it slightly and the gap closes but not completely flush.. I've lubed the metal... gently tapped on the other end etc. the tapping gets absorbed by the upper corner prior to this joint.
it's not. bad... but not perfect either. and I can live with it.
That's really close to factory, I've seen (and committed...) worse. I always install the lower piece first and get it completely seated. Then install the upper piece starting at that seam, tapping it home there first and trying to take the upper trim all the way into its final position from rear to front. That's the only way I've found to minimize that gap.
That's really close to factory, I've seen (and committed...) worse. I always install the lower piece first and get it completely seated. Then install the upper piece starting at that seam, tapping it home there first and trying to take the upper trim all the way into its final position from rear to front. That's the only way I've found to minimize that gap.
figured you would be the first to chime in. Thanks Rob . Thats what i have done...lower first. I had scribed the window at the ends so i new where to start that lower piece...the upper is going in as tight as i can get it butted up against that lower piece...and Thats as close as i can get.
It's a bit of an article of faith that you can take a (non-marring) hammer and whang on that trim to drive it home. It's surprising how tough and resilient that trim is.
It's a bit of an article of faith that you can take a (non-marring) hammer and whang on that trim to drive it home. It's surprising how tough and resilient that trim is.
ya...well...i missed with a blow and scraped my otherwise flawless SEM finish. I got to repaint it again...this time on the car. I wasn't about to try and take it off again. Next up is reattaching that riveted corner piece. Any ideas...besides gluing it place.
The metal pins that are attached to the back of that piece are supposed to align with the riveted-on plastic L-bracket, which in turn captures the ends of the outer window weatherstrip. It's a goat rodeo to get it all just so. Did you manage to get the old piece off with both pins intact and unbent? If not, and you're going to reuse it, glue is your only option. If you bought new ones, I would mic the diameter of the pins and then find a drill bit just smaller than the pin diameter, and drill (using the bit) the mounting holes in the plastic retainer piece so there's a slight interference fit. And use a plastic rod on the outer surface of the trim piece, centered on each pin, to seat the trim piece. Any excessive force getting those pins seated will leave divots in the external surface of the piece. Ask me how I know.
Last edited by Rob Edwards; 04-21-2021 at 12:30 AM.
I found a small rubber grommet that fit into the receiver holes for the pins and then pushed the pins into the center hole of the grommet, so it's a gentle force fit but seems to work. Has been tested well into triple digits and been installed that way for 6 years. Every once and a while I'll remember to push on them to make sure they're still pushed all the way in, and they have been.


 04-20-2021, 07:45 PM


 I got to repaint it again...this time on the car. I wasn't about to try and take it off again. Next up is reattaching that riveted corner piece. Any ideas...besides gluing it place.
