When you click on links to various merchants on this site and make a purchase, this can result in this site earning a commission. Affiliate programs and affiliations include, but are not limited to, the eBay Partner Network.
Lots of great advice already given. I usually do a 4 step process:
1. Clay bar
2. Remove swirls with Meguiar's Correction Compound (mild rubbing compound)
3. Polish with Meguiar's Finishing Wax
4. My fav wax, which at the moment is DuraGloss 111
Between steps 1 & 2 I mask, mask, mask. Probably the most time consuming part of the project but well worth it in the end. Less clean-up of slop.
Top tip: if you get slop on black rubber trim, use a Pink Pearl pencil eraser to remove it. Then hit it with your fav Back To Black product.
Great stuff. Back to the original problem: The issue came about when I was at SITM last year. After washing the car I tried applying a bit of the Adams Polishes "Paint Sealant" to the door to see how it would work. Bad idea, saw the white swirls and stopped immediately. Washing it again would not get it off, and here we are.
It looks like it bound to the clearcoat, and the only thing that got it off was the gentle rubbing with the 2000 sandpaper. A year's worth of wax and buffing did nothing to this stuff. So what happened?
Sorry, I signed off last night and didn�t see where you still had questions. The Ultimate Compound is super safe on the entire car and I would do the entire car, even the new paint because it�s now two years old so not very new anymore. And yes, apply the compound to your buffer bonnet and use that on the whole car.
Before you do though, consider clay barring the car with the Meguiar�s Clay Bar Kit. You�ll see why as soon as you do your first section of a panel. There are all kinds of contaminates bonded to your finish that won�t wash off and that are not visible to the naked eye. The clay bar pulls them off making for a smooth slick clean surface to compound and then wax. You don�t need to clay bar that often, but from the deferred maintenance that your paint has you should do it now.
ETA: When using the compound, do one manageable section at a time and remove the left over material with a microfiber towel right after, it is not meant to be left to dry.
Ok, just bought the Meg clay bar kit. I see it also comes with lubricant, wonder what that sauce is. Anyway I'll wash the car again tomorrow and try this clay stuff out, sure the compound isn't going to destroy the earth/paint? Maybe I'll just wax it first and enjoy that for awhile.
Without seeing the car and just using my own experiences, my best guess is the area that you applied the Adams to had lots of existing swirls and an oxidized �rough and very uneven� finish to start with. So the product filled in all of the defects and could not be sufficiently removed to create a thin layer as intended. Hope that makes sense. I looked on Google but couldn�t find a similar complaint about Adams, but perhaps most often the people applying that product own much new cars with fairly well maintained finishes. But apparently it is not safe on plastics and other things so many people had to use isopropyl alchohol and / or a pencil eraser to remove it, others used an all purpose cleaner with success.
Anyway, hopefully you�ve gotten all of it off already or at least to a very good extent. So go ahead and clay bar the car and machine compound it as many times as needed to produce a slick shiny finish. Run your fingers across the surface before you start, then compare the smoothness after you detail your car - prepare to be amazed!!!
As far as putting tape and plastic all over the car, I don�t do that. The Meguiar�s products I mentioned are fine on all of the trim, I just stay away from the bumperettes and the rough trim around the mirrors; but even there a little alcohol will wipe them clean. These newer technology products are very user friendly.
The clay kit comes with two bars. Open one and begin folding it over itself several times to soften it and stretch it out to the size of your palm. Generously mist the area you want to clay with the Detail Spray that is included in the box, then pass the clay over the panel as many passes as you like, the surface should be wet while you are doing that. You are �cleaning� the finish. Then wipe the area dry with a microfiber towel. Fold the clay over itself and stretch it to get a fresh side each time you do a new section. If you drop it on the ground throw it away, because it could have picked up small particles that would scratch your finish. One bar will probably do the whole car, and it really takes very little time at all.
I�ve used the Ultimate Compound for more than 10 years on both of my cars (one has clear coat and the other has single stage), I can assure you that it is very safe. I�m imagining your car and I really think it will need at least two or three applications of the compound to get the swirls and oxidation knocked down. Do your whole car with both the clay and the compound before applying any type of sealant or wax. I probably wouldn�t apply the Adams�s again after this experience, but I noticed that it�s on the pricy side so if you are tempted apply just a small amount in a �test� area and follow their directions closely.
ETA. The process seems like a lot of work, but it�s really not that bad and the results can be very satisfying. And it�s not as though you have to do it every time you wash your car. Your car really needs it, and you�ve got all of the materials and the tool to do it. But as an alternative Meguiar�s makes a 3 in 1 product now that combines all of the processes, to a lesser degree I would think, that appears to be super easy. I haven�t tried it but Meguiar�s engineers really know their stuff. Maybe you could try that if this isn�t your cup of tea. Here is a link:
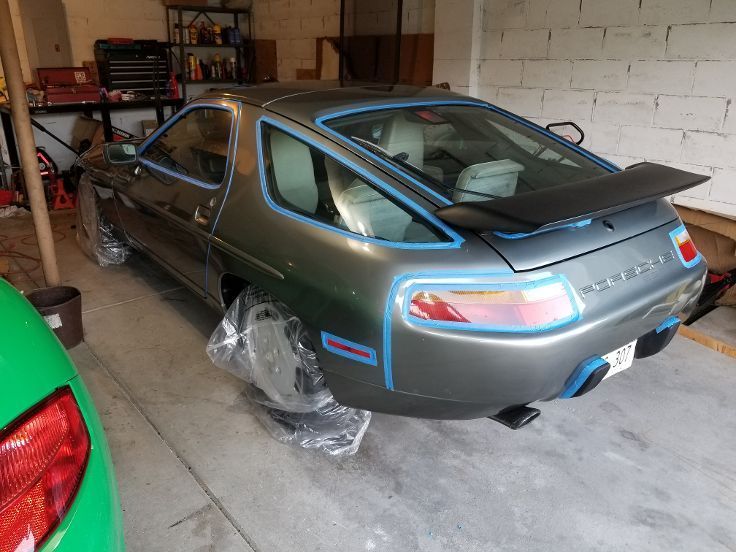
Ok! Well I started at noon today, it's 1:30 here's where we are.
After taking the car to the bank I took a picture in the sunlight of the driver's side door. It's better but if you look closely you can still see traces of the white splotches up close. Weird.
Looks good 10 feet away But not quite 2 feet away. What the hell happened on the bottom half of the door?
Then I drove home, did another wash (third time in 3 days) then started with the bar. Kneaded it into a puck and decided to focus on the rear quarterpanel, back along the hatch, passenger rear quarter, roof, hatch roof, passenger side door which is pretty much the whole car that was not painted except for the rear bumper. That I'm leaving alone for now due to other reasons: It's plastic, there is a paint bubble and wrinkle that I am NOT screwing with, and I might get that part repainted anyway.
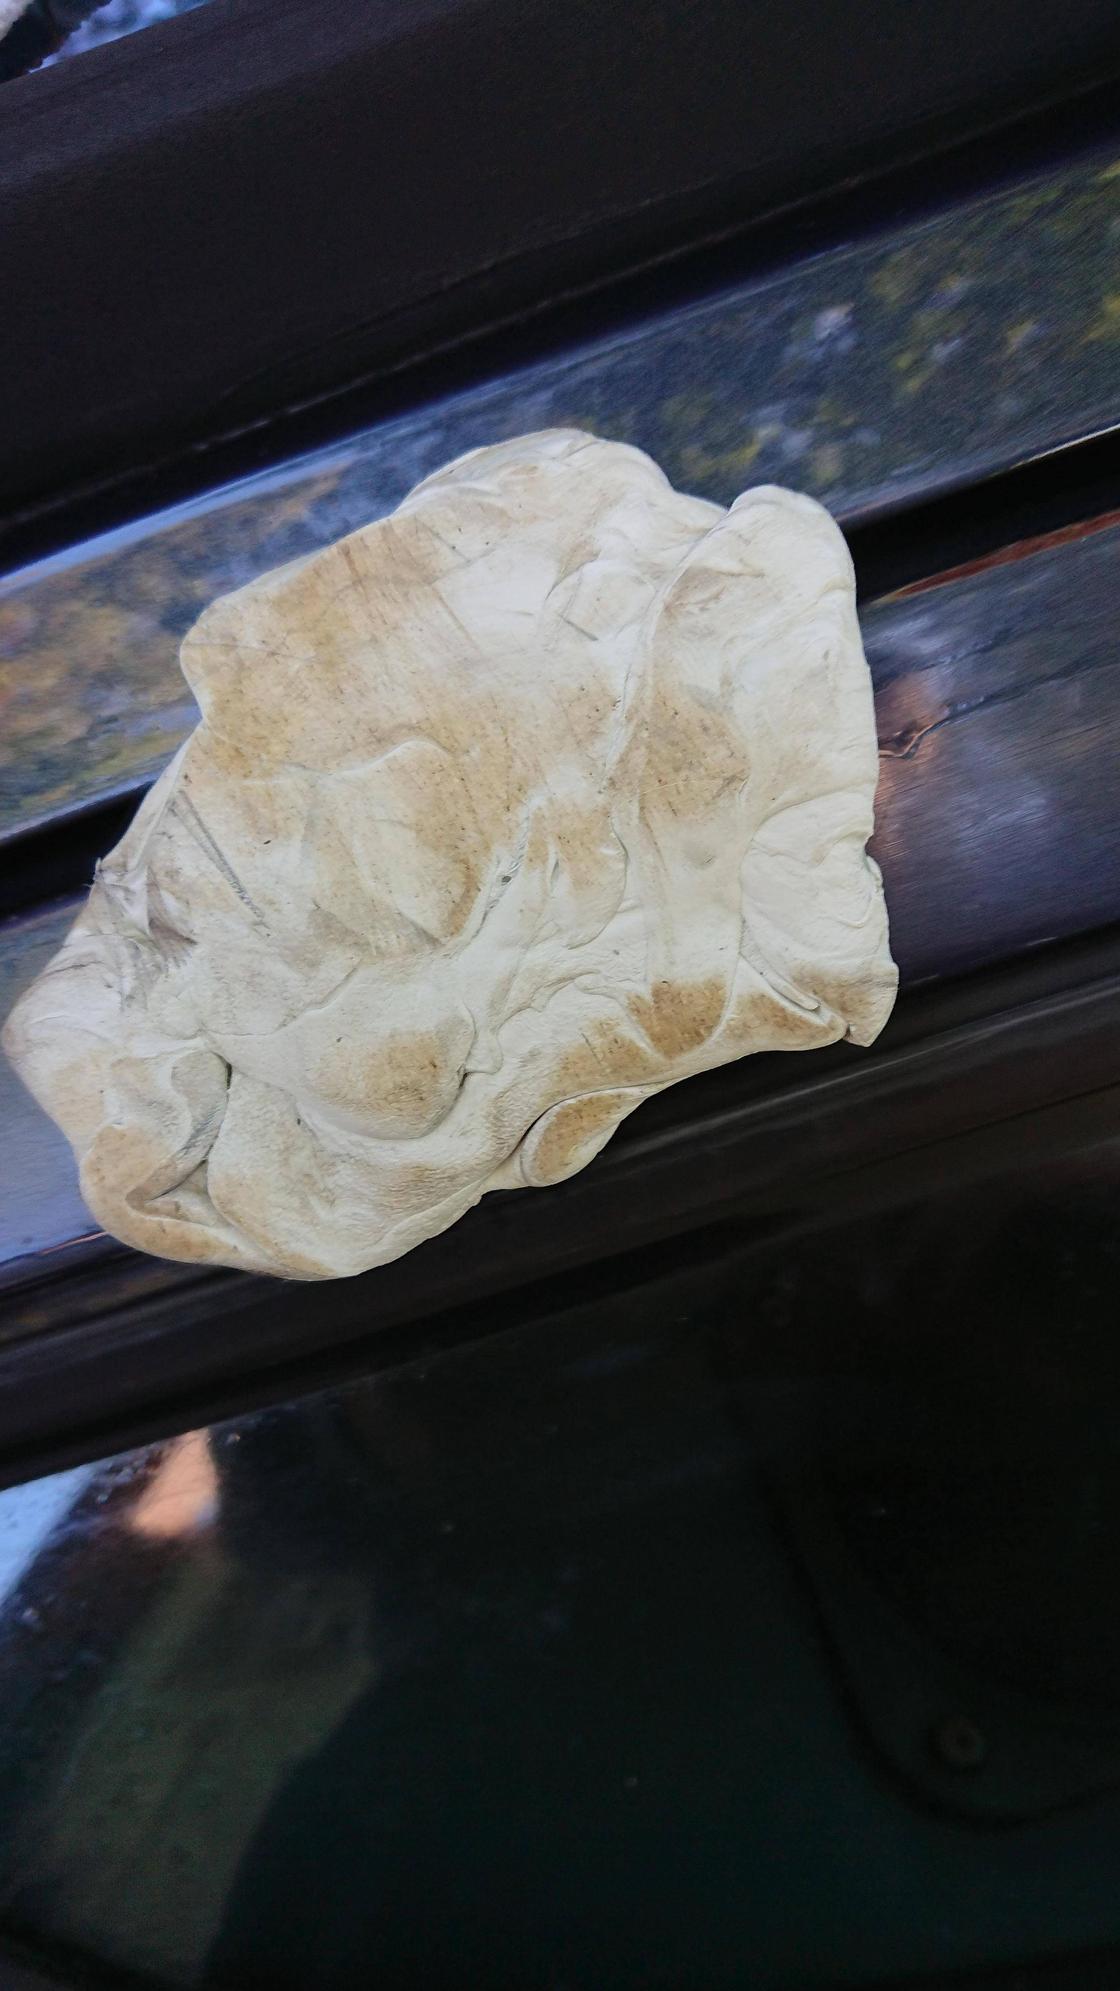
First the clay bar: I did wax the rear quarter panel so when I barred it I got a light brown smudge of dirt, interesting to see but not that big of a deal. Same on the trunk. Then I went to the passenger side....
This is what the bar looked like after less than a minute on the passenger panels. Wow!
So yeah, there is a lot of dirt or something on the paint. I kept kneading it, starting over, more dirt. Was wondering if I had dirt instead of clearcoat, but it finally came clean-ish and I figured that was enough.
Now time for the compound: Used the Meg stuff, put about 6 drops on the cloth pad on the buffer, put buffer against car, smeared on the drops so they wouldn't fly off, powered on, and used pretty light strokes. Mostly want to let the buffer do the work. After each panel I stopped, put the buffer on the truck, got the fine fiber cloth, and wiped off all the compound. Then on to the next section.
You get to know your paint when you're doing this. Biblically. I can see there are some chips in the paint that need to be touch filled to keep the paint from exploding, and there are at least two areas where the clearcoat has ruptured. For those I'll put some brush on clearcoat just to act as glue and keep things from getting worse. After I wax everything maybe, before if I can find the darn brush on stuff. But it could be worse.
The white paint scratches where my daughter pinged the car with the truck compounded out pretty well to be honest, and overall I guess it looks better. Happier. Then I went over the whole back of the car with the "bunny fur" cloth on the buffer, light strokes.
Now I'm letting it sit for an hour or two while I write this. Next I'll put some of the mothers' wax on the buffer, lightly buff it in, then wipe it off with the fiber cloth and do a final buff with the bunny fur. Then I'll think about the front of the car next weekend....
If the clay really didn�t get the contamination off of the quarters it�s probably because of the fresh wax that you put on right before claying. Now that you gave it a first pass with the compound you should clay it before waxing, if it�s not too late.
You don�t need to be so cautious with either the compound or your orbital buffer that you are using, they are both quite gentle on the finish. There are much more aggressive compounds and high speed dual action machines with various pads that take sort of substantial research to learn about before using.
Anyway the good news is you are happy, that�s really all that matters!
All done: Buffered in the wax without much trouble, then removed it by hand with a clean towel then removed the wax by hand. Still had some small scratches that showed up on the rear passenger panel so I re-compounded it, cleaned that off, applied new wax looks better.
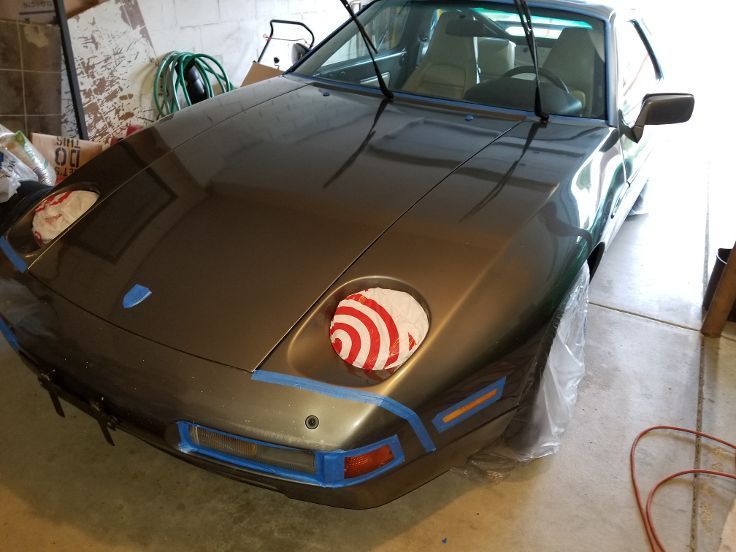
Then I decided to do the front, just bar and wax. The bar didn't pick up much, the paint was far smoother and it was just a bit of light brown. Still, there, and more on the sides so after doing that I applied the wax, let it dry, and hand-dried it. The paint chipped to the metal inside the driver's headlamp sump, maybe it bashed into it once or something, I do not know. But it's waxed now like the rest of the car and looks good.
Final steps are to fix the trim (one of the trim joiners moved up on the drivers' side windshield) and more oddly the top front round metal trim bit by the passenger rear window fell off. I took a look at it, and it looks like the top rear trim part moved backwards. Is that possible, and if so is there a way to get it to move forward?
Overall the car looks a lot better, but still there are dings, dents, light scratches, and some patterns where a previous person dug their buffing wheel into the paint (oops). I'll order some Prussian blue touch up for the chips, put clearcoat over the cracked sections, and it should hold up for a few more years. Otto, maybe in the spring I can drive out and we can play with your detailing toys....
If the clay really didn�t get the contamination off of the quarters it�s probably because of the fresh wax that you put on right before claying. Now that you gave it a first pass with the compound you should clay it before waxing, if it�s not too late.
You don�t need to be so cautious with either the compound or your orbital buffer that you are using, they are both quite gentle on the finish. There are much more aggressive compounds and high speed dual action machines with various pads that take sort of substantial research to learn about before using.
Anyway the good news is you are happy, that�s really all that matters!
I *really* appreciate your thoughts and help on this, along with everyone else who has posted comments, thoughts, and support. For me this is very new and I never really understood the concept of paint. Couple that with the paint on the 944S imploding and I have been really cautious. So for me the nightmare of the paint ripping off in big strands is there, but glad to hear this stuff should not damage it.
I still need to think about those white swirls, I can feel the buffer change pitch when it goes over them, they are rough which is weird.I'm sure it's that paint sealant stuff, maybe I can write to the manufacturer and see if anything will take it off. Would acetone, trichlorethylene, gasoline, ammoniated watch cleaning solution, or isopropyl alcohol damage either the paint or the clearcoat? Those are pretty much my standard cleaners when doing watch repairs.
Well it seems that there are postings on the web from others that have a very difficult experience with trying to remove Adam�s Sealant. This is just one posting, scroll to the last post I guess:
Your Ultimate Compound and buffer should be able to remove it; the wool bonnet is the one for difficult issues like this or heavy oxidation. But if it just won�t budge I believe isopropyl alcohol is the go to product. If that won�t do it an All Purpose Cleaner and or a Mr. Clean Magic Eraser? Good luck, sorry you are going through this issue.
You are a complete novice (no offense intended AT ALL!), so just go slow and do exactly what you are doing, research before taking action.
I would be interested in knowing what �compound� you are using. There is polishing compound and then there is the much more aggressive rubbing compound. Stay away from the latter, it can literally buff the paint off the car and you won�t know it until you lift the pad of your polisher!
Meguiar�s has forums that you can peruse and ask questions just like here, but the answers will come from detailing / paint correction enthusiasts. Without seeing your paint but just assuming a generally neglected but not badly degraded paint finish the general recipe for �consumer� grade products is:
1. Wash and dry the car.
2. Use Meguiar�s Clay Bar Kit, about $18
3. Use Meguiar�s Ultimate Compound with your rotary buffer (very effective but also very safe for both a professional or a novice). When you are finished you will know, the car will look amazing! On your car 2-3 applications may be required. The wool pad is the most aggressive. about $10
4. For added depth and shine use Meguiar�s Ultimate Polish ( most effective on darker cars). about $15
5. Finish with Meguiar�s Ultimate Liquid Wax, it has a synthetic component to it. about $20
All the products mentioned should be applied on a cool temperature car in the shade (garage). If you try these and enjoy the experience and the results then you may graduate up to a dual action machine and the Meguiar�s Professional Line, but at this point I would recommend just going slow, using products designed for consumer use, and go as far as you want to go without polishing the paint off of your car.
The Ultimate Mequiar's compound works great and is very safe with a rotary buffer. I do it exactly like he suggest but finish with Wolfgang protectant. It takes a while but is very satisfying when finish to step back and look at it.
Well it seems that there are postings on the web from others that have a very difficult experience with trying to remove Adam’s Sealant. This is just one posting, scroll to the last post I guess:
Your Ultimate Compound and buffer should be able to remove it; the wool bonnet is the one for difficult issues like this or heavy oxidation. But if it just won’t budge I believe isopropyl alcohol is the go to product. If that won’t do it an All Purpose Cleaner and or a Mr. Clean Magic Eraser? Good luck, sorry you are going through this issue.
It's ok, life happens and this has been an experiment. Thank God it's confined to one panel, worst case I take it to the painters and tell them to redo the door bottom with a belt sander.
But I did go back to work on it. This time I brought out some 70% isopropyl alcohol. Wet a corner of paper towel with it, blotted it to the point where it wasn't dripping, and tried it on the panel. First the panel went blue, then as the alcohol dried everything went CRAZED WHITE. Holy smokes. I don't know if that was the wax, the adams stuff, or the clearcoat, but it was a MESS. Good news is it wiped off. But now the panel is fogged in bright light. At least it's even :-)
Bright sunlight brings out the worst....
However I am getting concerned:
I'm thinking this stuff is not going to come off with any level of compounding. It's just too hard or stuck or something. So I need to move to a chemical solution. I could try diluting some alcohol down to 50%, masking off the other panels and just hitting this thing with a fire hose worth of it. Worst that happens is the door falls off :-)
I did try two layers of compound with no luck. I'm getting a bit concerned that I am just going to burn through the paint, so I'm going to back off. Also I am seeing red flecks in the paint super close up. Not sure what the hell that is...
This is by the center clearcoat fail. So far I am still not seeing blue on any of my pads which is good, but that hit needs to be sanded and re-cleared. Another project
(Actually it's possible I know what that is: I did put a coat of clearcoat on that hit from a bottle that I also used on my 944S. But that was on paint that had dried for a day, so I can't believe some red molecules got into the bottle, then came out on the paint here. But hell, anything's possible)
The car *does* look sharp in the shade though:
Maybe I should only drive it in the shade. The passenger side looks good.
Hey, this is an experiment. Thoughts on hitting the bottom of the panel with a hose of 50% isopropyl?
Last edited by Christopher Zach; 10-03-2020 at 09:41 PM.
Honestly I don�t know. Hitting it with alcohol should have done the trick. How does the finish feel at this point? It should feel smooth as greased glass after claying and compounding it a few times.
I was evaluating my wash and wax product choices recently because Meguiar�s released a few new �hybrid ceramic� products. As part of my research I found that there are several YouTube channels that review all sorts of these products and then torture test them to see what they can withstand as far multiple washes and various chemicals / cleaners. The Adam�s sealant looks like it gets killed with Citrol, whatever that is. See this video, skip to about 17:30:
And if you are wondering, I did add the Meguiar�s Hybrid Ceramic Detail Spray to my routine based on some of these videos. I apply it after every wash as a Last Step Product; excessive perhaps, but it�s super easy to apply and it really adds noticeable depth and richer color to a black finish, even one that has been fully detailed and just washed a time or two.
ETA. A funny thing happened... I had just washed the car and applied the Hybrid Ceramic Detail Spray the day before and took a drive downtown on a gorgeous sunny day. On the way home a heavy rainstorm hit and of course I was pi$$ed! 😂. After about 10 miles I drove out of the storm. I watched the beads of water on the hood, mostly gone at 60mph, but at 65mph there were none left. After exiting the freeway near my home I stopped to inspect what I thought was my now dirty car. There wasn�t a spot of water or dirt anywhere! It was flawless! I�ve never experienced that before, at least the sides and quarter panels should have been dirty, right? But they were pristine. The only exception was the very rear bumper area, but that�s to be expected with aerodynamics.
That sounds good, except that Amazon will not ship it to MD for some reason. What the heck is up with this???? Fortuately Wally Mart will send it, so that will take a few weeks but I'll give this a shot. Thanks for finding it!!!


 10-02-2020 | 08:12 PM