When you click on links to various merchants on this site and make a purchase, this can result in this site earning a commission. Affiliate programs and affiliations include, but are not limited to, the eBay Partner Network.
Happy Saturday to everyone. This weekend's project is dash and pod removal. I have done some research and downloaded all the PDFs and step by step instructions that I could muster up. My wife got the great idea this week to install a big screen LED TV in the garage on one of the walls. This will allow me to do two things: 1. Stream YouTube how to videos and also put any step by step or Work Shop Manuals up on the big screen so I can easily see them. 2. Throw up a ball game or something else for a little background noise. I thought it was a great idea!
Anyways, if you any of you have further advice for the gauge pod and dash removal. I am all eyes and ears.
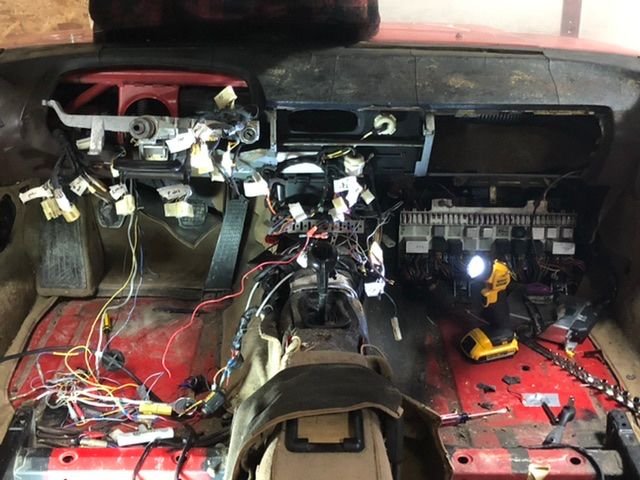
Ok. Seats are out, carpet is out, gauge pod is out, instrument cluster looks amazingly good for 1981, glove box is out and now working on center console. So far I have found 55 cents, a Phillips head screw driver, a three in Phillips driver, one 1/4 inch 180 degree swivel socket wrench, one 10mm socket (whoa!!), and one parking permit for the Los Angeles Convention Center that was once $7.00. Oh....and one hot wheels car (sadly not a red 928).
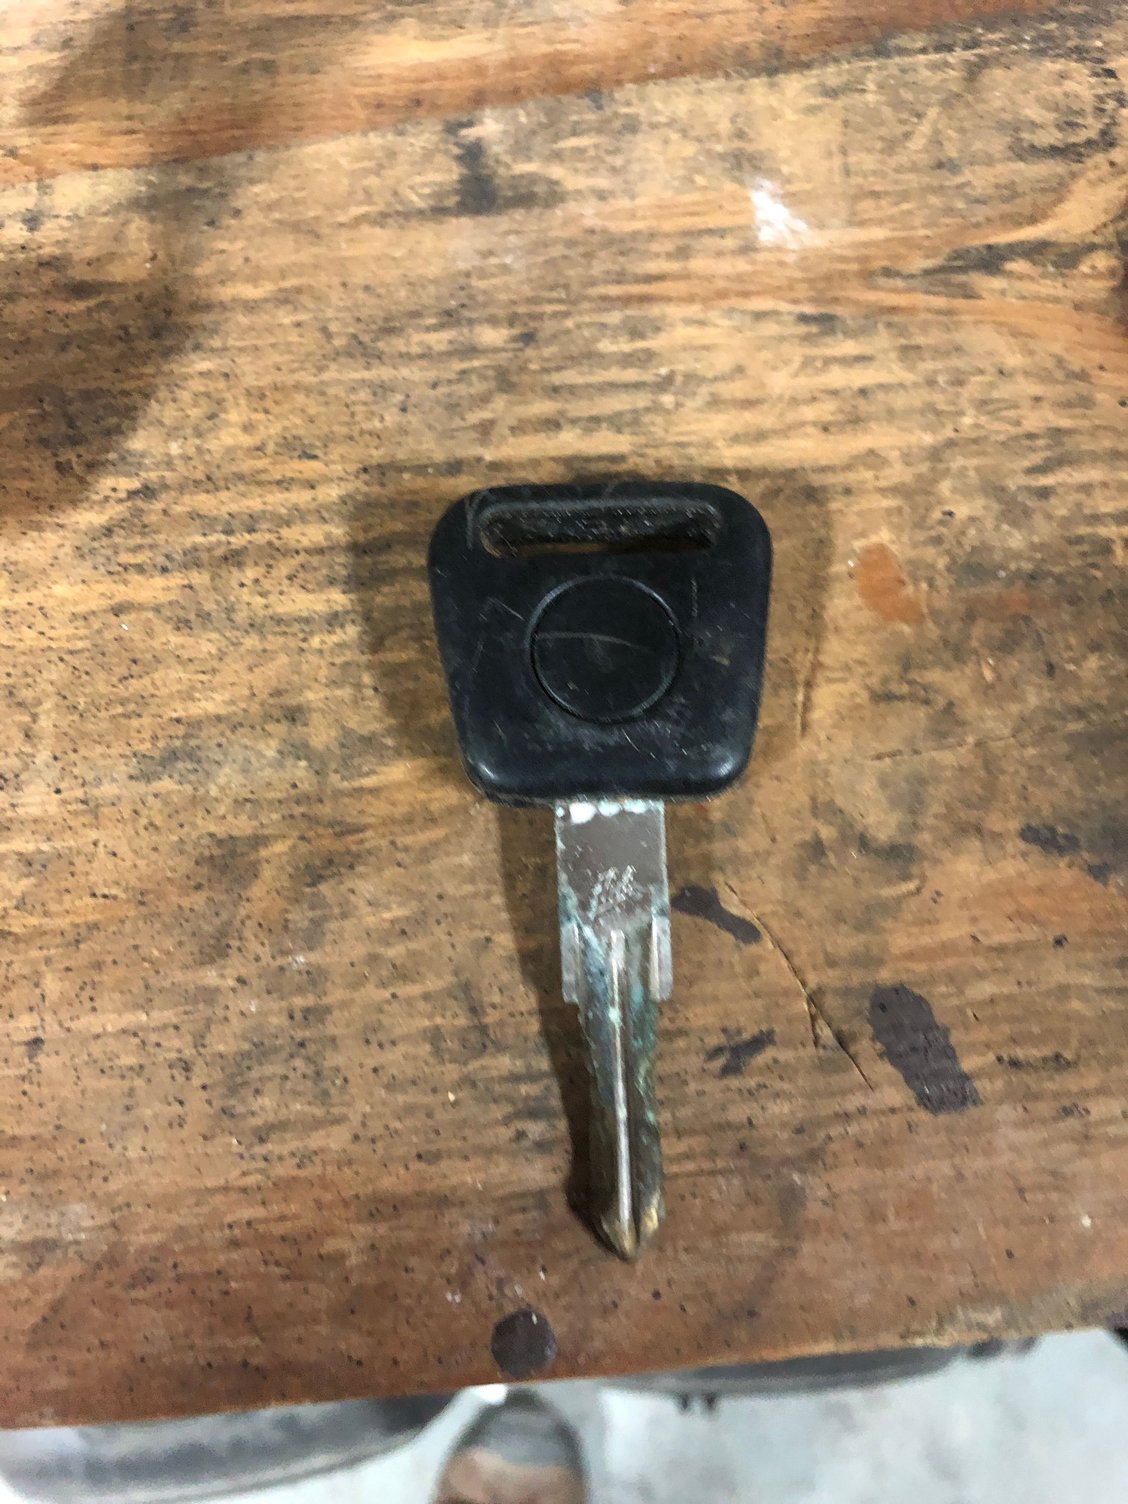
Found an extra ignition key as I was taking out the center console. PO made a damn mess of things with aftermarket stereo wiring. See drivers side footwell. Only thing left now is the dash.
After all the screws and bolts holding the dash are out, if it doesn't move,
take out one of the A pillars.
This is the procedure I follow.
Remove one of the sun visors.
On the same side, take out the front most screw holding the headliner to the roof.
Use a pry tool to pop out the Christmas tree holding the headliner to the roof. This will let the headliner to drop a bit and allow the top of the A pillar to swing under the headliner when its removed.
Standing along side the car, reach in and grab the A pillar along its inside edge with both hands and pull/push it toward the inside of the car.
With the A pillar out, the dash should fall right out.
When replacing the A pillar after the dash is in, use masking tape or similar to protect the dash when sweeping the A pillar across the dash and into position
Last edited by Rob M Budd; Sep 26, 2020 at 08:42 PM.
Dash has been successfully removed. I finished the removal at around 3pm PDT today. Time for the interior refurbishment to begin. Is there anything specific I should be inspecting now that the dash and everything is out? Thanks!
Well done!! That's a ton of work. Hope you celebrated with a cold one.
Thank you and yes, did. It really wasn’t as bad as I was originally thinking. This forum is awesome at posting great pictures and step by step. My 1981 was a little different, but nothing that couldn’t be overcome. I think the really hard part is coming up. Refurb and reinstall. More research needs to be done.
I would inspect and probably replace all of the HVAC diaphragms if you haven't already. Most are a real PITA to get to in normal circumstances but would be way easier with the dash, pod and center console already removed.
After all the screws and bolts holding the dash are out, if it doesn't move,
take out one of the A pillars.
This is the procedure I follow.
Remove one of the sun visors.
On the same side, take out the front most screw holding the headliner to the roof.
Use a pry tool to pop out the Christmas tree holding the headliner to the roof. This will let the headliner to drop a bit and allow the top of the A pillar to swing under the headliner when its removed.
Standing along side the car, reach in and grab the A pillar along its inside edge with both hands and pull/push it toward the inside of the car.
With the A pillar out, the dash should fall right out.
When replacing the A pillar after the dash is in, use masking tape or similar to protect the dash when sweeping the A pillar across the dash and into position
I would inspect and probably replace all of the HVAC diaphragms if you haven't already. Most are a real PITA to get to in normal circumstances but would be way easier with the dash, pod and center console already removed.
test/ check the entire hvac system. Mixing valve...vacuum actuators...the solenoids and the temp sensors. It is really nice to have it all apart and then watch what happens with the system hooked up and when the sliders are moved. Even nicer when you can just reach forward and replace a part. This will be the one and only time it will be easy to do.
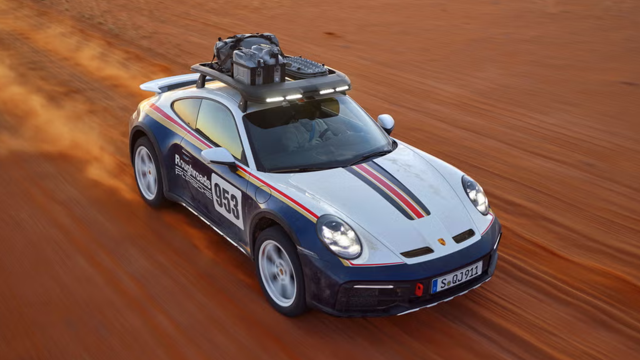
Porsche's Top 5 Most Questionable Naming Decisions
Slideshow: For a company obsessed with engineering precision, Porsche has occasionally named its cars in ways that left even loyal enthusiasts scratching their heads.
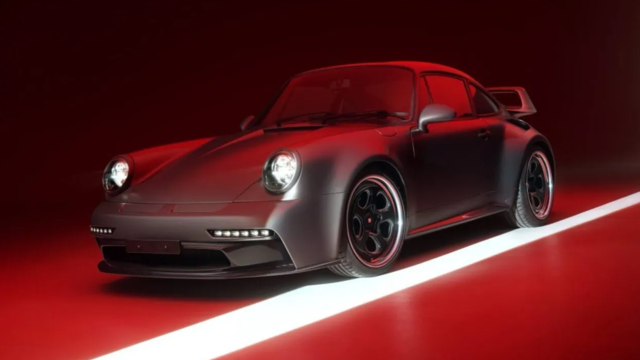
Pogea Racing's 964 Porsche 911 Reimagination Stands Out in a Crowded Field
Slideshow: Pogea Racing's latest Porsche 964 project blends carbon-fiber construction, modern chassis upgrades, and up to 500 horsepower while keeping the air-cooled 911 experience firmly analog.
Talos Takes Your 991 Porsche 911 GT3 to the Next Level for a Cool $1.13 Million
Slideshow: Talos Vehicles has transformed the Porsche 911 GT3 RS into a carbon-bodied, race-inspired machine that costs well over $1 million before the donor car is even included.
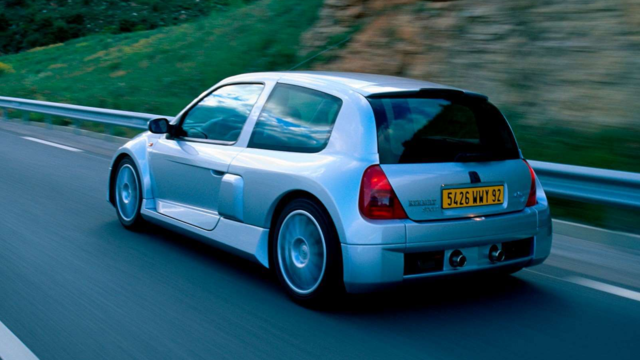
9 Vehicles Porsche Helped Engineer that Aren't Porsches
Slideshow: Long before engineering consulting became trendy, Porsche was quietly helping other automakers build everything from supercars to economy hatchbacks.
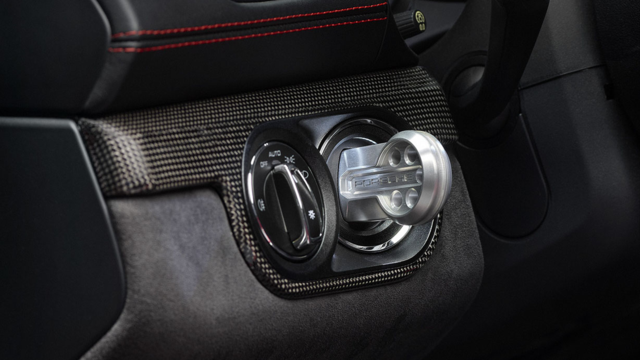
9 Features and Characteristics That Only Porsche People Understand
Slideshow: Some brands build cars. Porsche builds traditions, obsessions, and a few habits that stopped making sense decades ago but somehow became part of the charm.






 Weekend Project (Dash and Pod Removal)