When you click on links to various merchants on this site and make a purchase, this can result in this site earning a commission. Affiliate programs and affiliations include, but are not limited to, the eBay Partner Network.
Due to the Covid-19 lockdown in NewZealand - sourcing parts from overseas is not viable in the short to medium term. Already have parts in transit from the US that I ordered a couple of weeks ago - which have effectively disappeared
Discovered in the weekend that my ignition switch is not disabling accesories when turned off - so trying to rebuild the switch which looked in pretty good condition internally but was very dirty
Have cleaned it up - but now can't seem to reassemble correctly. There doesn't appear to be a 'kick back' on full iginition
Can anyone please confirm that i have this assembled correctly?
I never took my switch apart, but could the return be the ball on top pushing on a ramp inside the housing?
I think the ball at the top helps to define the various stages of the iginition, but there is no ramp at the top that would force the 'kick back'
I think the final stage kick back is produced by one of the 'ramps' on the pivoting switch - but the key is which is the starting point and i'm not sure the photos I've posted are correct for that
ok - doesn't seem to be alot of information around about the internal setup of the ignition switch, so dug a little deeper
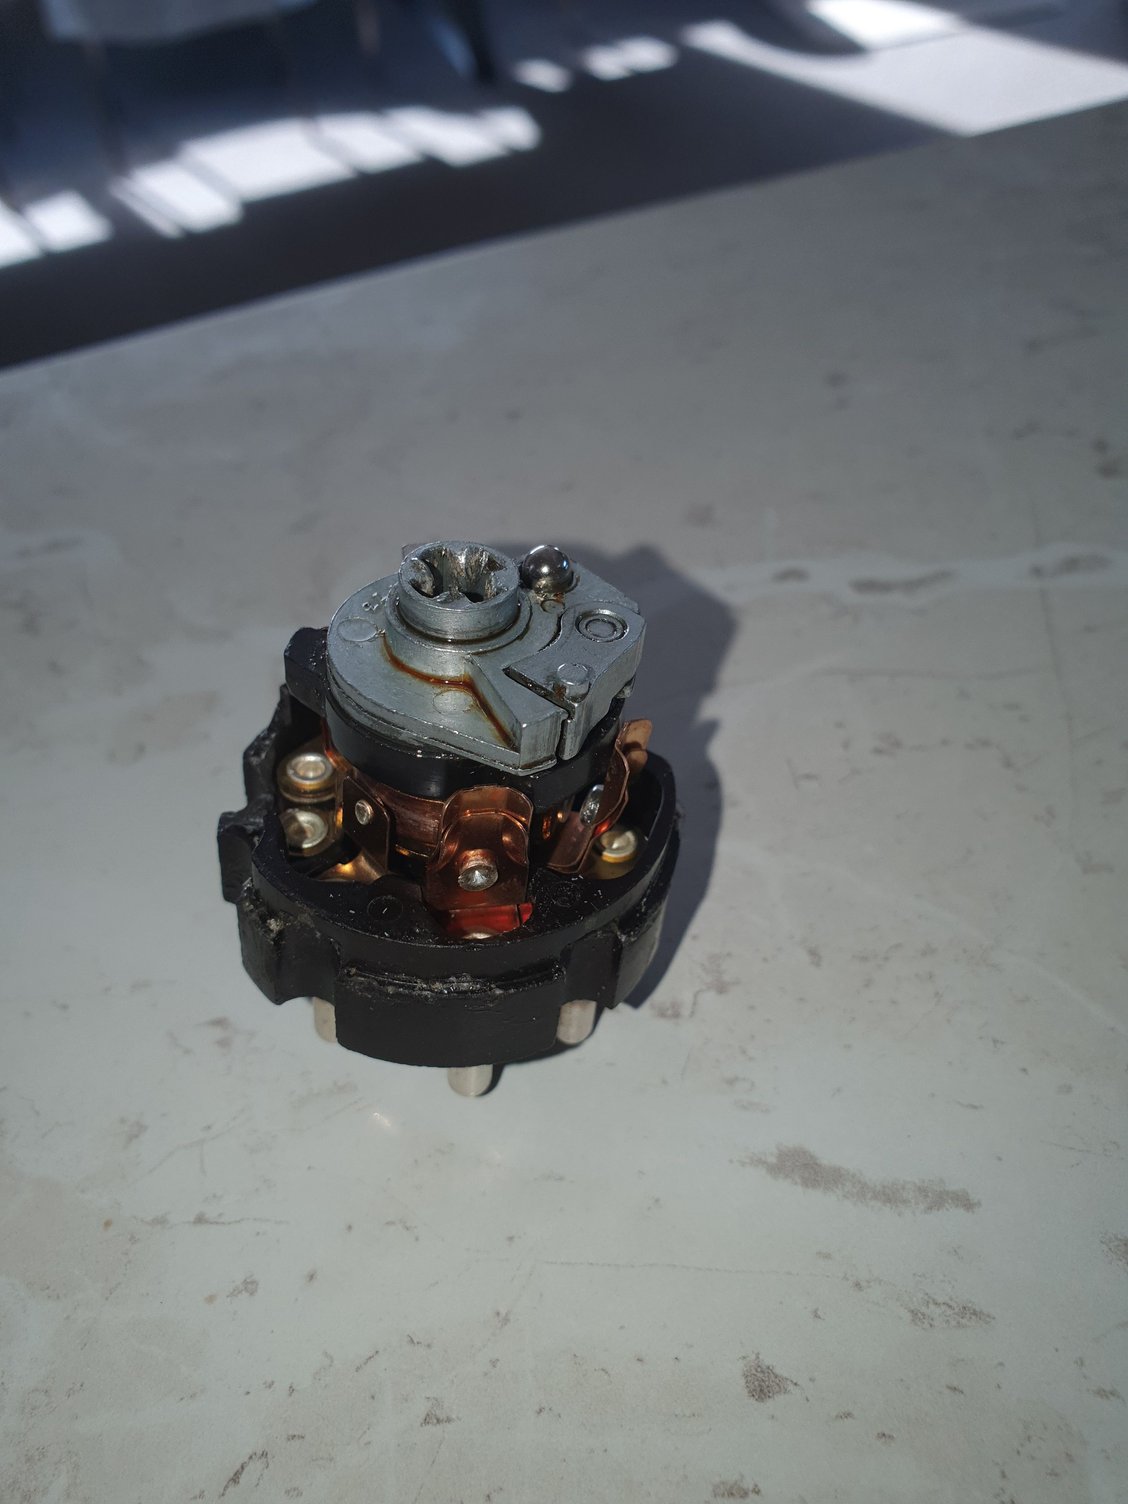
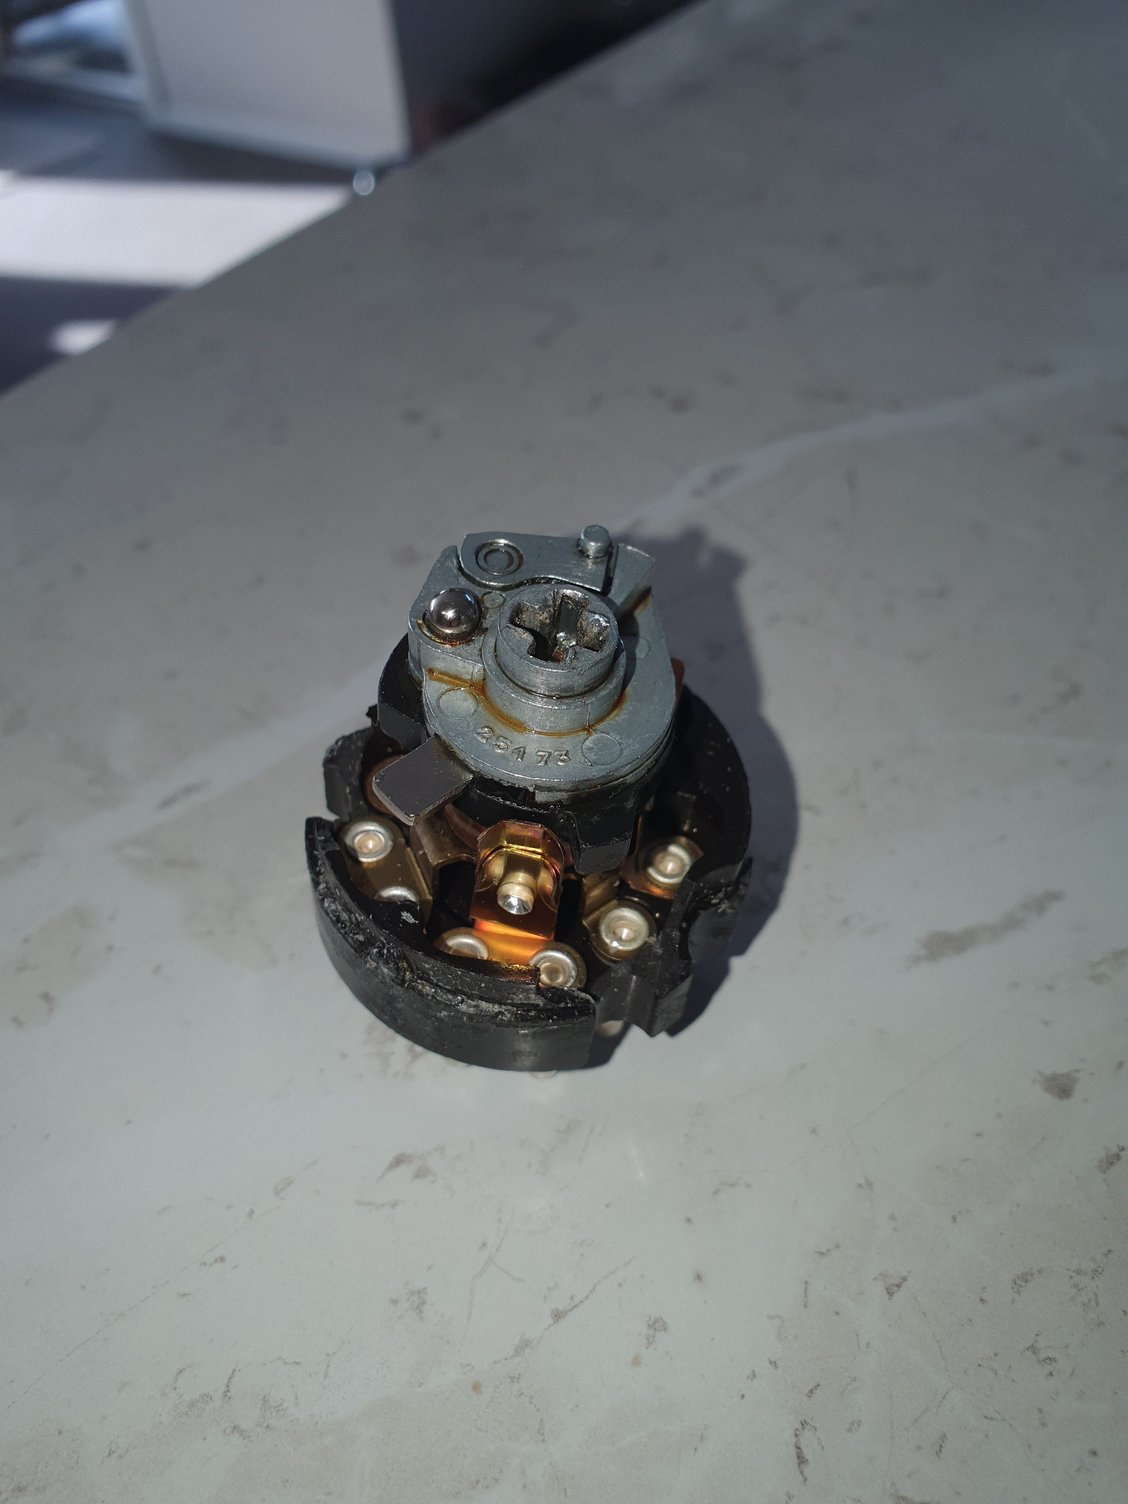
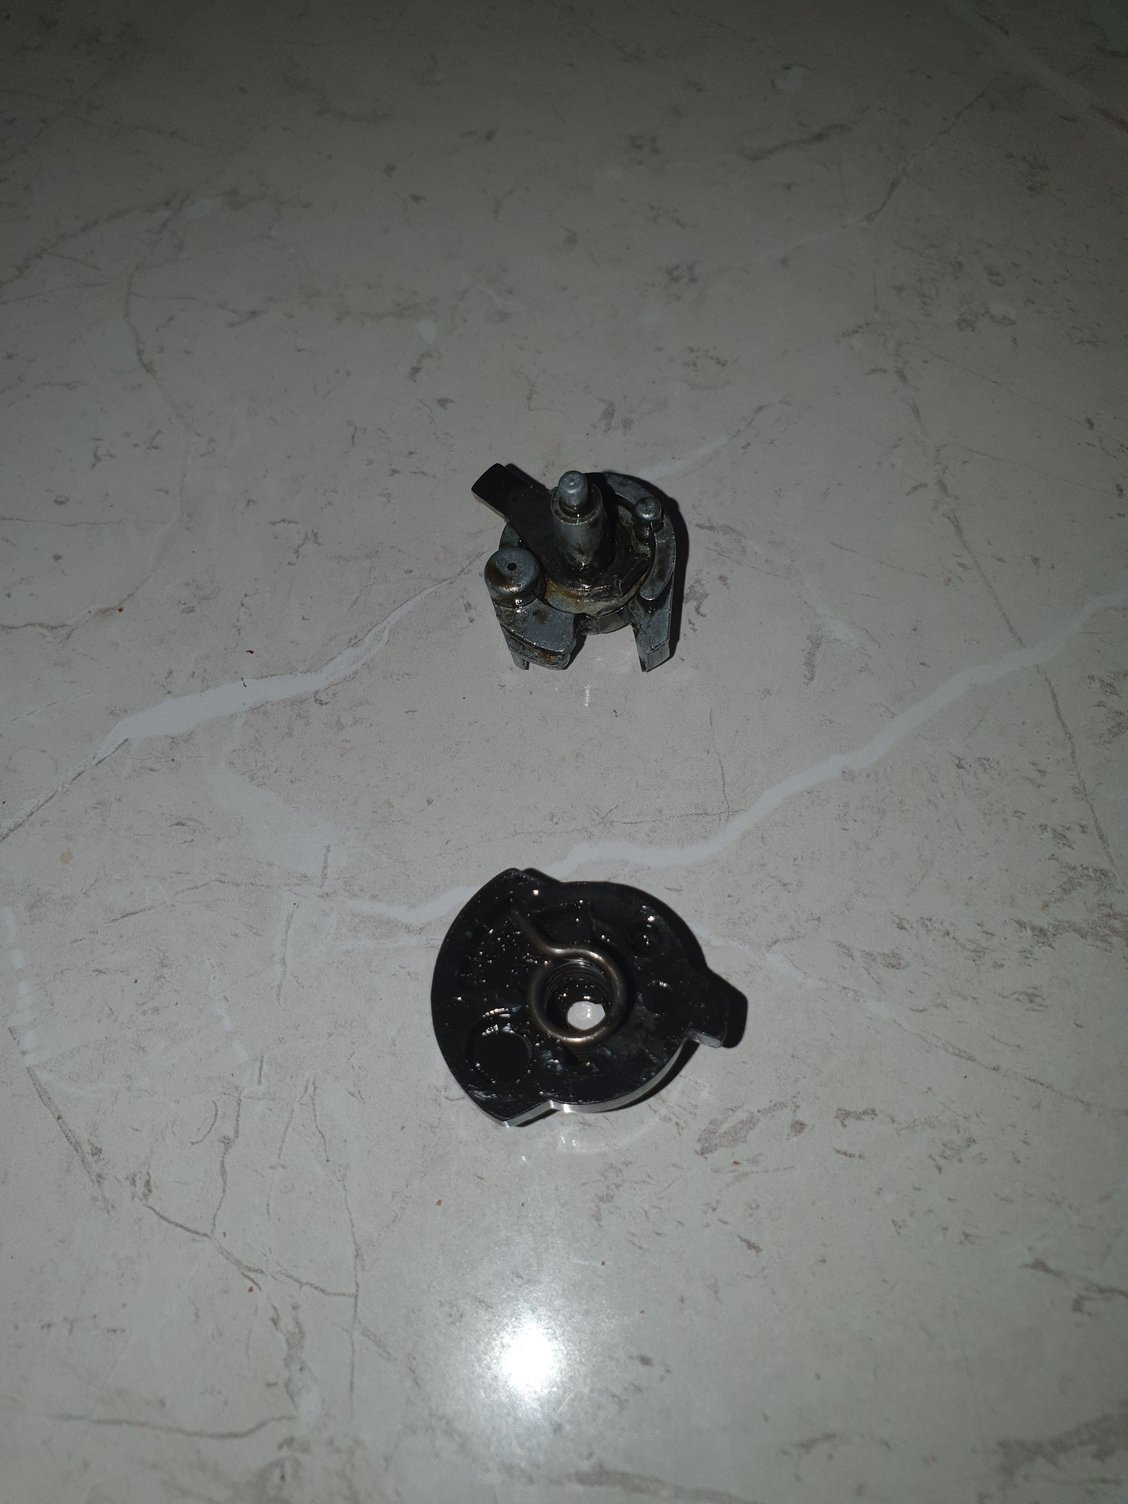
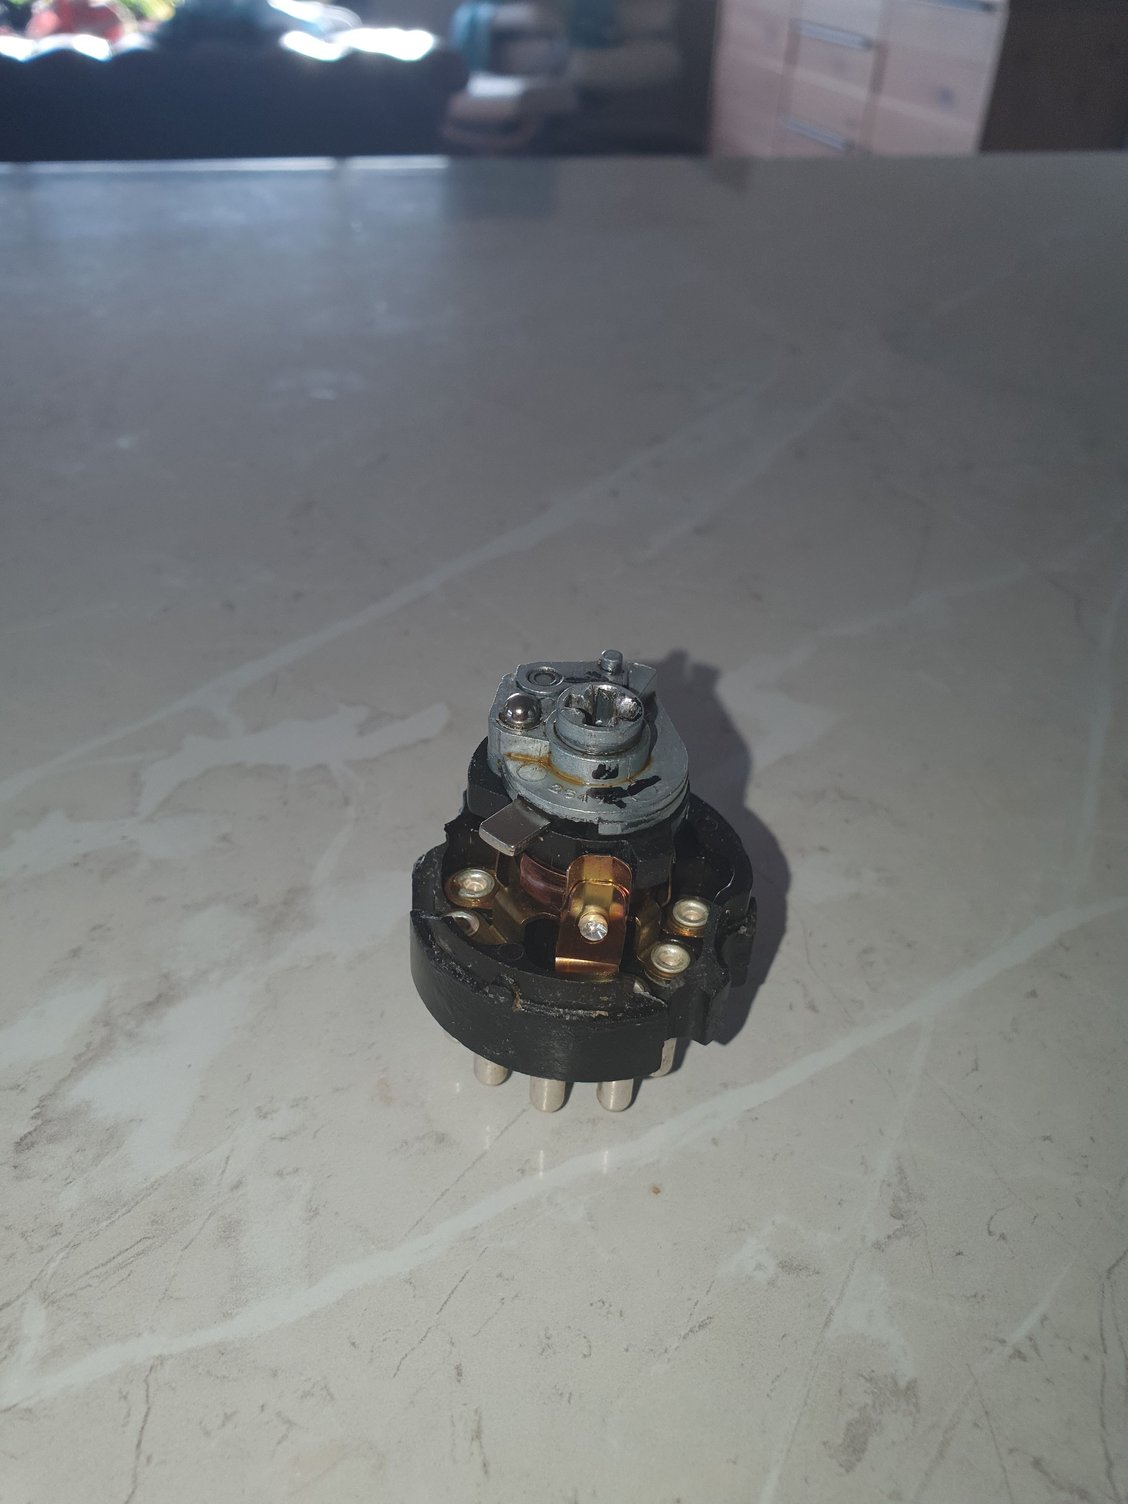
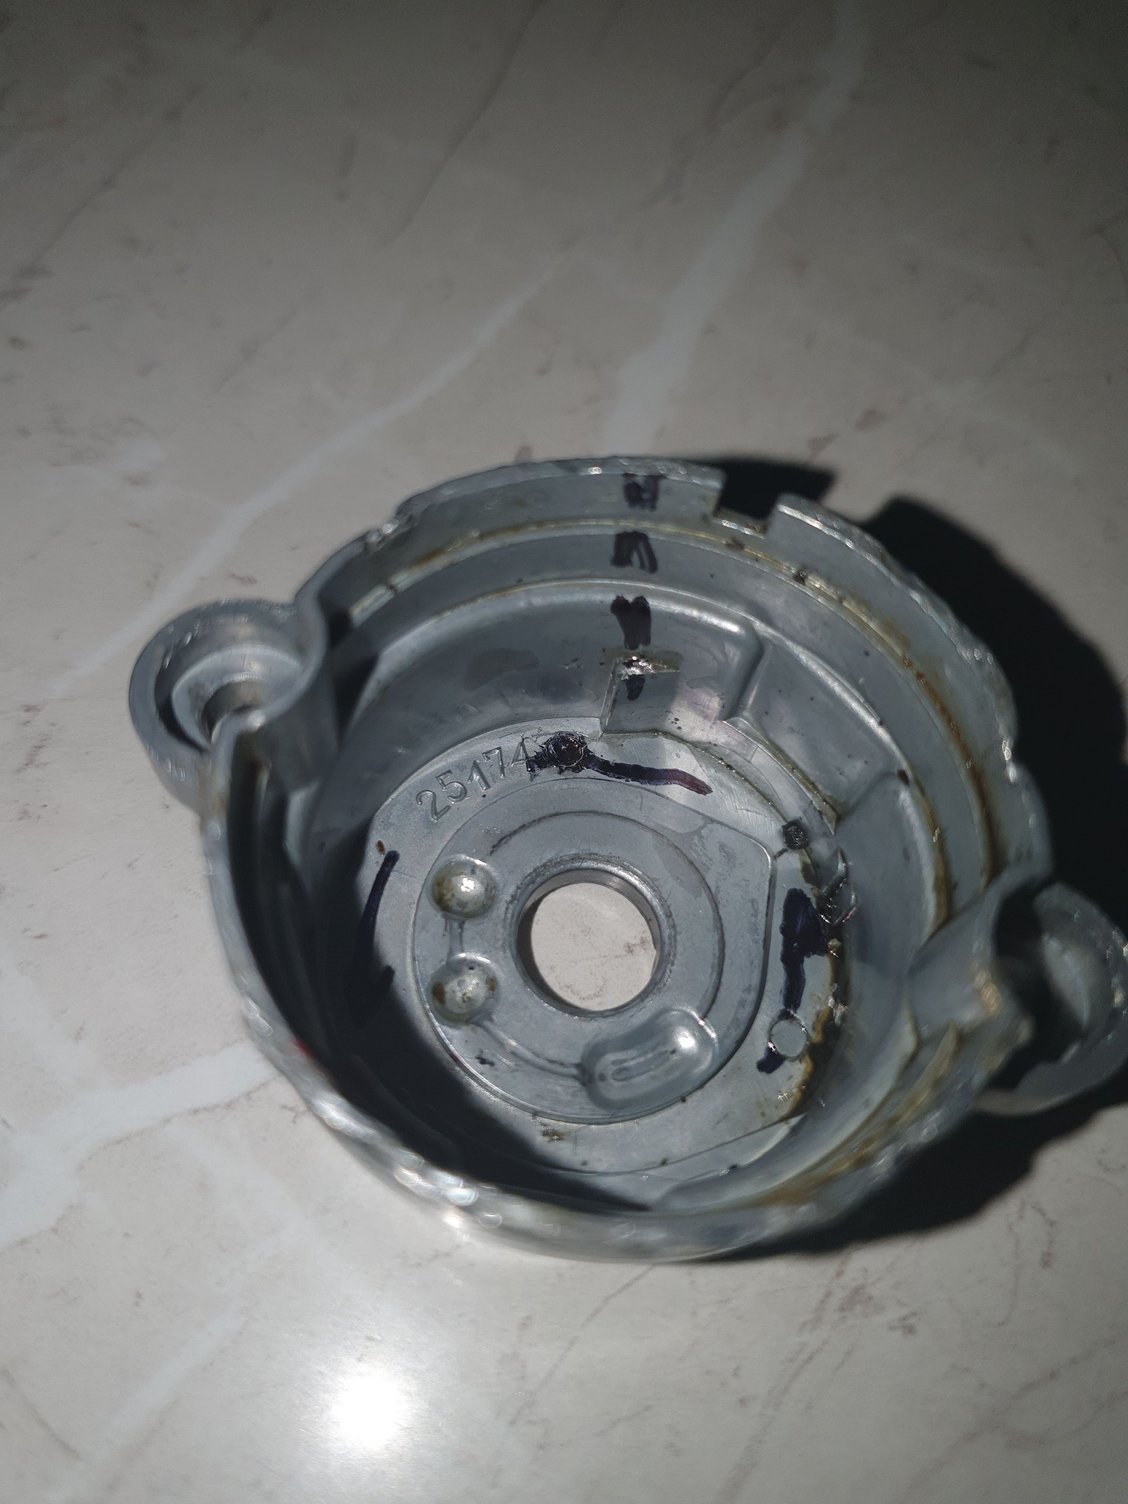
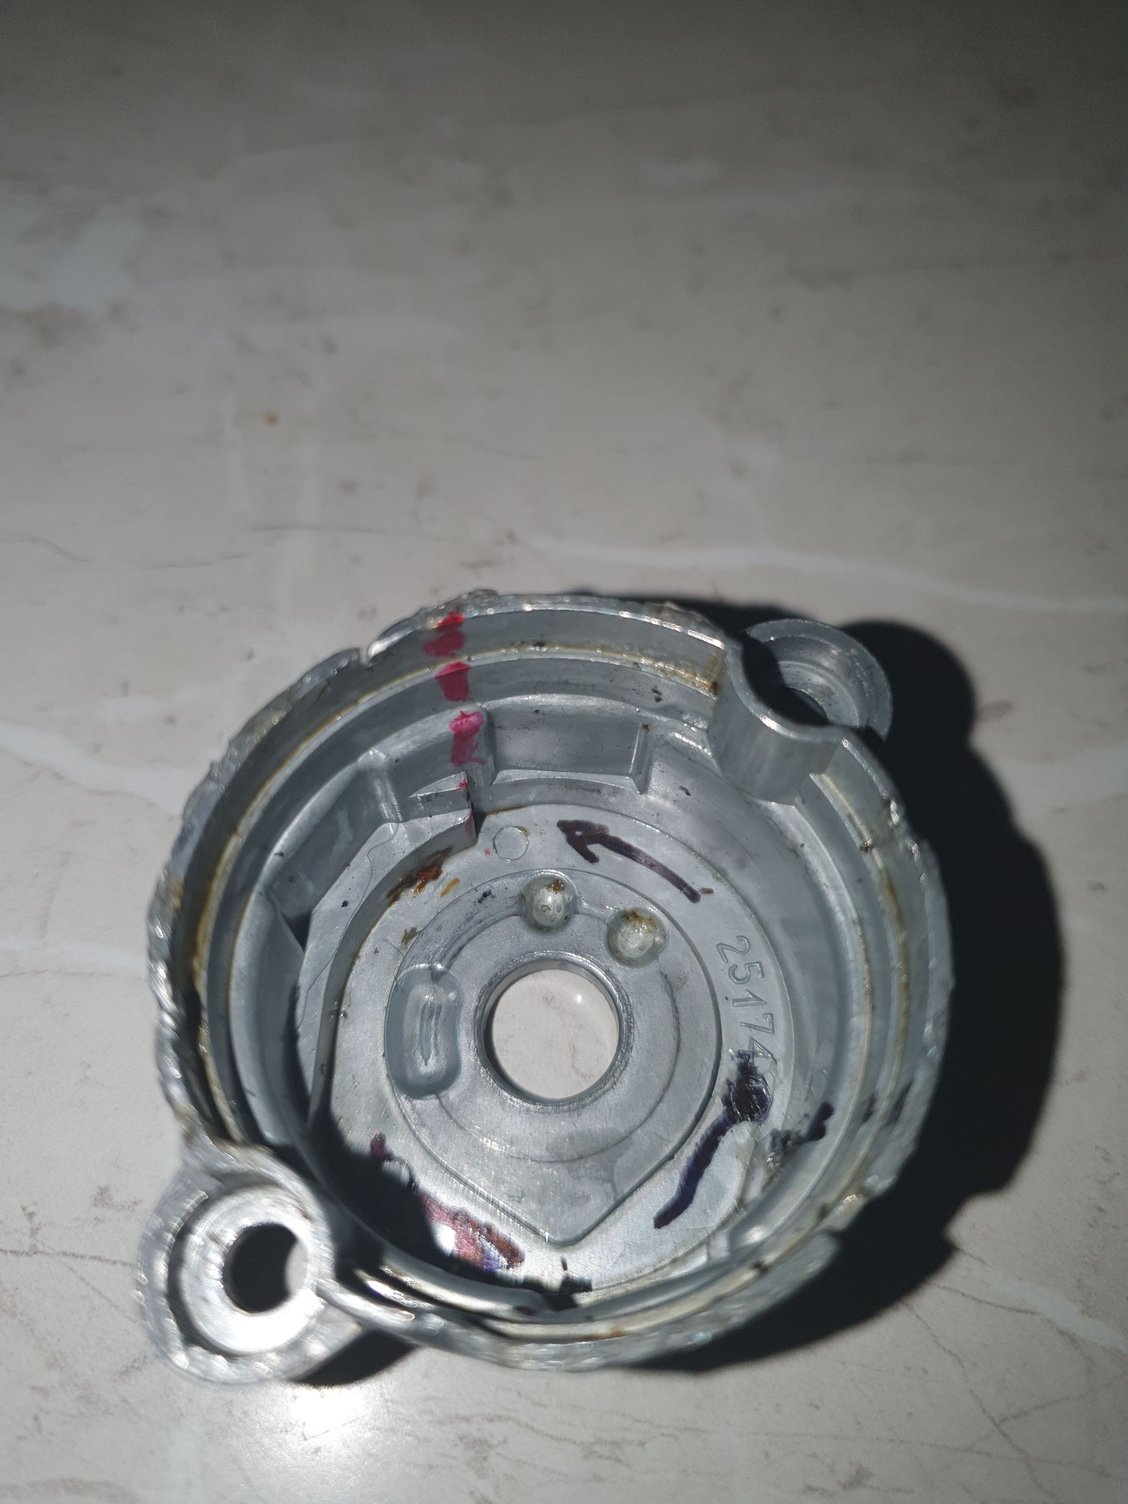
Pictures attached show correct starting position of the spindal as well as where it starts (black line) and where it finishes (red line) on the inside of the barrel. The key to all of this is the metal prong that comes out of the side of the top of the spindal - which also engages a spring to provide the ignition 'kick back' when it is fully engaged
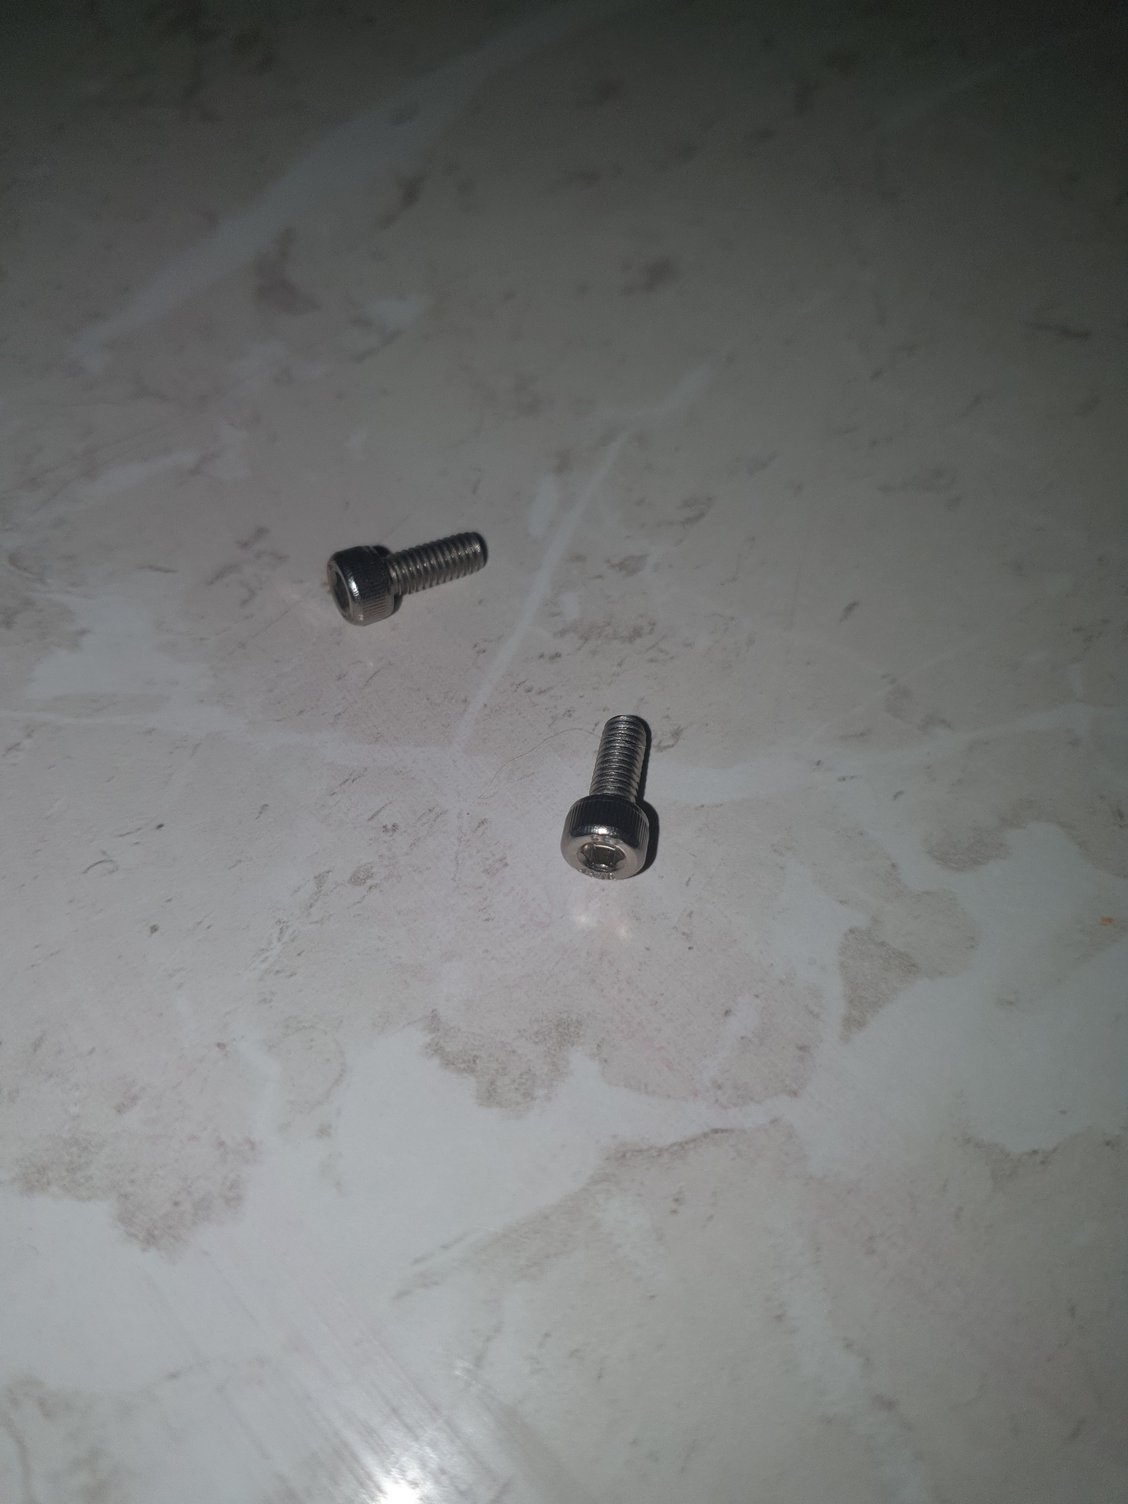
Have also included a picture of the new allan head machine screws i'm using to hold the switch in place. This makes it much easier to add/remove the switch
Obviously, the easiest thing to do would have been to replace the switch - but due to the Covid-19 lockdown situation, this would have taken several weeks to source the new part.
Simple opening the switch - cleaning the internals and reassembling has cured my faulty shutdown problem and all it's working well now
Hopefully this information well be useful to someone
Spring setup to engage ignition kickback Correct starting position for Spindal Black line shows starting position for metal tang at the top of the spindal Red line shows the ignition fully 'on' position for metal tang at top of the spindal and also where the kickback spring is engaged in the spindal New Allen head screws to hold switch
Excellent work. I couldn't be of any service with this but I'm thankful that you figured it out and documented it. No matter what, these kinds of fixes will become more and more important as time goes by for these cars.
The barrel of the switch is crimped on in 4-5 places but can be carefully pried off with a small screwdriver
I did crack the plastic base a little in a couple of places that resulted in a couple of small chips being removed - but nothing that effected the operation of the switch.
There is a locating tab on the plastic base for the metal barrel placement - so it can only go in the correct position.
Used some strong adhesive to hold the barrel in position when i reassembled which works well
Prologue - as detailed in seperate thread I ended up having a no start issue which I didn't immediatly connect with this ignition switch rebuild as i had several different jobs going on at the same time
However I sunseqently discovered that the ignition circuit was not triggering at all from the switch (but the accesories worked, which was what I planned to fix in the first place)
On further investigation I found pretty well all of the internal contacts in the switch had poor or no contact
This was very easily resolved by applying some reasonable pressure to the tabs on the small brass internal ring to push them towards the outside of the switch. Only a small physical movement is required
As you are effectively pushing both the brass contact outwards as well as the upright copper strips - you do need to counter this by bending the top of the copper strips inwards towards the cam on the top of the spindal to make sure they engage properly
If you do this and clean the internal contacts - I'm convinced this will resolve the vast majority of problems people are having with these switches as they simply are losing some of their tension in the internal switch contacts over time
Lastly - make sure you have the internal spindal correctly set in the start position as per previous pictues posted when you put the switchback together
I made some rookie mistakes when I started this switch repair buy not testing and understanding the current flow - but ultimately this is a pretty simple fix when you get into it
Last tip - throughly recommend you replace the flat head screws that hold the switch in with allan head machone screws. It makes switch removal very quick and easy
Further information I can pass on as part of this ignition switch rebuild process
I've found similar information in other threads - but thought i'd collate it with my findings.
The key top this is when the internal copper strips engage with the top of the internal spinal and these are specifically marked for each relevant circuit on the bottom of the ignition switch
These copper strips develop less tension on the contact overtime - but can be easily adjusted as per my description above
circuit 30 - this is always live and provides live power to the rest of the circuits where applicable
circuit R - accessory circuit fit radio etc. This copper strip should engage on the first stage of the ignition switch
Circuit 15 - this is for the ignition circuit components. Don't confuse this with the starter motor which is a different circuit. This should be engaged on the second phase of the ignition switch
Circuit 50 - this is to engage the starter motor only. Circuit R & 15 should still be engaged
Circuit X - this engages the horn, rear brake lights and other circuit X components (look it up). The copper strip connect for this circuit is completely the opposite from the other circuits in that it is constantly engaged (doesn't touch the top spindal) exept at the very start (key out) and very end (engage starter motor) and thus 'breaks'the contact with this circuit
Hope that all makes sense and is of value to someone.
Ignition switch works great now and ultimately it's relatively simple to fix
I understand that you felt you had no alternative option right now - But I'd say when a switch has worn to the point of failure and it is not specifically designed to be refurbished (e.g. with replacement contacts) it is probably best to just replace the whole switch as it one of the most used AND highest current on the car. That one contact wore out means the others aren't far behind. For you I'd also treat such a repair as strictly temporary, it's great you were able to resurrect it - but I suspect this will be a temporary victory. For long term reliability I would source a new (OEM quality) switch ASAP, before the newly repaired switch strands you inconveniently. The cost of the stock ignition switch is actually a relative bargain for a critical system component on a Porsche.
I do think its remarkable you were able to get this one going again - well done.
Your point is absolutly valid - but just to reiterate, this repair was never about cost of the switch - purely availibility given the current lockdown situation
I already had a bunch of parts that I had ordered from the US prior to this issue with the switch - and I'm still waiting to see them from over 2 months ago, normally you would expect parts to arrive within a week. This is not the suppliers fault - they are just stuck in transit somewhere
As soon as things free up - I've got a bunch more parts to order.
In the interim - it's actually been a really interesting exercise to get this working and means I can use the car - otherwise it would have been off the road for several weeks

 03-31-2020, 01:08 AM