When you click on links to various merchants on this site and make a purchase, this can result in this site earning a commission. Affiliate programs and affiliations include, but are not limited to, the eBay Partner Network.
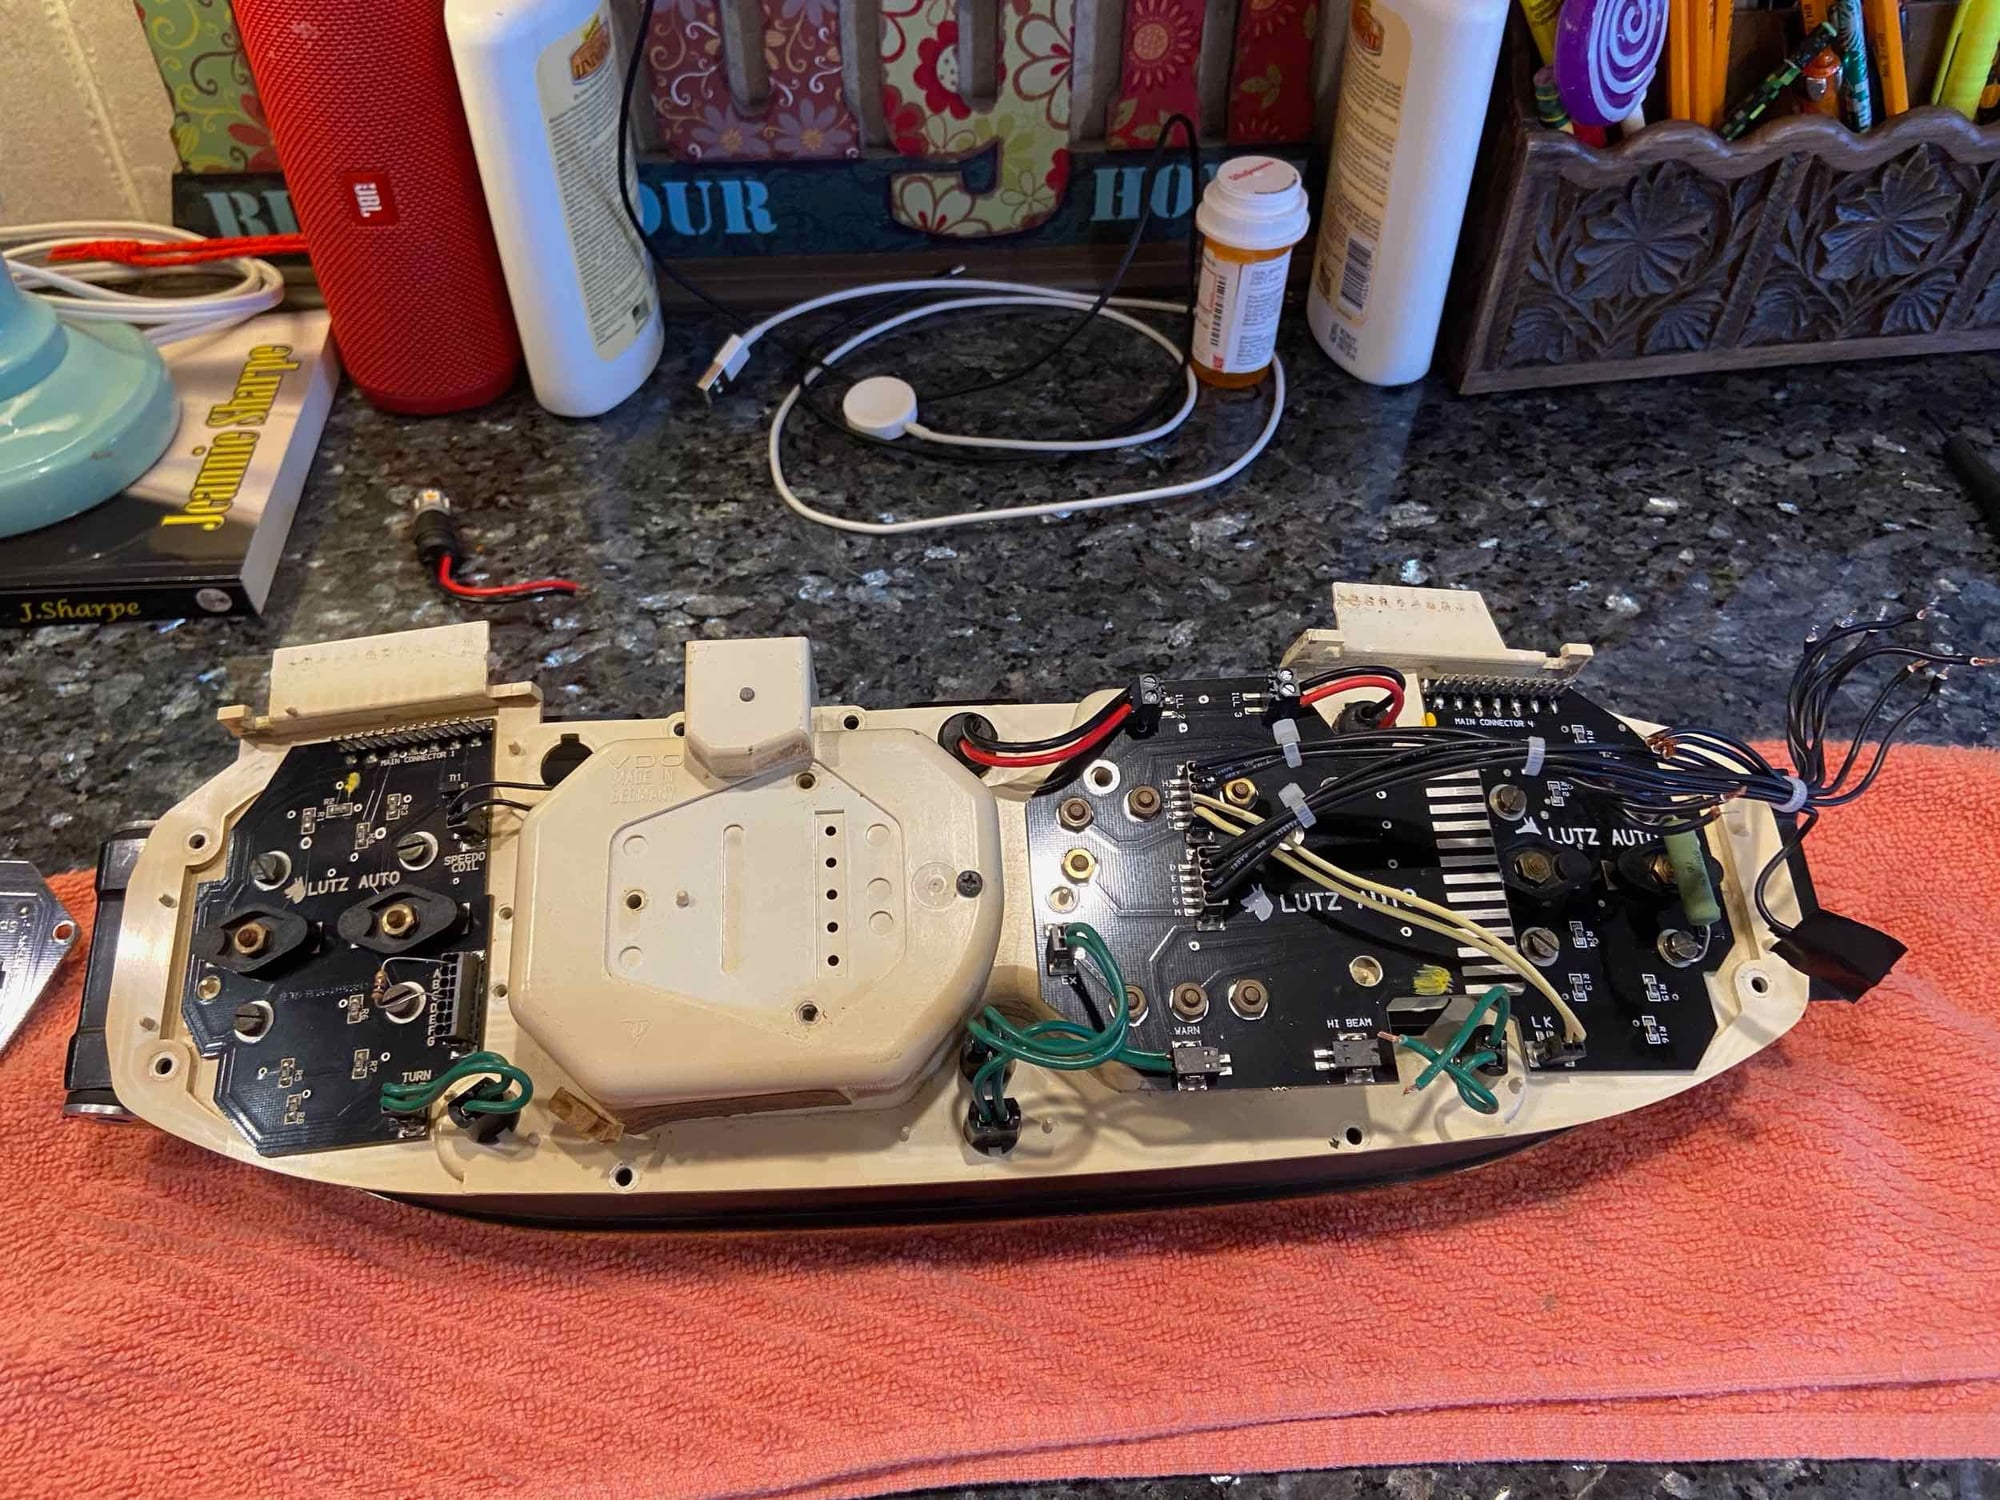
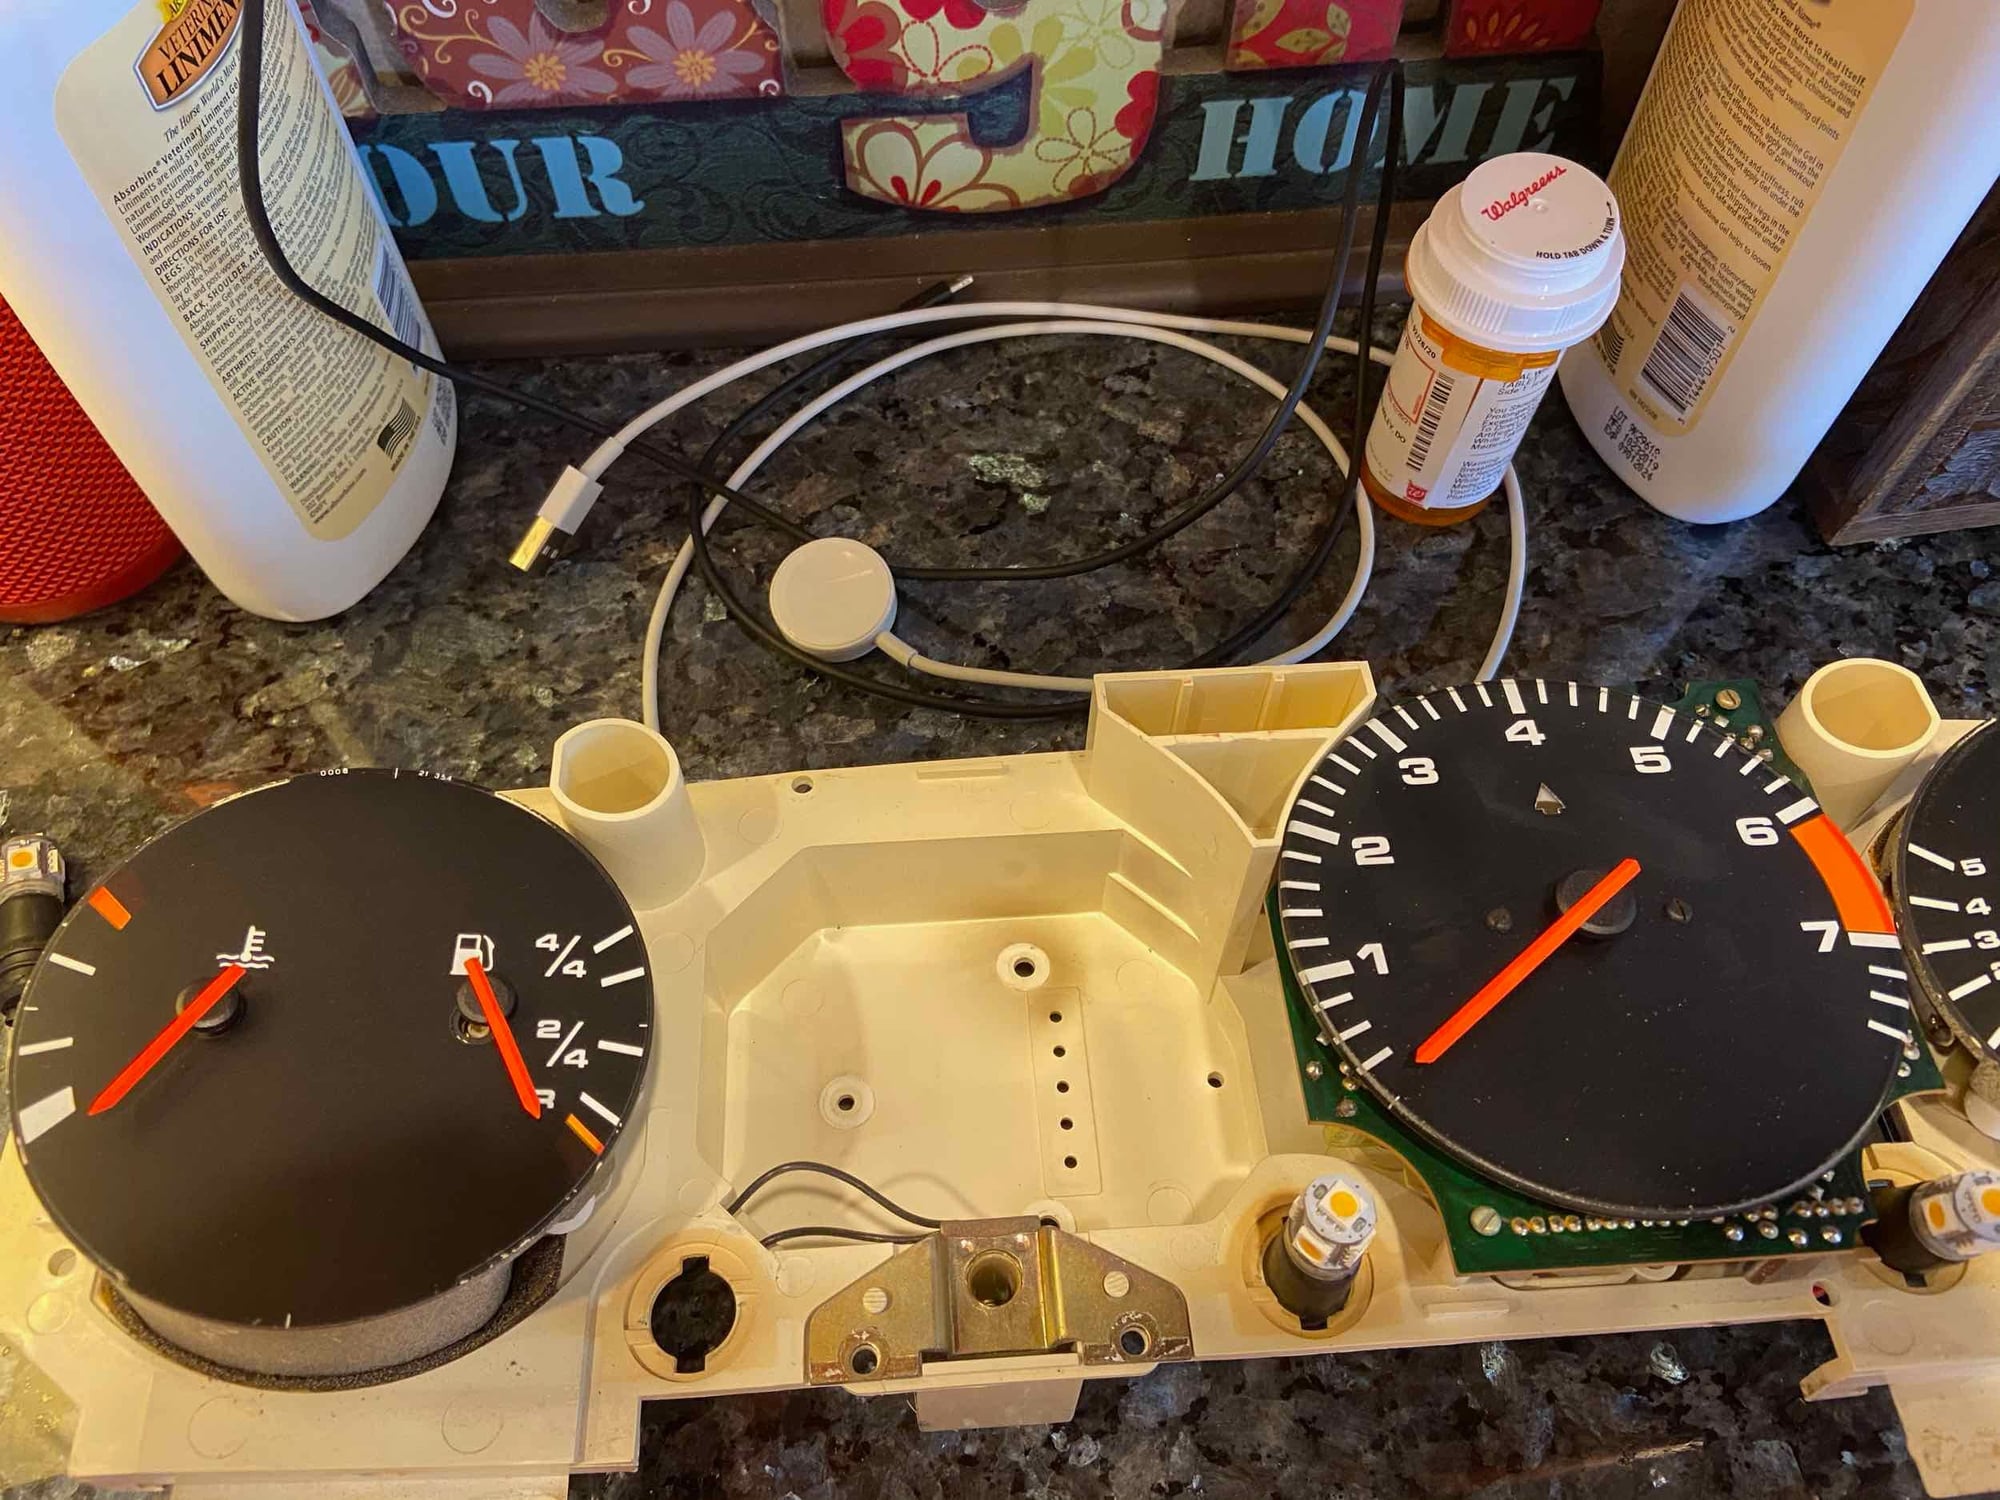
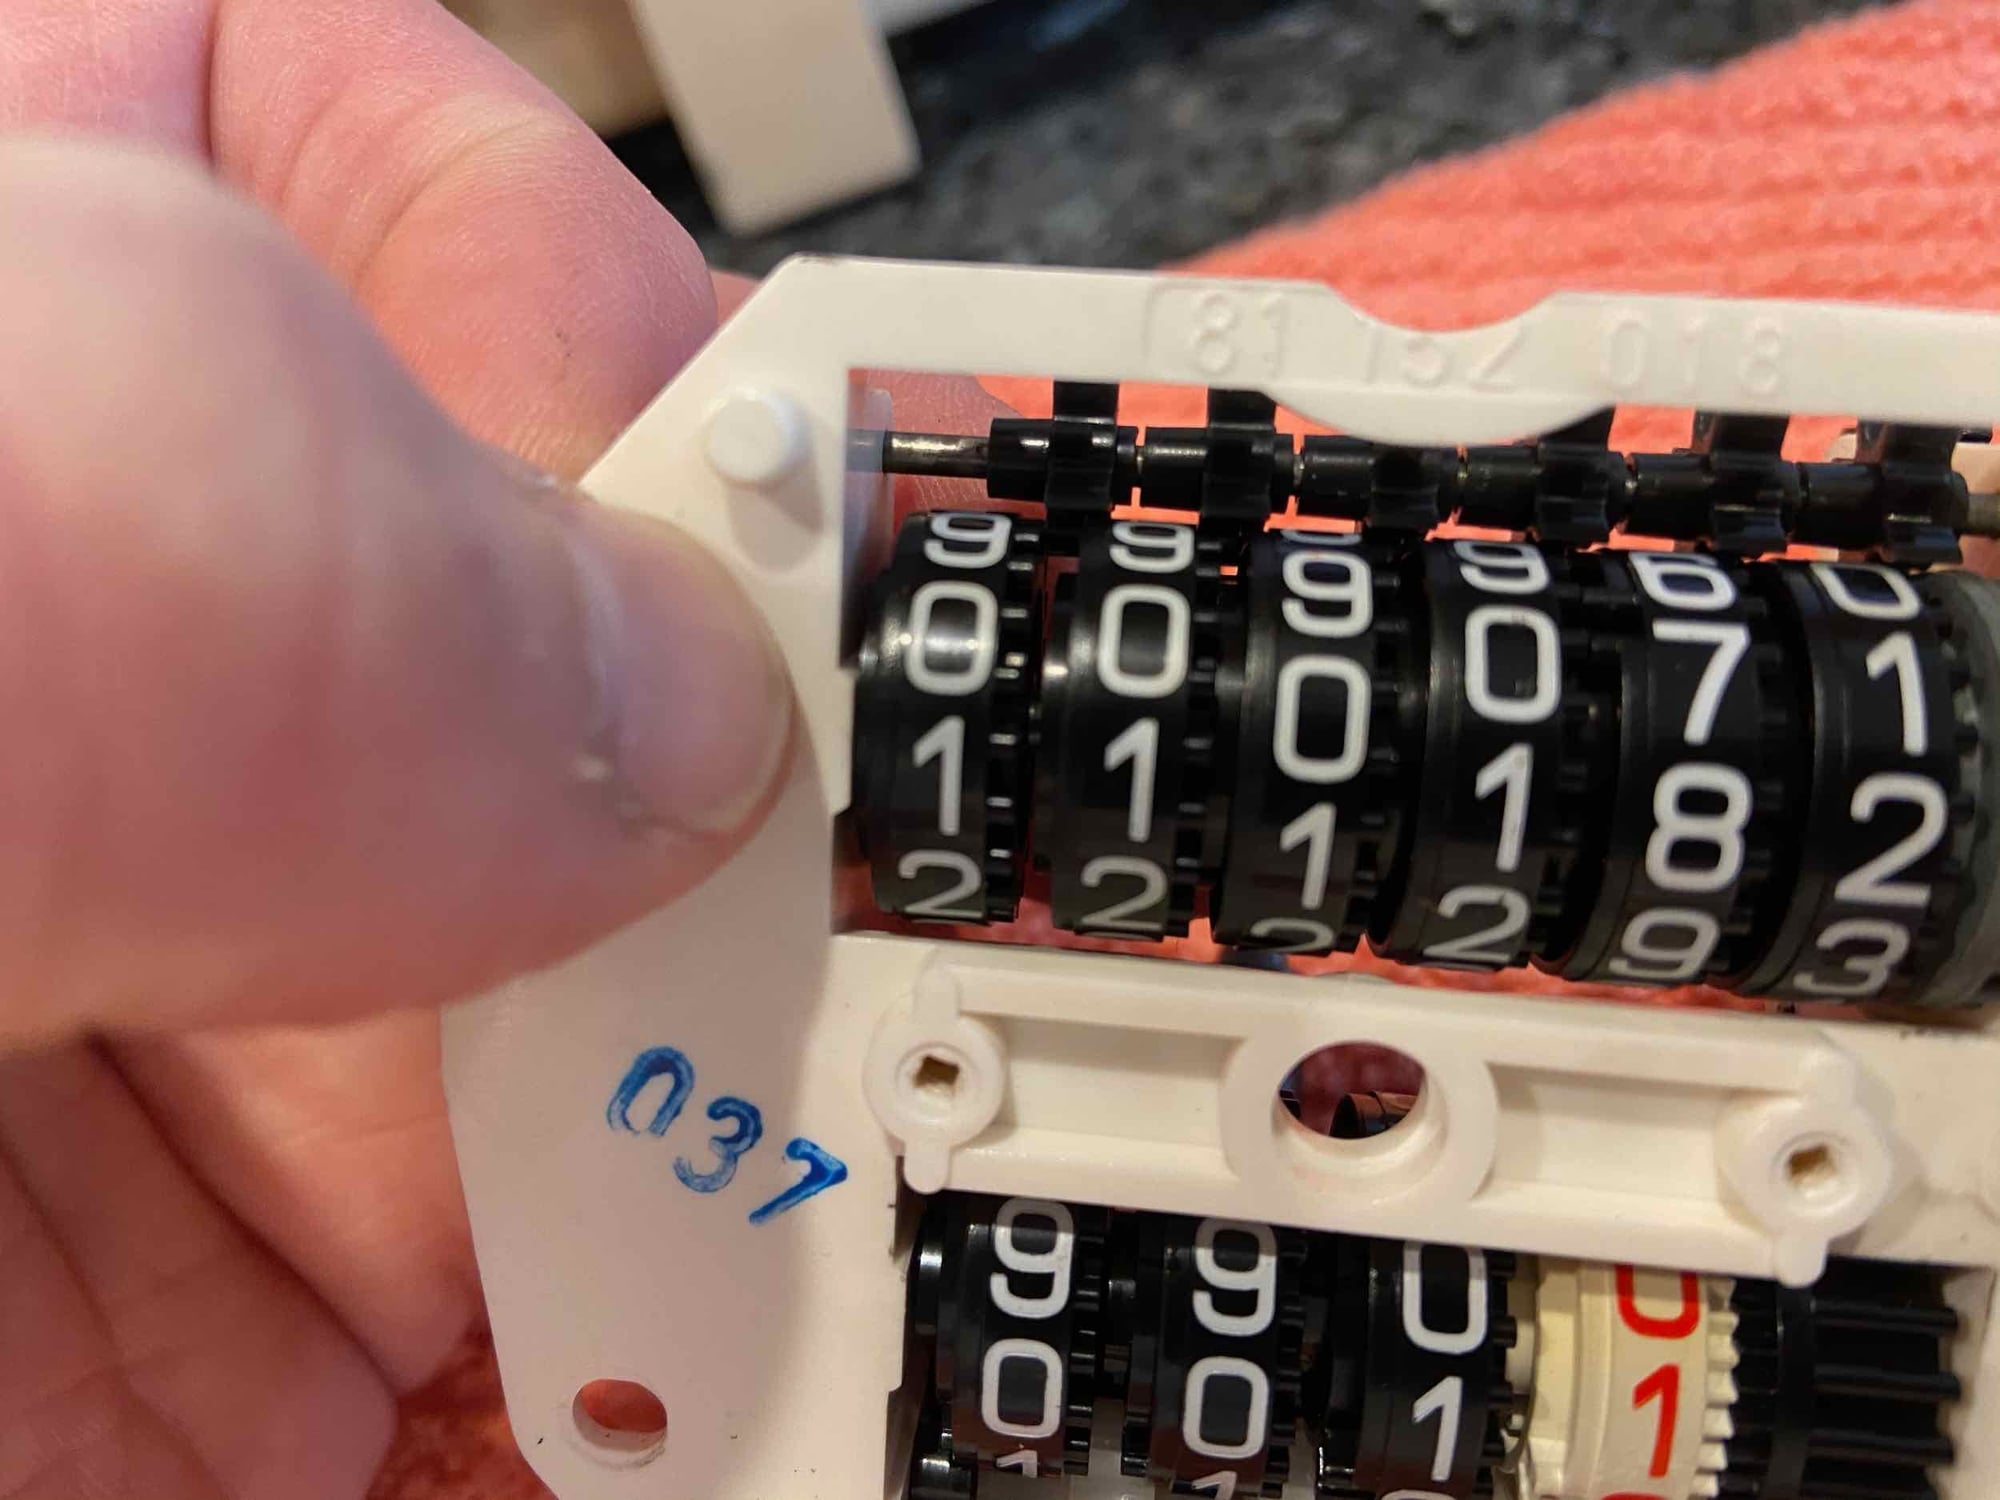
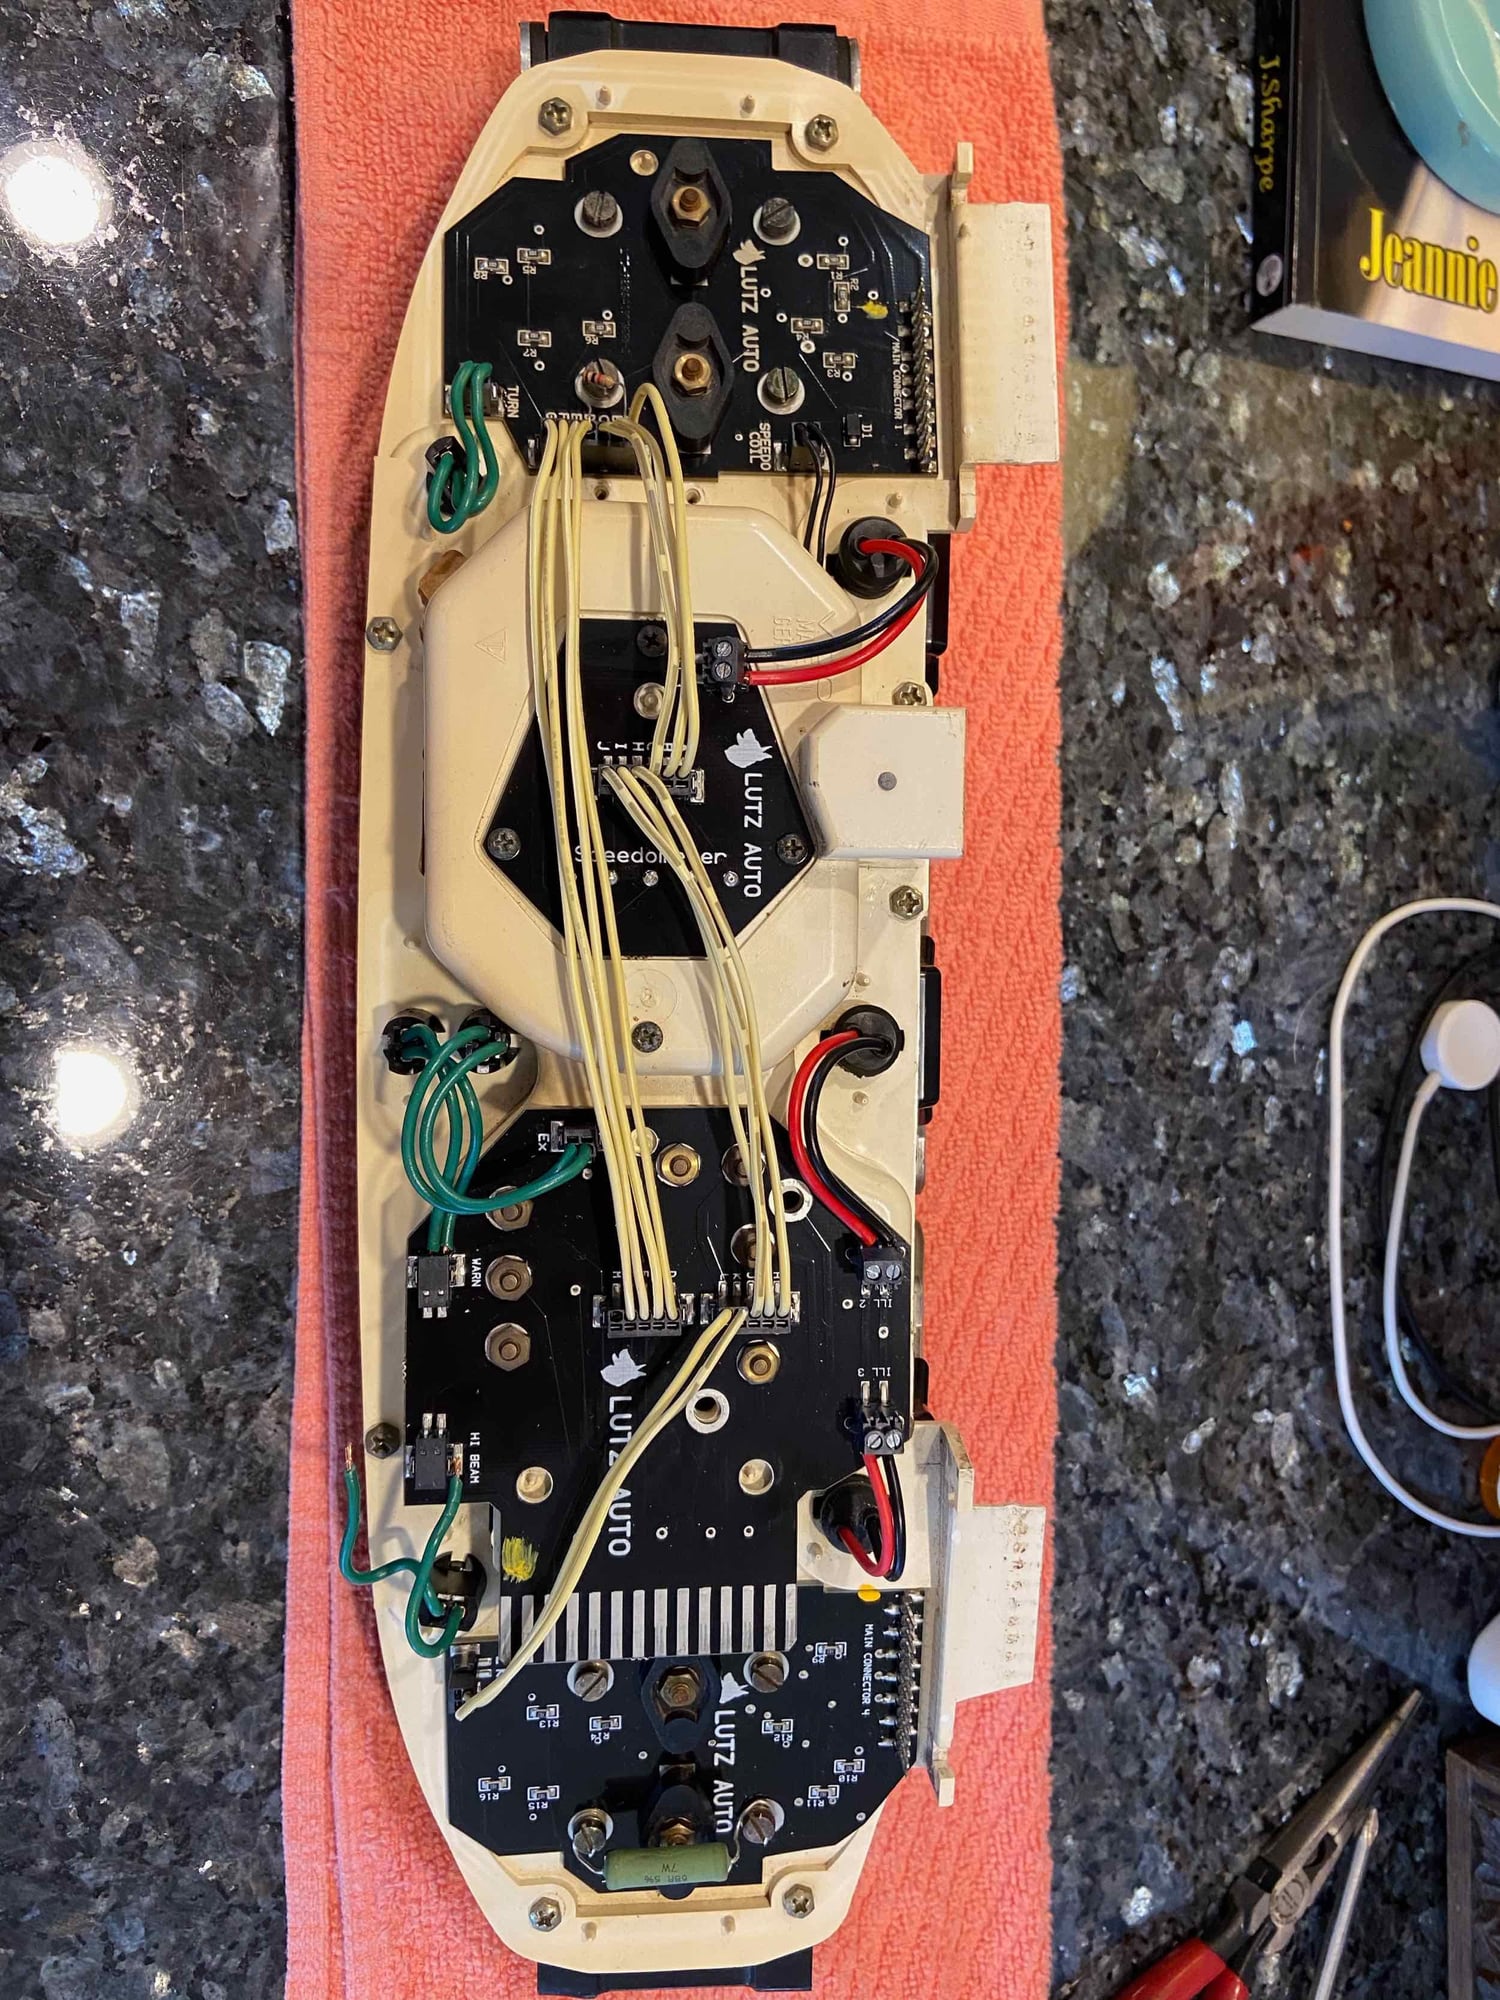
While I had the instrument panel out verifying the operation of the resistor in the voltmeter circuit, I wanted to replace the odometer gear. Mine had started turning the tens and hundreds digits when the ones was supposed to turn. I suspected of course the broken gear and maybe a piece had gotten stuck between the gear wheels. Here photos with what I found...by the way, I used this EXCELLENT and detailed writeup as my guide - I'm not sure who to credit for it. https://www.odometergears.com/docume...eplacement.pdf Well I did not include the first pic of the fully assembled cluster, but you know what that looks like. Having the Lutz replacement boards meant the entire back of the cluster did not have to come off, but the interconnecting wires that pass over the speedometer needed to come off to get the circuit board off. I planned to replace all of the wires anyway. The kit comes with stranded wires that are somewhat finicky to insert with enough force to lock into the connectors. I will replace with solid strand wire. Here is the gauge panel with the plastic face removed.
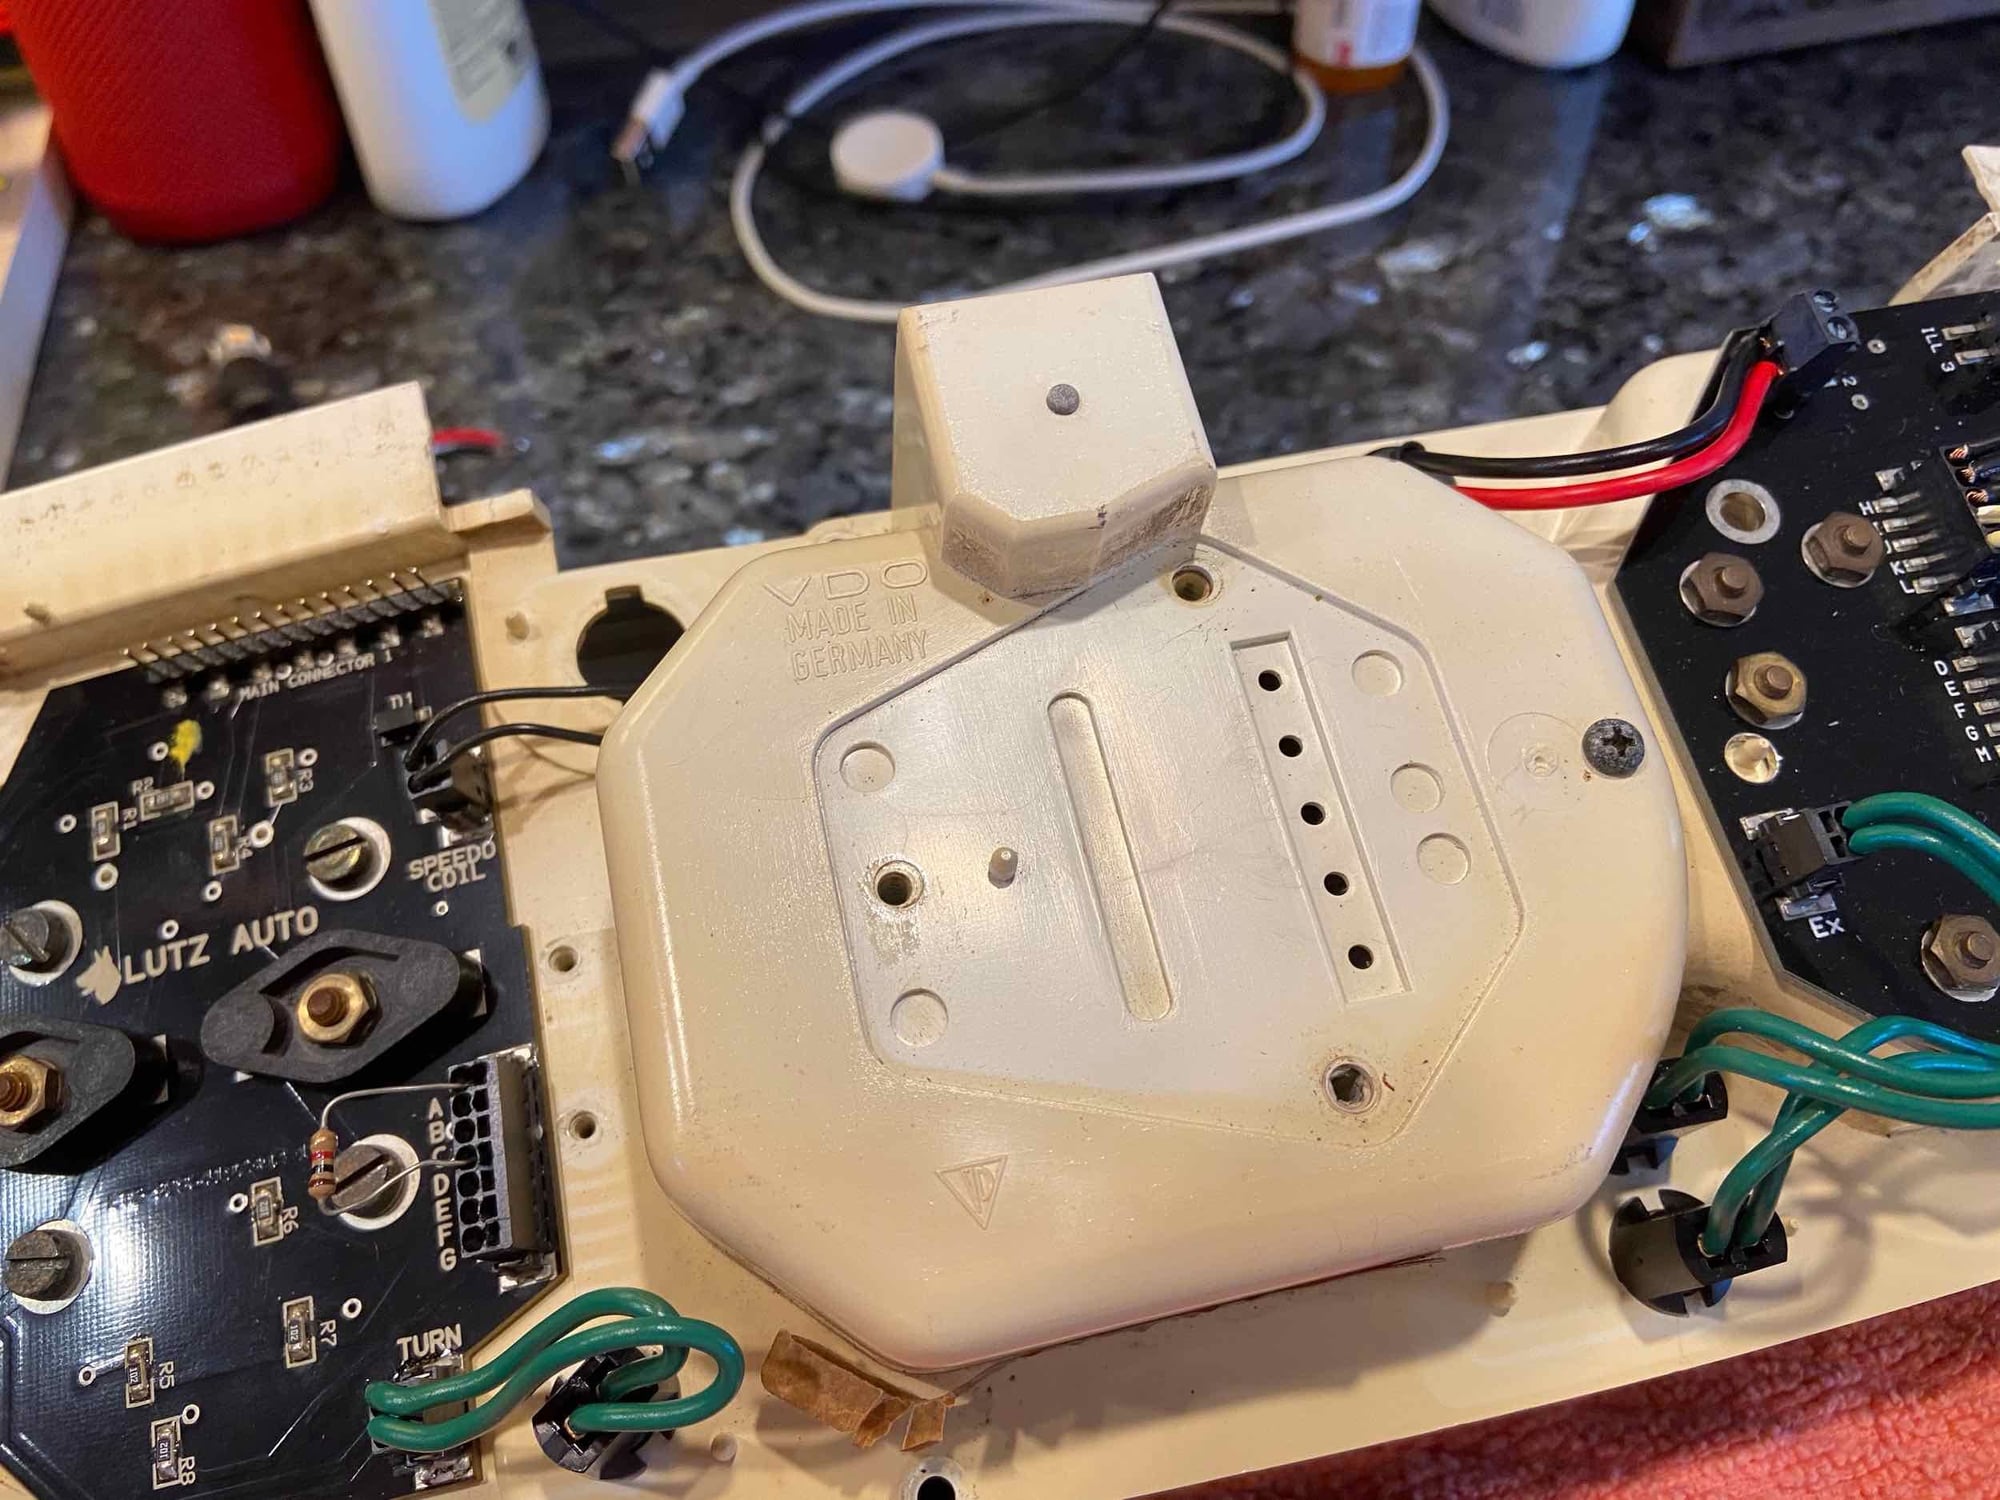
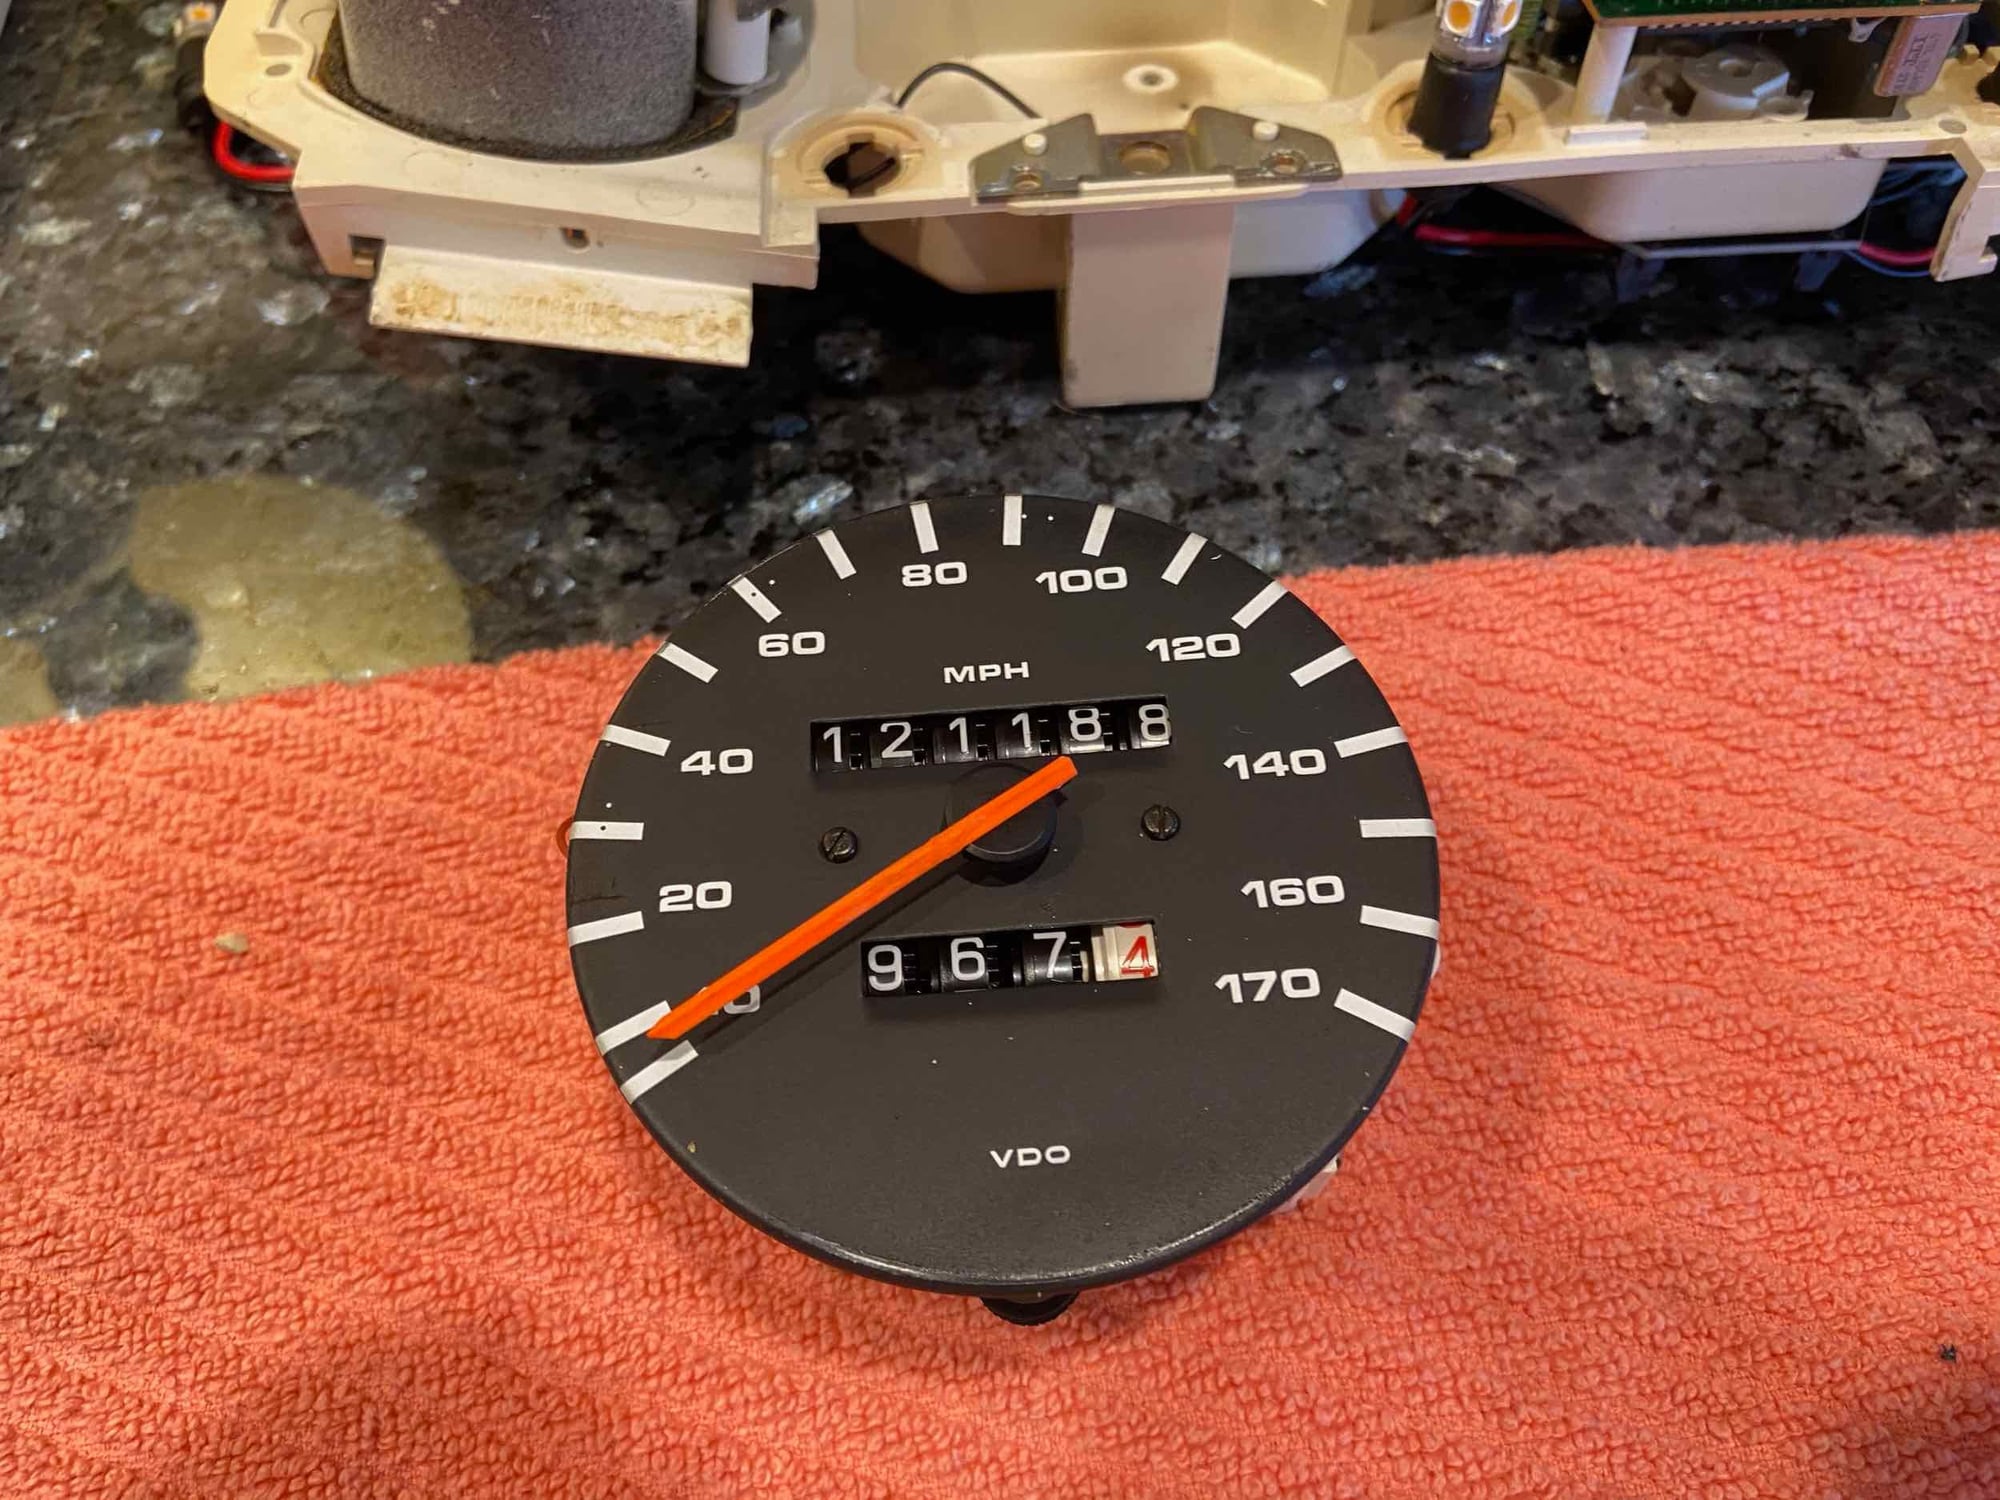
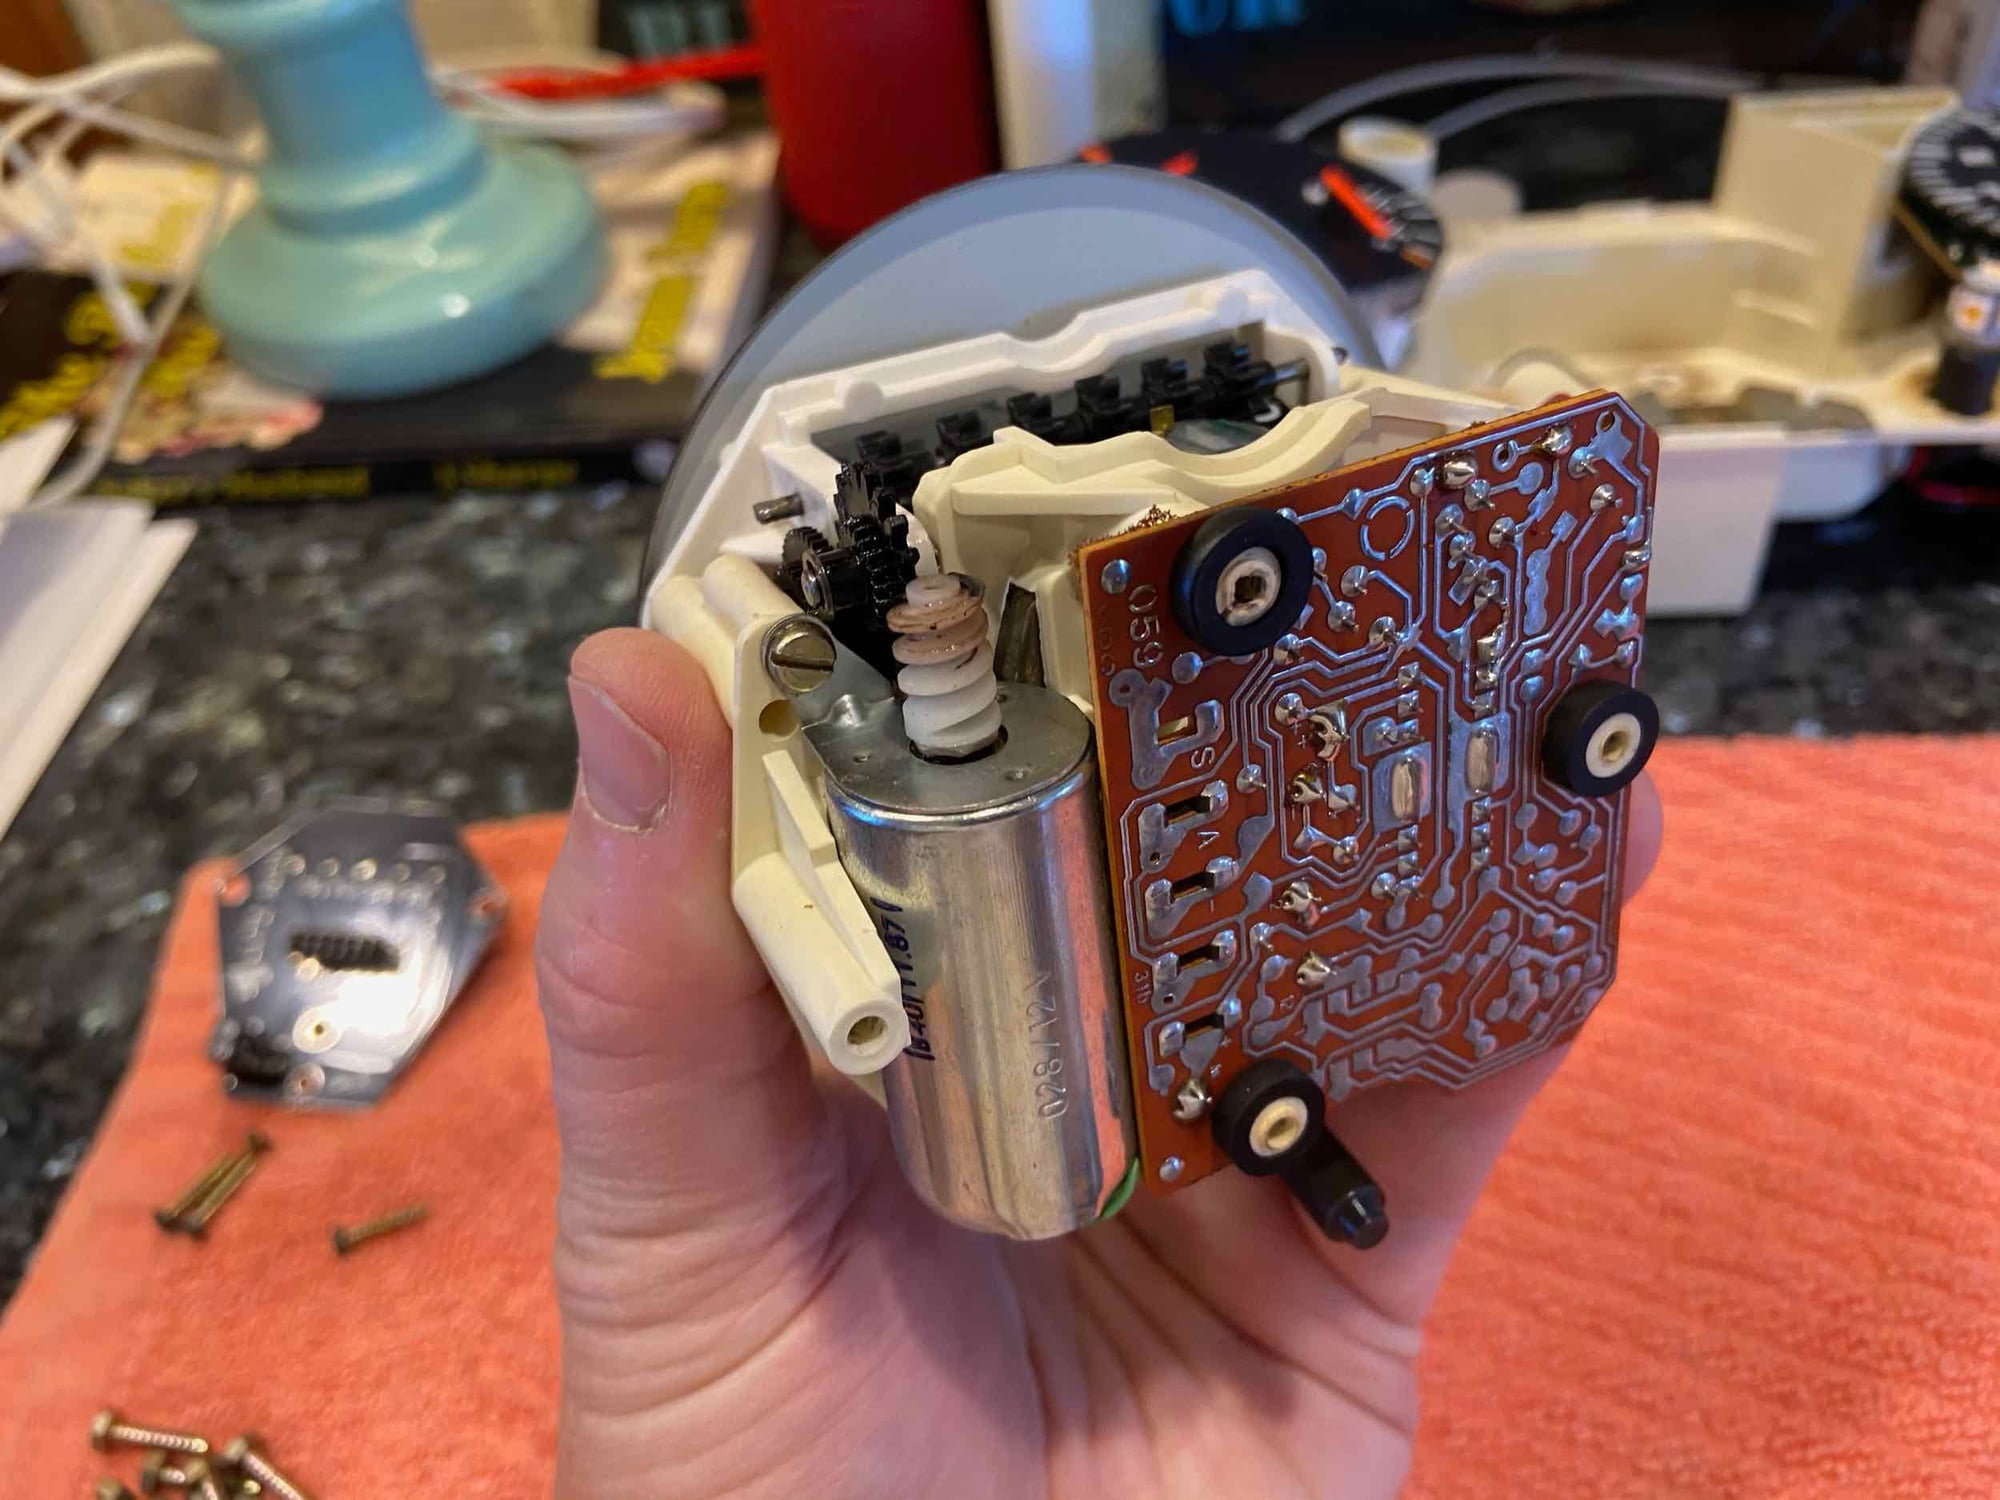
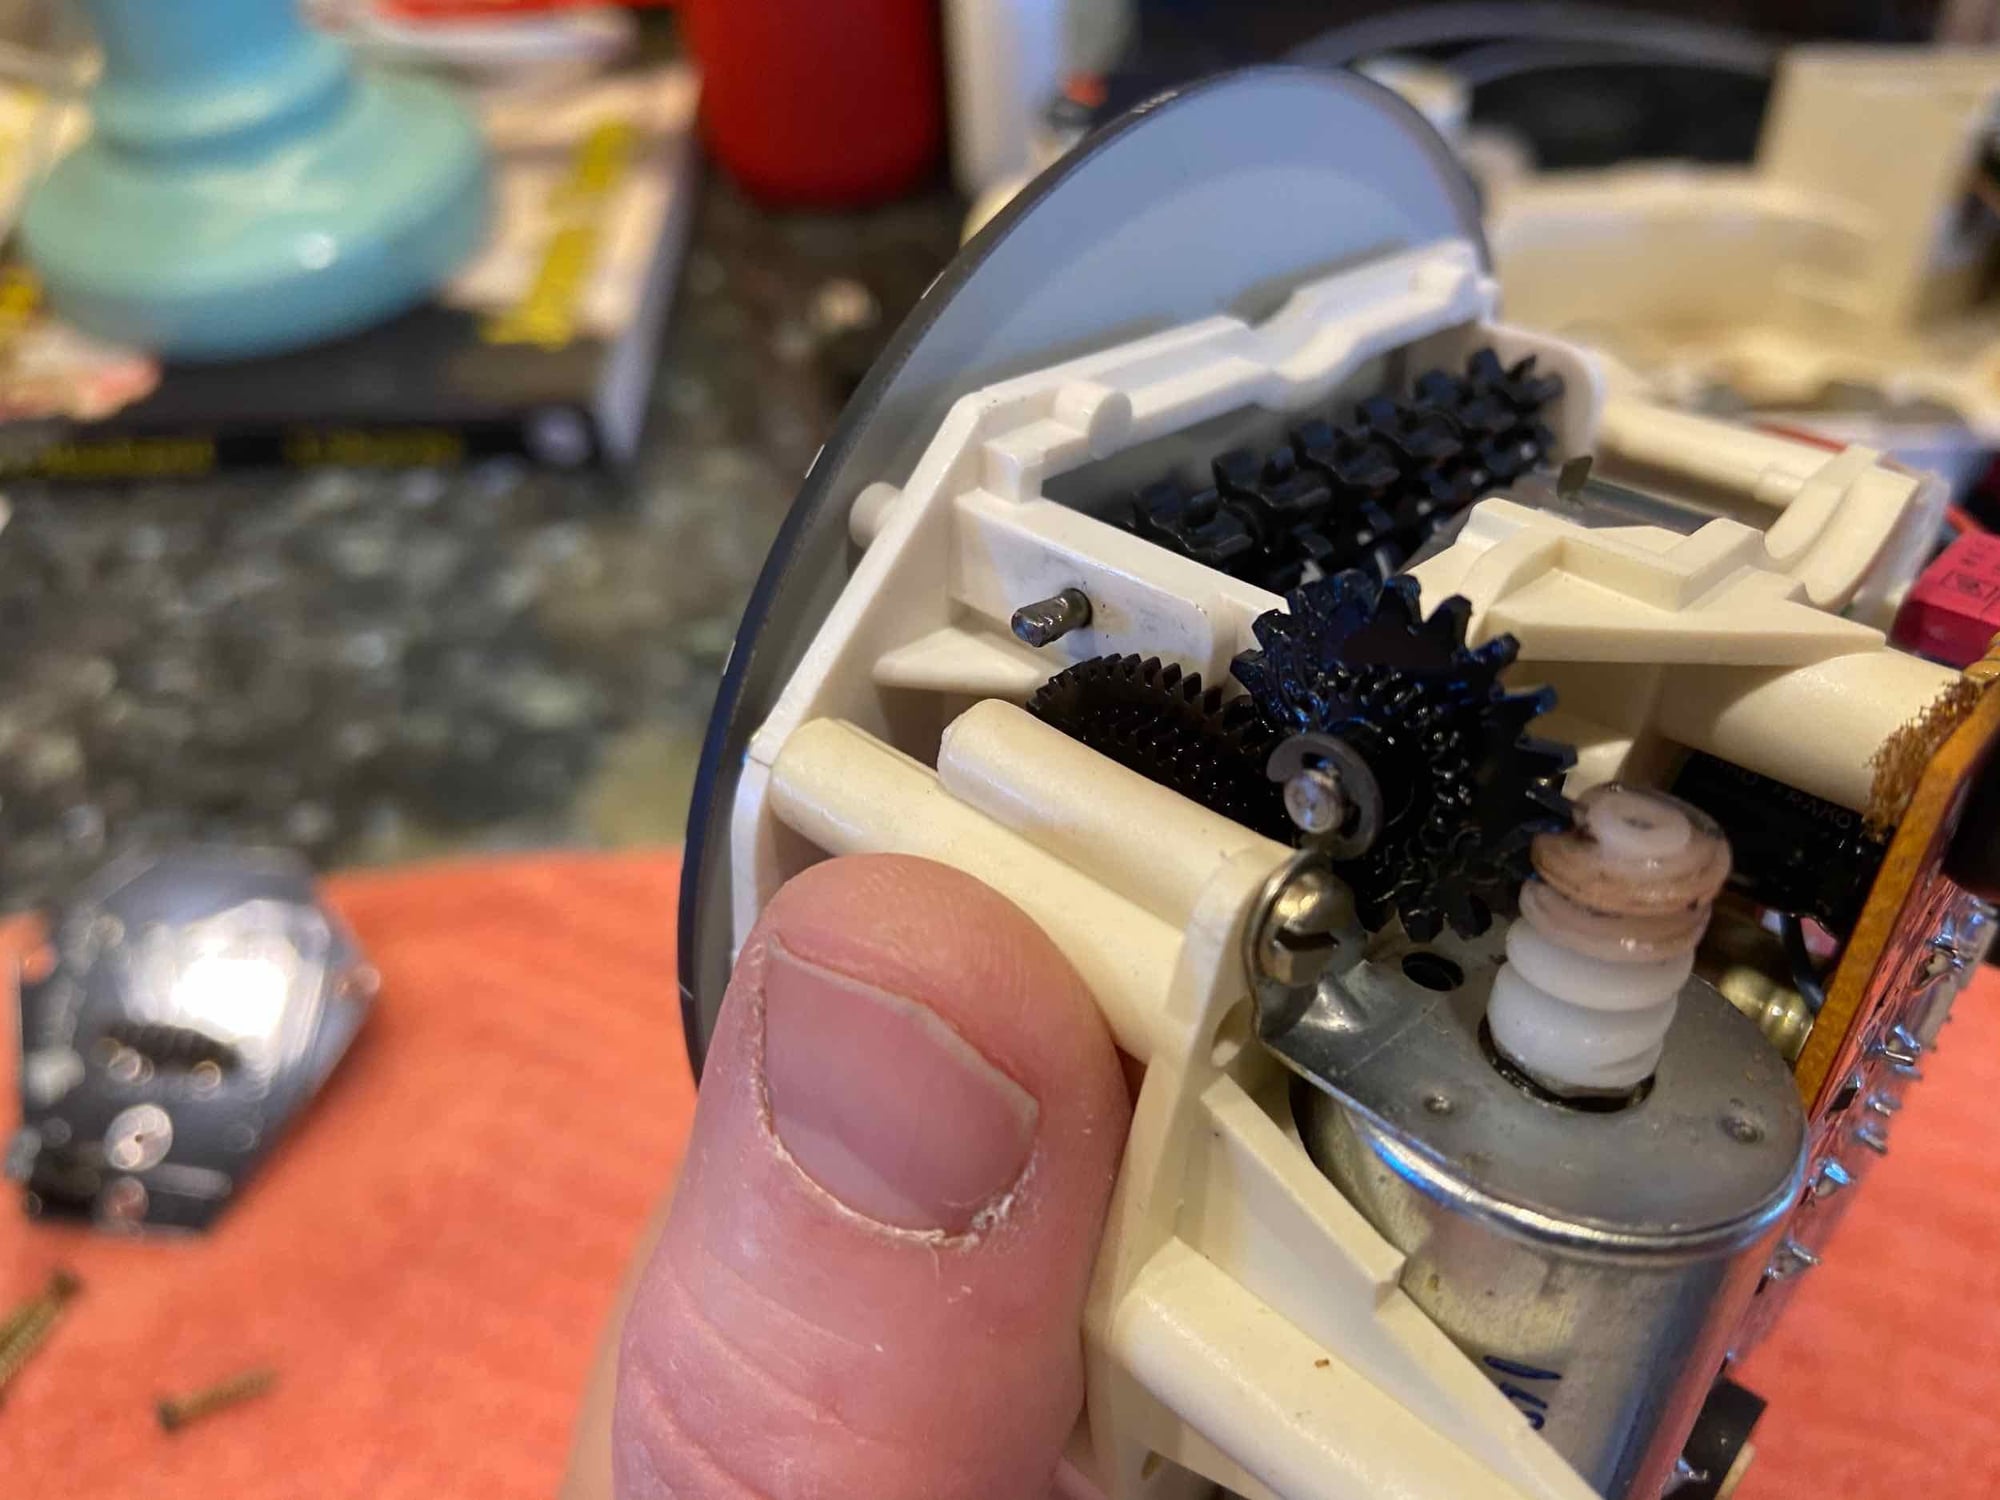
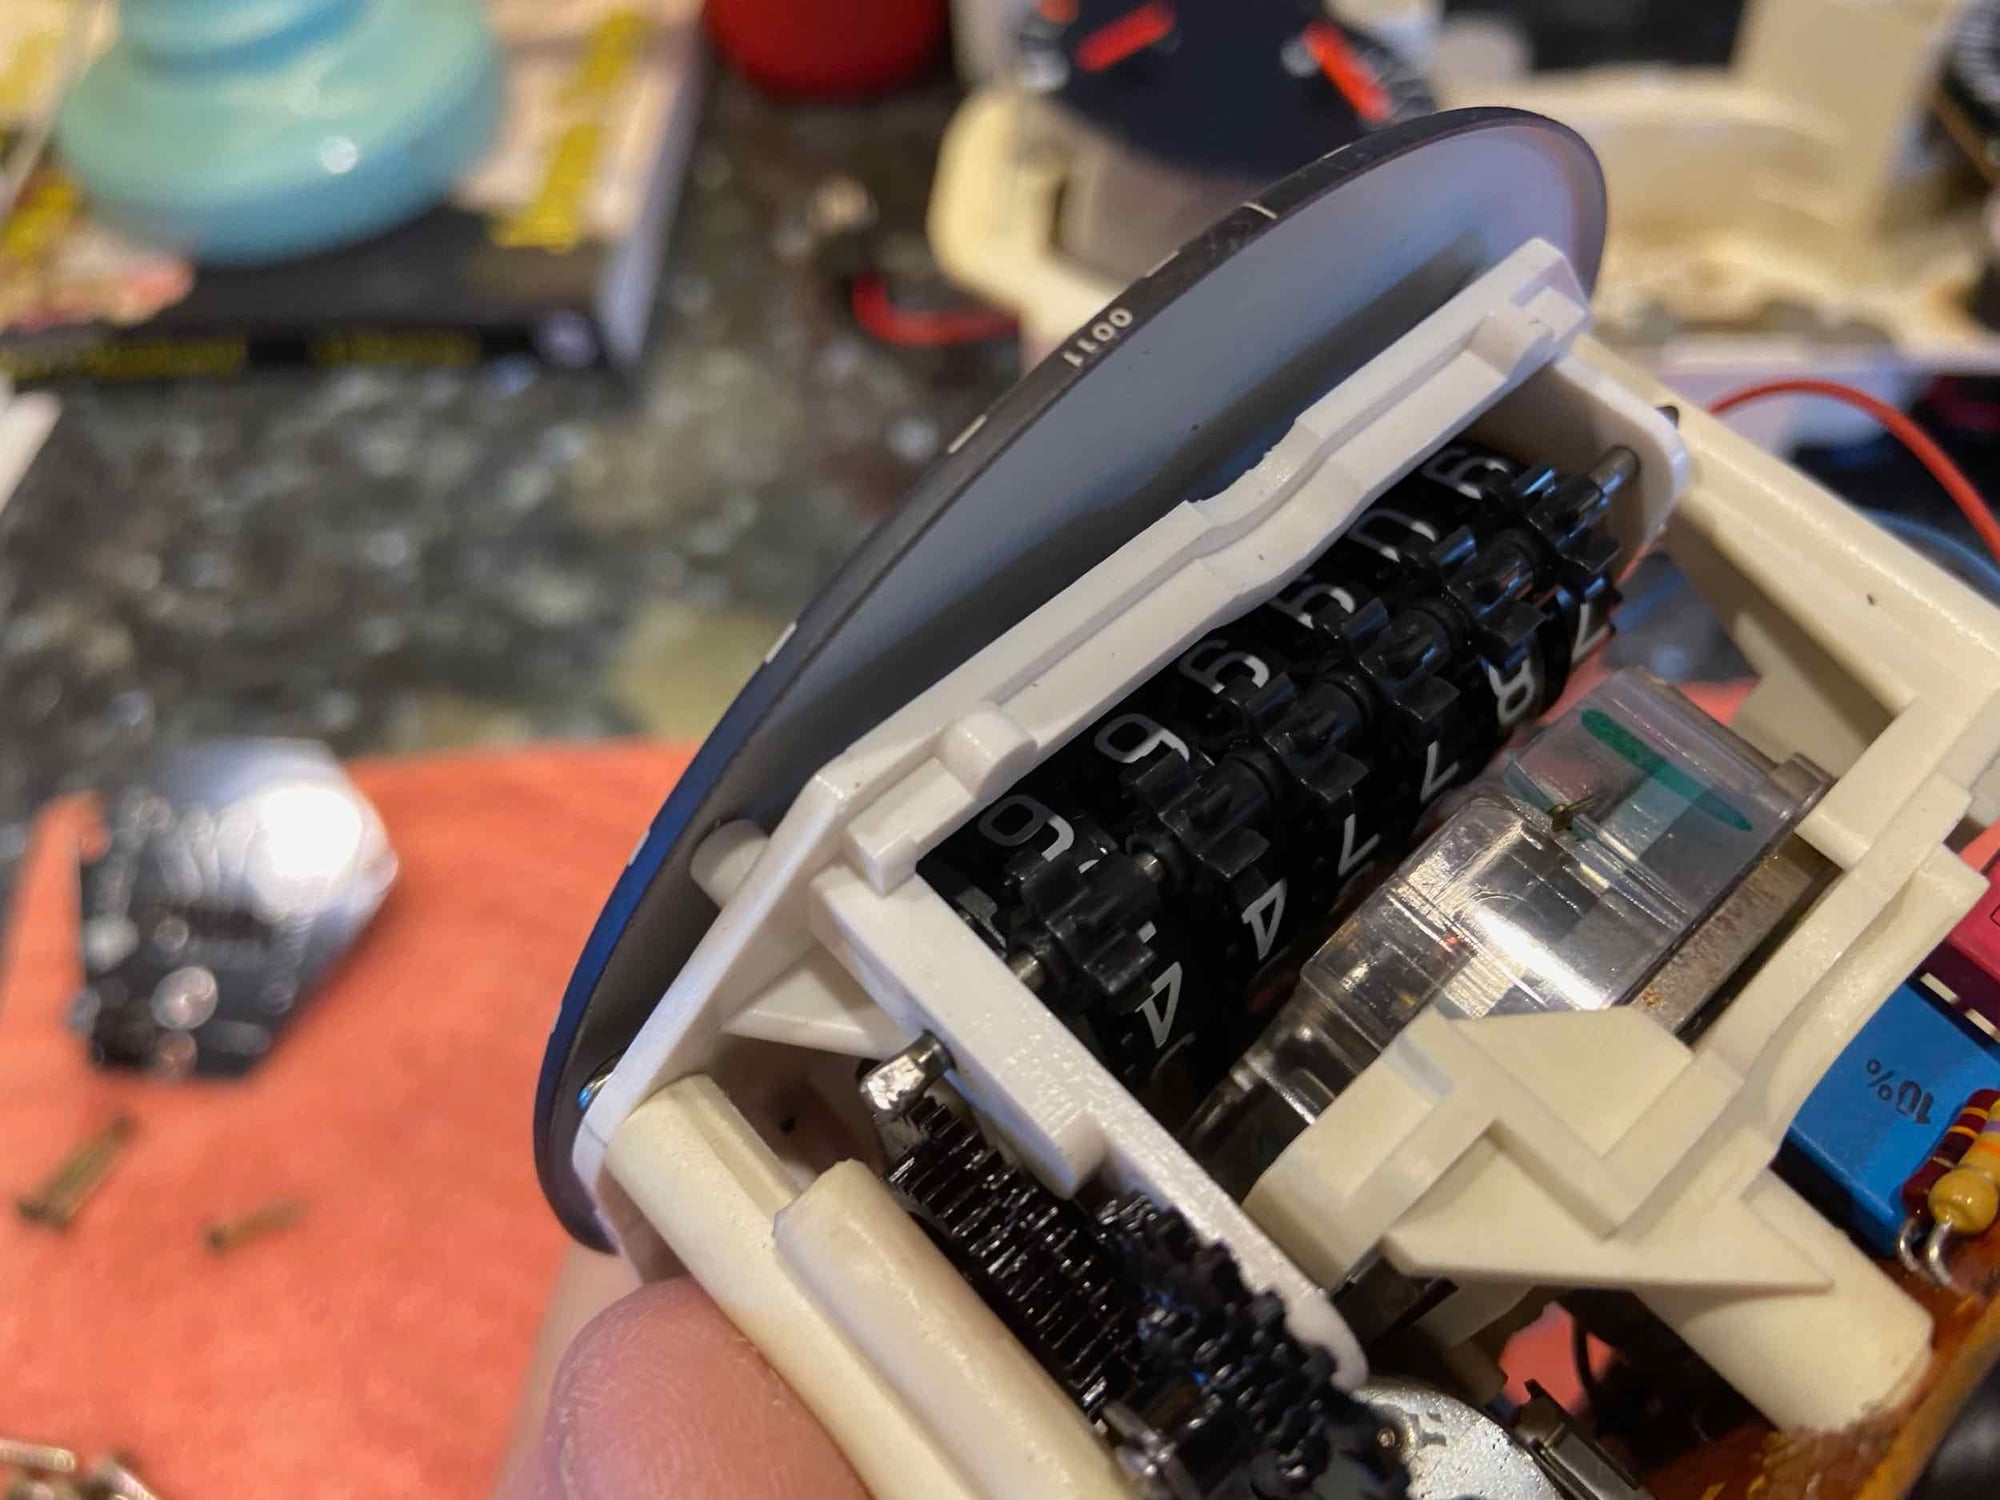
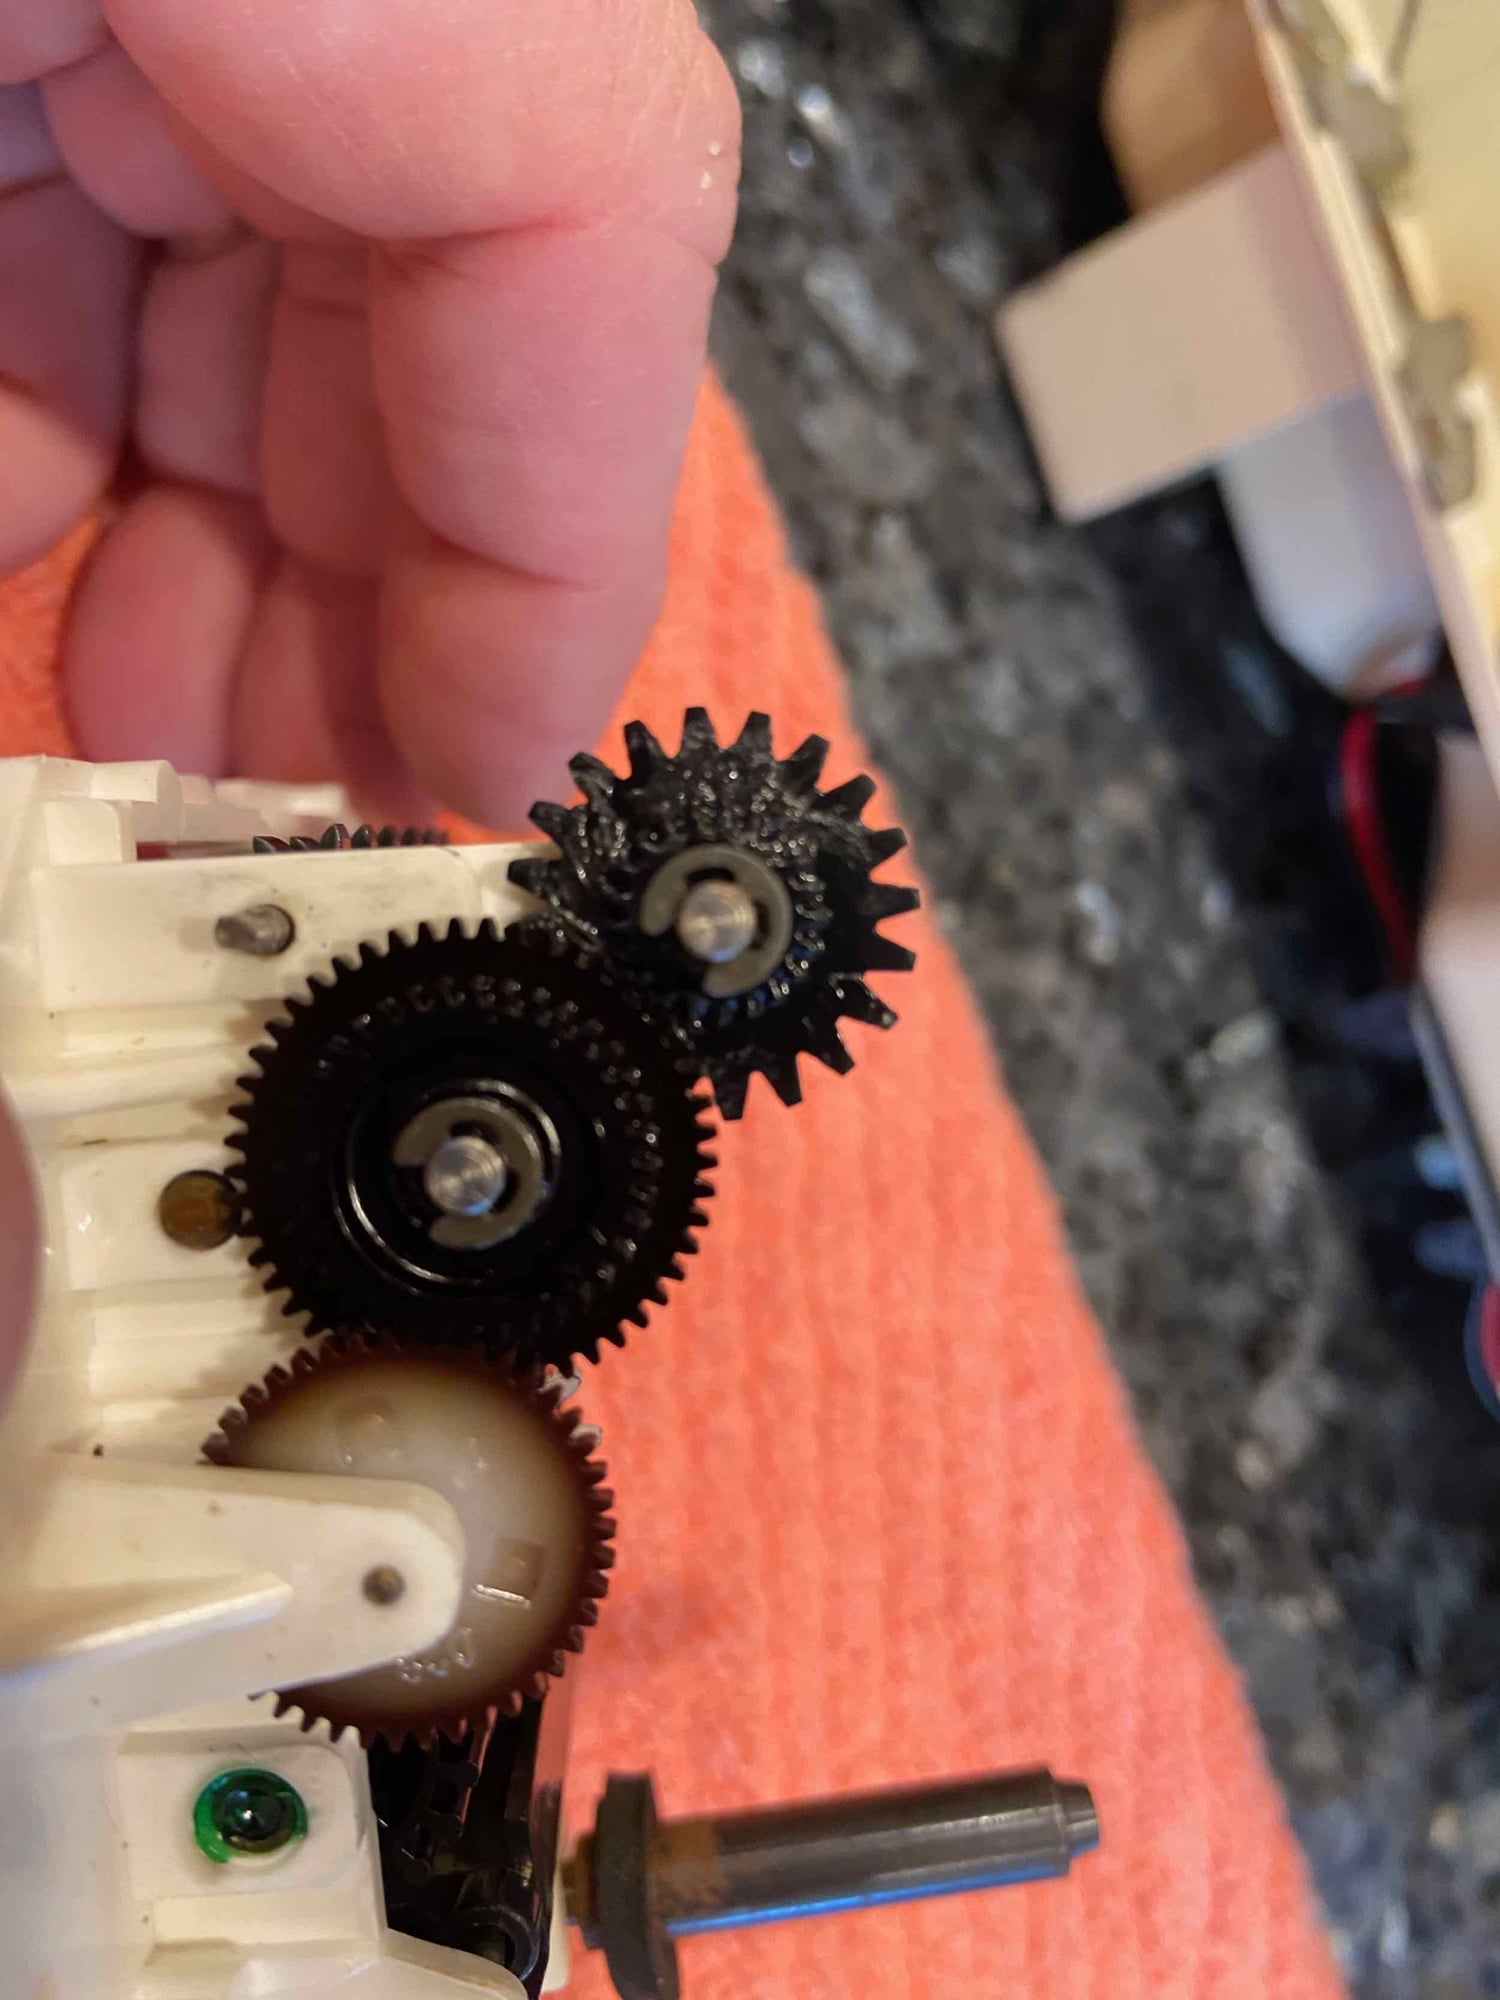
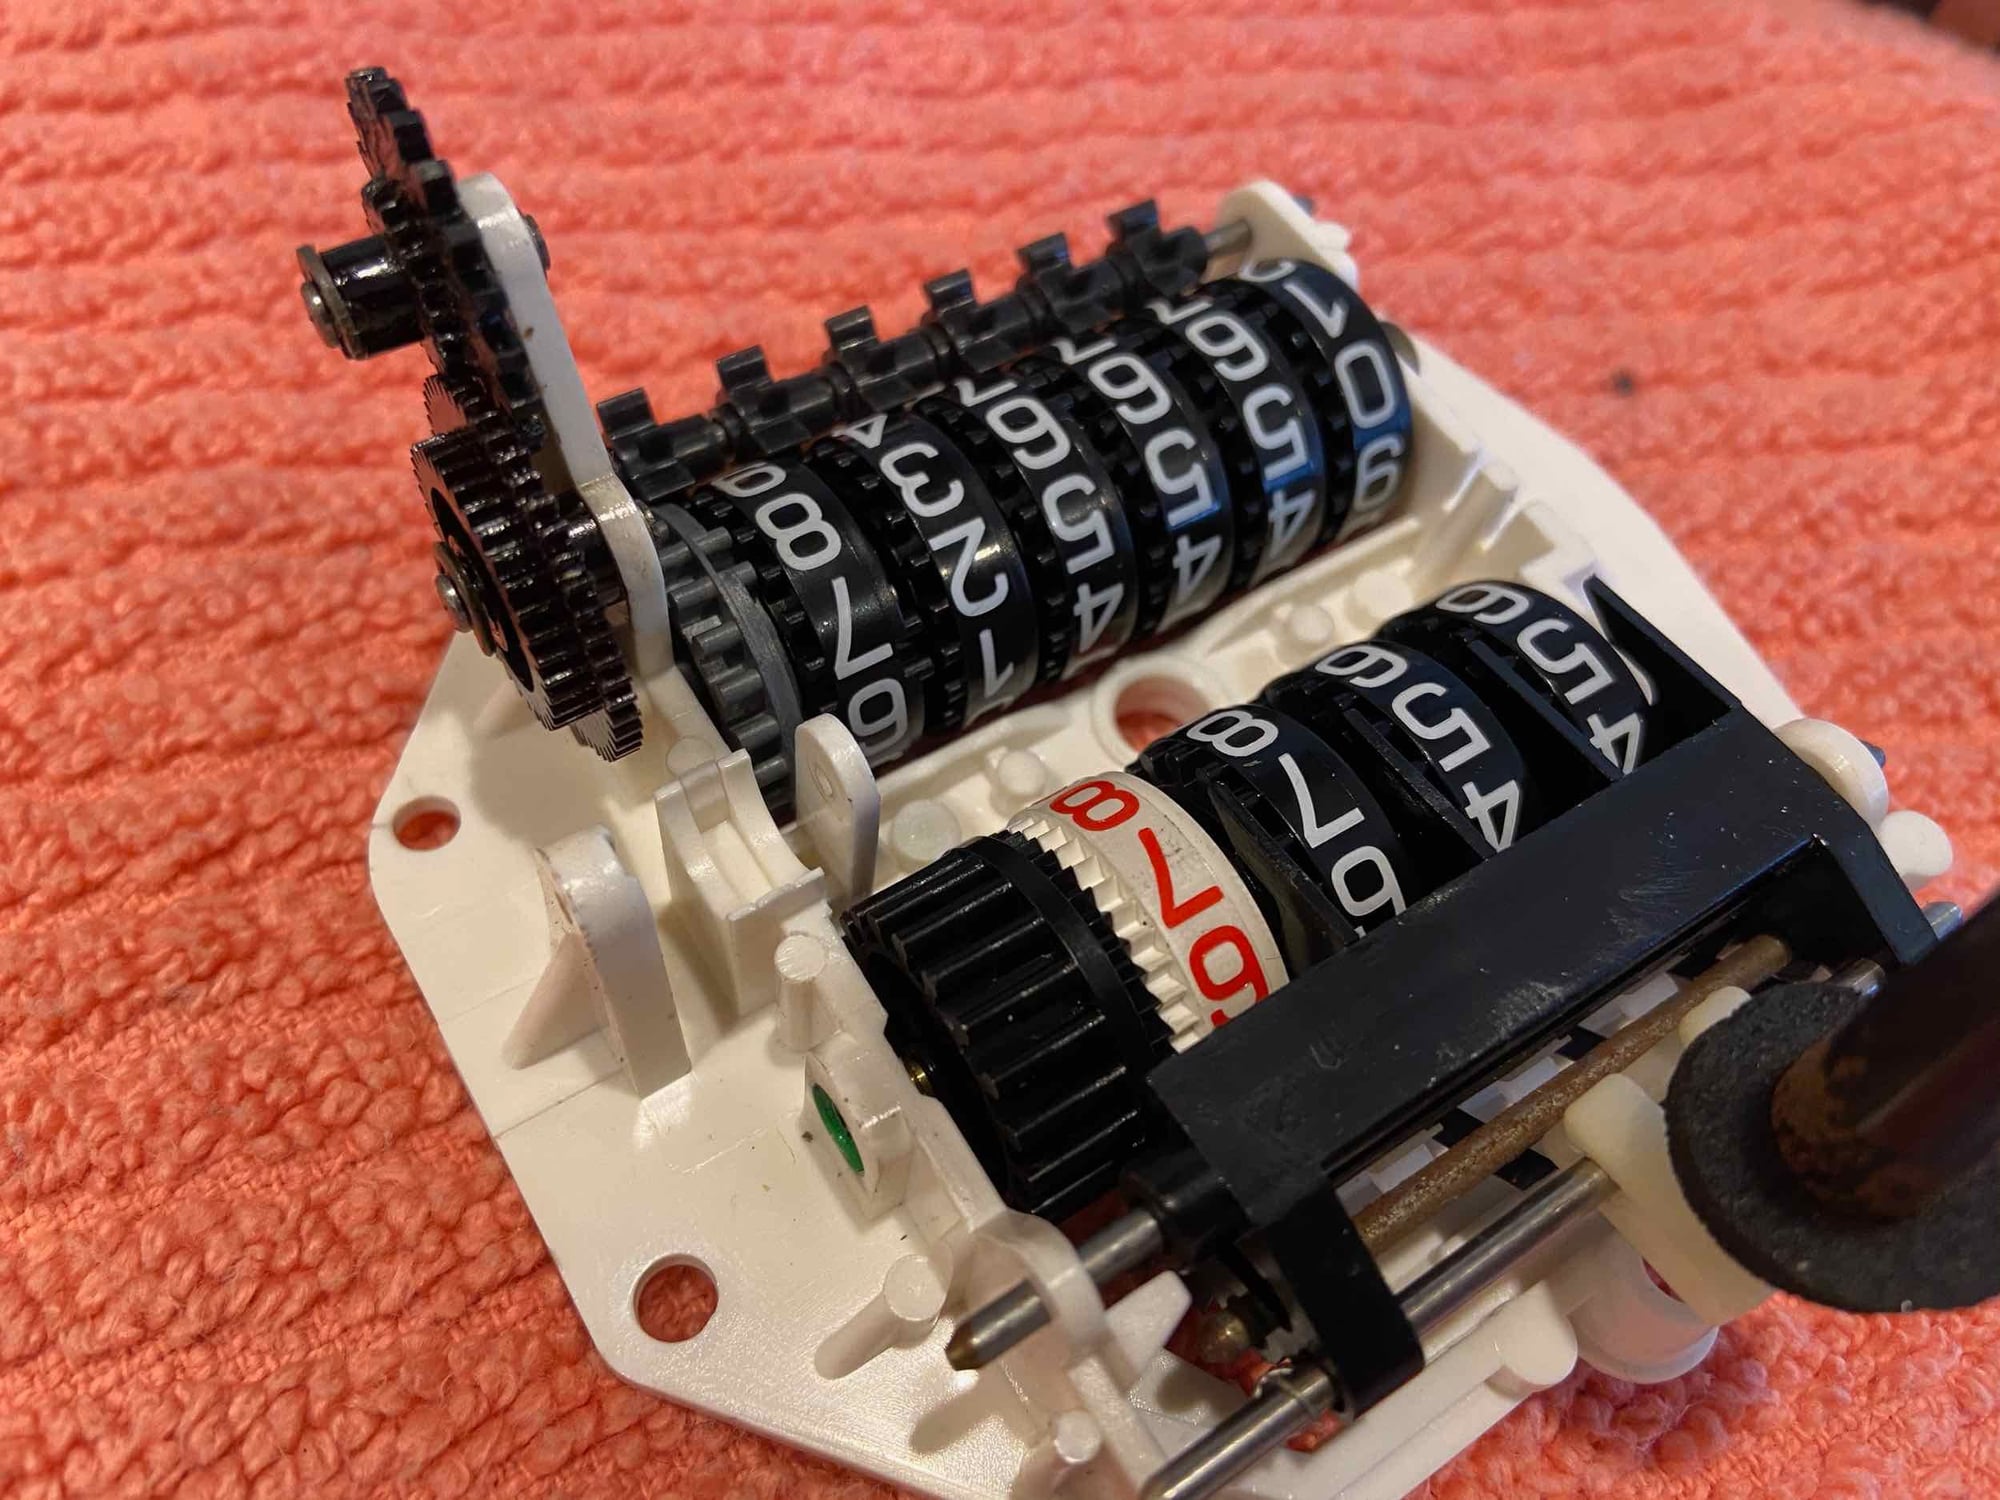
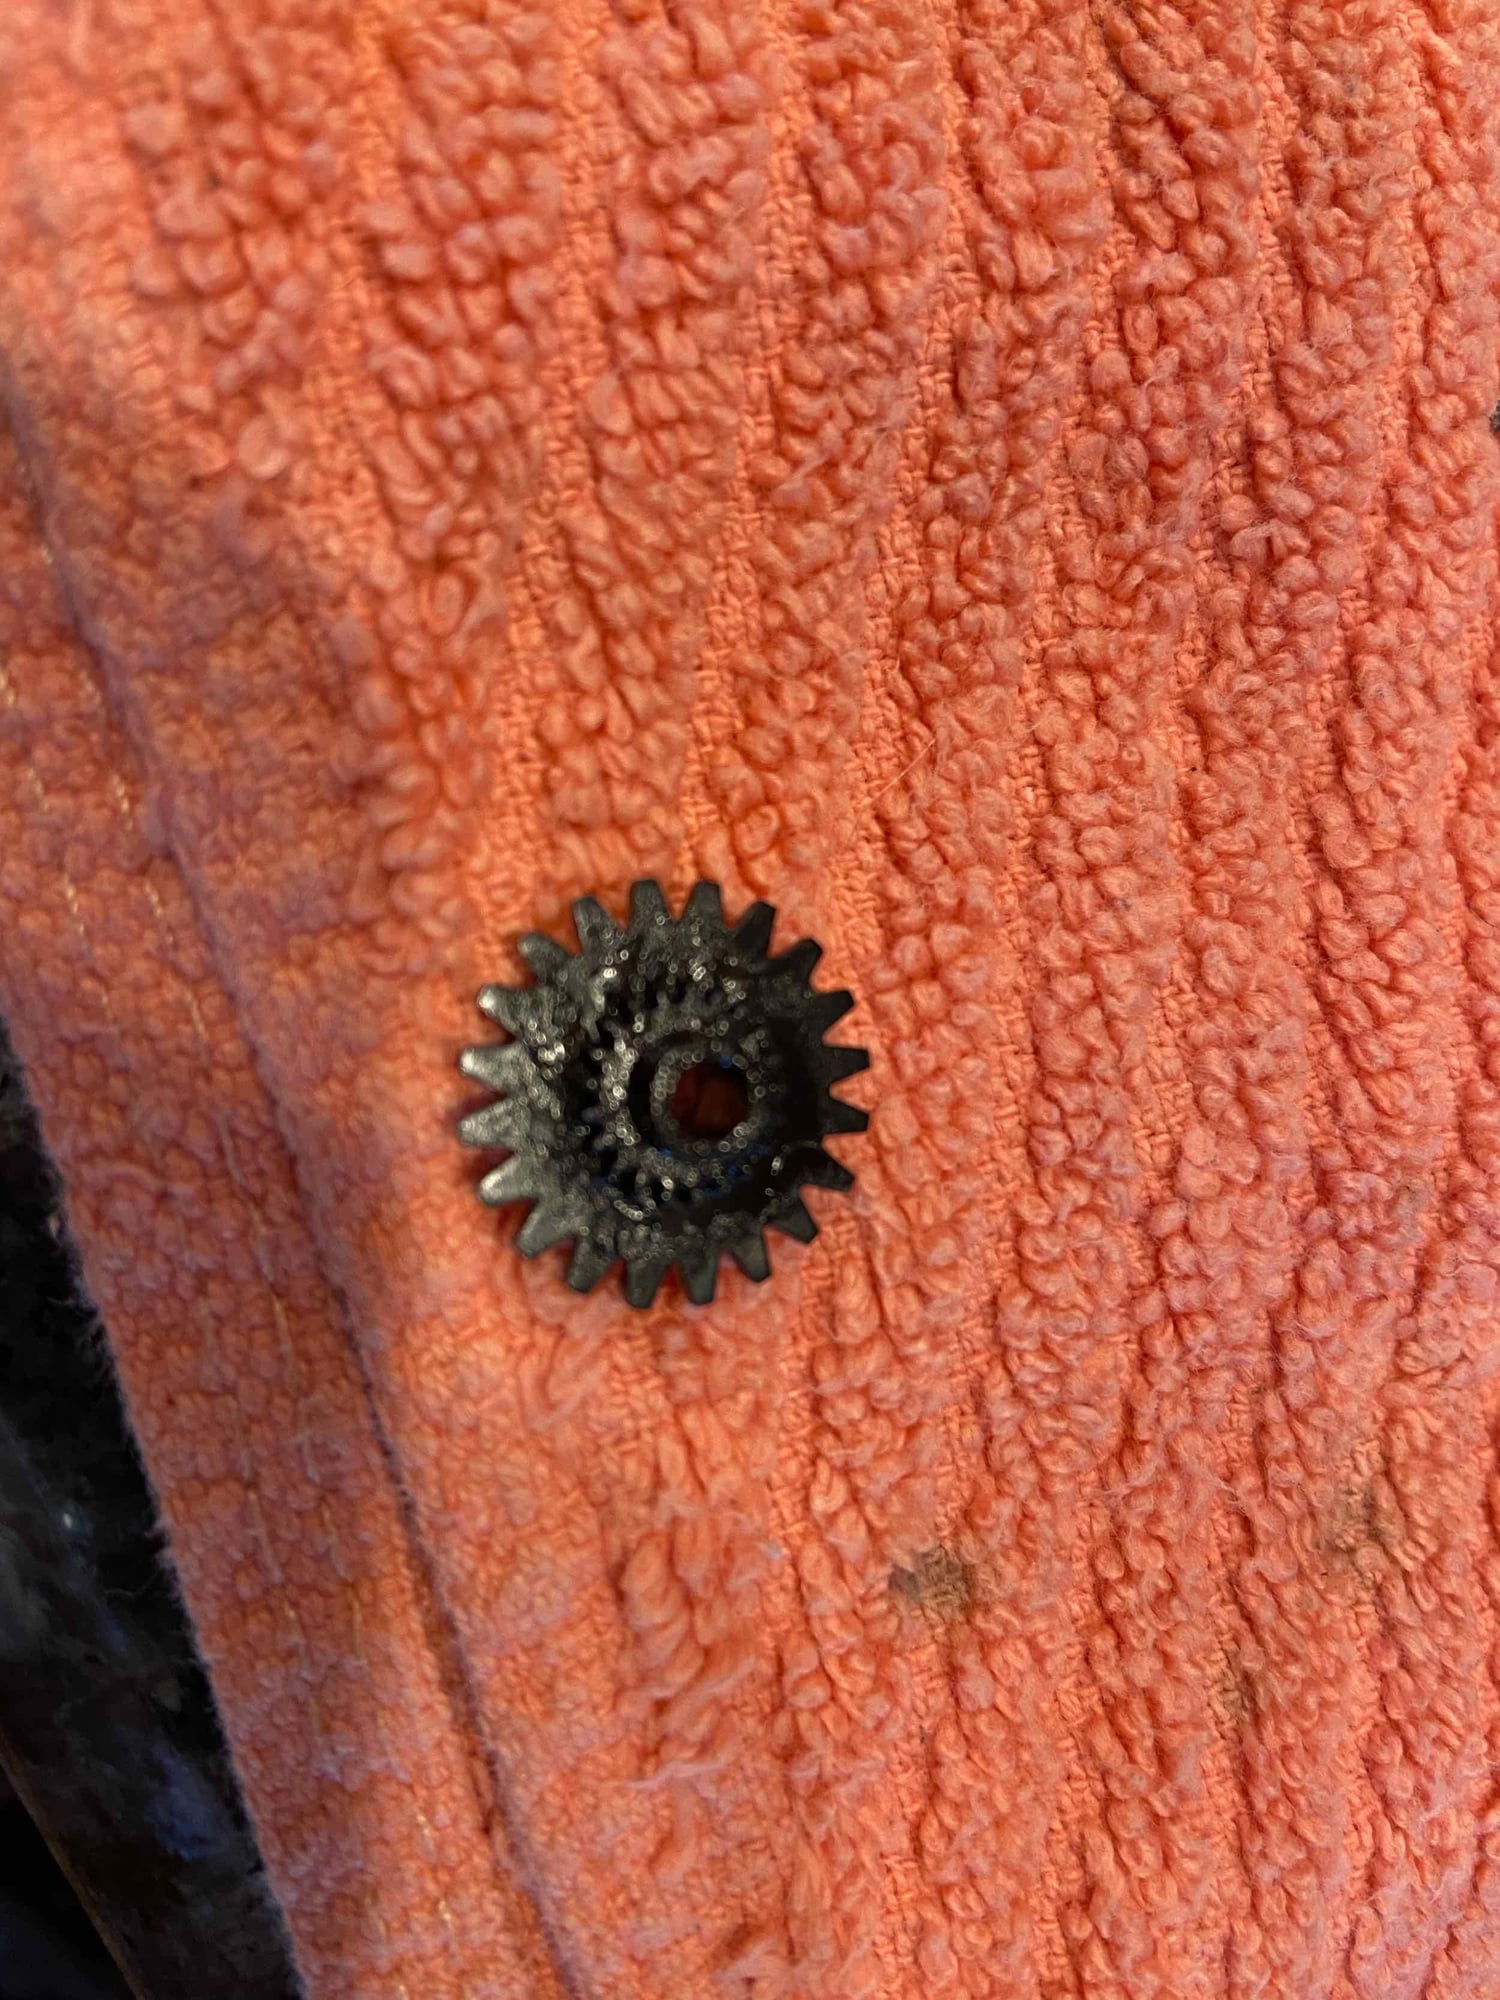
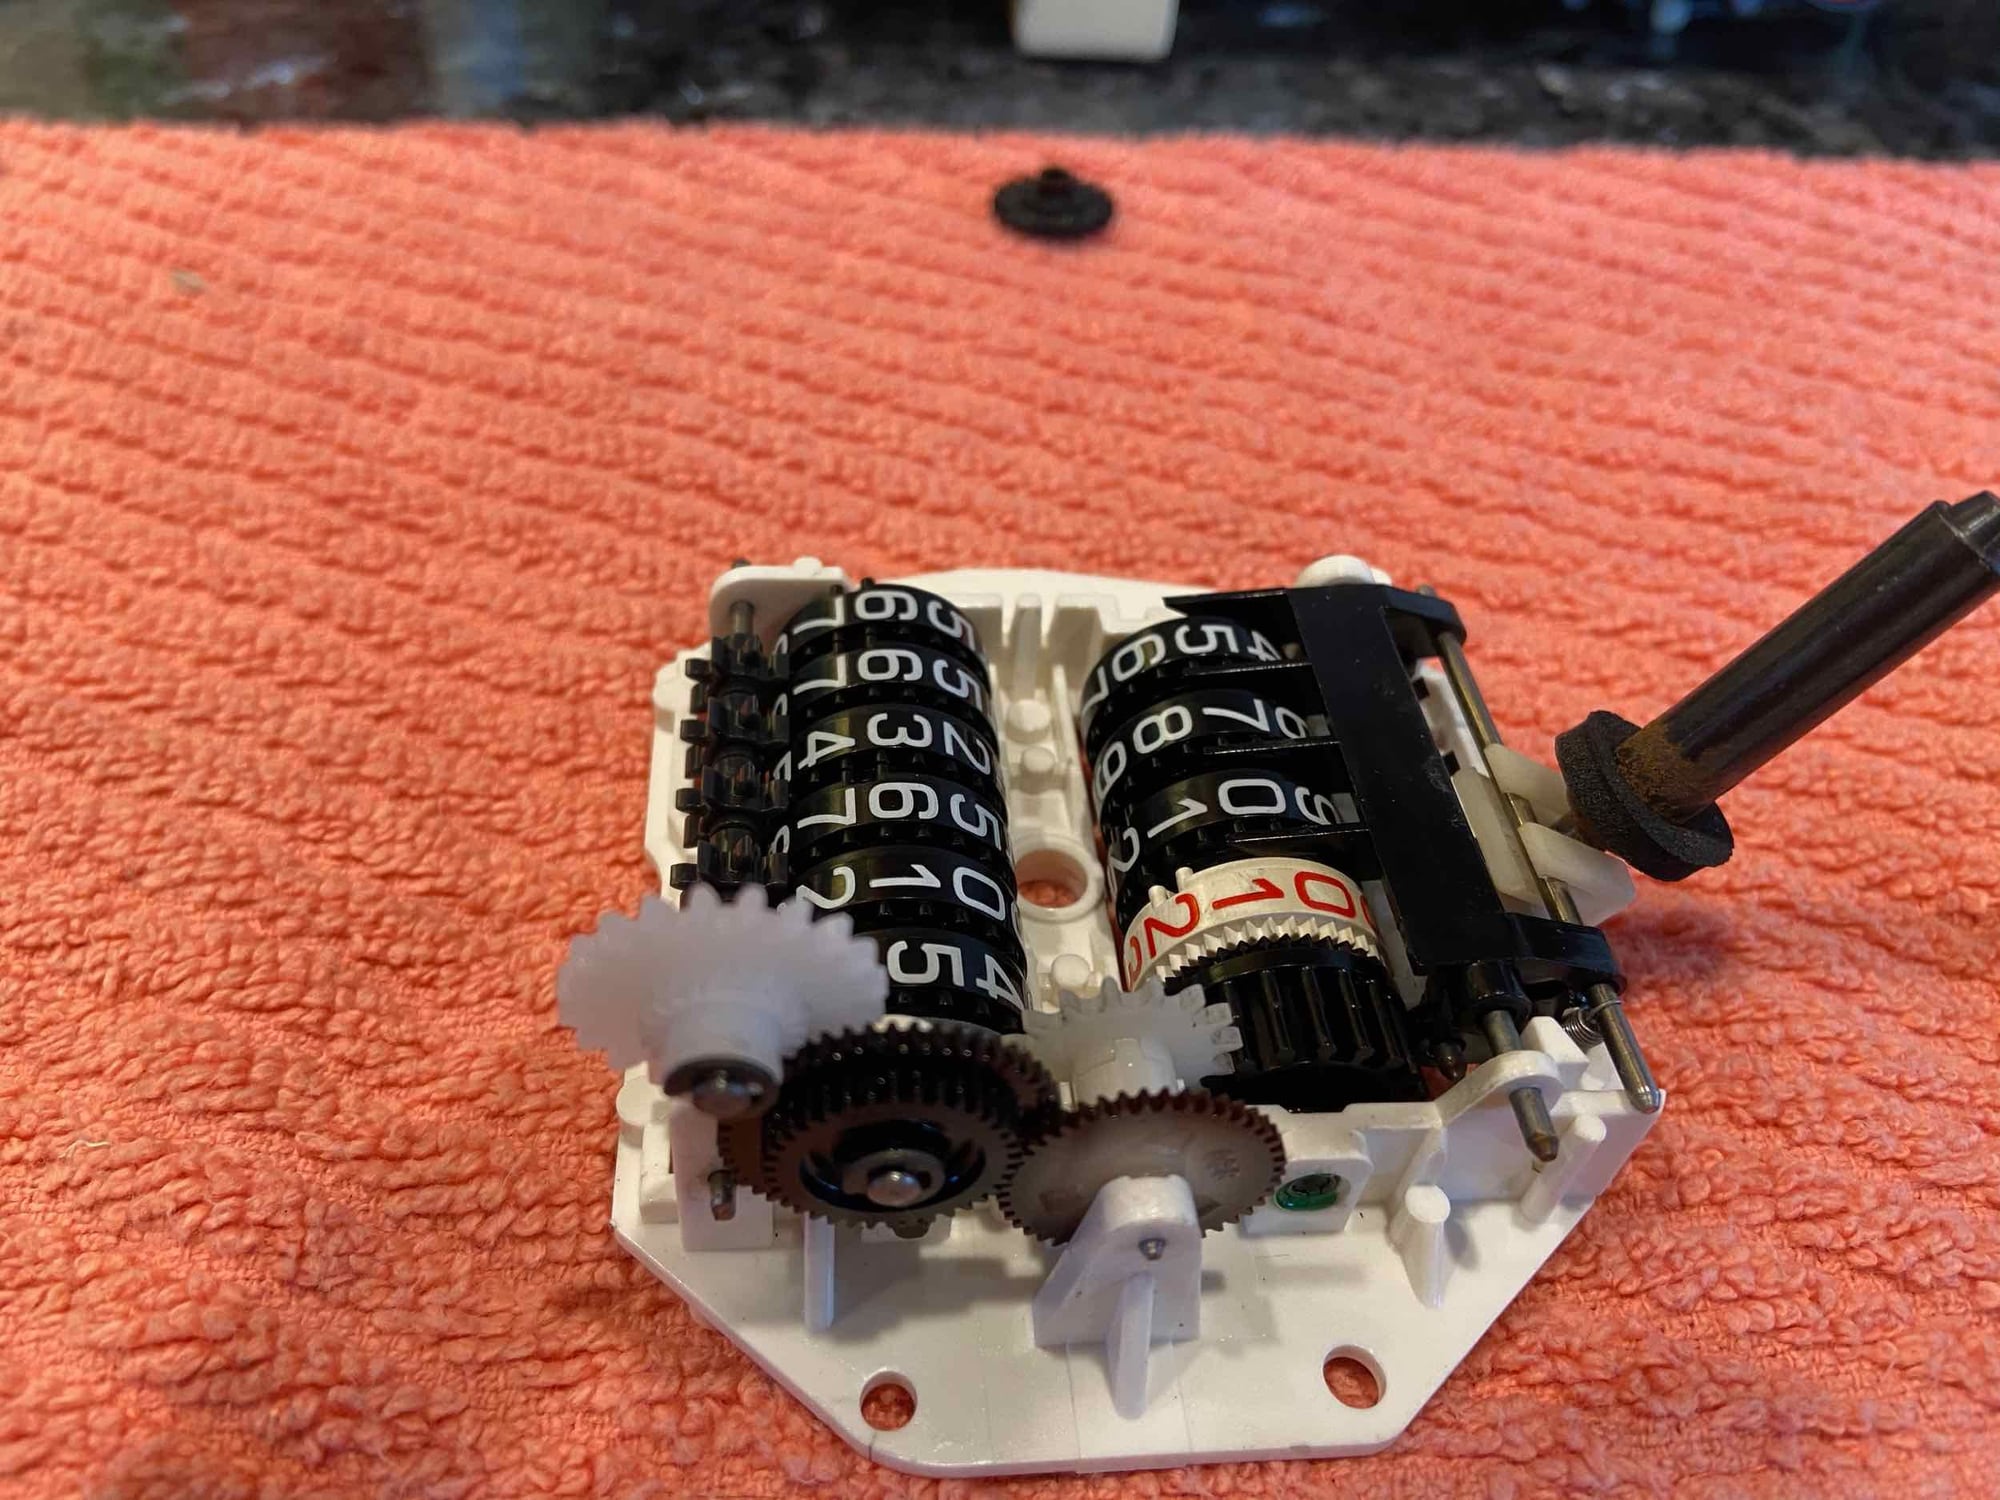
Continuing... Cover set aside. Speedometer removed. I am not taking photos of every single step here as it is already well documented. Speedometer assembly out of panel. Rear of unit with drive gears for odometer. Drive gears close up. The top black gear is the one that typically breaks and is replaced. The pics I have seen show a lighter colored gear from the factory. Not sure why this one is black. More closeups of assembly showing transfer gears that cause the next digit to turn upon reaching zero.
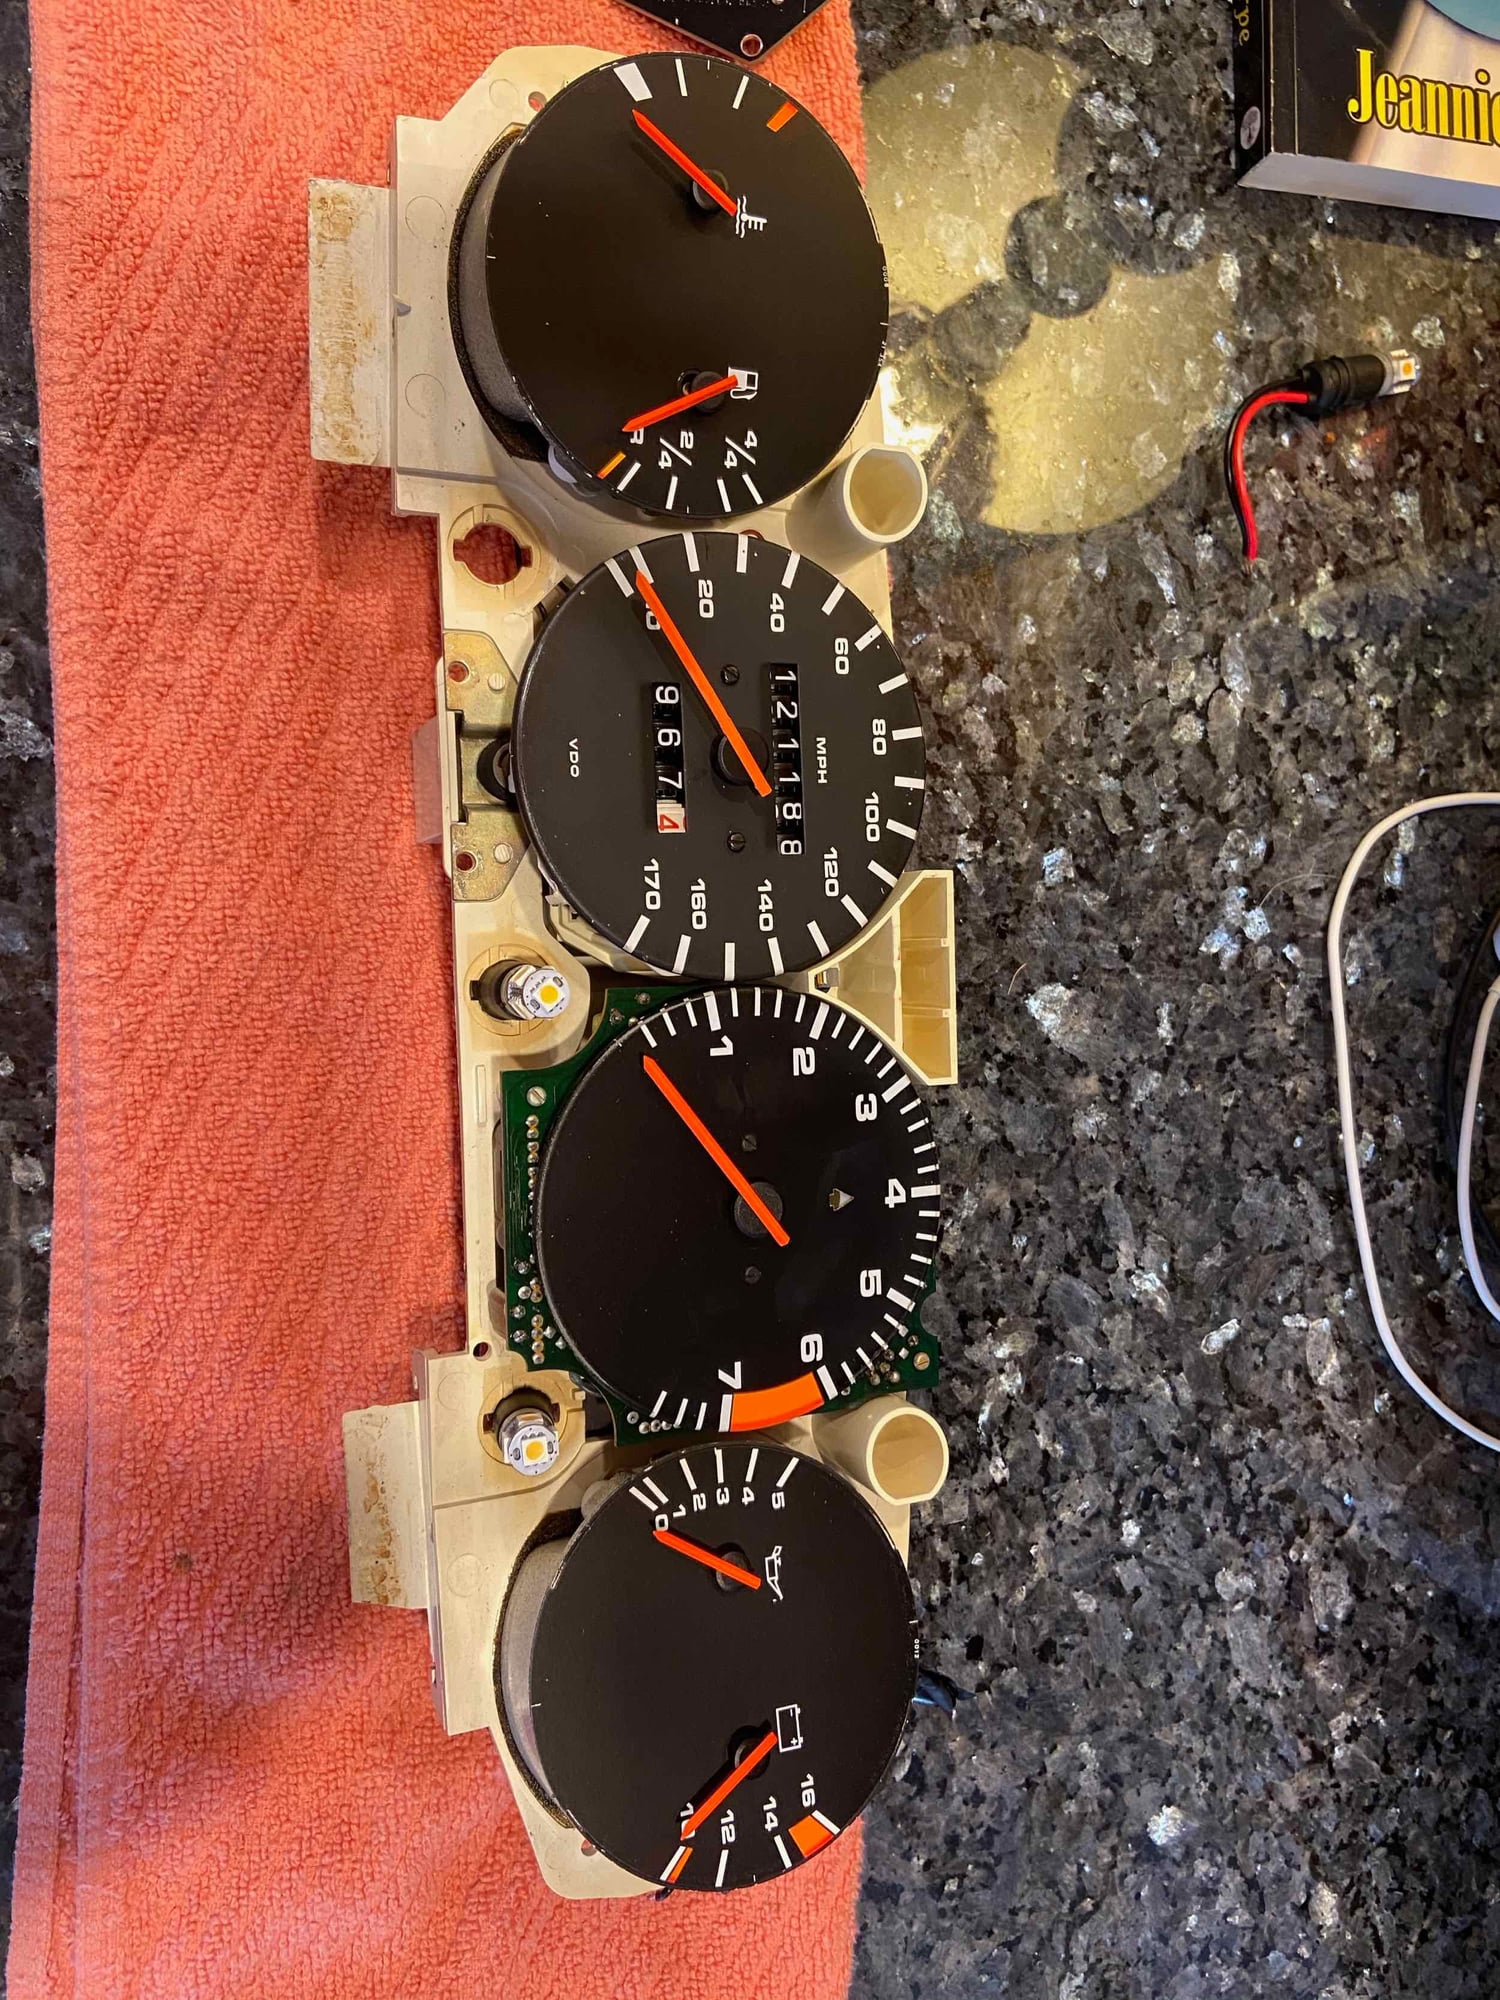
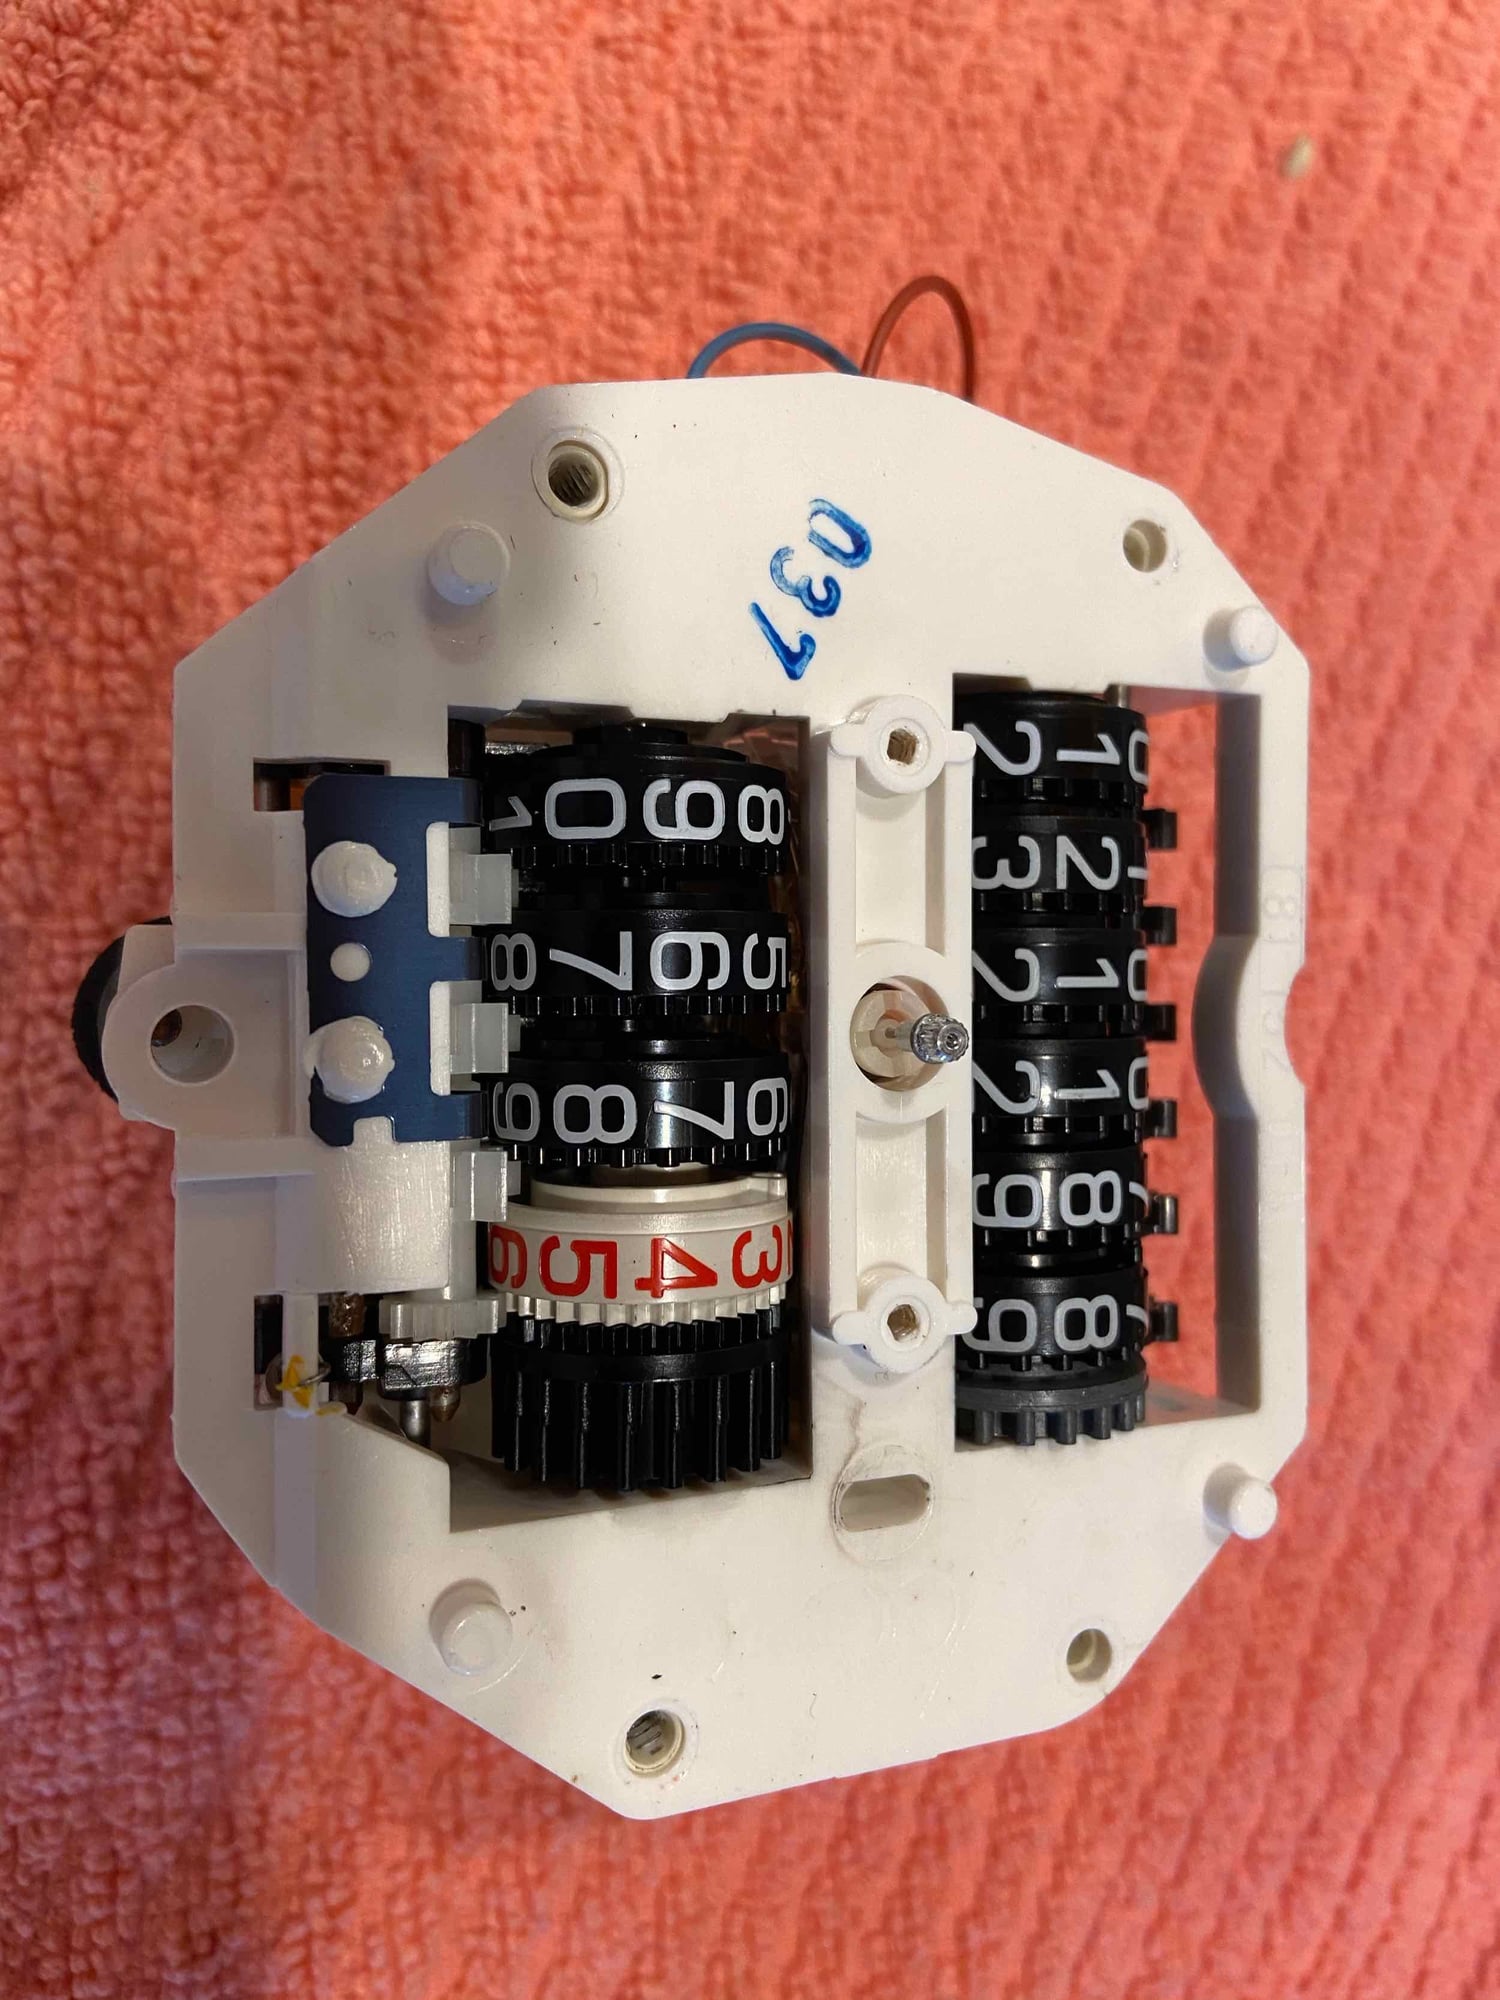
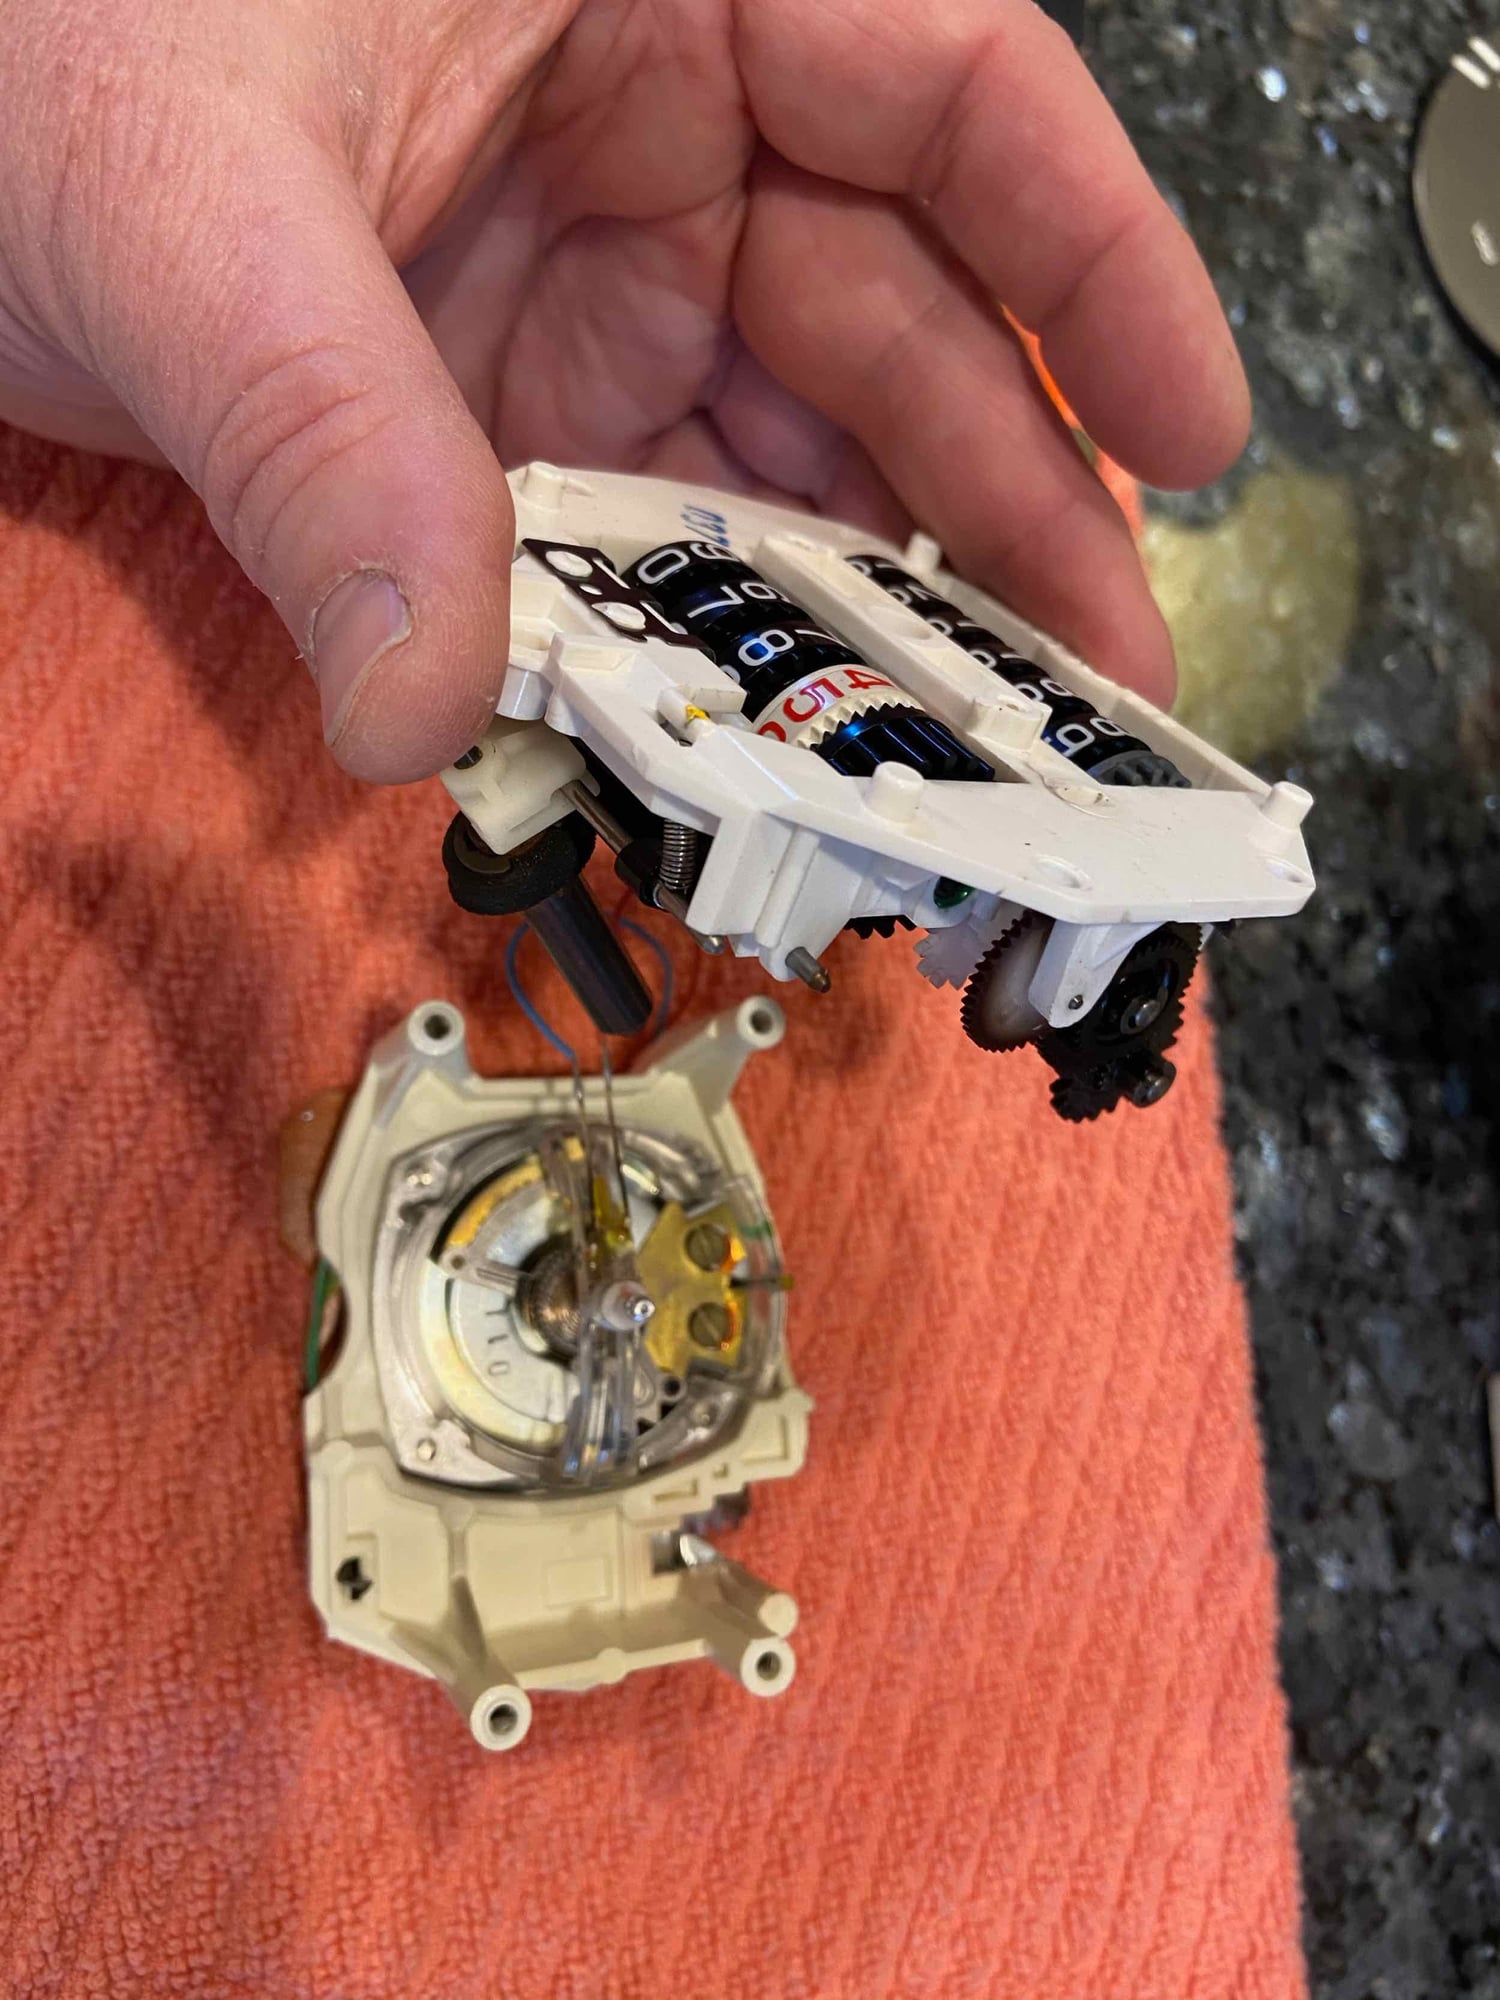
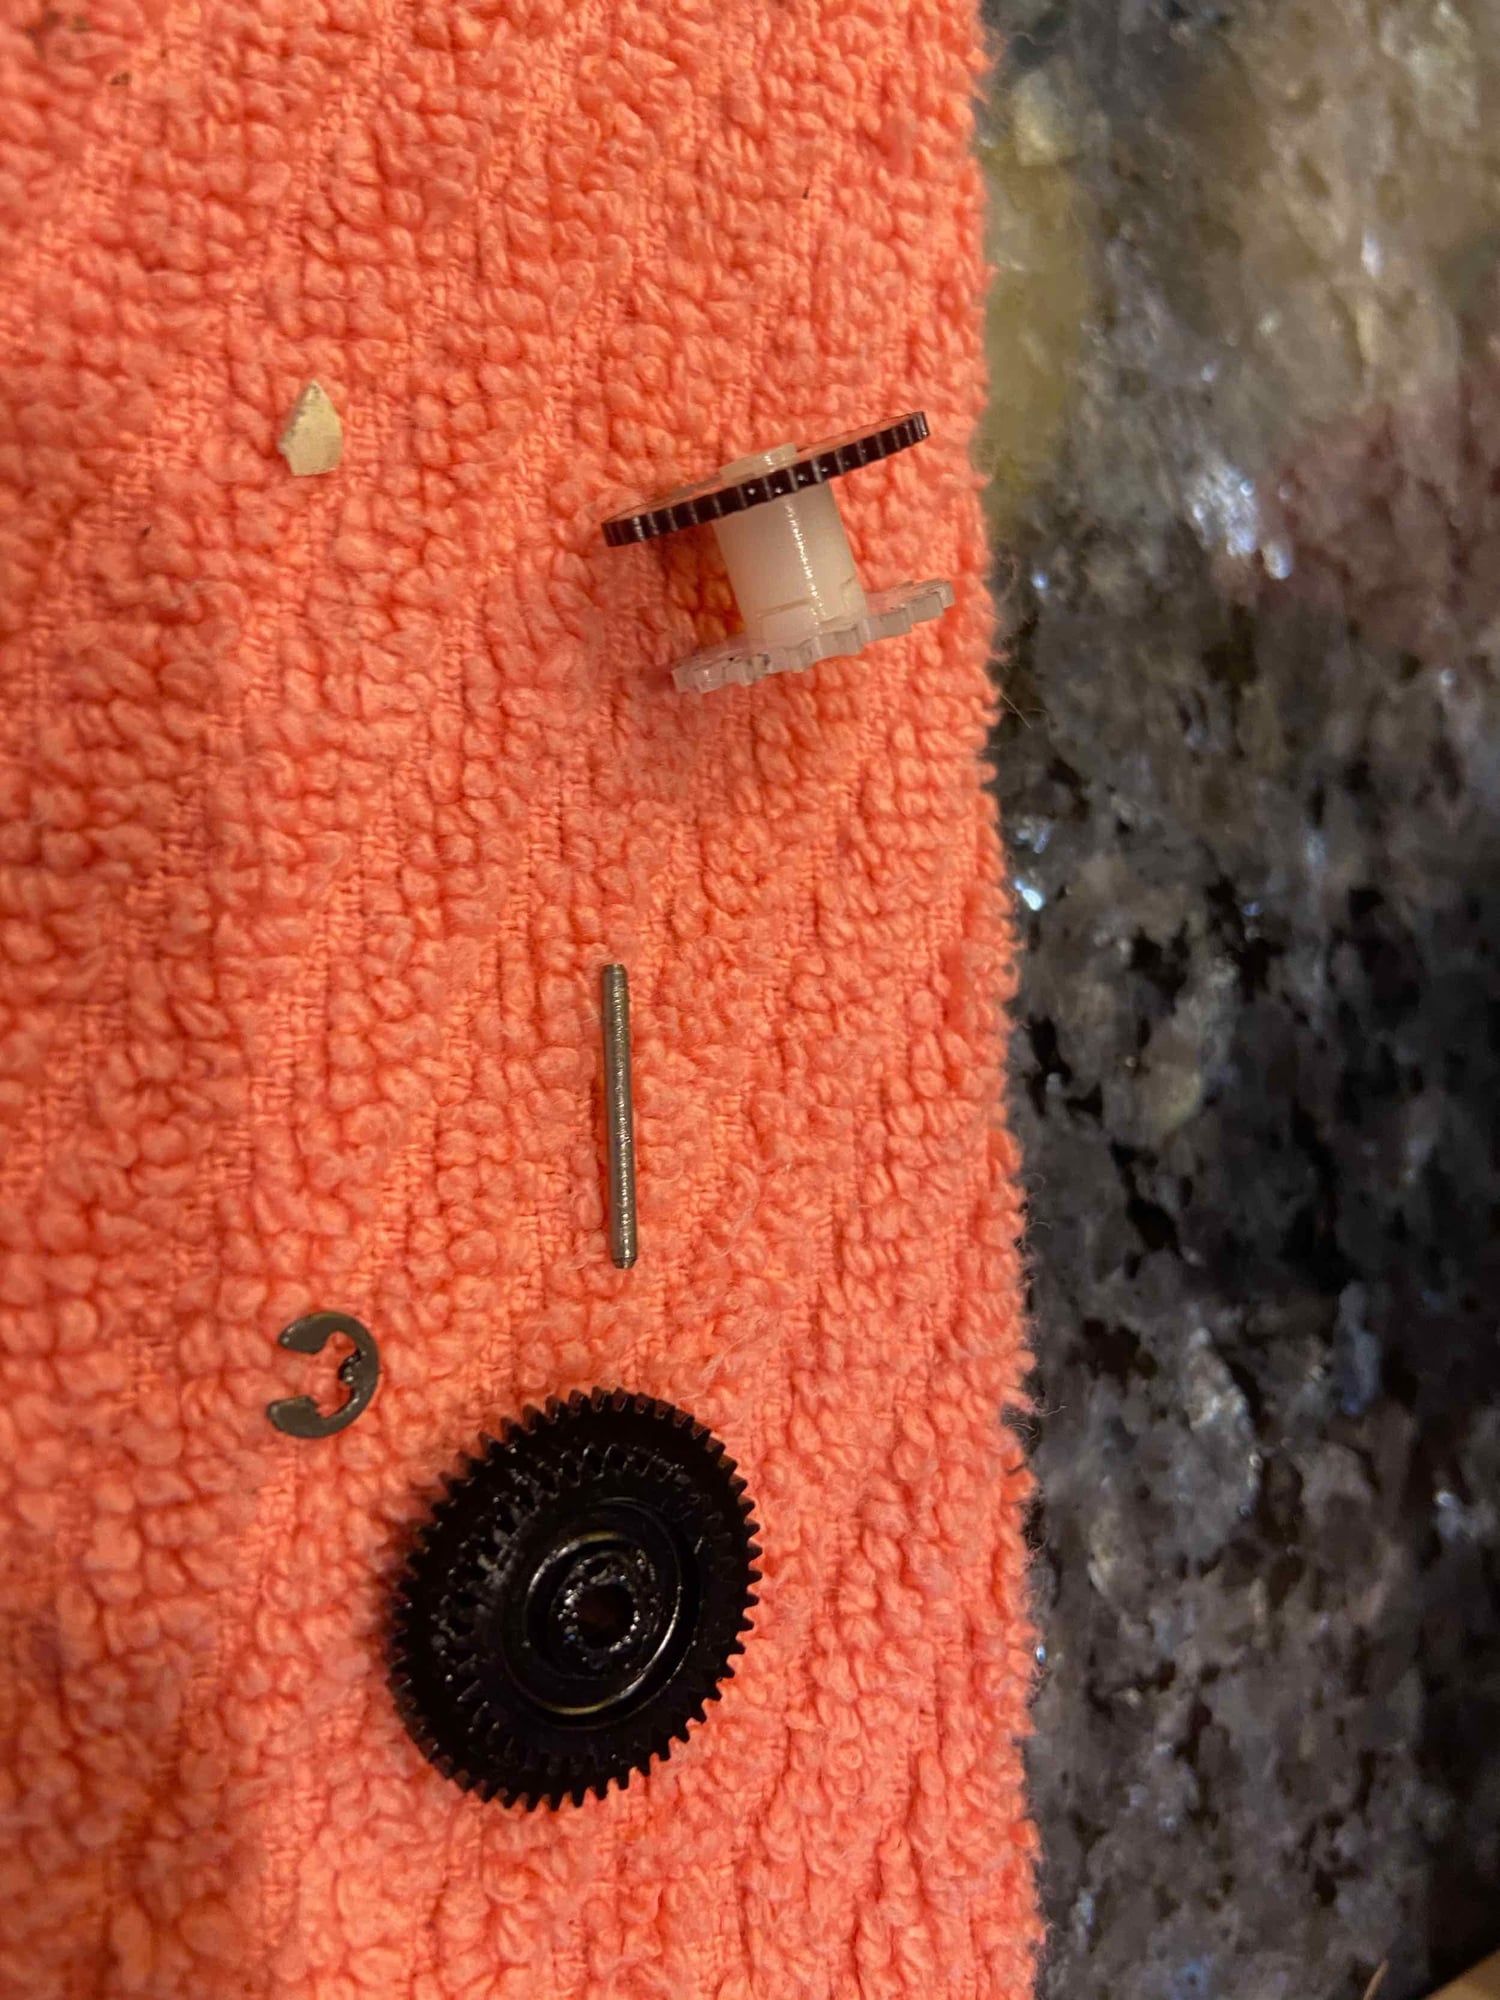
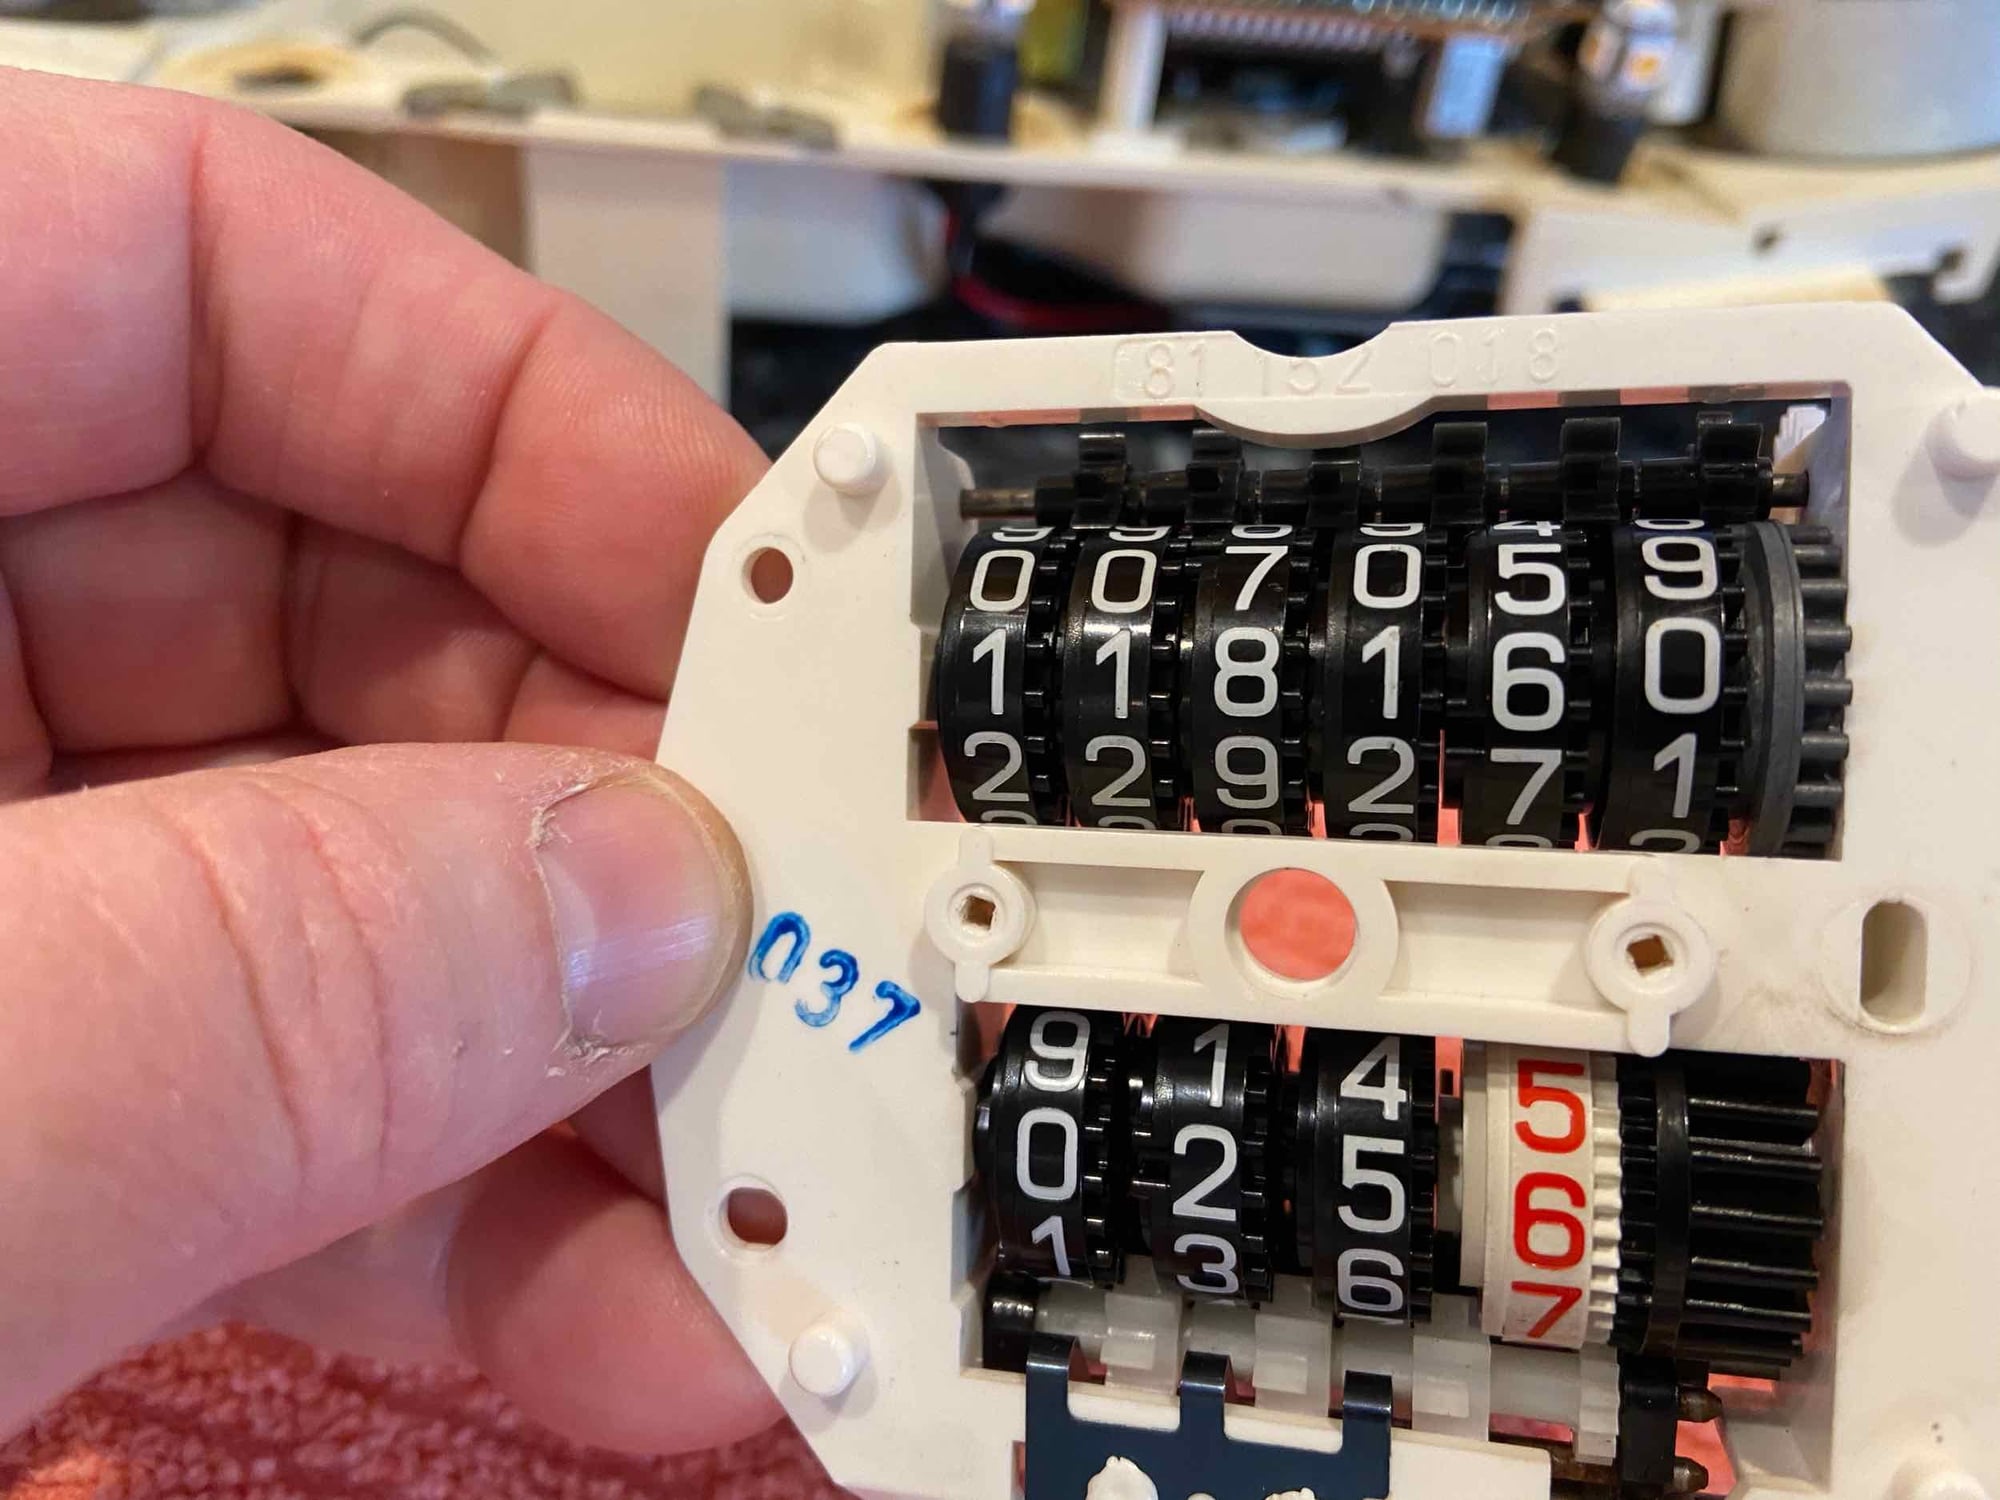
Continuing... Speedo face removed. Needle was not too bad, but I felt like breathing on any part of this entire unit wrong would break something. Pulling odometer unit away from speedo unit. Gear assembly. I expected the uppermost gear to be the color of the bridge gear at the bottom. Difficult to see but here is my problem. There is too much play between the digit wheels on the main odometer. The wheels can slide side-to side causing disengagement from the little wheel between each one that causes them to rotate. Since I was in there, went ahead and replaced the main drive gear. Here the double gear is removed by pushing the pin out. The pin, and lower double gear, as well as the first circlip that holds on the middle gear in the chain.
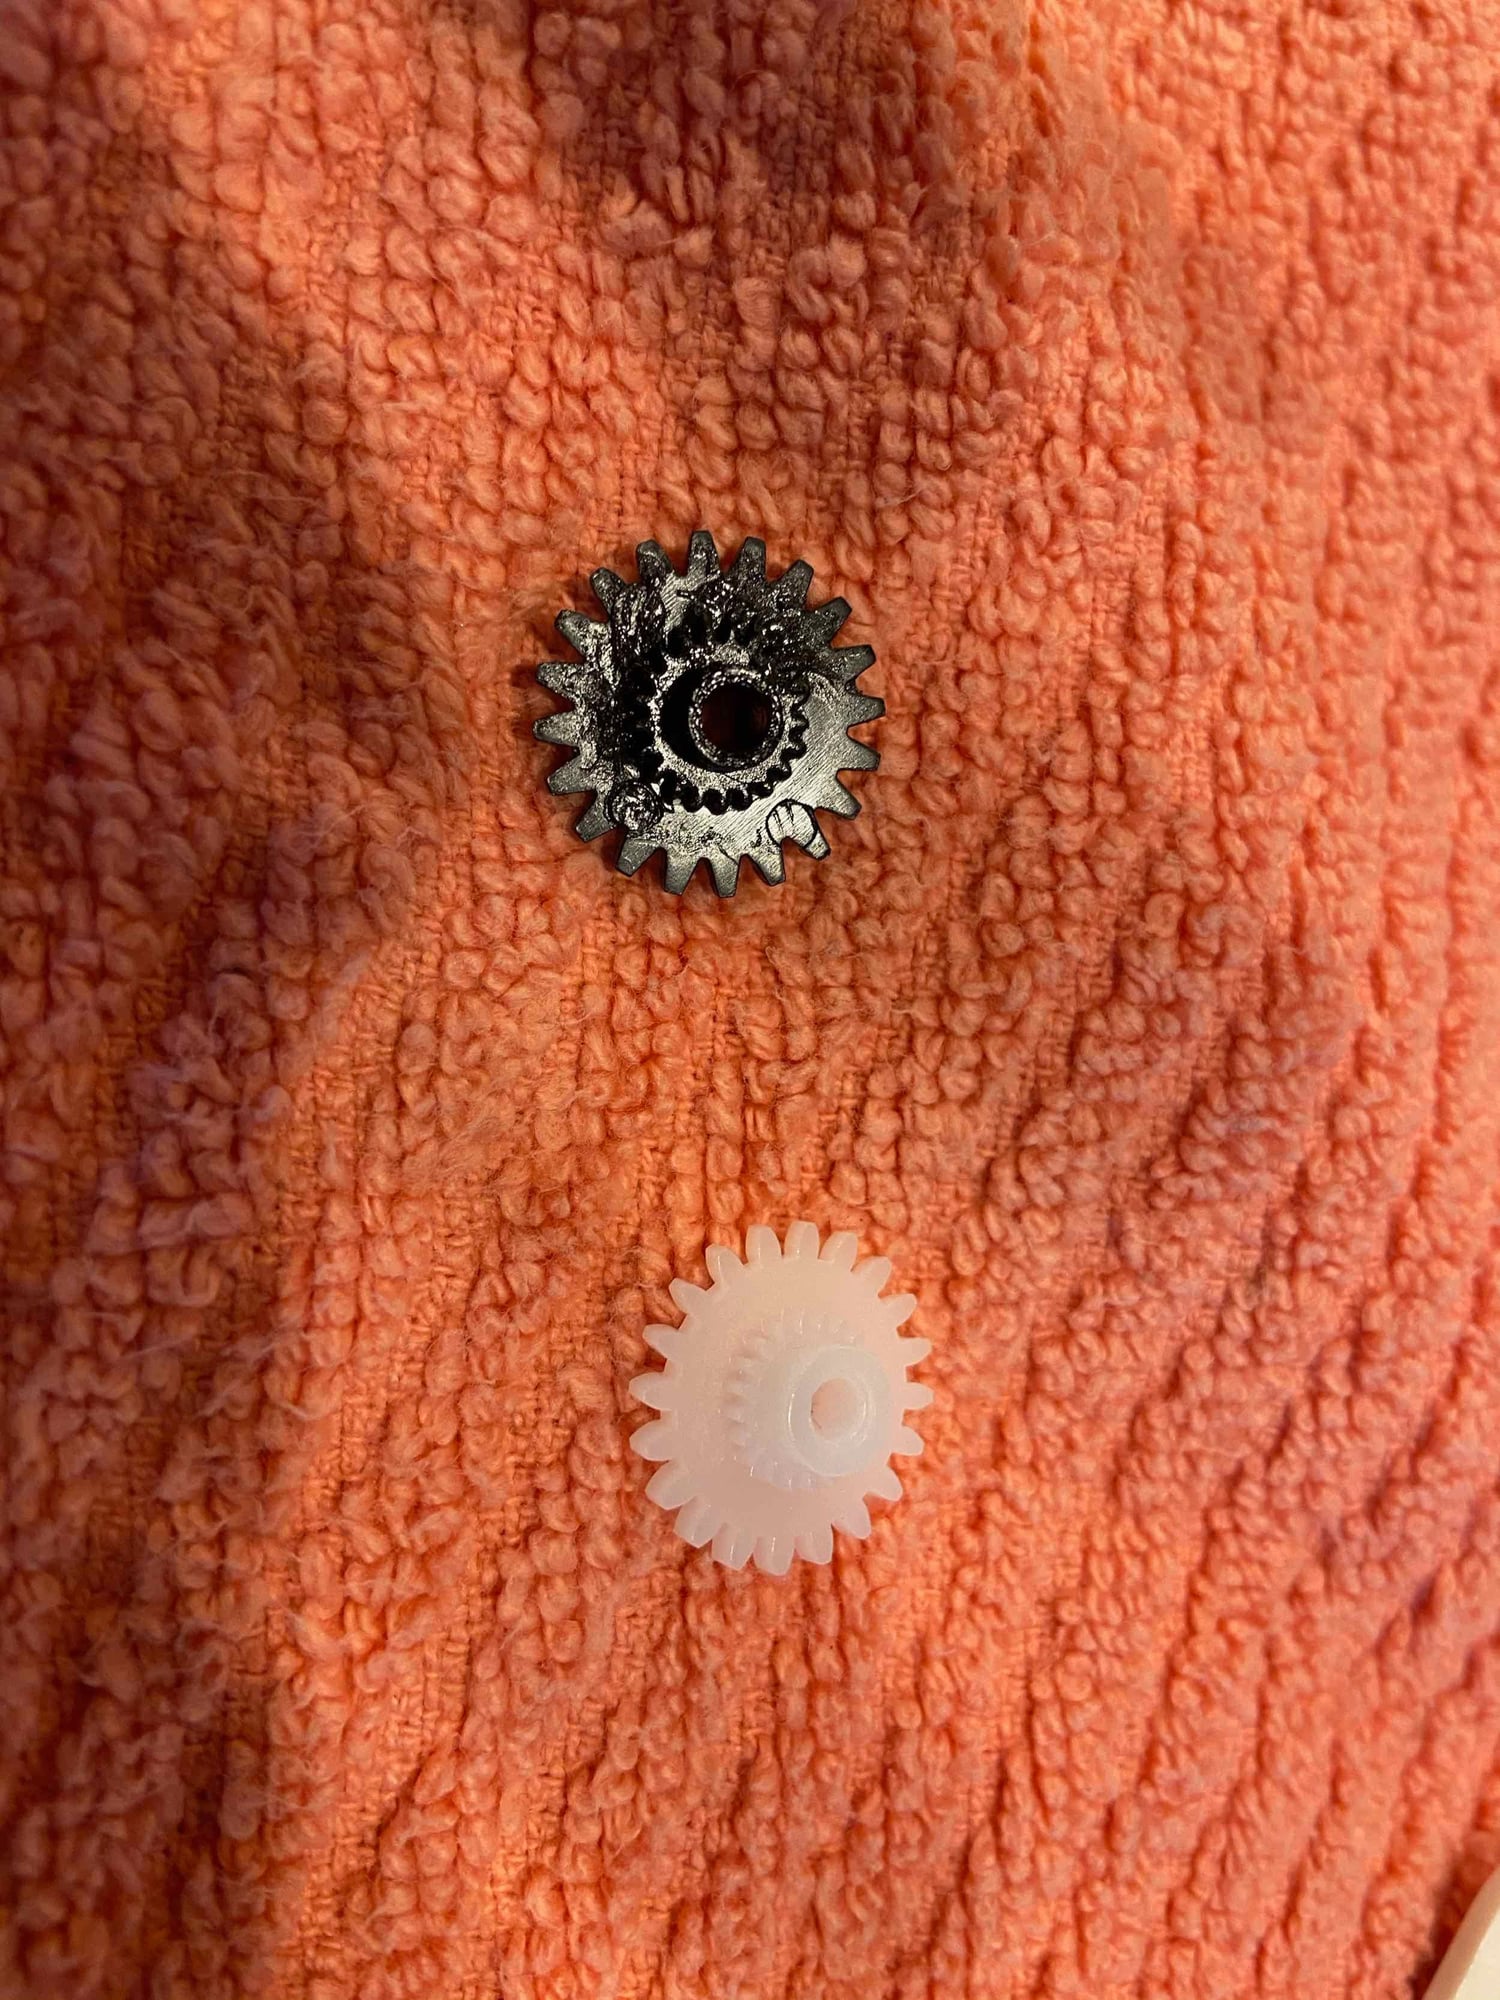
Main drive gear. Grease was not as thick and old as I expected. Perhaps this gear had been replaced previously. Old and replacement gear. All reassembled. See the video for a better view of what my problem really was. The writeup I used also addressed the fix, but I wanted to show it in video form. Reassembled and no more side to side movement of the odometer wheels. Reassembled with new solid core wire between interconnects instead of the original stranded wire.
Great work Scott. I'm making a list of pod things I need to do when I pull it in the next couple months - replace odometer gear (car has had 127k miles since the early 90s), ignition switch (illumination not working after being started), new left side lever switches assembly, one bad led wedge bulb, want to do the LEDs in the warning light sockets, replace foil, etc
Hey Petza,
For what it's worth and for anyone else following along, I have my pod out now, ready to go back in... to your list I would add checking/fixing the rivets (if you have the original foil), replacing the two pots and the pushbutton at the bottom of the pod, having the speedometer calibrated at a shop, and -- although not technically a pod item -- pulling the HVAC control to replace its bulb too and upgrade the sliders if needed. I also replaced every bulb in the pod including all the switches, spritzed De-Oxit on all connectors and on all the little nuts on the foil, and carefully cleaned the clear plastic. I also had the speedo shop replace the odo gear and clean/lube everything there... and while they were at it they replaced the old capacitors which are known to go bad.


 03-09-2020, 10:08 AM