When you click on links to various merchants on this site and make a purchase, this can result in this site earning a commission. Affiliate programs and affiliations include, but are not limited to, the eBay Partner Network.
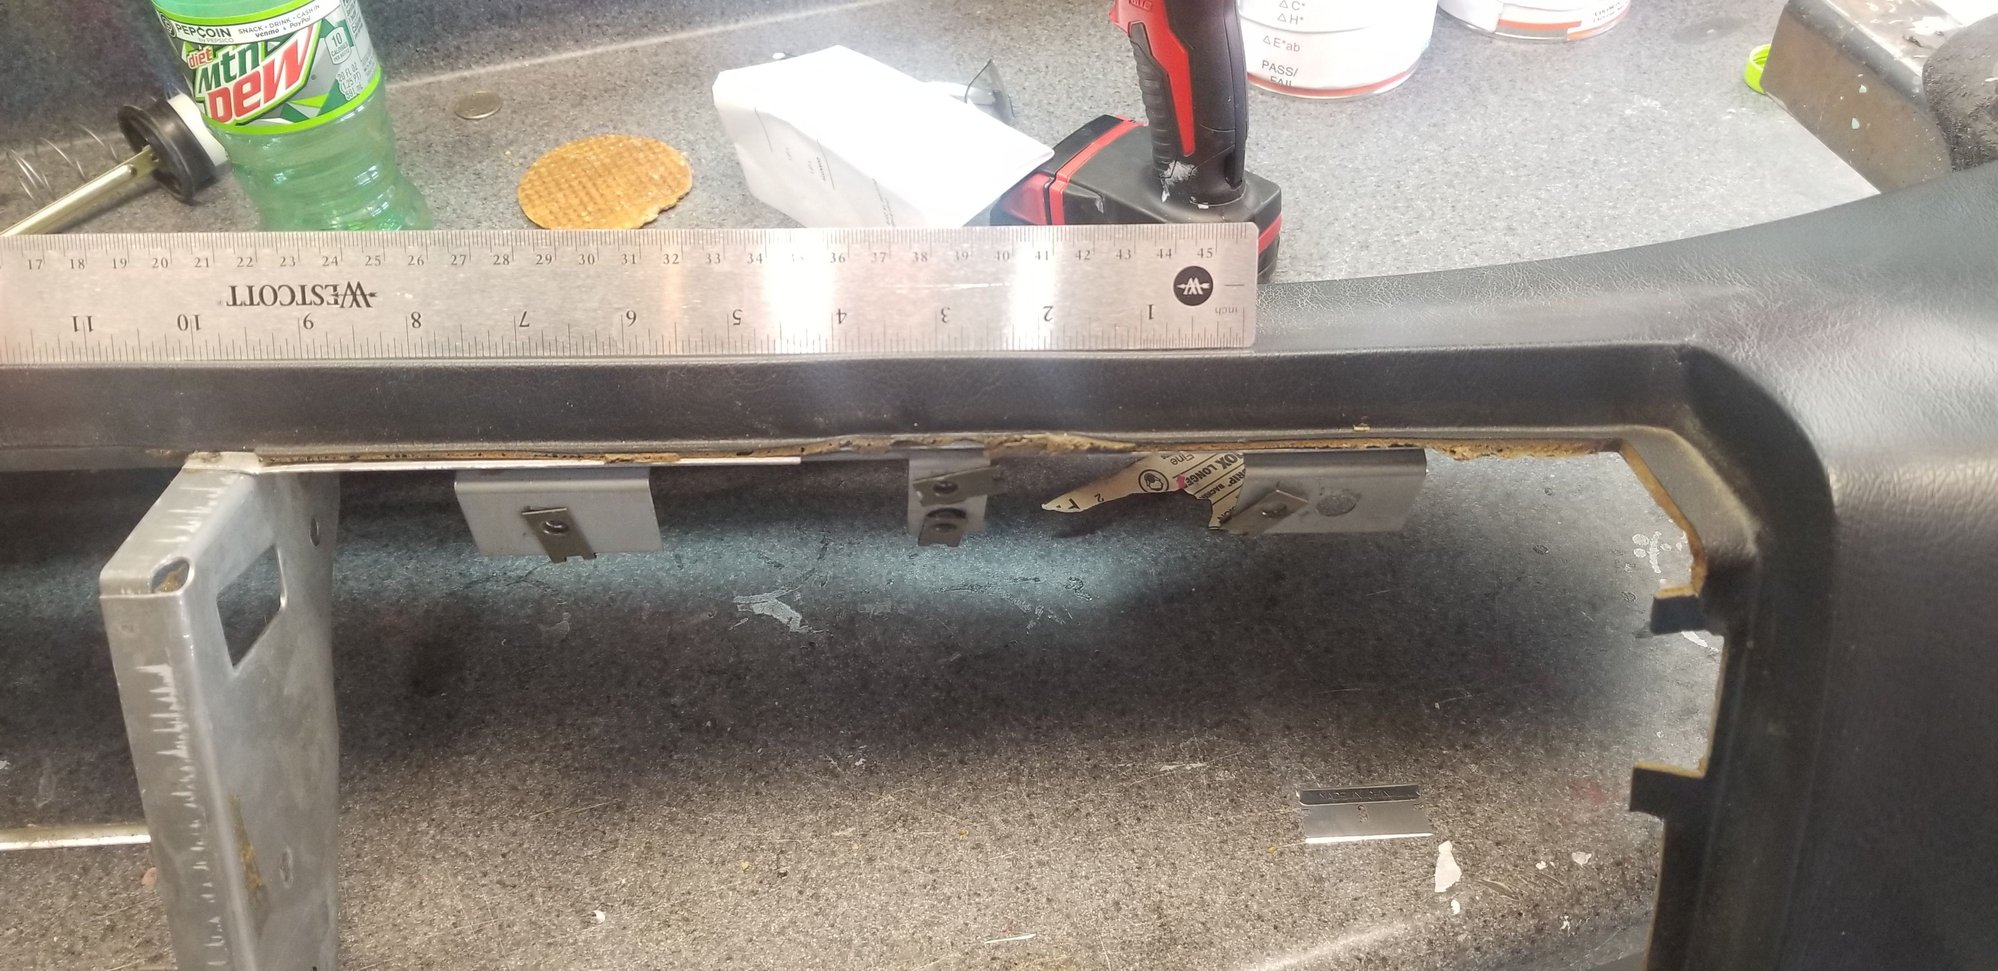
As the title says, I have just a faint warp in the dash just above the center of the glove box opening. It's in an area where the underlying framework has a slight cut out for the glove box latch. The lack of a surface there has allowed the foam/vinyl to warp and move up. It's very minor but I want to try and fix it. From What I have seen it's pretty common in this area.
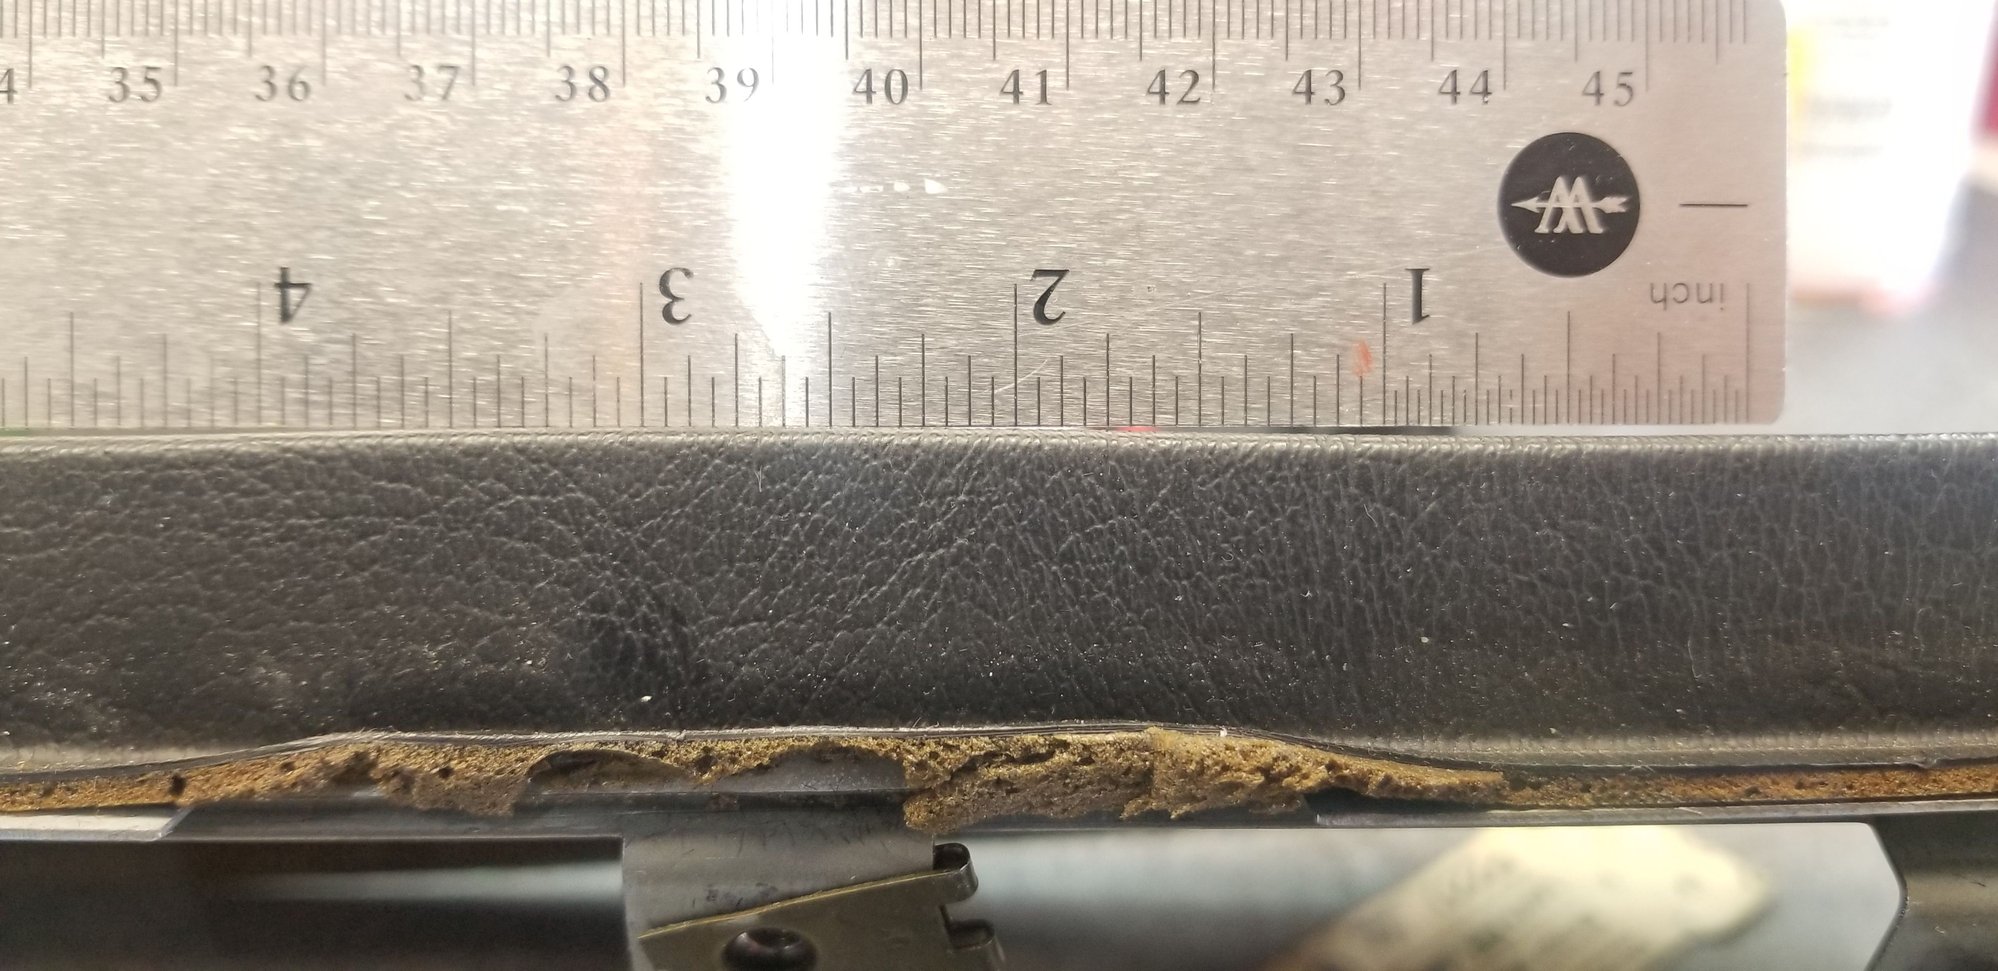
When I push down on it I can see the foam underlayment move as if it is partially separated from the steel frame underneath.
My idea is to thin some epoxy and inject it into the foam area using some printer cartridge refill syringes and then clamping it down and applying a bit of heat.
"My idea is to thin some epoxy and inject it into the foam area using some printer cartridge refill syringes and then clamping it down and applying a bit of heat."
I would try careful heat, then clamp with a straight edge. Let sit overnight and then epoxy.
-Jason
You seem to have thought it through pretty well. My only suggestion is that I think contact cement would stick better to foam than epoxy.
If you are clamping you can use the contact cement wetter than usual. Squirt it in, heat the glued area to evaporate the solvent as much as possible, then clamp using a clean board or similar on the top. It will work or you'll be no worse off than before.
Either way, please post the results. Very curious.
I used expanding gorilla glue. . Removed all the lose pieces of foam behind it...gently pried it open..squirted a bit of water in there..injected the glue via a syringe..then kneaded the area to spread the glue. Then clamped it. Worked perfectly.
Console and glove box are adjustable. Loosen screws, use plastic trim tools to adjust, tighten.
Console has screws behind comb vent, bottom left side, bottom right, inside glove box on the left (behind access plug) and on sides below the switches.
Glove box lid has adjusting screws on both sides of the hinge, latch mechanism, and latch receiver.
yeah, I�ve seen those. The issue is the left side of the center console falls away slightly as it approach the pod . See the straight edge above. It gets better if push on on the left side of the console..and pull on the other.
It�s minor but...again...while it�s out I want to try and get it right.
That is a hard fix.
It's missing material. The vinyl has contracted on the dash corner and console corner crushing the foam underneath.
I'd be tempted to try warming it with a head gun and working it from the underside with a plastic trim tool.
But that's me and it'd justify pulling all the panels out and reworking them completely if it gets screwed up.
Epoxy may be too thick. You'll have to remove some of the foam to make room for it.
Cyanoacrylate might be a better choice.
Don't clamp too hard. It'll leave an indentation.
Clamp across the whole section left to right.
Good info Rob. I have the vinyl and foam lifting away from the console on both sides and was just wondering what I should use to try and adhere back together.
Good info Rob. I have the vinyl and foam lifting away from the console on both sides and was just wondering what I should use to try and adhere back together.
For ABS plastic which most of the interior is made of, Cyanoacrylate
Tony, I was having the same problem with the console gap vs the glove box gap. What has happened is that the foam seal around the AC duct has deteriorated. I replaced mine with some rope-type foam and glued it in place. That will hold the console at a greater distance from the dash and as pointed out by Robb above, you can adjust that space to match the glove box spacing.
That was a great fix on the dash warp.
Last edited by soontobered84; 01-09-2020 at 12:06 PM.
Reason: add


 01-07-2020 | 03:27 PM