When you click on links to various merchants on this site and make a purchase, this can result in this site earning a commission. Affiliate programs and affiliations include, but are not limited to, the eBay Partner Network.
I have been very happy with the results, however, I have noticed some issues that have come up over time with the heat cycling from hot summer days, or failure from my amature work. I thought I would share what I have noticed and invite some dialog on how I may address the problems.
Disclaimer: I realize there are professionals out there how can do a way better job than I can. And if you want professional results, definitively consider using those on the list that have a history of fantastic work. I'm just experimenting because I like to learn, especially when it comes to learning a time honored craft like upholstery. So please be constructive with your suggestions. :-)
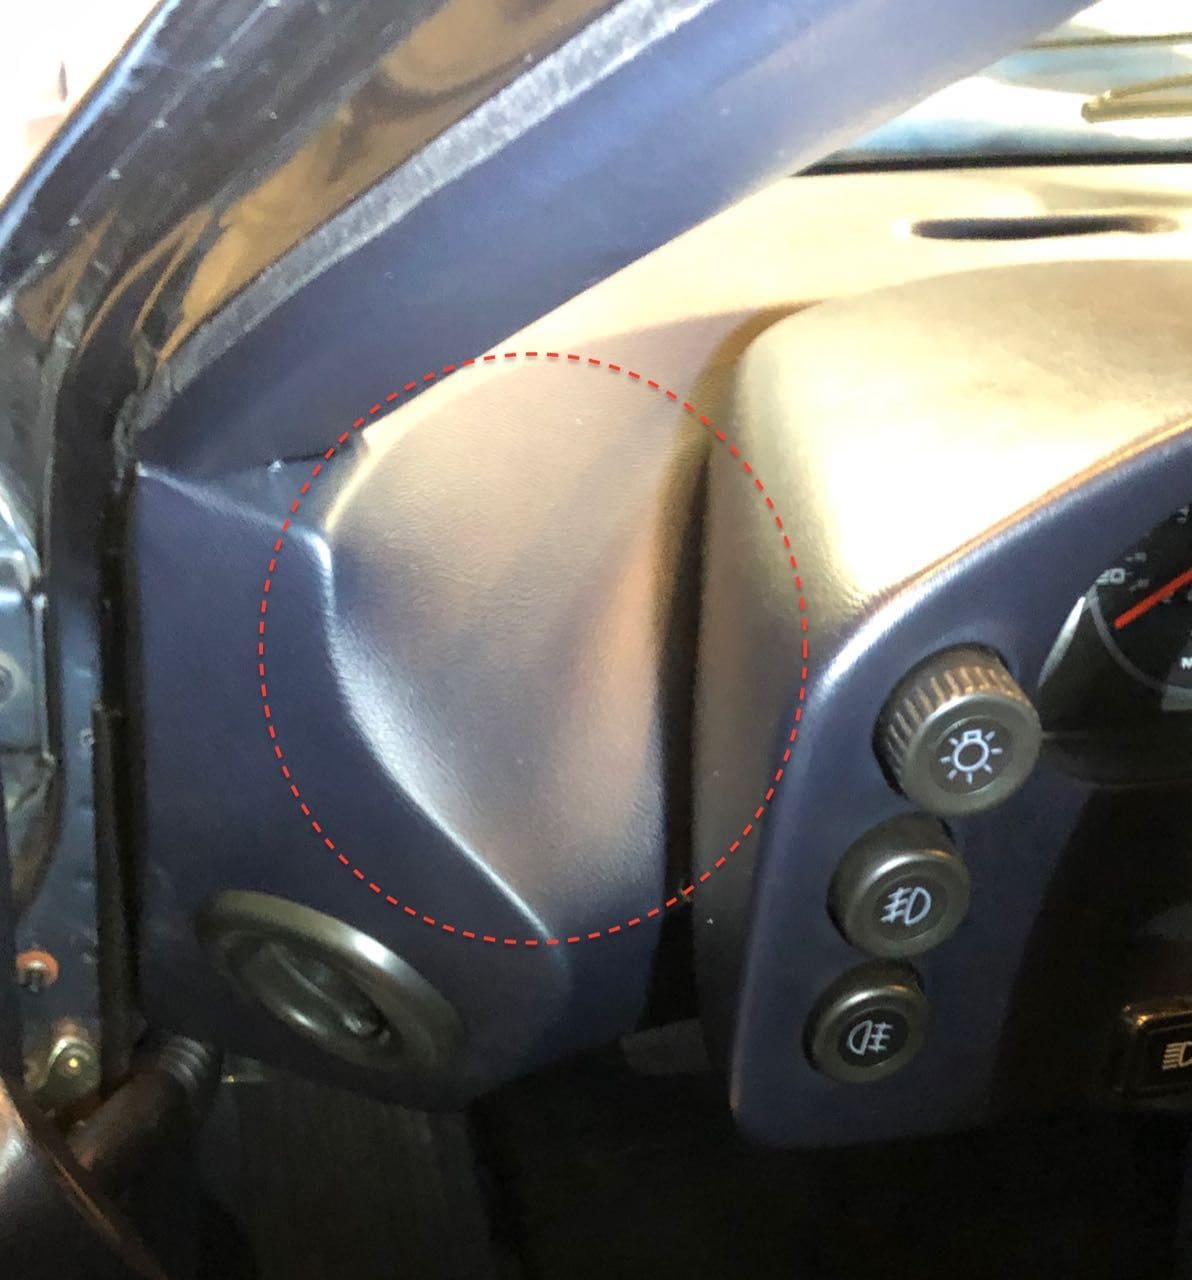
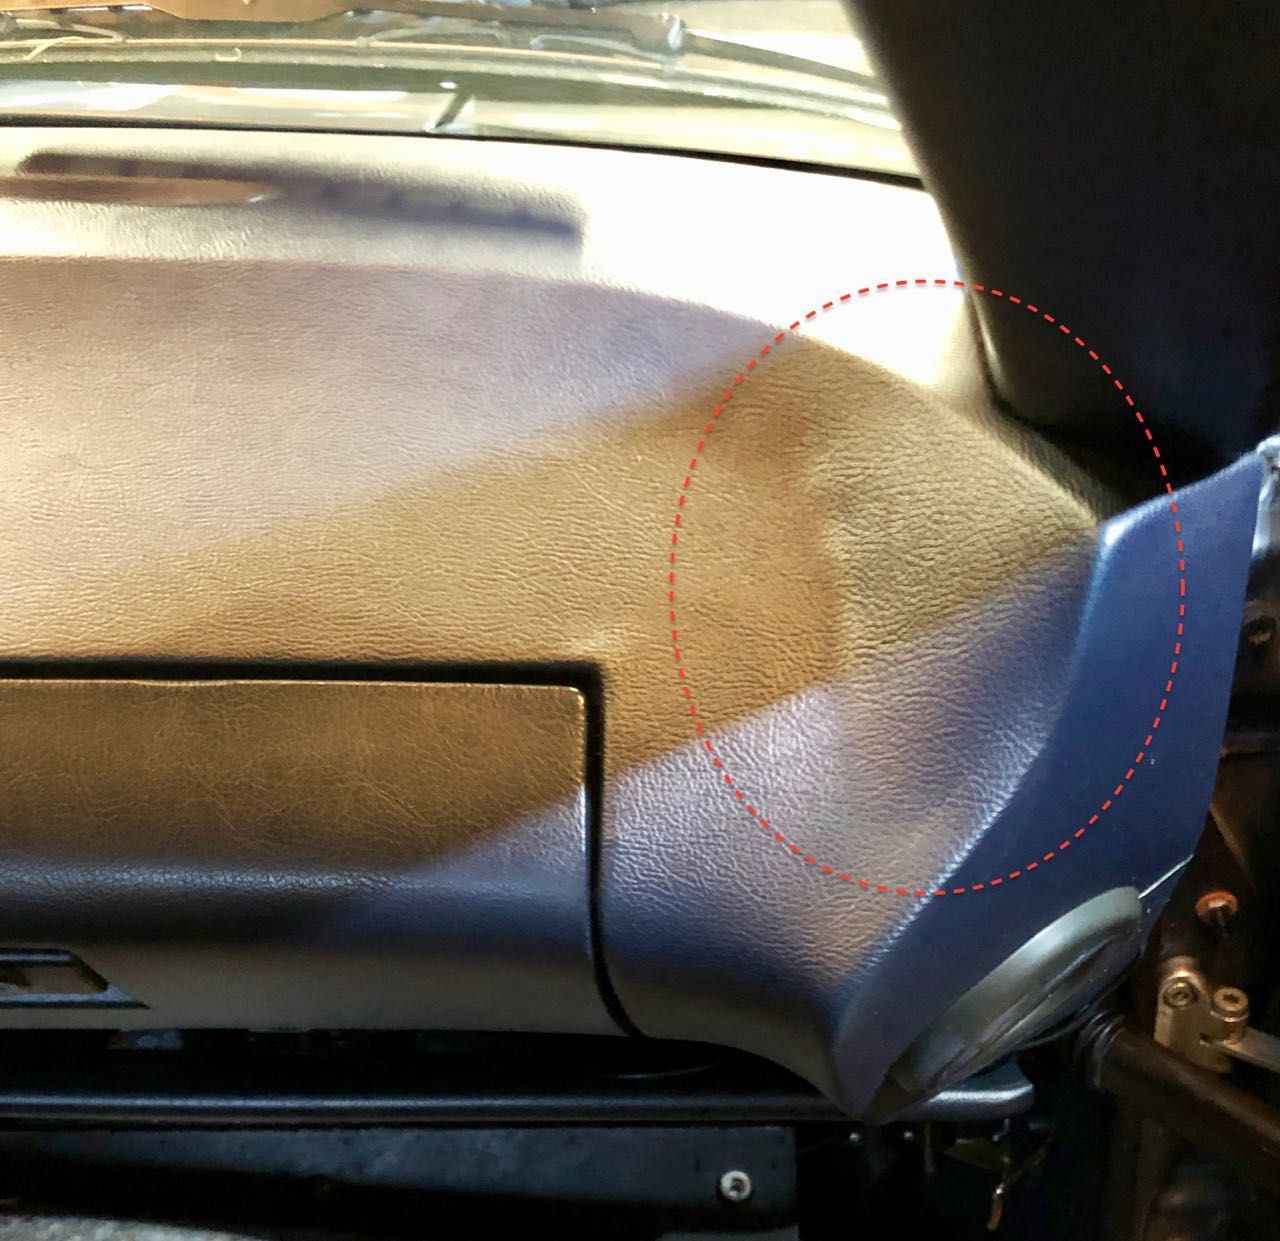
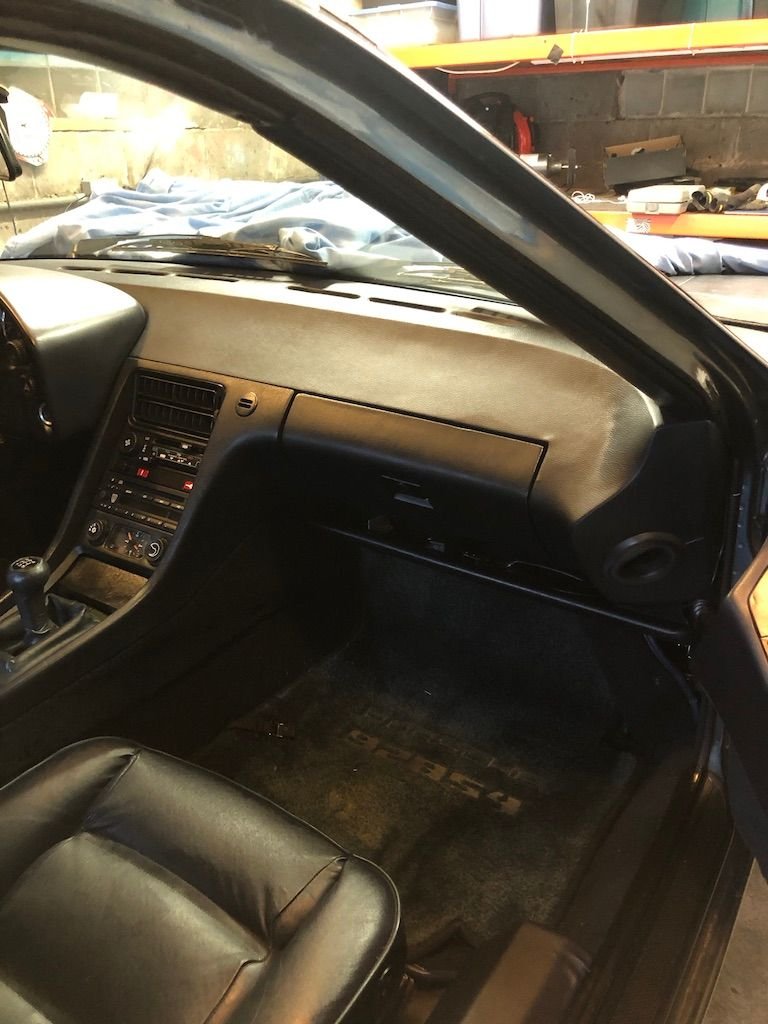
They vinyl has been awesome and was a perfect match for my dark blue interior. I can't even tell the difference between the new vinyl on the dash and the original vinyl on the glovebox and center console. The main issue I am having is the contact cement is not holding in the areas the vinyl is being stretched. This would be on the concave sections where the A-pillers come into the dash. The other area is the dash vents. Take a look at the pictures I took this morning
In all cases the vinyl is being stretched to fit and is always pulling at the bond. I figure the issue could be caused by so combination of the following:
Improper application. I've learned that I applied this in a room that was lower temp than the recommended working range. Also, I have learned that I need to let the solvents evaporate for a couple minutes (2-5min) but not so long that it drys. There is a sweet spot application window. I was not very careful about these steps. In the future, I'll need to pay careful attention to the application instructions.
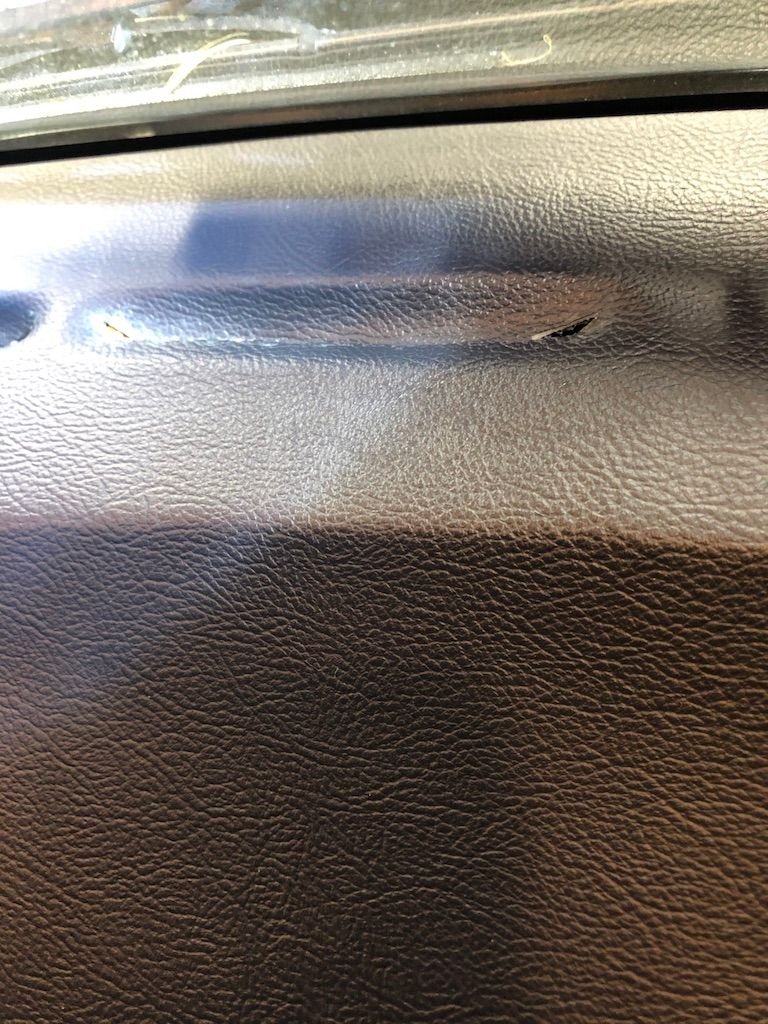
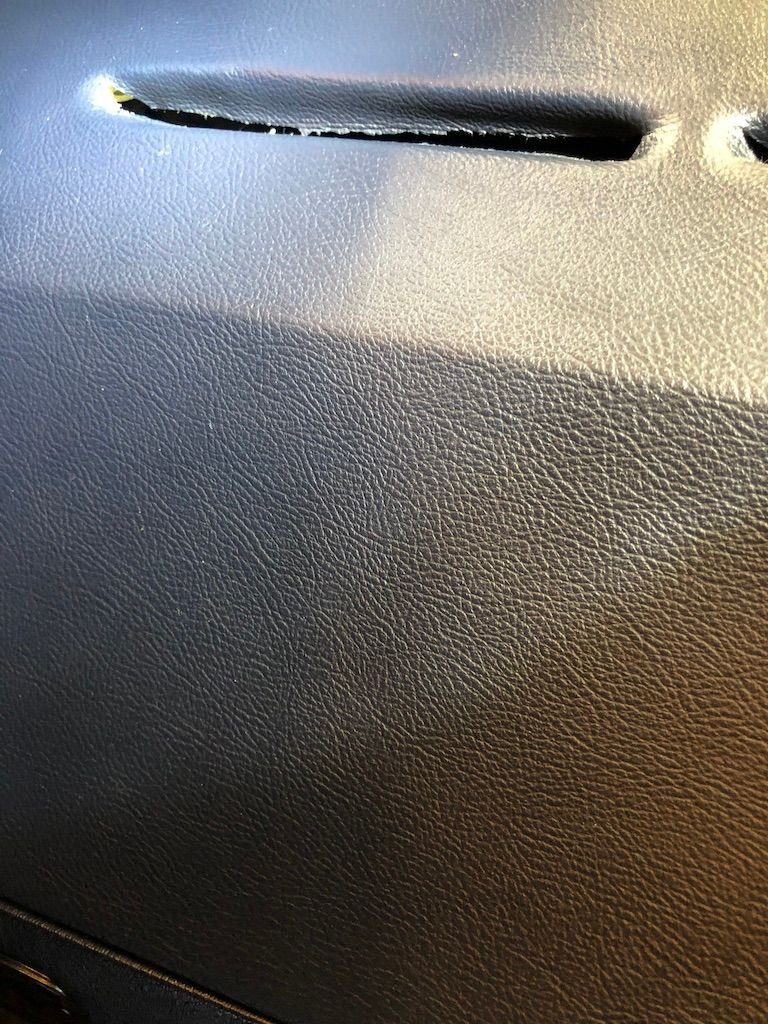
Too much sheer from too much stretching. When I laid down the vinyl, I put glue over the entire surface and then laid the vinyl over the flat sections and just stretched the material in the area that needed it. Like on the dash vents. The issue this creates is; small areas of vinyl are being stretched a lot, creating a lot more sheer tension in a very localized area. I think a better way to apply the glue is to only put the glue one the edges and let the vinyl stretch across the flat areas. This would distribute the stretch over a greater area.
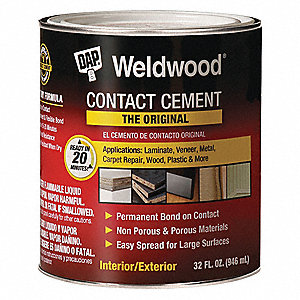
The wrong glue: I used DAP Weldwood Contact Cement (Service Temperature Range: -40�F to 180�F).
The dash environment is hot and easily get up to 150-degrees maybe even hotter? Heat definitively softens the glue and maybe this product is not suitable for this application. I see other recommendations by list members to use DAP Landau HHR contact cement. In speaking with the tech support at DAP, they suggested this would be a better product for my use. Service Temperature Range: 0�F to 150�F
I also researched HH-66 Vinyl Cement which seems to have similar characteristics. Service Temperature Range: 0�F to 150�F. The technical support guy suggested this has a very high sheer strength, but they have not tested in automotive situations like mine. This stuff is designed to sails which get a lot of heat, water, and sheer.
I tried to do some repairs on the dash vents using this 3M adhesive but it didnt hold. But I think I didnt apply it correctly so I will experiment with some test stips.
What have I learned? trying to get the OEM look is hard. I can see why the professionals use a muli-piece pattern to reduce sheer tension on the glue. Also, getting the defroster vents to stick is also very hard. I think I need some mechanical aids to hold it in. Again the pro's solve this by adding a NLA trim piece. I would love to get one of those GTS trims (hoping Nate will 3d print one). I also learned the importance of surface prep, it needs to be clean and smooth for the glue to offer a good grip. The application temp is key and there is a real skill to learning when the glue is cured enough to provide the strongest bond.
Looking forward, I am not sure what I am going to go, the defects are not that noticeable when I drive and far better than the cracked dash. I do have spare vinyl and I do need to remove the dash to repair the foam around the temp mixing flap so I will likely try to fix it again. So your thoughts and tips are appreciated.
I did mine in alcantara from Rob Bud and had good results. i also however had one spot lift and one wrinkle but its not really noticeable,,,
I am going to try and make a center console cover myself and the cost of the new classic is up there. I have learned to sew in the past few years and redone quite a few boat seats, and half of my bertram enclosure.... so now time for some interior work on the car.
I used the same weldwood glue as you and now have the same issue with pulling in the concave corners, and this was with a dash cover I had made by rob budd, so not nearly as much stretching. In my case I'm just ignoring it for now.
I did mine in alcantara from Rob Bud and had good results. i also however had one spot lift and one wrinkle but its not really noticeable,,,
I am going to try and make a center console cover myself and the cost of the new classic is up there. I have learned to sew in the past few years and redone quite a few boat seats, and half of my bertram enclosure.... so now time for some interior work on the car.
Thanks for the insight, what contact adhesive did you use.
Originally Posted by captainOCD
I used the same weldwood glue as you and now have the same issue with pulling in the concave corners, and this was with a dash cover I had made by rob budd, so not nearly as much stretching. In my case I'm just ignoring it for now.
It's interesting to note both of you had adhesion issues and used the multi-panel design created by Classic9 (Robert Budd). This leads me to belive the issue has less to do with pulling of stretched materials and more to do with strength of the adhesion by the contact cement.
I did find this old post from Robert where he said he used stronger contact cement by 3M for a vinyl dash he covered for @ROG100 . I wonder what glue was used and how well it has held up over time. Maybe @ROG100 can provide some insight. I am especially curious about the defroster vents since they were done similar to mine.
Originally Posted by Rob M Budd
The owner wanted to keep the original look of the non leather cork color dash so I did it in cork vinyl without adding the defroster vent trim pieces and eliminated the French seam.
It still required a deck seam on both ends so the material would meet the contours but it looks good and the customer is very happy.
If I remember correctly it was 3M 1099 that was used around the defroster vents.
Very strong stuff.
Surface prep is as important as the adhesive. The dash should be wiped down well with acetone or lacquer thinner then sanded well with 80 grit. Wipe down again after sanding.
After the dash is prepped for recovering, it's then covered with 1/8' polyethylene foam. The foam should also be wiped with lacquer thinner.
The foam is sanded with 100 grit to eliminate the high spots and meet all the contours and edges. If done right, the foam is unnoticeable.
The foam on a properly prepped dash will not come off easily. When a dash has to be redone for some reason, (wrong color or grain or simply a mistake) its easier to do another dash rather then try to get the leather and foam off.
Most of the foam I've seen on dashes has been well aged and is pretty stiff. Is the PE foam you mention a fairly hard foam when you put it on, or should it be soft when new? It seems that cracks that show up in the vinyl tend to pull the foam apart at the crack, vs. a somewhat common perception that the foam cracks and splits the vinyl.
tangent: fish laid eggs long before a chicken was ever dreamed up by Chuck Darwin and those evolution theorists.
Thanks for the insight, what contact adhesive did you use.
It's interesting to note both of you had adhesion issues and used the multi-panel design created by Classic9 (Robert Budd). This leads me to belive the issue has less to do with pulling of stretched materials and more to do with strength of the adhesion by the contact cement.
I did find this old post from Robert where he said he used stronger contact cement by 3M for a vinyl dash he covered for @ROG100 . I wonder what glue was used and how well it has held up over time. Maybe @ROG100 can provide some insight. I am especially curious about the defroster vents since they were done similar to mine.
as for the foam discussion,
i used a thin, maybe 1/8 inch white fairly dense closed cell foam. I got it from a packing store.. it worked great, no issues yet with the foam. I like the fact that it is dense enough and has a "slick" skin that the overlay material wont tear easially
as for the foam discussion,
i used a thin, maybe 1/8 inch white fairly dense closed cell foam. I got it from a packing store.. it worked great, no issues yet with the foam. I like the fact that it is dense enough and has a "slick" skin that the overlay material wont tear easially
I suspect what you used was polyethylene.
Polyethylene foam is closed cell and resistant to heat and cold. It wasn't used in the 70s- 90s. What they did use was open cell, and not resistant to much of anything. It was destined to fail.
I discovered Porsche started using polyethylene foam between the substrate and vinyl or leather in 1999. This confirmed that I was on the right path back then.
Dr Bob
The new foam goes between the old vinyl and new top covering which would be either leather or vinyl. I would leave the old vinyl in place and fill all the cracks and holes with an epoxy of fiberglass filler. If the old foam fails under the new polyethylene layer it would not be visible.
For me the PE foam seems to be critical to success.
I've seen numerous variations when redoing a dash, silicone, fillers, paints, epoxies, body filler, rubber, household vinyl, contact paper, wallpaper, etc.
Without something to separate the old from the new, most had some type of failure (cracking,, peeling, off gassing) after a short time.
I don't have a coverable donor dash to play with yet. Probably should have visited Mark to get one during the holiday sale. The original dash in my car has lived an easy life, so has no cracks or splits yet. So the discussion is interesting info to chew on until I find donor pieces to play on. As always, the knowledge effort and experiences of those who go before me is invaluable.


 12-31-2019, 06:37 PM