When you click on links to various merchants on this site and make a purchase, this can result in this site earning a commission. Affiliate programs and affiliations include, but are not limited to, the eBay Partner Network.
Started on the disassembly today. Here are the beginnings of the disassembly and some thoughts on making it easier.
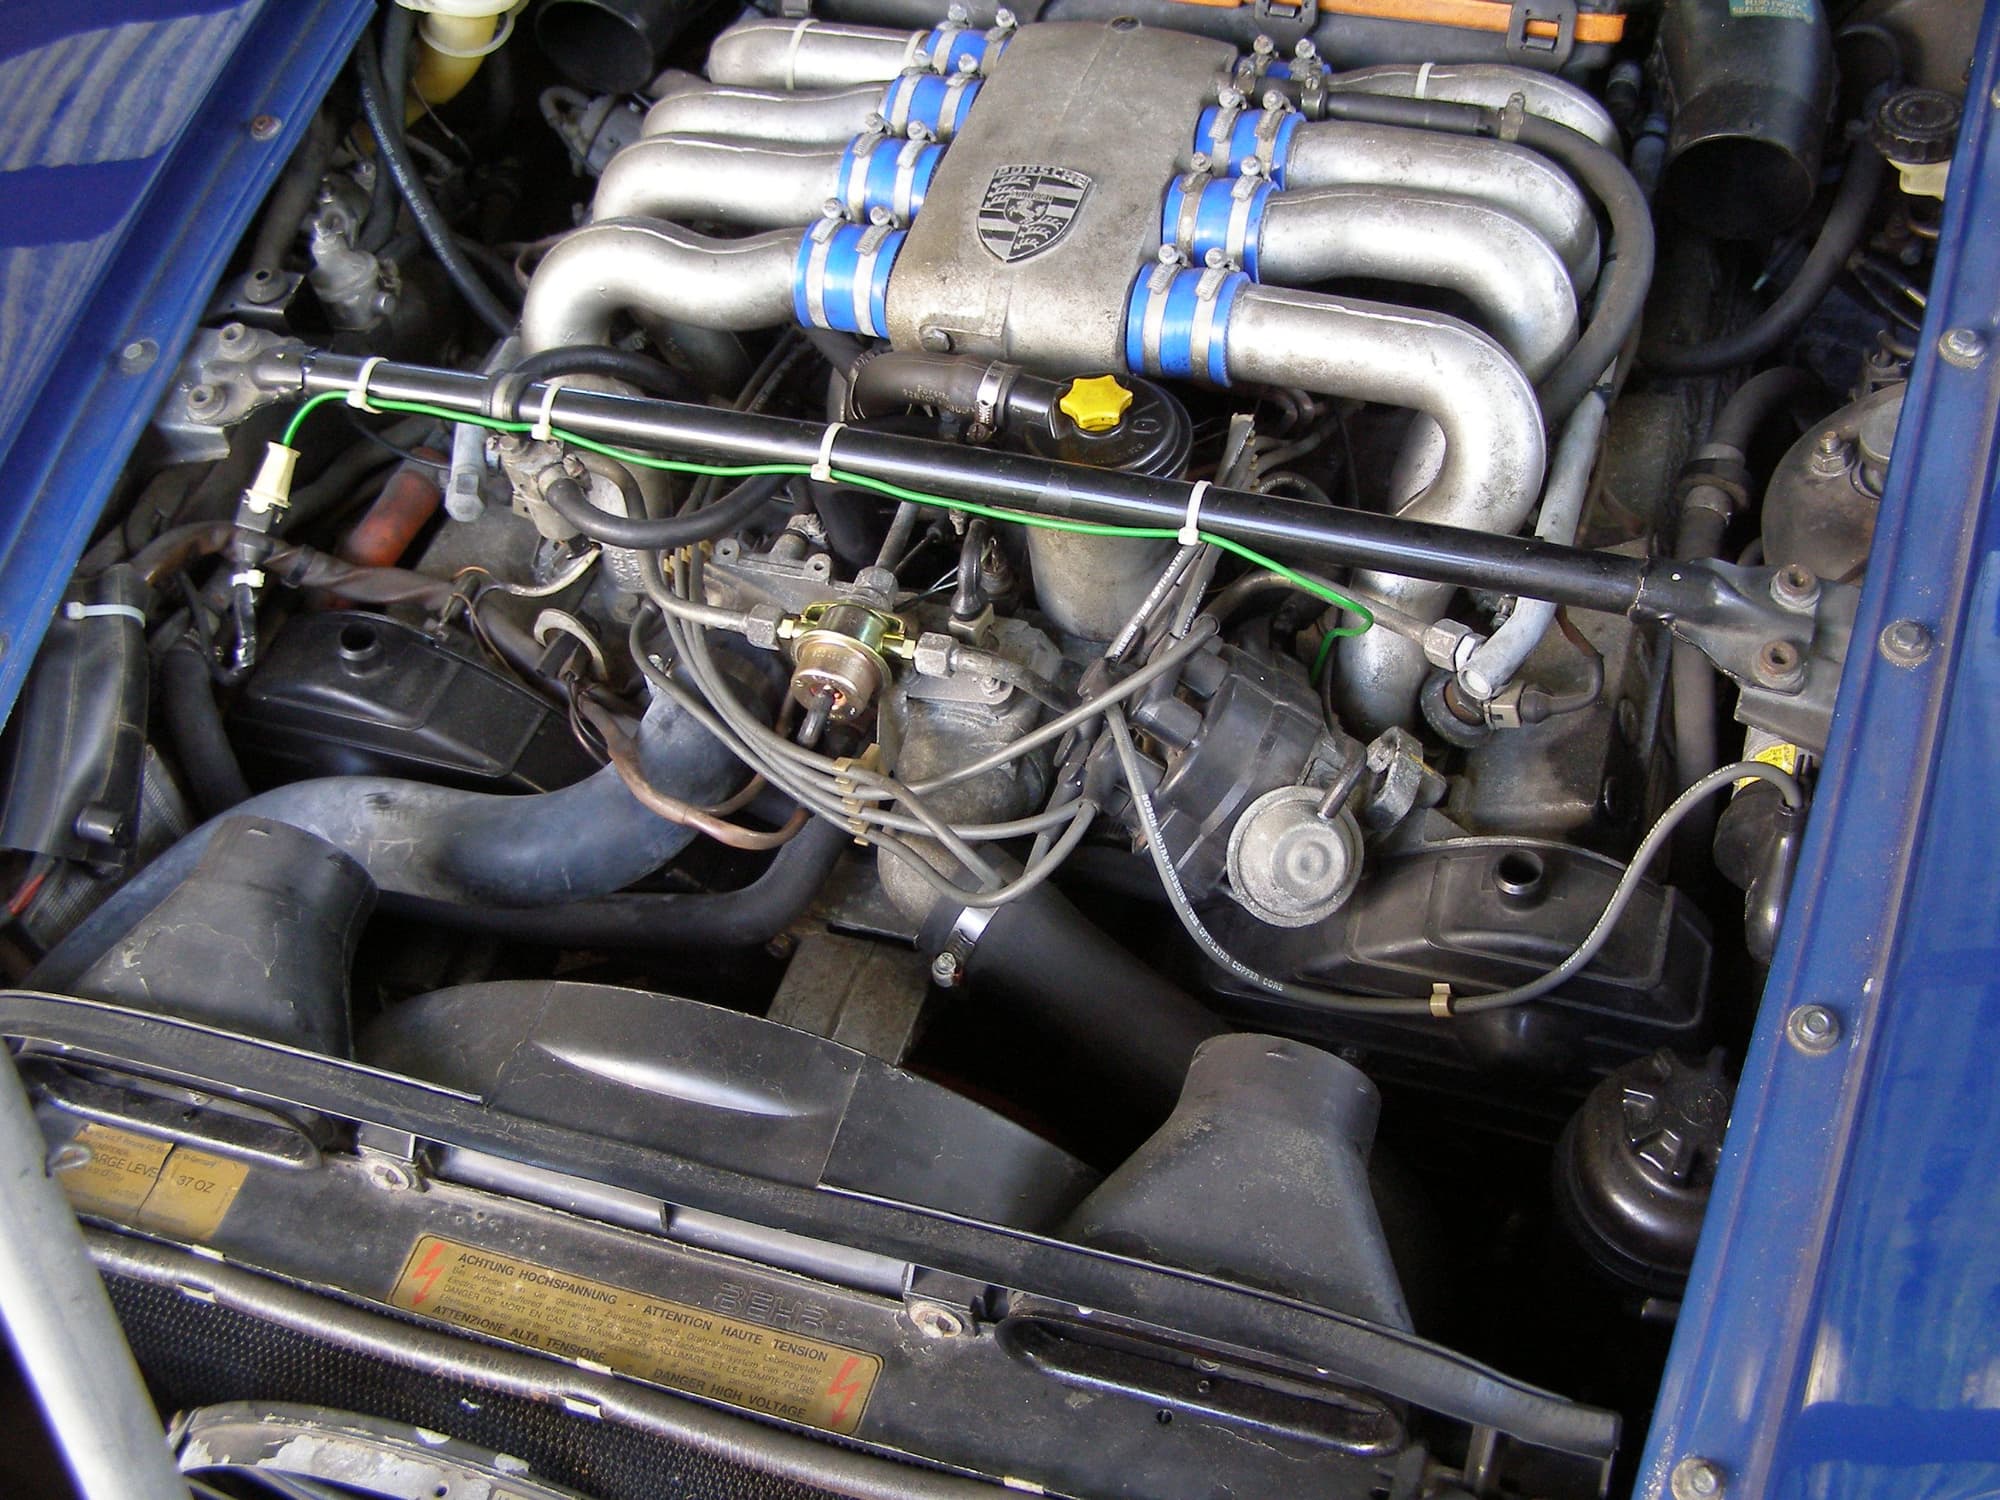
Before the start of disassembly.
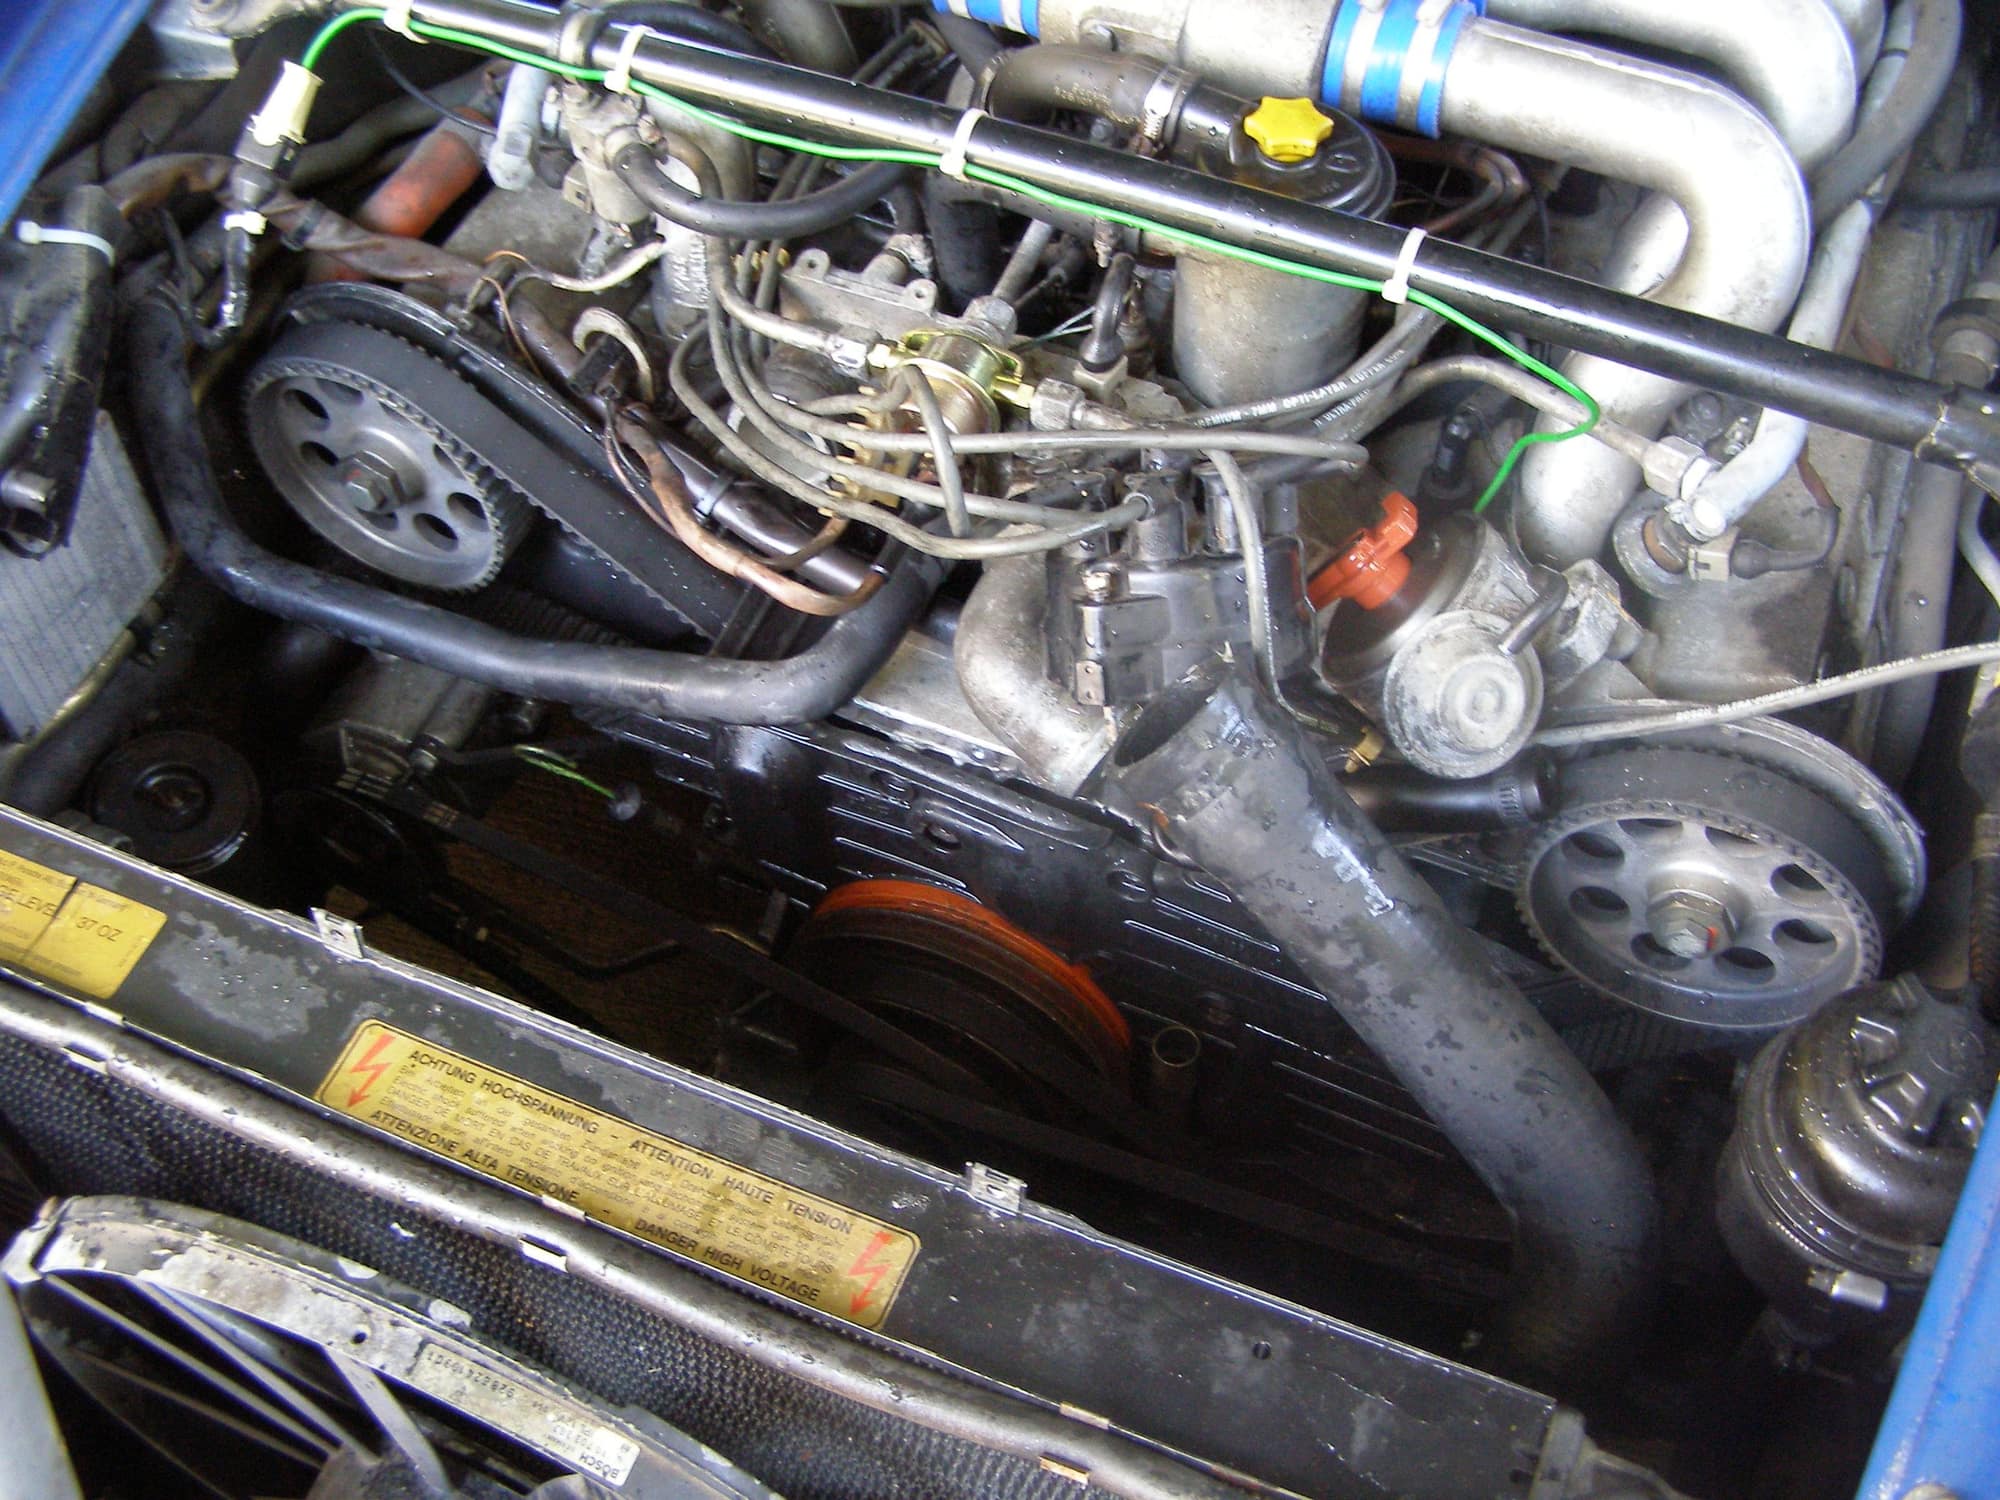
Fan shroud top, fan, timing belt shrouds, and fluid removed.
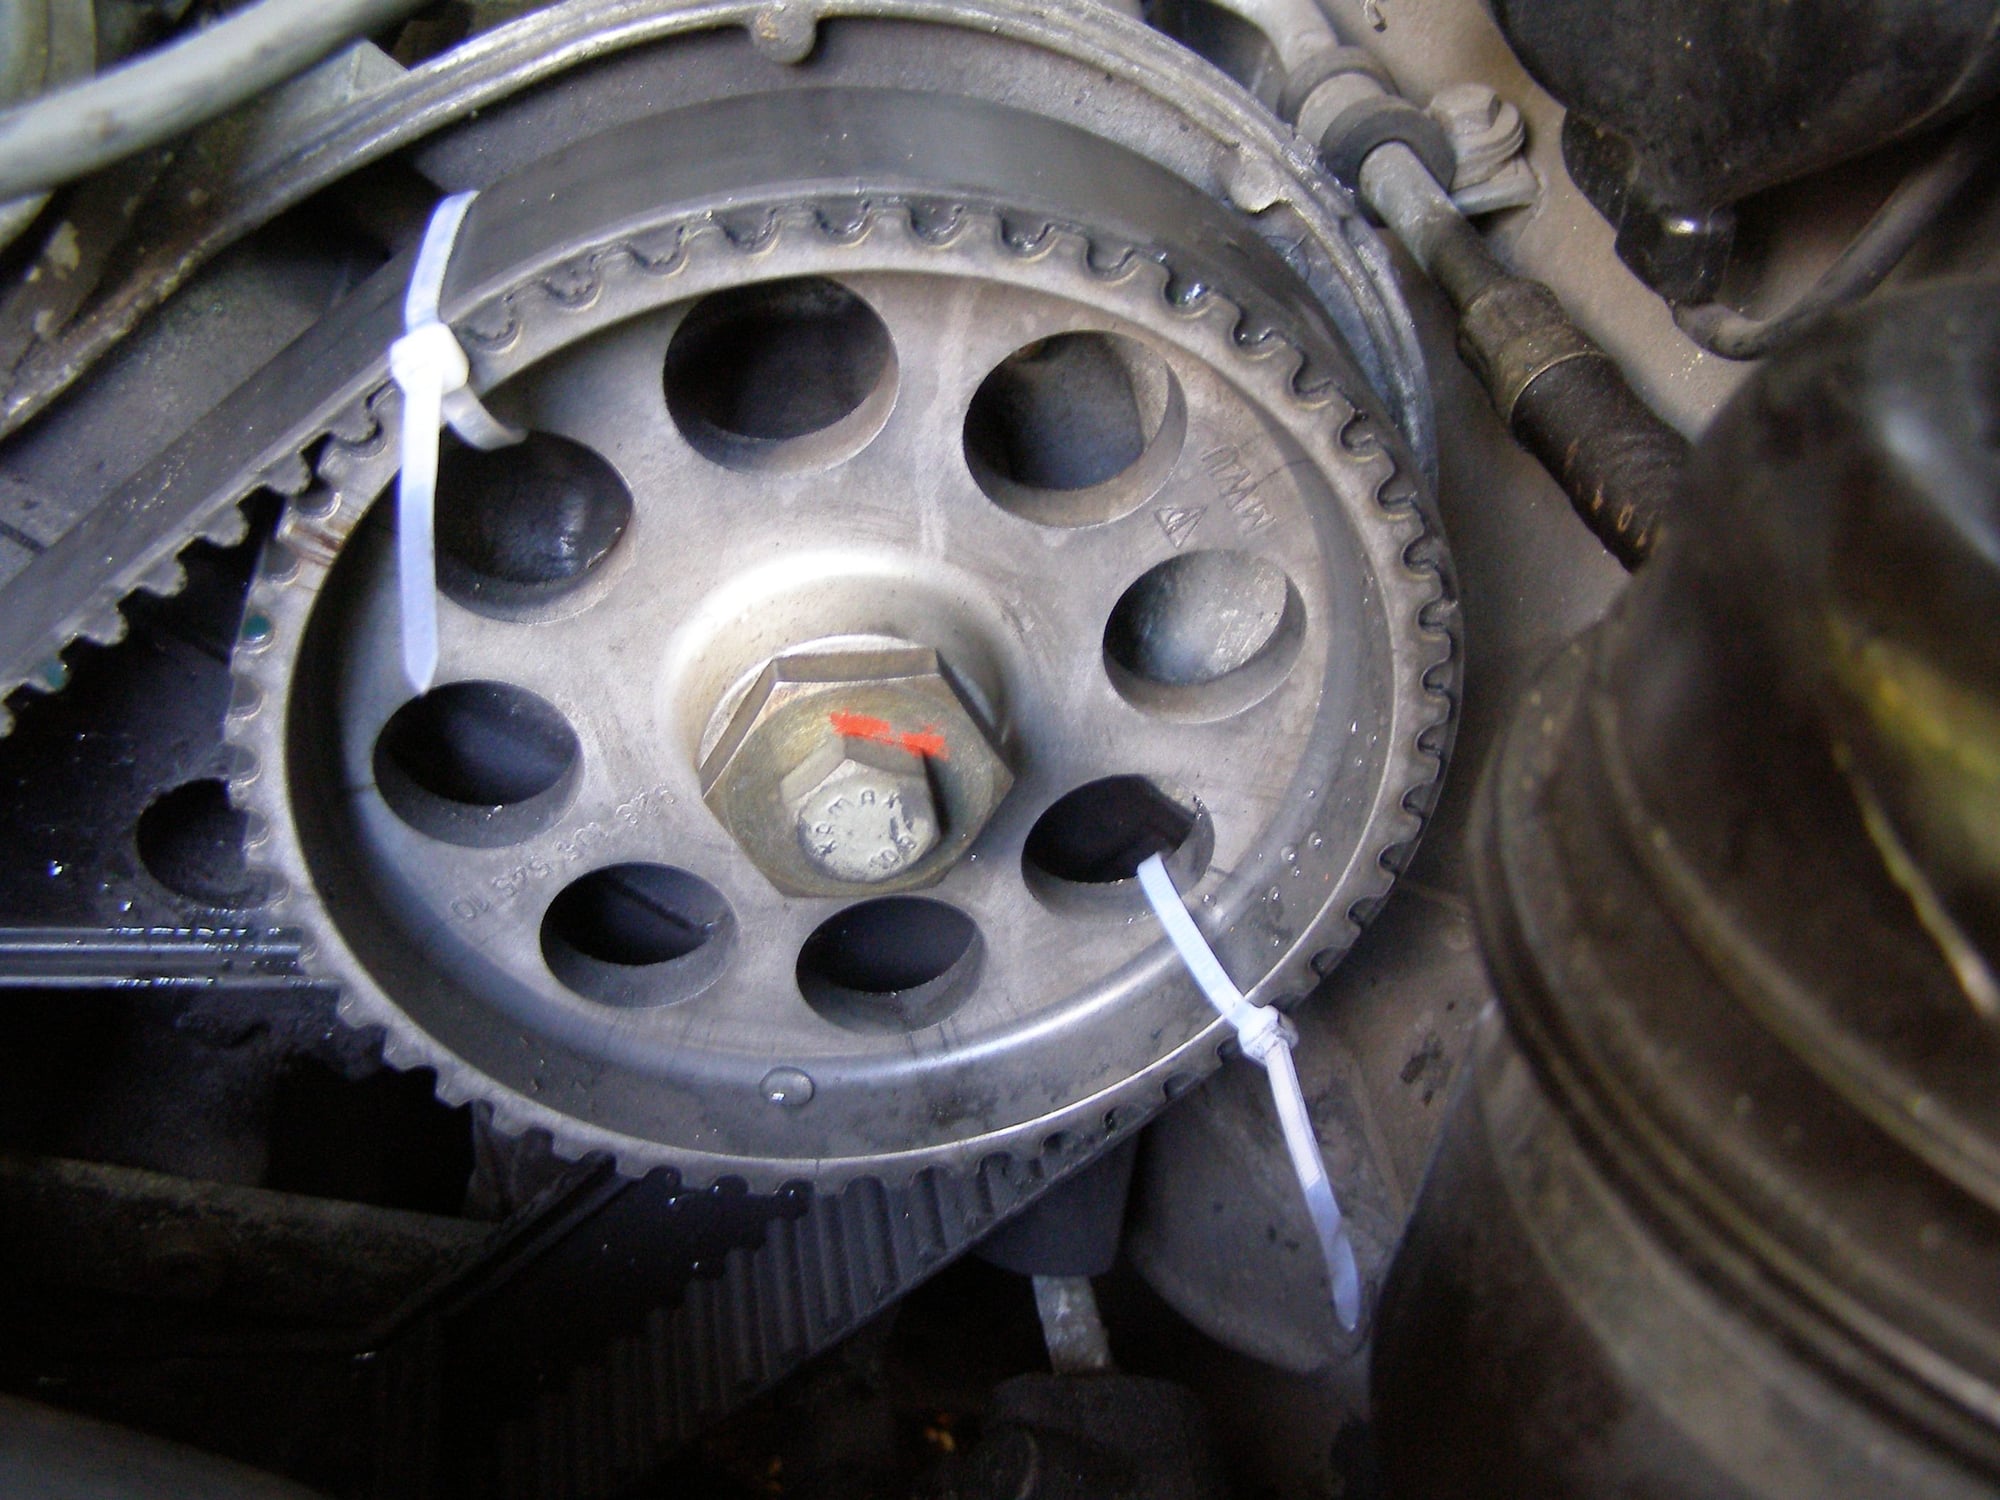
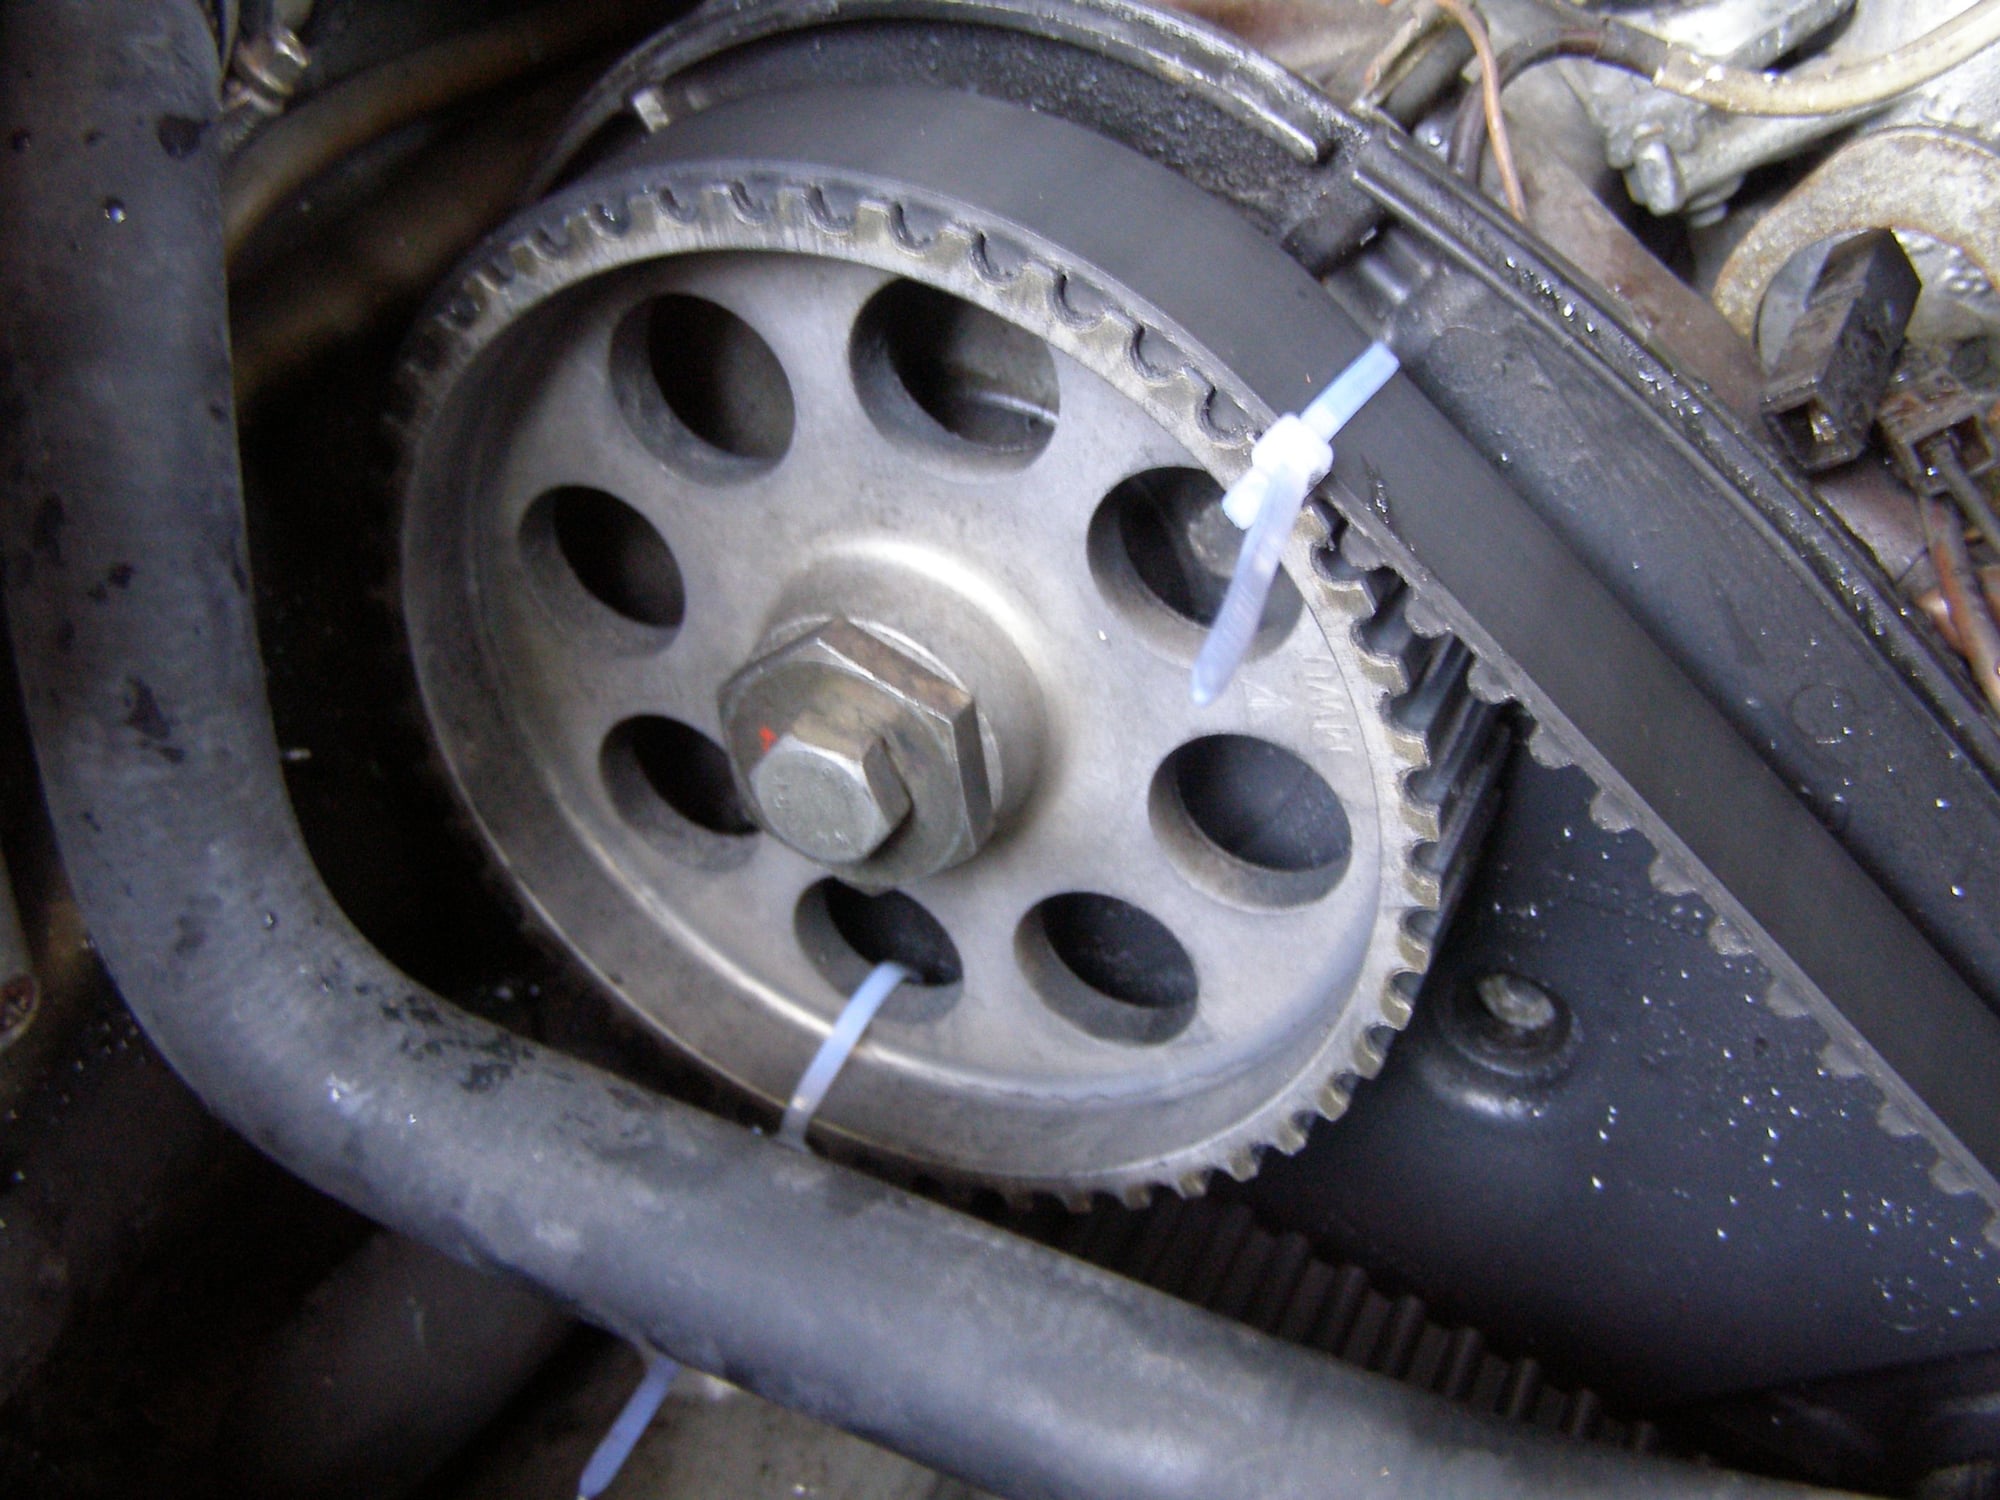
zip tied the belts to sprockets to avoid movement.
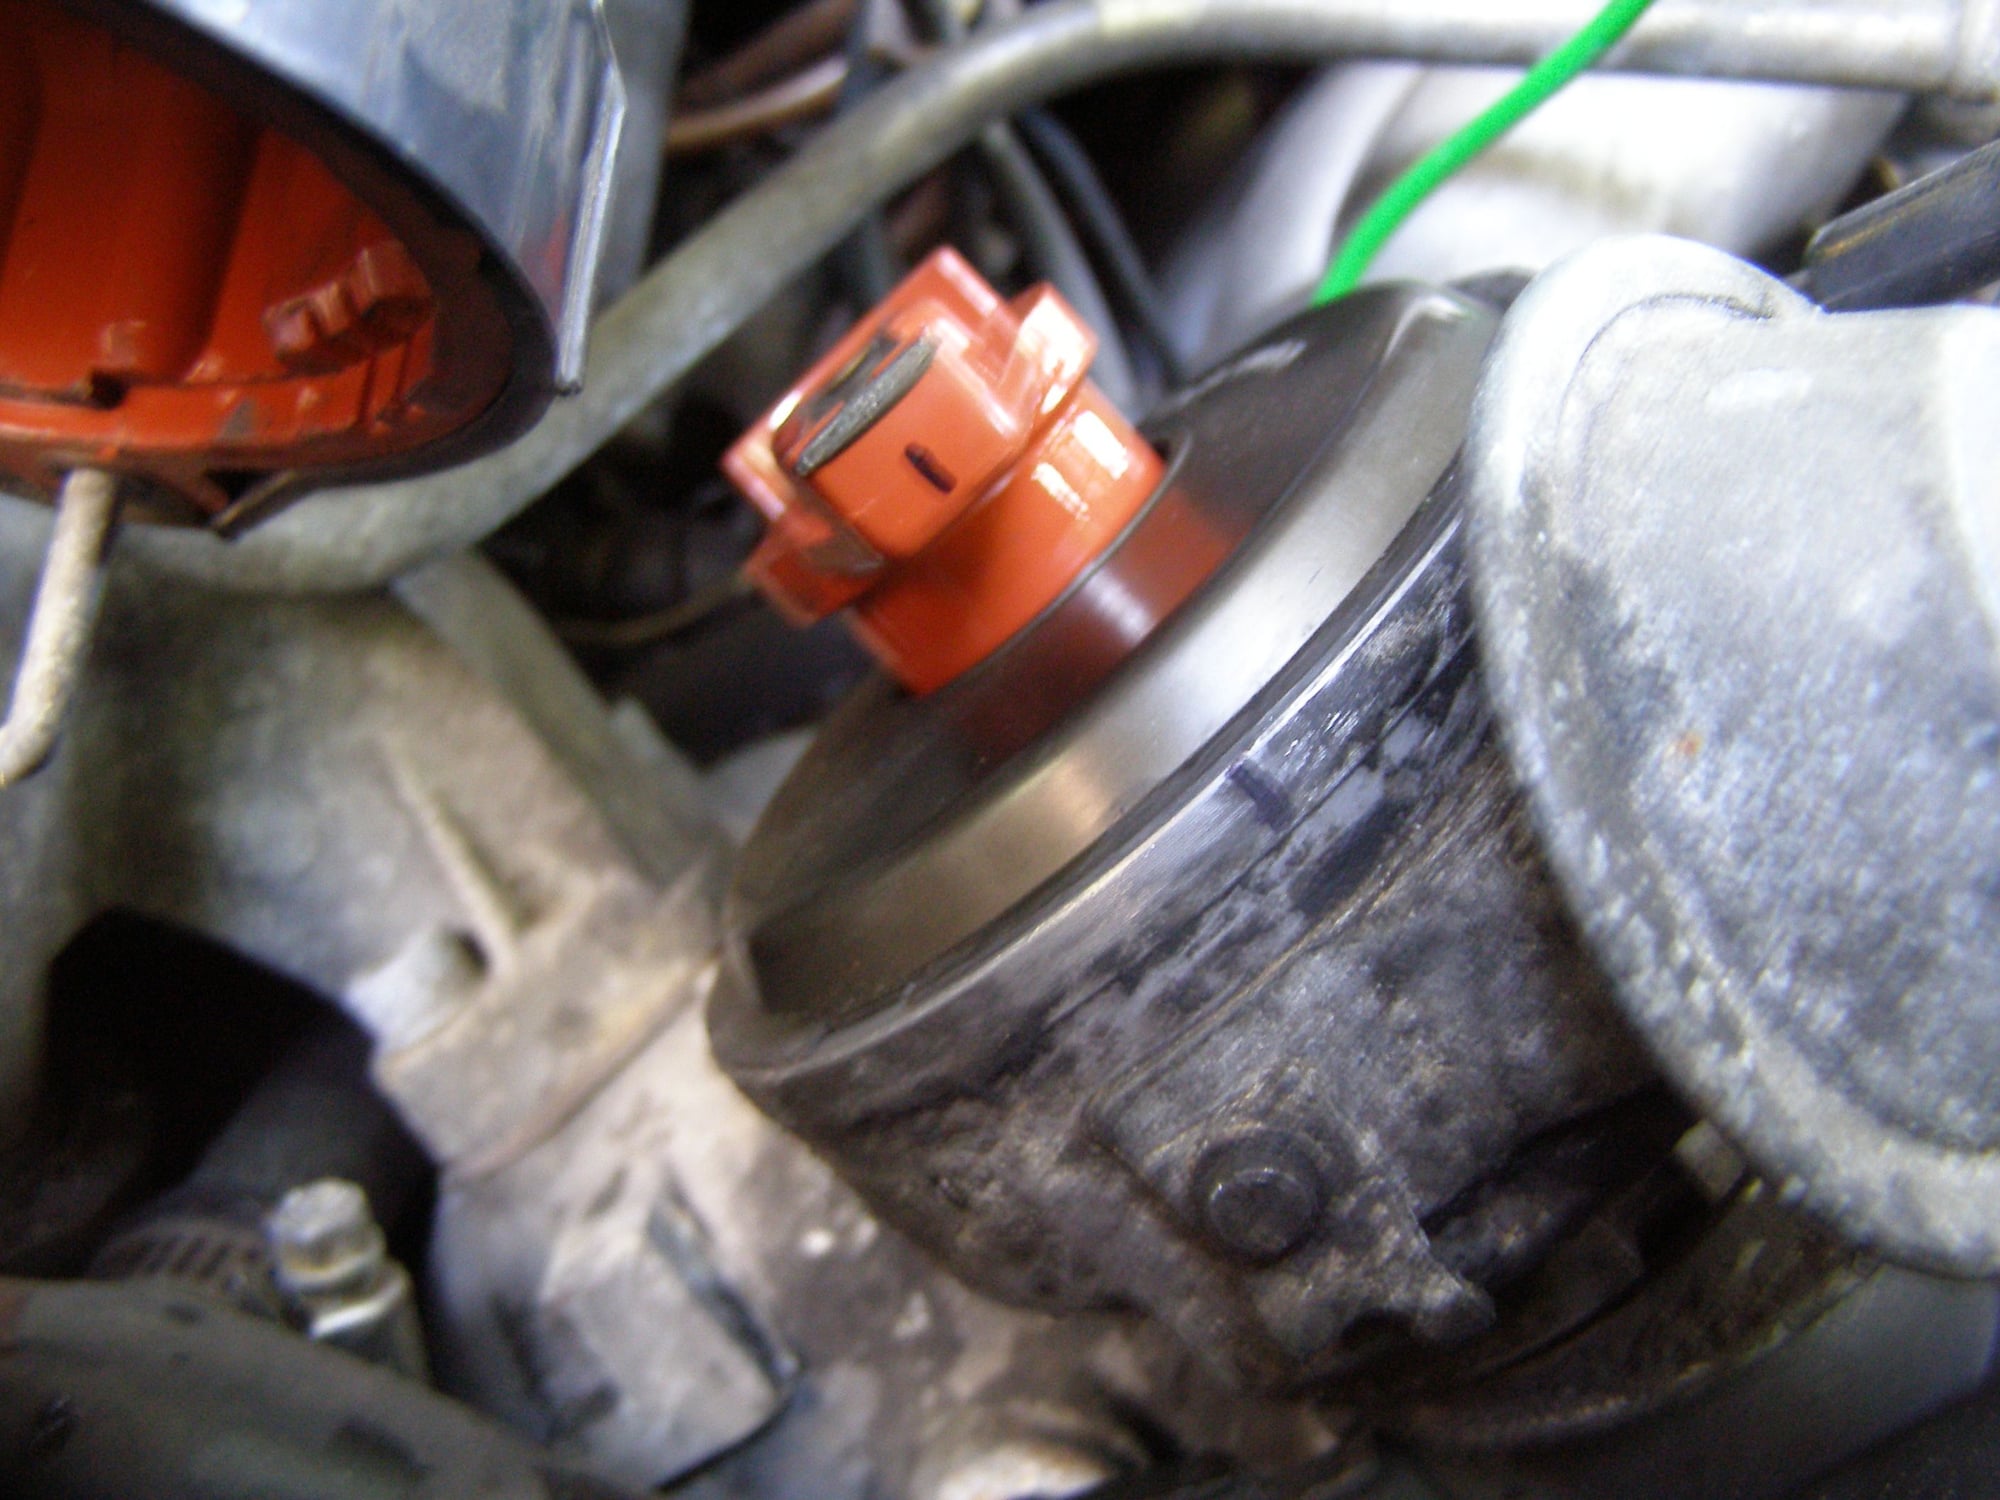
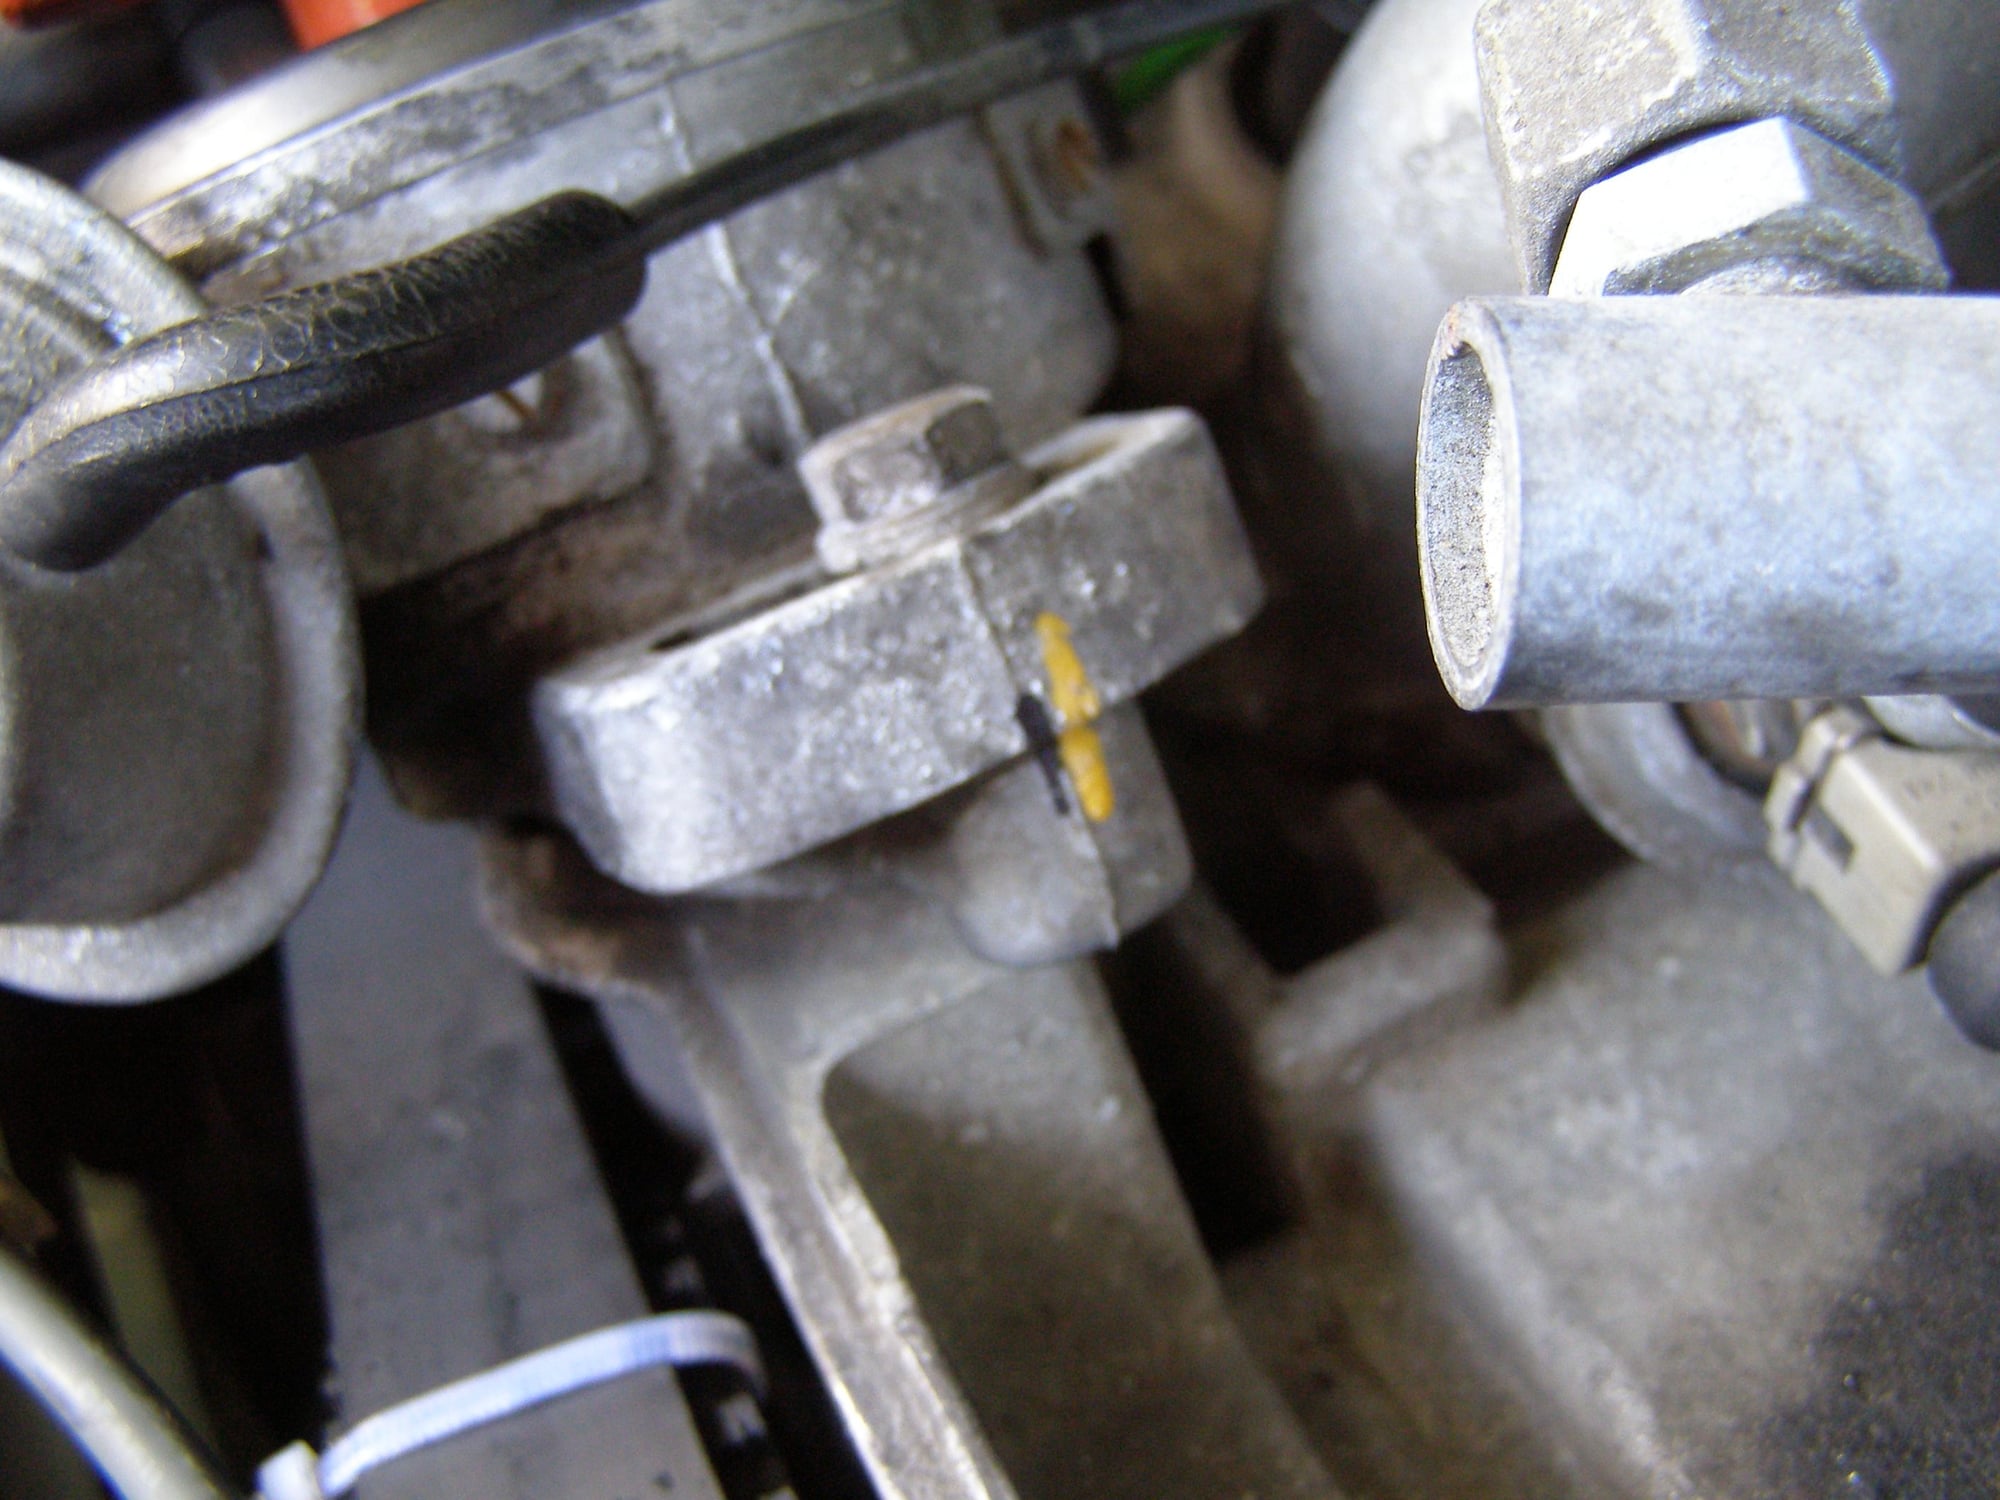
Marked the distributor for reassembly (engine at TDC with all marks aligned).
Next are the oil drain and dipstick removal, lower cover removal, compression of the porkensioner, and then removal of the sprockets.
What is the torque spec for the cam sprockets on a 84 USA?
Last edited by WALTSTAR; 08-26-2019 at 06:52 PM.
Reason: question
Did cam seals just now as part of belt job. I doubt the zip ties will help with holding timing - you will have to check it anyway. The RHS cam will tend to rotate CCW under valve spring pressure and without the cam wheel fittted you wont be able to get it back into position. LHS cam usually stays in place OK. Had a hell of a time getting the rhs front cam bearing plate out to do the big Oring in the back - 2 leg puller , tightening the screw by hand only, tapping on the back , tighten, tap.....took over an hour. Just doing the seal under the cam wheel is easy, but mine was very damp around the back. Torque on the cam bolt is 48 lbs/ft.
jp 83 Euro S AT 57k
I wasn't counting on the zip ties to prevent rotation, just to index the cam sprocket to the belt. Because it is keyed, I can rotate the crank enough to index the key as long as the crank doesn't slip a notch on the belt while doing so.
Thanks for the spec!
So, I continued disassembly and removed the Porkensioner to give me more play in the belts. I compressed it very slowly in a vise and reinserted the pin.... did the driver side first and the cams barely moved when doing the seal R & R. Cleaned up everything before reassembly. On the passenger side, it went together very easily. I used cam assembly lube on all the O- rings and seals (which I installed after the housings by hand-they just pushed in). Started to reassemble and found a stopping point. You all know how to do the rest, but if anyone wants, I will photo the rest.
I twisted the cam fronts before pulling and they both slid out easily. The timing was unchanged when I simply nudged the passenger sprocket back to the notch and slipped the belt on (which I changed about 1500 miles ago).
Thanks WALSTAR. Helpful pictures for sure. Also (and I saw this in the linked thread too) what is to be gained by using the zip ties on the cam sprockets? Don't you just remove the timing belt and restring later?
Being that I preserved the location of the belts on the sprockets and the sprockets are keyed, all I had to do was align the key and push on to preserve the timing. I did one sprocket at a time. I double checked the timing by turning the engine twice, however.


 08-26-2019, 06:48 PM