When you click on links to various merchants on this site and make a purchase, this can result in this site earning a commission. Affiliate programs and affiliations include, but are not limited to, the eBay Partner Network.
I bought the faster response Bosch air temp sensor (280 130 085) and can't find any threads on how to modify the airbox to install the newer design. Any thoughts as it's a completely different mount ?
Anything further that needs to be done ? Just drill it out a bit and epoxy the new sensor flush ? It's taller than the OEM but I assume it doesn't interfere with the air filter.
I'm thinking that rather than drill out the OEM nut that is molded into the air box, It may be better to leave the old sensor in as a plug and simply drill a hole to fit the new sensor. This way, the mod can be easily reversed.
My only question then, is if it matters where the new sensor is placed. I would think if I place it in a similar position to the OEM, it should be fine.
Hopefully someone who actually knows will chime in but I think you may need to Sharktune to fully take advantage of the upgraded sensor.
Following.
You don't have to. It sends out the same signal and resistance readings as the original does. It just reacts faster.
I would personally drill 2 holes (one for the sensor itself and one for its retaining screw) and install a threaded nutsert into the air box to thread the retaining screw into.
That way it at least mounts in a similar fashion to the factory mount for this sensor.
Good to know.
Not to hijack the thread but does anyone know if it makes a difference where the device is mounted in the airbox? I have a one-off intake and mounted mine in the collar just above the maf which is considerably more in the airstream than the stock mounting position mid-bottom of the airbox. Just wondering what effect if any location has?
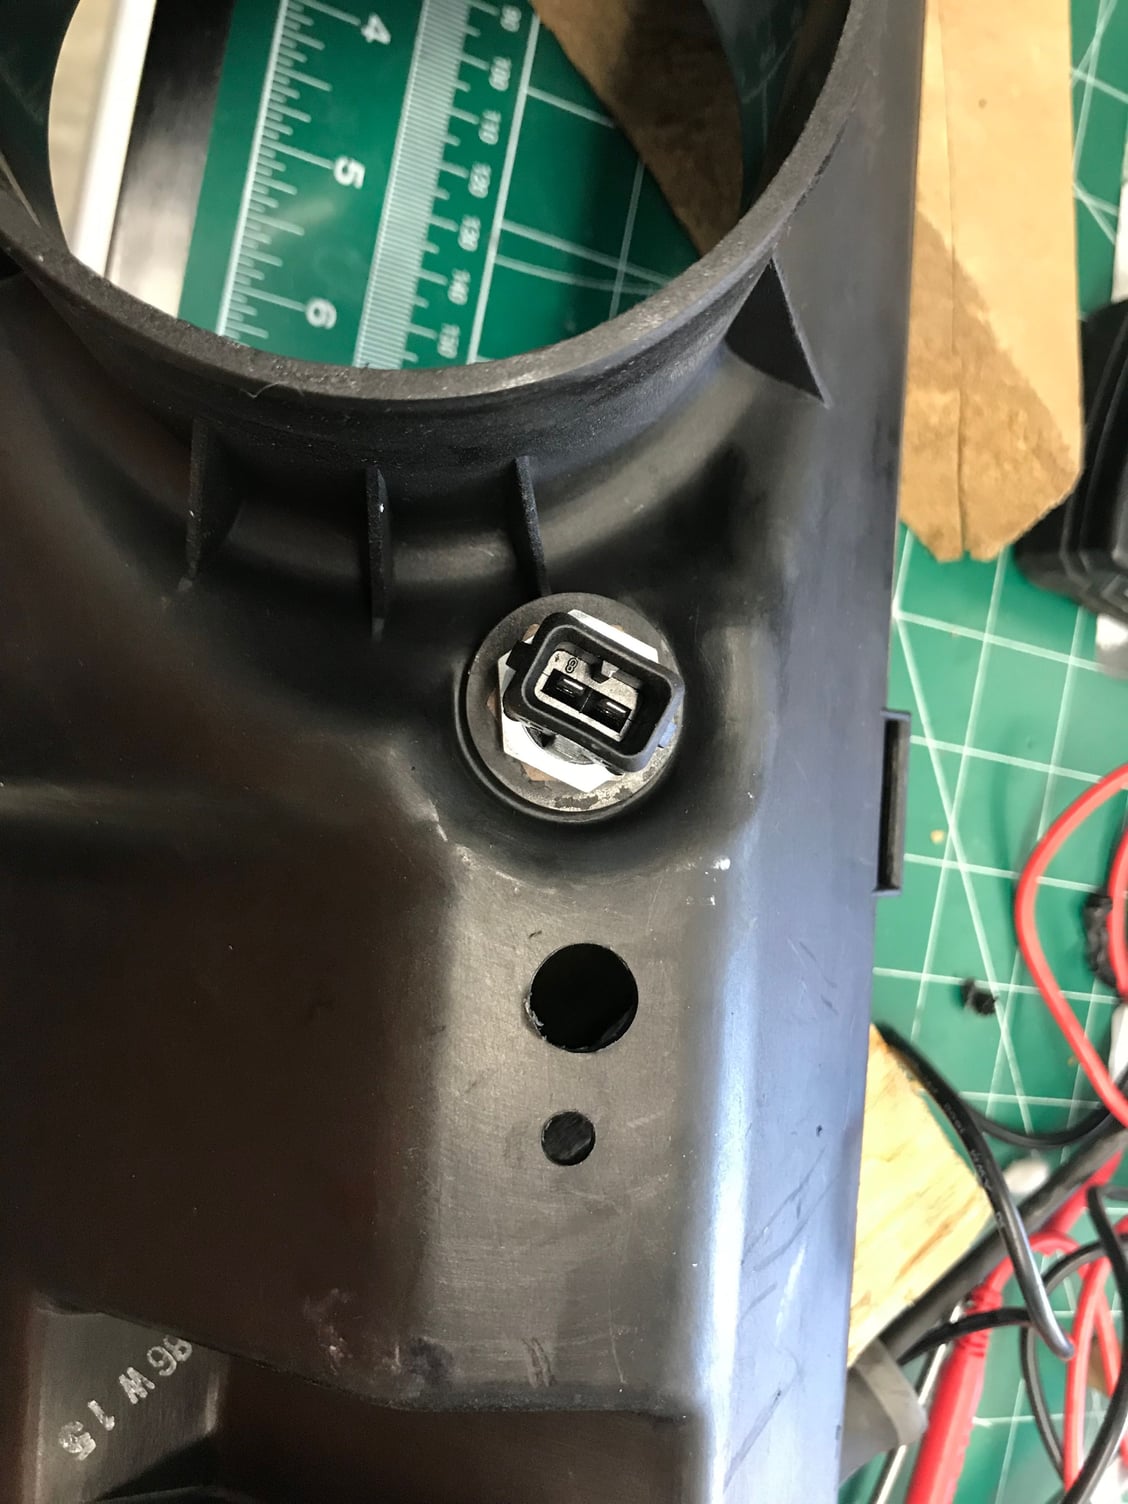
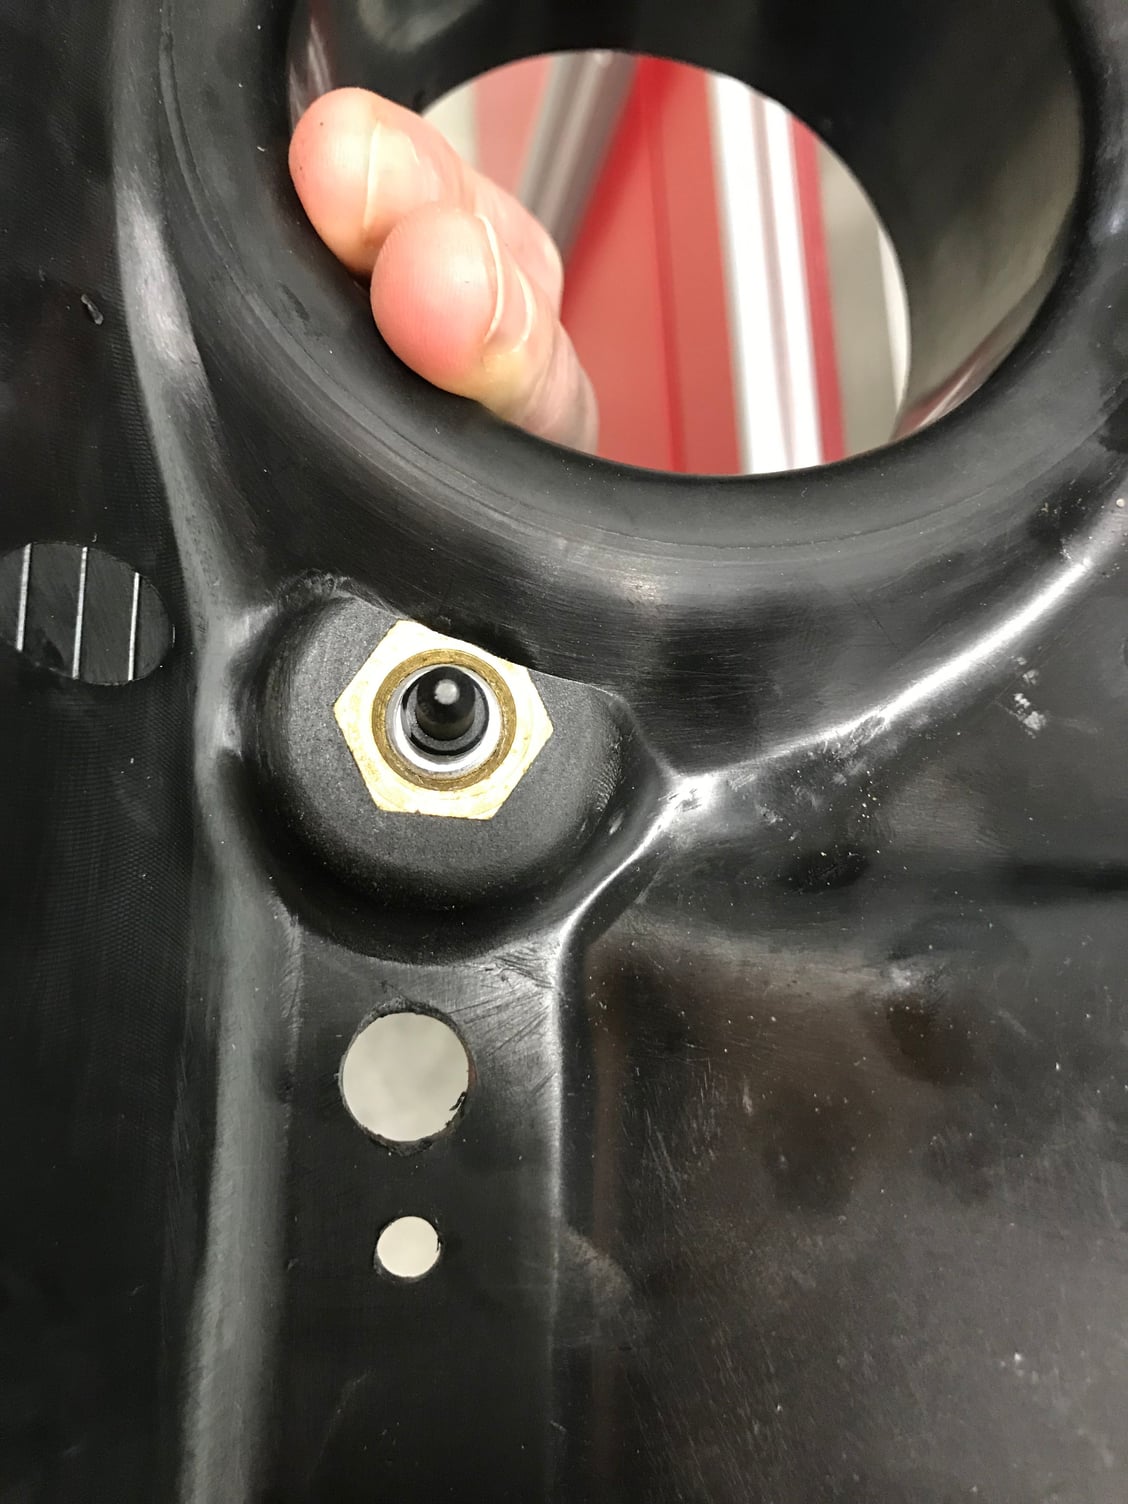
There is no other spot to put it besides the original fitting drilling it out IMHO and attempted and failures..I tried and failed twice. It hits anywhere else �logical.� Once I screwed up drilling out the original fitting wasn�t a big deal. Covers the old holes with scrap dash and 3M two part bumper filler. Still sorting my top end refresh, so no definitive �is it better� yet. Got mine from Roger.
PICS ARE WHAT NOT TO DO!!!! Here is is what I THOUGHT would work, but it hits the mounting brackets . Tried the other side and it hit the FPR and the connector was stressed. Learn from my mistake. Drill out the original hole and be done with it if you want the mod.
I have this mod...I put it in very shortly after I found out about it. My car has Porken's chips...early '86 and the difference was night and day...so much so that the OE sensor felt more like a switch.
This sensor is sending information that the logic units are very responsive to. I have had nothing but positive results. I did mod the original sensor location but I don't regret it in the least.
Its additional refinement and responsiveness ....I seriously couldn't believe a compatible but much better sensor could make such a difference. I have no idea what the diff. would be on a standard chip '86...
My honest opinion from my very small brain is that the new sensor is sending info the old one wasn't capable of sending..especially that quickly..like the values are there but it took this sensor to be able to use them...kind of wierd to read maybe...but thats my most honest explanation for what I'm feeling.
I'm still on the first sensor and it's still working great....biggest bang for the buck in terms of diff. it made on mine...