When you click on links to various merchants on this site and make a purchase, this can result in this site earning a commission. Affiliate programs and affiliations include, but are not limited to, the eBay Partner Network.
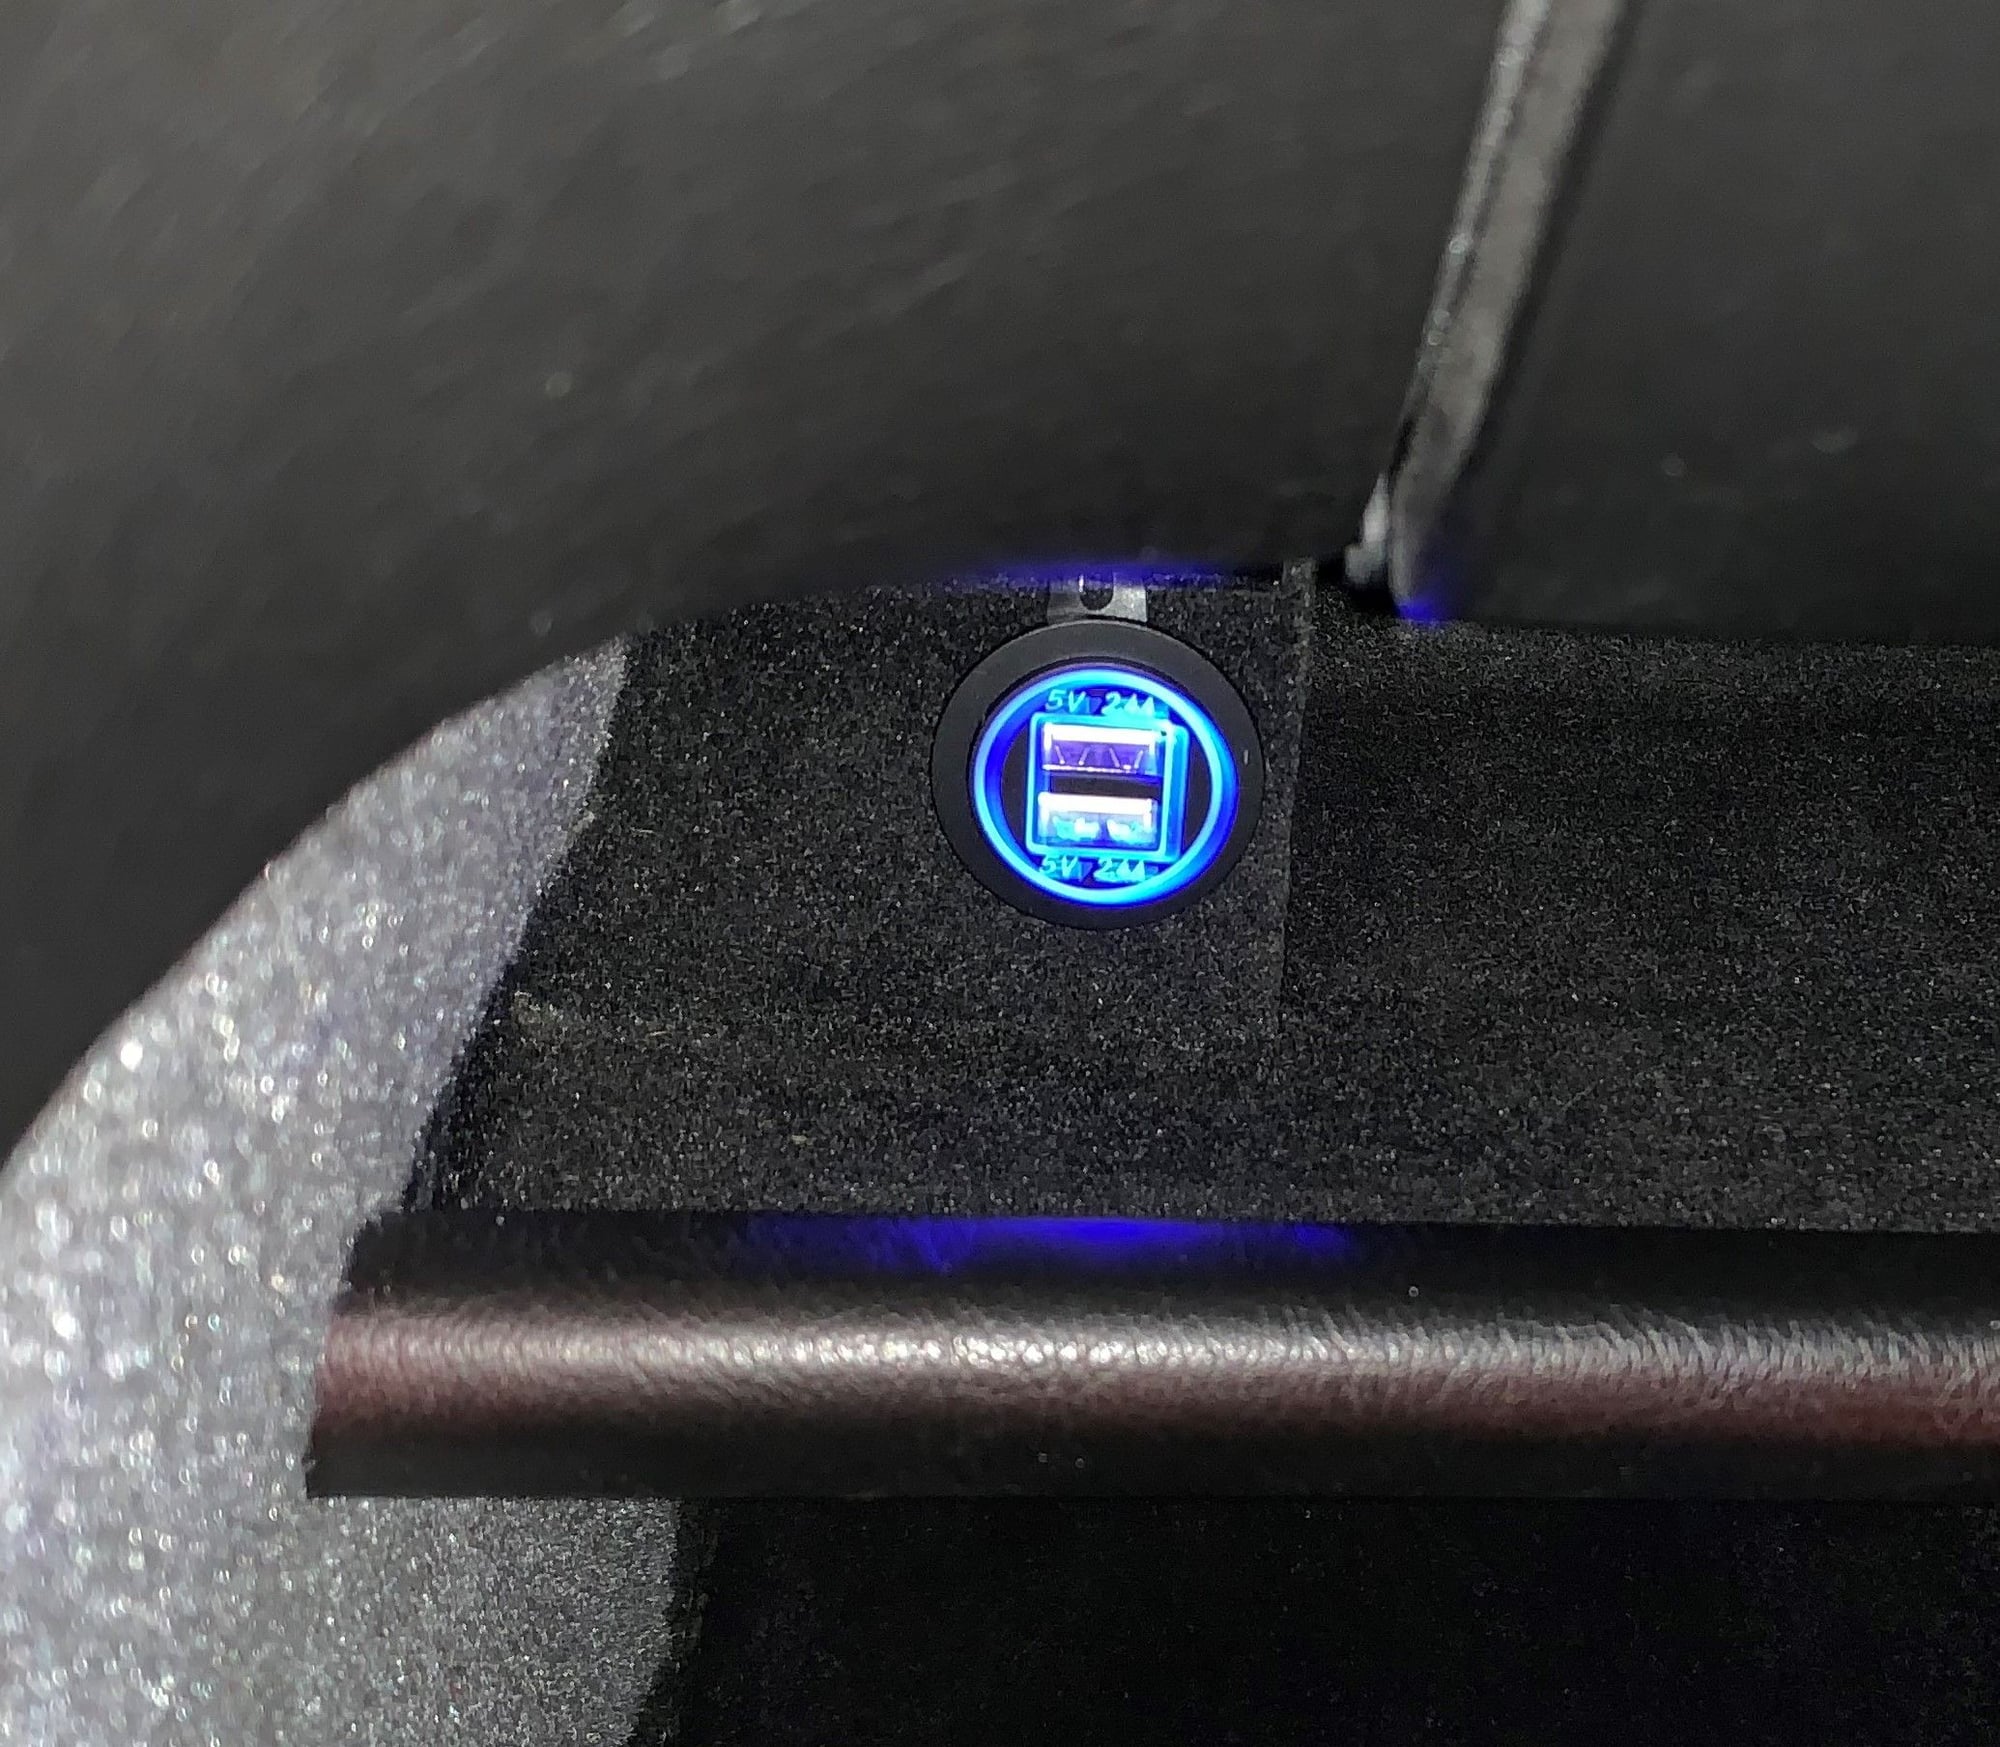
Yes of course, but an FYI, my lighter socket was not in good shape so I removed it rather than simply plugging in a USB adapter. Pretty tight fit but it works.
just ordered 2...with out the voltage display. I have a cover on my passenger parcel try and it will mount nicely there. May even hard wire it out of sight and keep the cords attached. I dont like having the ashtray open to charge stuff...and the USB on my receiver is only 1 Amp. The other will be for boat. Thnx for the link
Well this Winter project is turning into a multiple year program, have been getting back into this for the last couple of weeks.
I sent one quarter panel to an interior trimmers as I just could not get it to line up where I felt satisfied the vinyl was going to lay out right, the panel has been with them since August .... sigh. The rear A/C is back in with rebuilt hoses and new seals, the whole system had way too much oil in it, need to flush out the rest of the system and replace the remainder of the seals. Right now I need the rear quarter panel trimmed before I can do anything in the back.
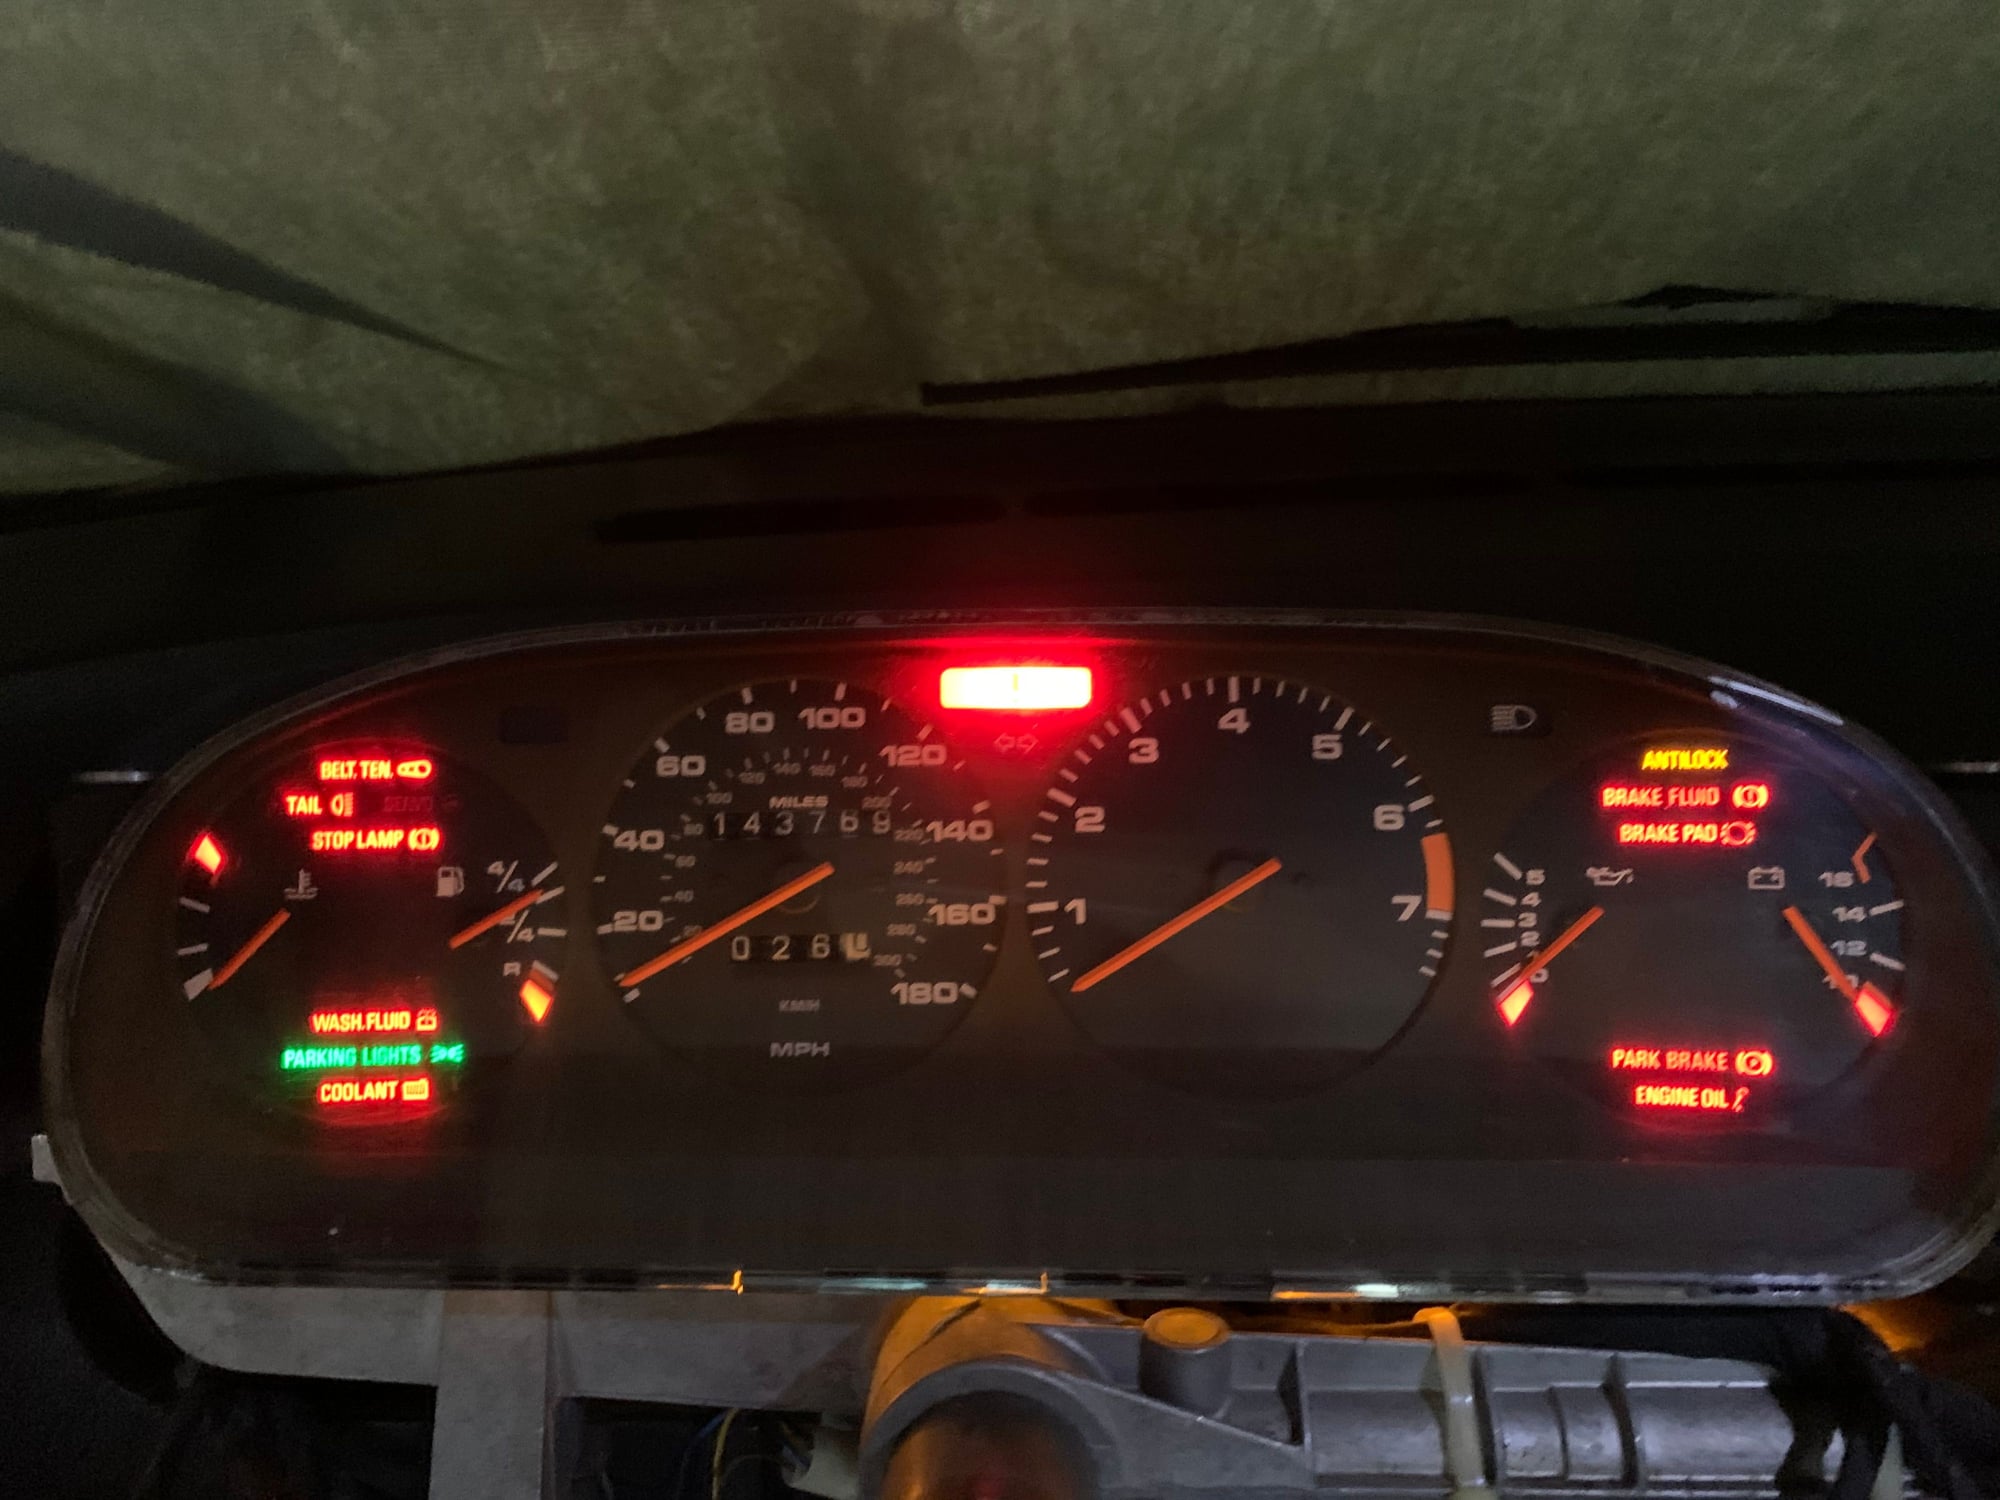
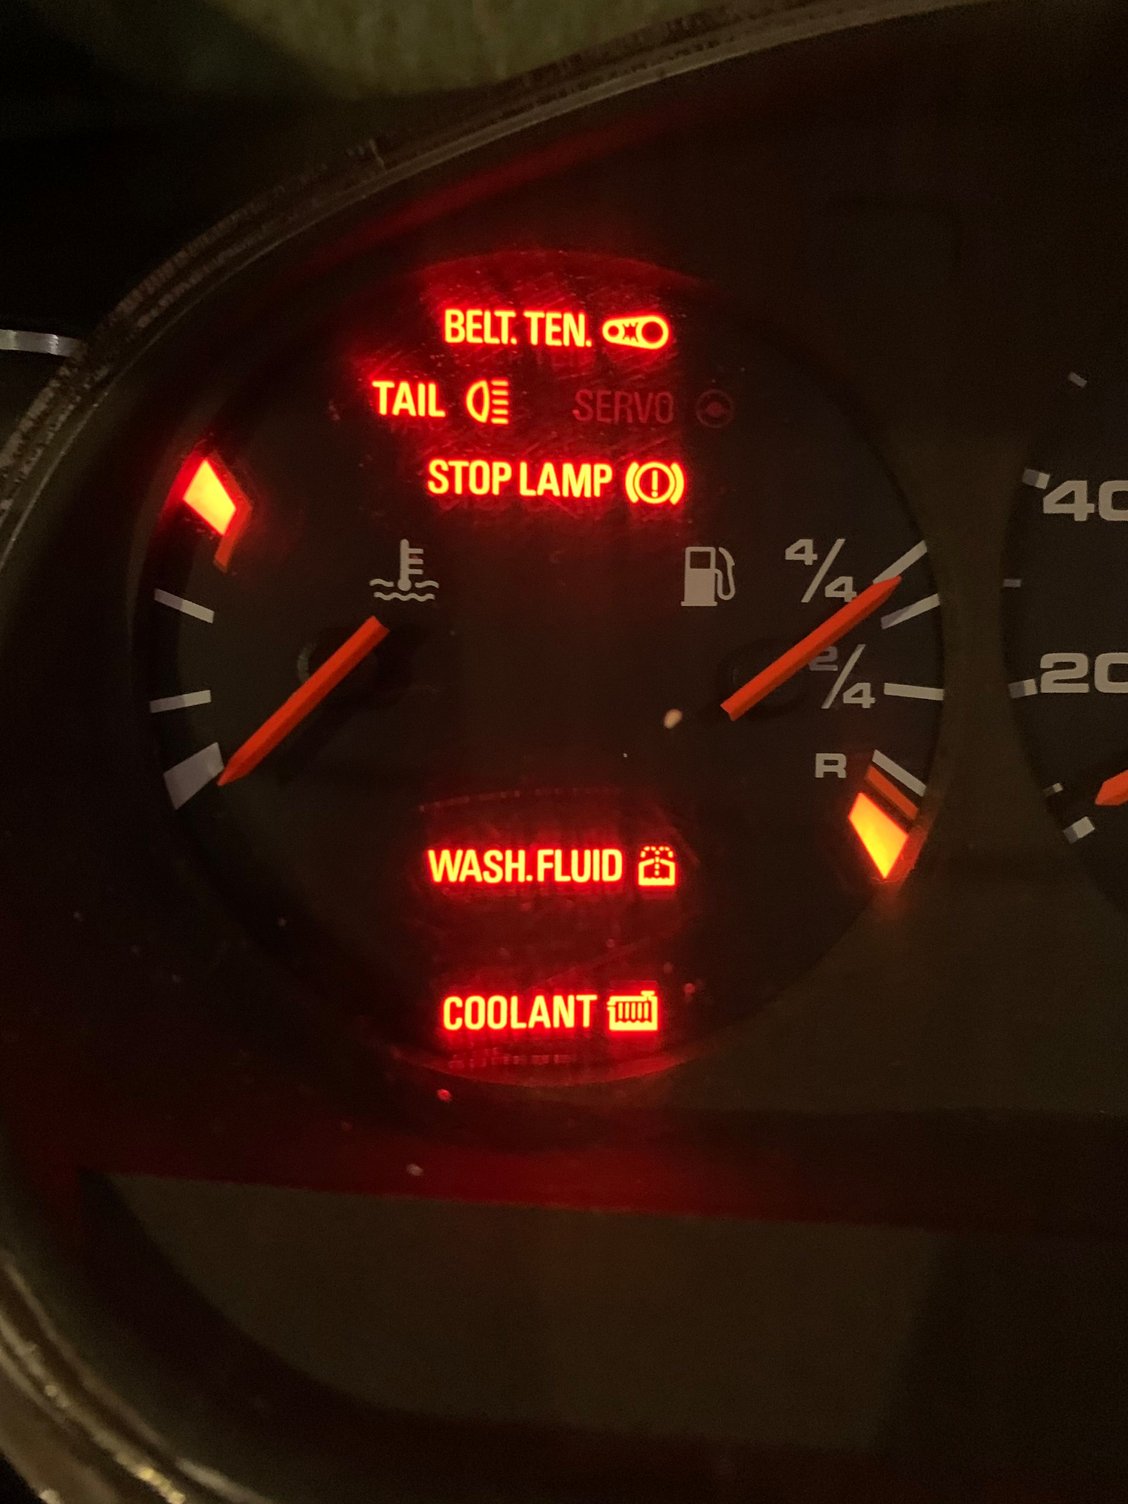
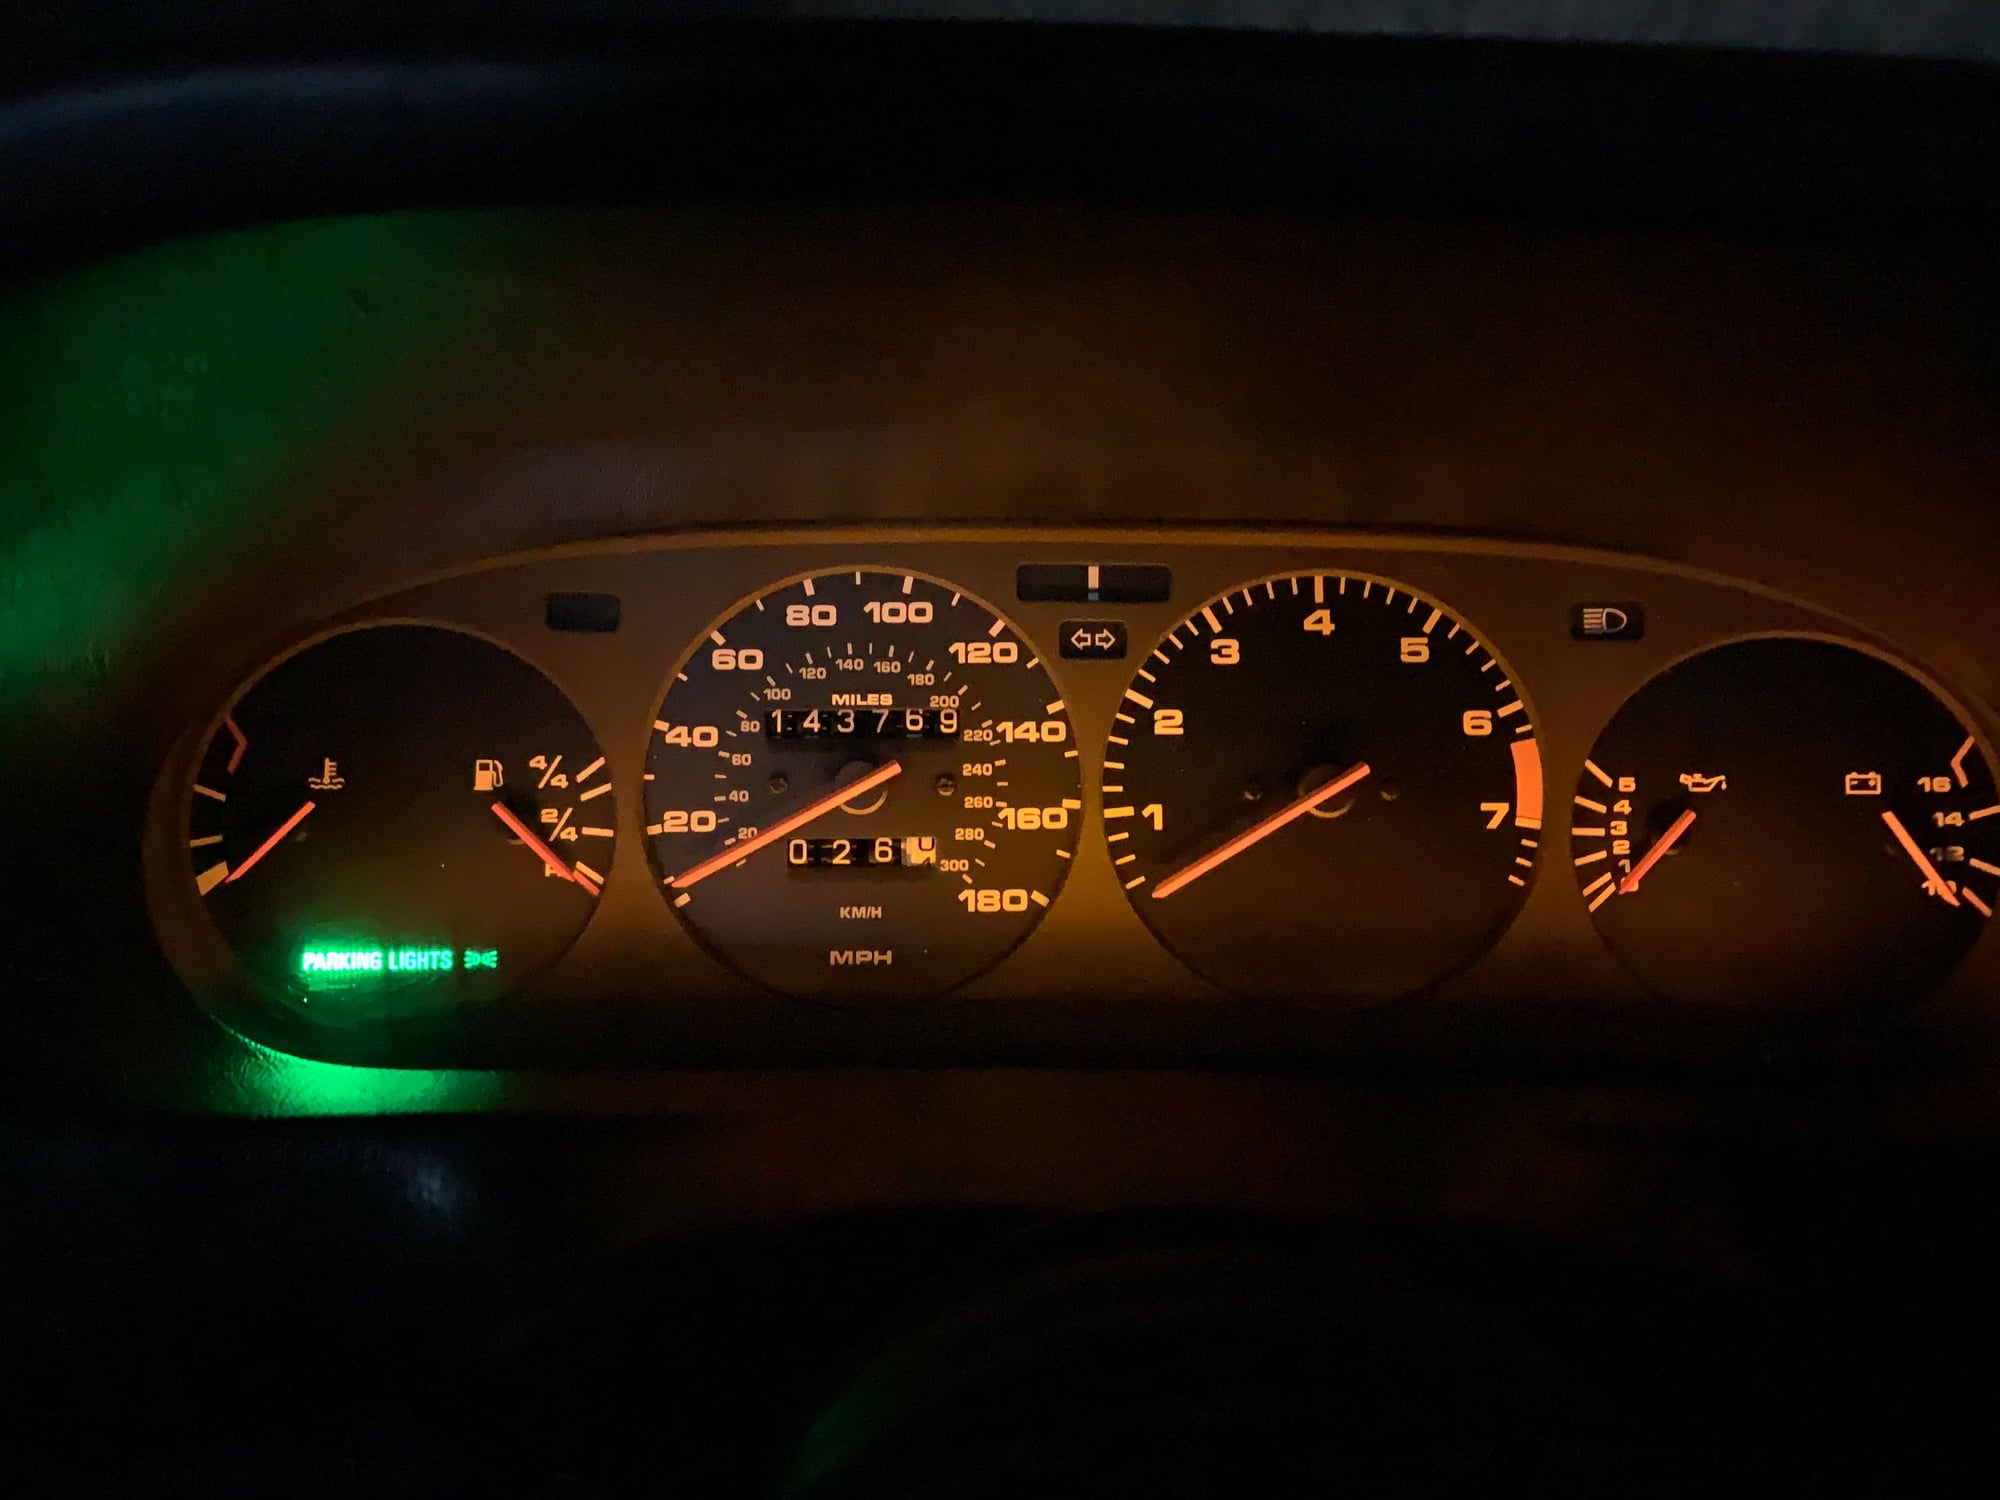
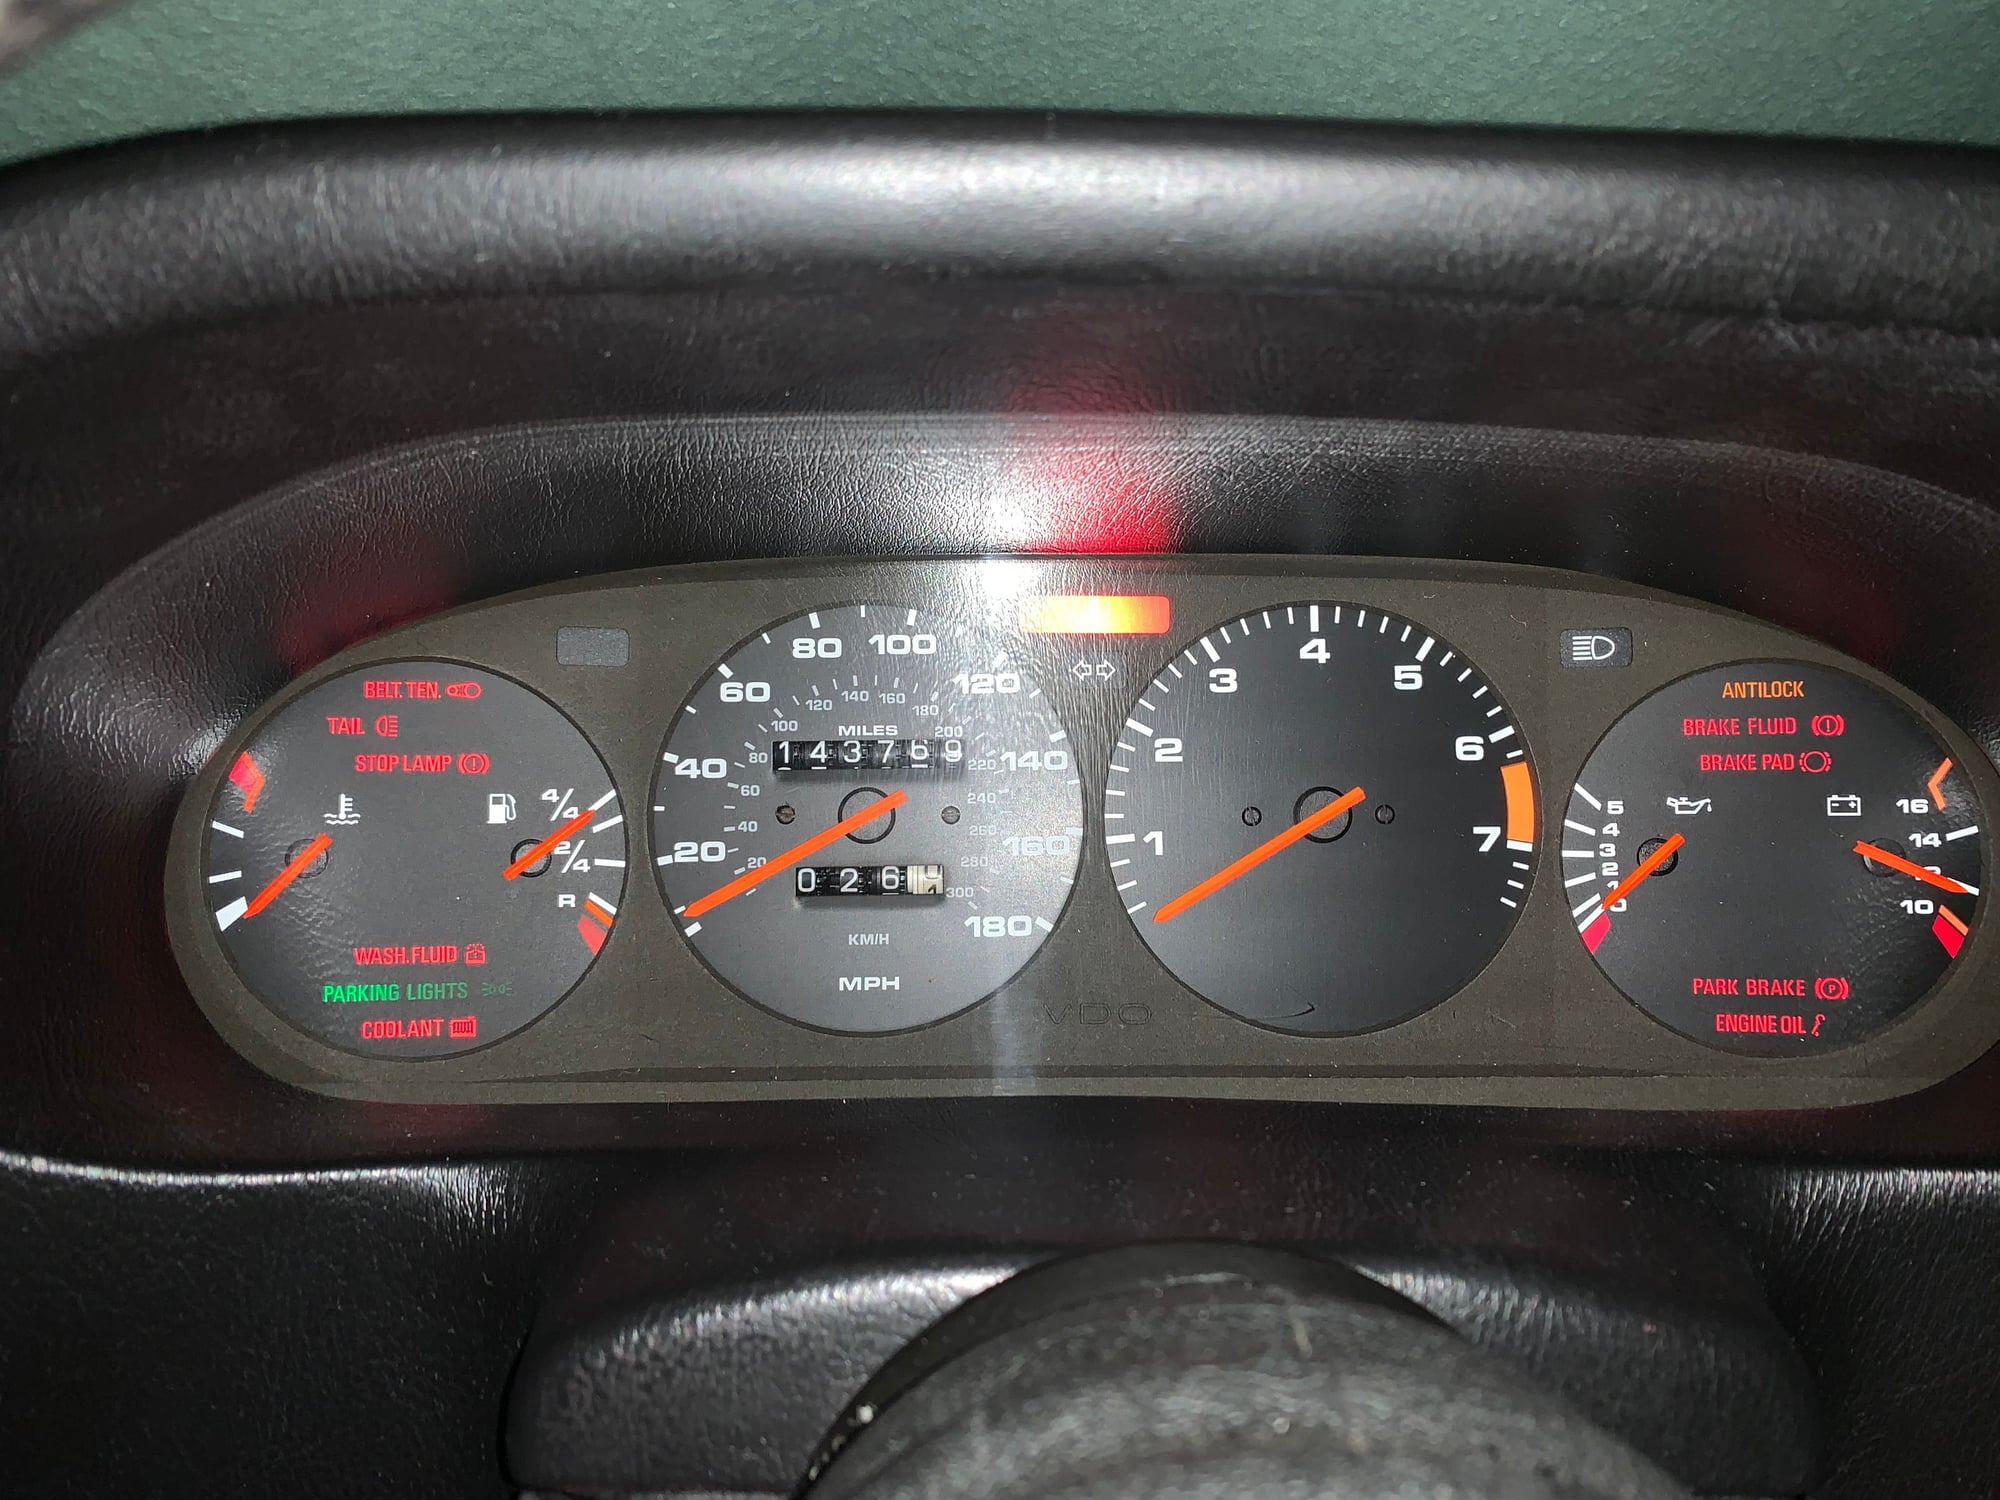
Soooooo decided to tackle some other interior projects that have been bugging me, replace the instrument cluster bulbs with LEDs.
Not the greatest of photos but the LED conversion is done, replaced all the warning bulbs with LEDs and they look way sharper. I was going to replace the back lighting with the LED wedges but decided to see how just changing the bulbs with 194 LEDs would work out and so far I am OK with it.
So with that done the final issue is with the Fuel Gauge, like others it has never shown full, cleaned all the connectors and the sender shows 9 Ohms, others say it should be 3 but changing out the sender seemed like it might cause other problems so just tweaked the needle. Voila!
I also have the center console apart, waiting for parts to arrive and then I can get that back together.
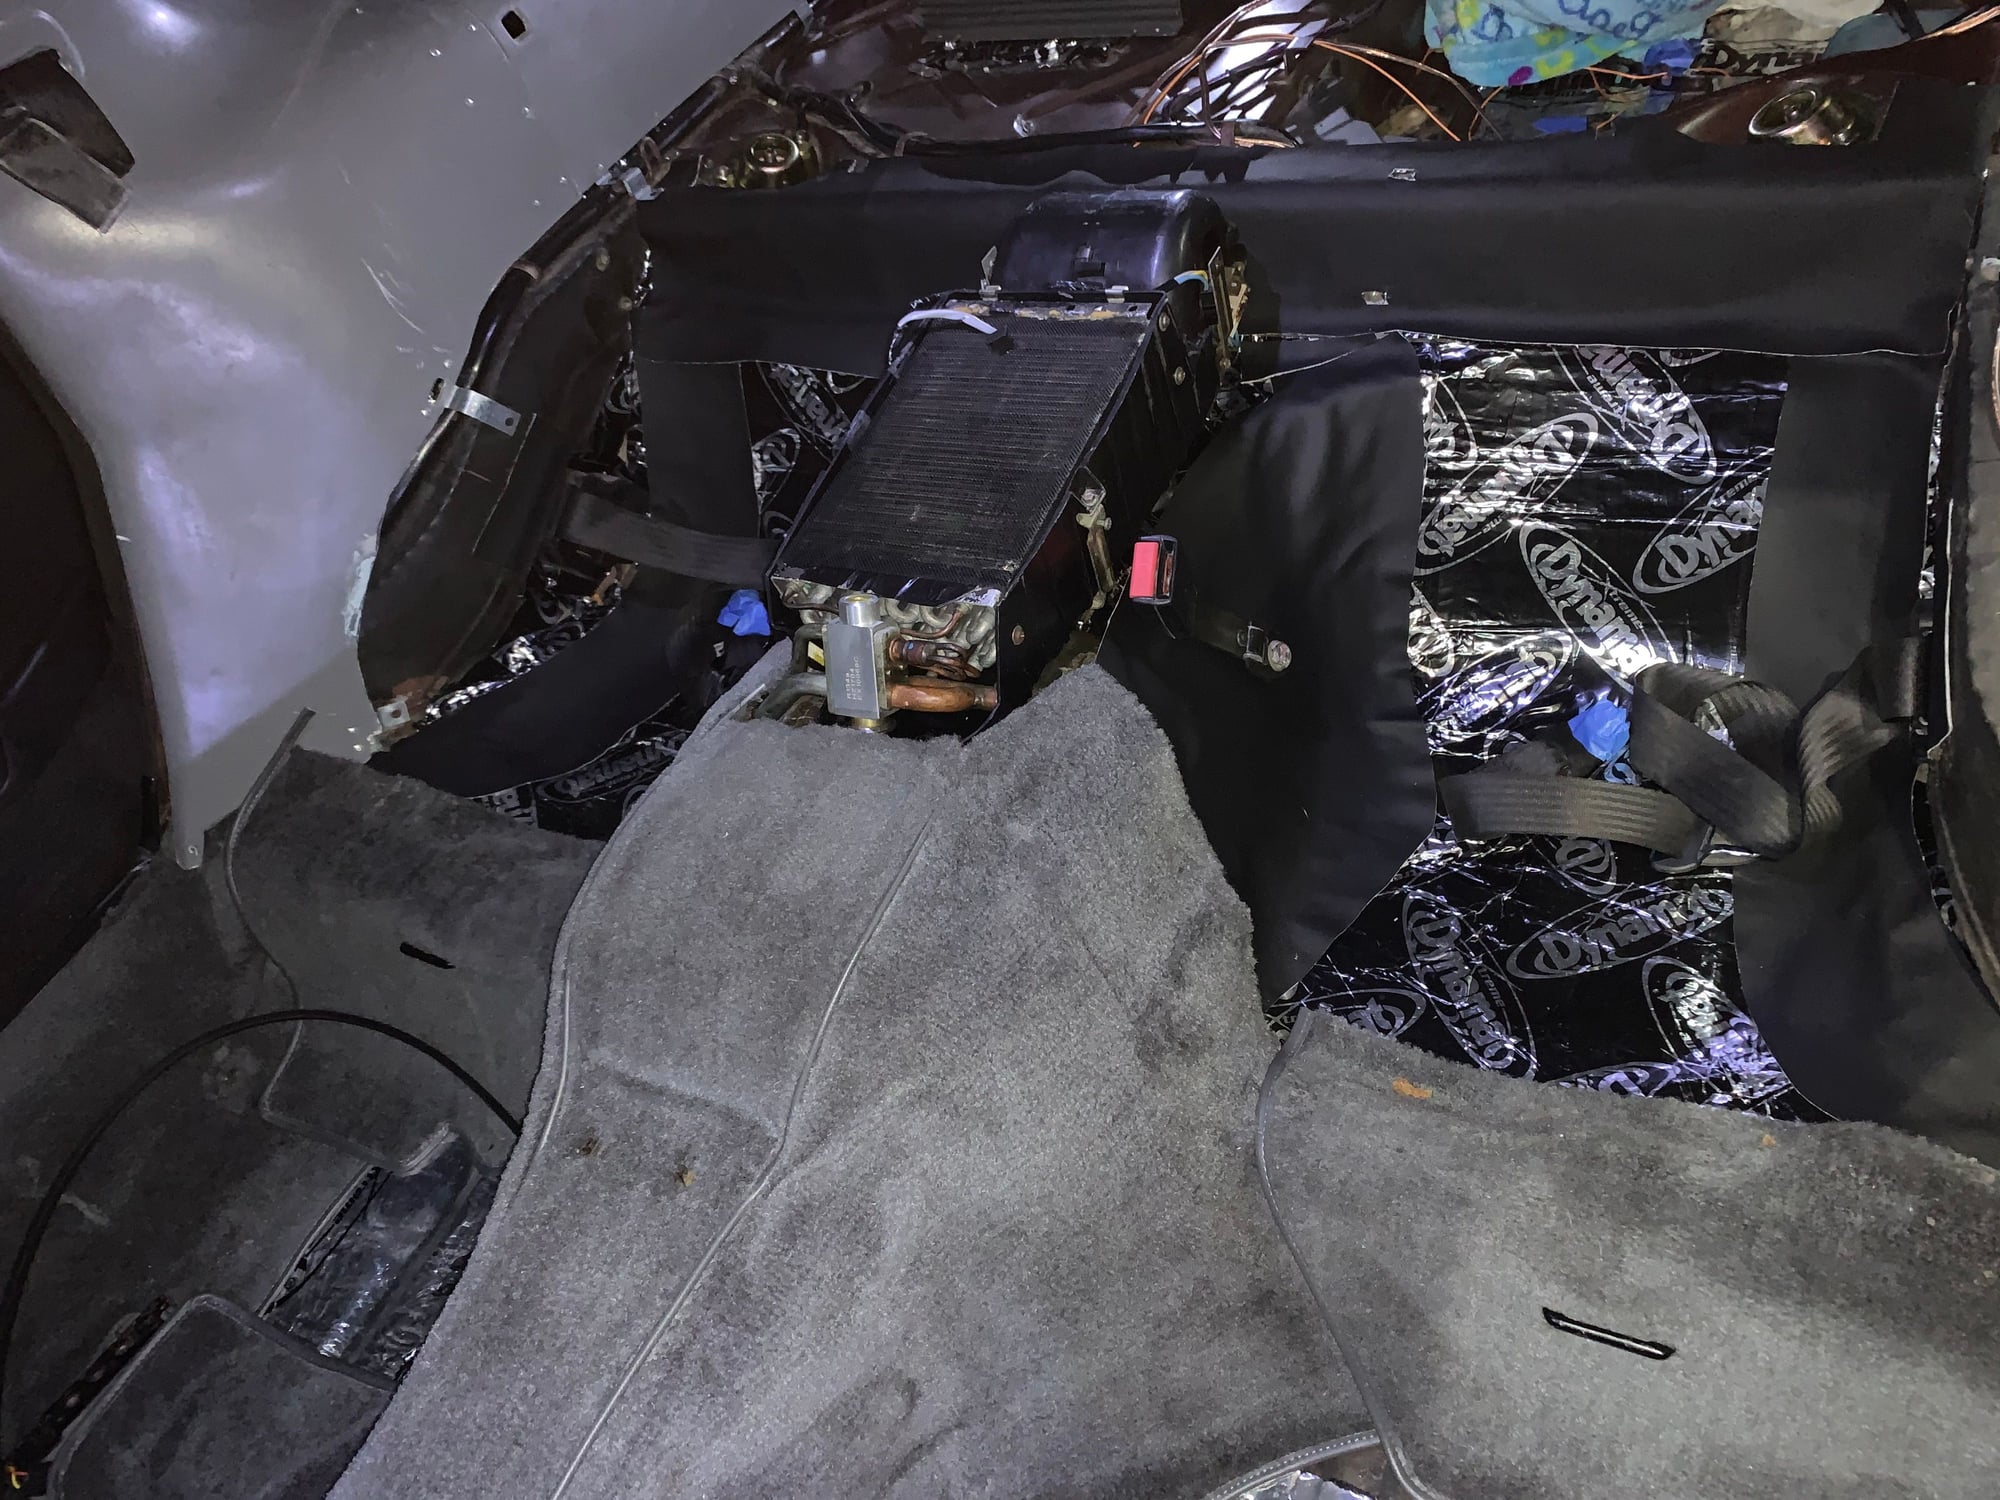
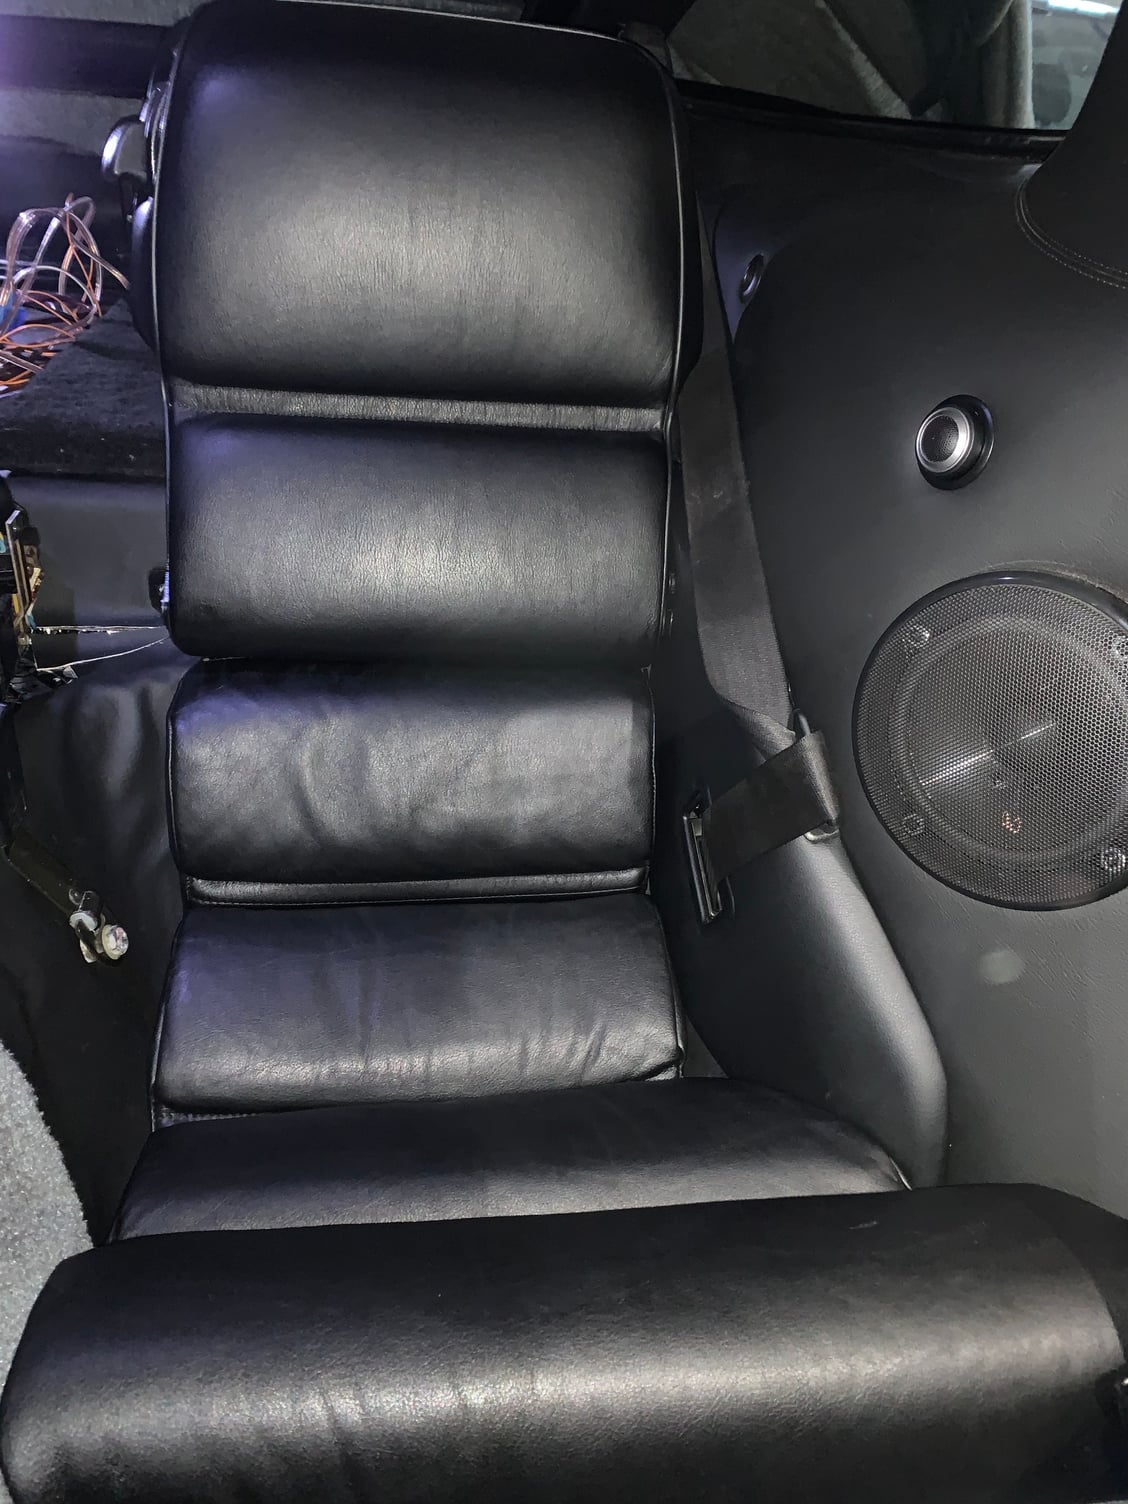
Here is where I am at with the rear.
I bought new vinyl to cover up under the seats, last time I used spray adhesive this time I used double sided tape for carpet. A lot less messy.
just ordered 2...with out the voltage display. I have a cover on my passenger parcel try and it will mount nicely there. May even hard wire it out of sight and keep the cords attached. I dont like having the ashtray open to charge stuff...and the USB on my receiver is only 1 Amp. The other will be for boat. Thnx for the link
I agree, I like the idea of the parcel shelf mounting option so am going to redo what I have along this lines, thanks!
Are your quarter panels original ( maybe I missed something reading through this )? I ask because mine are toast. The heat from Texas ( where I bought the car ) played havoc on the interior. Thanks.
I just re-did my interior as well in new leather so enjoyed reading your thread. Good luck in getting it completed and hope it doesn't go too much longer. It took me just over 5 months.
Are your quarter panels original ( maybe I missed something reading through this )? I ask because mine are toast. The heat from Texas ( where I bought the car ) played havoc on the interior. Thanks.
No I ordered new panels from Classic 9, my originals had seen better days and when recovered years back I was never happy with the way they fitted. FYI the new panels are great but still require fettling to fit correctly.
No I ordered new panels from Classic 9, my originals had seen better days and when recovered years back I was never happy with the way they fitted. FYI the new panels are great but still require fettling to fit correctly.
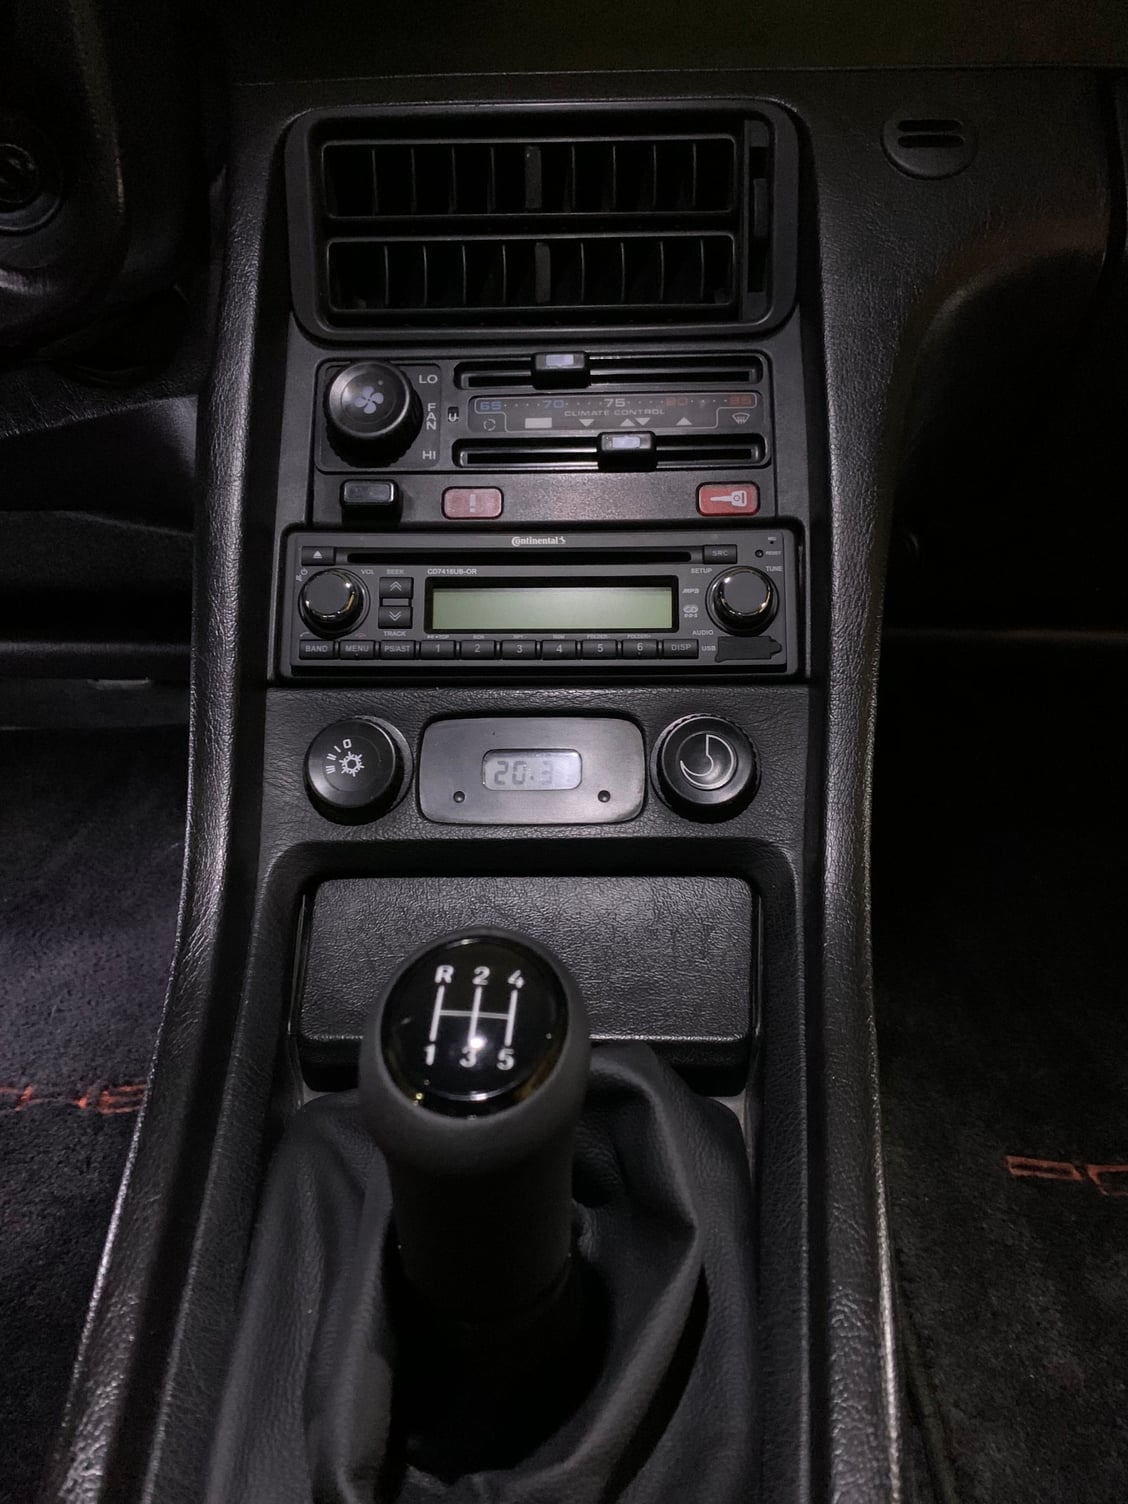
Ok so got the dash back together, pretty happy with it all
I agreed with Tony on the USB socket in the ash tray not being in the ideal place, so I bought a used one in the 928Intl sale and it is back to stock, relocated the USB socket to the passenger parcel tray. Center console all back together as well.
OK onto a couple of projects I have had on my todo list.
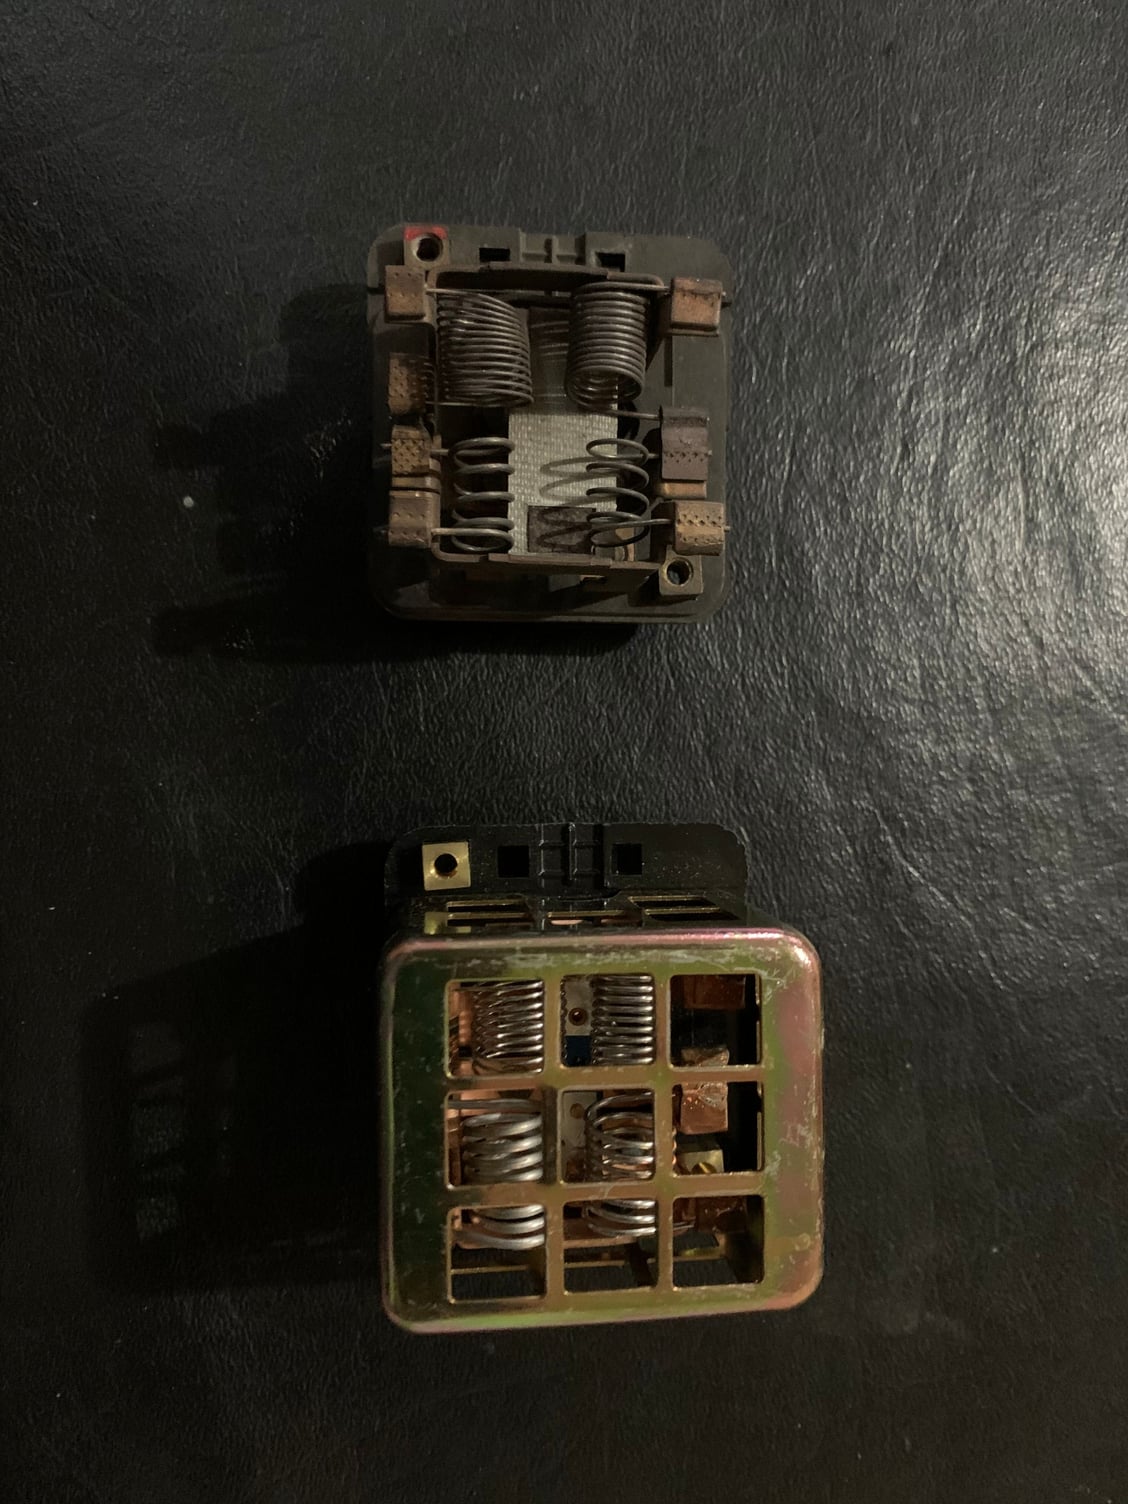
Have had magic blower syndrome for a couple of years and finally got around to replacing, however I did miss the memo about rewiring with the updated part but got it figured out in the end.
Old versus new, hopefully this never needs to be replaced again!
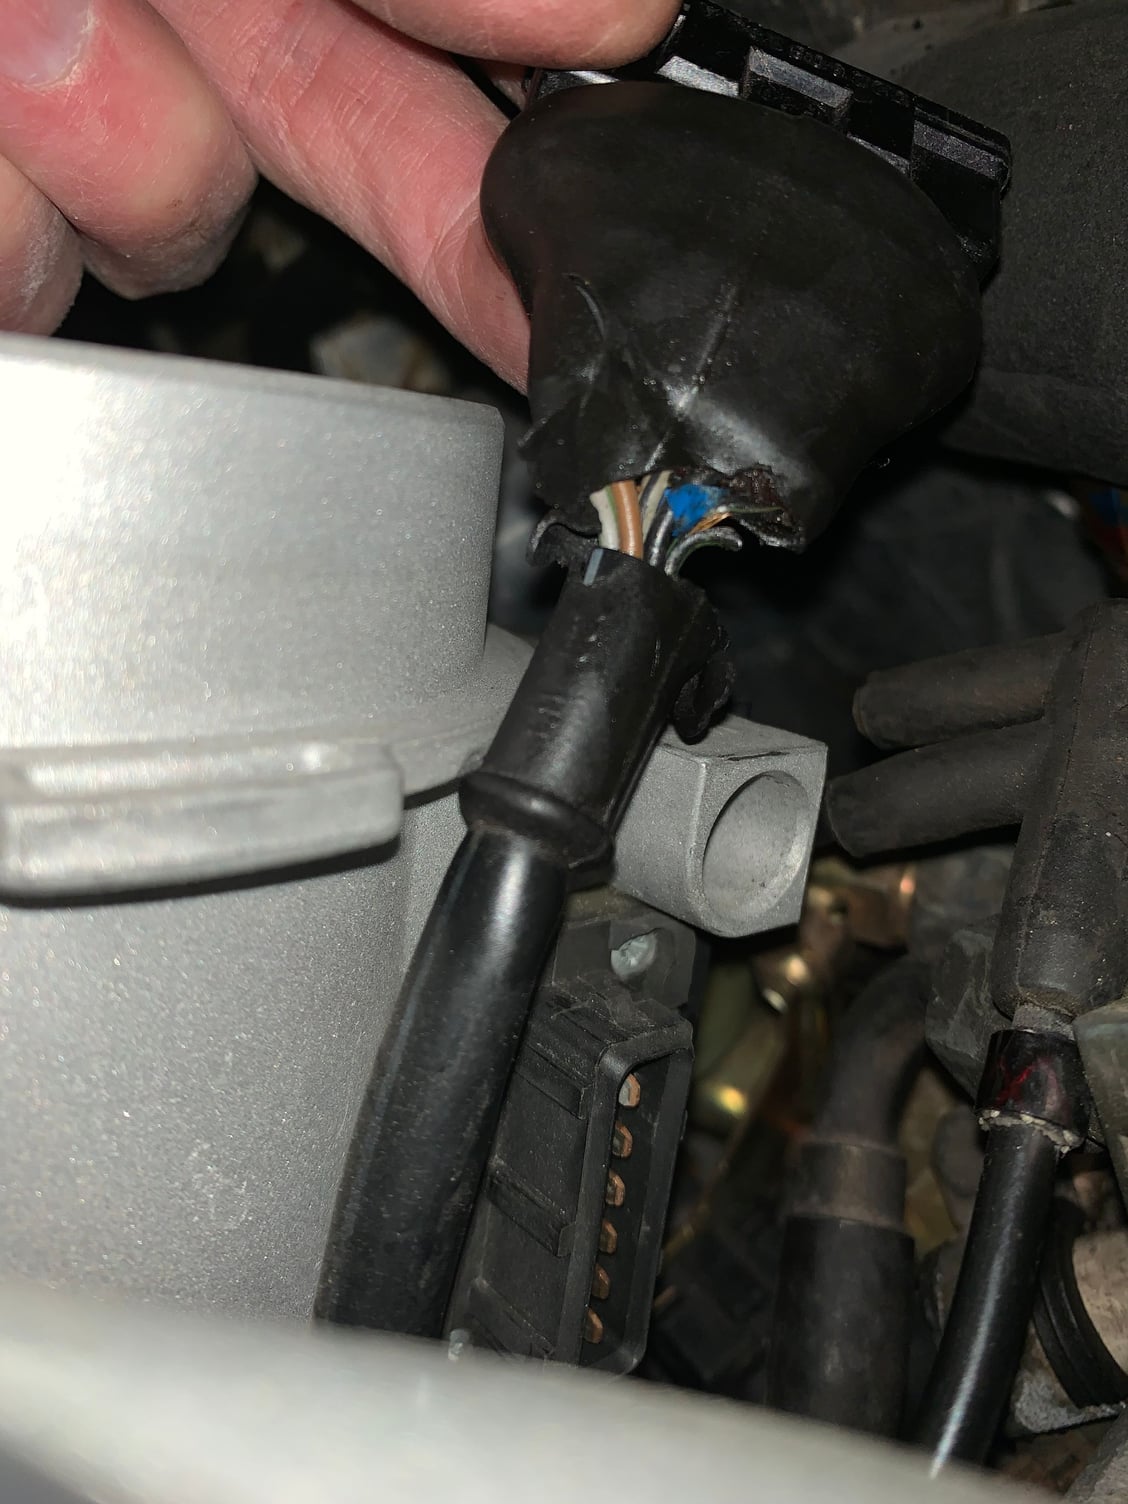
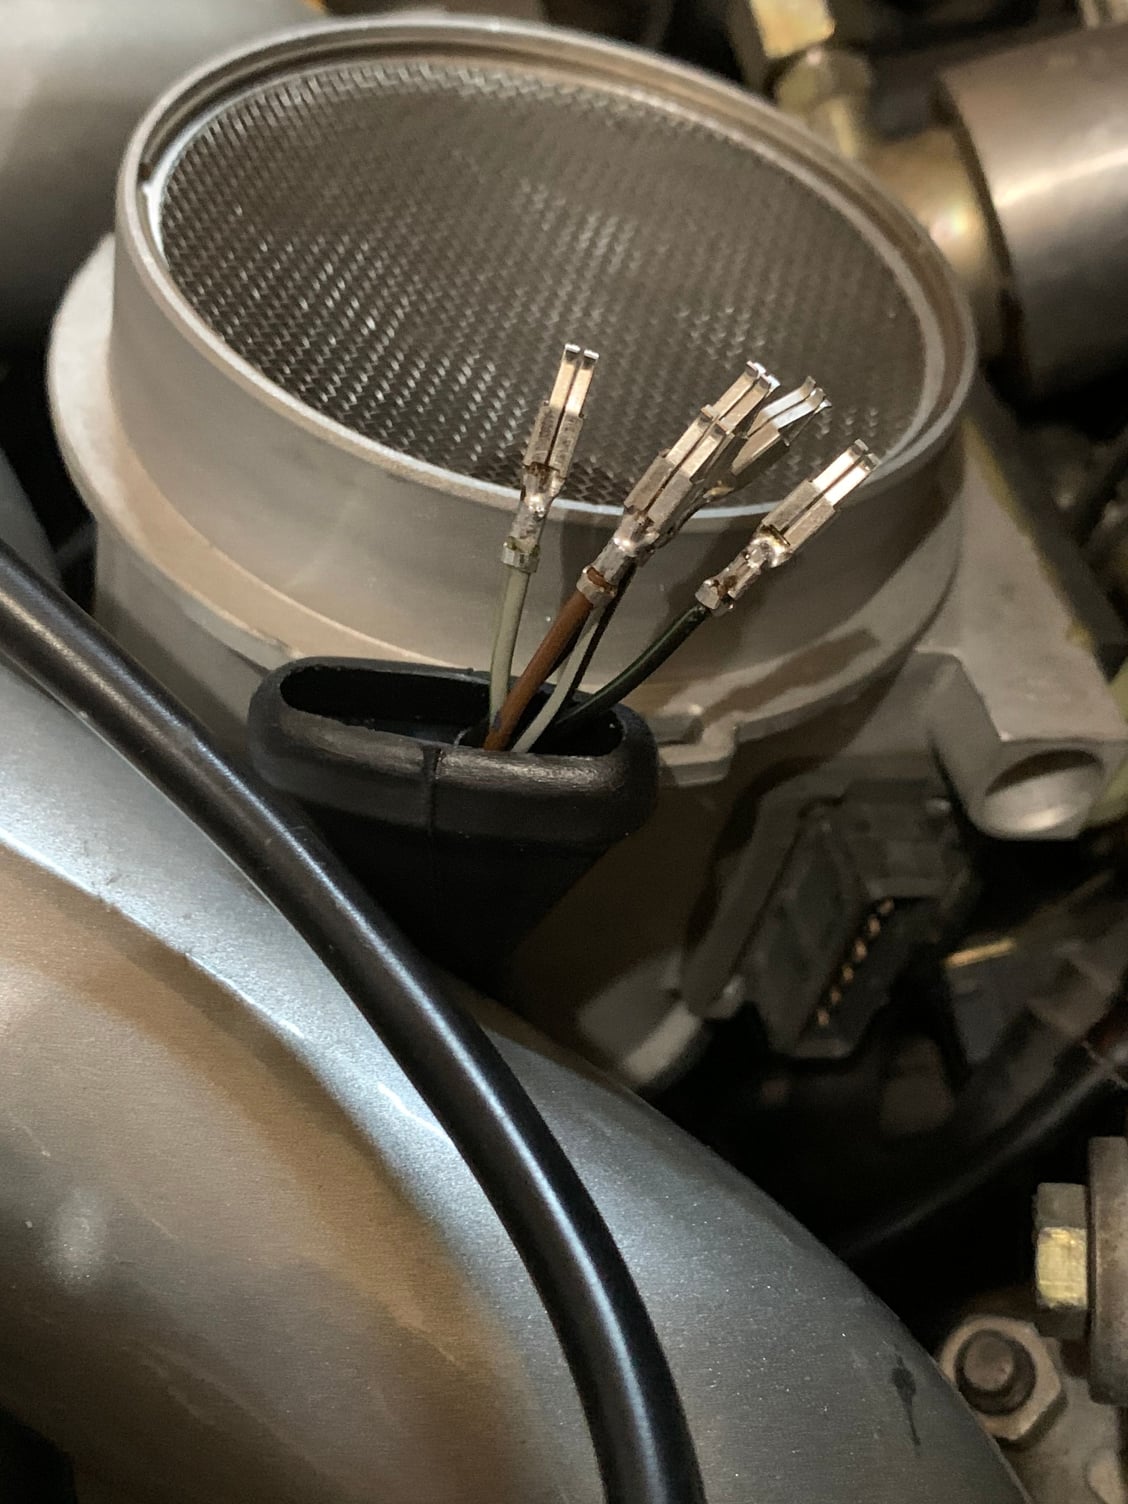
Next is my MAF connector as you can see below, seen better days.
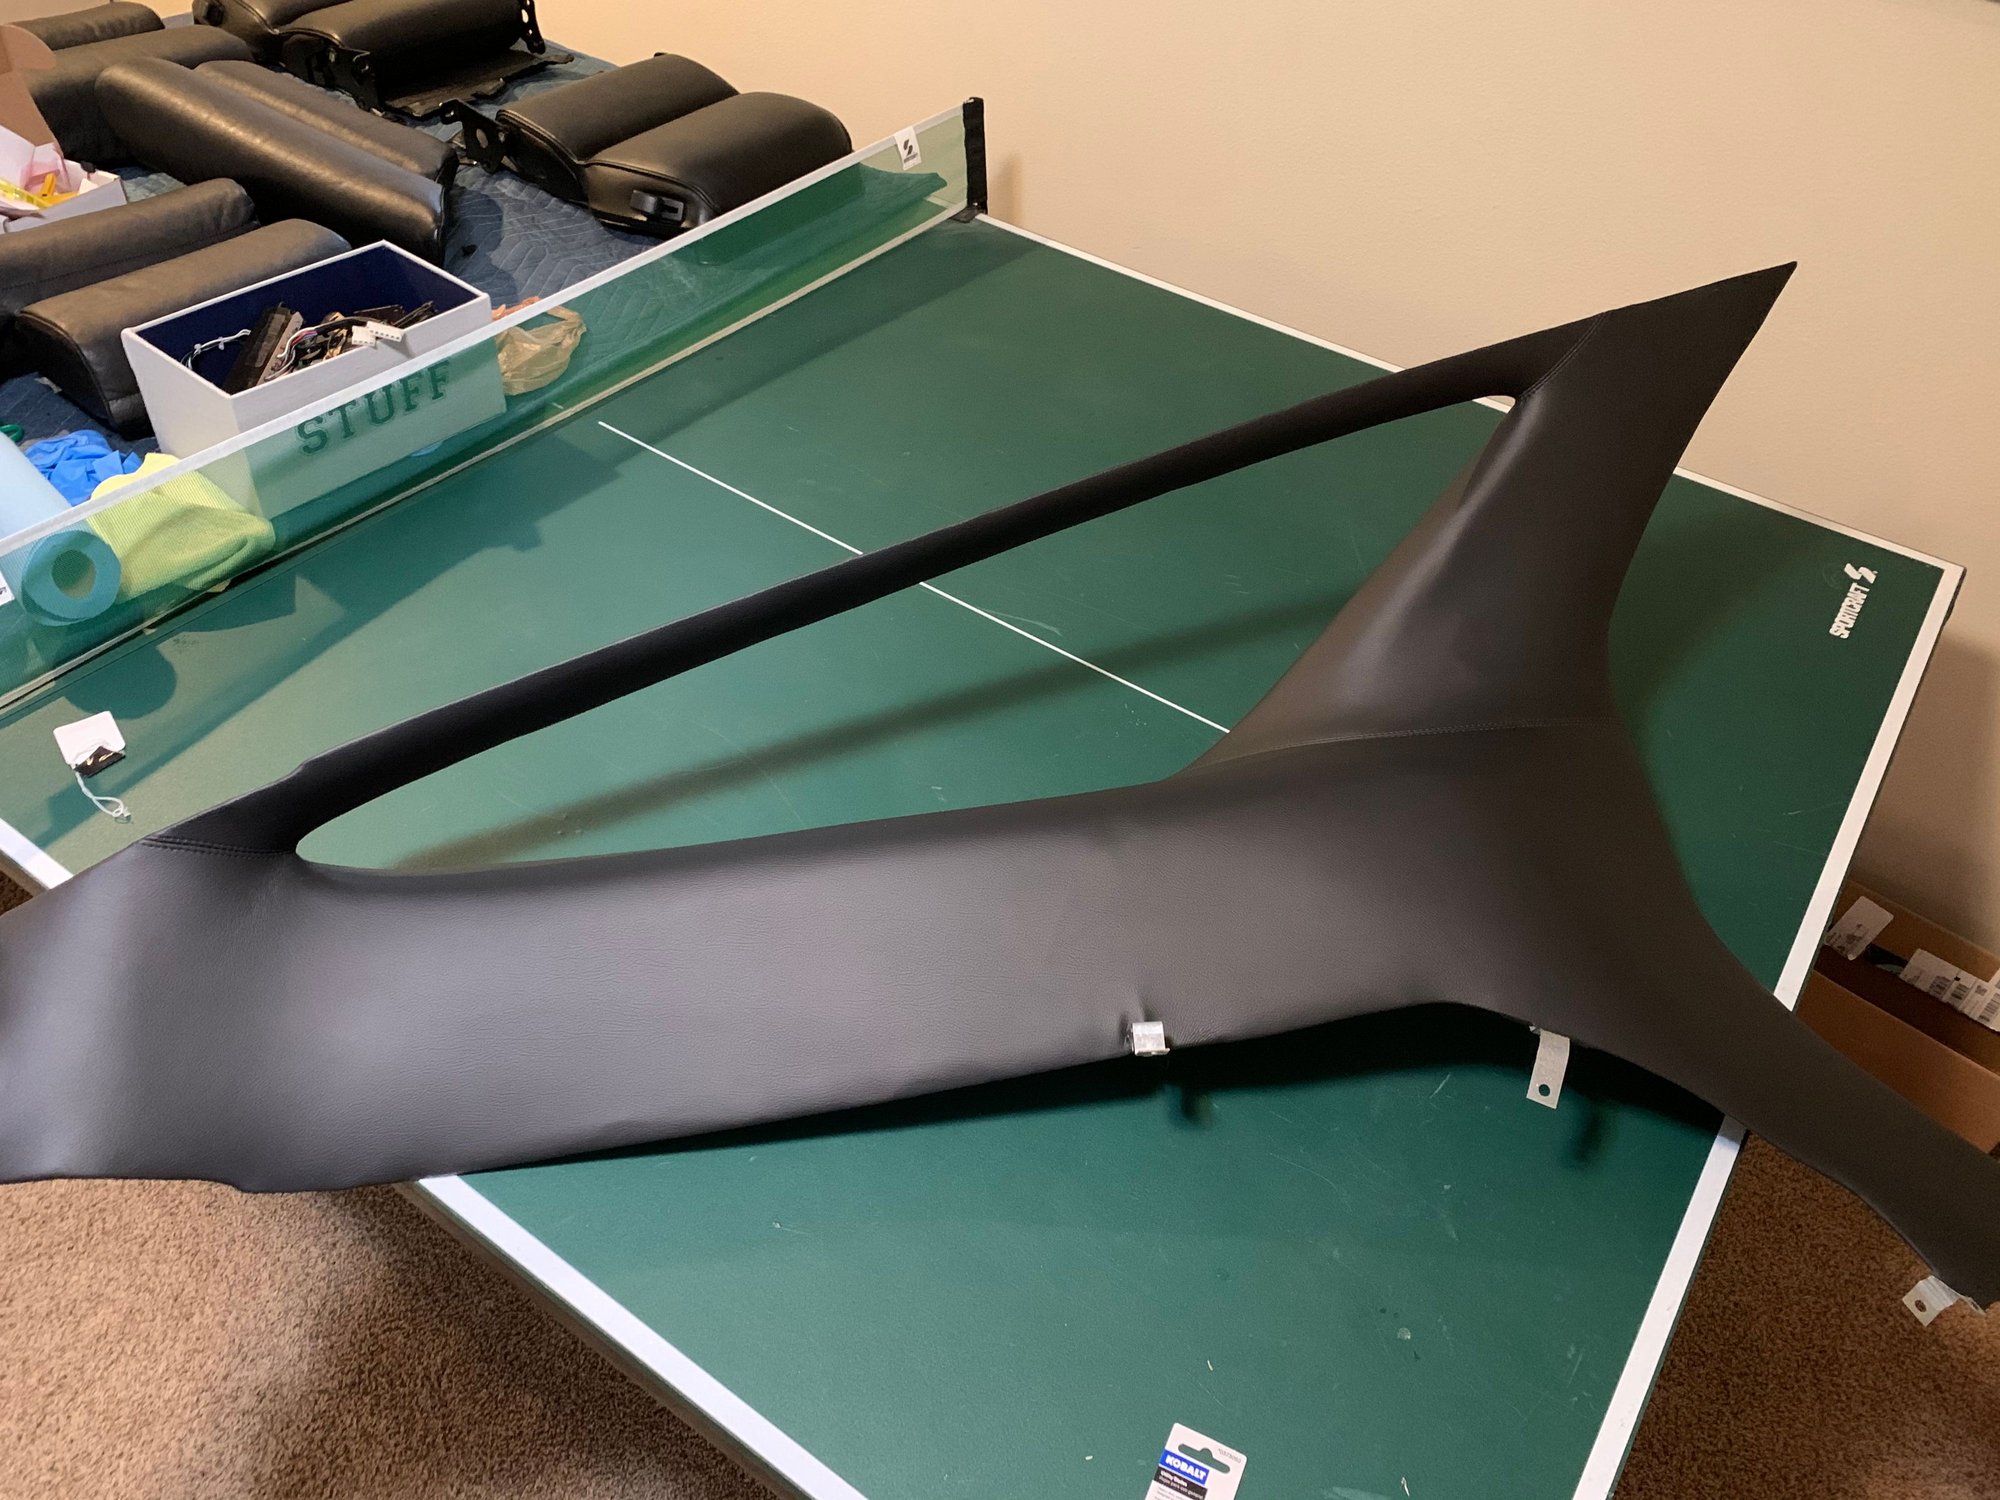
Dropped by the upholstery shop to see how they were progressing with my quarter panel and they said it was done, sweet! Cost me 2 hours of labor, bargain. No way could I have done it as well as they did.
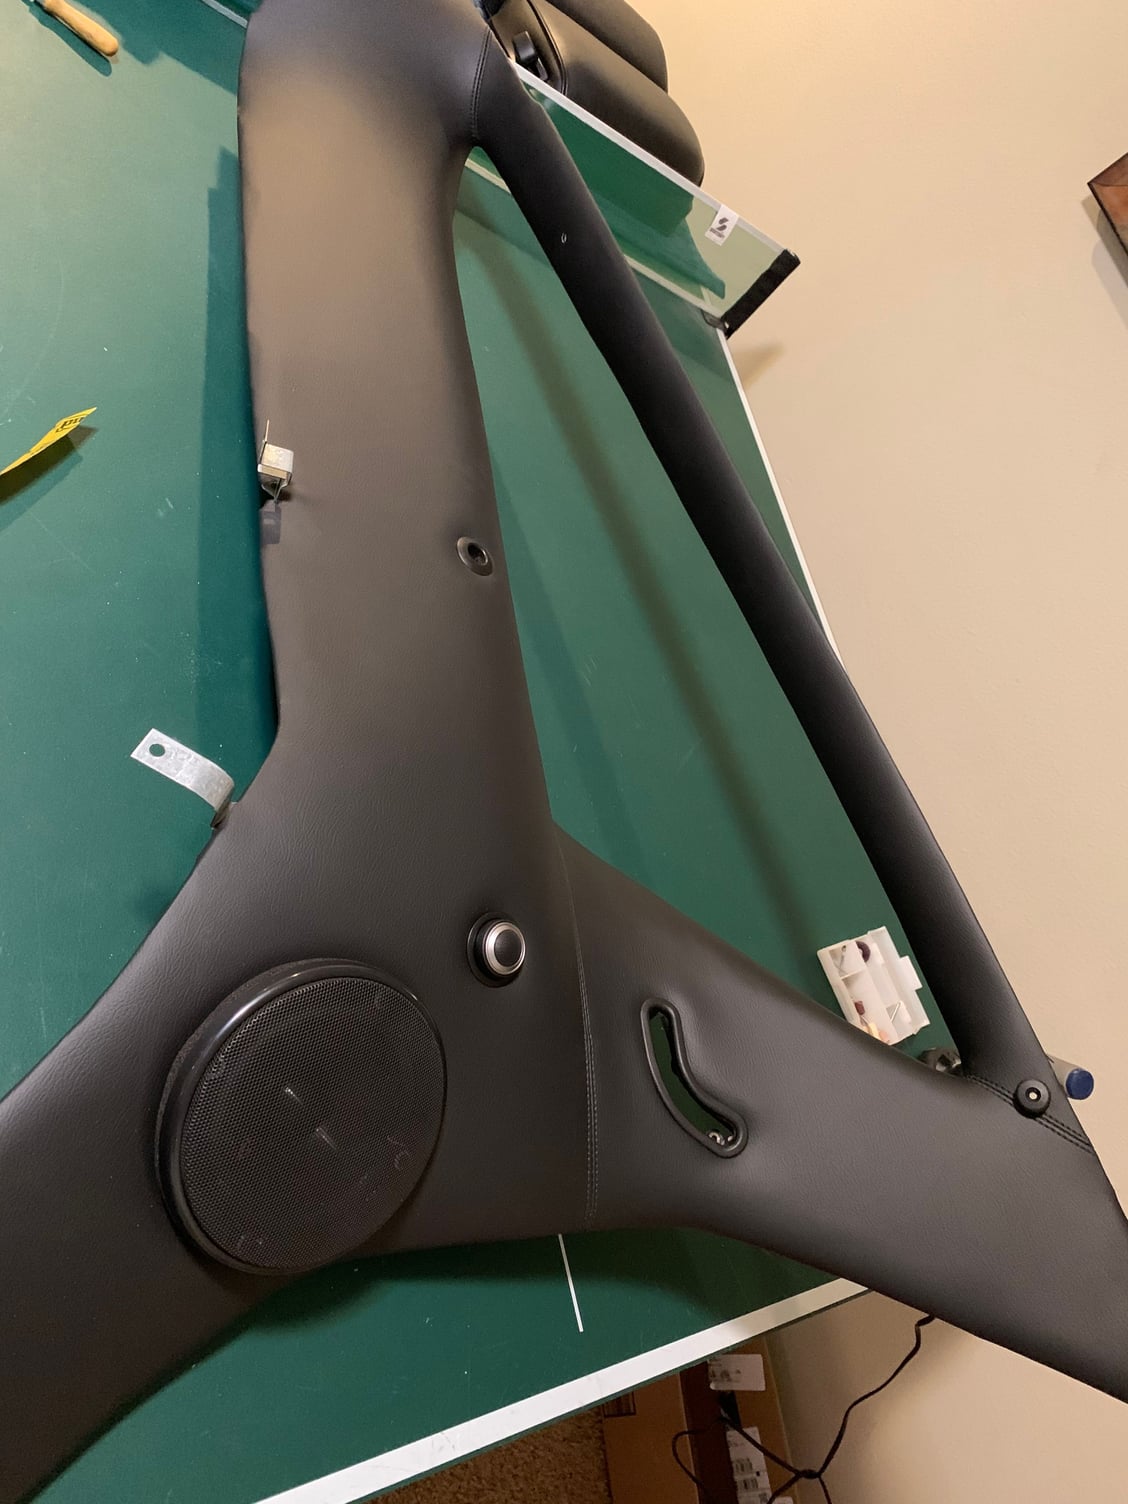
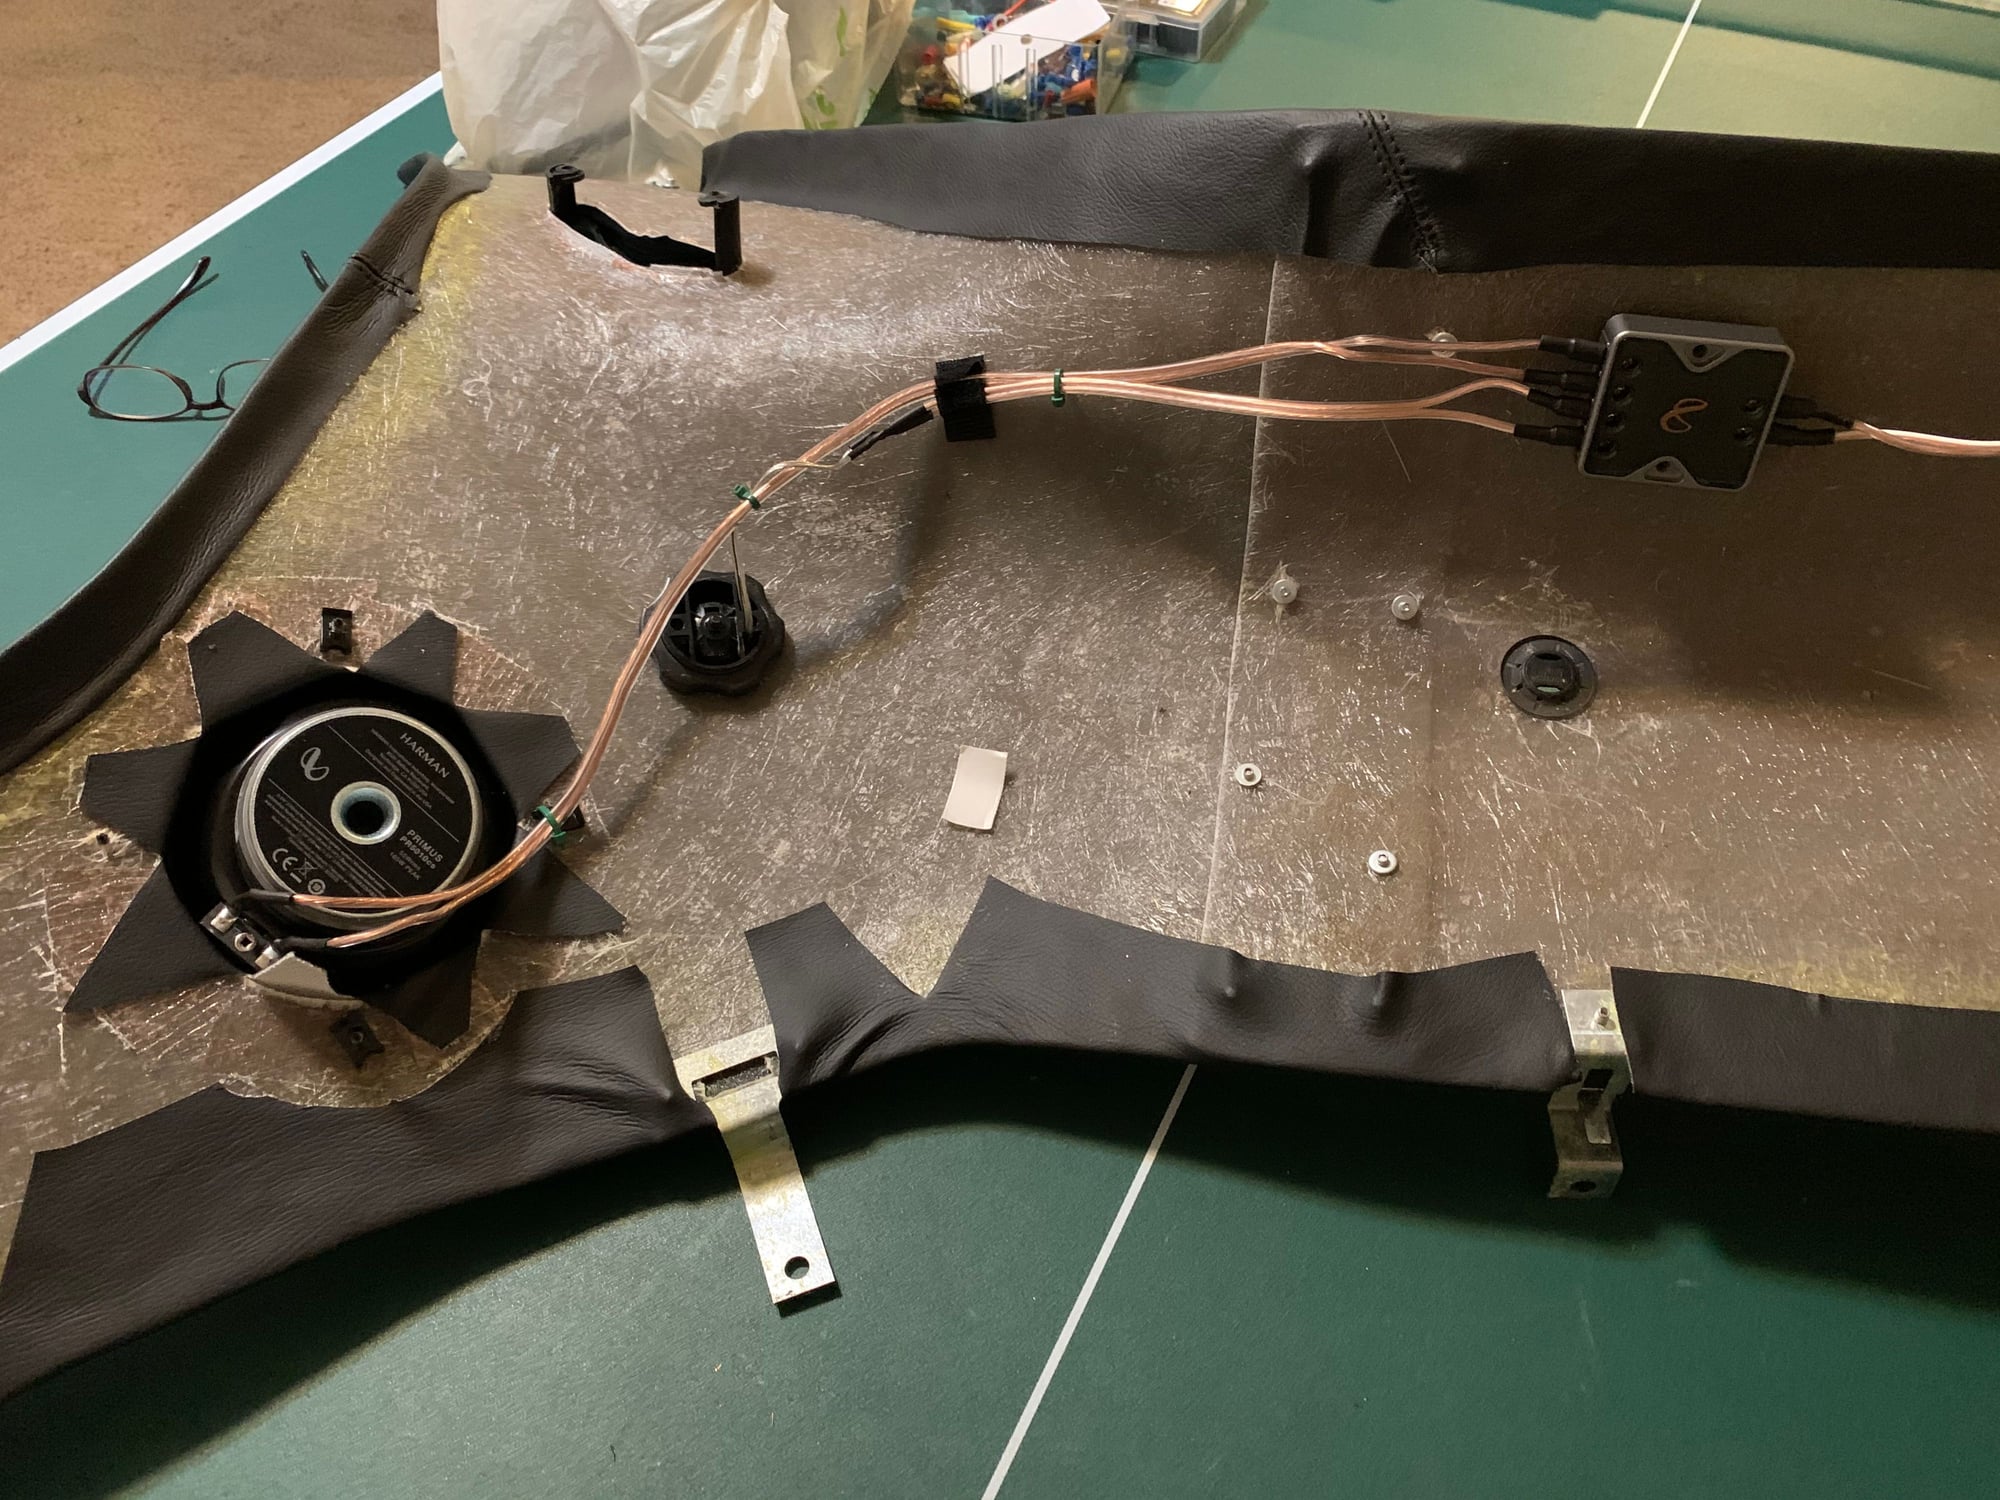
Cut holes and added the components, the silver washers in the speaker need to be painted black as does the silver part on the tweeter.
Wired up the speakers to the crossover, now ready to be installed.
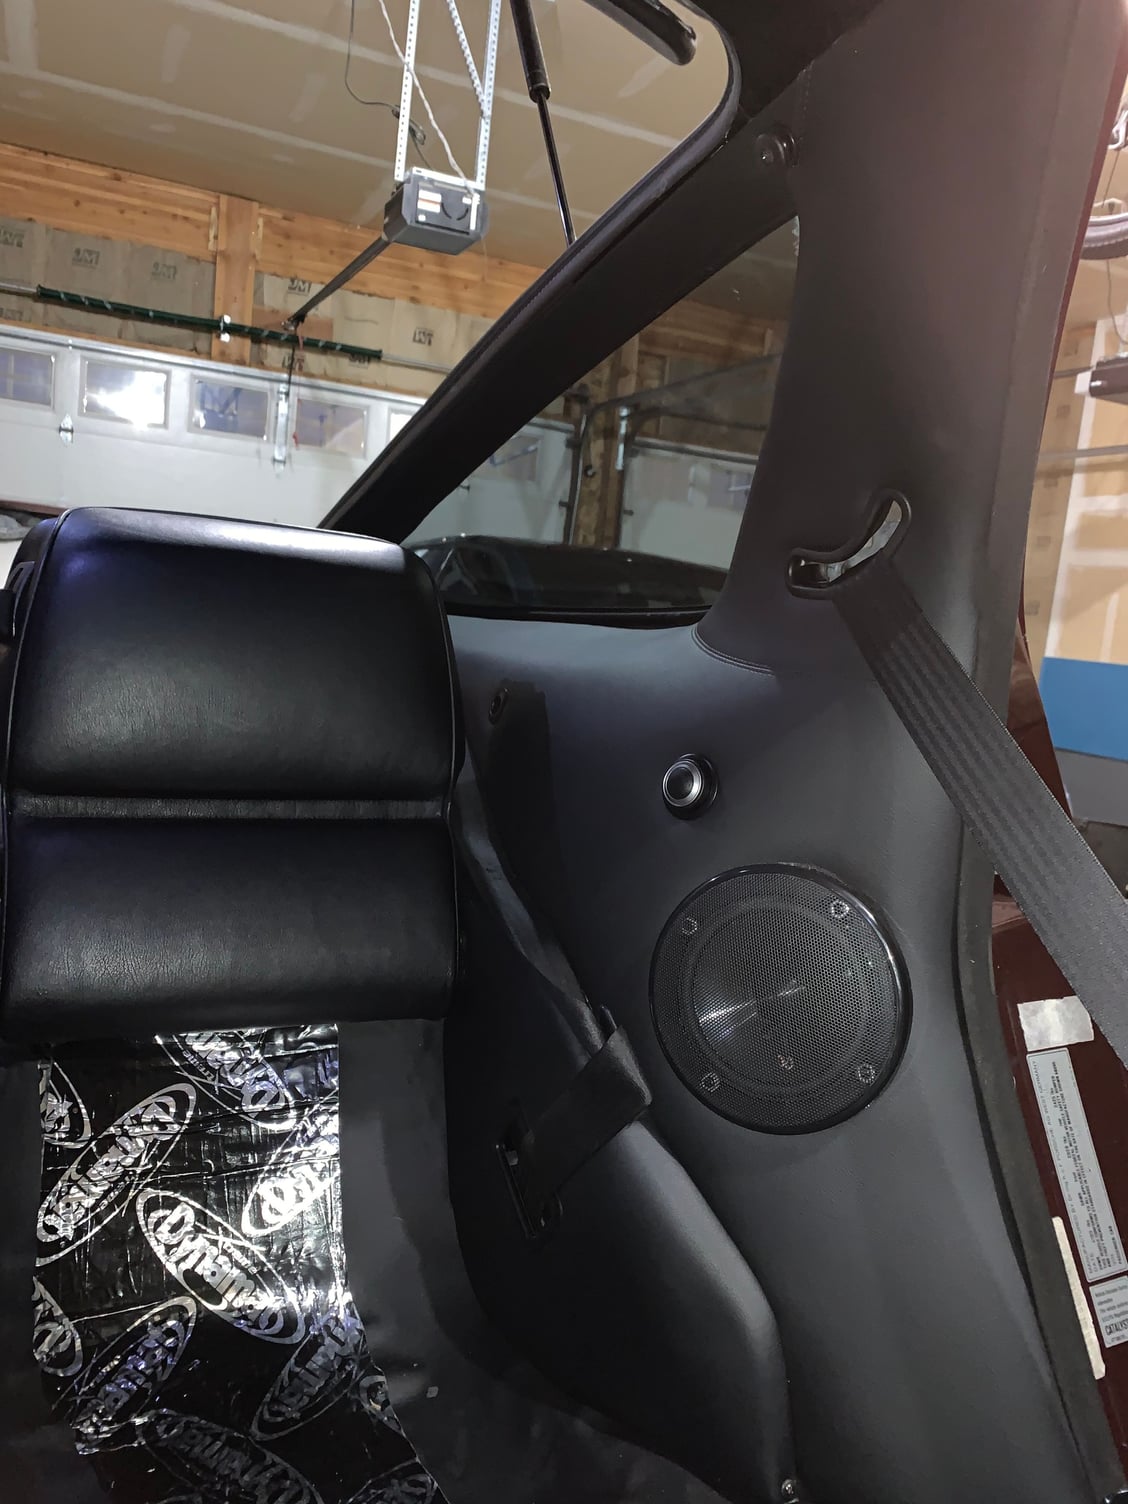
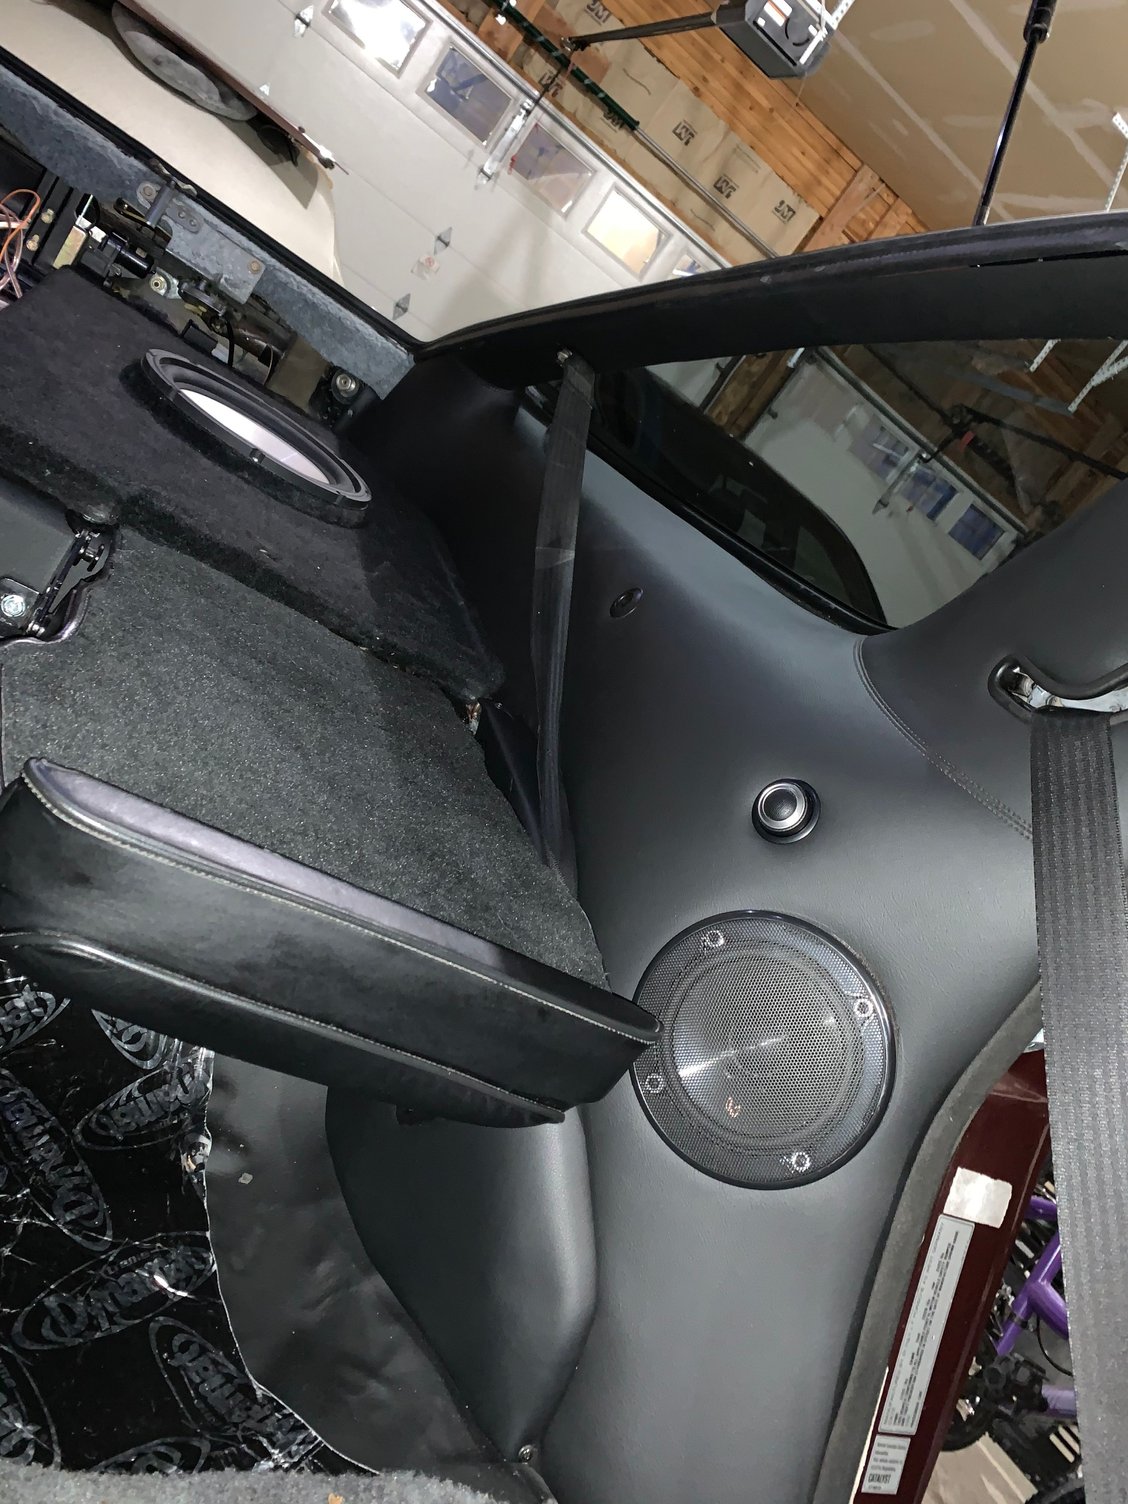
Took me a couple of hours getting it back in the car but took my time, felt like great progress after being apart so long.
Now to get the other quarter prepped and dropped off at the upholstery shop
When it come to getting wrinkles out and tightening leather, a heat gun can be your friend. A steam wand can be your enemy.
Steam works well on vinyl. On new leather not so much. It will clean it well but will also remove necessary softeners and whatever UV or protective coating is there.
Try a heat gun. Use it sparingly. Keep it moving. Heat surrounding areas also. Heating areas a few inches away to draw out wrinkles that are close by. Keep a wet towel handy in case things get too hot.
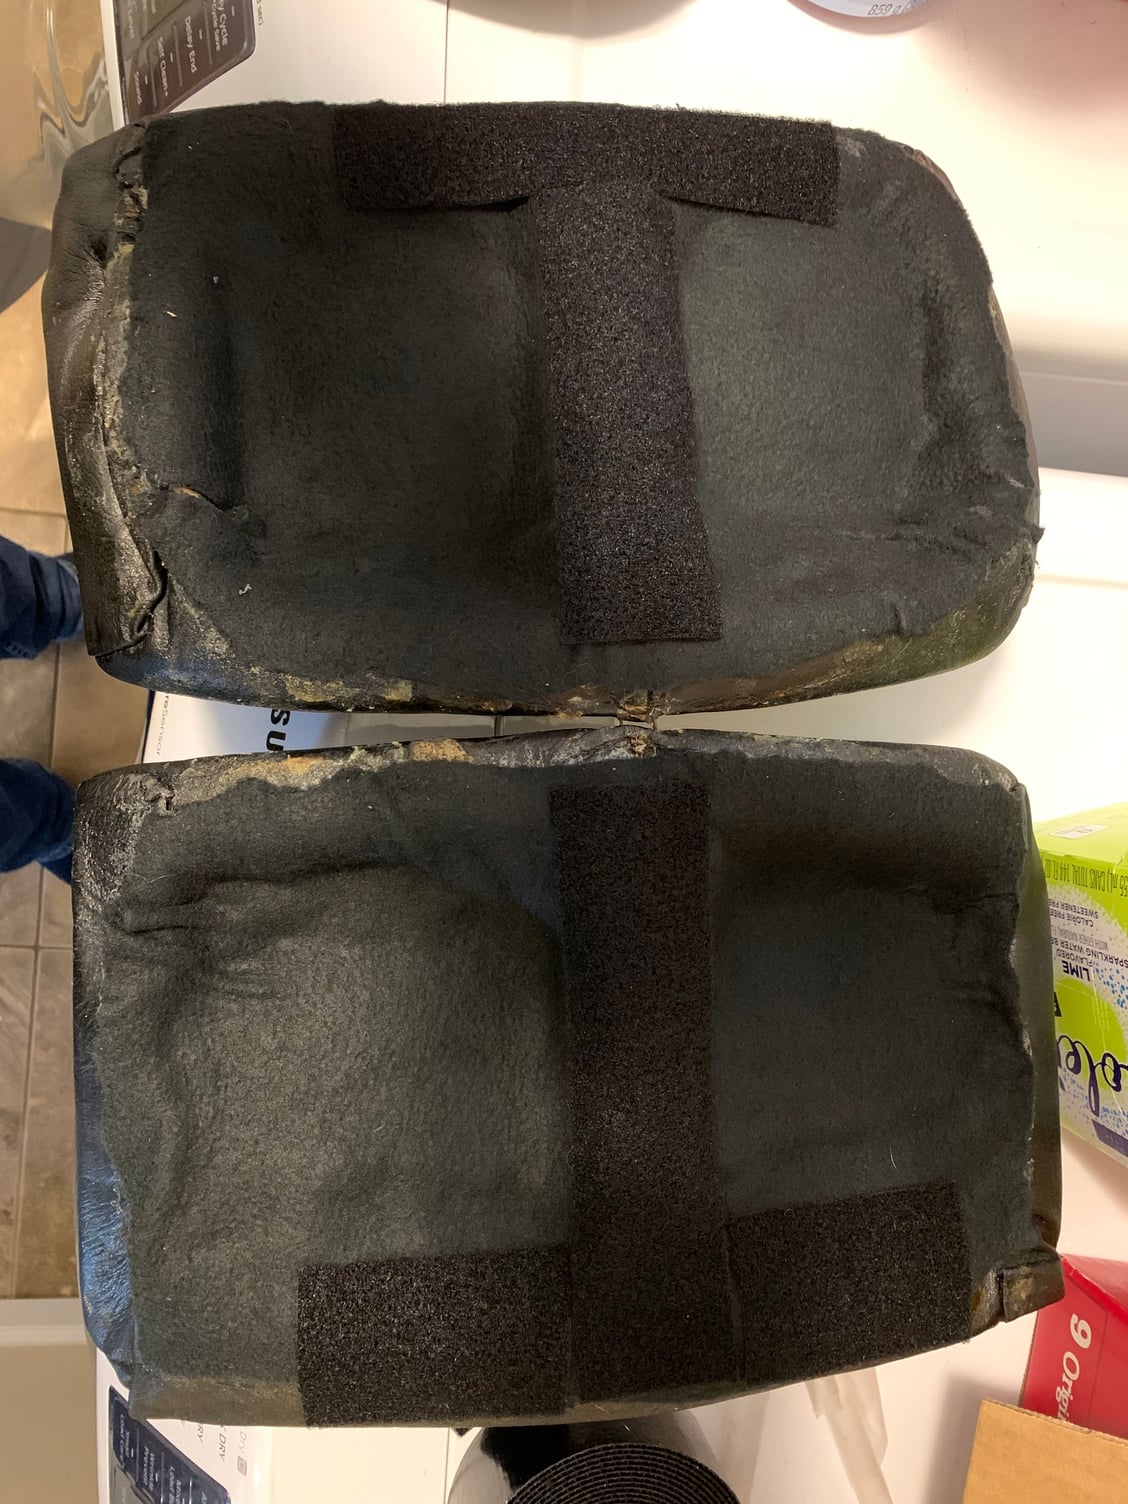
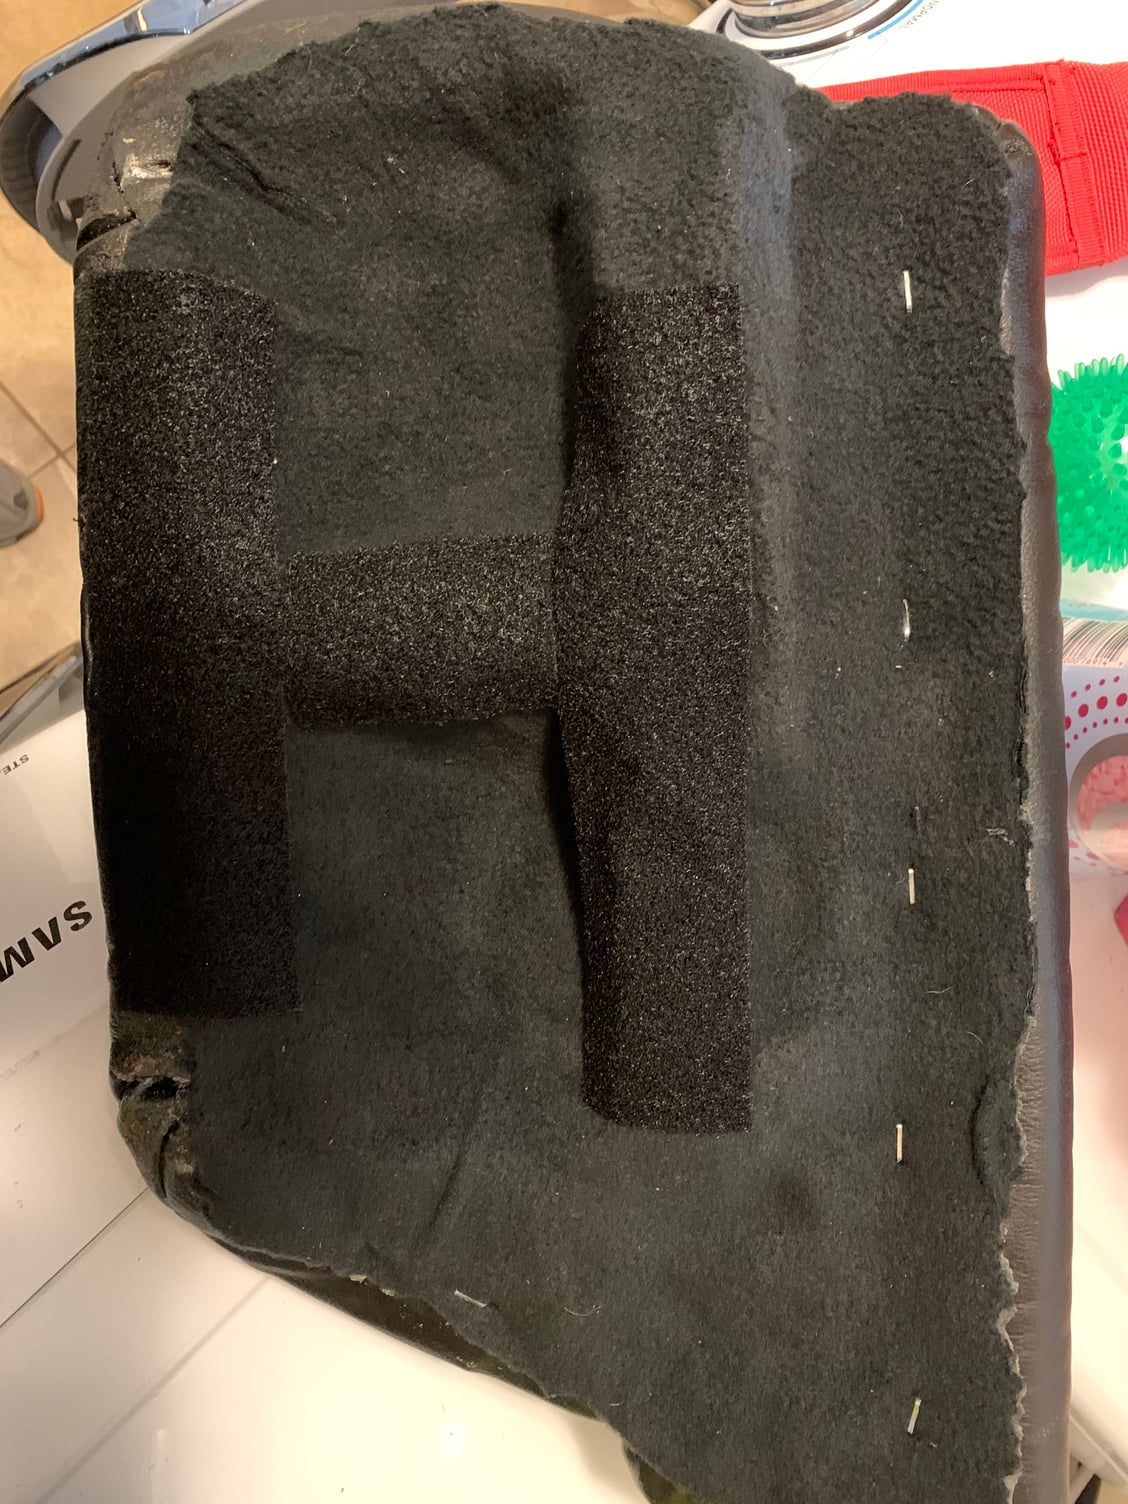
Last time I put the rear seat cushions in I glued I them just like the factory, never happy with that and I remember someone else posted in the past about using Velcro so decided to go that route.
First I covered the back of the cushion with some fabric that had a little give as the surface is far from smooth, glued and in some places stapled that in place.
I bought some sew on and adhesive backed velcro but in the end just used the adhesive backed as it stuck really well to the cushions.
It does not look that pretty but not like you are ever going to see it once in place, and now if they need to be removed for whatever reason not an issue.
Really impressive and inspiring work here. I've "retired" from racing and thinking of getting into a 928 project. I'm great with mechanicals, decent with electrical, but don't want to touch body, paint, or upholstery. I simply love the Pasha fabric on some interiors. If I find a good 928 candidate and had budget for interior, what's a ballpark cost to have a quality shop to reupholster? I figure I'd drop the pieces off, not the car of course, and do all the disassembly and reassembly myself.


 04-08-2019 | 01:31 PM