When you click on links to various merchants on this site and make a purchase, this can result in this site earning a commission. Affiliate programs and affiliations include, but are not limited to, the eBay Partner Network.
How quickly time passes, a quick refresh. Having bought the car in 2001 with a burgundy interior I thought I could live with it for a while I gave up in 2002 and changed it and although I have been pretty content over the years some of it was never as good as I would have liked and there are also more options now on part availability now so I have started the process of revamping.
Another piece of history relevant to the interior, before I bought it I spoke to the guy who the previous owner had got the car from and he bought it after the soon to be x-wife had left it abandoned in the woods with the windows smashed.
I have also never touched the air con except to add R134 every couple of years, there is a leak at the rear compressor seal and also in the rear A/C unit so while I am at it .....
OK pictures from 2002.
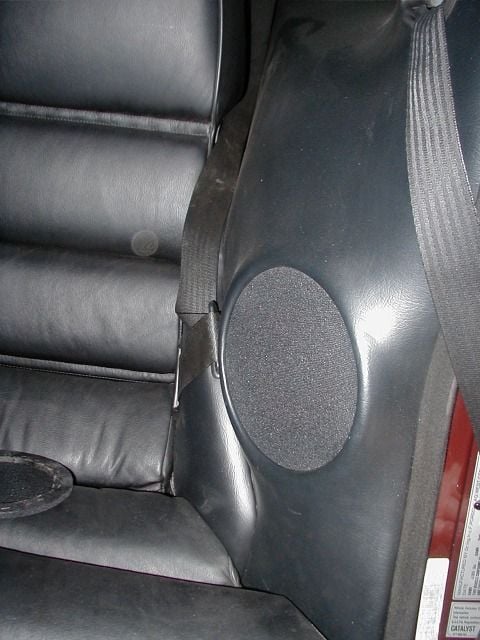
The rear quarters were repaired by Rob in Seattle who did stereo installs at the time, they had some damage probably from being left to the elements in the past but even after being repaired the shape was not quite right.
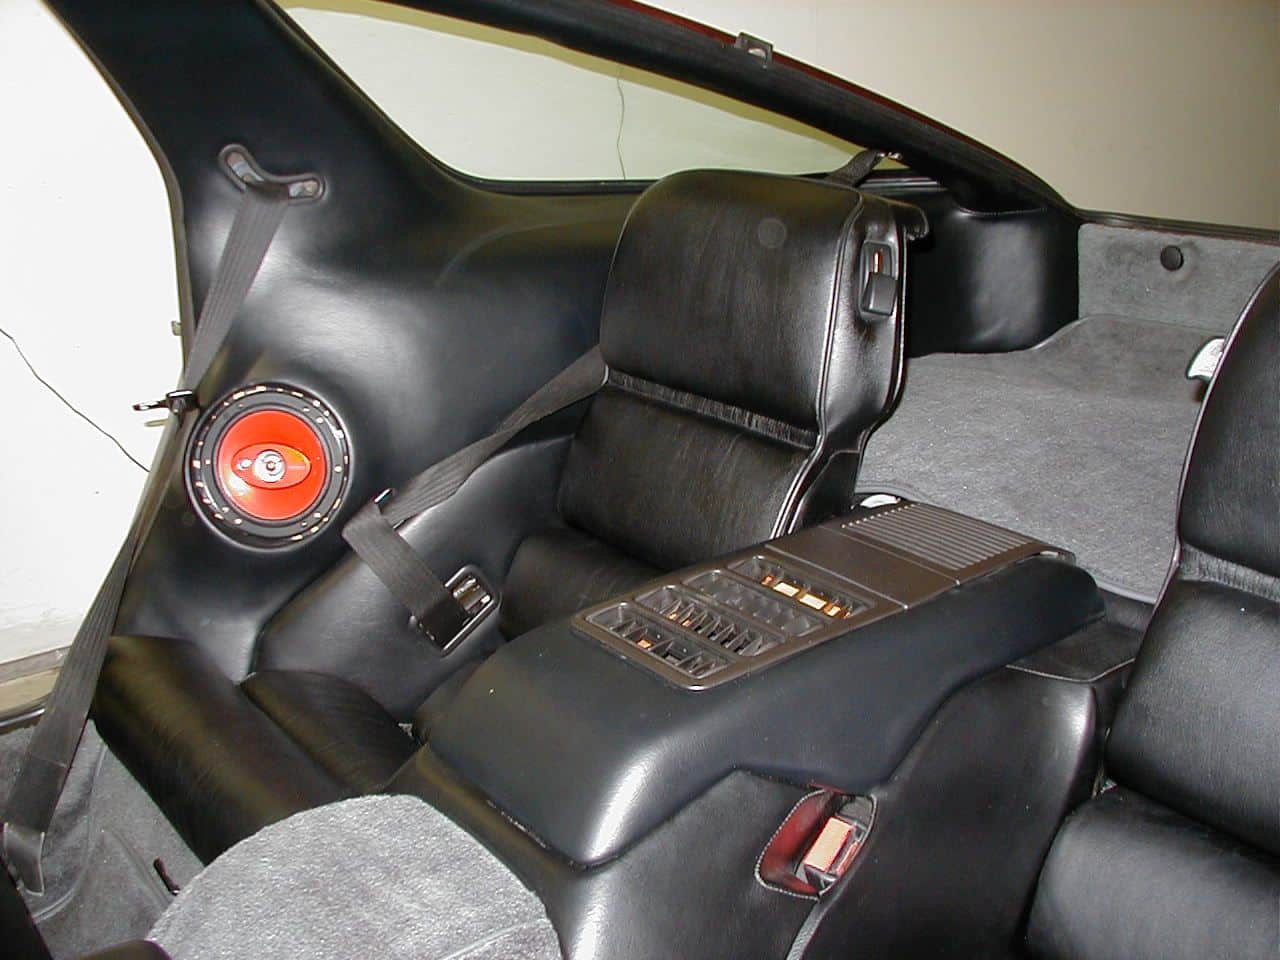
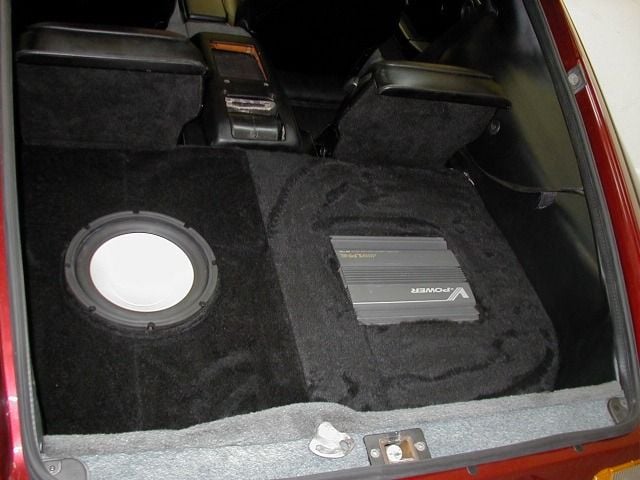
Then in 2005 I added the amp and subwoofer.
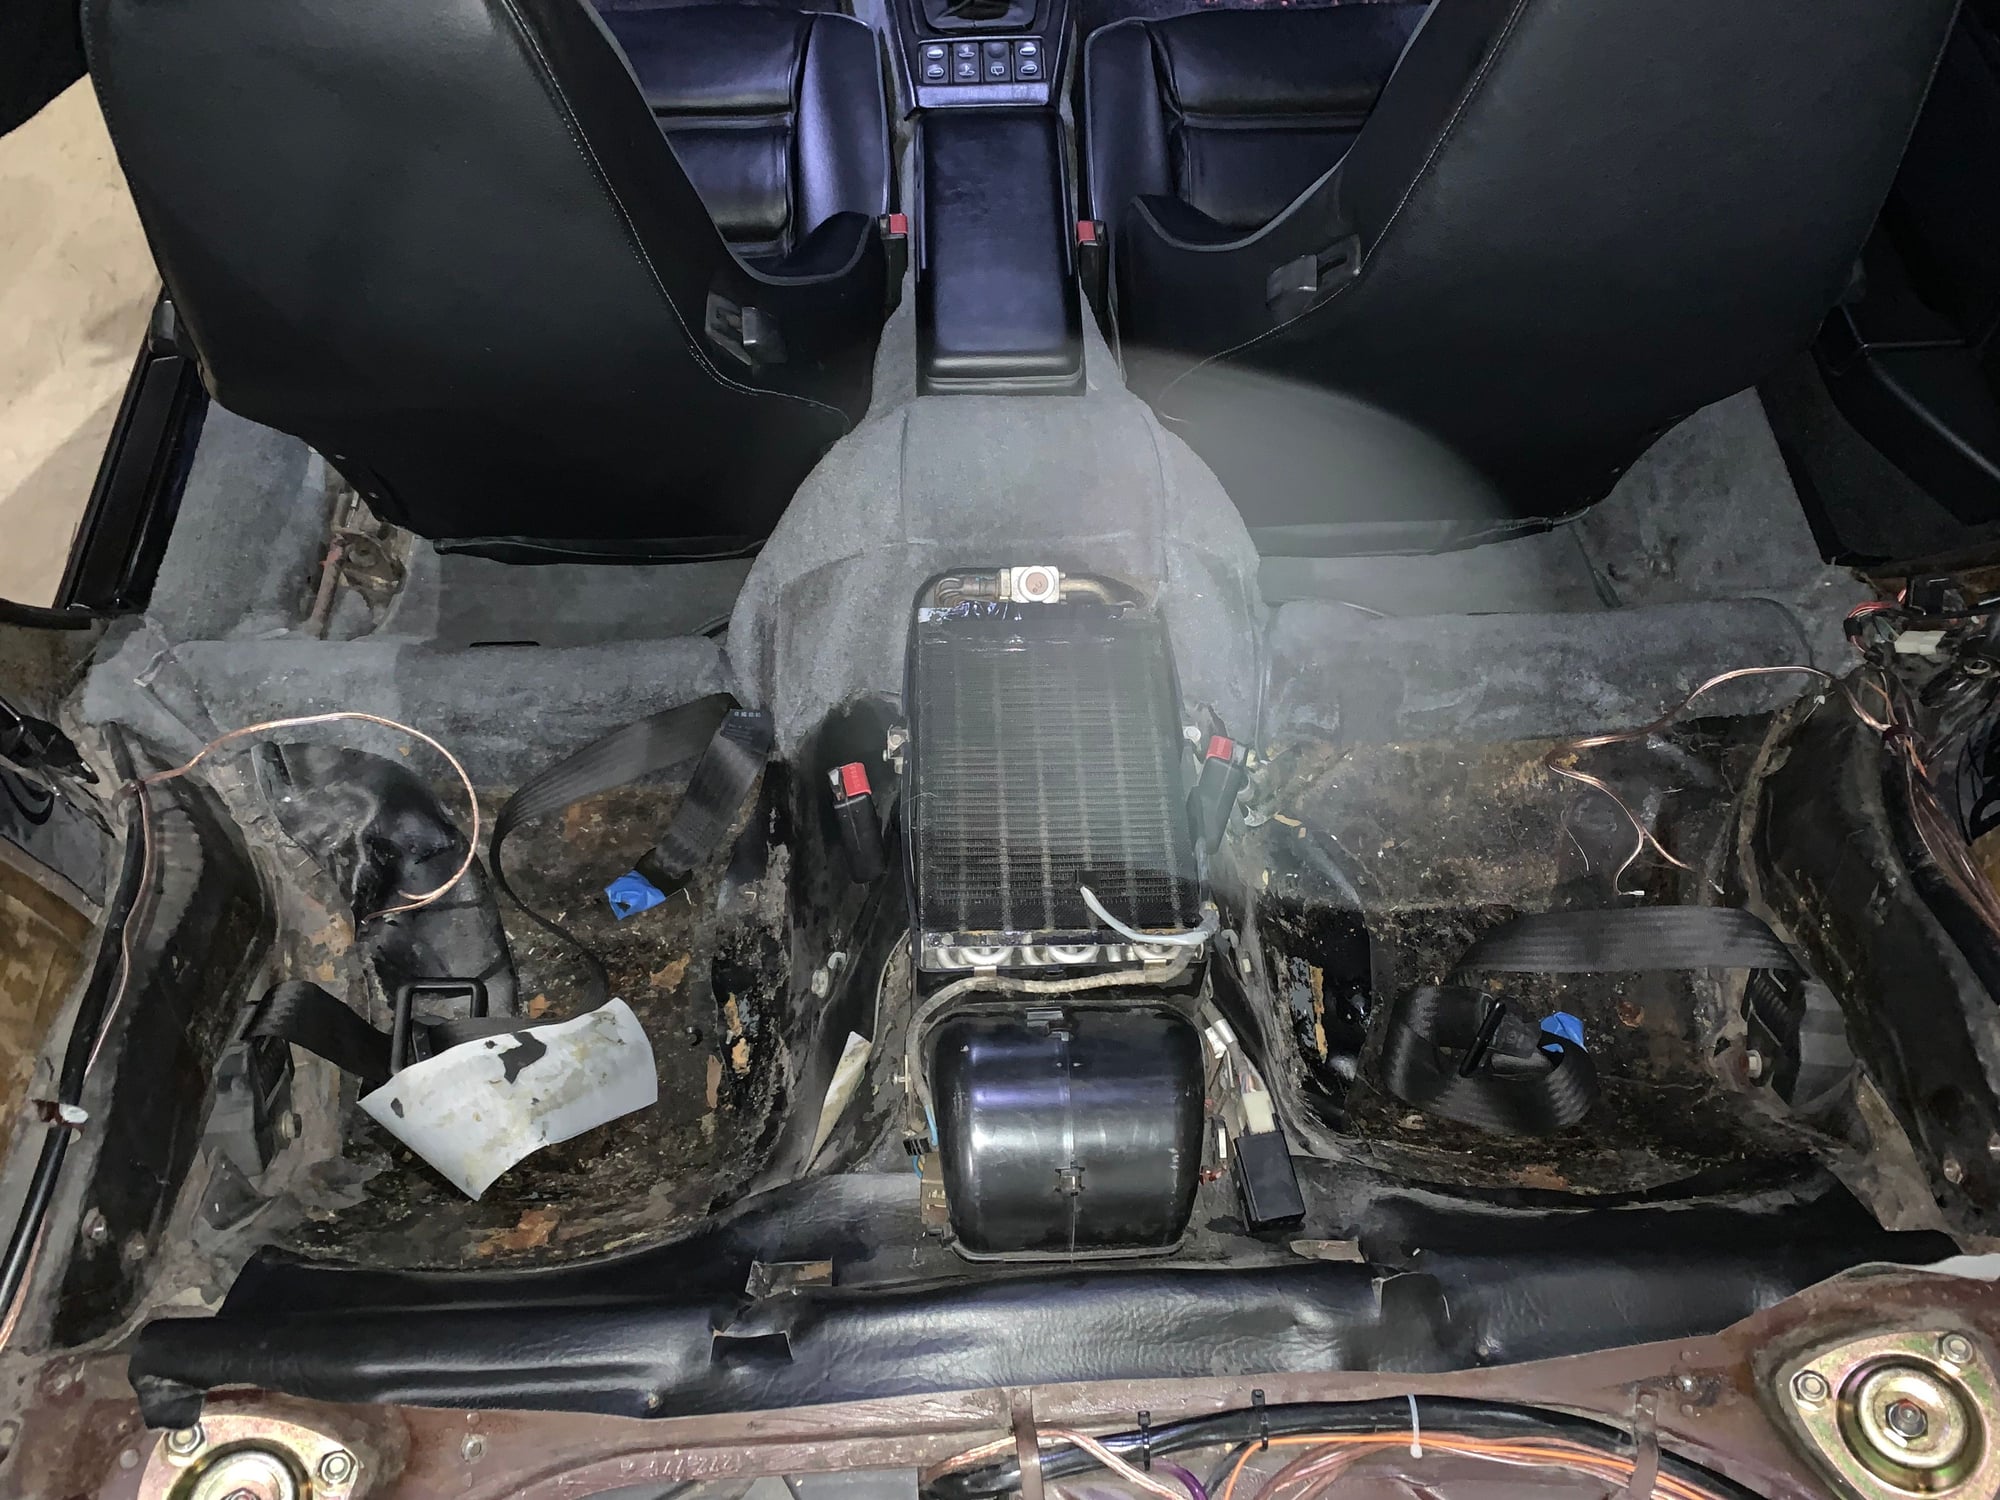
OK that is the history, I ordered rear quarter panels with a vinyl recovering kit from Rob Budd, should be here next month sometime. I removed the rear quarters, seats and A/C console cover.
OK that rear foam under the rear seats has got to go, well past its sell by date, while I am at it out comes the A/C unit also.
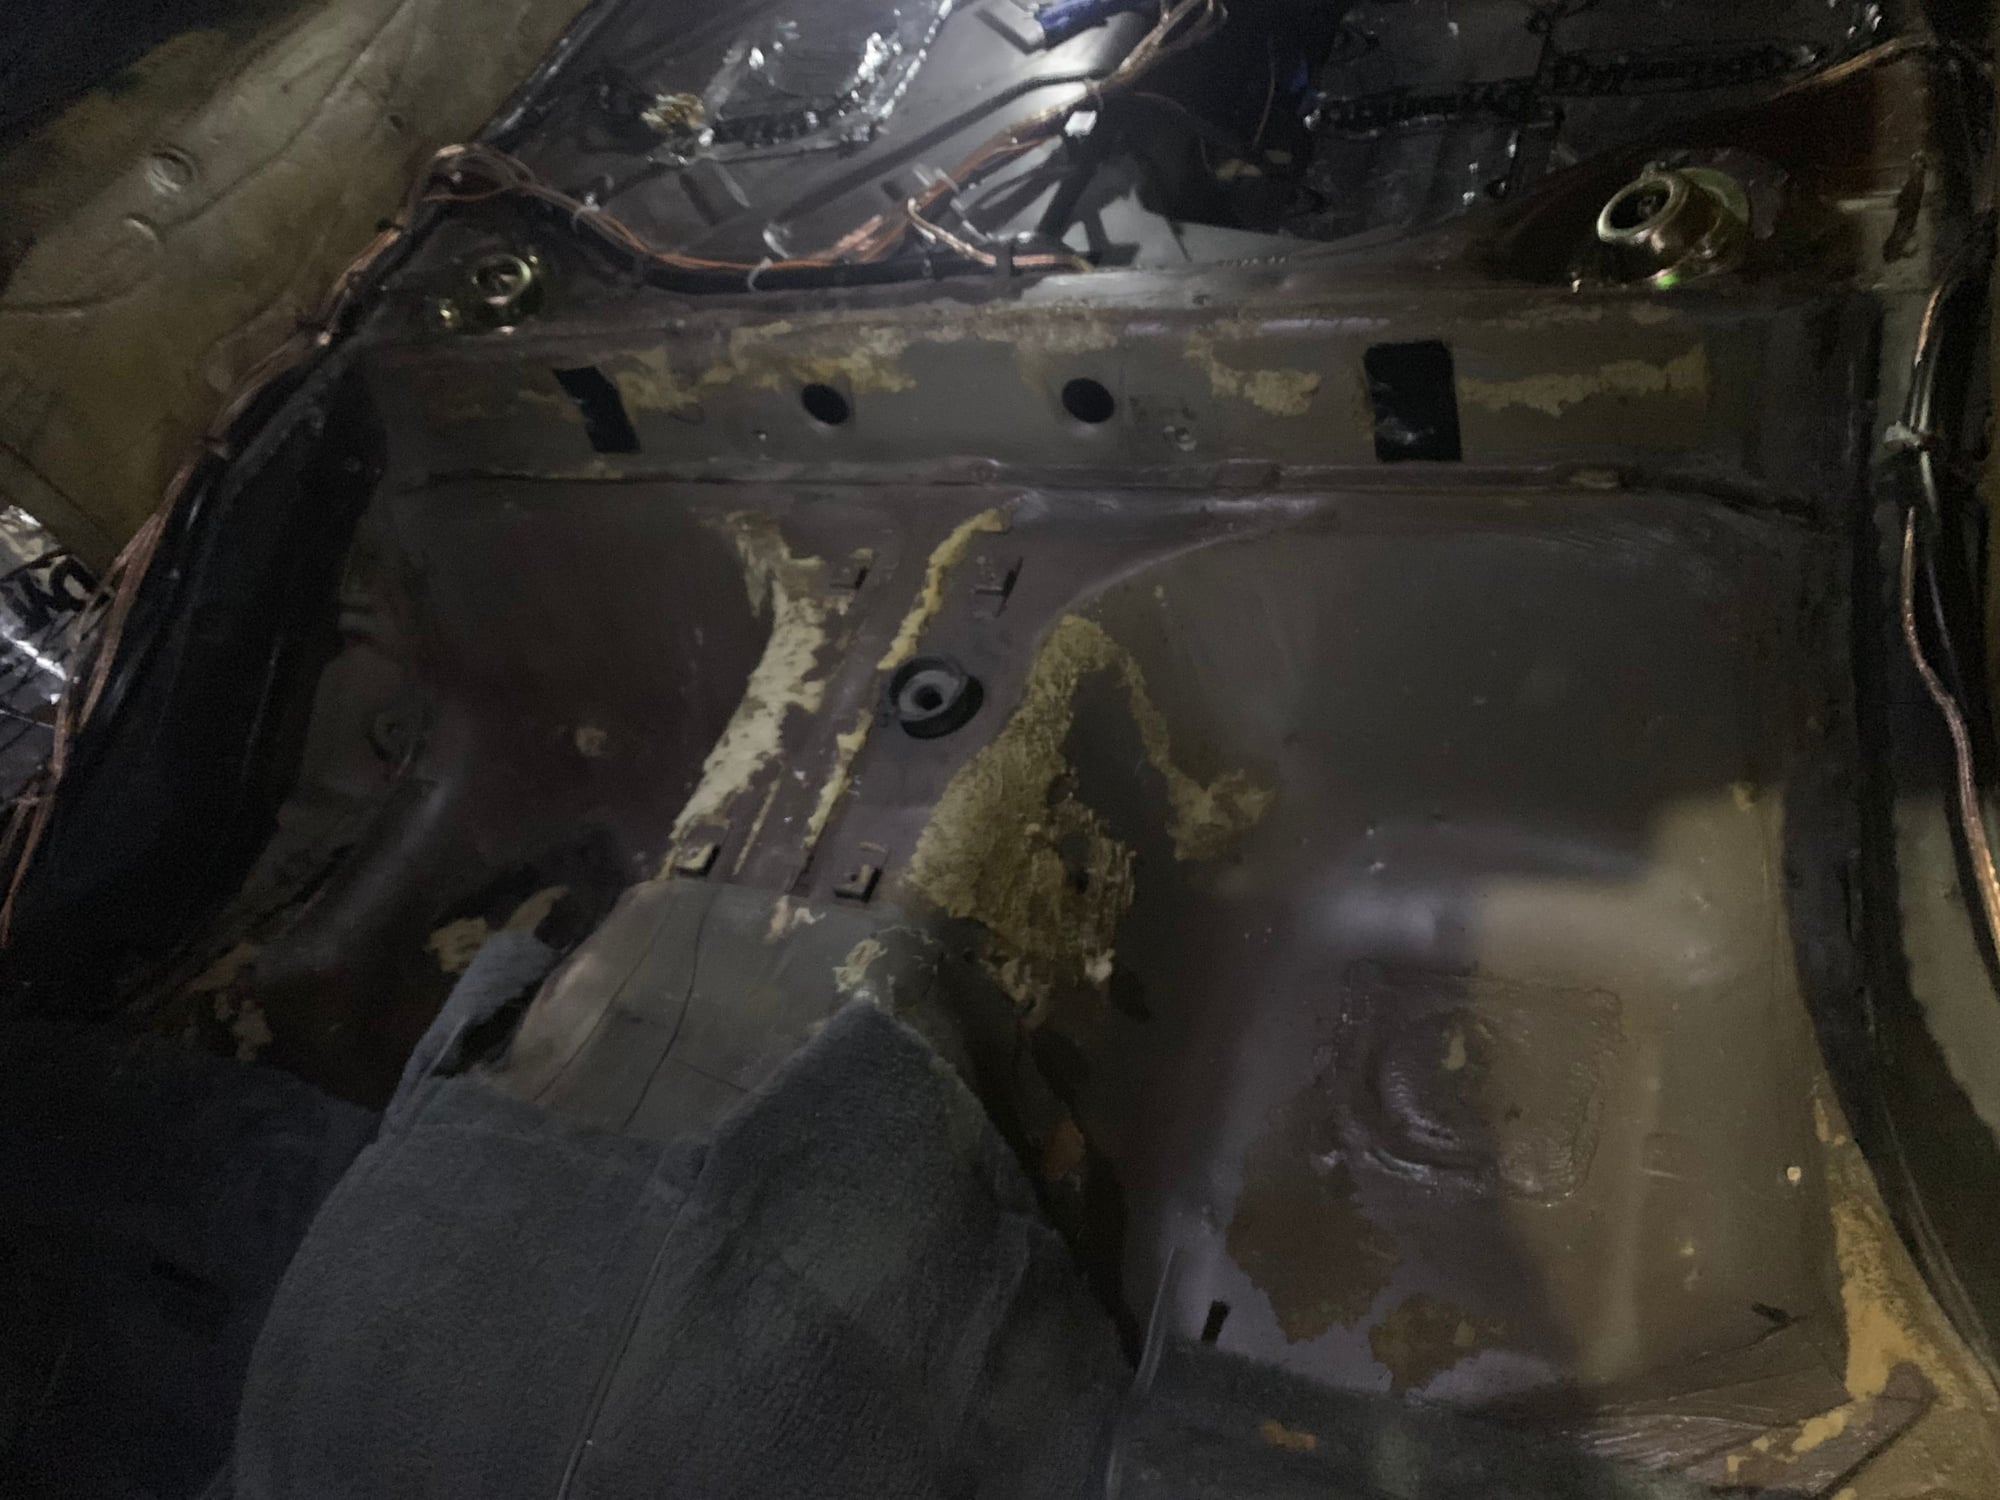
Much better!
Apologies for the poor lighting but starting to look much better.
So the dismantling is going pretty well, still need to removed the foam under the rear quarter area but I have time to do that and not the greatest of tasks.
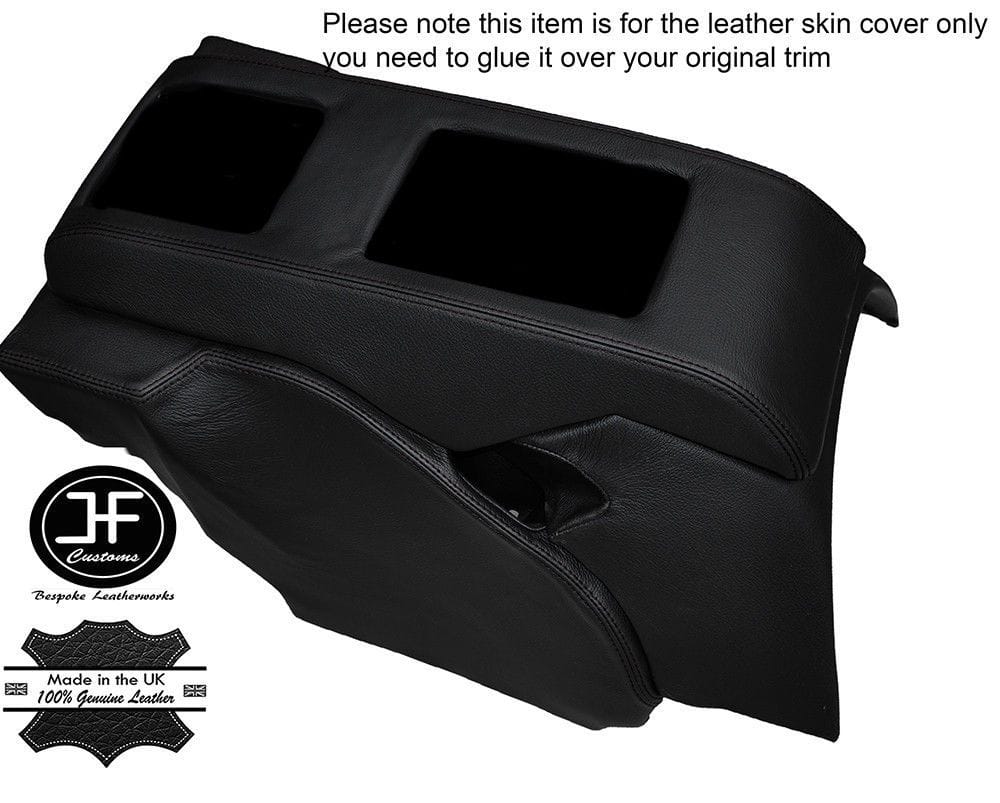
Quite a few of the black interior parts came from a wrecked GT in Canada and it had definitely seen some sun, the rear seats are being treated, wrapped in cling film and left over various heater ducts in the house. this seems to be working but it is slow progress. The A/C console is a touch fragile so I thought i should fix that and while I was at it ordered a leather covering kit from JF Customs in the UK, they have an interesting selection of stuff but I liked this kit as it is textured and has the stitched seam on the top cover.
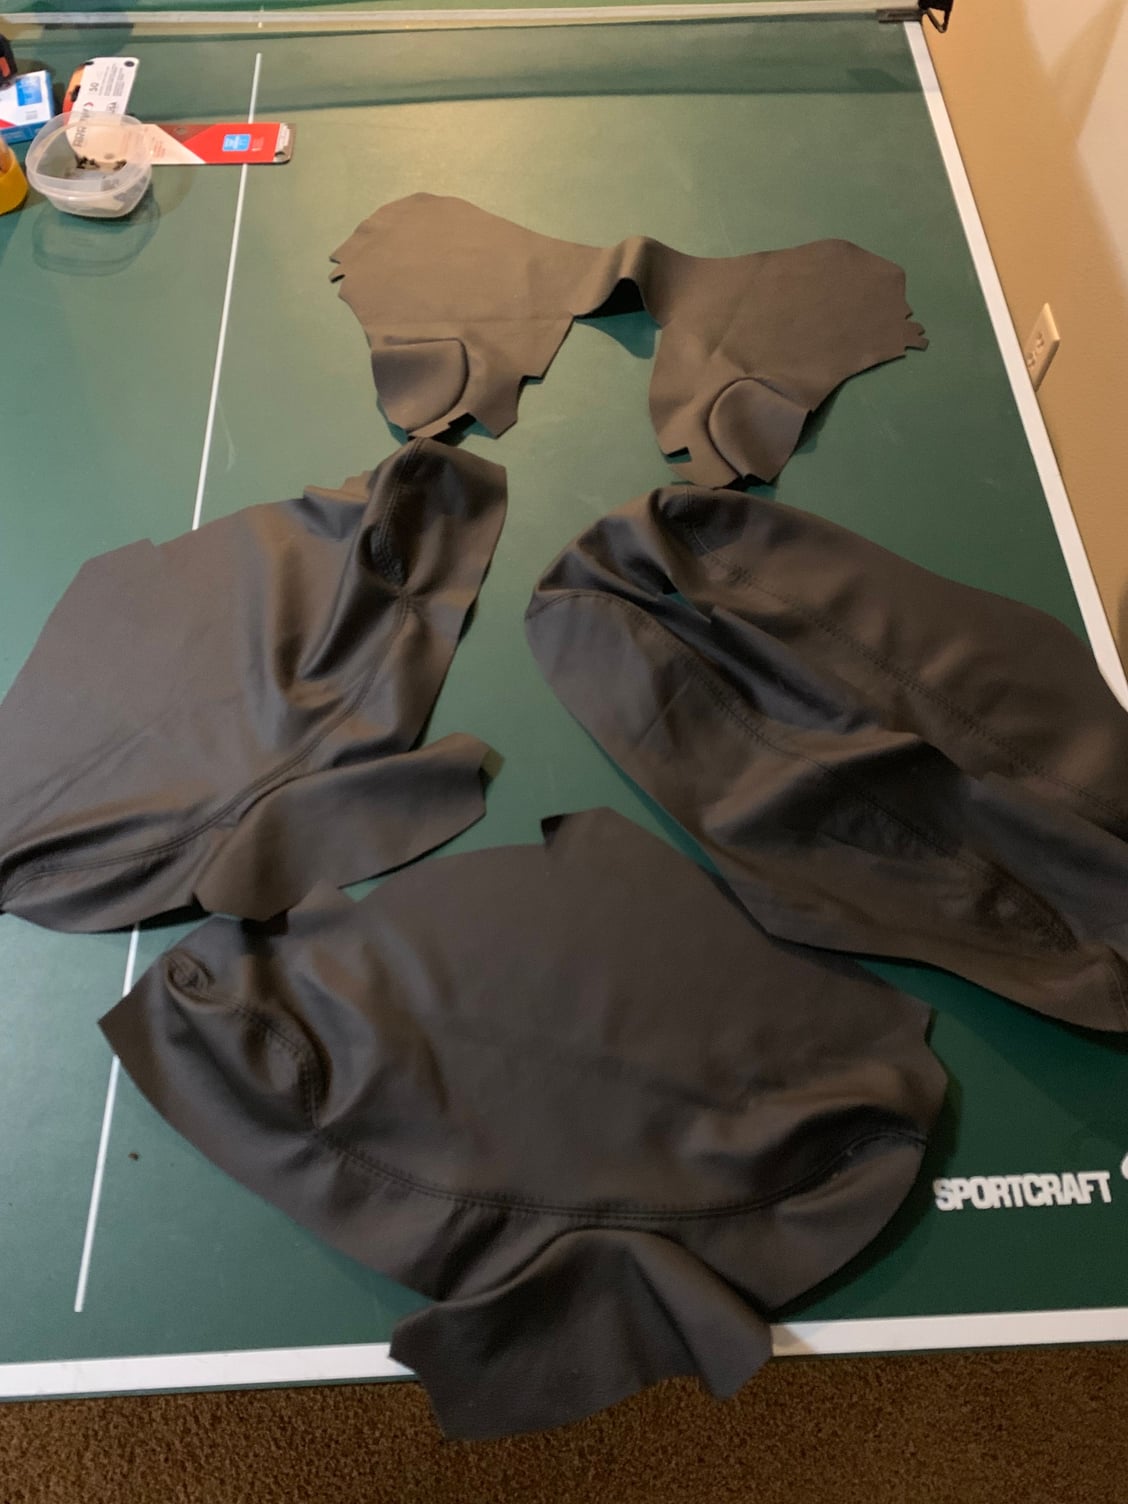
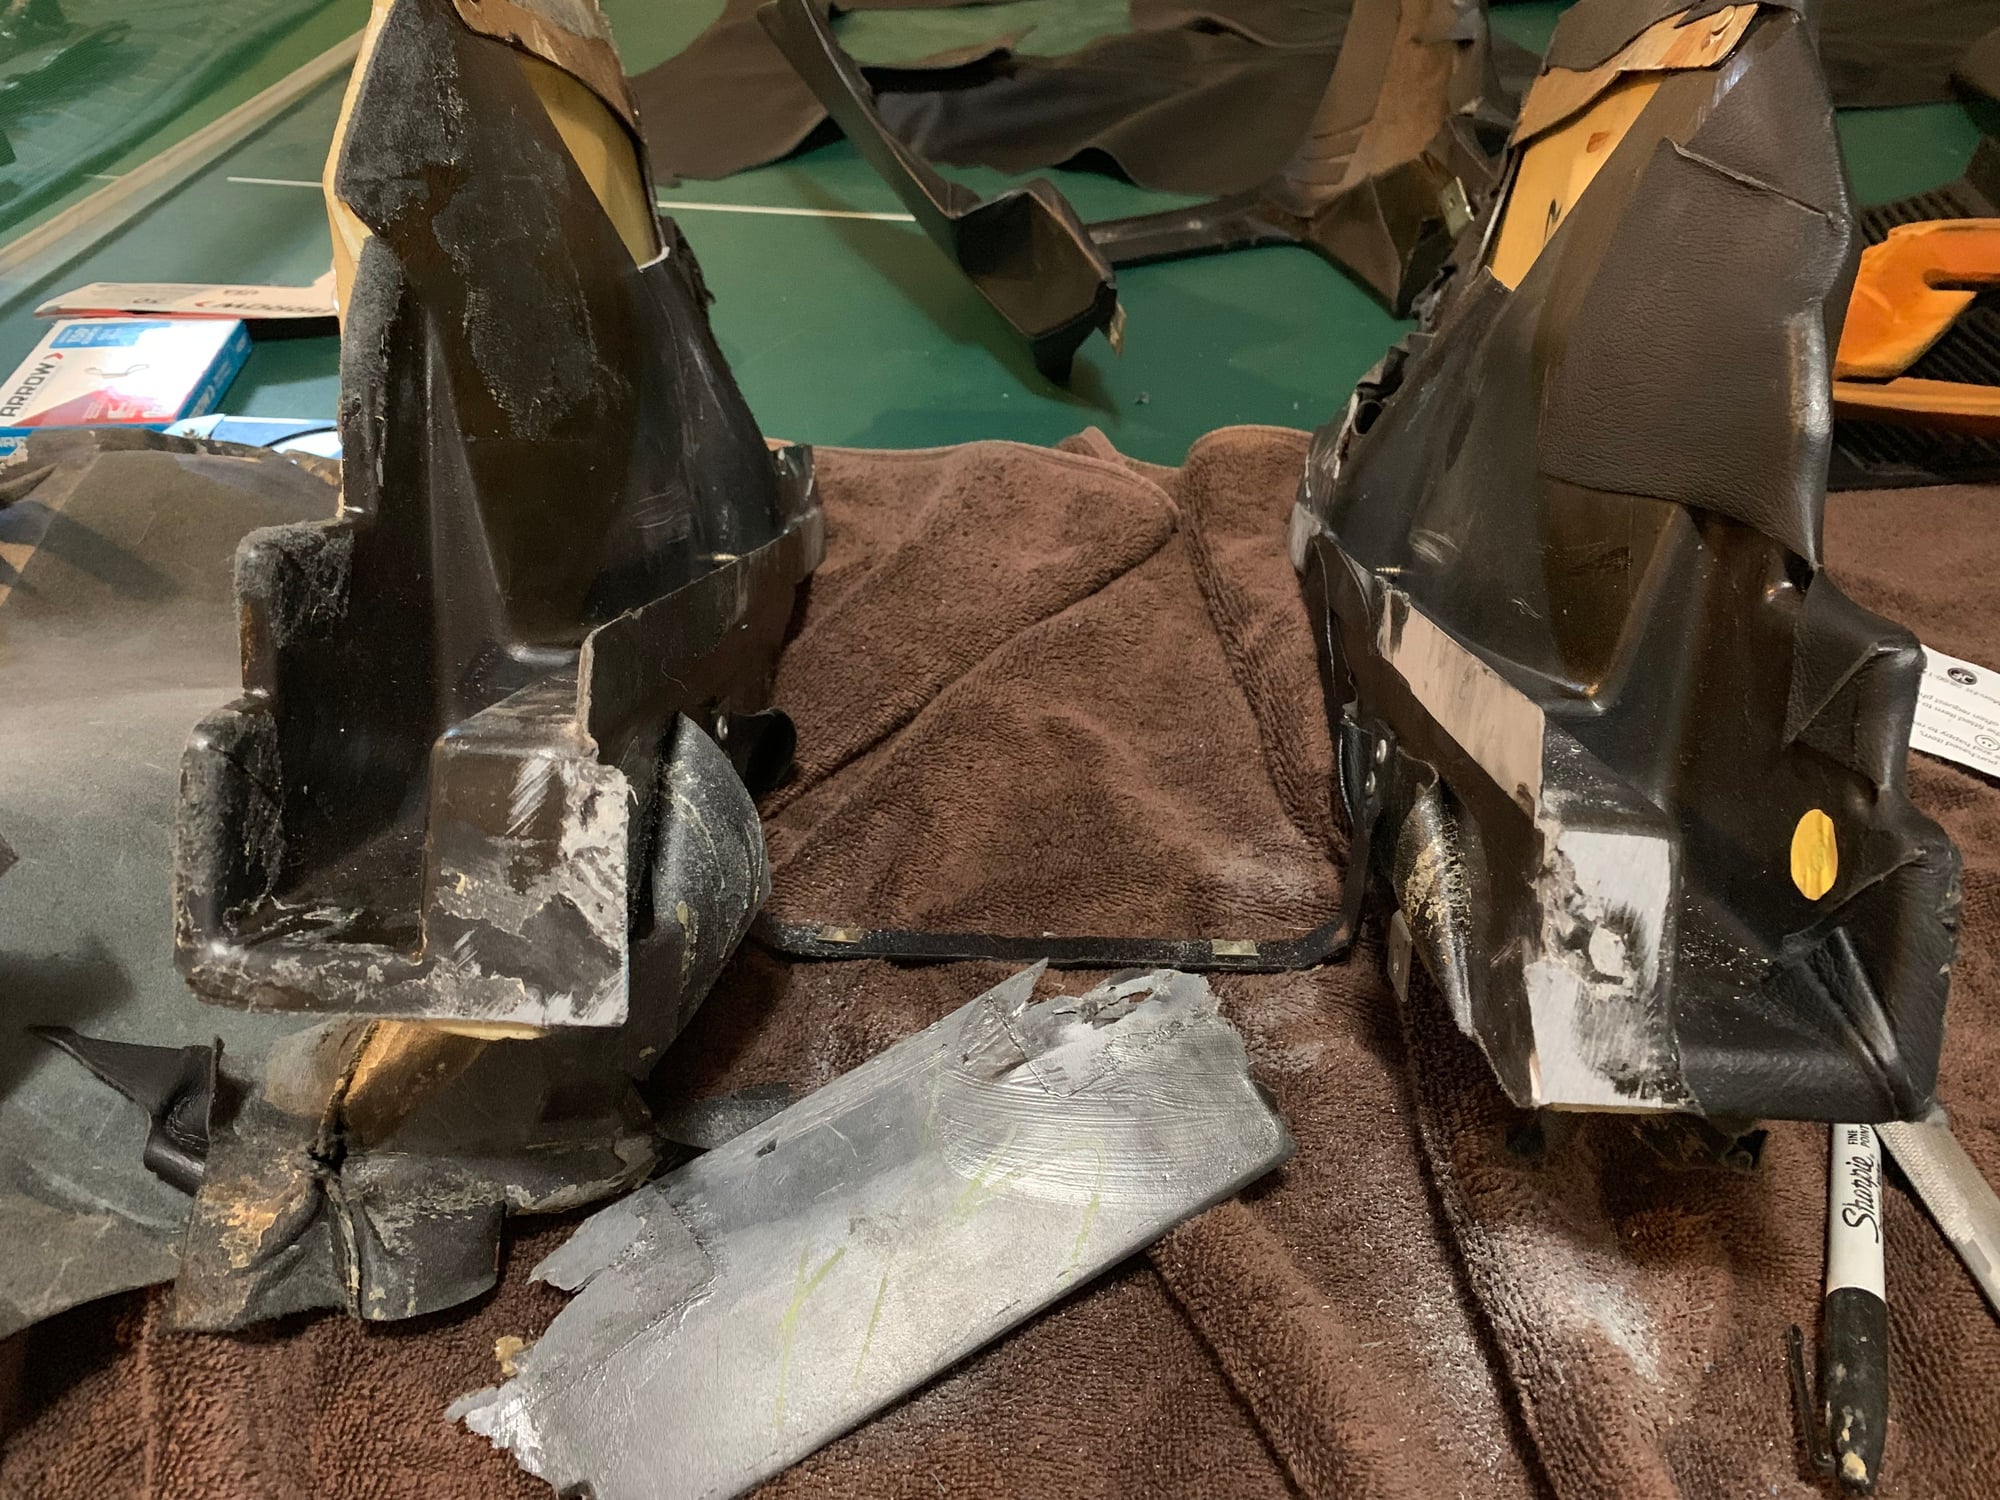
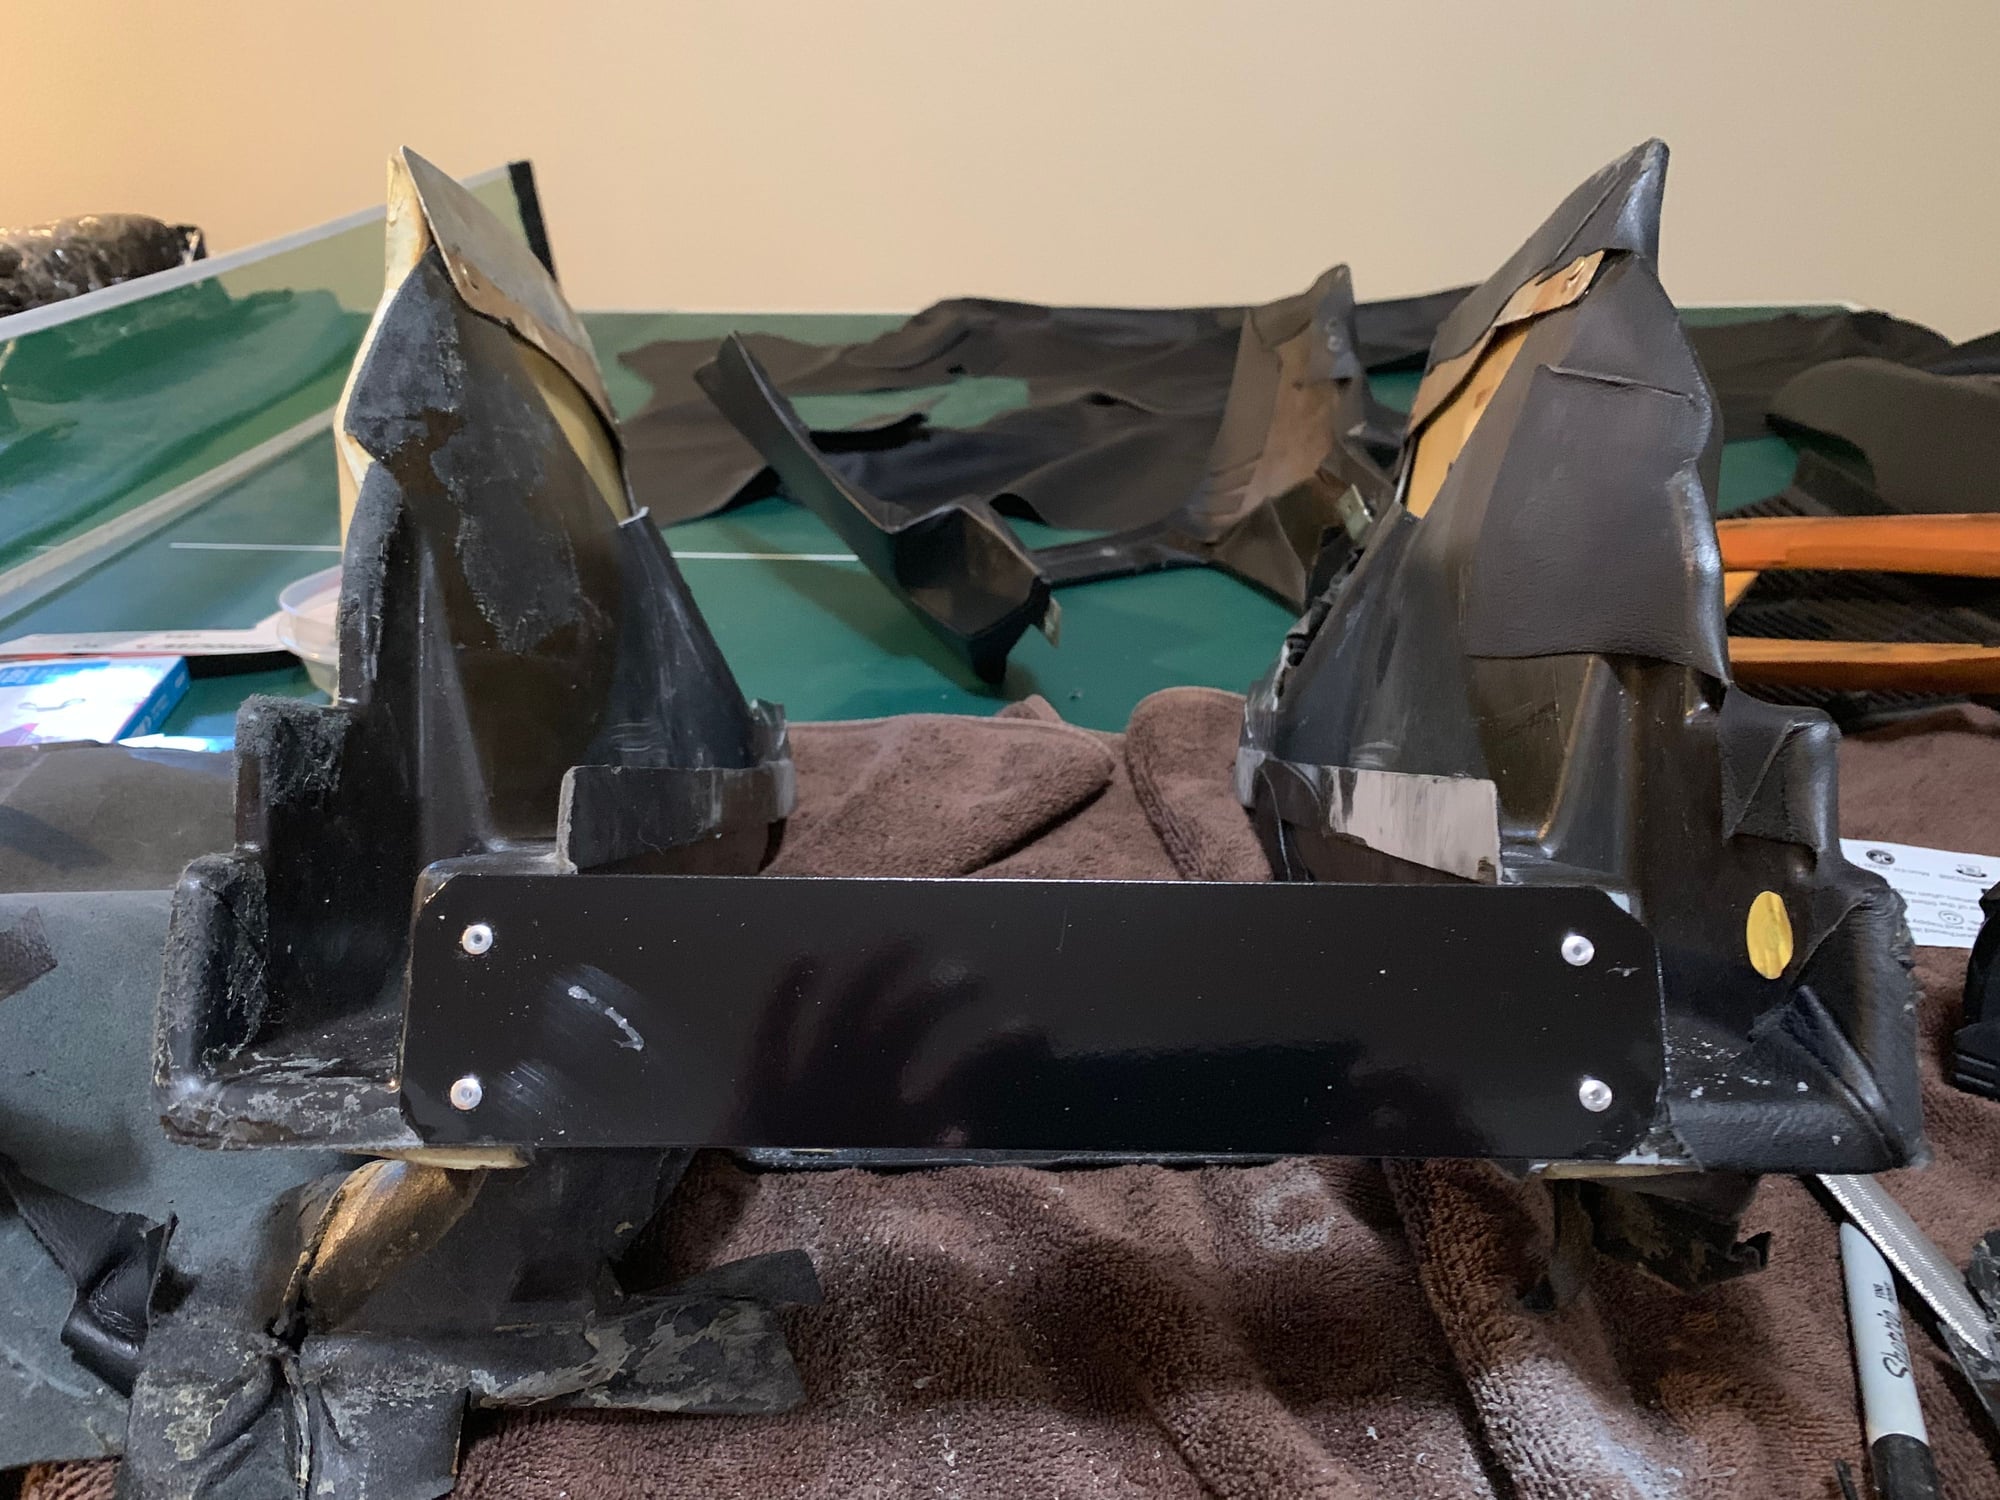
This is what actually comes in the kit I had tried to fix the back support piece in the past but on removing it broke again Got some sheet metal, painted and riveted so that is good to go
Will update on progress as I start to get some of these pieces back together again!
Leather kit looks interesting. Does the grain match the rest of the interior?
Nice to see you are getting back to the 928 . I need to do the same...
looking forward to more pics of the progress!
Seems like plenty of people can redo their engines so they're back to factory specs and appearance, but interior skills are rare. I'm working on mine - very slowly and imperfectly - and have found just a few good posts on upholstery. I'm happy to see you well on your way. Good workaround on that stupid broken plastic piece, Subscribed. Keep posting please!
Chris,
Great to see you back man! Some say you never left.....
Good project!!
I'll tell you, I spent many hours on your website getting ideas as you were rebuilding the "Burgundy Beast"!
Still remember I could NOT find out the reason my hub on my MOMO steering wheel was scraping against the pod. Saw your procedure on the column bearing and bushing. Replaced per your procedure and it's been A-OK ever since! That was over 10 yrs ago.
Leather kit looks interesting. Does the grain match the rest of the interior?
Good question I would say the grain matches the seats somewhat, when I saw it I thought it also might be more forgiving than something that was perfectly smooth, we will have to wait and see I guess
Originally Posted by chart928s4
Seems like plenty of people can redo their engines so they're back to factory specs and appearance, but interior skills are rare. I'm working on mine - very slowly and imperfectly - and have found just a few good posts on upholstery. I'm happy to see you well on your way. Good workaround on that stupid broken plastic piece, Subscribed. Keep posting please!
I am not sure this is to factory spec, just trying to make it a better place for my taste and something that I am comfortable with. Before all the little things were beginning to bother me, also with age comes patience so maybe I can do better than I did last time ...
Originally Posted by Chuck Schreiber
Still remember I could NOT find out the reason my hub on my MOMO steering wheel was scraping against the pod. Saw your procedure on the column bearing and bushing. Replaced per your procedure and it's been A-OK ever since! That was over 10 yrs ago.
Hey Chuck, you have a good memory as it was nearer 20 than 10 .. yikes!
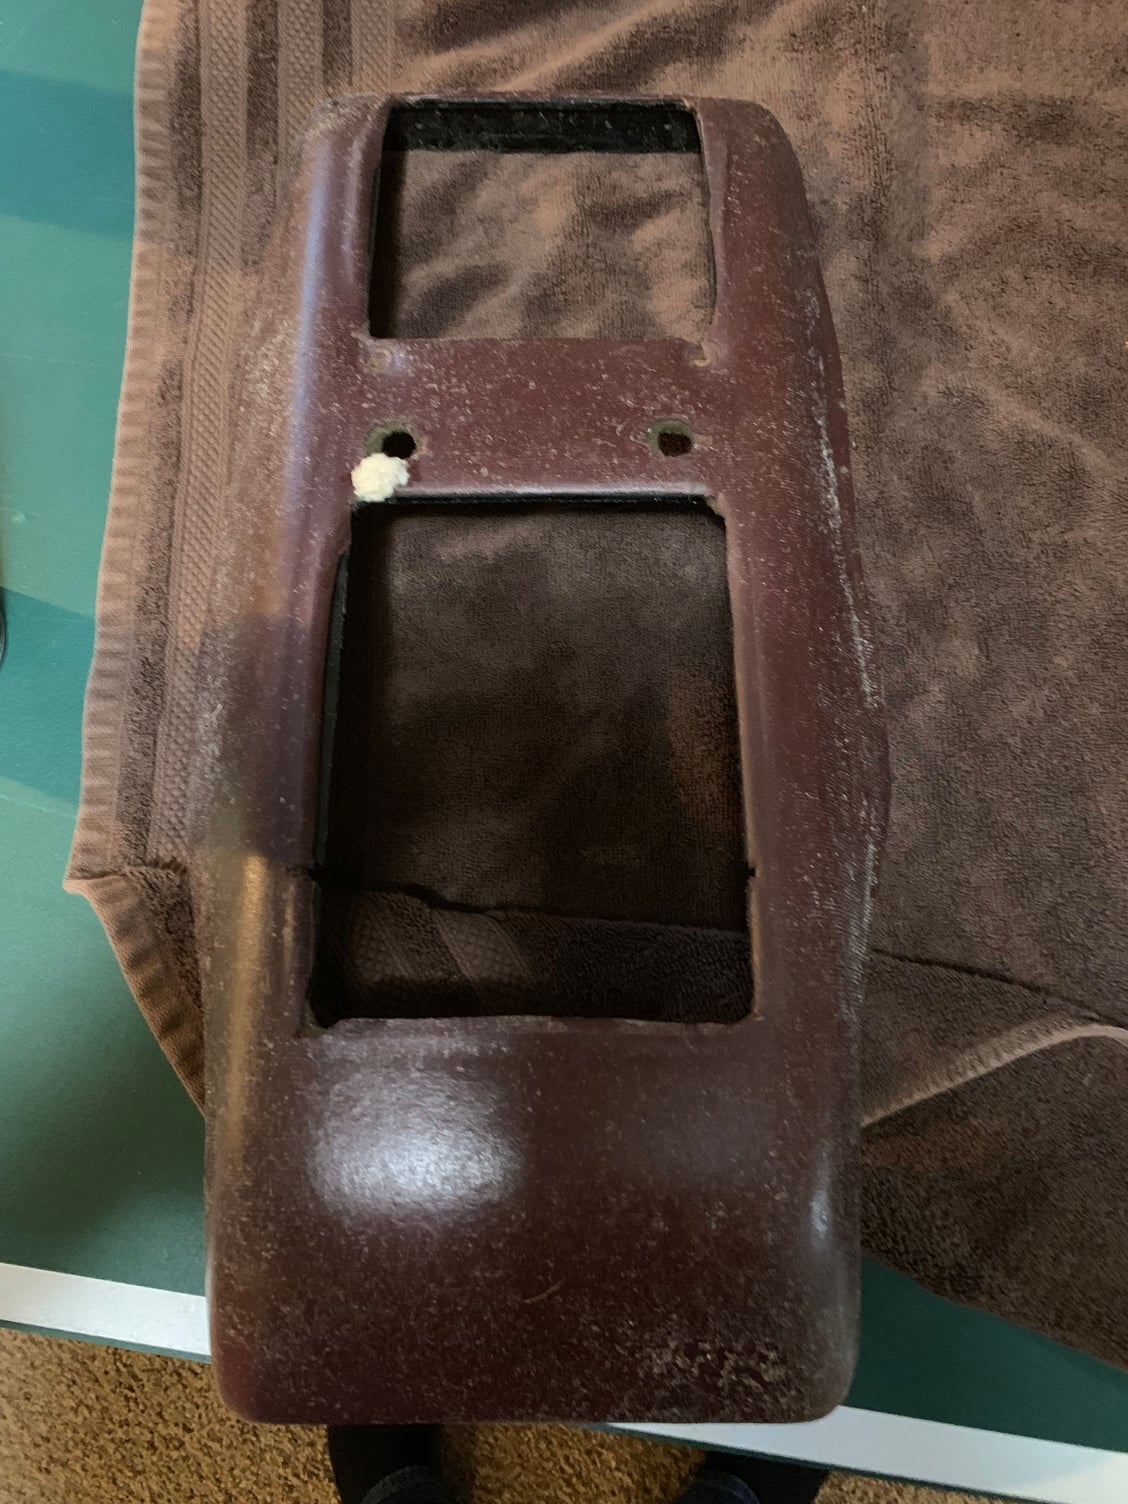
So I decided I would recover the top cover on the console, it seemed one of the easier parts and I had a local upholstery shop recover it in vinyl last time. After I removed a bunch of staples the vinyl cam off pretty easy and underneath was a surprise, dried up Burgundy leather .... they had just laid the vinyl over the top .....
So underneath that was 30 year old foam, no point in covering over that.
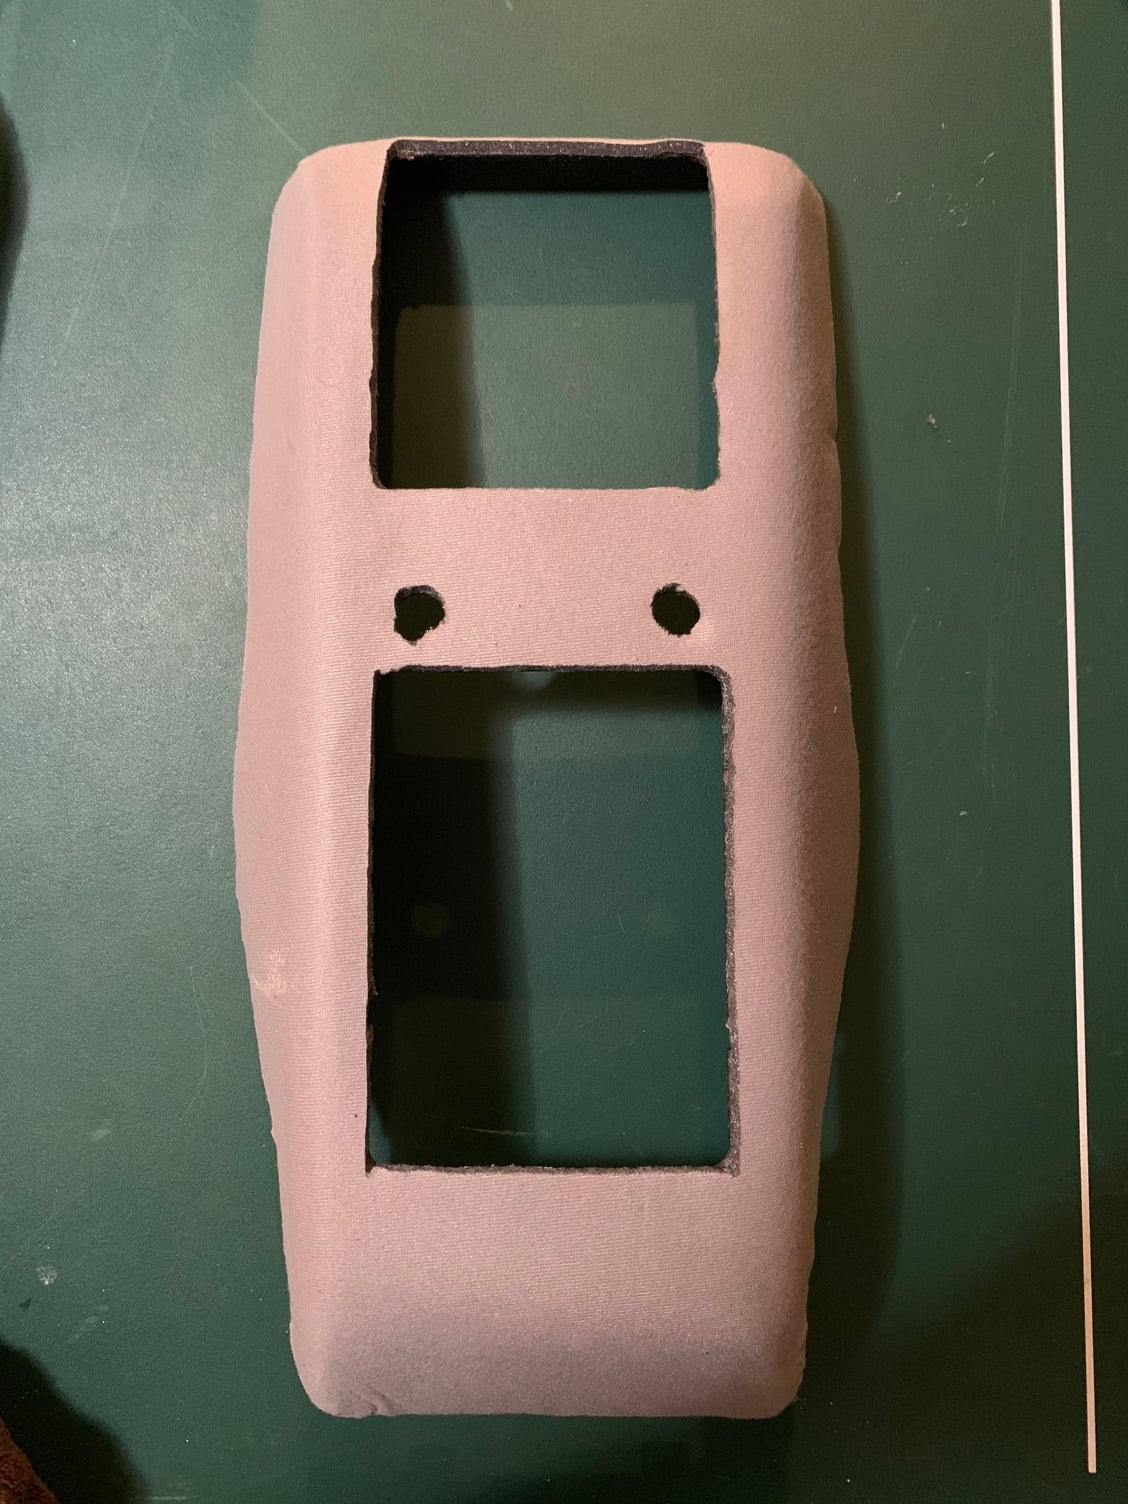
So off to my favorite store ... JoAnne Fabrics, wonderful. They had some headliner foam which was perfect so glued that on.
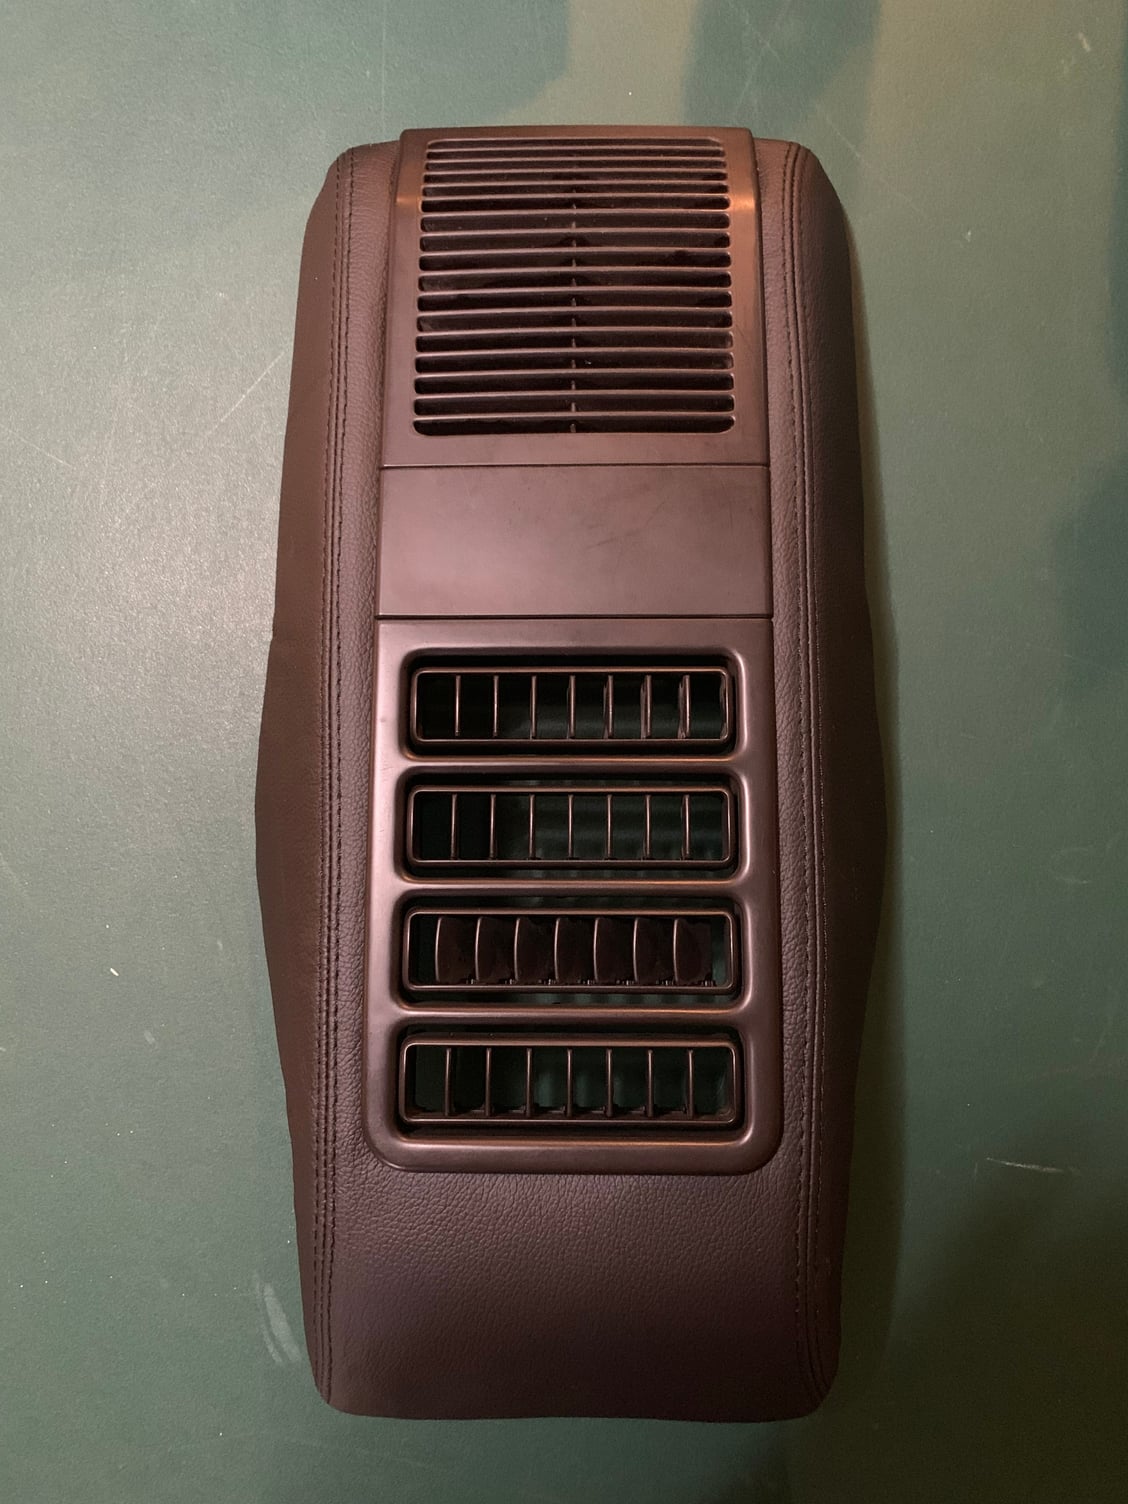
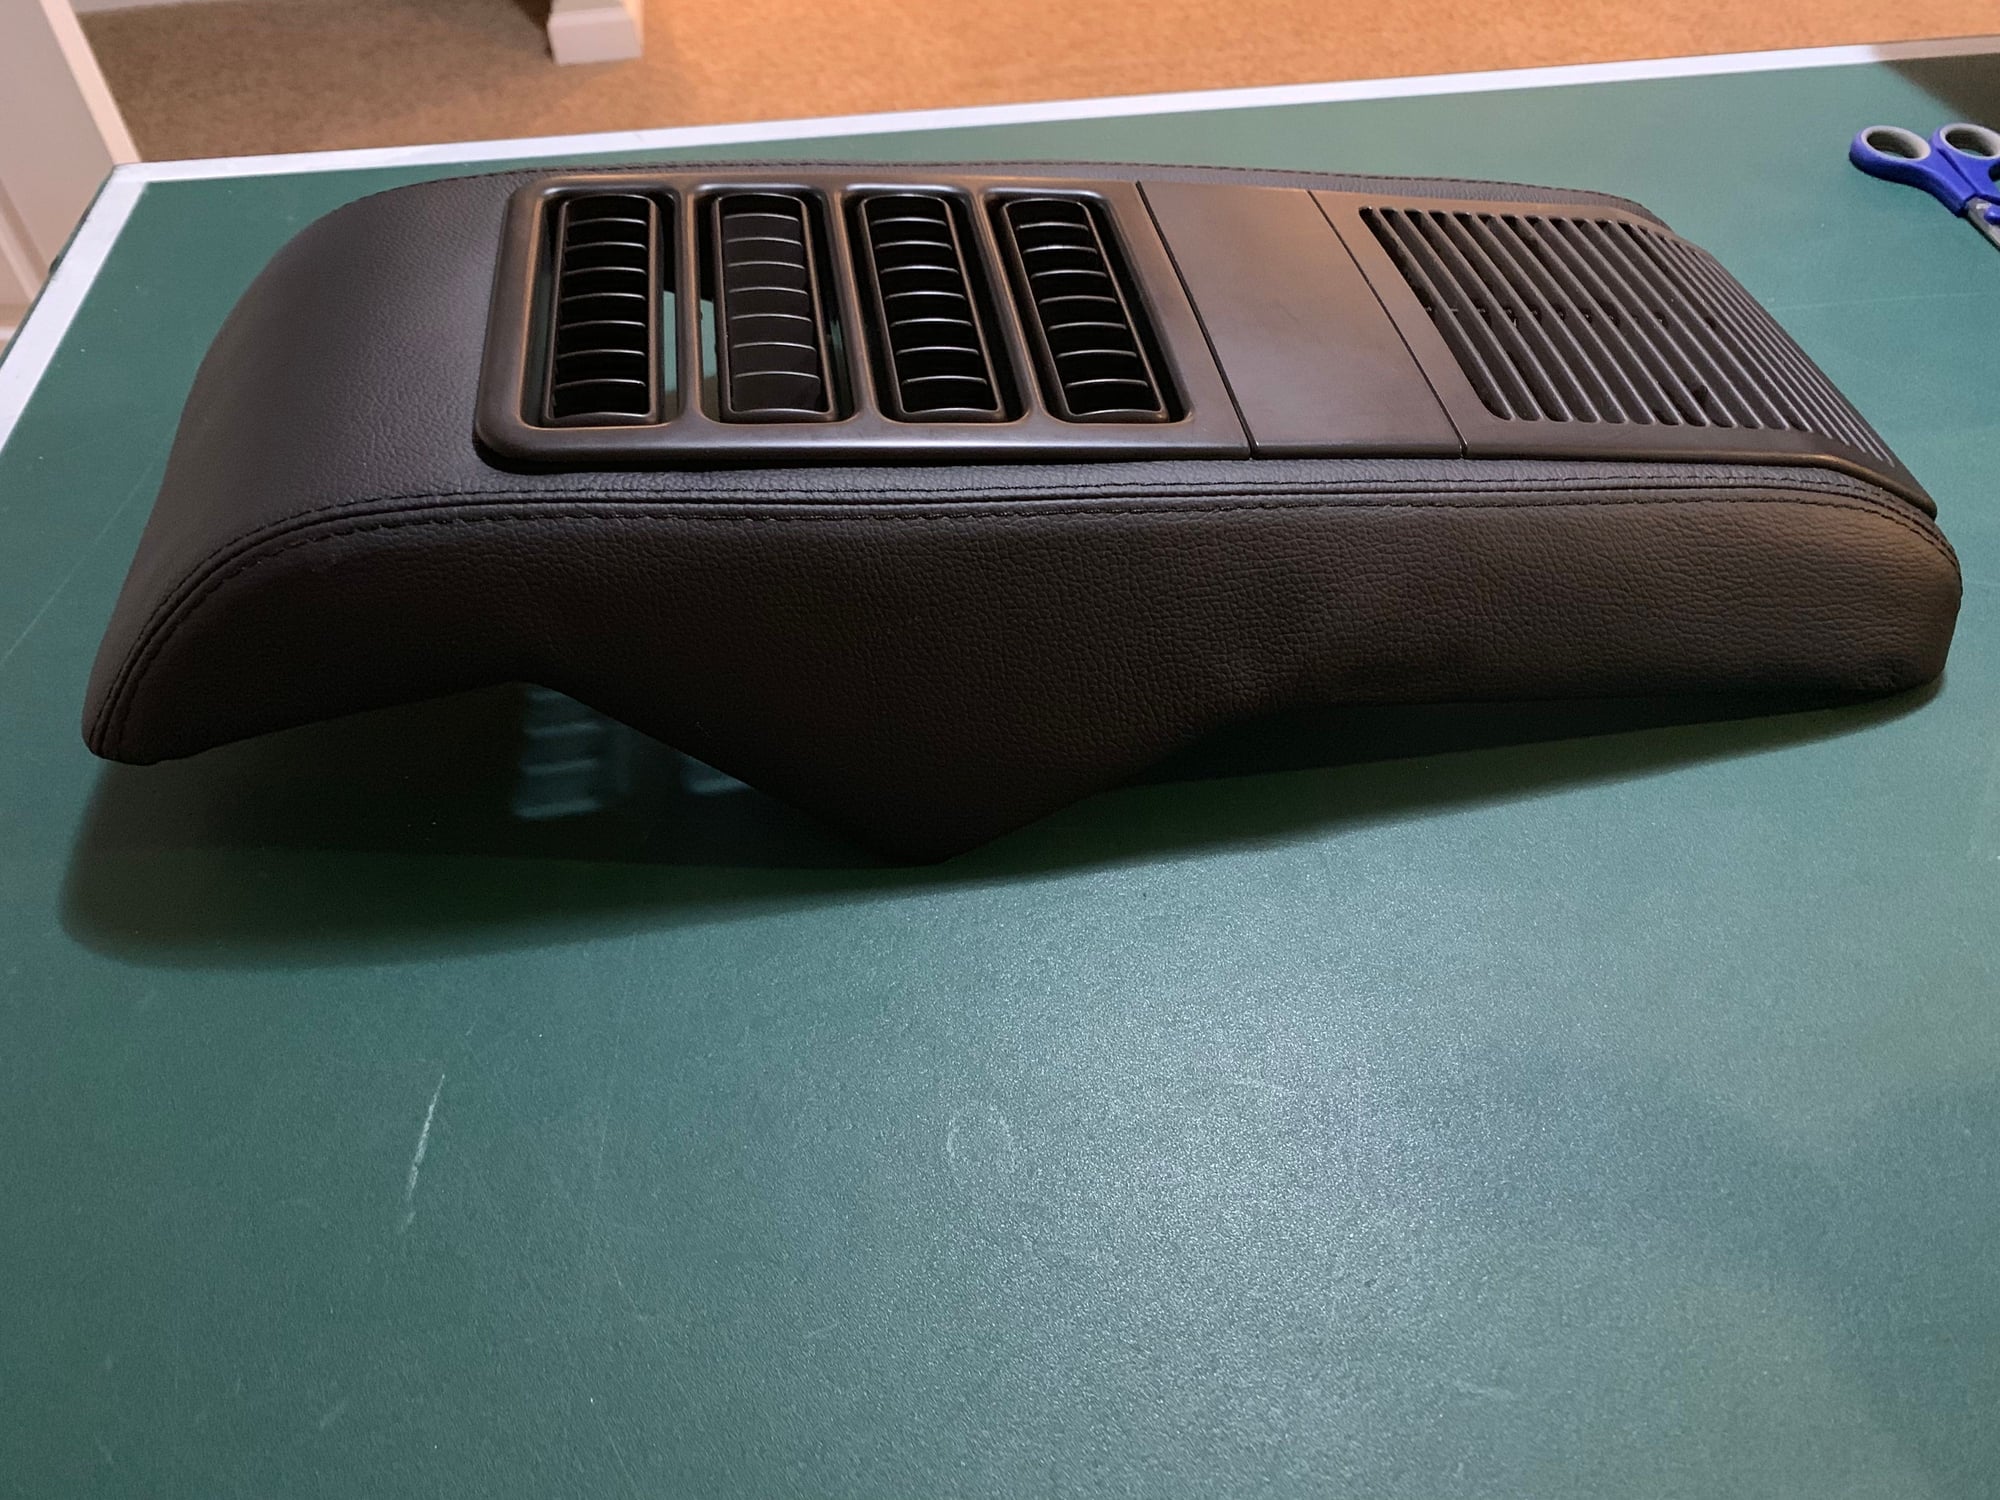
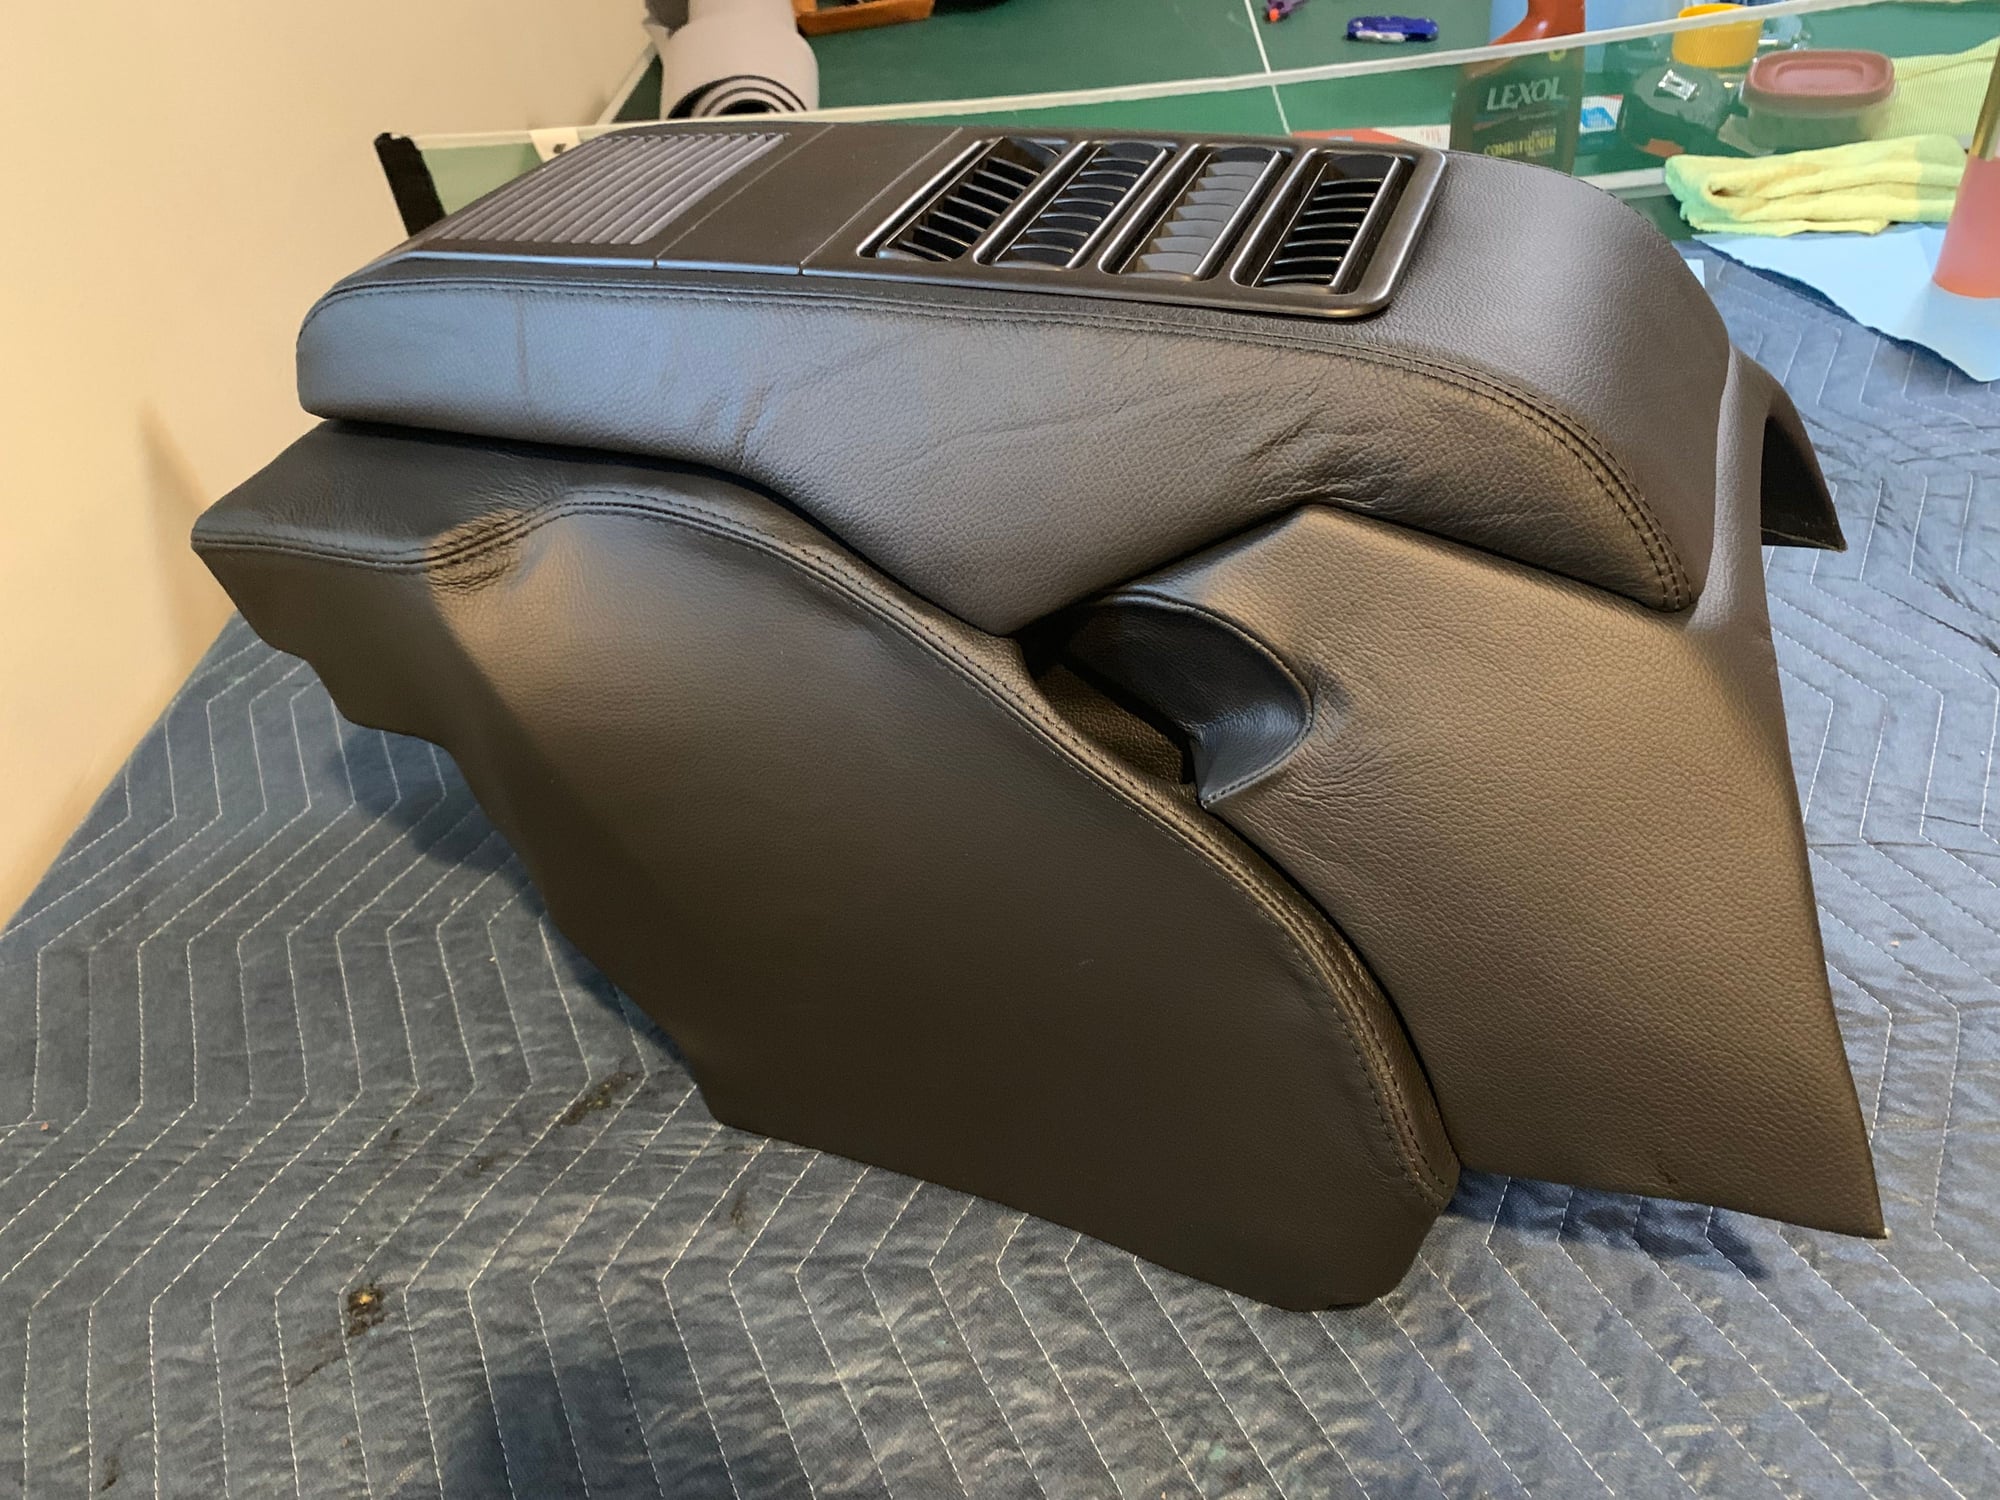
Now on to the leather, I took my time and it is not perfect but not bad either, the inside of the tight corners with the seam was the worst but just did a small section at a time. Not one staple was used either ....
Wow! Really nice work. I'm always impressed at the guys on this site that have the skill and patience for redoing interior pieces. Mechanical work is one thing - really just following steps and instructions. But making good looking interiors definitely requires craftsmanship. Great job.
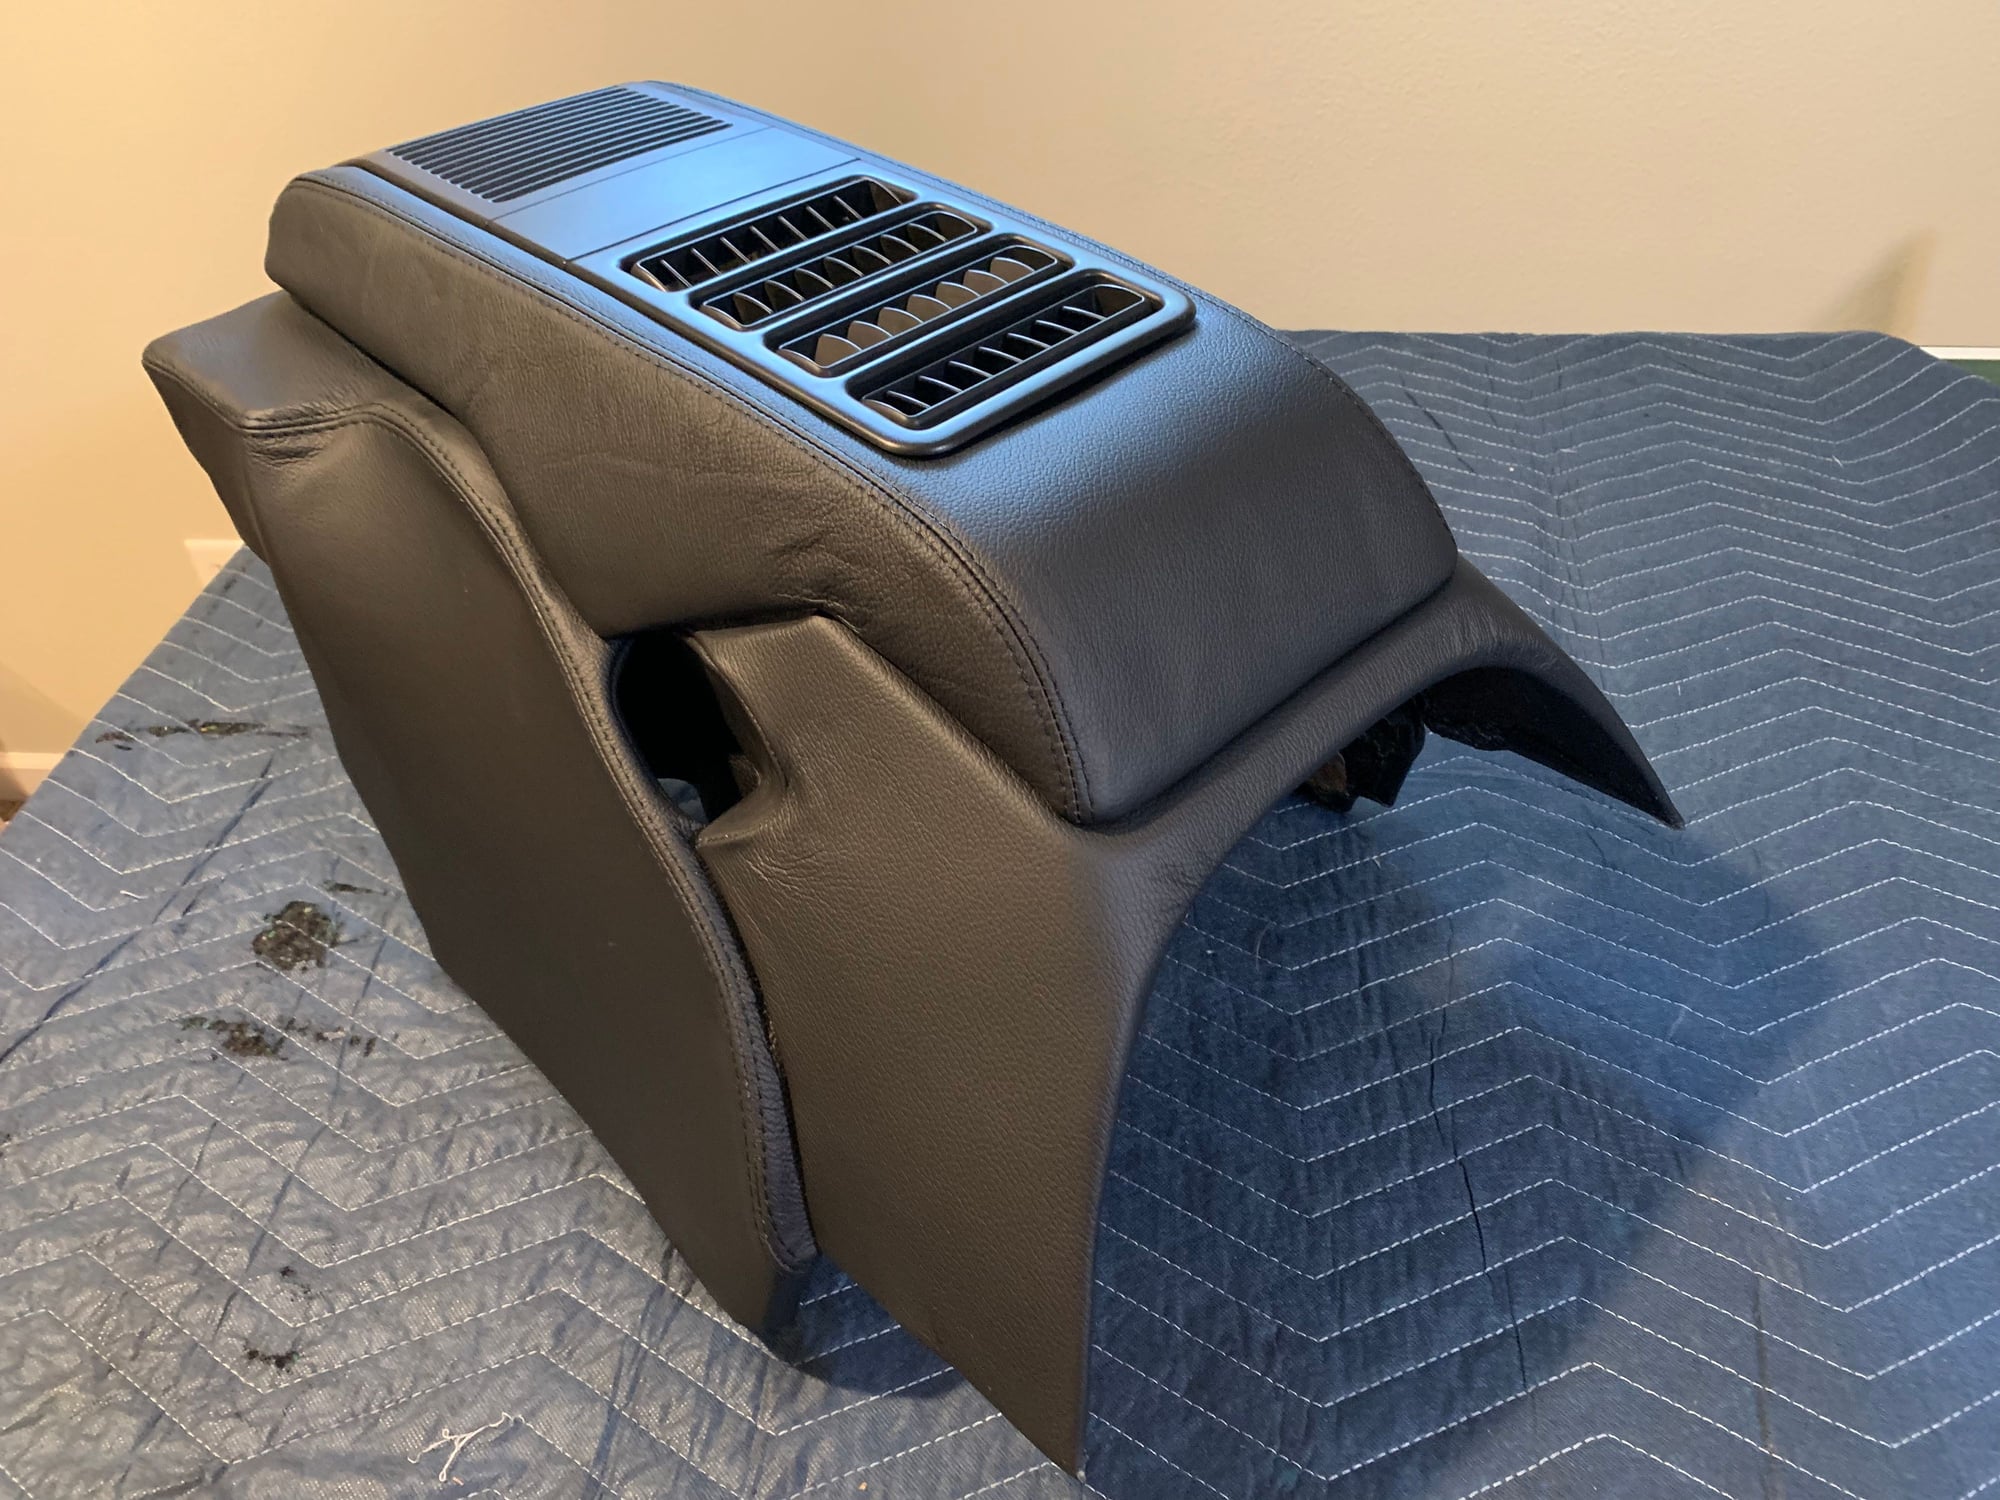
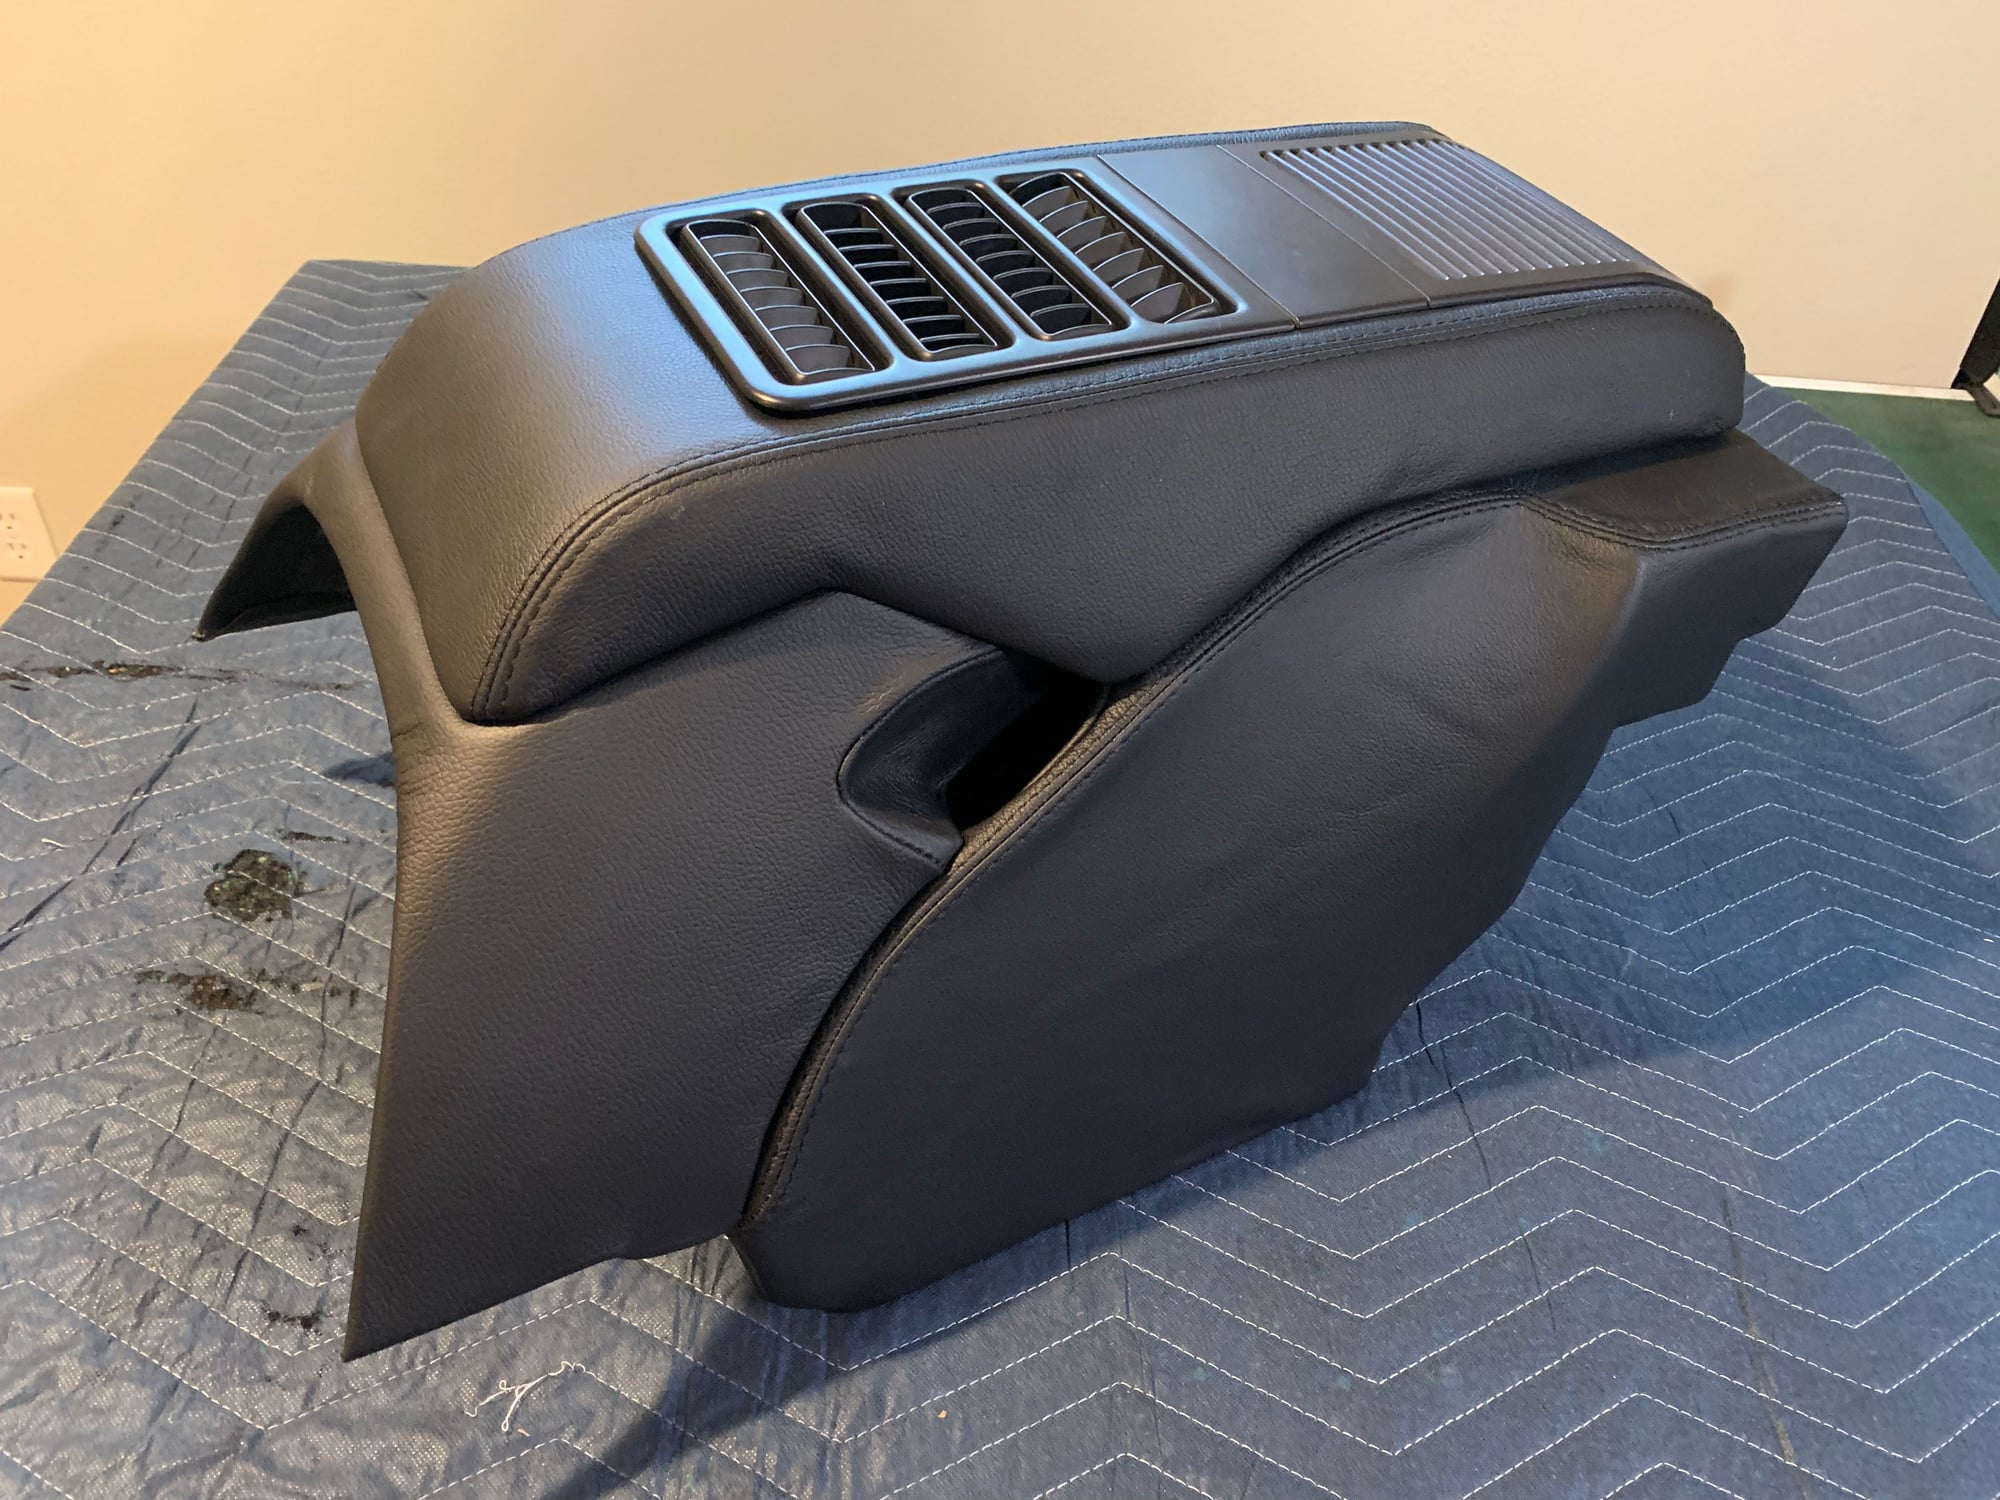
Finally got this console covered, it is not perfect but when you look close neither was the original Porsche job, a lot of the areas which are not perfect are hidden so hopefully look OK when all said and done.
It was a tough part to recover, the pattern part was not as accurate as the original pattern and lots of corners and areas that needed to be pulled just right.
I cleaned up the rear air con pipes and they are now having new barrier hose put in.

 01-22-2019, 07:34 PM


 . I need to do the same...