When you click on links to various merchants on this site and make a purchase, this can result in this site earning a commission. Affiliate programs and affiliations include, but are not limited to, the eBay Partner Network.
I designed it to not just simply pull into position. I needs to be drawn in exactly the way you did it. With a collection of washers and a threaded rod.
Once you got it seated and in place, everything worked out?
Ha! There were no instructions with the insert and Kevin could not find that bit of info on Rennlist. Good to know now.
Knowing that:
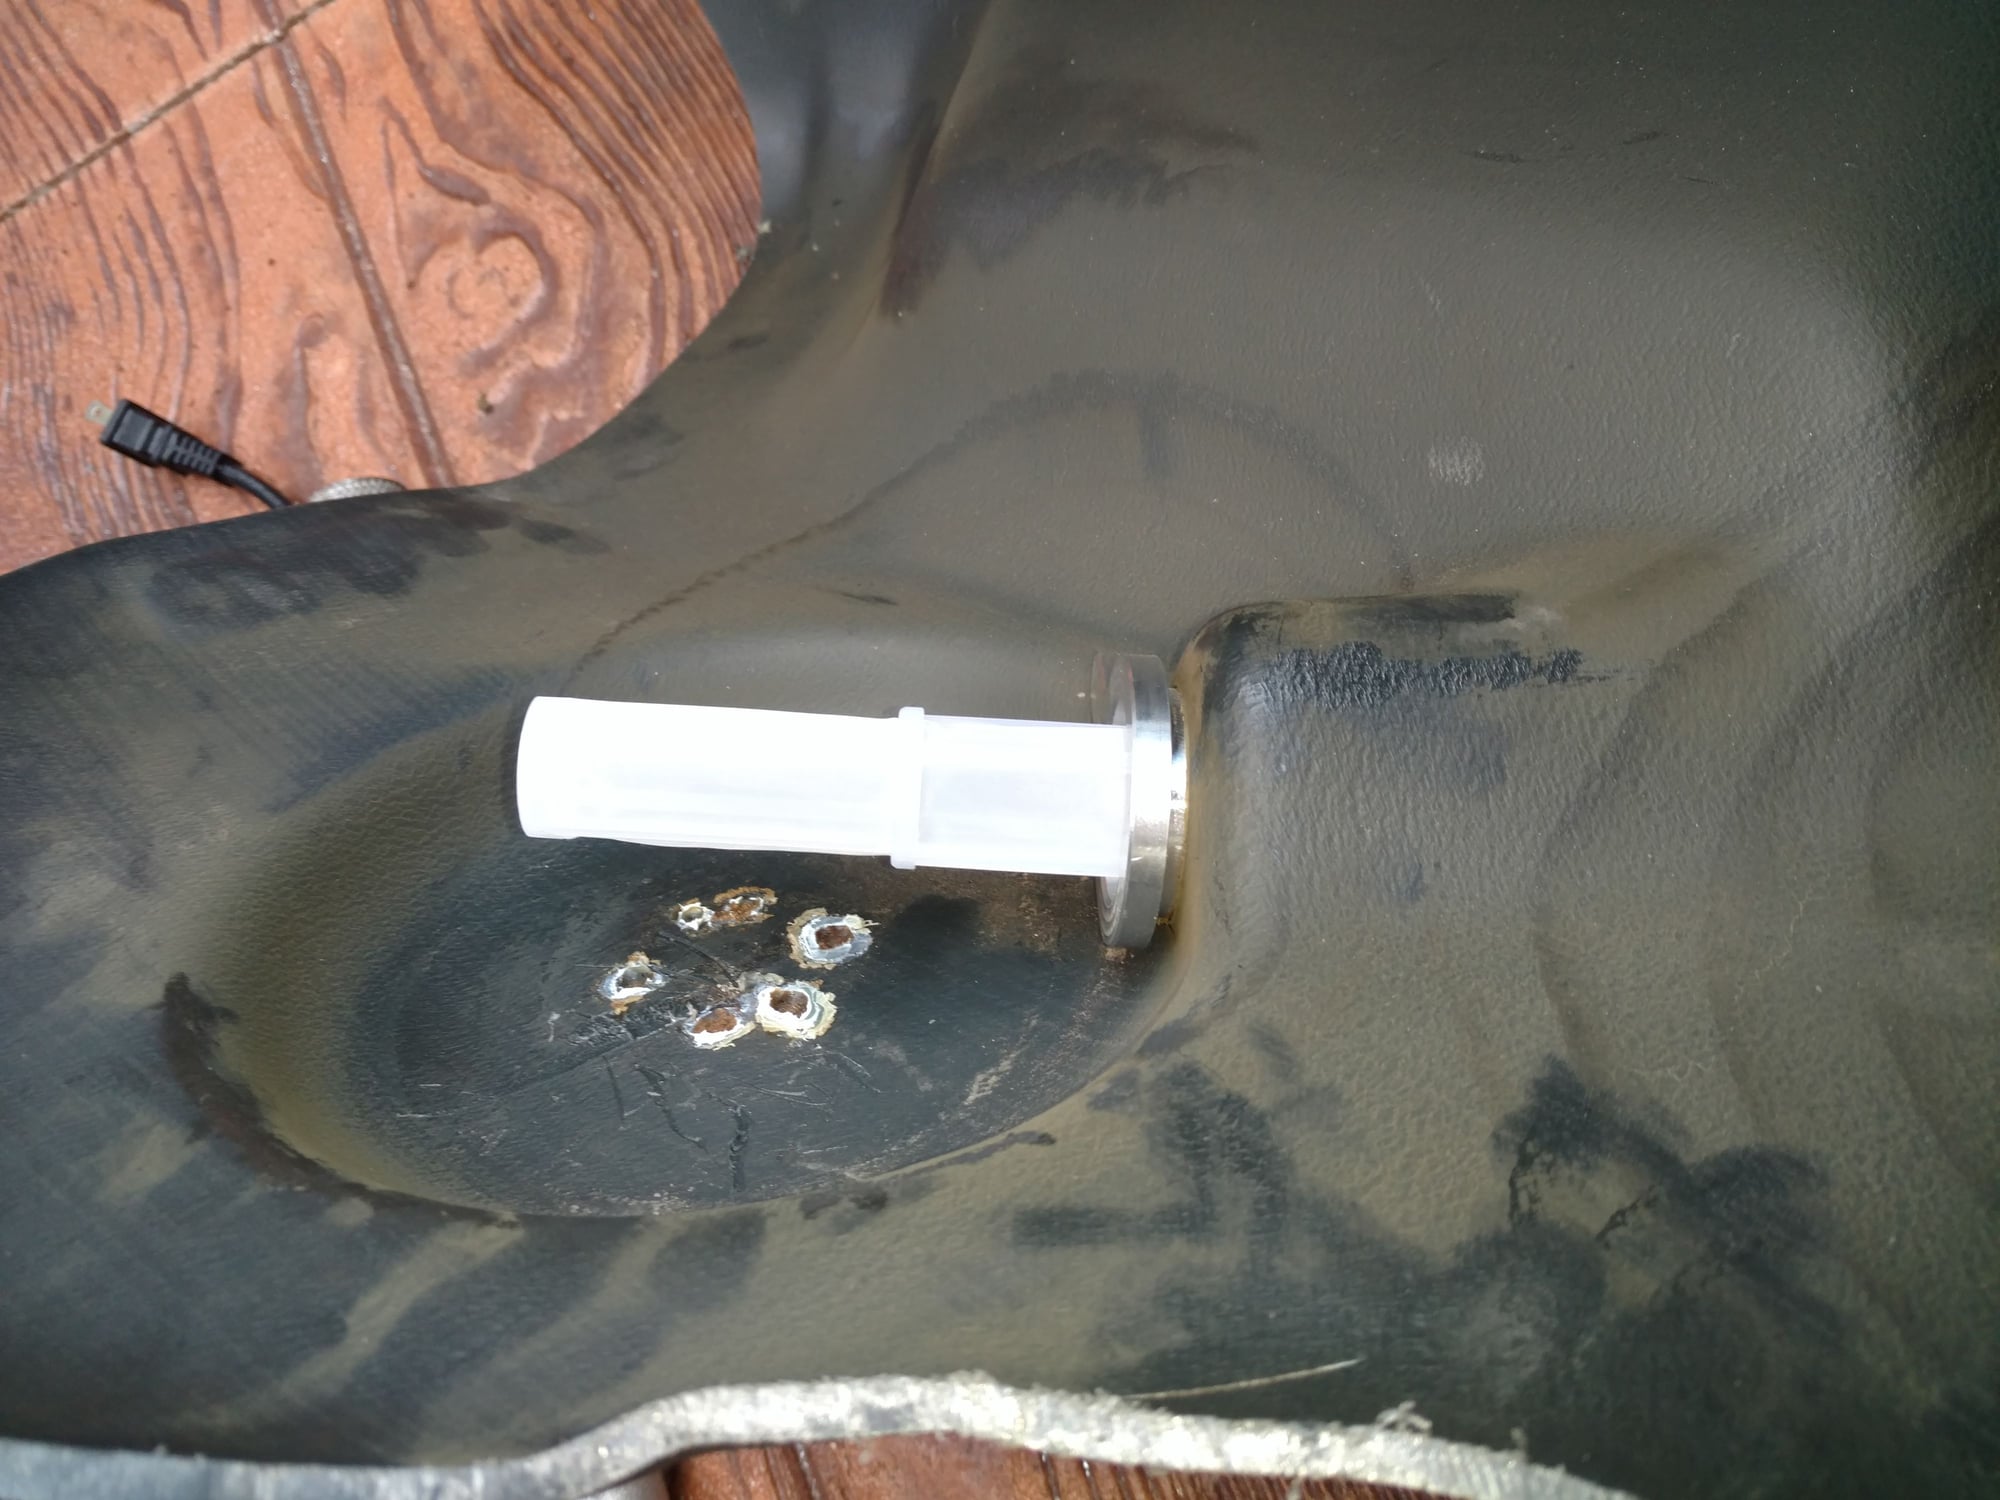
Threaded rod should be about 6 inches.
I'd secure a BAW (big *** washer) on the threaded rod with a nut on both sides.
Feed it from the inside of the tank.
Use another BAW and nut to draw the insert through the tank.
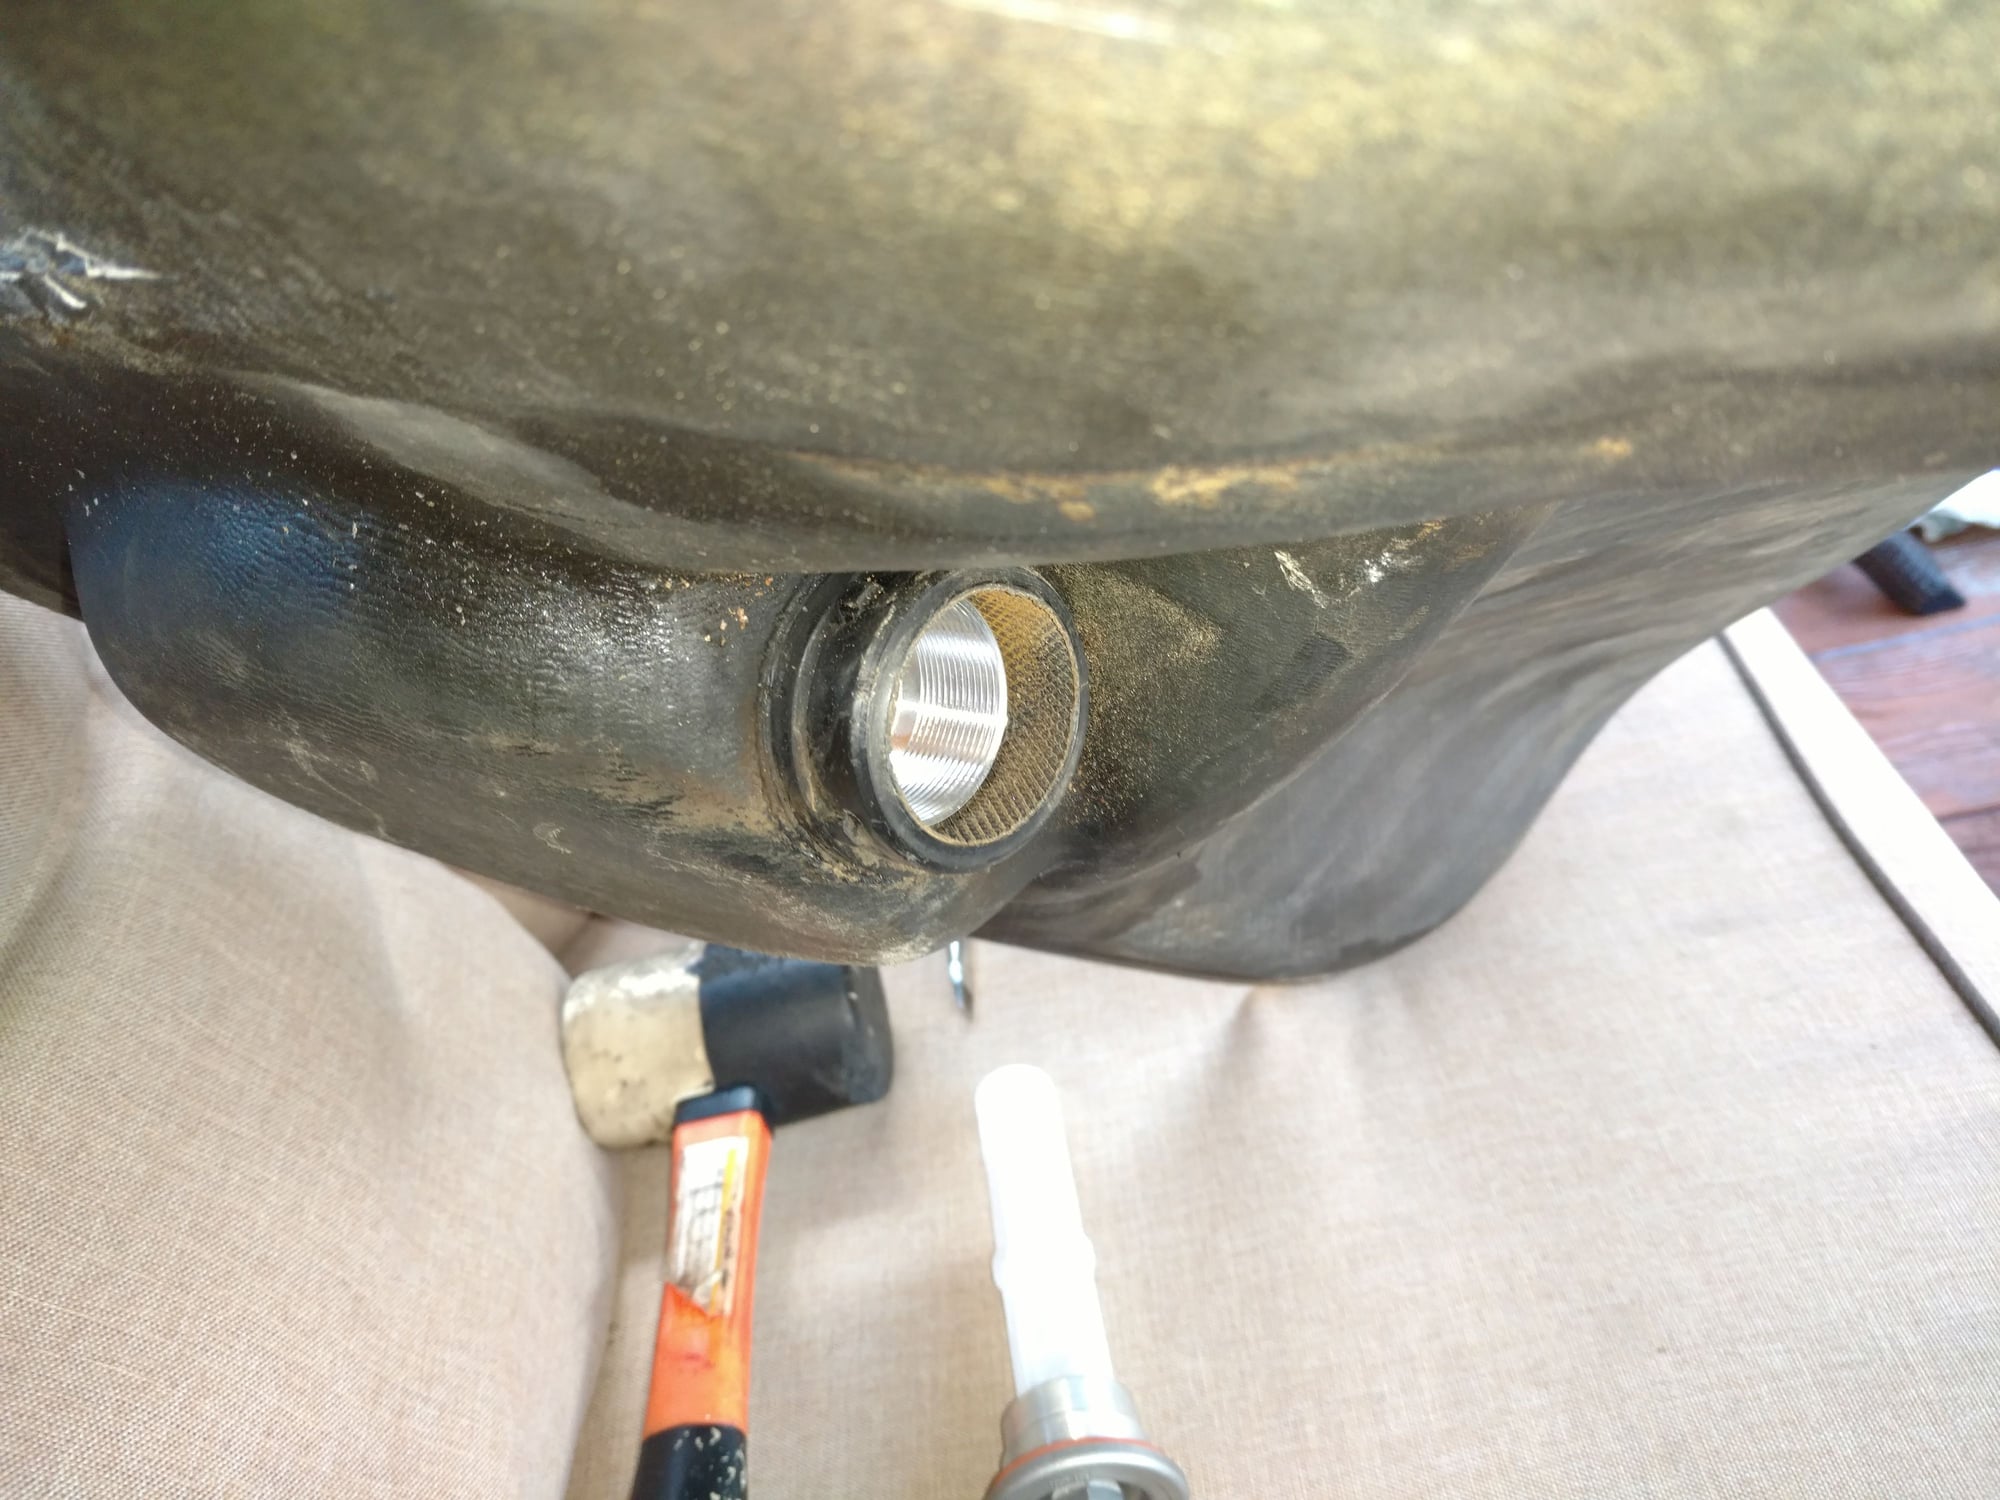
I will close this out. As has been discussed above, we did get it installed with the bolt and washer. My confusion was not knowing the amount of force needed to draw it into the outlet neck. Now that we know, I'm sure the next one will go much smoother. Once it was drawn in, I threaded in the strainer and tightened it up.
it's a very nice product and definitely a great solution to the spun insert.
Every spare tank that I have, literally has the bowl detached from the bottom of the tank? Will this work properly without the bowl in place. Do you have photos of one installed, from inside the tank?
Richard - is it worth removing the internal seal? The seal is effected on the outside of the tank as in the original installation. I am beginning to think the internal seal is not required and a hindrance in locating the insert.
When I fitted one the turning of the screen into the insert pulled the insert flush to the inside of the tank. As long as the finger is in position and stops the insert rotating.
__________________
Does it have the "Do It Yourself" manual transmission, or the superior "Fully Equipped by Porsche" Automatic Transmission? George Layton March 2014
928 Owners are ".....a secret sect of quietly assured Porsche pragmatists who in near anonymity appreciate the prodigious, easy going prowess of the 928."
As I mentioned to you earlier, there is no way that the internal seal will serve any purpose unless the bowl is removed. Why seal AGAINST the wall of the bowl, when you still have fuel sitting against the wall of the tank, with no seal? Even if you could slide a seal between the tank bowl and tank, you cannot get enough pressure to seal against the tank wall.
I have tested this all day with a split open tank that I have. Unless I am missing something. If you tighten the flange down too tight and draw it towards the outside of the tank, you are essentially bending the wall of the bowl towards the opening of the strainer. No seal there. Completely relying on the strainer outside seal, which is the way the factory designed it anyway.
I now have access to a total of SIX spare tanks from breaking 928's. 80 percent of all tanks that I have found have sat for extended periods and the fuel has turned into shellac\varnish, (which I have successfuly removed with a product called POR-15 Marine clean degreaser). Every heavily varnished tank has the donut bowl removed from the bottom of the tank and is floating around inside the tank. Half of those tanks have the bottom cup of the sending unit tube broken off and rolling around in the bowl. My question was, can I use the flange product without the bowl in place. After testing all day, yes. I can. I personally believe that the flange seals better if the seal is against the wall of the tank at the strainer outlet, and then the strainer seal is intact externally. I am pressure testing tomorrow.
The internal "seal" isn't really a seal, it's just to add some cushion to the brittle plastic bowl inside of the tank. I didn't want to put hard metal against the plastic and wanted some forgiveness for those guys that may over-tighten the insert.
The internal "seal" isn't really a seal, it's just to add some cushion to the brittle plastic bowl inside of the tank. I didn't want to put hard metal against the plastic and wanted some forgiveness for those guys that may over-tighten the insert.
If you remove the "seal" the insert could potentially be pulled too far out in the snout when you seat it. I did the math accounting for the bowl.
Let me say this, first and foremost.....I totally appreciate this product. I love those who work to advance our hobby, and gladly bought your product off of Roger.
I am in a unique situation with my tanks. My bowls are floating and I had to test with a split open tank that I had.
Roger, if you end up wanting me to do a second run of these I'll probably make a slight change and add a notch to the outer lip to indicate where the finger is located. Hopefully that will allow things to be lined up a little easier.
Let me say this, first and foremost.....I totally appreciate this product. I love those who work to advance our hobby, and gladly bought your product off of Roger.
I am in a unique situation with my tanks. My bowls are floating and I had to test with a split open tank that I had.
No worries. I'm glad it's working out despite your unique situation. Honestly, when I designed it, I hadn't run into a detached bowl situation before.
I still think you should keep the internal cushion in place. I don't think it's a good idea to have the metal on plastic, should it potentially chafe over time.
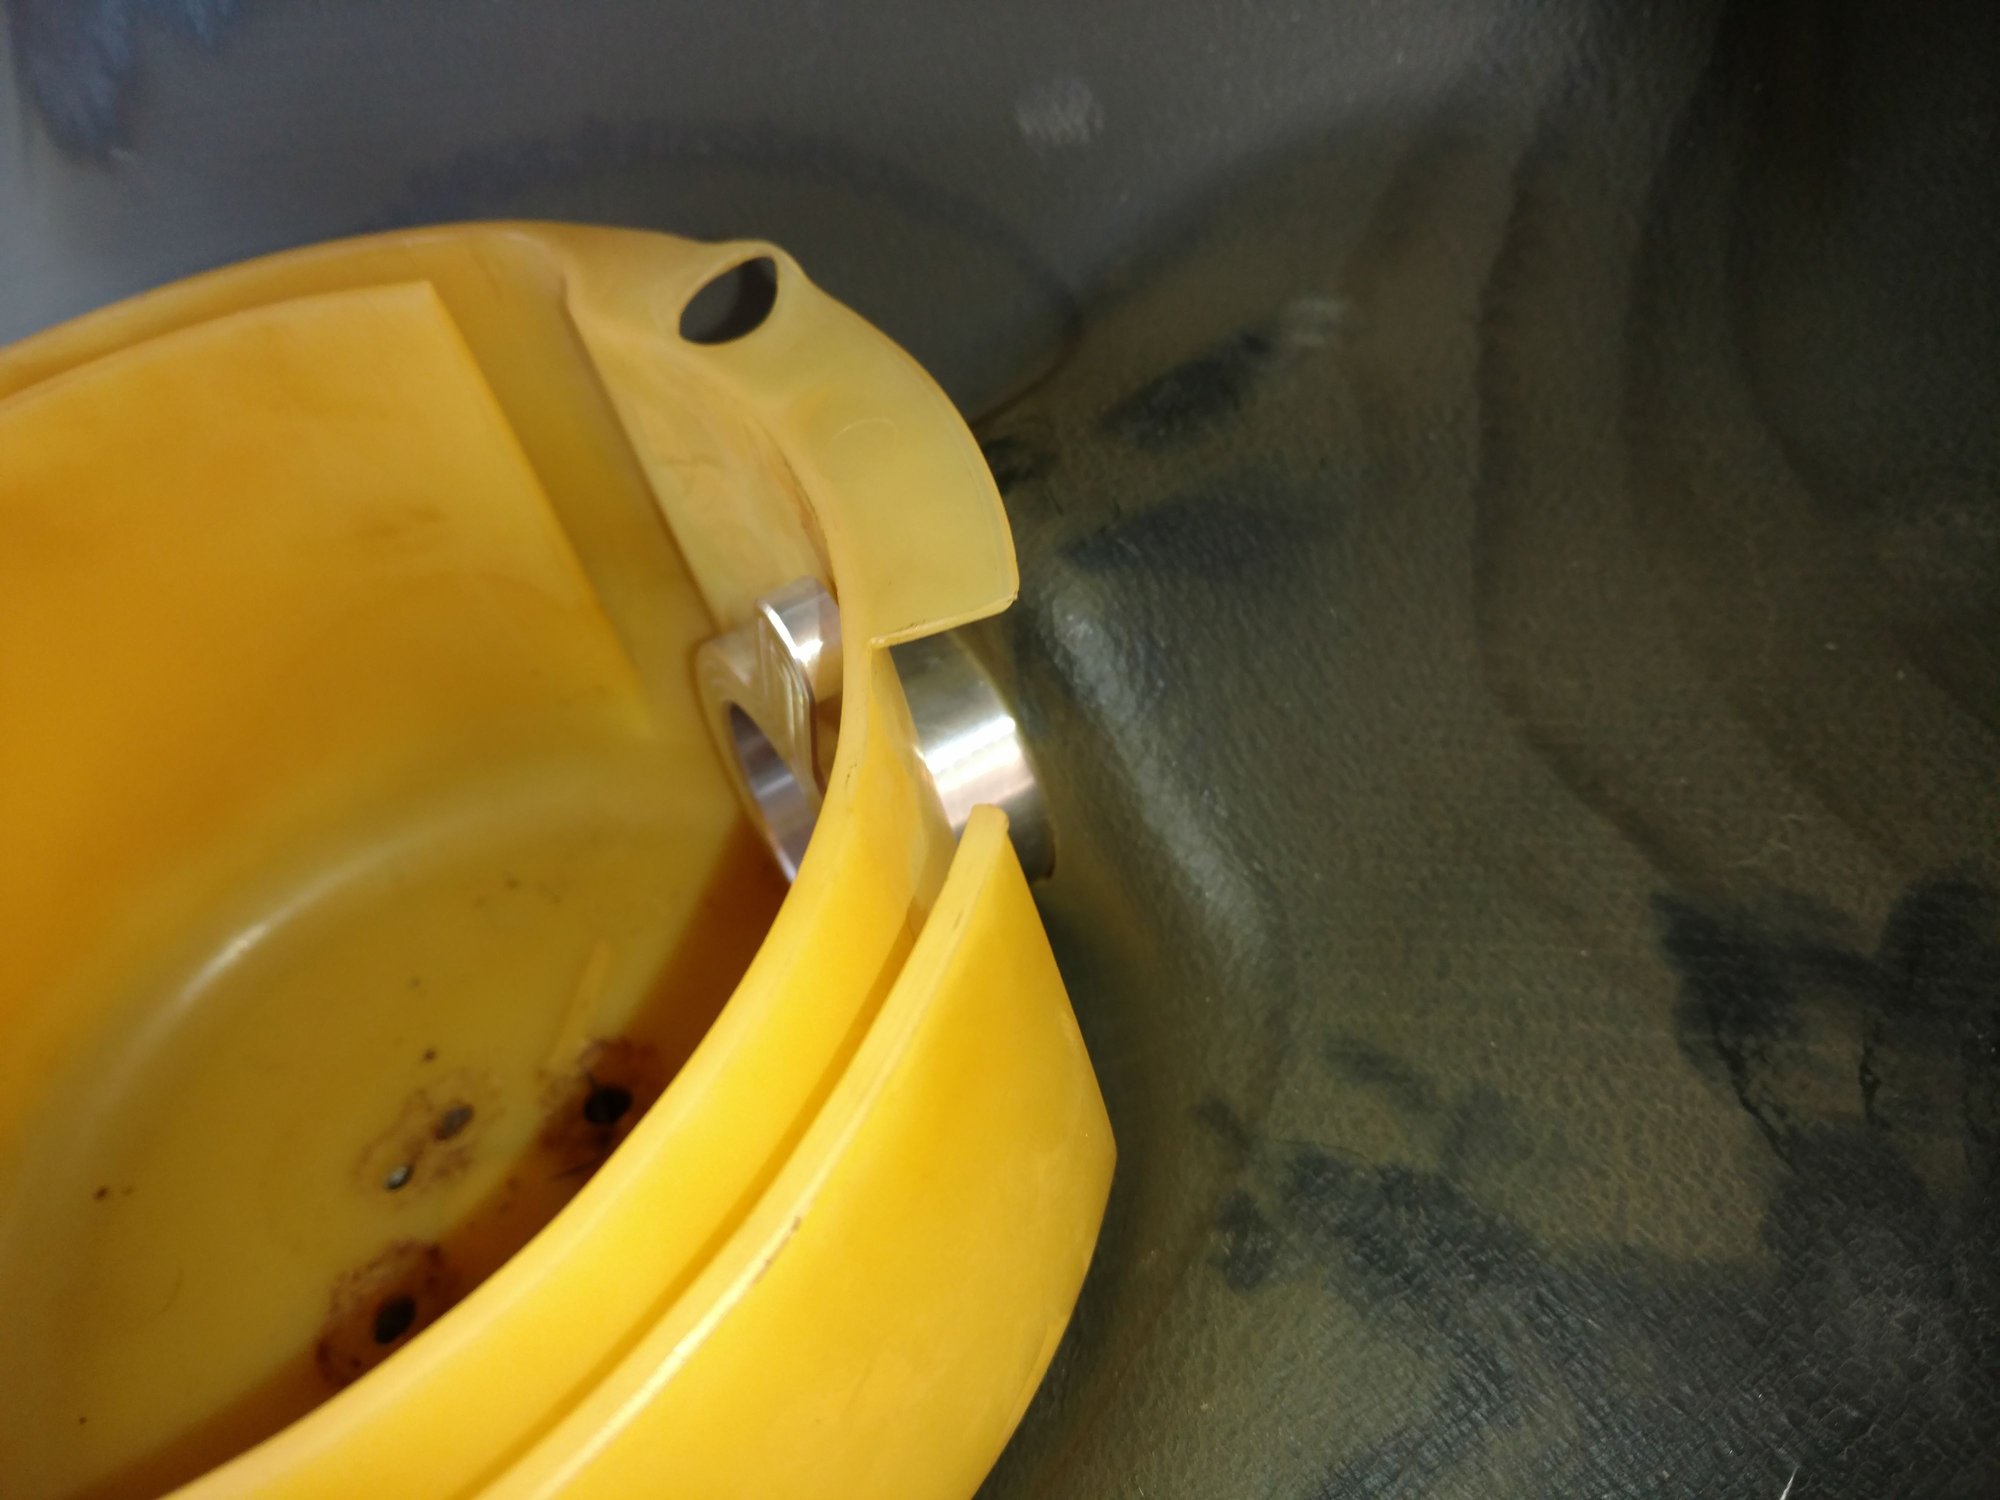
Actually, I am findint that it seals better against the tank wall. It would be almost perfect with a slightly thicker gasket. I have heard that the bowl prevents grunge getting to the strainer, however, I don't think so. The strainer is SO LONG, that it would take a lot to clog it. It seems that it almost prevents fuel gauge needle bounce. Almost a preventative measure against cavitation. I am not sure why it is really needed. Any insight on that?
If you need a OPEN tank to test with, I will gladly test and document anything you want. Measurements, etc. I get excited about those who are helping us keep these gems running.
Look at it this way. By installing my insert, you can actually reinstall your detached bowls since my insert will keep everything from floating away now! Lol
I believe the bowls are there to keep fuel from sloshing too far away from the pick up when the tank is low.
I believe the bowls are there to keep fuel from sloshing too far away from the pick up when the tank is low.
Based in the design of the spiral passage around the bowl as seen above, this makes sense to me.
A number of OEMs do something along those lines, to prevent fuel starvation when cornering hard, or during acceleration when the tank is relatively empty.
I'll be looking into this for my car, as I drain the skunky ten year old fuel and start replacing the aging bits.
Look at it this way. By installing my insert, you can actually reinstall your detached bowls since my insert will keep everything from floating away now! Lol
I believe the bowls are there to keep fuel from sloshing too far away from the pick up when the tank is low.
I actually thought about using the insert to keep it from floating away, BUT, it might slide the bowl too far off center and prevent the sending unit from lining up. Not sure. Need to test more.
I really want to have the bowl in place, as it was designed, but not sure how I can possibly make it adhere to the bottom of the tank.
Bauer can you please add details on how this insert is supposed to work,
Was the intent to have it pass through the white plastic part then into the outlet port?
Is the white plastic supposed to be removed first?
did your tank have this white plastic insert in place when you installed yours???
This seems like a simple installation but sending a detailed instruction sheet with the insert would be most helpful, adding pictures is even better. also any lil bits of info you have learned
I have not attempted to use the insert I got,
and really have no idea on what your installation process is,
or what issues I might have or how to place it,
or what tools your suggesting to use or anything else but what I read here.
NOTE as an end user this isnt the best way to sell parts.
Murphys law if it can be installed the wrong way it will be.
As an example when I get a Greg Brown part it comes with a page of installation instructions and pictures to aid in the correct installation of the part.
This gives the end user a better chance of installing the part in the proper location with all of the intent that the designer had when they made it.
I am asking this because I am sure their are others in the same boat trying to figure out how to properly use / install this cool part. and they might not be on Rennlist to read this post.
Or for example this part might be dropped off with the owners mechanic and then he is tasked with installing it .
Thanks for your consideration.


 08-25-2018, 08:18 PM


 George Layton March 2014