When you click on links to various merchants on this site and make a purchase, this can result in this site earning a commission. Affiliate programs and affiliations include, but are not limited to, the eBay Partner Network.
while installing fuel strainer the threaded insert spun. I purchased the insert from Roger and am attempting to install it. The issue I am running into is that the new threaded insert is up against the wall of the yellow plastic sump in bottom of tank but doesnt extend far enough into the outlet neck to allow the strainer to thread into the insert.
Plastic sump in bottom of tank
Here is picture of the gap between the yellow sump and wall of actual fuel tank. The gap is about 9-10mm
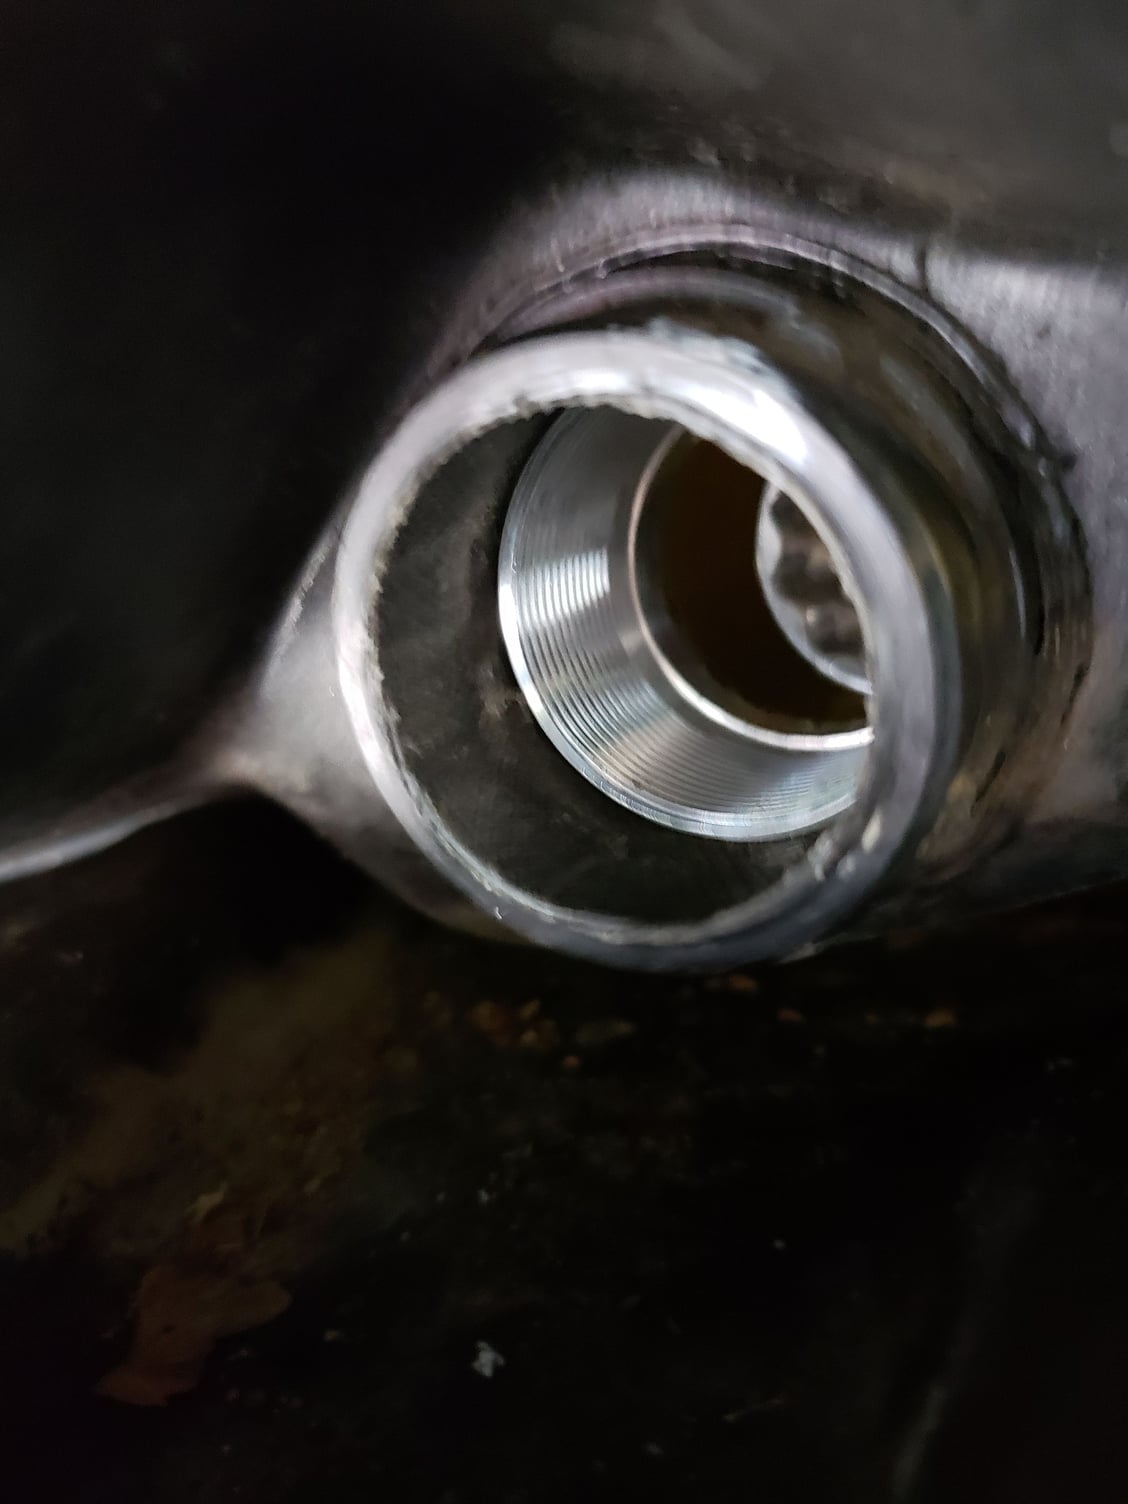
Pic showing outlet neck and the inner yellow sump. Again, gap is about 9-10mm
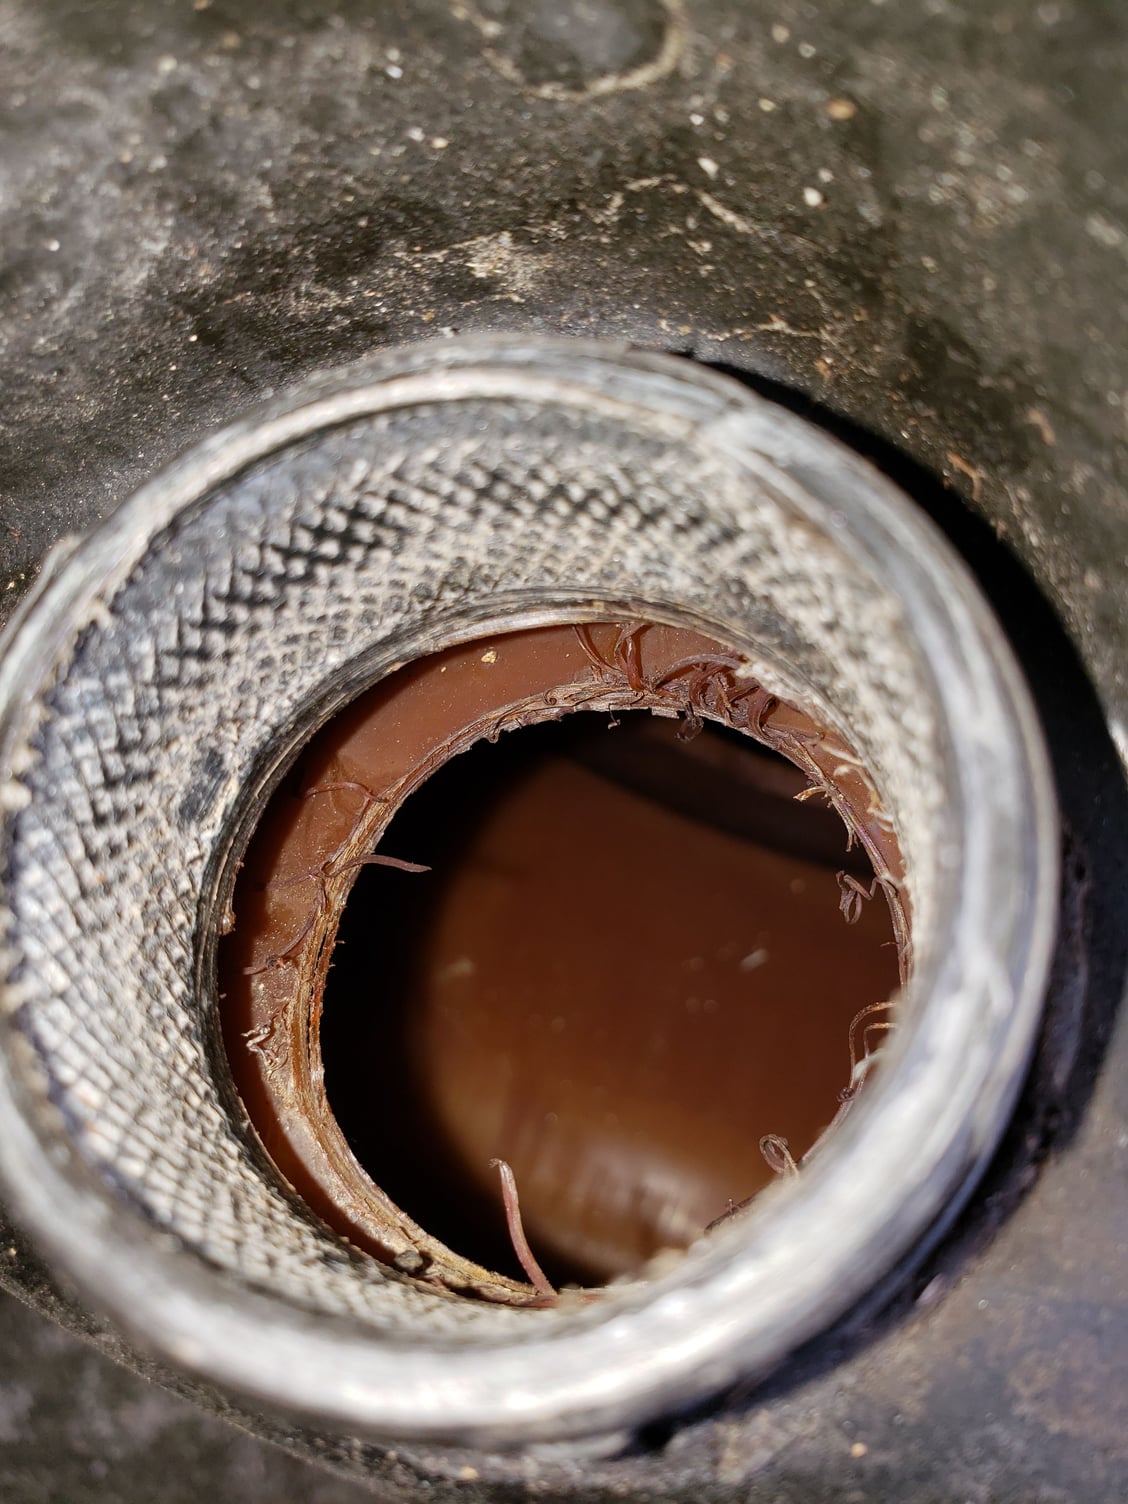
Here is pic of the threaded insert in the tank, its thru the hole in the yellow sump but barely enters the outlet neck.
it would seem that the threaded insert should be against the sidewall of the tank vs the inside of the yellow sump piece at bottom of tank so that the gasket on threaded insert and gasket on strainer would seal against each other.
I'm sure I'm missing something, any help appreciated.
Looks like someone took a hole saw to that inner portion of the tank. It should not be like that. I’m guessing that the piece in there rotated and someone put it in wrong.
Looks like someone took a hole saw to that inner portion of the tank. It should not be like that. I�m guessing that the piece in there rotated and someone put it in wrong.
Sean, I checked another spare tank which has the original insert removed and it has the same separation between inner and outer tanks at the outlet neck. I'm not sure how the inner portion could be spun as it has 6 spot welds in bottom.
You have to pull it further through.
How are you pulling it into place?
Also, how are you ensuring the "finger" isnt resting in the wrong position? If it's facing downward, it wont seat properly or deep enough
I put a toggle bolt thru center and used that to pull both sides in evenly. The finger was down and pointed at the 4 o'clock position. It was my understanding that would keep it from spinning while threading the strainer in. I will adjust finger to 12 o'clock and see if that makes a difference.
I put a toggle bolt thru center and used that to pull both sides in evenly. The finger was down and pointed at the 4 o'clock position. It was my understanding that would keep it from spinning while threading the strainer in. I will adjust finger to 12 o'clock and see if that makes a difference.
The position of the finger is 100% your problem. When you torque your strainer to spec(I think it's like 18in/lbs) the finger will spin around and rest on the inside of the tank. When seating the new insert, the finger needs to be in the upward position,
Thanks, will make sure finger is pointed up and give it another go in the morning. Pretty sure it wont come thru as it wont get past the inner part of the tank. As shown in my photo above there is a double wall due to the brown sump that sender sits in.
Thanks, will make sure finger is pointed up and give it another go in the morning. Pretty sure it wont come thru as it wont get past the inner part of the tank. As shown in my photo above there is a double wall due to the brown sump that sender sits in.
The inside of the tanks are all the same, I promise you. They all have that gap. Once everything is seated, and the finger is in the proper position, it will all work out.
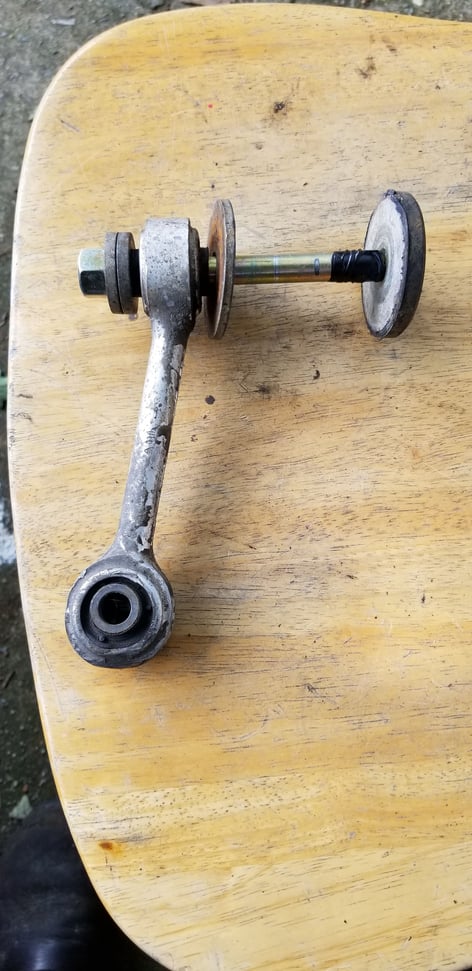
Today we replaced the insert with the gas tank installed. After a couple of failed attempts we used the following rube Goldberg device to pull the threaded collar into position. The bolt and huge washer are inserted from inside the tank, the additional washers and rear lower suspension bit takes up the un-threaded portion of the partial bolt. Another victory for shade-tree and hillbilly mechanicing.
I've only ever installed them with the tank still mounted in the car. The next time I install one, I'll make a video.
It literally takes me 10 minutes to install one now.
I am glad that worked for you and look forward to the video. But, there was no way the insert would simply pull into position. Ask Kevin.
For us the insert stopped at the inner bowl with the tool at 12 o'clock. It simply could not be cajoled into position.
I designed it to not just simply pull into position. I needs to be drawn in exactly the way you did it. With a collection of washers and a threaded rod.
Once you got it seated and in place, everything worked out?

 08-18-2018, 03:10 PM