When you click on links to various merchants on this site and make a purchase, this can result in this site earning a commission. Affiliate programs and affiliations include, but are not limited to, the eBay Partner Network.
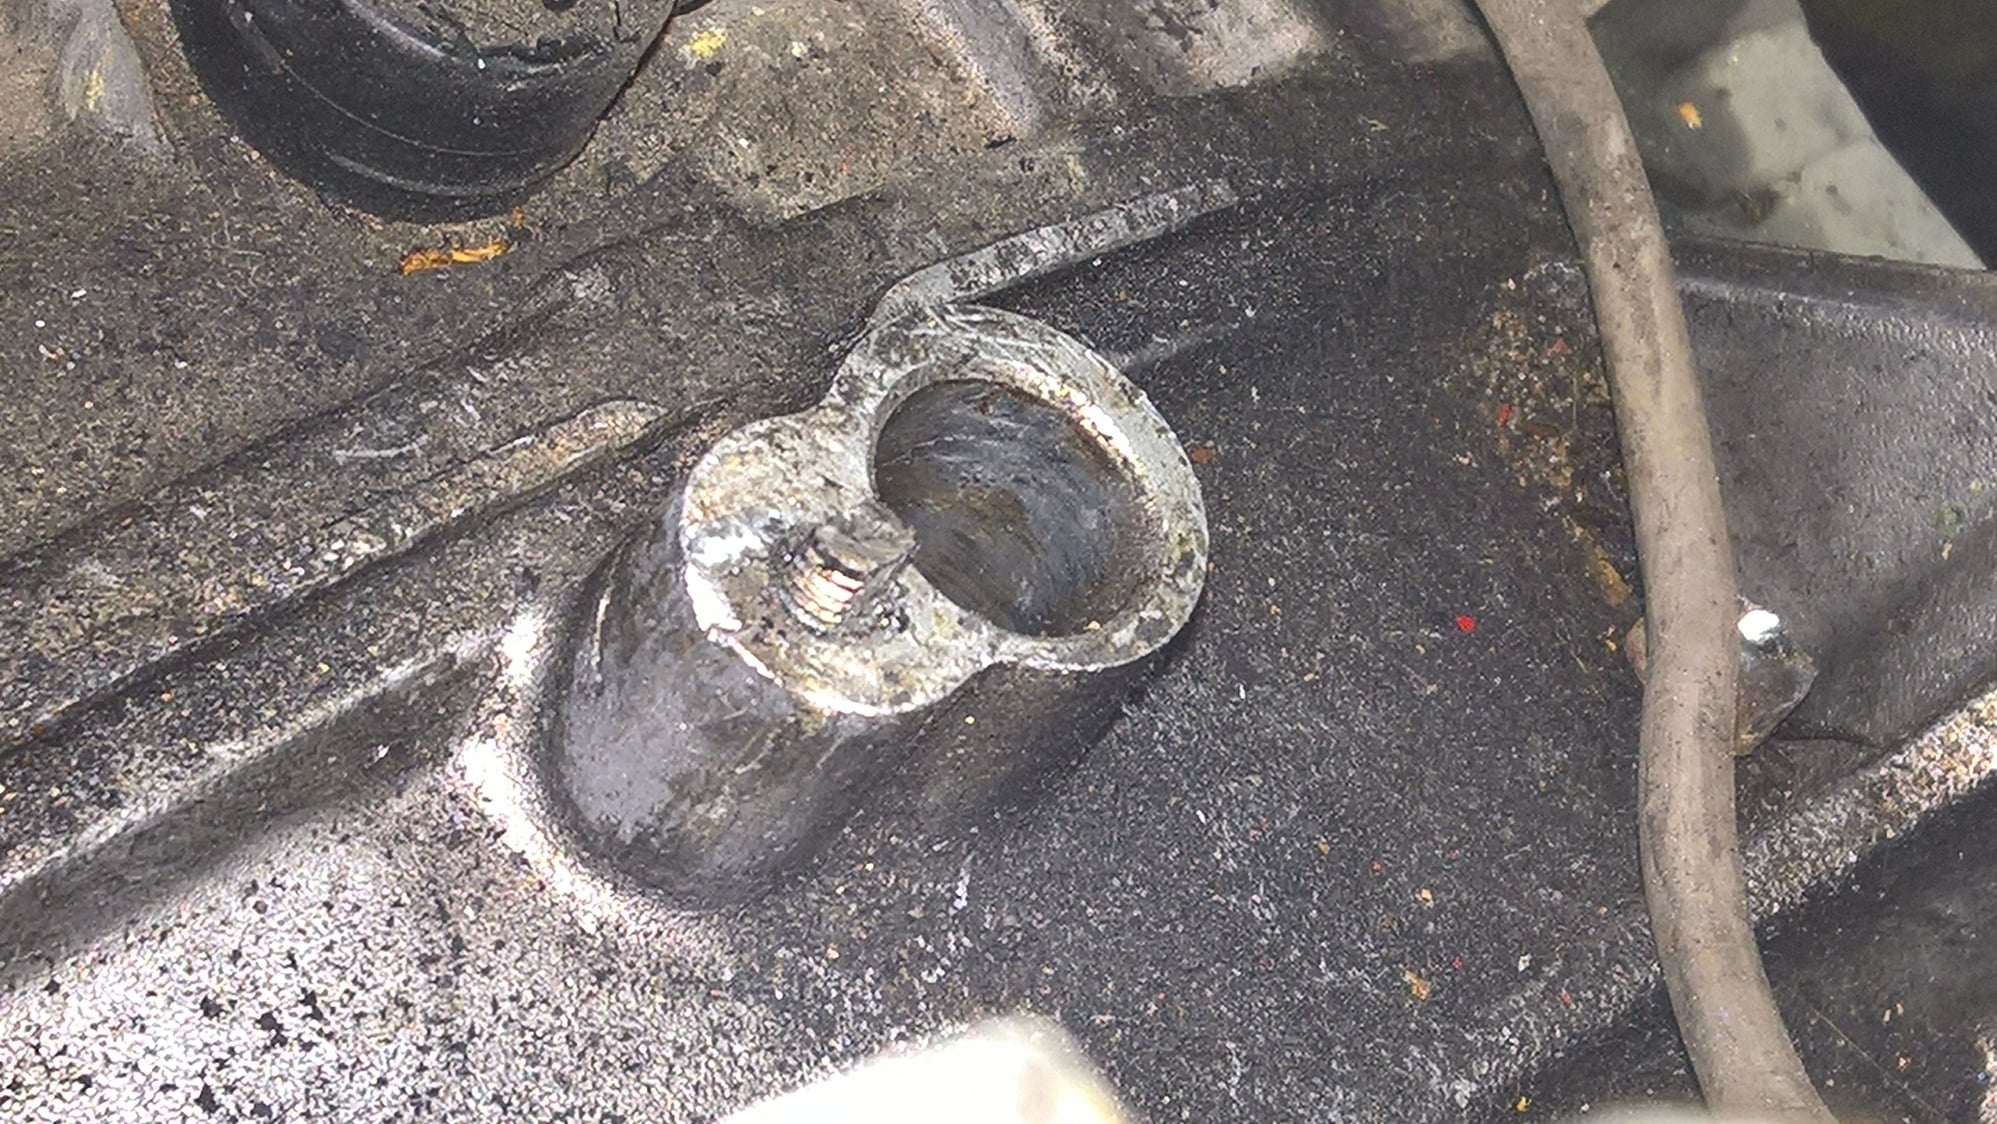
I'm replacing the CPS on my 86.5 and the hex head stripped out so I drilled the head off and the CPS came out pretty easily. Now I have a stud exposed a little less than a 1/4". I used a Dremel to flatten two sides, but even with a propane torch on the riser and PB Blaster soaking, I can't get it to turn. I'm using a small pair of vice grips. There's not much room to get anything else down there. The metal of the bolt seems pretty soft and the teeth of the vice grips just chew into the bolt as I turn it.
Now I'm thinking about cutting the bolt off flush and using a bolt extractor (reverse drill bit and matching extractor bit) to get it out. Any ideas?
put a nut on the stud, and weld the nut to the stud it will come out,
use Mapp gas to preheat the area.
Drain the block for maximum working time as the coolant will quickly cool the aluminum
Mapp gas is propane on steroids. It is comprised of methylacetylene-propadiene propane. It burns just under the temp of acetylene when combined with pure oxygen @ 5300F vs 5800F.
You can get it and a torch tip at home depot or any other hardware store really.
I would suggest you want to isolate the electronics anytime you're arc welding anything Don. Not that much additional time and effort to pull the negative post on the battery and unplug and remove the brains before you start.
what Rob said about the electronics ,
and what Blake said about the Mapp gas,
it comes in yellow tanks.
A stick welder with a learners permit might not be how i would go here,
better to get mig welder with experience.
Use wet rags around the lines so they dont get heat damage
I would grind it flat, center punch it being careful to make sure it's centered then drill it out in steps until you can use the reverse bit then retap with a bottoming tap.
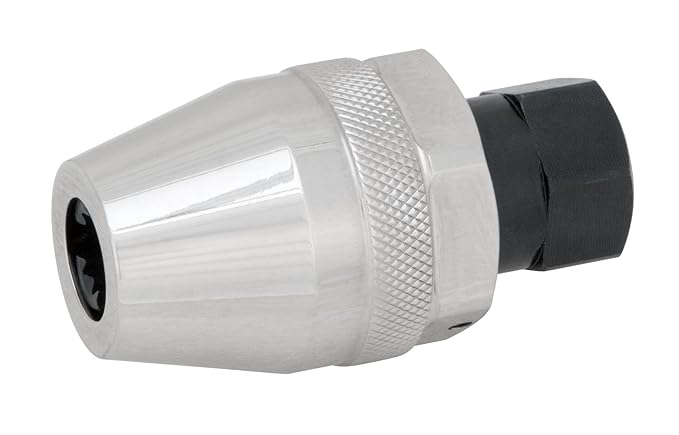
I used this to extract a sheared off cam cover bolt that I couldn't get off with vise grips, heating, or cooling with dry ice. It says it only goes down to 1/4" and the cam cover bolt was 5mm so I disassembled it an ground down the fingers so it would go smaller. It works like a drill chuck with three toothed pawls that grip the bolt when you turn it counter clockwise. Used it with a HF impact gun and the bolt came right out.
I used this to extract a sheared off cam cover bolt that I couldn't get off with vise grips, heating, or cooling with dry ice. It says it only goes down to 1/4" and the cam cover bolt was 5mm so I disassembled it an ground down the fingers so it would go smaller. It works like a drill chuck with three toothed pawls that grip the bolt when you turn it counter clockwise. Used it with a HF impact gun and the bolt came right out.
https://www.amazon.com/gp/product/B0...?ie=UTF8&psc=1
Performance Tool W83203 Damaged Bolt and Stud Extractor Tool Grips & Removes 1/4 to 1/2 Studs, Ideal for Broken, Rounded Off, Painted Over & Rusted Tight Bolts
Thanks, That looks like a tool I should own whether it works in this situation or not. Since I ground two sides of the bolt flat, it may not have it as much surface to grip to, but I'll give it a try. Amazon Prime should have it to me by Thur.
I used this to extract a sheared off cam cover bolt that I couldn't get off with vise grips, heating, or cooling with dry ice. It says it only goes down to 1/4" and the cam cover bolt was 5mm so I disassembled it an ground down the fingers so it would go smaller. It works like a drill chuck with three toothed pawls that grip the bolt when you turn it counter clockwise. Used it with a HF impact gun and the bolt came right out.
https://www.amazon.com/gp/product/B0...?ie=UTF8&psc=1
Performance Tool W83203 Damaged Bolt and Stud Extractor Tool Grips & Removes 1/4 to 1/2 Studs, Ideal for Broken, Rounded Off, Painted Over & Rusted Tight Bolts
Thanks for that one, always in need of new cool tools.
It is actually very well made. Heavy. And like I said, if you have snap ring pliers and a grinder you can disassemble it and grind the edges of the pawls till you can grip smaller screws. You have to trim the springs in there too, since they will only compress so small, it wasn't hard by any stretch. Took me about 20 min to complete. Maybe I should do a video on it.
Last edited by Waldo928; May 1, 2018 at 12:25 PM.
Reason: additional info
I'm out of town right now so I can't go get mine to look at, but at the back of the tool there is a spring clip that keeps the center (socket part) from coming all the way out. I think I used a small flat screwdriver to pop it out of the groove. Then you can unscrew the socket section and get to the pawls. They will just fall out. The tool is made with a total of 9 parts: case, socket screw, spring clip, three pawls, three compression springs. The picture of it made me remember, there is a hole drilled in the side of the "case" that you can use to pop the clip out. Slide the clip around until one of the ends is lined up with the hole. Then use an awl or some other rod to poke through the hole to get the spring clip started out of it's groove. Then you can get the flat screwdriver behind it and pop it out the rest of the way.
Last edited by Waldo928; May 3, 2018 at 10:35 PM.
Reason: more info
I got the clip out. There's a small hole on the side where you can push the clip in so you can pry it out with a small screw driver. I disassembled and ground the sides down on all 3 teeth and cut about 1/16" off each spring. Put it all back together but in my case it didn't work. I think since I had already ground two flat sides on the bolt, there just wasn't enough to grab on to. I used propane to heat it up for 4-5 min. (Home Depot was out of the Mapp kit I wanted) It's still a great tool to have on hand. Guess I'll be using the reverse drill bit next.
Last edited by Don Carter; May 4, 2018 at 11:10 PM.