When you click on links to various merchants on this site and make a purchase, this can result in this site earning a commission. Affiliate programs and affiliations include, but are not limited to, the eBay Partner Network.
I've read through many posts on this site and have not found a solution or this exact problem that has been posted so please excuse me if I'm being stupid or redundant. Thanks
I recently purchased a 79 Porsche 928 that appeared to be mechanically sound and had a lot of work recently done to it. Shortly after buying it I was forced to brake hard and almost crashed into the car in front of me, the brakes felt fairly firm but none of the wheels locked up. If I pull the emergency brake the rear wheels will lock up. I’ve experienced brake problems in the other cars before but it was always accompanied by squishy brake pedal. Also, it does not pull to left or right when braking. Below is the list of things I’ve done so far in order.
1. Replace brake pads then bleed brakes (two man method) brakes appear to be a little worse now.
2. One week later bleed brakes again. Brakes are very firm until engine is started then pedal drops a
couple inches.
3. Replace master cylinder with new unit $300.00 Bleed again. No change.
4. Test brake assist from what I read online. Hold brake pedal down then start engine, pedal
depresses around two inches and lifts back up when engine is stopped. Engine rpm stays steady
when brake is pressed but I can hear a faint hissing from under dash.
5. Jack up rear of car and bleed brakes again. Jack of front of car bleed brakes again. No change.
6. Replace all four brake lines at calipers with new lines and bleed again. Slight improvement but will
not lock up wheels.
I’m becoming very frustrated with this car I’ve never had this much trouble with brakes before. I have not replace the rotors yet, they are a little worn and smooth but should still function. Right? I also have not replace the vacuum assist unit because of the test previously mentioned.
After I removed the master cylinder I noticed it was a newer unit so the person before me had changed it as well, probably as frustrated as me and sold the car. Is it possible one or both of brake pressure regulators is failing and is causing the lack of brake hydraulic pressure or is there still air in the lines that I cannot remove with the method I’m using?
Any advice would be really appreciated, Thanks in advance.
Last edited by dbone996; 03-28-2018 at 02:55 AM.
Reason: New to site
lol, that is what they were like from the factory. Your brakes are fine. If not in better shape than most.
Upgrade to a set of Hawk HPS pads or another aggressive pad of your choice.
I could literally stand on the brakes in my 81 and couldn't lock them during a high speed stop. This was with a new master and booster along with new stainless lines on all four corners.
I went all the way to 993 C2 calipers front and rear on my 81 with Ferodo DS 2500 pads to get the braking power I thought the car should have always had.
It bothered me that Porsche never stuck 930 calipers on the car when they had them and went for useless single piston floating calipers. Hell, the 914 got dual pistons calipers and it weighs almost half as much as a 928.
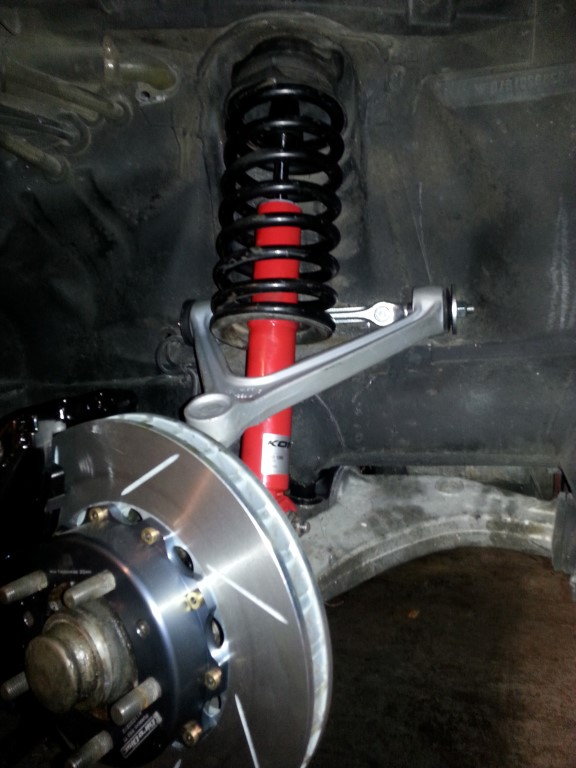
I just swapped out my 79 booster and MC the old 9 inch booster is now replaced with the 10 inch version,
the new booster also requires a new longer standoff to connect to the pedal pin, this part is installed after the booster is installed,
the original part is about 2 inches too short
BUT it is a lot easier to put the newer booster into the car than it is to remove the old part.
Reason is as the old part has a longer pushrod even after pressing the pushrod into the booster and clamping the rod on the MC side it was still a battle to get it out.
I also used a sledge hammer to modify a small section of the inner fender to add some clearance to the edge of the new booster. not much modding is needed
You can test if your booster is still working remove the small check valve from the port just in front of the booster check valve then see what your idle vacuum is
SB close to 20 inches ,
then remove the check valve from the booster then plug that and check it again, if it rises then the booster is leaking.
NOTE the 10 inch booster will provide more braking pressure and should allow for the brakes to be locked
NOTE I recommend to use DC111 on the new MC tank grommets so the new MC feed bores will not start corroding when the MC gets wet ,
also use it on the booster to MC seal.
NOTE if your old MC was leaking then the booster might be filled with brake fluid.
NOTE I also have new pads and SS flex lines.
NOTE bleed at the MC by opening each B nut start at the nut closest to the rear then work forward , Crack the B nut open then look for bubbles to stop coming out.
Then work to the proportioning valves B nuts. Once you have the lines bleed as best you can, then work at the wheels, use this sequence LF RF LR RR
it sounds like you need to put the car on jack stands and remove the wheels,
having a helper to assist you is a good thing.
I also suggest to use the ATE Gold fluid
you dont have much room to swing a hammer so the bigger it is the less force thats needed,
and only about 2 or 3 hits and the metal moves.
NOTE looking at the front of the booster with it installed,
the area I hit is about 3 to 4 O clock,
measure the boosters side by side,
the 10 inch is further away from the firewall that puts it closer to inner fender well,
thats the reason for the lil mod.
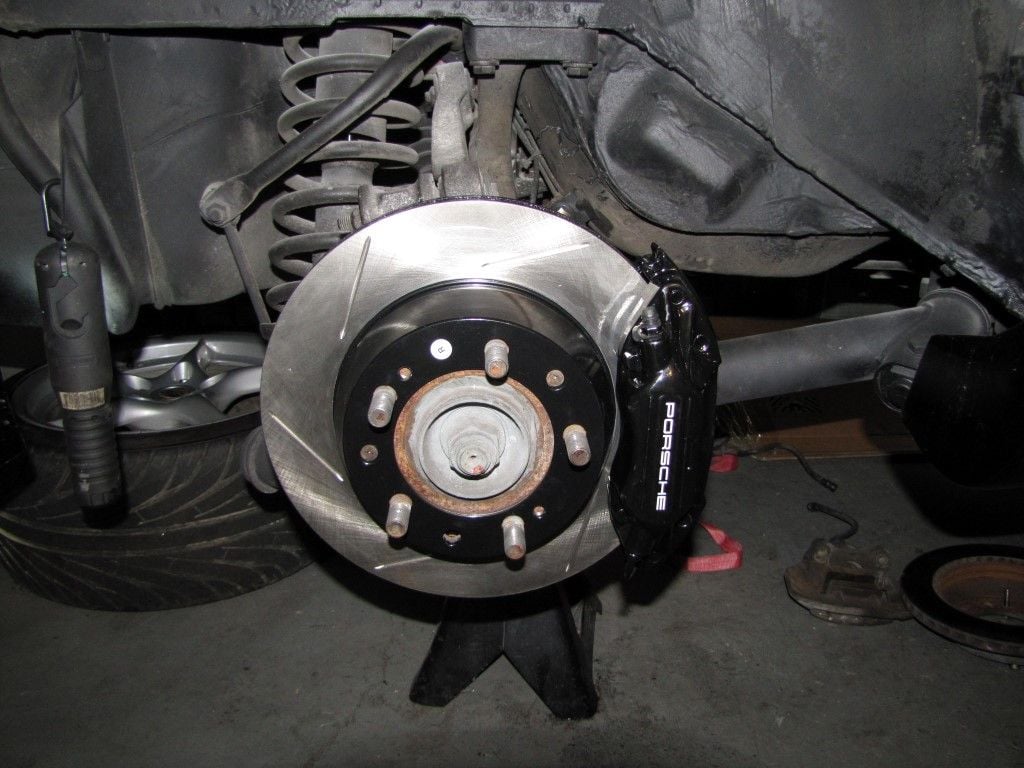
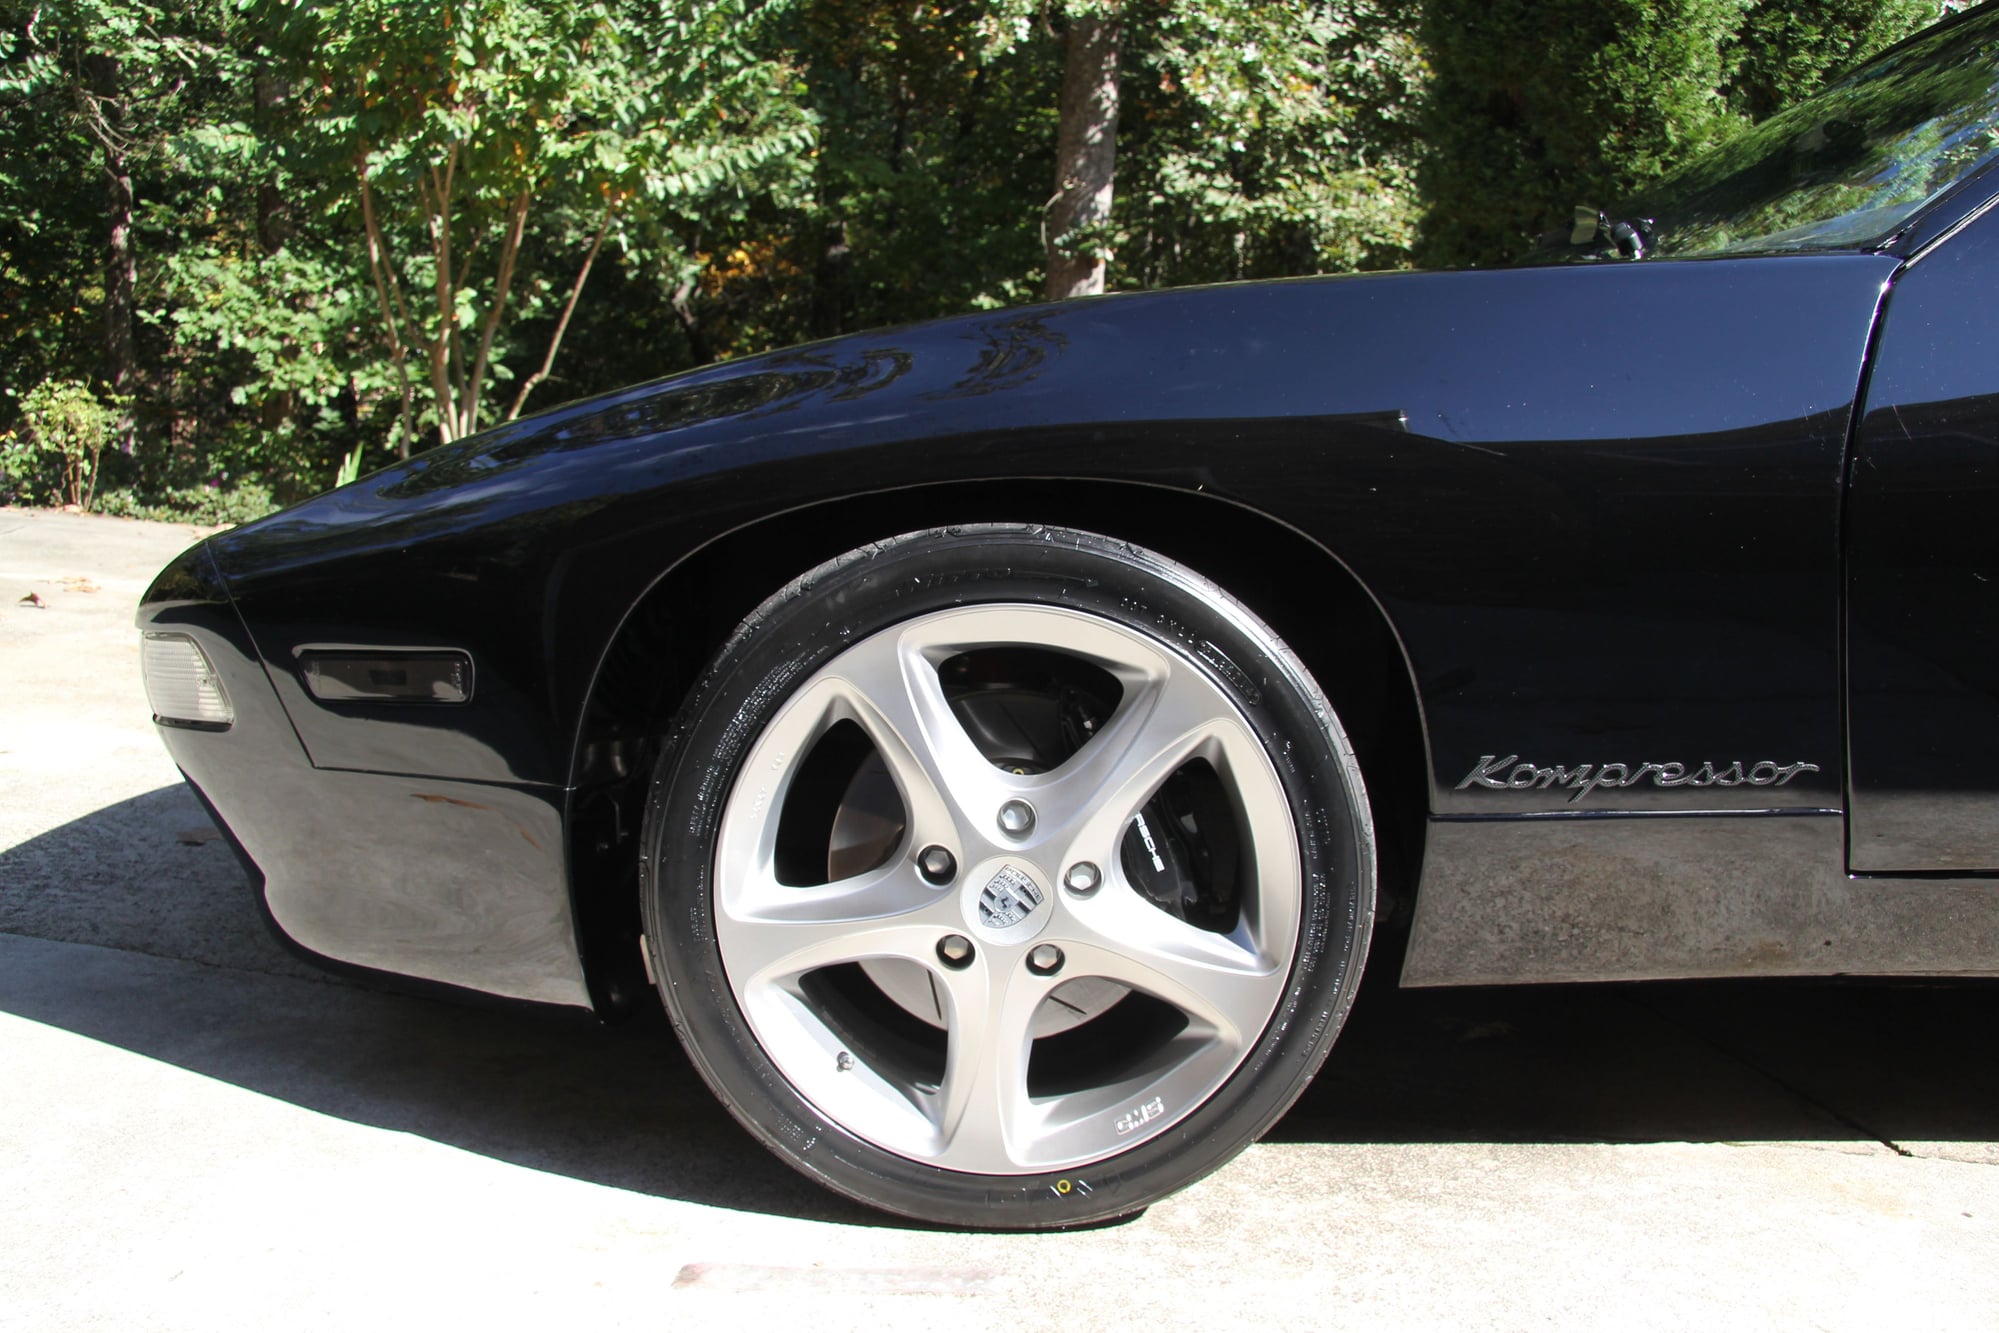
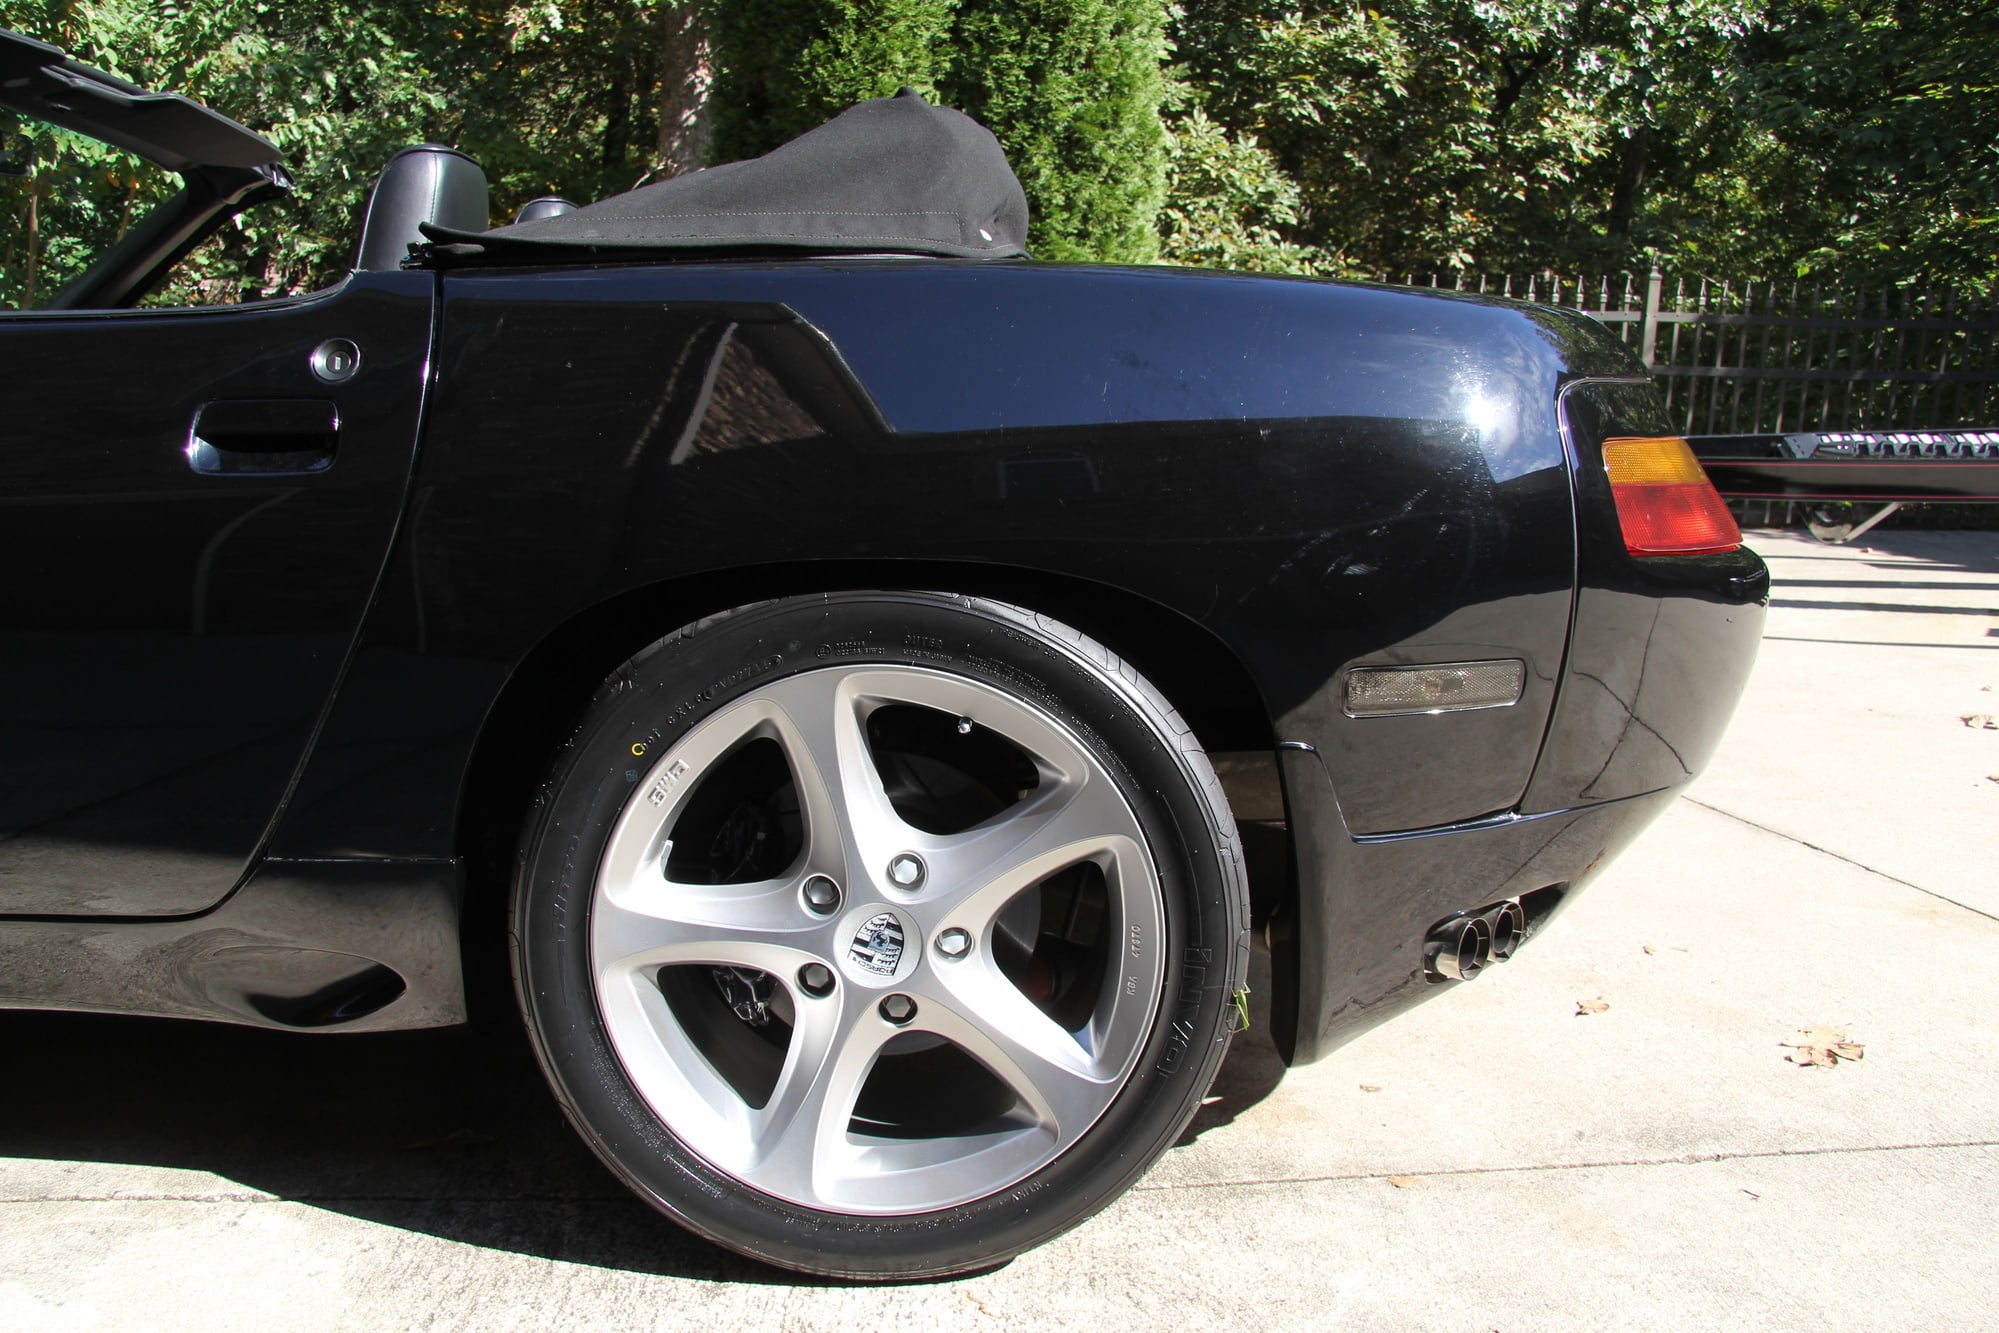
On my '79 I had Carl at 928 Motorsports fit 928 GTS Big Blacks with 2-piece slotted GiroDisc 993 TT rotors (to get the proper offset of the rotor into the caliper) in conjunction with his caliper adapters, along with stainless brake lines and Hawk HPS pads and I use Motul RBF600 fluid. On the rears I used S4/GT/GTS calipers with Powerslot slotted rotors and the black e-coat finish that complement the design of the front rotors. The braking on this car is phenomenal, and thank goodness.
On the way to SITM last year on the 2 lane road after exiting the interstate in Asheville, someone coming the other way decided he had enough room to pass the car in front of him and was coming head on toward us at about 100 yards with a combined closing speed of probably 125 MPH. This brake setup brought my car to almost a complete stop in probably 100' if not less, and the guy had enough time to get back into his lane before smashing into us.
A brake setup like this might be overkill until an event like this occurs and you need every bit of available stopping power, and then it's worth every penny. My son looked over at me and said "glad you upgraded the brakes" - me too buddy.
I'm running 18" wheels, so plenty of clearance for the supersized calipers - front rotors I think are 330 mm if I remember correctly.
Hooray painted rotor hats! Much better. Did I read recently about a rotor manufacturer supplying them ready painted?
you dont have much room to swing a hammer so the bigger it is the less force thats needed,
and only about 2 or 3 hits and the metal moves.
NOTE looking at the front of the booster with it installed,
the area I hit is about 3 to 4 O clock,
measure the boosters side by side,
the 10 inch is further away from the firewall that puts it closer to inner fender well,
thats the reason for the lil mod.
Stan, I definitely wasn't questioning your methodology and I understand the necessity of the mounting alteration. I just wanted the OP to be very careful while using the hammer in that area due to the damages that could result from an inadvertent hammer strike to the spider, throttle cable, vacuum line, fender lip, etc.
Thanks also for the follow-up post about what needs to be altered by the sledgehammer. When doing this kind of stuff, it's always great to know exactly what you're going to see, where you need to look, and what to expect when working in an area that is not familiar.
Your post hit the nail on the head. Sorry for that one
... I just wanted the OP to be very careful while using the hammer in that area due to the damages that could result from an inadvertent hammer strike to the spider, throttle cable, vacuum line, fender lip, etc.
Hammer (n) - Tool used to locate the most expensive component in the immediate area of the item intended to be struck.
NOTE the 10 inch booster will provide more braking pressure and should allow for the brakes to be locked
I've owned three 928's with early brakes (still have two) and I've never had the poor performance described by the OP. I even tracked my 81 at Road America (known for eating brakes) and the only issues I had was fade towards the last lap of a 20 minute session. Lack of cooling ducts wasn't helping things.......
I do not recall what pads I was using though. Possibly metal master blue. I don't think pagid orange is available for those calipers & that would have been my first choice.
My 79 has S4 calipers with the original 9" booster, zero braking issues on the track, ever. In fact multiple instructors who have driven my car have comment how nice the brakes are in my car.
Pad Choice = Pagid Orange.
I haven't been on the track in a while, next time on I'll switch to Hawk pads.
How about before we send someone down a rabbit hole of completely unnecessary modifications, we try and get his car working properly with the stock stuff. Making a change on top of a possible issue is only going to compound things.
When I bought my 80 the brakes were not right, immediately I suspected a booster issue so I swapped in a known good unit. While the system was apart, I also:
1. Rebuilt the calipers
2. Replaced the rubber lines with new rubber. Stainless not necessary
3. Sanded down the face of the pads
4. Installed new brake switches in the master (only a 78-80 thing)
5. Once together flushed a lot of fluid through each caliper using a Power Booster. Once complete, and pressure still applied, I bled the clutch for good measure.
What pads did you install?
If a known good booster had not been available locally like it was, my plan was to have White Post Restorations rebuild mine. In a perfect world, it would be ideal to have the master & booster rebuilt at the same time. In fact, White Post will only do them as a pair anyway.
Yes, I would rebuild them over buying new.
FWIW you can only buy a new 10inch booster , the 9 inch was superseded by the factory to increase the braking force.
NOTE this booster modification only pertains to 78 and and some 79 machines,
after a certain SN the 10 in booster was standard.
Adding in S4 calipers to an otherwise early hydraulic braking system should provide more braking force,
as the swept area is a lot bigger then the early caliper/rotors/ pads system
Pagid Orange pads are great for track .

 03-28-2018, 02:41 AM