When you click on links to various merchants on this site and make a purchase, this can result in this site earning a commission. Affiliate programs and affiliations include, but are not limited to, the eBay Partner Network.
Does any one have a picture of how the large board is orientated to cover the CE Panel. Mine has a big metal curved foot sticking out on one side. I don't remember how it was positioned in the car. At my age I'm lucky to remember anything.
Thanks it's an 89
my 90 model is just a piece of wood cut to the shape
Yep. Our '90 (and '93) are what you described, while our '88 s4 is the hinged panel with a fixed lower board that Rob pictured. I think we've got it bracketed...
That's not the only place they put wood....the backs of the rear seats I believe are wood also, must have hired some guys from the old Morgan Car company back then to do the interior
this wood is non conductive and will support a person standing on it,
thus is a good way to cover a complex electrical component with an irregular surface.
The guys that made the wood panels were from the Fokker plant. LOL
The big concern with placing the panels is to make sure you dont pinch any wires,
if the wires wont lay flat away from the CE panel supports then zip tie them.
more than a few times a pinched wire will finish off a otherwise perfectly working repair
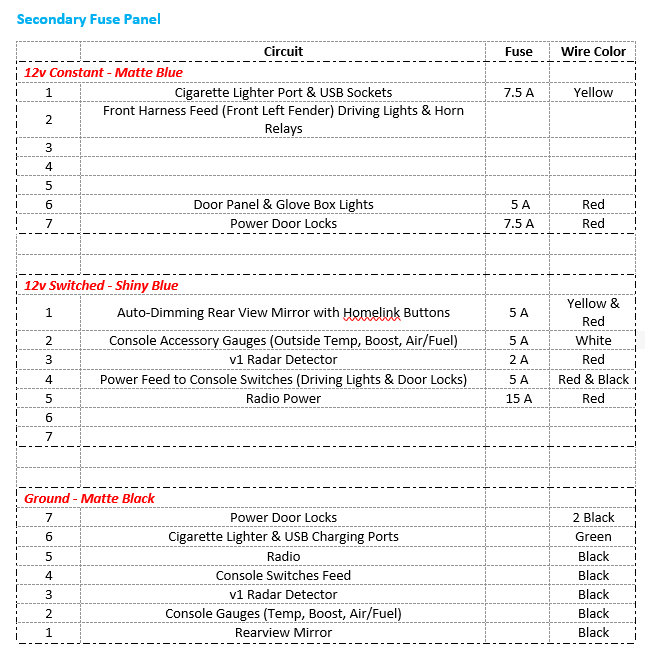
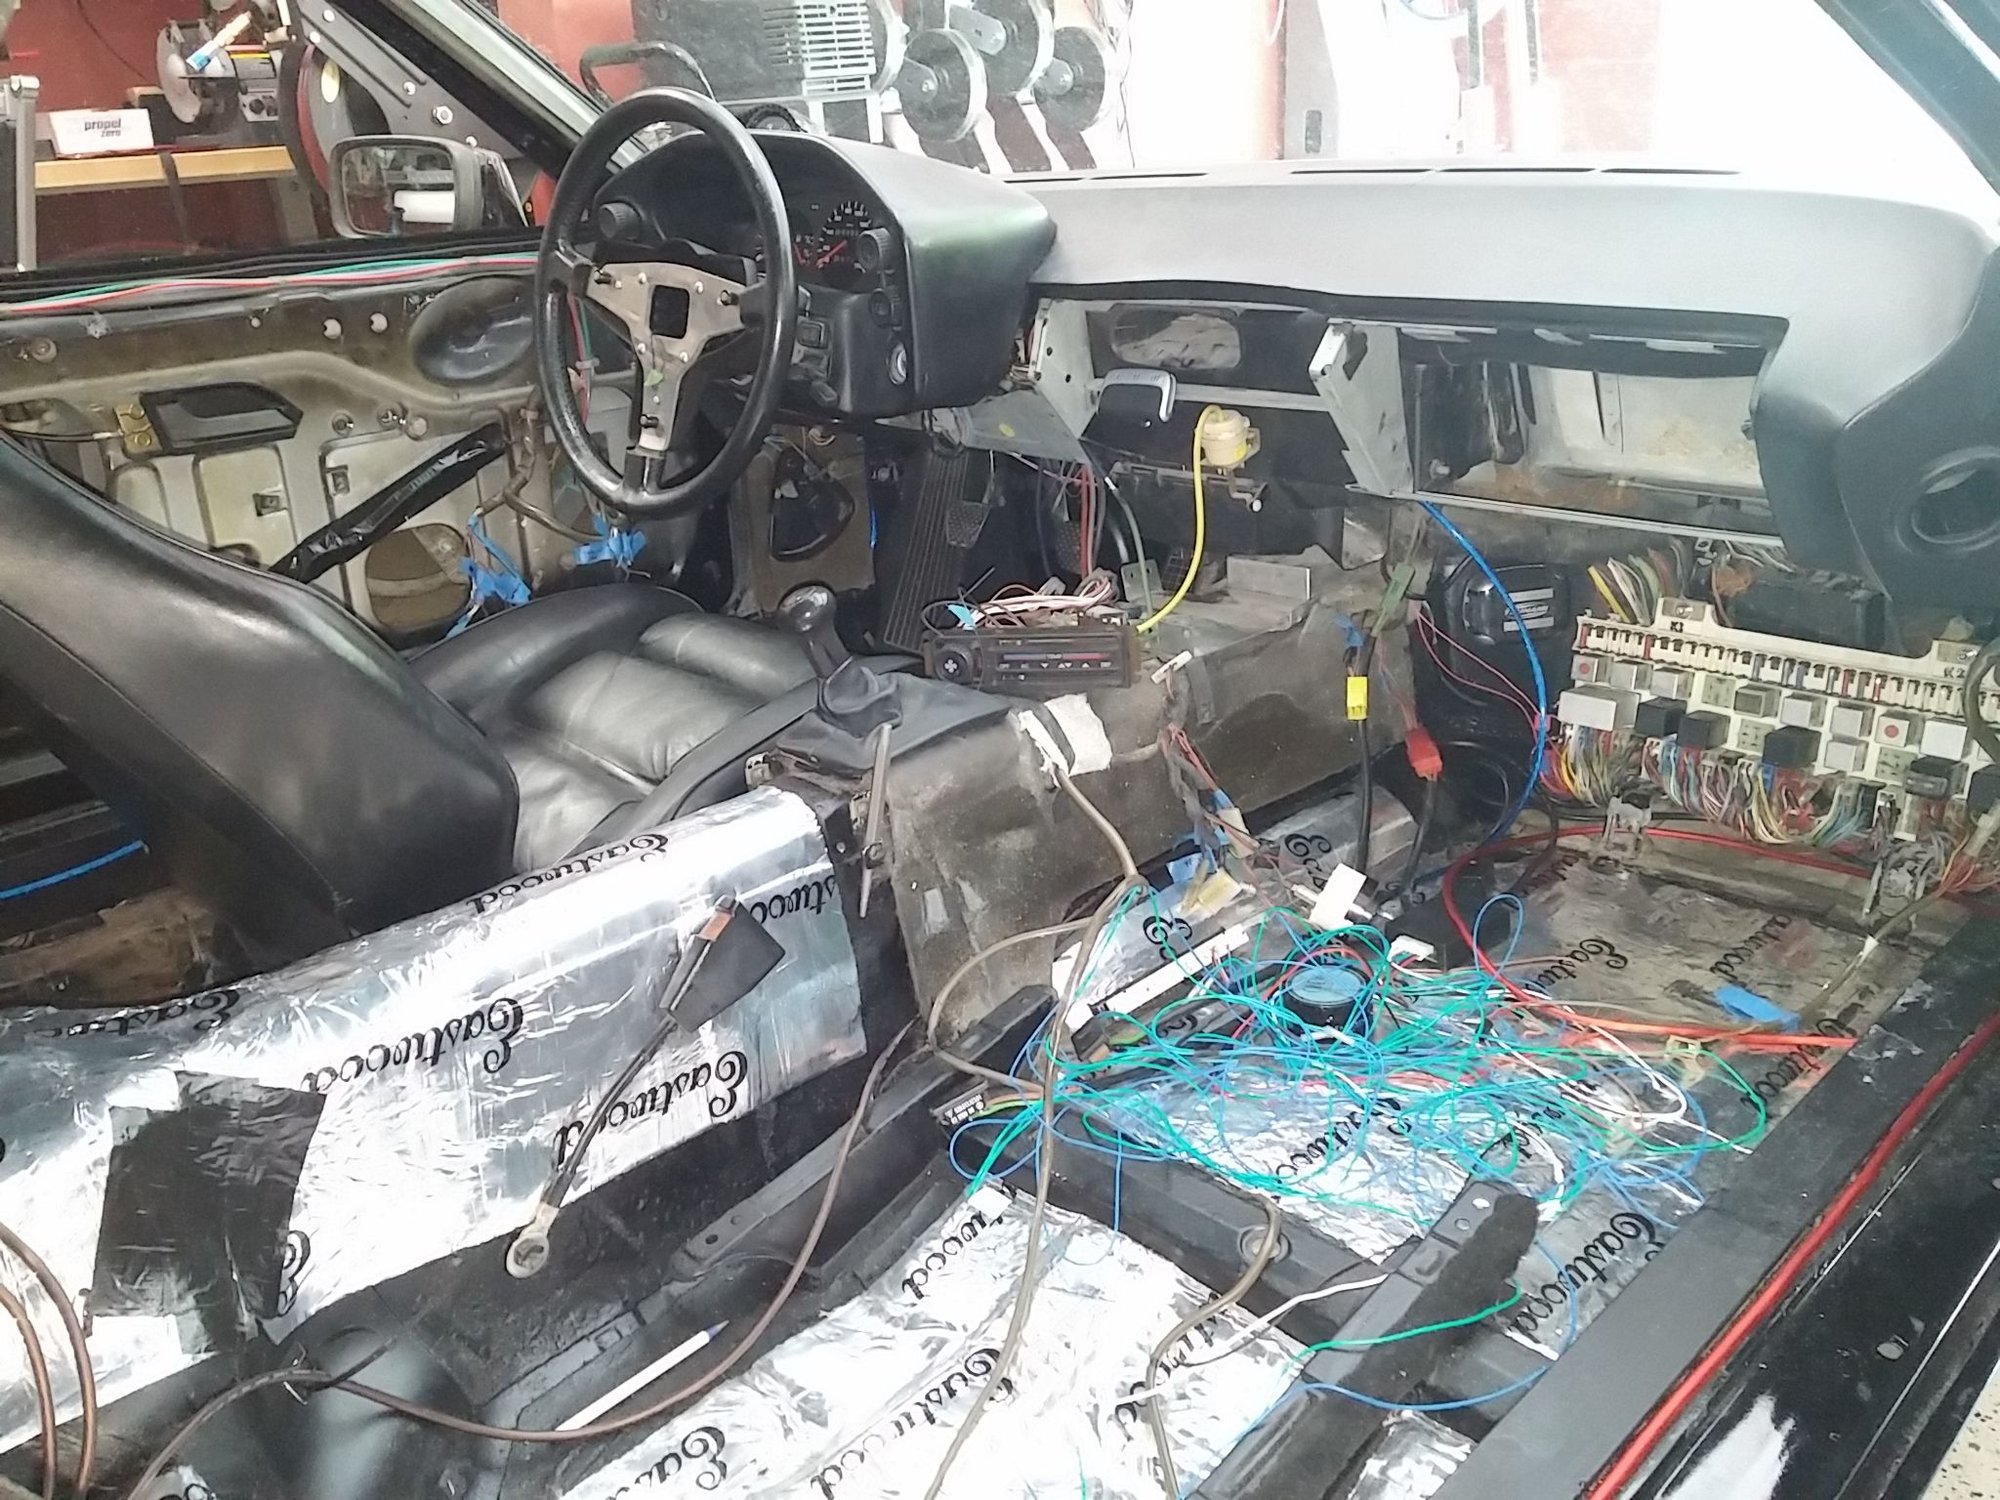
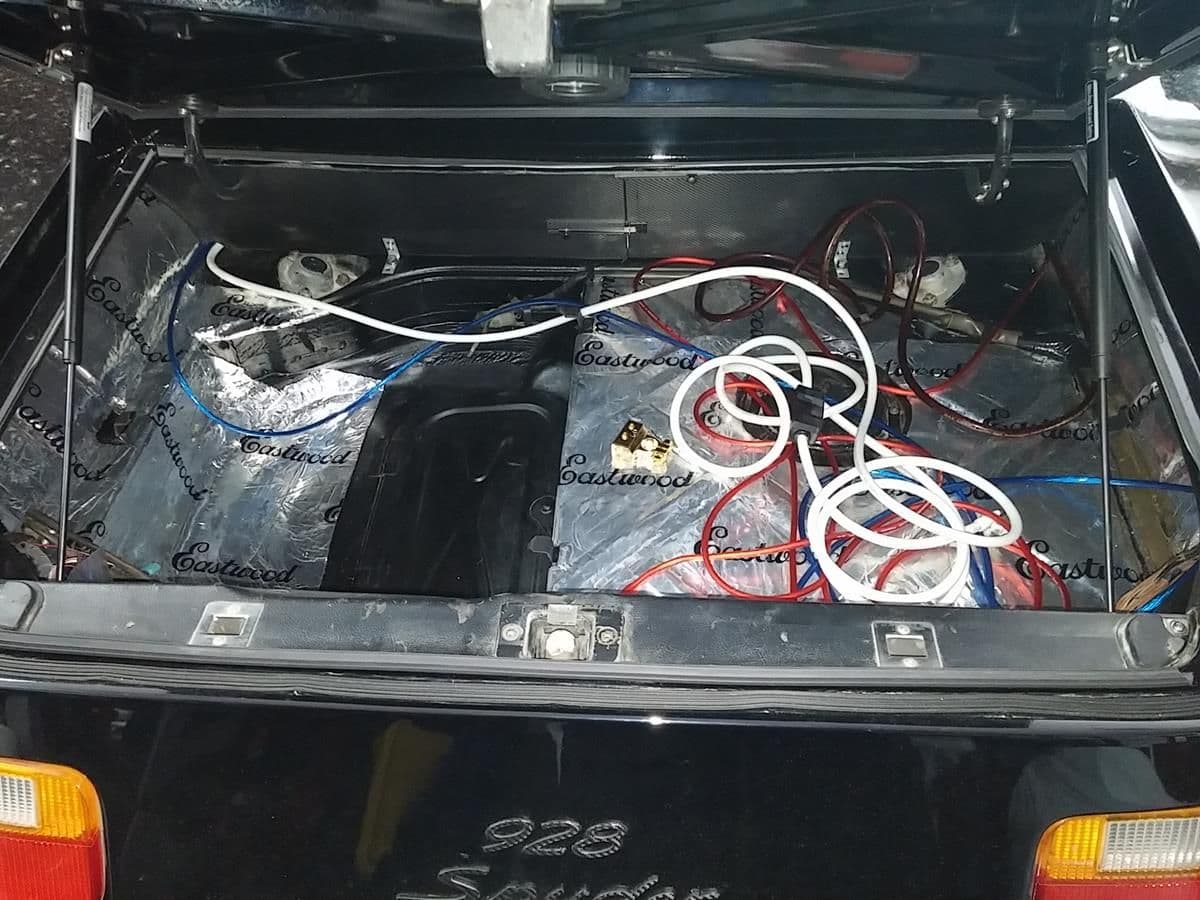
When I did my Spyder build, I was adding some newer electircal tech and didn't want to bastardize the factory fuse & relay panel, so I added an auxiliary fuse box just to the left of the factory one that has one side for switched 12v circuits and another side for constant 12v circuits along with their corresponding grounds. I created a manual of sorts for all the mods I did to the car so that the next owner (probably my son at some point) will be able to trace and troubleshoot what Dad did way back when. I ran 3 heavy gauge wires directly from the rear battery - one connects to an 80 Amp SPDT relay that gets a trigger signal from 1 switched wire on the factory fuse panel then draws power through the heavy gauge wire to that side of the auxiliary fuse box - the other 12v heavy gauge wire feeds the constant side of the 12v fuse panel and the 3rd heavy gauge wire is a ground.
Here's a snapshot of the wiring guide I made that's part of what I call the Modifications Manual that stays in the glovebox of the car.
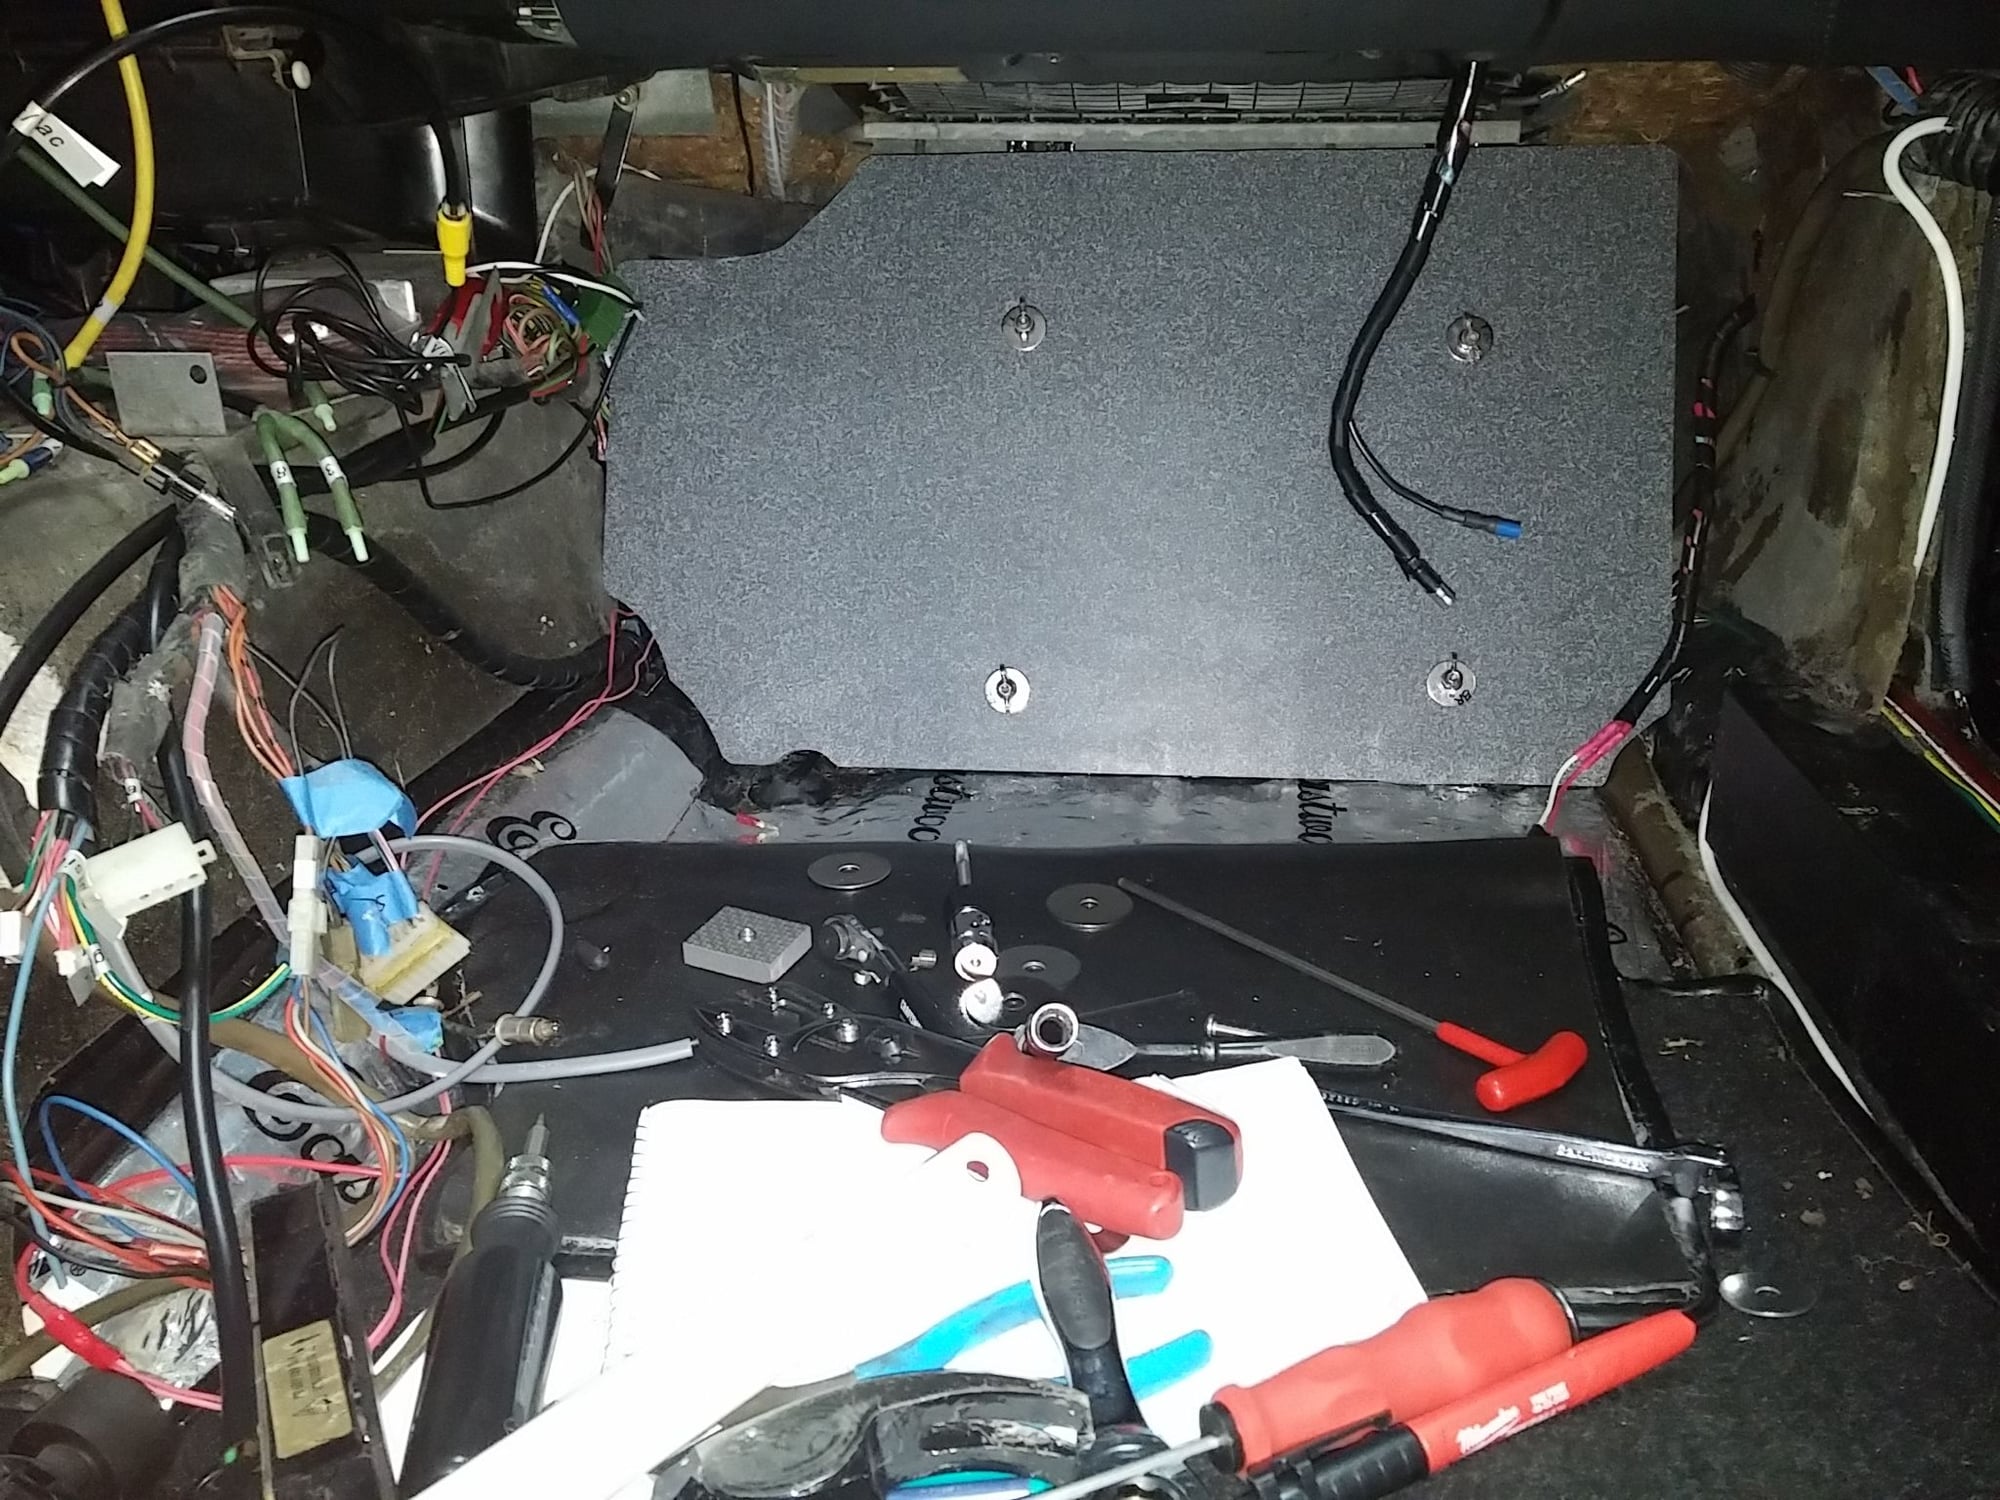
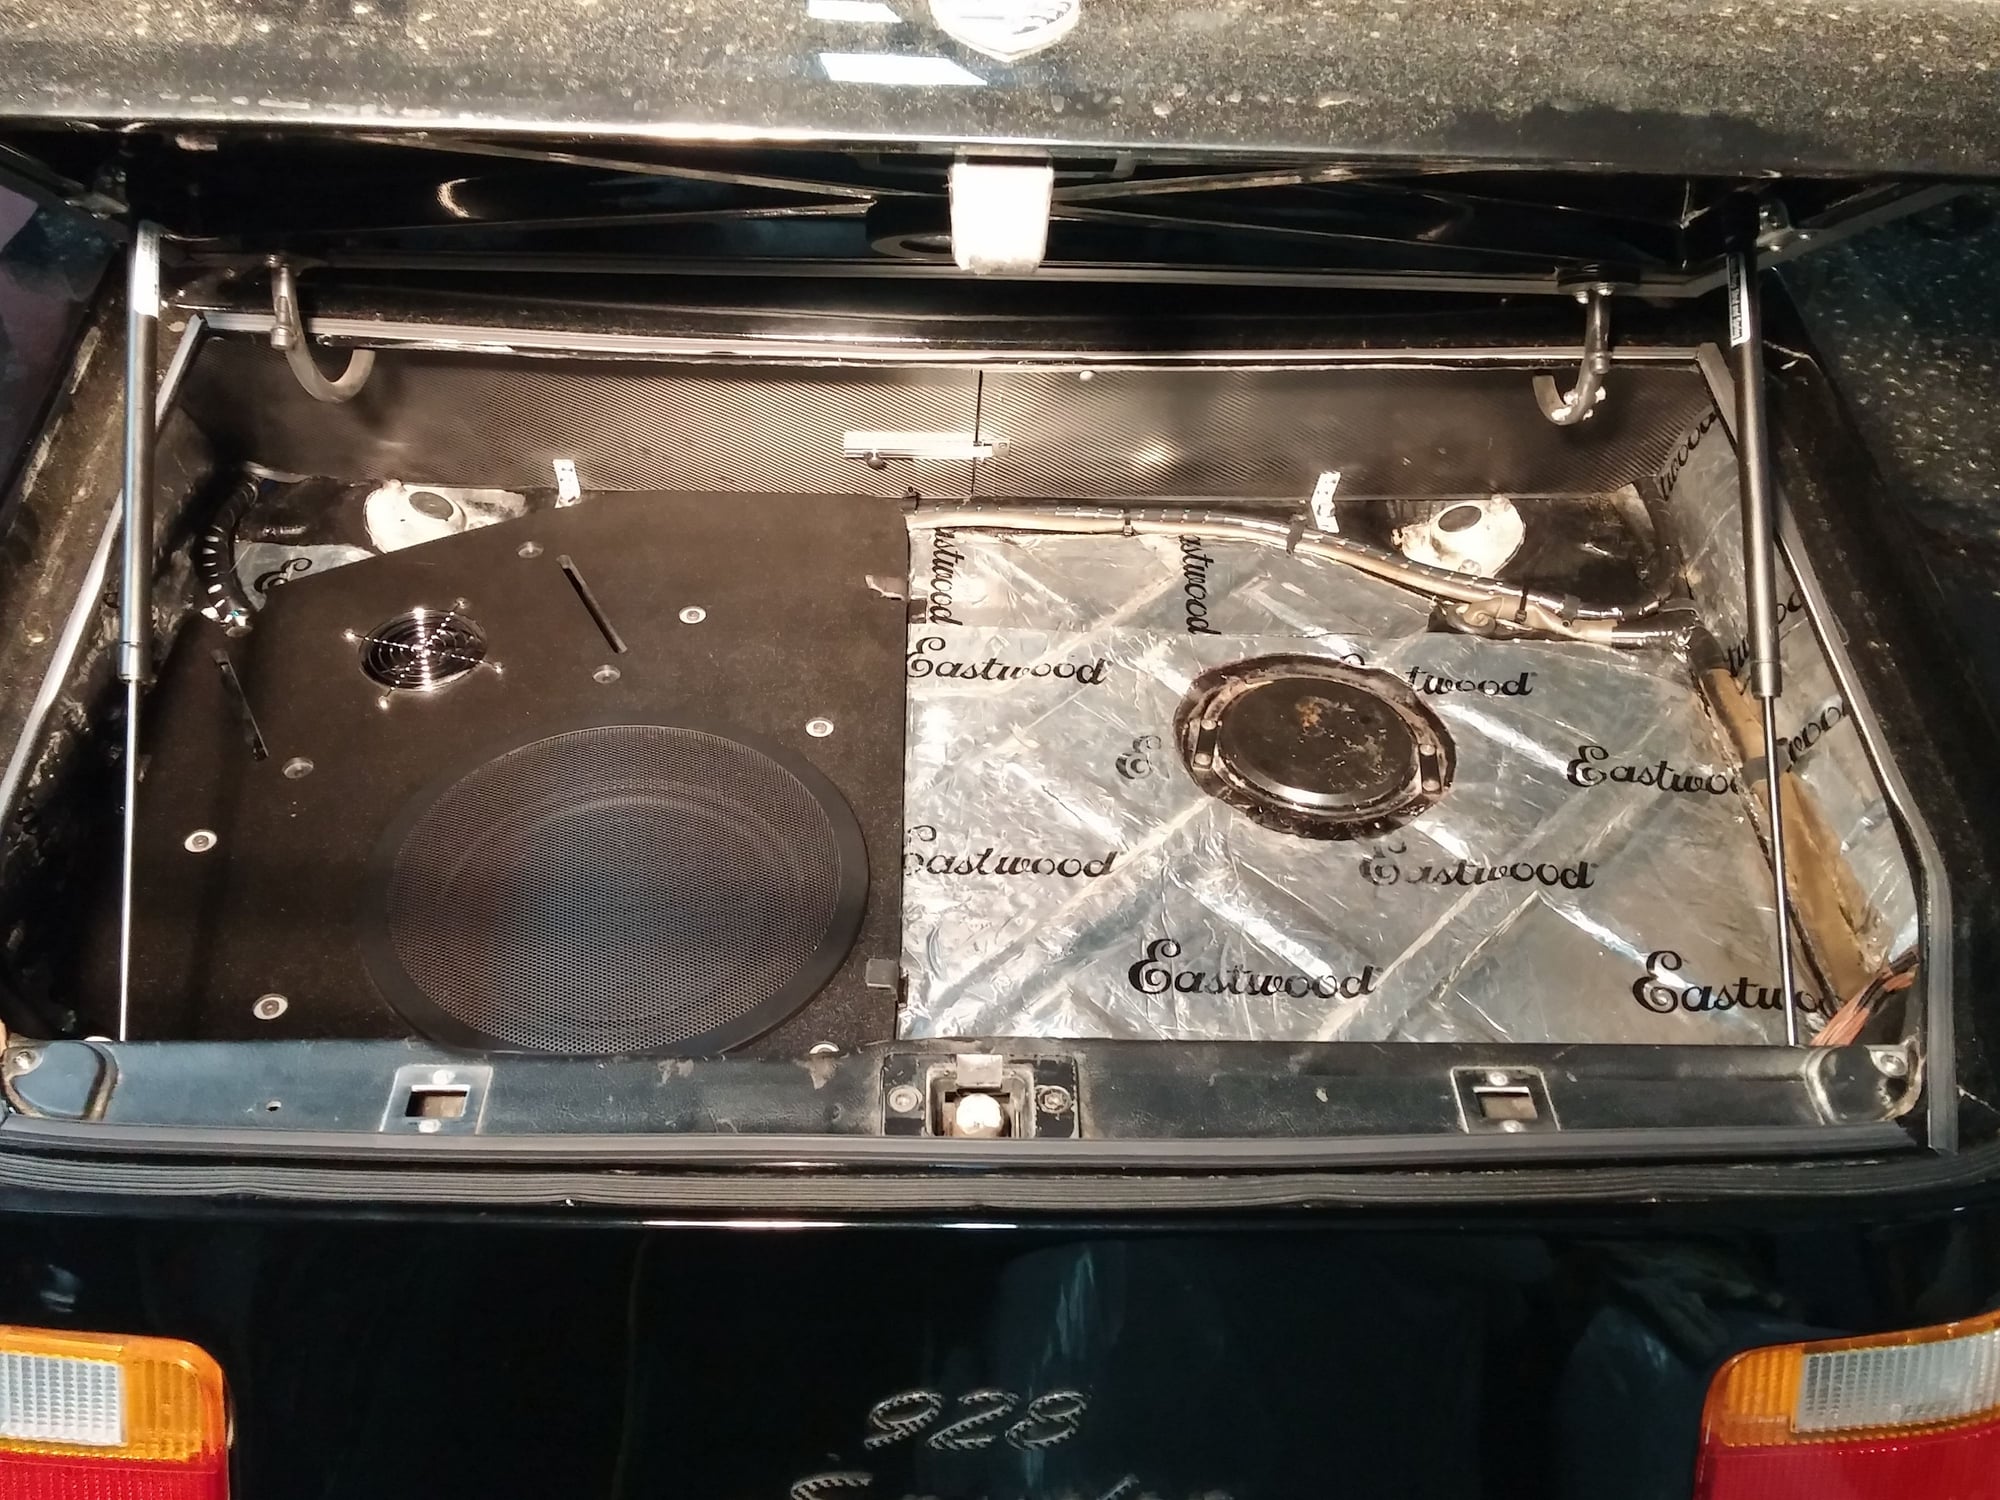
...but the purpose of the post is that I needed to make a cover to protect this secondary fuse panel so I sourced a scrap piece of Corian countertop material and custom cut the shape to replace the factory wood panel cover and include a bump out that also covers this auxiliary fuse panel. I secured T-nuts through the factory mounting holes that also act as a spacer to keep the panel cover away from the wiring and then used some long stainless screws that thread into the T-nuts to hold the panel in place. I chose Corian because it's very durable, looks good (even though it's covered by carpet all the time), is easy to work with & cut, and most importantly, is non-conductive.
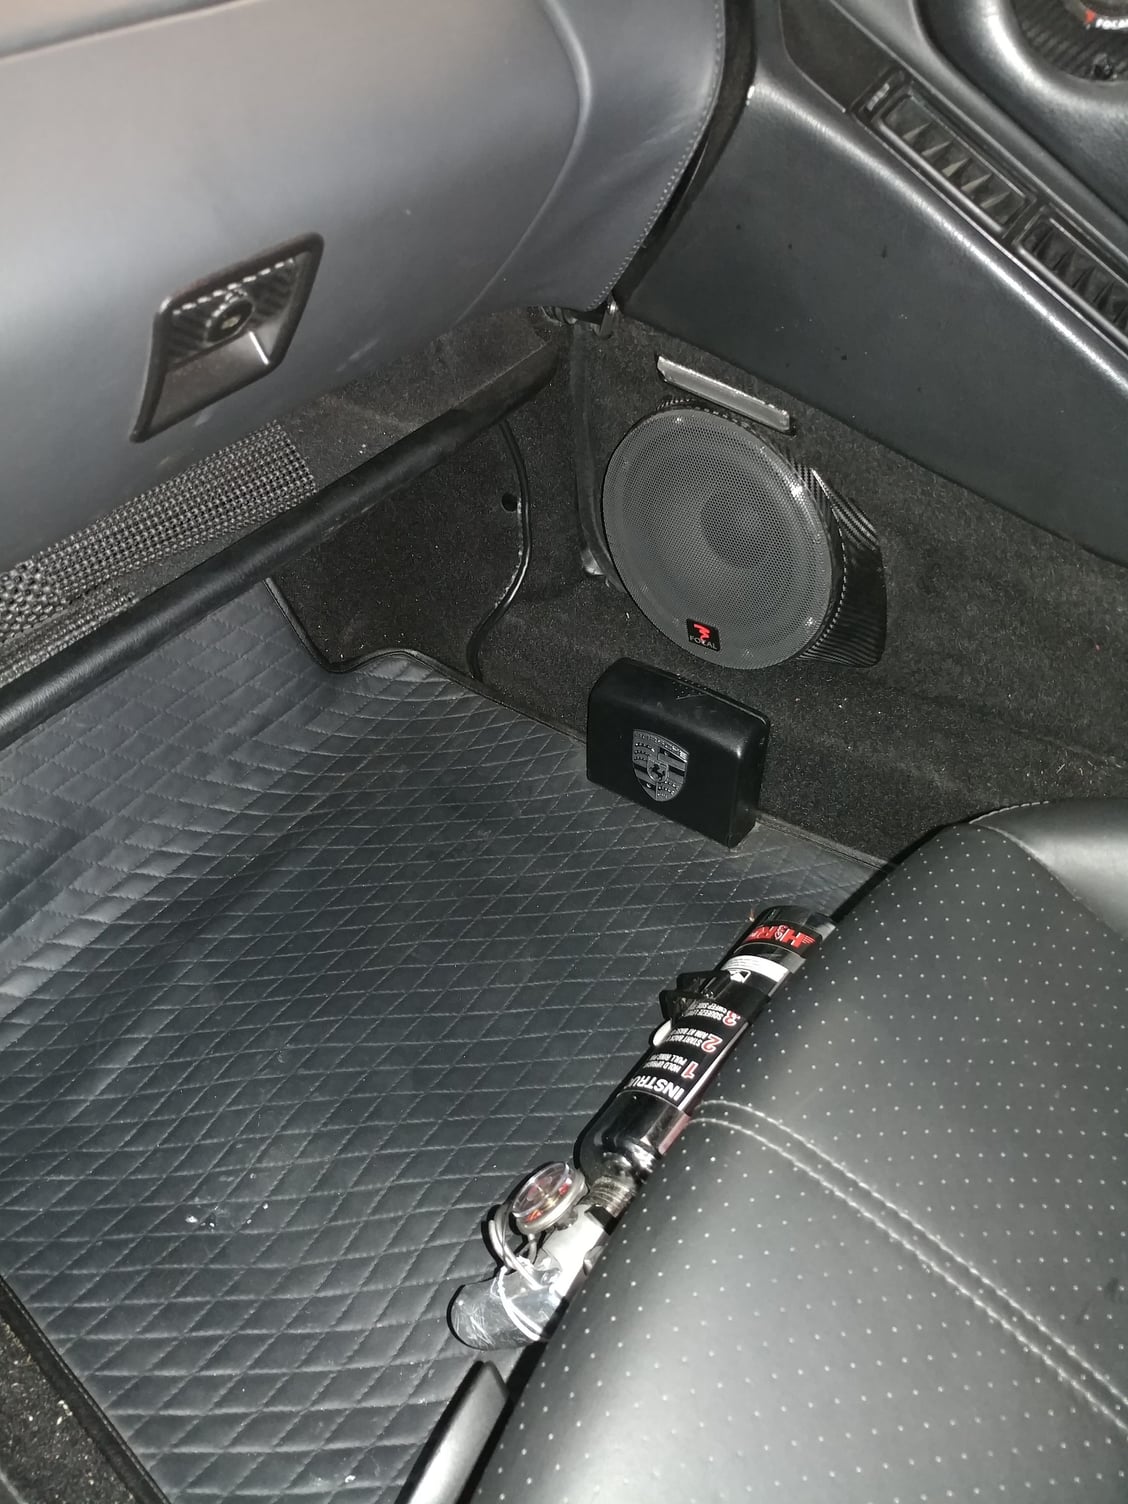
Secondary Fuse panel visible to the left and up from the OEM panel
Corian Fuse & Relay Panel Cover that also protects the secondary fuse panel & power door lock control module mounted in the space to the left
Heavy gauge wire used for Secondary Panel & 1,000 Watt Stereo Amp
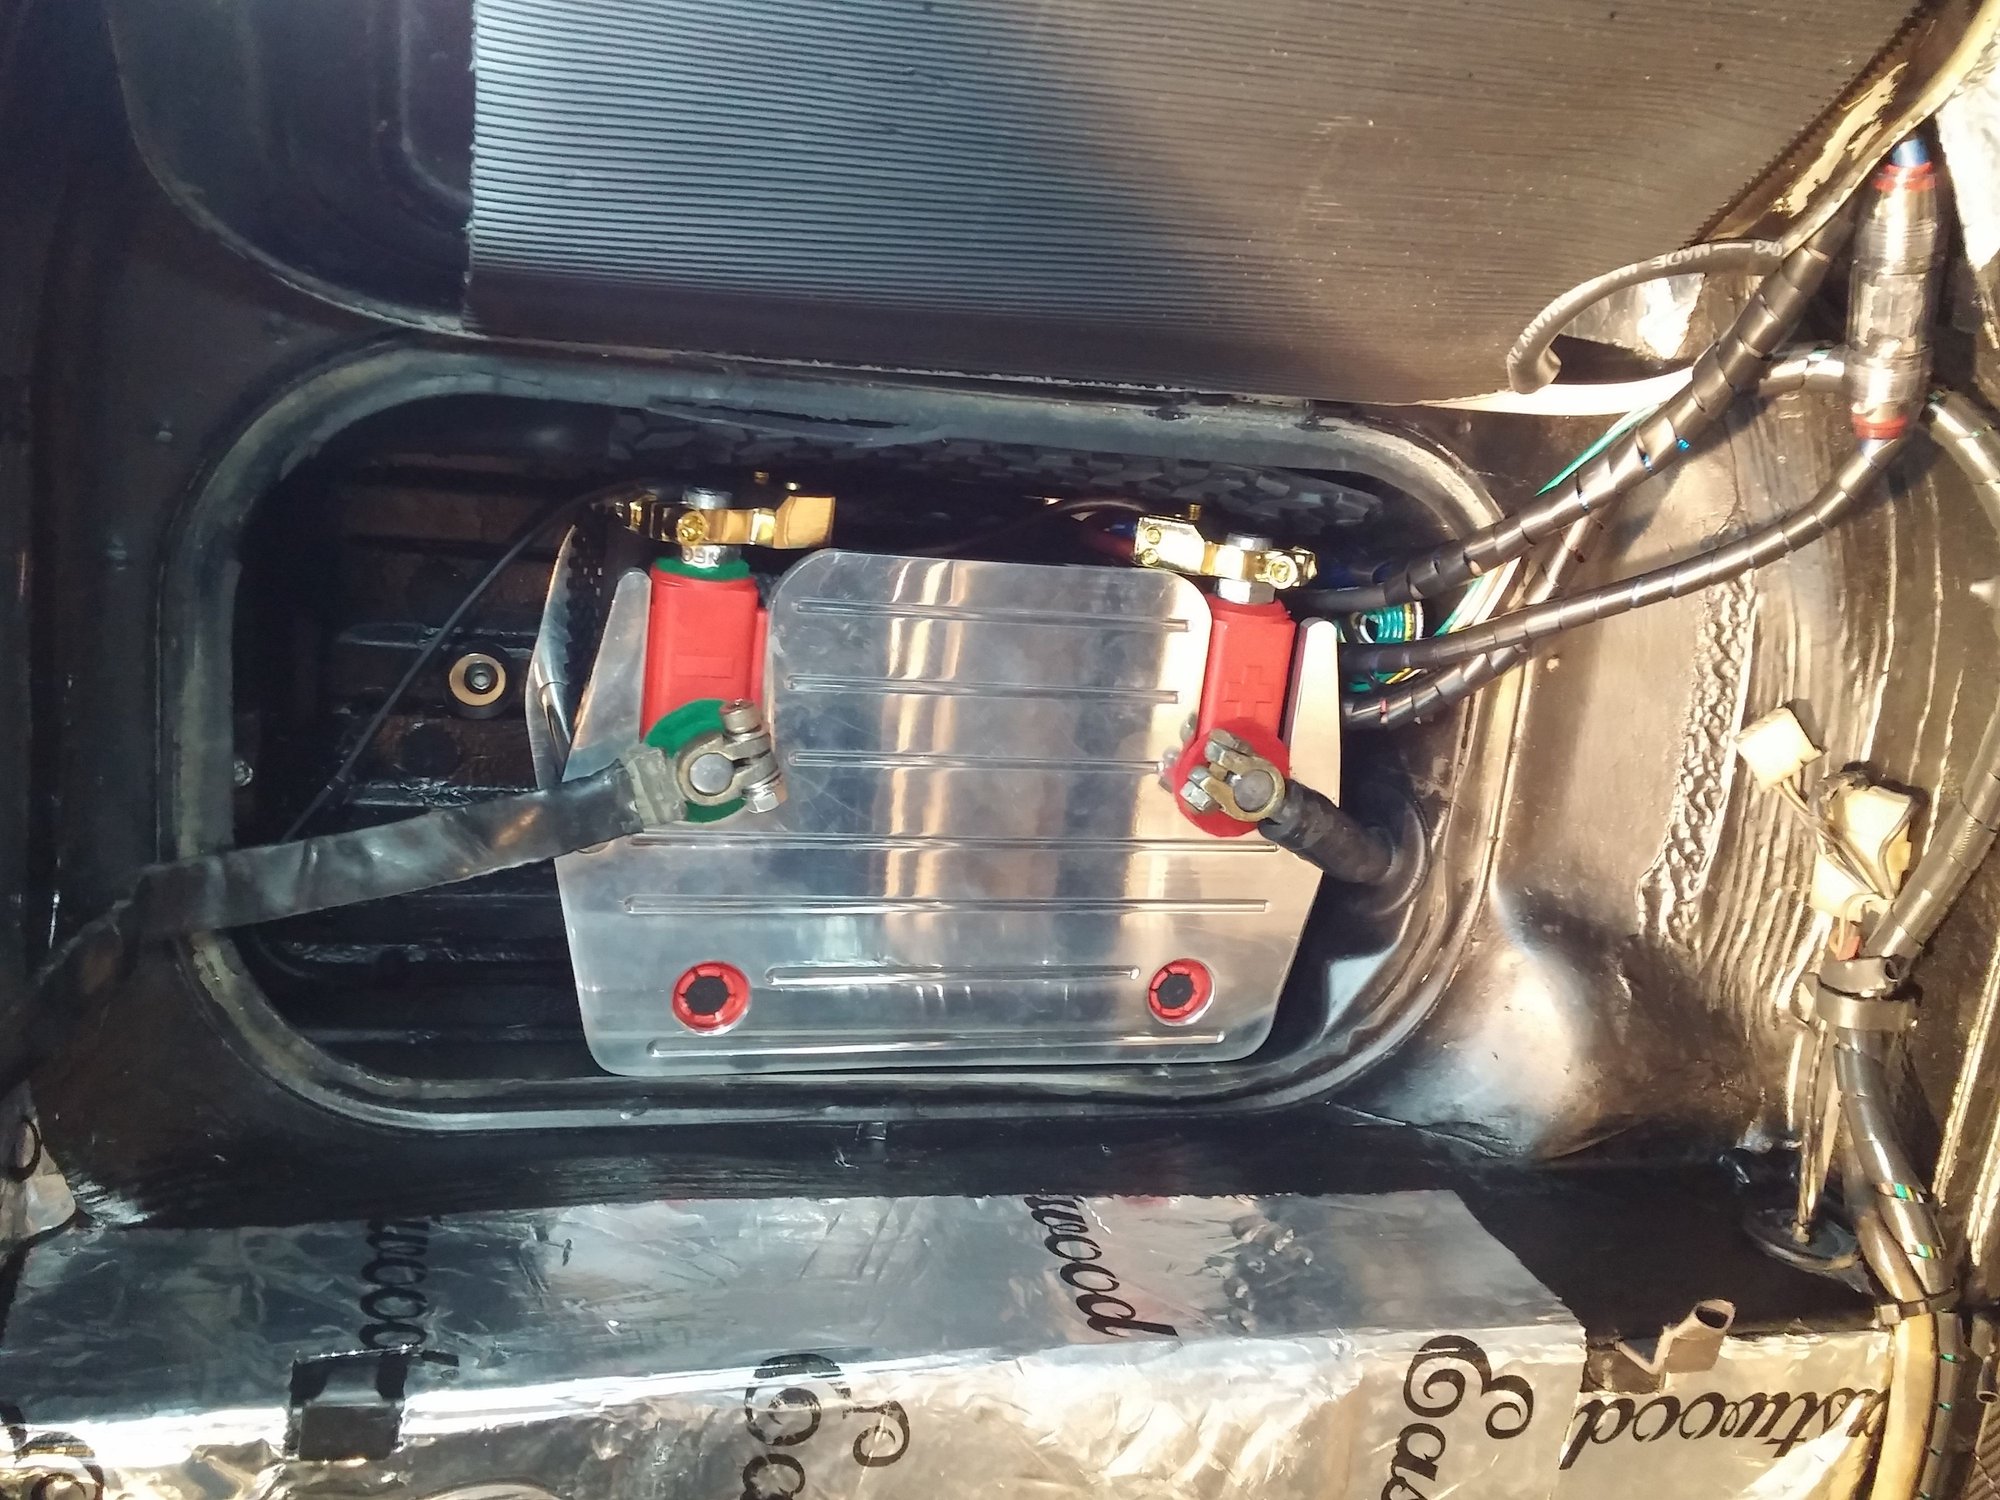
Battery mount with heavy gauge wiring for the secondary panel and amp upgrade. Underside of Battery Box Lid has a heavy gauge rubber mat to prevent contact with battery terminals
Ever noticed nervous passengers (not used to speed with good brakes) who anticipate your braking for you? What if Porsche had used plastic like the spare wheel cover for the fuse board cover?
And NO, carbon fibre is NOT conductive at all, at least when its in composite form.
jp 83 Euro S AT 57k
Thank you for all of the responses.I wasn't aware that RMS had this much traffic. I talked with Erik a couple of weeks ago and he indicated that the site had very little traffic. Packing the cables behind the panel brackets was my problem. You can't run any of the cables in font of the bracket, because there isn't any room for the panel to be mounted. All of the cables have to run behind the bracket and unfortunately they get pinched between the bracket and the firewall. However, I have another problem and that is the tabs that hold the multi colored, multi pin connectors at the bottom of the panel were brittle and broke when I removed the connectors.Does any one have a source that might have a used CE Panel. I am not fond of rigging an attachment at the top of the connector.
Thanks again for all of the photos, and comments.
Terry Richards

 03-26-2018, 09:41 PM