When you click on links to various merchants on this site and make a purchase, this can result in this site earning a commission. Affiliate programs and affiliations include, but are not limited to, the eBay Partner Network.
I knew this point was coming sooner than later after the ac quite working. Had it charged up in the summer and it worked just fine, but after sitting over the summer I knew it had lost charge. Hooked it up to the machine and indeed it was empty so I had it refilled. Long story short, 3 days later it was dead and all the freon had leaked out. However, we put a die in the unit and could see it was puking out of one of the top manifolds. At that point I said screw it and let's just get it all fixed and converted properly to R134a.
First up was to order the rebuild kits from 928sRUS for ~$45, which allows the compressor to get new seals that are R134a compatible (Nitrile).
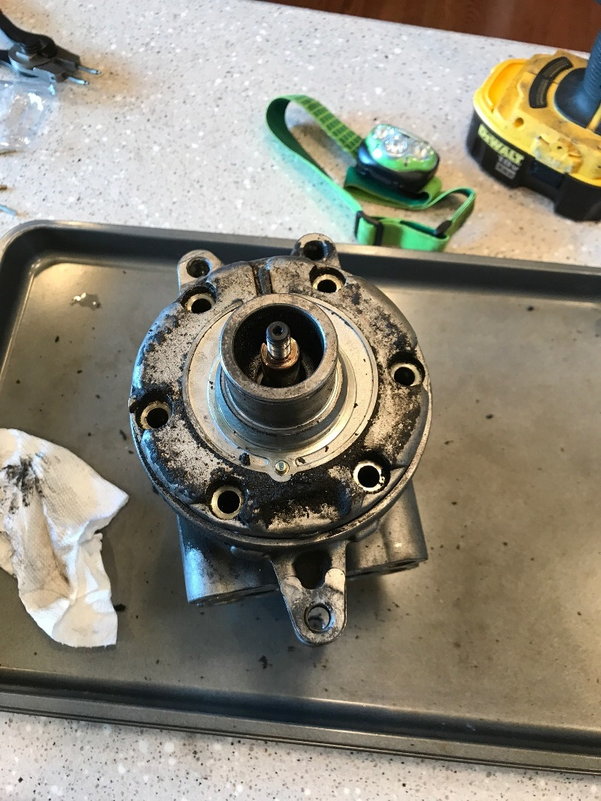
First step was to remove the two snap rings to get access to the casing bolts, which there are 6x 6mm hex bolts.
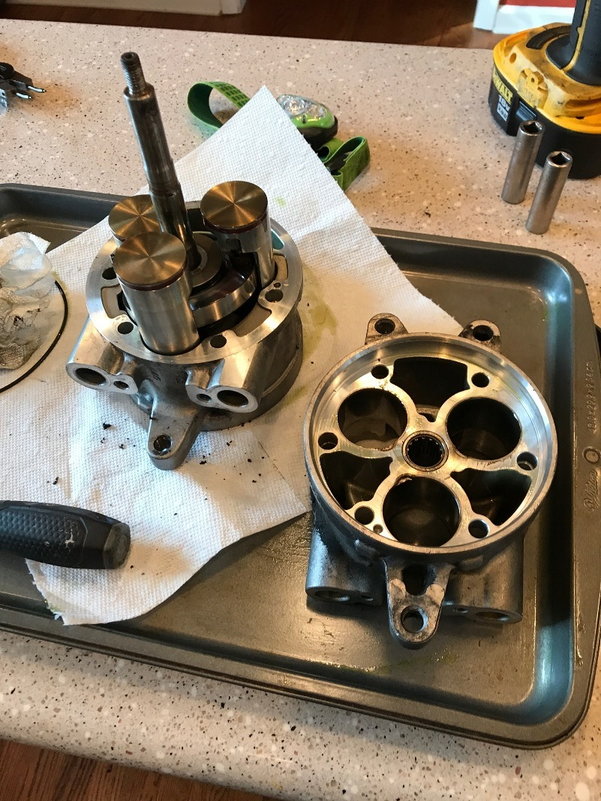
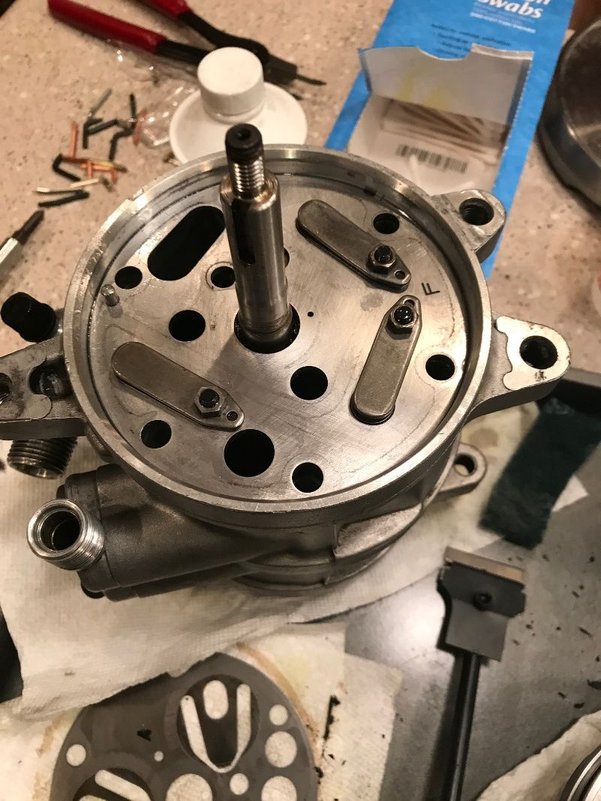
Next step is to use a screw driver and pry off the top. You have about 4 tabs that allow you to use a screwdriver to remove. You then flip the unit over and remove the rear cover the same way. After this is done you then split the case in half. It is held together via 2 dowel pins for alignment and has an o-ring that sits in a recessed groove. The key is to try and remove it straight out as opposed to going at it one side at a time because the dowels limit this. Also, don't start jamming a screwdriver in there because the surfaces are sealing surfaces and you don't want to damage them.
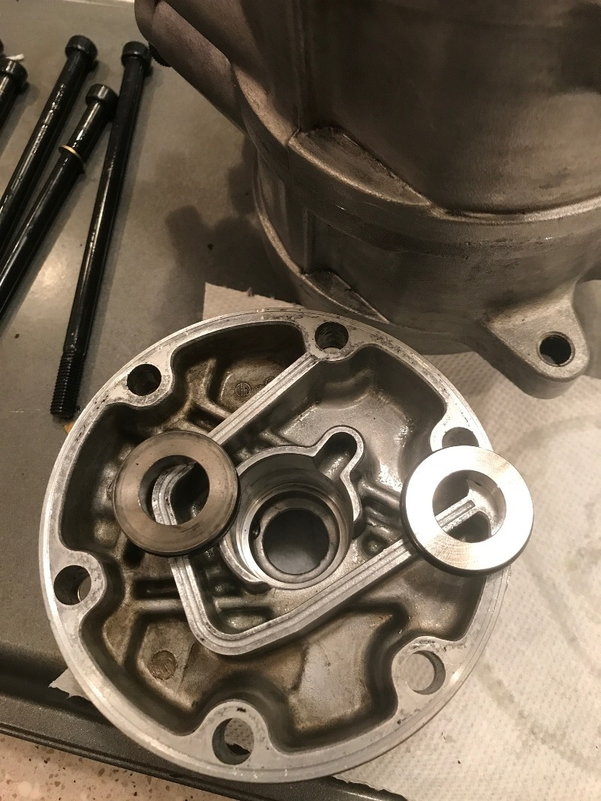
Once you clean off the surfaces and install the new o-ring you can put the two halves back together. Gently tape then together with a rubber mallet or screwdriver handle. You can now take the two end plates and gently pry the two pieces apart that are bonded together with the old gasket. You will see 3x phillips screws, but those don't hold the plate onto the end plates. I used a sharp kitchen knife and put the blade in the interface and worked my way around the unit until the plate popped off.
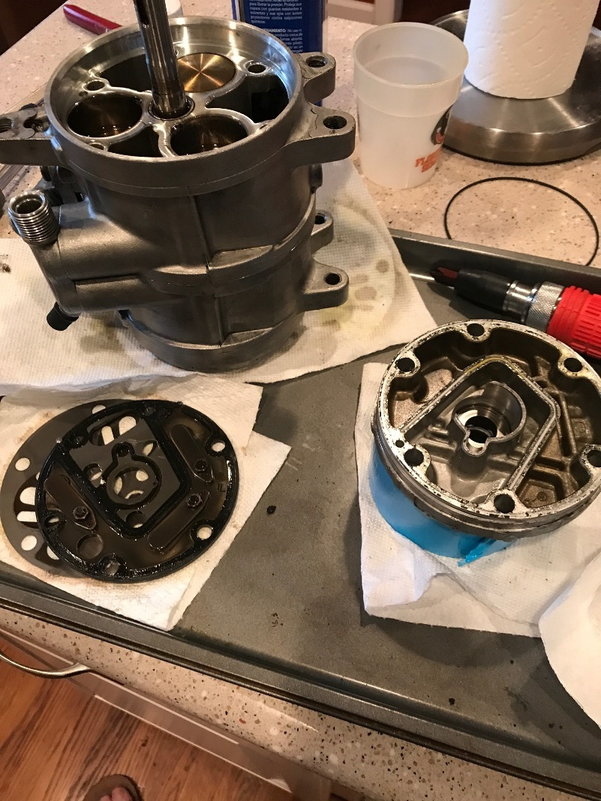
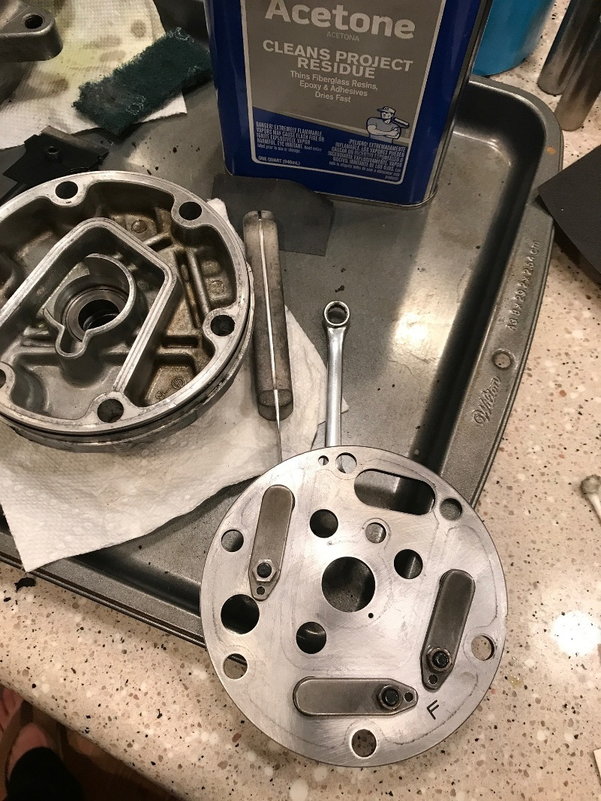
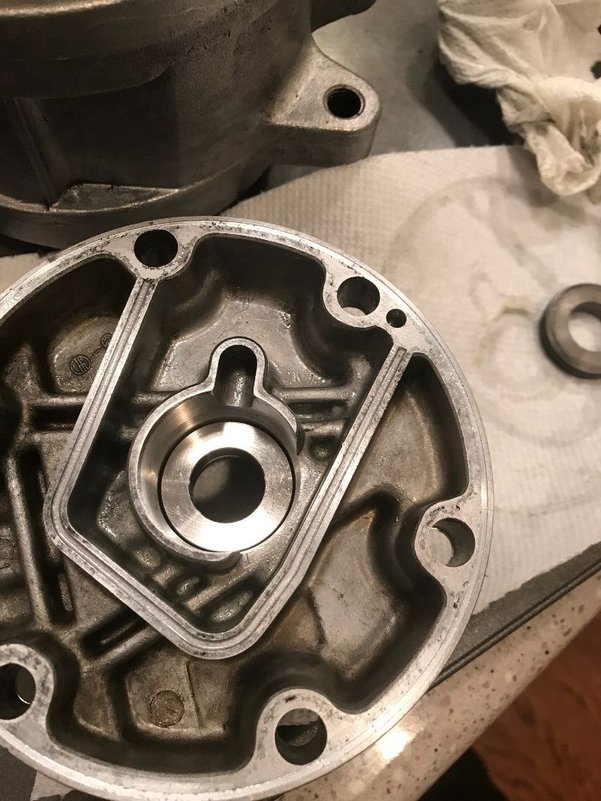
Clean the old gasket off the plate and the end cap using a razor. I also used some Scotch Brite soaked in Acetone for additional cleaning. Note, the use of Scotch Brite pads is not approved by Porsche "experts" and they will throw away your compressor if signs of Scotch Brite usage is found.
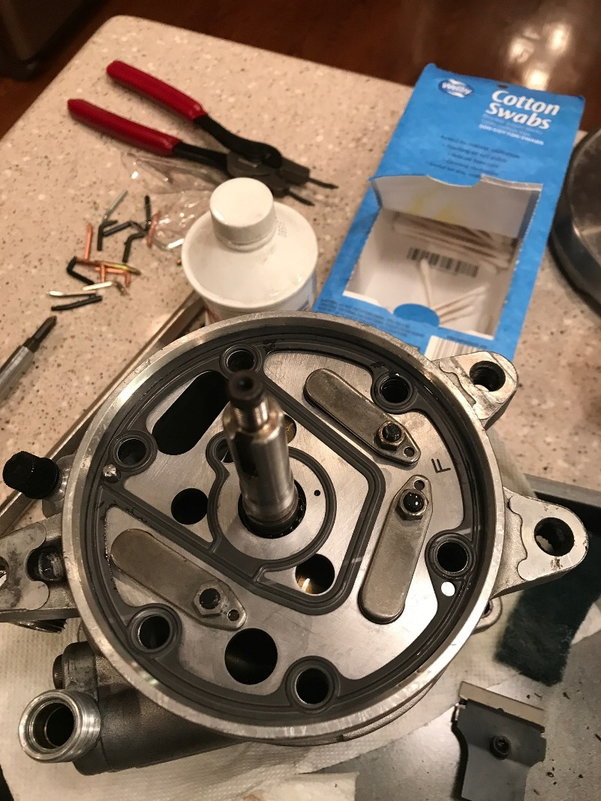
Plate reinstalled into the center section. I will not that everything is aligned with dowels so it only goes back together one way and you can see the marks so easy to tell what goes where.
Gasket installed prior to end cap.
Take out the old seal and put in the new seal. Bolt it back together using the 6x new copper crush washers and install the clutch.
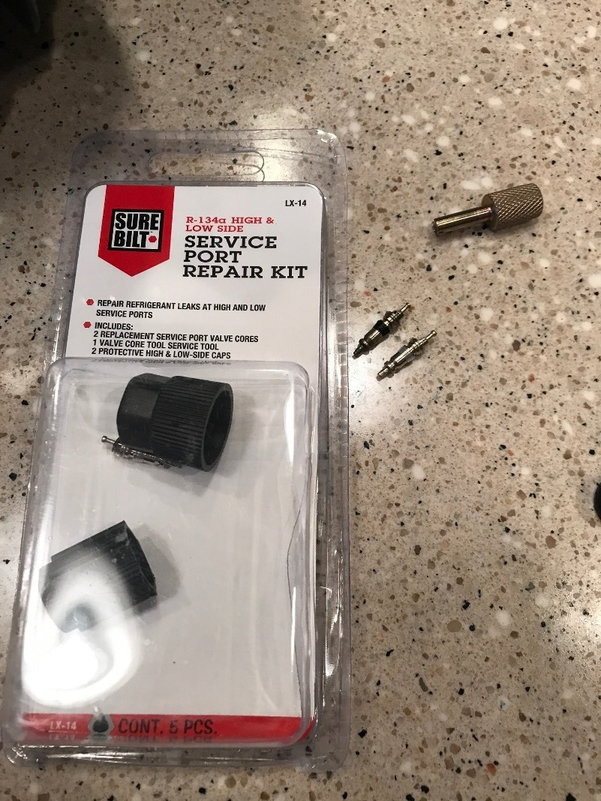
Next was to replace the Shrader valves (3 of them...2 compressor & 1 low pressure charge port). The new R134a Shrader valves are the same as the old Shrader valves that were used with R12.
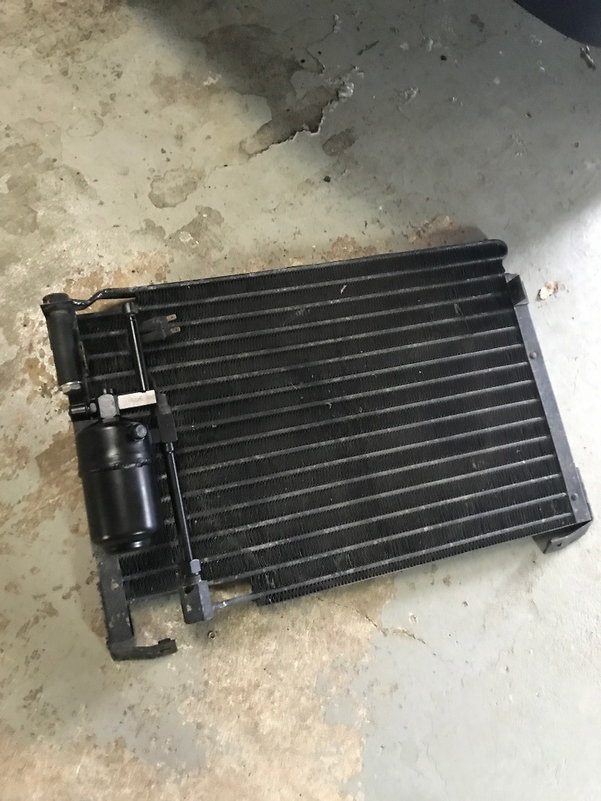
I next installed the new Dryer courtesy of 928sRUS for ~$50. Of course, all of the seals are new Nitrile so they are R134a compatible. I found it best just to remove the condenser instead of trying to install the dryer in the car. I actually had to cut the upper high pressure hose because it would not release from the condenser. Not to worry because I am having custom barrier hoses made.
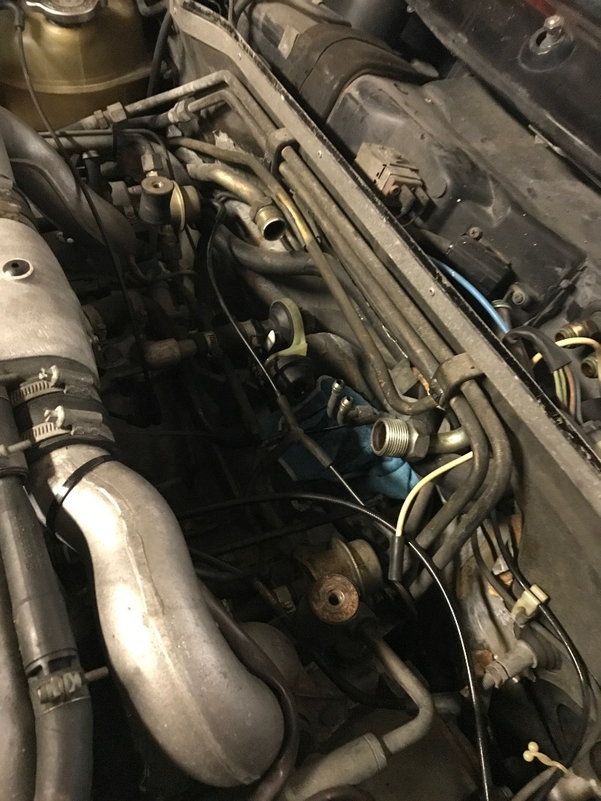
The next step was to replace the Expansion Valve courtesy of 928sRUS, which was ~$25, but does not come with new o-rings. A quick trip to NAPA and I was able to find some o-rings that worked. Getting that damn Expansion Valve out was a PIA, but be patient. I also removed the fuel cooler so this allowed me to manipulate the larger hose. I also recommend that you pull the hood off and make your life easier since removing the expansion valve and fuel cooler is hell.
I next removed the fuel cooler and replaced the old o-rings, which were completely dead.
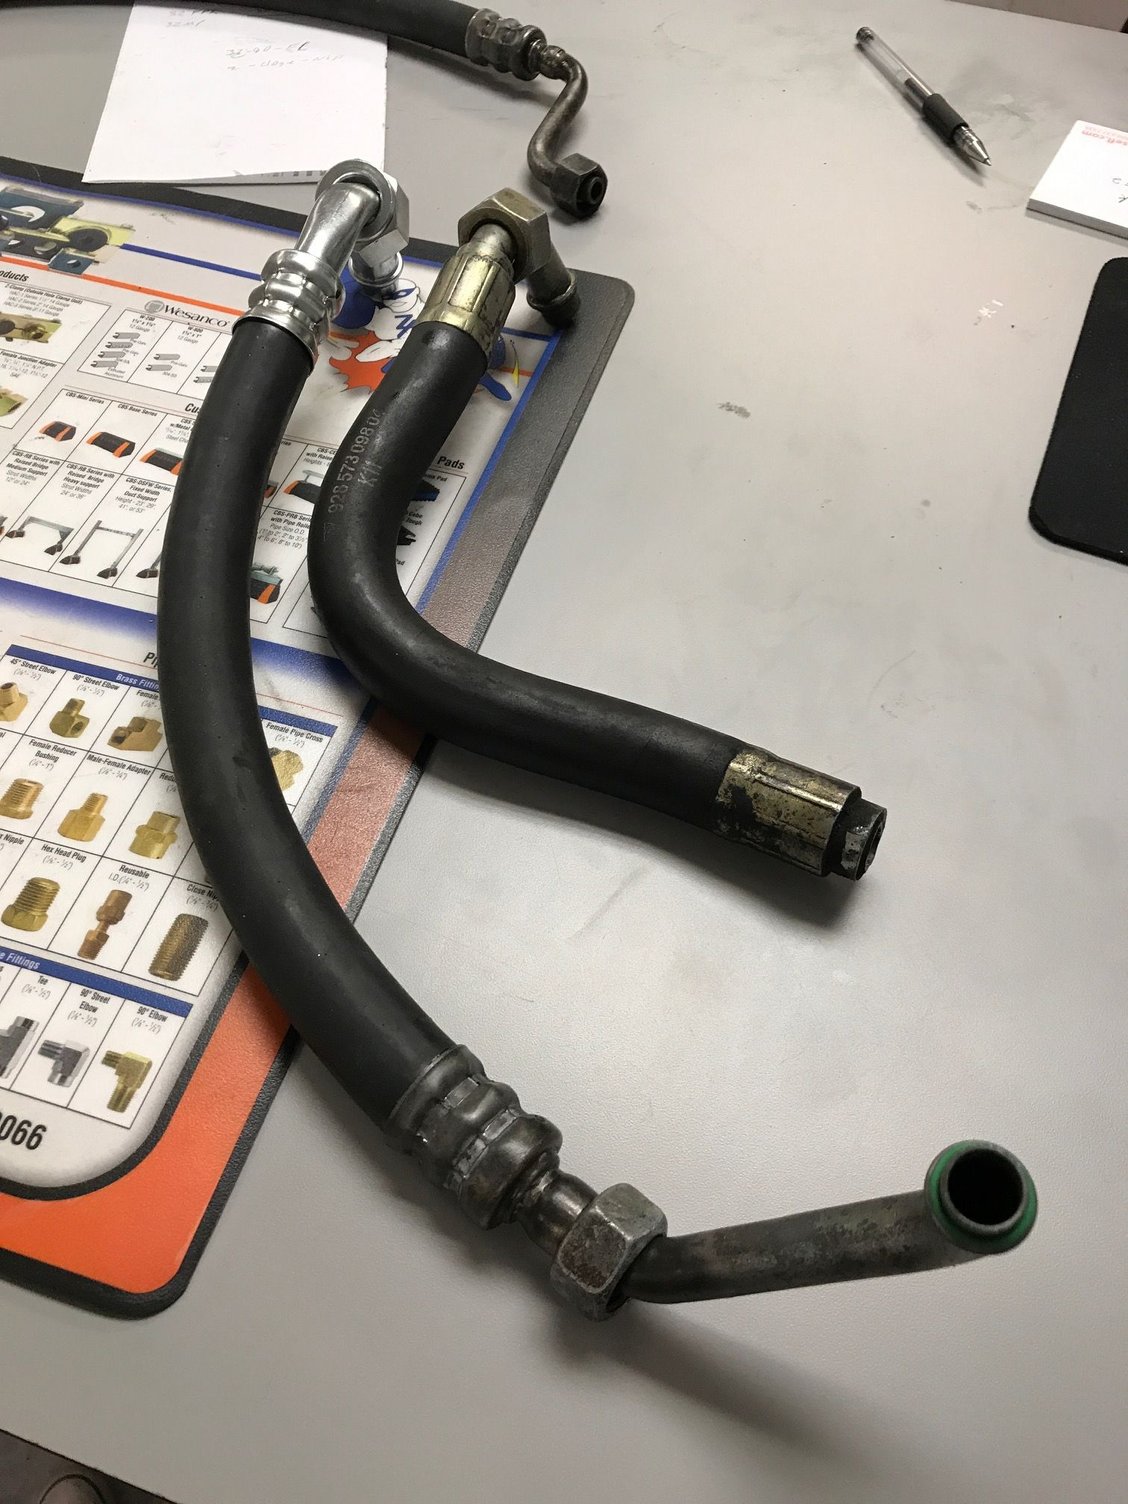
So the next step is to drop off the hoses to have barrier hoses made, which should be done on Wednesday.
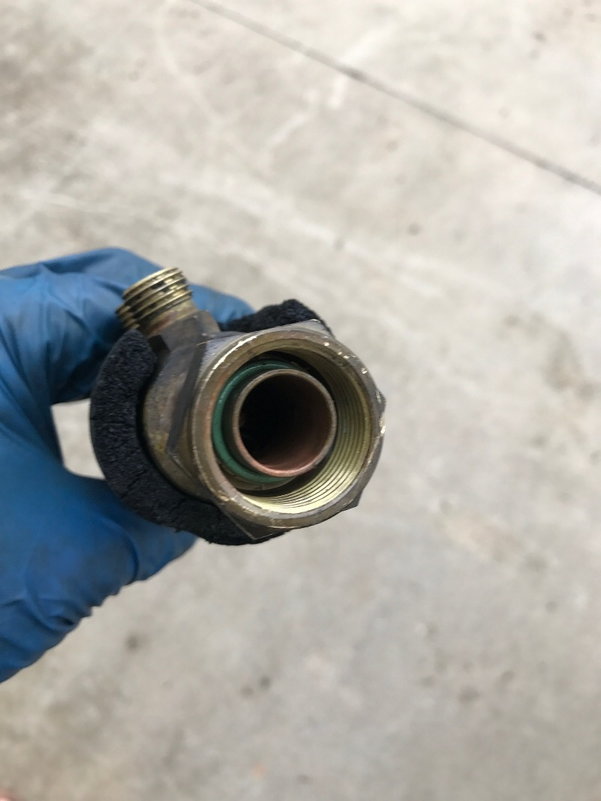
I was surprised just how dead all of the seals were no matter which one I pulled. They are hardened and most of them broke into pieces when I tried to remove them. So regardless of whether you want to convert to R134a or keep the R12 the original o-rings are likely toast.
As a list here are o-ring spots:
2x hose - compressor to hard line (to fuel cooler)
2x hose - compressor to condenser
1x dryer to condenser
1x pressure switch on dryer
2x fuel cooler
2x evaporator to expansion valve
1x hard line (large) from fuel cooler to expansion valve
1x hard line (small) from dryer to expansion valve
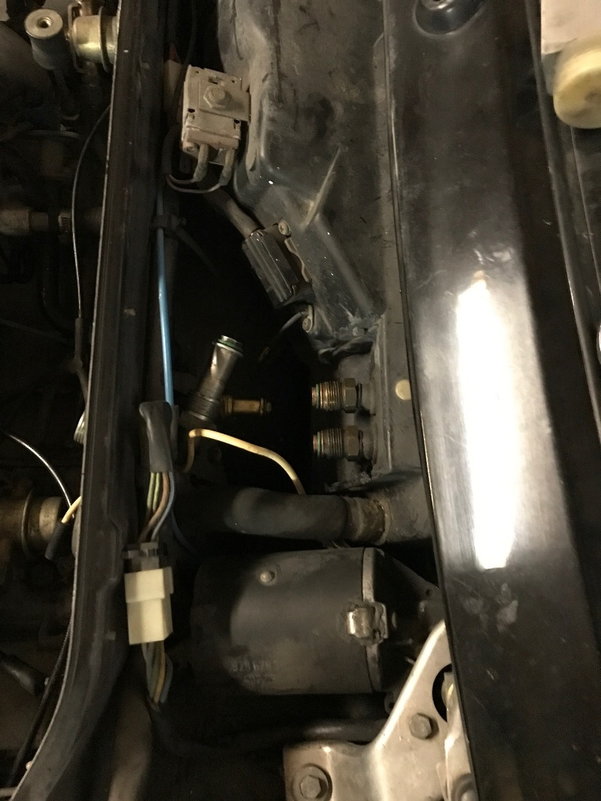
Regarding the "1x hard line (small) from dryer to expansion valve." This is the small line that runs from the expansion valve all the way to the front of the car where it connects to the dryer. You will notice that where it connects to the dryer is a flexible hose. When I inspected how the flexible hose terminated to the hardline it is essentially part of the hose so there is no o-ring interface here. I contemplated replacing the short portion with barrier hose, but to remove that line with the engine in the compartment would be nuts.
Last edited by 240Z TwinTurbo; 02-26-2018 at 09:03 AM.
Yeah. I took the calculated risk, and skipped that line. I figured it would be impossible to remove. I think Greg Brown makes a kit where you can solder in a fitting in place and replace the rubber section.
Dave
Yeah. I took the calculated risk, and skipped that line. I figured it would be impossible to remove. I think Greg Brown makes a kit where you can solder in a fitting in place and replace the rubber section.
Dave
Most hydraulic/hose shops can braze on a fitting to make the hard line accept a removable hose, which should cost ~$25. I just dropped off the hoses and they are cutting off the OEM specific ends and brazing them onto the hose ends for the barrier hose. I was quoted ~$53/hose before tax and it should be ready tomorrow as they had to order one of the hose ends.
Regarding the "1x hard line (small) from dryer to expansion valve." This is the small line that runs from the expansion valve all the way to the front of the car where it connects to the dryer. You will notice that where it connects to the dryer is a flexible hose. When I inspected how the flexible hose terminated to the hardline it is essentially part of the hose so there is no o-ring interface here. I contemplated replacing the short portion with barrier hose, but to remove that line with the engine in the compartment would be nuts.
Unfortunately, that is the hose that always leaks first....and the worst.
A quick test to perform...especially easy with the condenser and dryer out of the way. Simply grab the angled steel hose end that goes to the exit side of the dryer and give it a twist. If it rotates (it will, if your O-rings are as hard as you say they are)...or the other end of the hose rotates on the steel line....you are wasting your time with all the rest of your repairs. That hose, alone, is frequently the cause of freon loss.
BTW....The most important part of the "conversion process" from R12 to R134 is cleaning out all of the old mineral oil from all of the components. The mineral oil is not compatible with the R134. There are flushing liquids that will rinse this oil away. While it is fairly simple to do this right now, you will need to remove the expansion valve to fluch the evaporator.
Most hydraulic/hose shops can braze on a fitting to make the hard line accept a removable hose, which should cost ~$25. I just dropped off the hoses and they are cutting off the OEM specific ends and brazing them onto the hose ends for the barrier hose. I was quoted ~$53/hose before tax and it should be ready tomorrow as they had to order one of the hose ends.
Perfect. Will they repair braze the pipe in place? I thought removal of the pipe was the problem.
Good luck,
Dave
I may be wrong, but I seem to remember Greg's kit was an in-place option. I searched this a long time ago, and I may be combining sources and threads.
Good luck,
Dave
I may be wrong, but I seem to remember Greg's kit was an in-place option. I searched this a long time ago, and I may be combining sources and threads.
Good luck,
Dave
Seems it is an "in car" process of brazing on a new fitting. Not ideal, but doable and would require something hotter than a MAP torch if using silver solder. https://rennlist.com/forums/928-foru...ml#post7814422
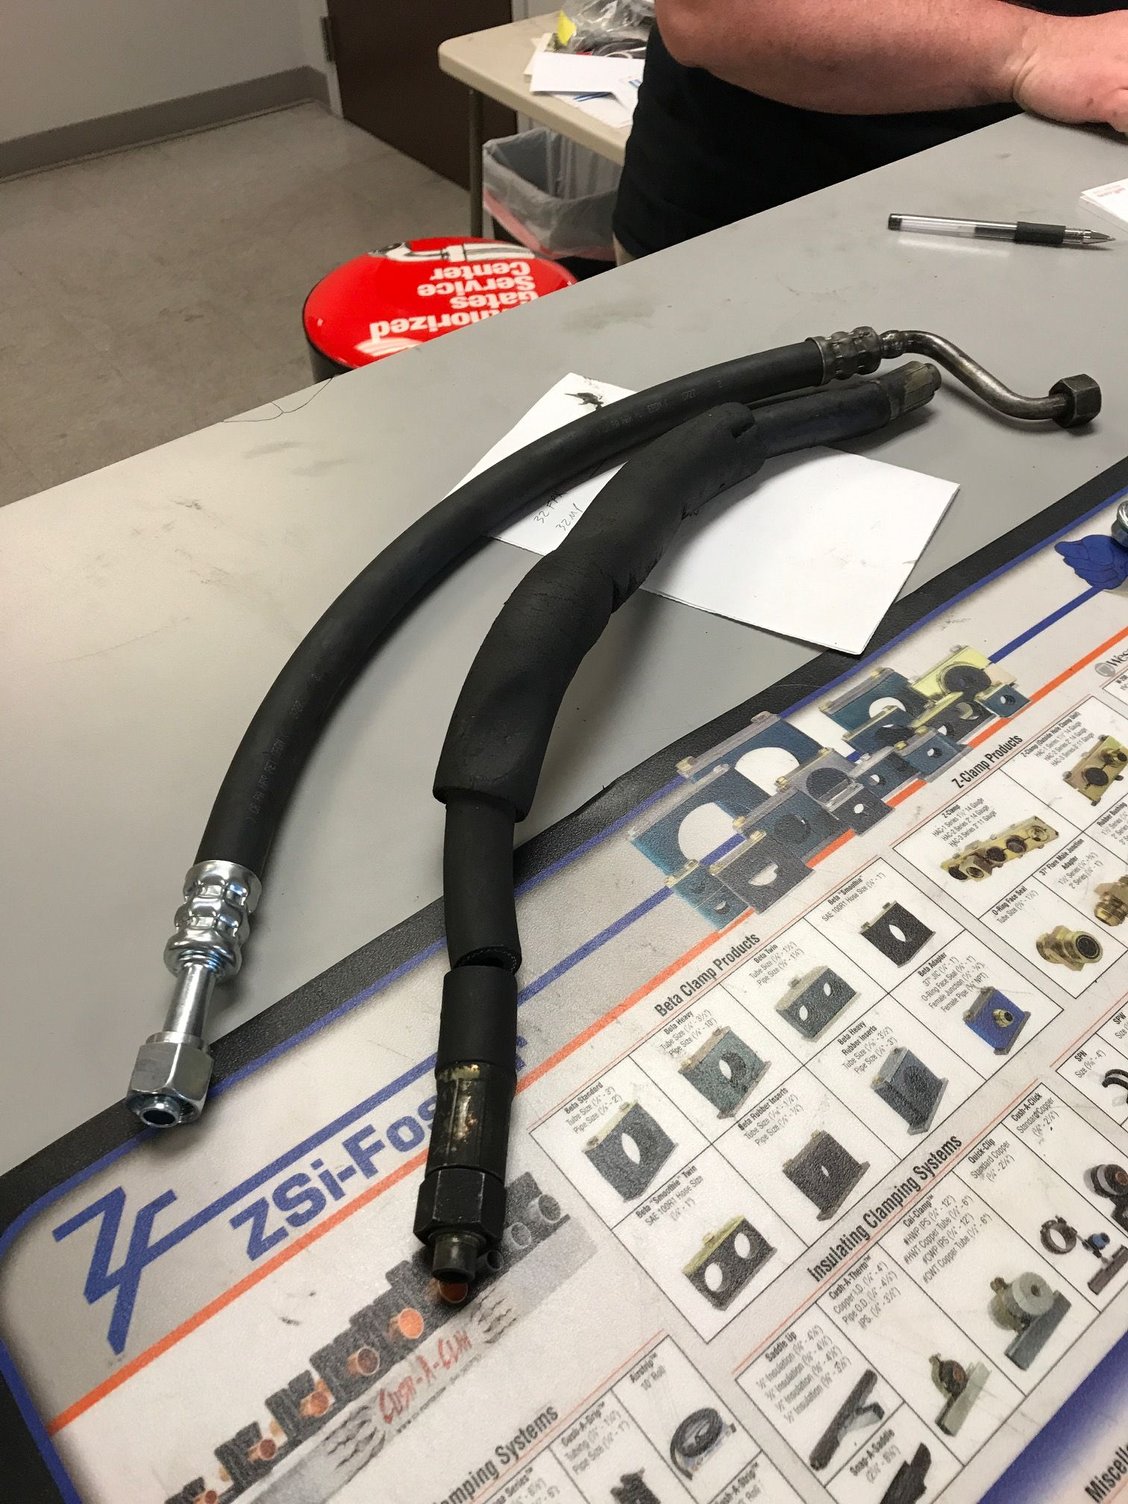
The local hydraulic shop called and said the hoses were ready. Apparently they had the necessary fitting in stock and made them up in a day. Even better, it was $86 our the door for both hoses! The hoses only reused the custom end from the original OEM hose, but the other ends are new.


 02-25-2018, 09:17 PM