When you click on links to various merchants on this site and make a purchase, this can result in this site earning a commission. Affiliate programs and affiliations include, but are not limited to, the eBay Partner Network.
NOTE this info was for an early machine 1979, but its applicable to all years with a few minor differences in hardware.
I think its got enough info for the DIY guy to tackle , I didnt take any pictures it is self explanatory once you get into the door.
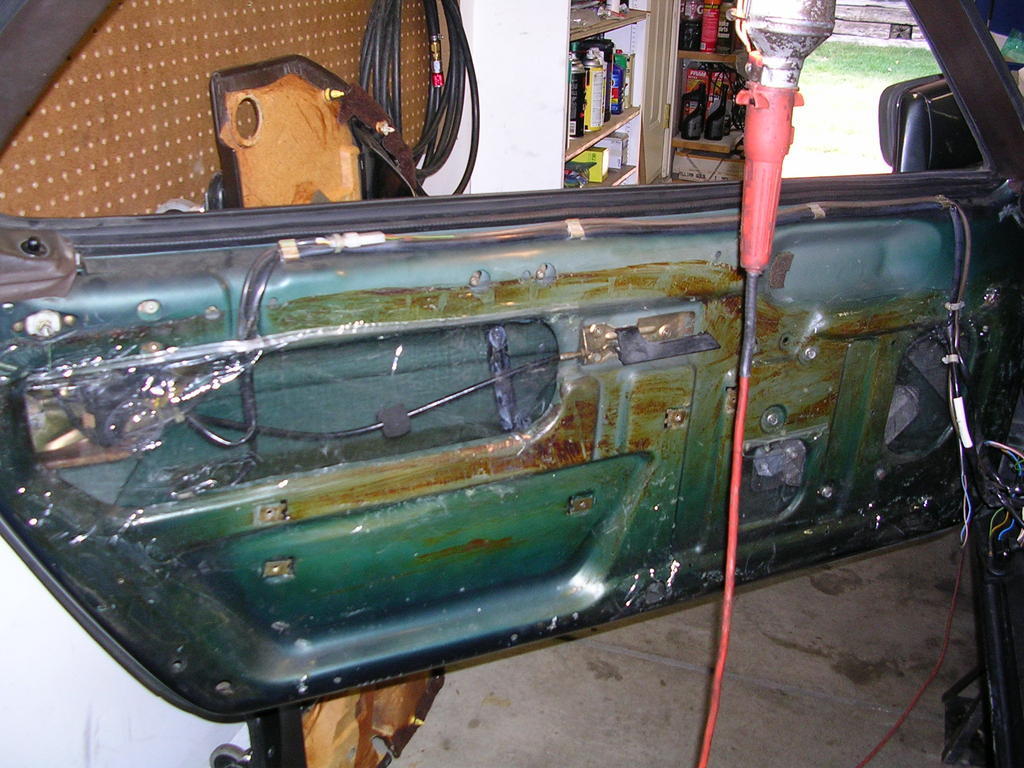
This is how to rehab the door window motor and lift arm, door check, door latch mechanism and vapor barrier and repair the door panel
figure about 3 hours per door.
I would suggest to remove the window arm assembly from the door.
To do this ,
remove the door panel , remove the armrest and write the mirror wire locations next to the switch for easy reference
Remove the vapor barrier,
tape the window up with some blue tape,
NOTE if the window is down then once the roller is free push the window up to get it out of the way.
then remove the 2 wires,
Note the location, write it on the door so you will have a reference.
remove the 4 bolts that anchor the arm to the door then slide the roller out of the window channel.
with the window up slide the arm to the rear opening and remove it.
take the 2 or 4 torx bolts from the motor case and gently work the motor and/shaft gear out of the gear case.
once this is done get Kroil or PB blaster and spray it into the arm pivot and the gear case .
NOTE handle the gear case with care as the bushing inside it that holds the tip of the motor drive can shift if the gear case is hammered on after the motor has been removed
put the arm in a vice and work the motor housing back and forth, it will probably be very tight.
Note the spray will eventually start to loosen the corrosion in the arm pivot,
after its free you will then feel the spring assist this will drive the gear case to one side,
once this is happening then add some lubrication oil to the pivot and inside the gear case, work it in.
NOTE another cause of the friction is from a nylon button in the gear case,
Examine the gear case, this will be found after removal of the gear case from the arm chassis, 3 bolts hold it in.
You will find a nylon friction button, this part rubs on the geared section of the lift arm.
Its held into the case with a pin that protrudes from its bottom.
Get some smooth jaw pliers and gently pry it out lifting evenly so you dont snap off the pin.
Under the pin you will find a small wave washer thats made from steel,
this washer can corrode and cause the clearance in the button to increase,
thus causing more friction being applied to the lift arm, this will make the arm bind.
Get some Emery cloth and sand this washer down to remove any corrosion, clean the mating surfaces of the button pad,
then put some DC111 on the metal washer,this will prevent corrosion.
then install the washer and the button,
then install this back to the arm chassis,
test to see if the arm moves,freely.
If not sand down the face of the button till it slides easily but still provides friction.
as this button keeps the motor drive from make the lifting arm from being noisy.
NOTE the button is made to have some float so dont remove too much of the button material as you want the button to have the float so it applies even pressure to the geared arm.
NOTE also inspect the geared arm for burrs this can cause the nylon button to catch,
use some scotchbrite will clean it up, then apply the wheel bearing grease to the sides of the gear.
Get some deoxit 100 and spray it into the motor end where the brushes are, spray some oil into the motor ends to lubricate the shaft.
Put some wheel bearing grease on the spiral gear and insert it into the gear case.
Inspect /repair the 2 arm stops they are metal blocks with what will be brittle plastic ,
Mark the positions of the blocks, remove the screws,
Find an old tire cut a small piece out of the sidewall of the tire put it into the opening of the stop block so it sits about 4 MM higher than the metal,
the metal block has a boss that holds the rubber in place.
NOTE attach a set of jumpers to a 12v supply to test the motor/arm.
Install the motor to the window channel and bolt it to the door. connect the wires.
Spray some oil onto the door latch mechanism inside the door and work it in .
NOTE Now is a good time to replace the door check strap.
Get some Weldwood brush on cement and a clear shower curtain from BedBathBeyond,
this will be used for the vapor barrier make the drip panels first that drape inside each opening then cover the whole door.
If the door panel clips are broken get 12 white and 16 black clips this should be good for both doors.
Also get the modellers instant superglue in 2 oz bottles.
one bottle of thin and one of gap filling.
put the glue around the weakened clip holes and let the glue dry for about 2 hours
this will make the panel solid again.
fit the clips to the door panel.
Lubricate the armrest anchor nut clips so the screws go in easy.
fit the vapor barriers, poke holes into where each clip hole is so the clips will go in ,
a phillips screwdriver works good for this,
trim the barrier around each screw hole for the armrest.
Fit the door panel .
Get the window switch and open it put some deoxit 100 into the switch contacts ,
look at the back of the switch to verify that one of the contacts has not melted and been pushed out from the switch housing.
If so get a soldering gun and heat the contact from the outside and push it in ,
then let the housing cool it should restore function,
if not replace the window switch.
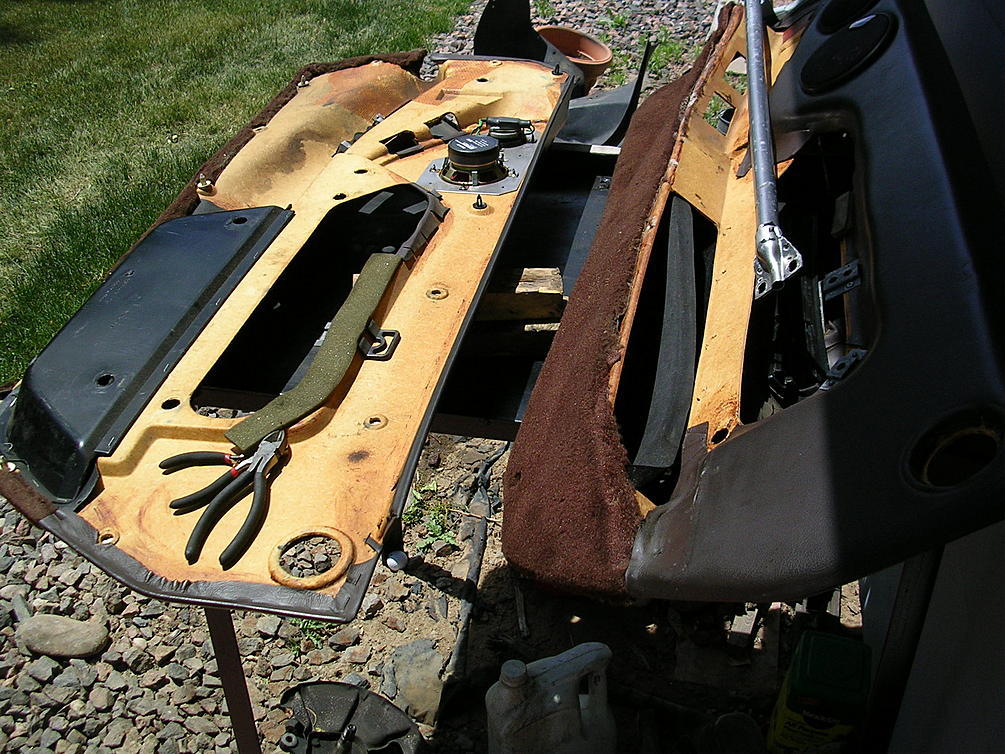
drip panels installed waiting for the final sheet over the whole door
door panel rehab, glue the carpets and remove the door clips first then use the quickset super glue around the door clip openings to stiffen a weakened panel, putting lines of the SG will add rigidity to the areas that are weak from water damage.
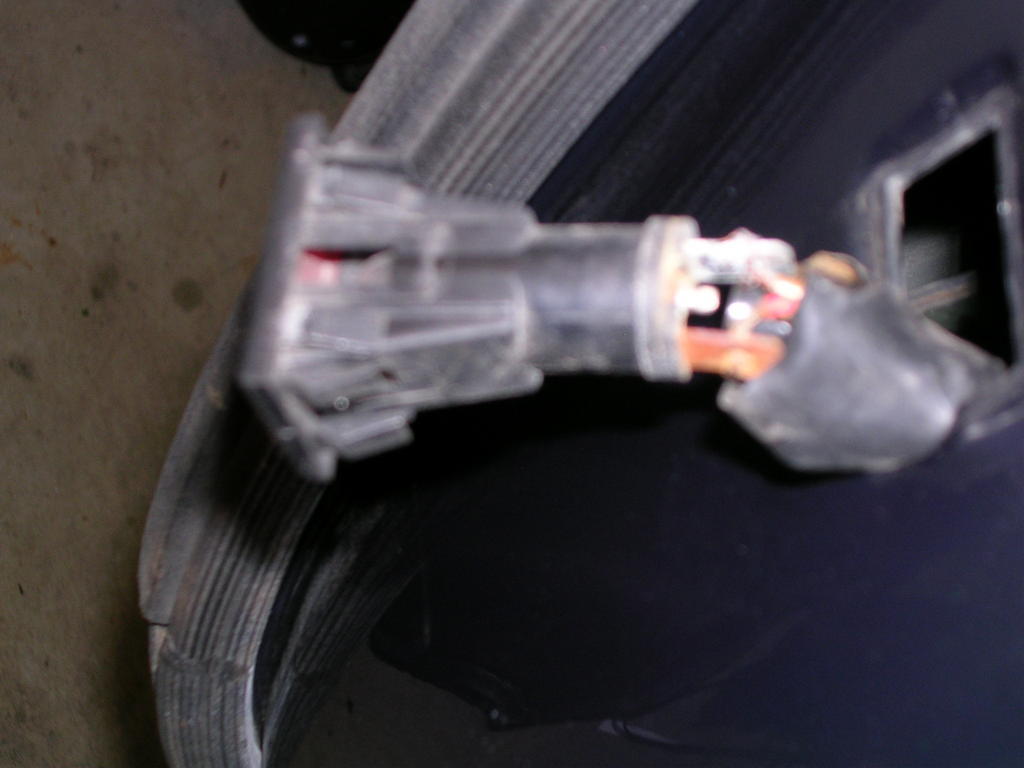
fix these lights , new parts are available, Deoxit 100 then add silicone sealant to the harness where they exit the rubber boot cover then water wont drip into the lamp
Stan does not need any endorsements around here but I will offer an endorsement to the procedure to anyone with dubious mechanical ability (like myself). Don't try to figure it out from behind a desk. Some of it won't make sense until
you have it out and on a bench.
I will point out that when re installing the motor mechanism to the door it is important to pay attention to the order of the instructions below.
Originally Posted by Mrmerlin
Install the motor to the window channel and bolt it to the door. connect the wires.
If the guide arm is not inserted in the channel FIRST then you will have to remove all four bolts and start over. (ask me how I know)
Job complete with fully functional driver window. Now get out and drive!

 02-24-2018, 12:02 AM