When you click on links to various merchants on this site and make a purchase, this can result in this site earning a commission. Affiliate programs and affiliations include, but are not limited to, the eBay Partner Network.
Witch Hunter cleaned the injectors in a multi-step process, including new O-rings installed, and each injector put into the little zip bags shown in the photo. Their instructions say to install the injectors within a month of receiving them, and to keep them in the zipped bags until ready to install. There is a very light lubricant on the O-rings installed by WH. I replaced the O-rings with Roger's set. I assume WH wants the injectors installed before drying. Slipping the bags over them just made me feel better than leaving them exposed until I install them 24 hours later.
Last edited by Captain_Slow; 06-07-2018 at 09:13 PM.
OK, that makes sense, thanks for the info. I didn't bag mine and was wondering if I should have. I did relube the o-rings before putting them back, fwiw...
Witch Hunter cleaned the injectors in a multi-step process, including new O-rings installed, and each injector put into the little zip bags shown in the photo. Their instructions say to install the injectors within a month of receiving them, and to keep them in the zipped bags until ready to install. There is a very light lubricant on the O-rings installed by WH. I replaced the O-rings with Roger's set of O-rings. I assume WH wants the injectors installed before drying. Slipping the bags over them just made me feel better than leaving them exposed until I install them 24 hours later.
Did you notice that your injector bodies were black when you sent them in and that now they are �silver�? That�s bare steel. You should repaint the bodies with an automotive paint or they will rust.
I wondered what type of bare metal it is. The injectors seem heavy for their size so steel makes sense. I will let them get a light even surface rust then pull them and apply POR-15 (best applied to lightly rusted surfaces or it won't stick...super tough and hard finish).
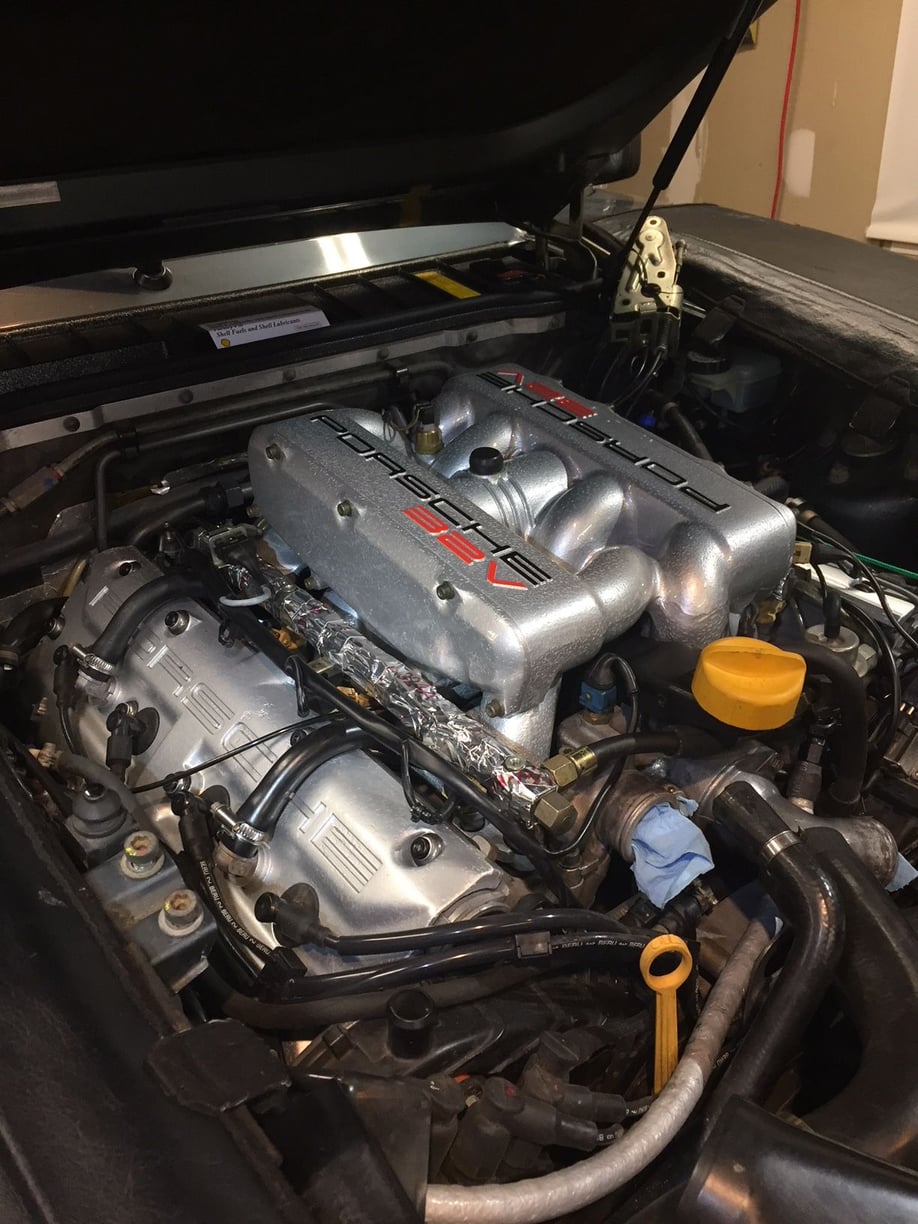
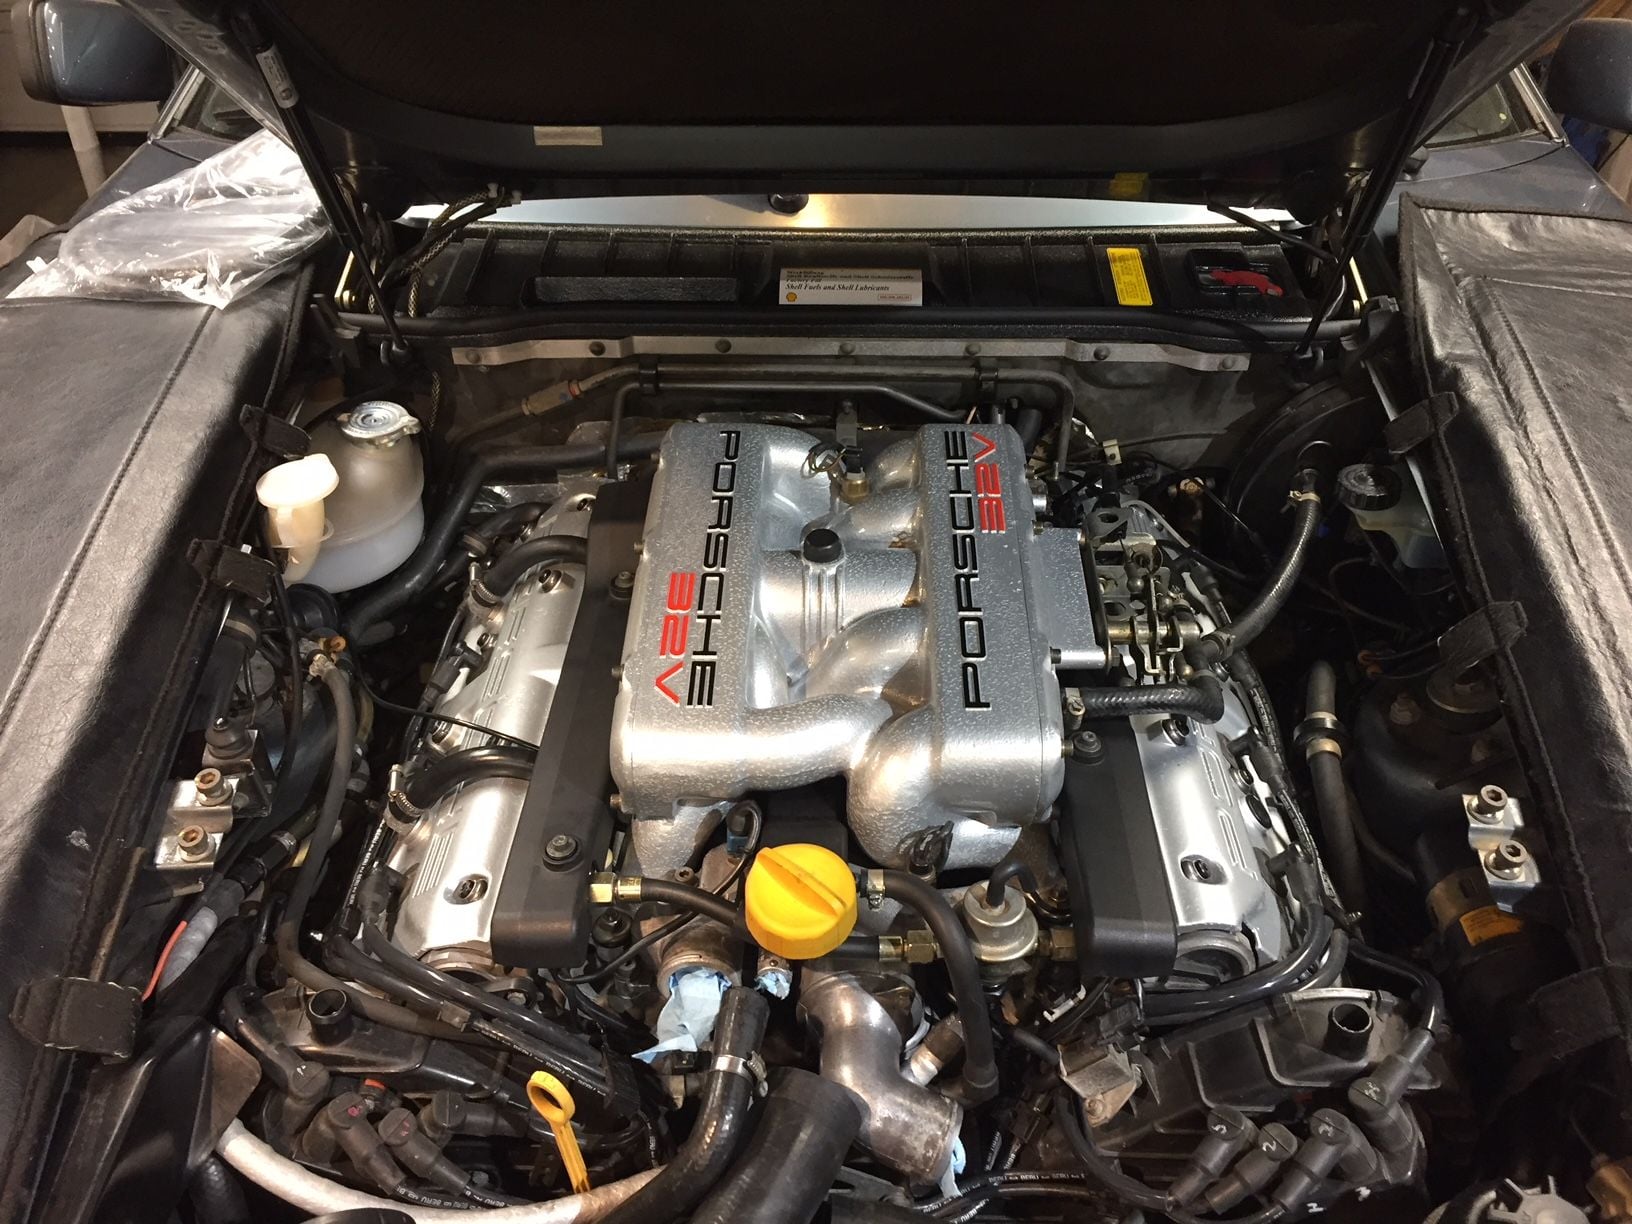
I'll probably have it all together, fuel leak tested, and try to start it by Sunday. I've been careful to avoid air leaks, particularly the sources Dwayne documented. Injectors and fuel rails went on easily. I thought I'd have more of a fight connecting the rail-to-FPR fittings. No problems. I was happy to discover the right side knock sensor connector DOES fit in the bracket on the fuel rail....
Make sure you put the wire bale back on the radiator hose nozzle, although the hose is less likely to slip since you did not powder coat it. Score me zero and zero on those two factors. In fact, I lost the wire bale (or never had one), leading to my undisclosed kludge in the "What did you do today..." thread.
Just want to thank you for documenting your intake and cam cover refresh in this much detail here, as for sure this is helping many of us who are/or will be doing the same in the future. It definitely has helped my ongoing intake refresh (which I will continue to document further in my own thread) with several of it's steps!
Arnoud - You are very welcome. I don't think we can have too many threads on this job. I referred to Dwayne's classic DIY, plus Curt's and others I've noted in my thread. At this point I'm just adding things that went differently than for Dwayne (e.g. Roger's latest knock sensor connector does fit in the fuel rail bracket). All of us have slightly different experiences and learn new ways of doing things - so do share and good luck!
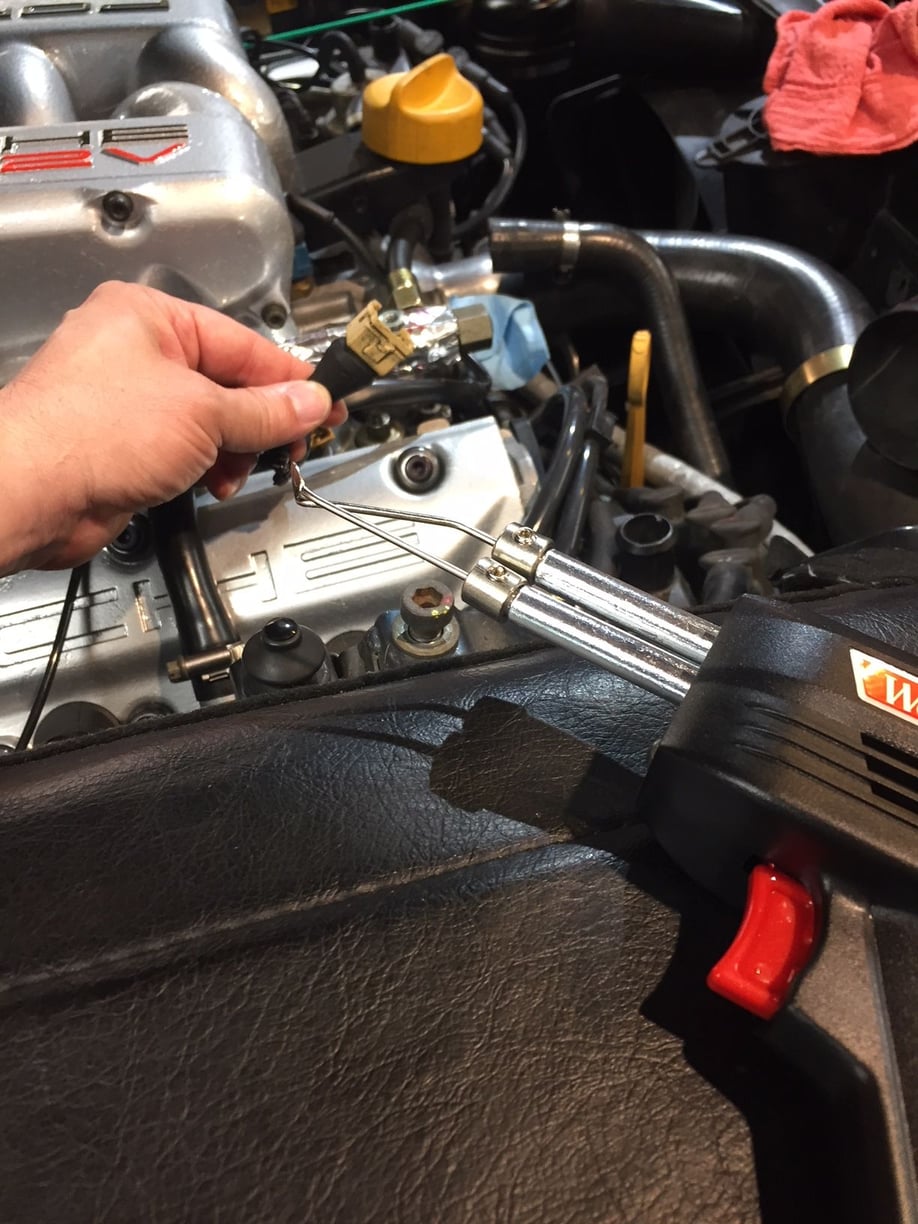
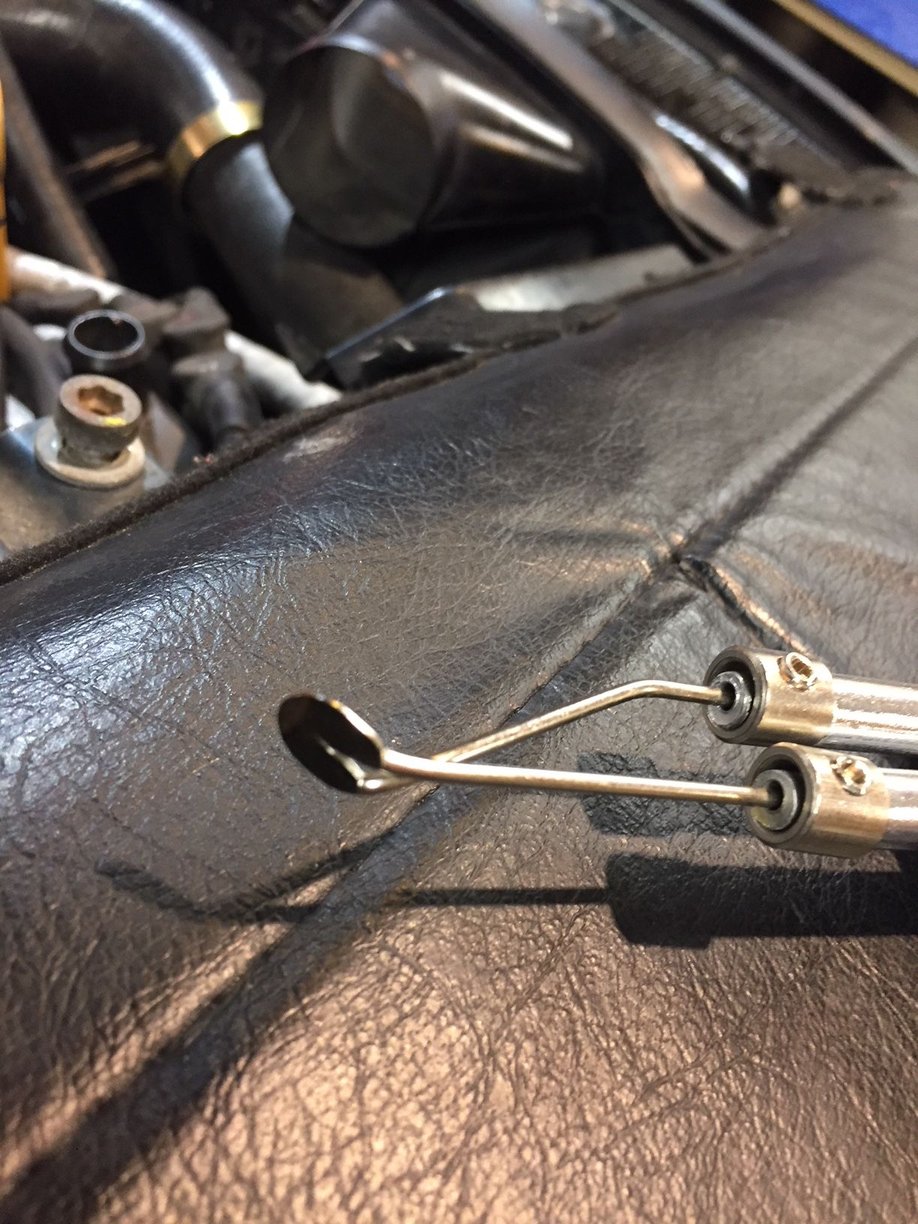
Dwayne illustrates how the retaining clips on the injectors back off when installing the injector harness connectors. The melted plastic that anchored the clips is broken during removal. I decided to use my Weller Universal 140/100 Watts soldering gun to "re-solder" the injector plastic over clip. The Weller gun comes with a perfect soldering spade to recreate the original pad of melted plastic.
Last edited by Captain_Slow; 06-09-2018 at 12:52 AM.
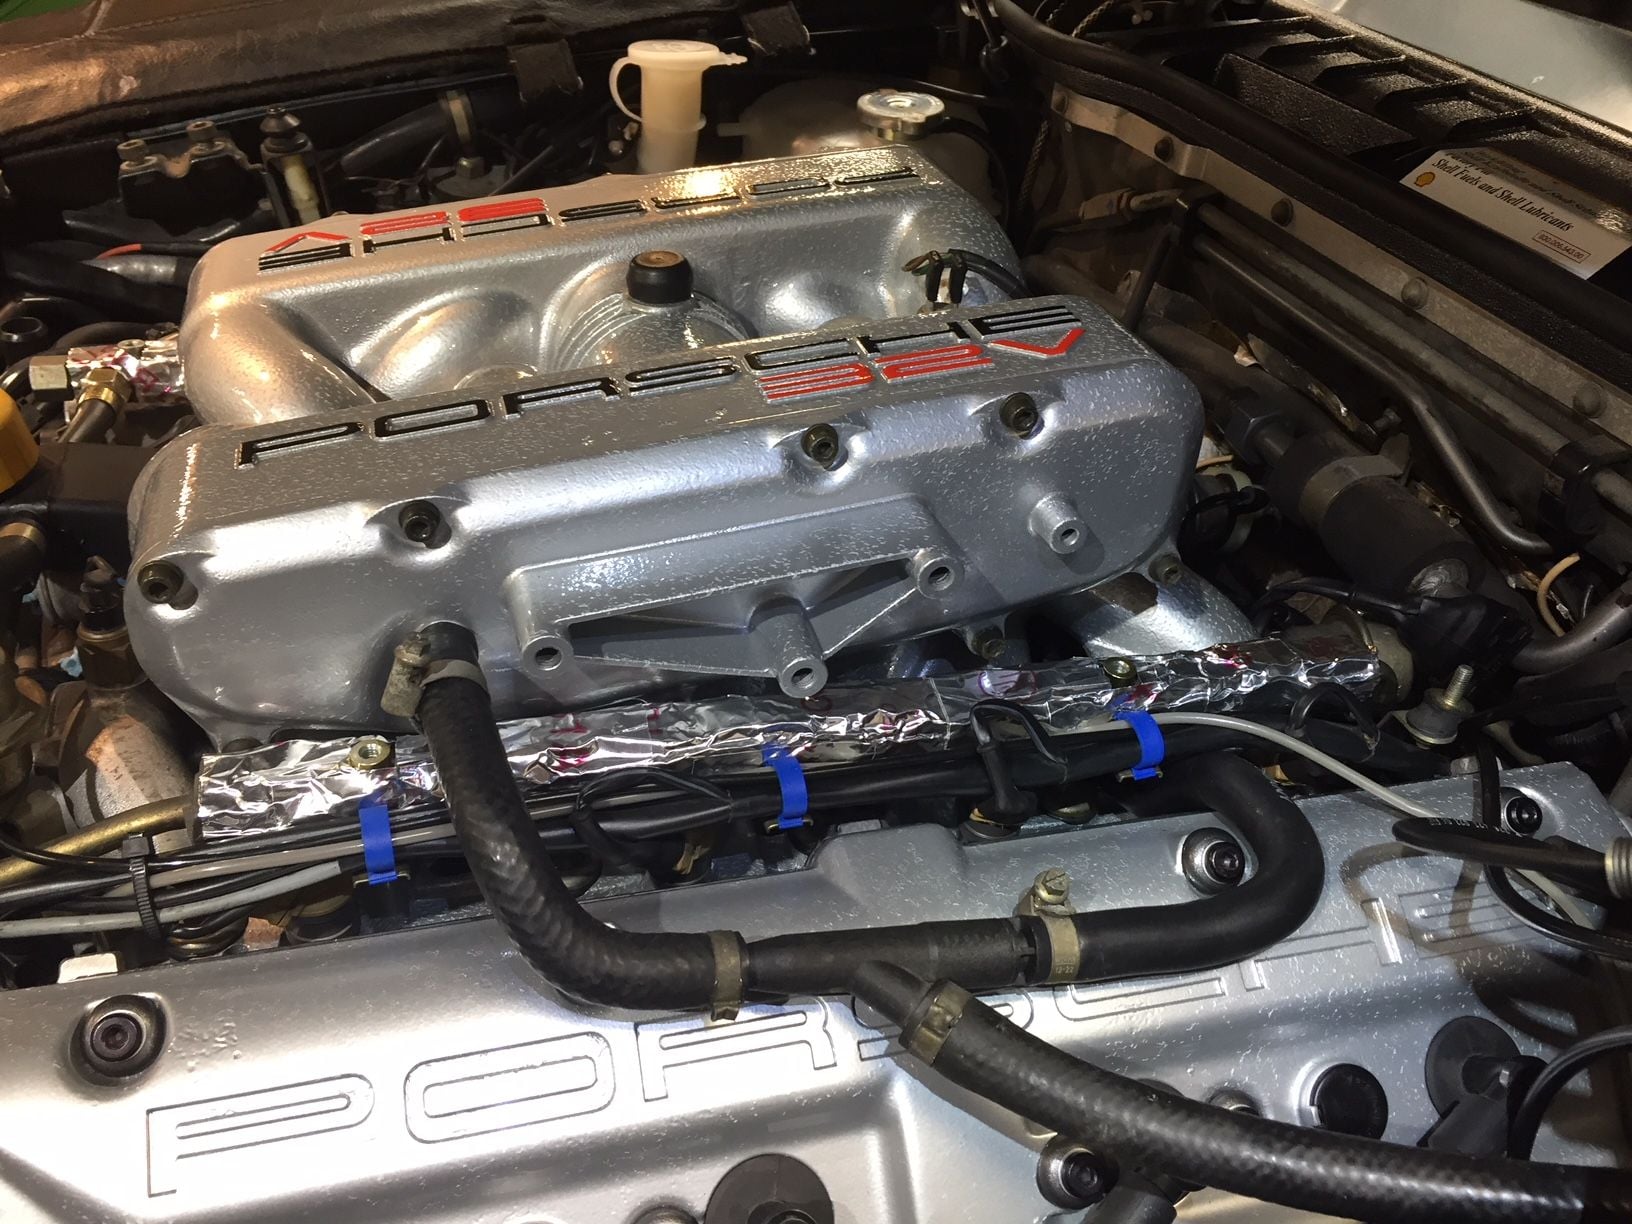
Fuel rails before covers go on...tomorrow might be the day
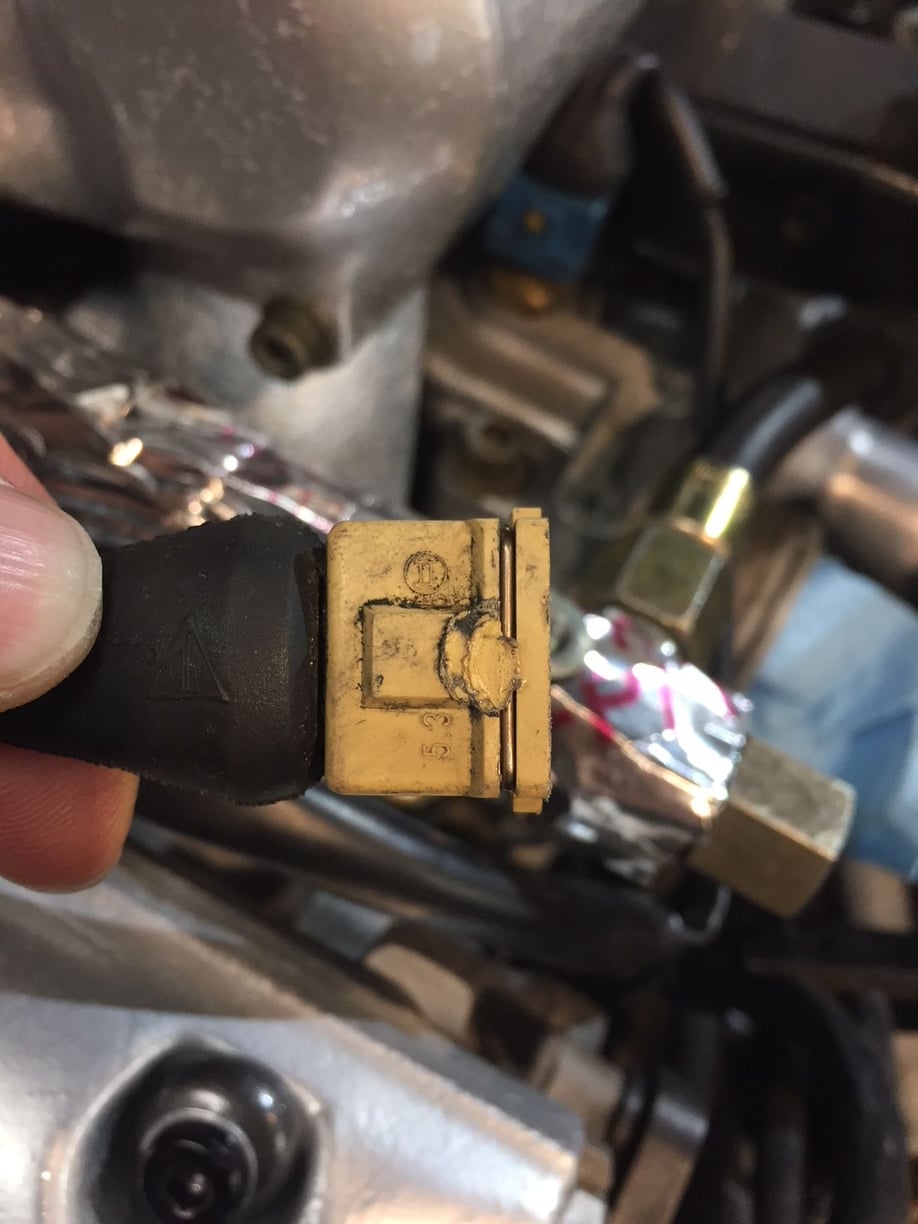
I noticed Dwayne didn't replace the blue harness clips. Fresh ones a flexible and tidy things up nicely. Double checked to make sure the injector clips were clipped in to the rail correctly. Installed cable quadrant and fine tuned the "click..click" of the TPS by adjusting the cable tension at the fire wall. Happy to hear the clicks just off idle position. Tomorrow I'll do a fuel leak test with jumper cable to run the fuel pump without starting the car. Look and smell for leaks. Then install the MAF, airbox, coolant hoses (several), top off coolant, front passenger wheel well liner, a heat shield underneath, plug the exhaust sampling ports with 1/4 inch ball bearings, and change the oil. Then try to start it.
Make sure you put the wire bale back on the radiator hose nozzle, although the hose is less likely to slip since you did not powder coat it. Score me zero and zero on those two factors. In fact, I lost the wire bale (or never had one), leading to my undisclosed kludge in the "What did you do today..." thread.
Hi Curt! Specifically what are you talking about when you say 'wire bale back on the radiator hose nozzle'? The water bridge and thermostat outlet on my 1986.5 have round head rivets pressed in, to create nubs for retaining the hoses on the outlets.
Jon, excellent work! Looking forward to a successful test start.
Hi Curt! Specifically what are you talking about when you say 'wire bale back on the radiator hose nozzle'? The water bridge and thermostat outlet on my 1986.5 have round head rivets pressed in, to create nubs for retaining the hoses on the outlets.
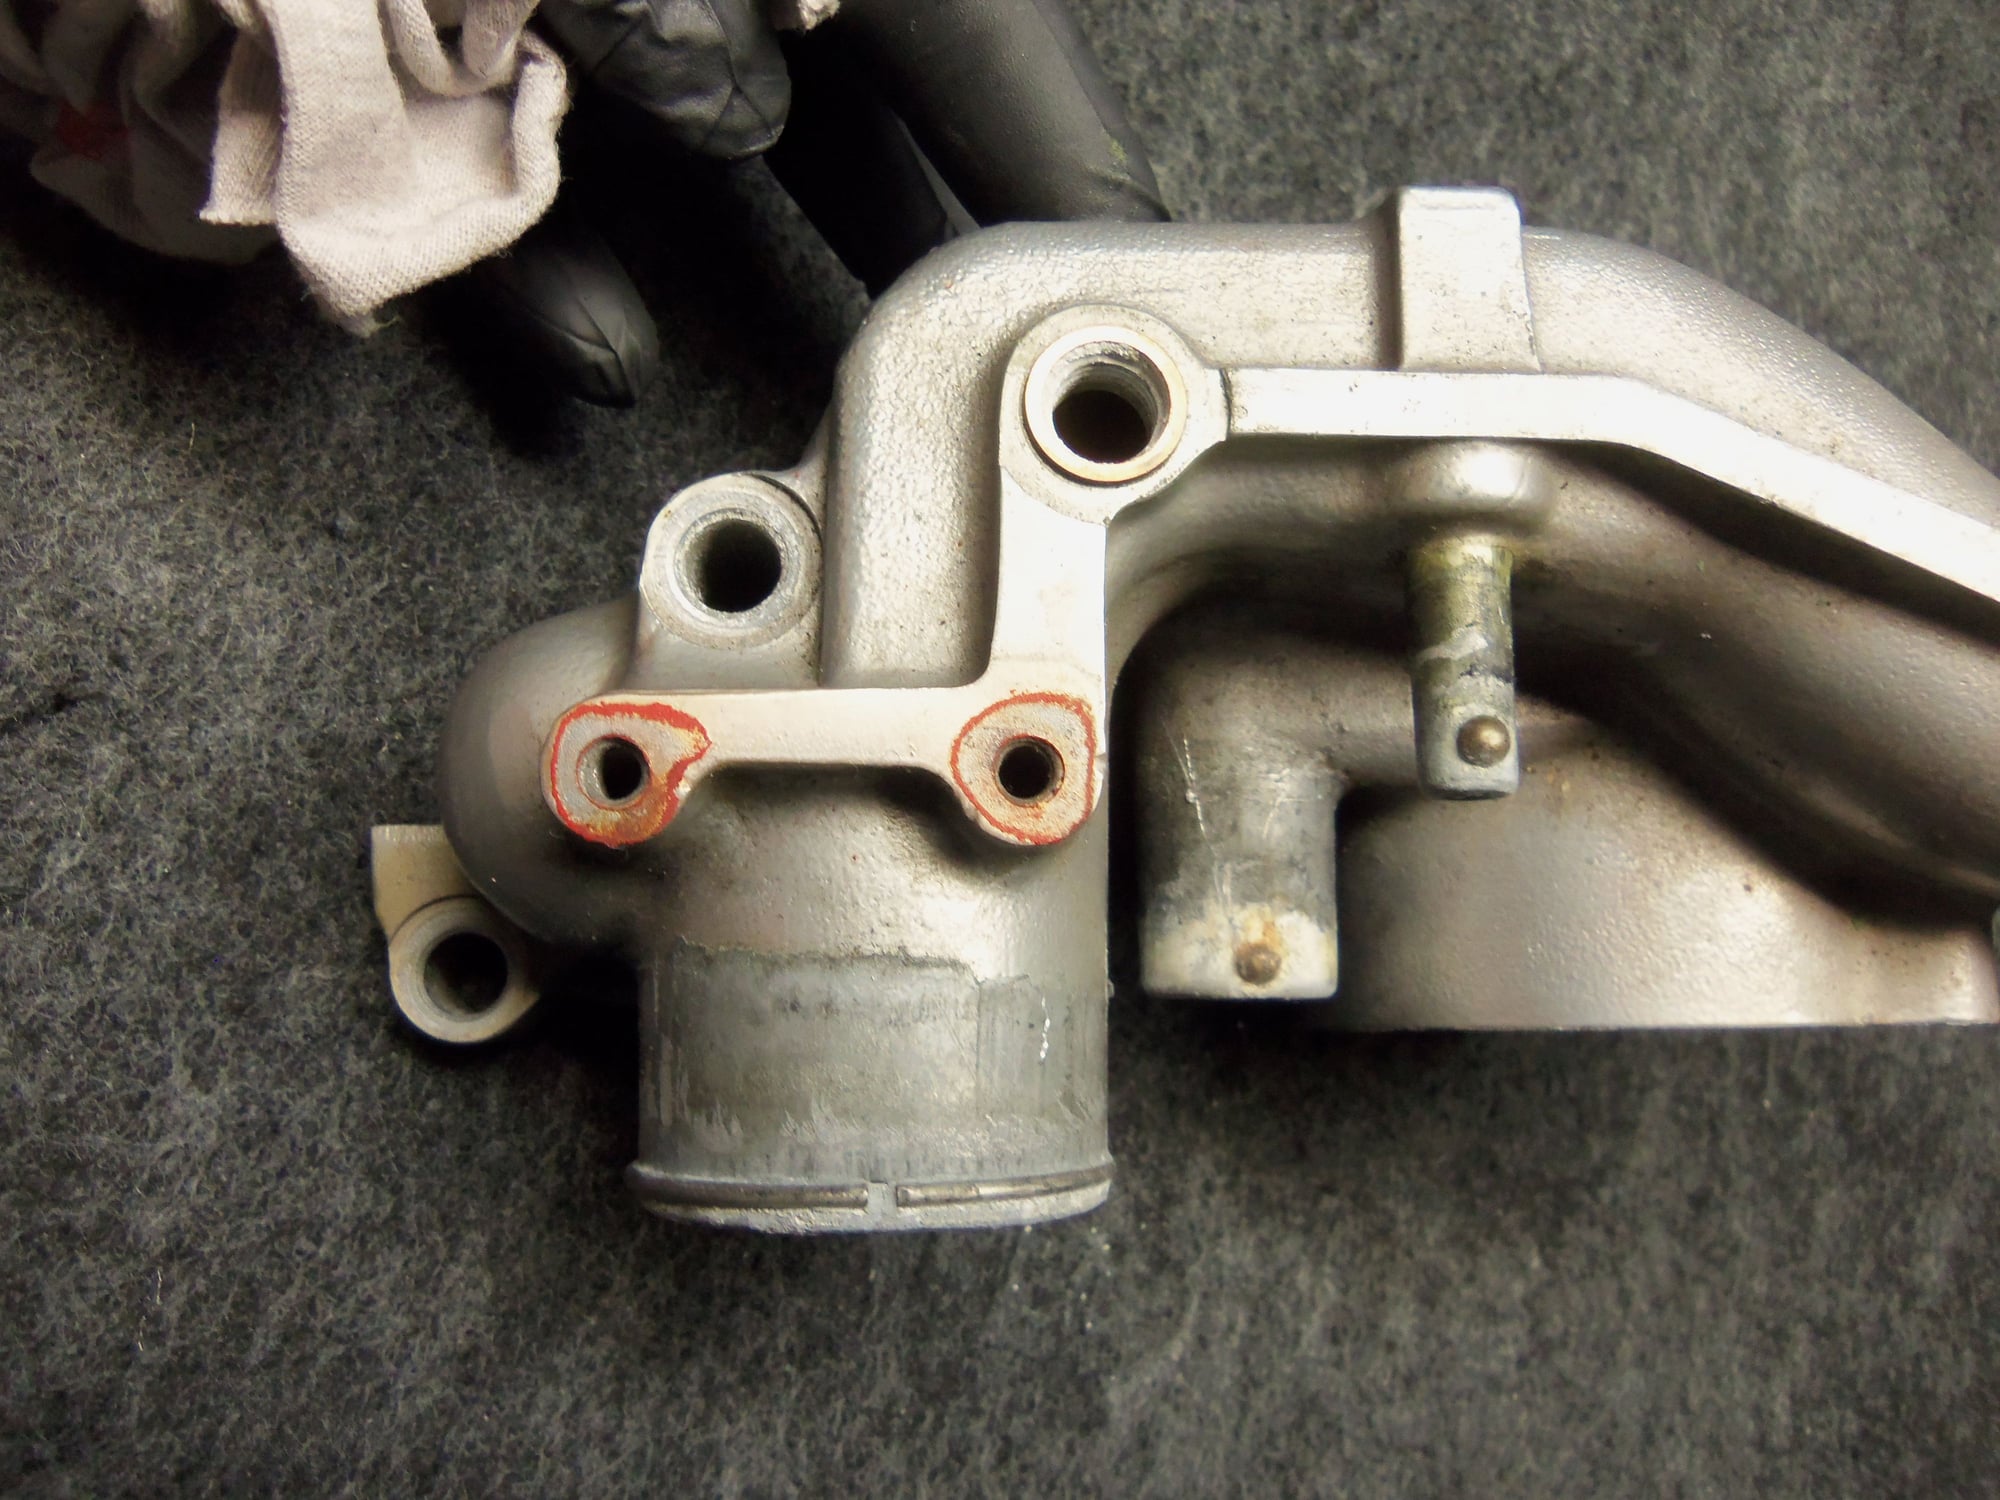
In the photo of post #230, you can see the groove around the end of the nozzle with the blue towel. That’s where a springy circular wire should go. I had my own powder coated in the area (a known mistake), and further, lost or never had the bale. No matter what I did, including roughening up the nozzle, the hose would work free. The heater hose nozzle on the bridge had a rivet, so I tried making a nub by adding a small screw. Didn’t work. More screws might have worked, but instead I added something like a bale, kludgy, and it’s been good.
The other large nozzle has a cast-in ridge to do the same thing: stop the clamp from working it’s way past.
Aha! Thanks, Curt. That makes sense. I went back and looked at the photos of my water bridge. Sure enough, there is a wire circlip ring around the hose outlet.
Good to know.
Note wire circlip ring around hose outlet. As well, see rivet 'nubs' on heater and vent hose outlets.
I didn't remove the wire bale for the upper radiator hose. All I did with the water bridge was replace all the seals, install thermostat, and put the bridge back on with new paper and red O-rings. I left the sensors in place. Was going to polish the bridge, but lost motivation when the clear powder coating issue surfaced.


 06-07-2018, 07:06 AM