When you click on links to various merchants on this site and make a purchase, this can result in this site earning a commission. Affiliate programs and affiliations include, but are not limited to, the eBay Partner Network.
Quite sure he can drill it quite easily with a press drill.
I know one at the mill where I work that loves those kind of job.
He's a car guy too (track chief instructor) and have help me few time with problems like that.
Just take your time, relax and everything will be fine.
Thanks Bertrand. Hadn't considered this is really just a simple task for a machinist. One of my neighbors will know who to take it to. Just another speed bump. I do think I want to retain the method Porsche used to prevent the screws backing out, though I may be convinced Red Loctite is fine.
I confirmed Rob's observation (in thread linked above) that these screws are magnetic, and thus are steel. The alloy is soft. I completely removed the one screw I was able to get with screw driver. No Loctite at all...clean bare threads. All threads that hold the screw are on the back side of the "shaft". The near side is dedicated to counter sinking the machine screw head. I cut off the threaded tip of the stripped screw almost flush with the flappy shaft. The cross section of the screw is irregular,slightly wider in the X direction than the Y - likely the result of the hammering to mushroom the tip to lock it. I suspect the outer threads in the shaft were likely deformed by the hammering. I'm also not confident that drilling out the little screw from the back side (not the screw head) can be done without damaging the threads. There isn't a clear straight shot for a long thin drill bit. I'm starting to imagine the drilling out being necessary to remove the flappy, and replace with a used shaft and flappy from a year when Loctite was used, not hammering.
Last edited by Captain_Slow; 03-19-2018 at 07:08 AM.
get your mapp gas torch,
wire the throttle plate open,
heat the back side of the screw after you have ground the swage off with the dremel.
close the throttle then use a fresh quality screwdriver with a long reach Snapon makes them the screw should come free
NOTE only heat the screw for about 10 seconds or less.
If you dont like this idea,
then cut a slot in the back side of the screw with the dremel cutoff wheel,
then drill the head off.
then unscrew the remainder from the back side.
Thanks Stan - I ground off the swage yesterday, and tried to unscrew it. No joy. It appears the blow of Heinz's hammer on this screw caused some deeper deformation of the screw, and therefore to the outer threads of the shaft. I have a neighbor who services all the fire and police vehicles for Loudoun County. Kind of an understatement - he's the guy they call in to trouble shoot mechanical and electrical problems that have stumped others. His truck is a rolling shop. He's coming over today to check it out. He has a tap set, but if this requires a machine shop he will know where to go (possibly his basement). The destroy and replace option still exists (but hope to avoid it...and better call 928 International first).
My neighbor came over, studied the stubborn screw and noticed there was a enough deeper slot remaining if we used a narrower screw driver. Using my Dremel with less than ideal cutting bit removed material from the screw and just a bit below flush with the shaft. Still couldn't get it out with his narrower screw driver. He said "The best thing for this is an impact screw driver with a long extension...I have one in my truck" . Here's the important part for all to take note. While I braced the flappy so it wouldn't flip, he started at the lowest torque setting, and leaning on the impact driver so it wouldn't jump out, increased the torque incrementally one click at a time, until 8-9 clicks....and the screw broke free and came right out.
So...1. Grind off the swage just a little deeper than flush with the shaft, not even a full thread deep. 2. Use the impact screw driver from the start. Use a fresh sharp bit.
The flappy mechanism is out, bearings still in. Now comes the cleaning and I think it'll be ready for powder coating.
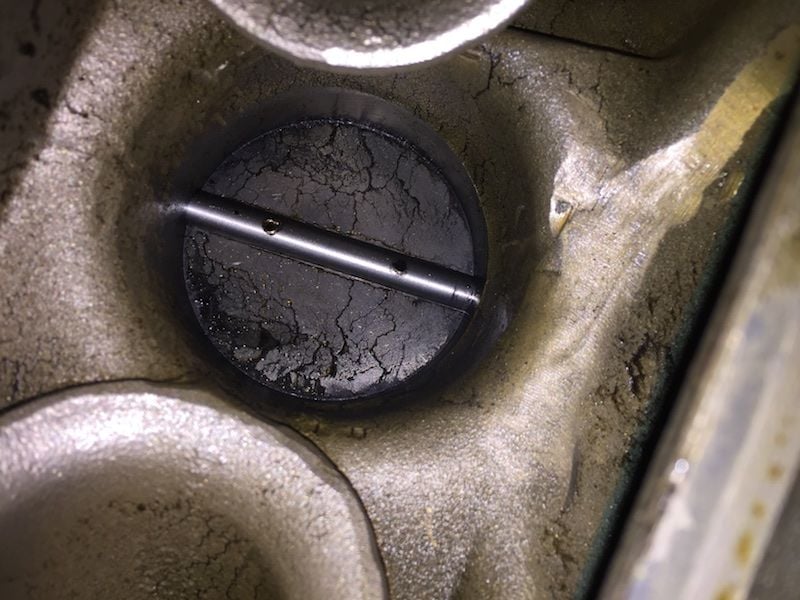
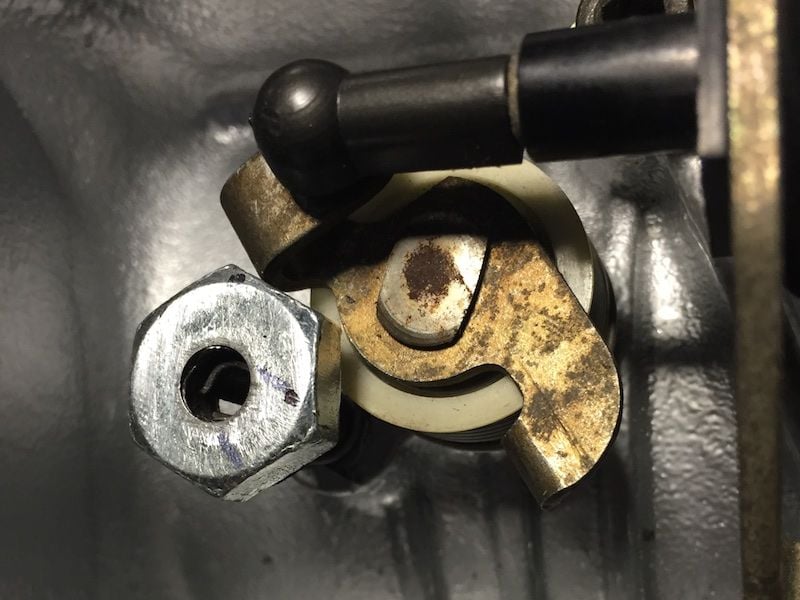
Came across a photo of my thoroughly stuck flappy valve. It was stuck from a combination of hardening gunk, disuse (PO was a gentle driver), and the lack of a stop on the actuator (the fix for that is in the second photo, before adding loctite).
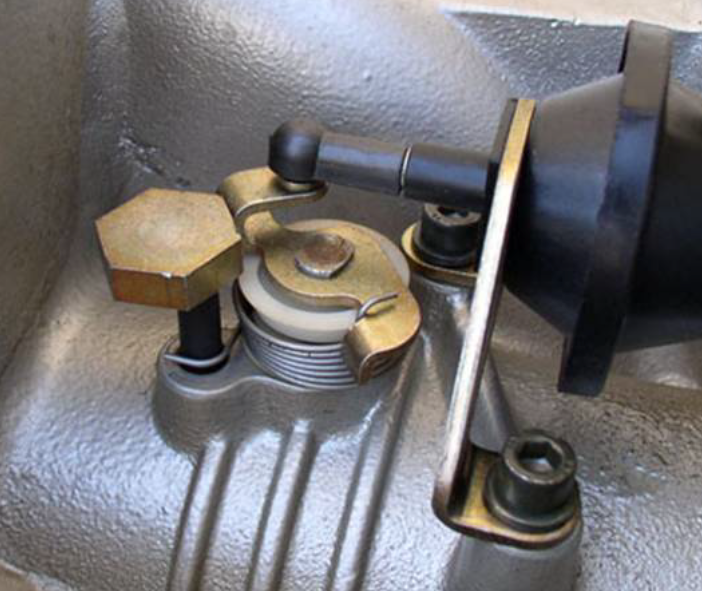
NOTE the hole that is in the head of the stop is not centered, its drilled off center to provide an eccentric type of mounting ,
use green loctite when you final fit the bolt head to roll pin.
NOTE depending on how tight the fit of your drilled hole is,
dont try to twist the eccentric nut as you can shear off the roll pin in the manifold BTDT


 03-17-2018, 12:50 PM