When you click on links to various merchants on this site and make a purchase, this can result in this site earning a commission. Affiliate programs and affiliations include, but are not limited to, the eBay Partner Network.
It sucks paying good money for a bad result and having invested so much time and effort into the entire process. Just a moment of big disappointment that will pass. It doesn't really matter how it looks compared to other cars...it was more like trying to achieve a personal best and a satisfying result. In the big picture it is insignificant. If the engine runs better and has more power when finished it will have been worth it. Now, if the shattered glass look turns into chunks filling the valley - that's a whole different thing. I'm a bit concerned this might happen if the clear didn't bond with the color coat.
Originally Posted by Wisconsin Joe
You do realize that even flawed, it looks better than 90%+ of the other 928s out there, don't you?
I understand that it will likely deteriorate, and end up looking 'not as nice' as it does now.
It will still look better than 75%+ of the other 928s out there.
Cut to the chase - The shop owner and I agreed on a full refund. No drama and fair. I'll finish the refresh and drive it at least until I retire 4 years out. I'll get more educated on powder coating vs painting and decide which I'll do down the road when I have older boys and more time.
Both that you came to an agreeable resolution with the shop owner and that you are going to continue with the car.
And thanks for coming back with the 'finish' to the story. So many (waaaaaaay too many) threads are 'cliffhangers' where the final outcome is never posted.
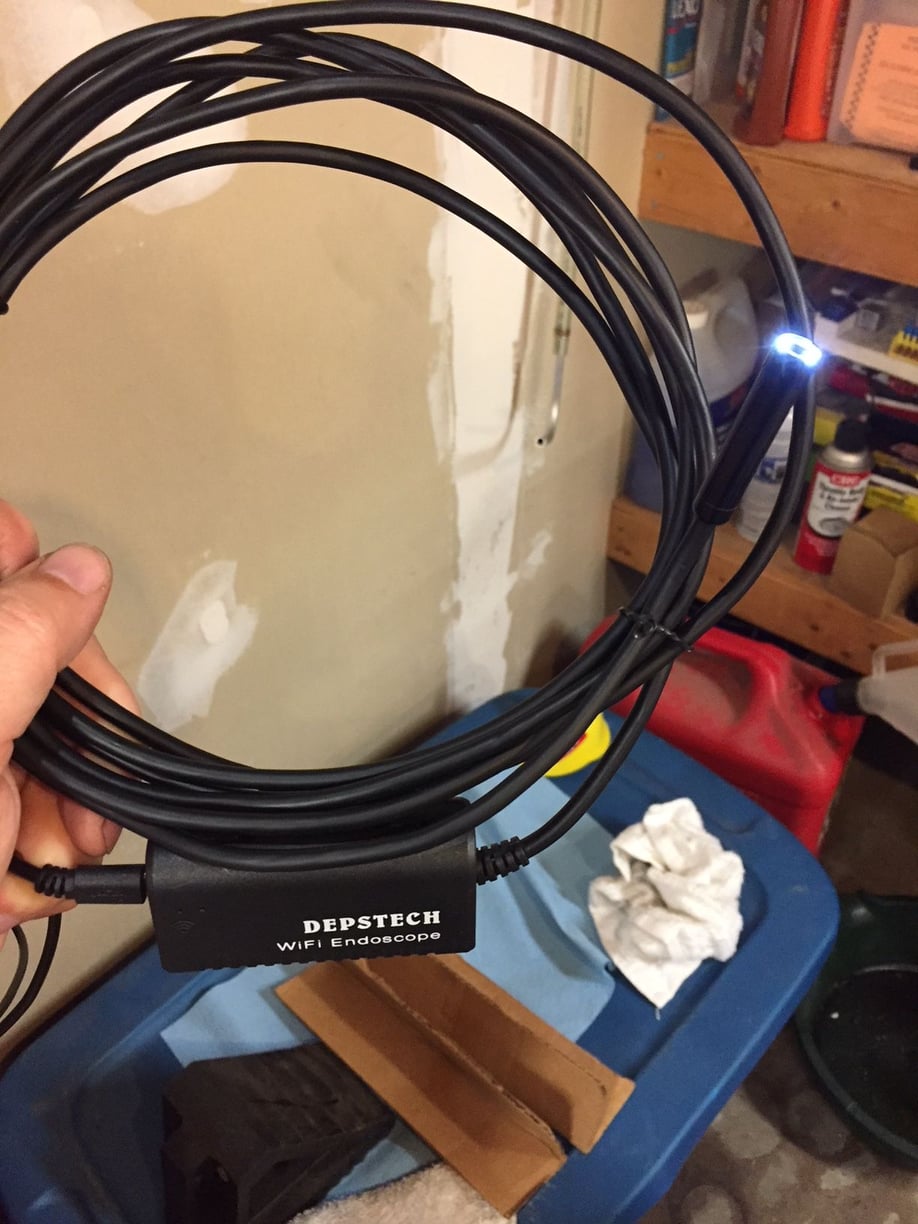
Intake on - and almost off again. Saved by WiFi endoscope
Intake and all connections underneath are done. While connecting the vac line from the throttle body to the 5-port vacuum manifold at the rear I pulled the line off the throttle body fitting. A brain fart moment of extending the line to force it into the inlet port on the manifold instead of bringing the manifold forward and forcing it on to the line. Fumbling with mirrors for a bit I was ready to loosen the intake and raise it up enough to reconnect the line to the throttle body fitting. Decided to give the endoscope a shot first. It worked. I set the phone on the cam cover and leaned it against the intake, positioned the endoscope so it gave me a view of the brass tube fitting on the throttle body, and inserted the line until I could see it on the iPhone screen. Then it became a lot more challenging. All deliberate hand motions made the opposite happen on the screen. A bit of slow practice and finally I got the rubber coupler on the end of the line on the fitting...and pushed. The endoscope paid for itself ($26) today. I forgot to take screen captures of the process. Everyone needs to buy a WiFi endoscope now. The coiled line for the camera (with 5-6 small LEDs) is flexible and retains whatever shape you want it to be in. I formed it to hold a steady image of the brass fitting on the throttle body while I worked.
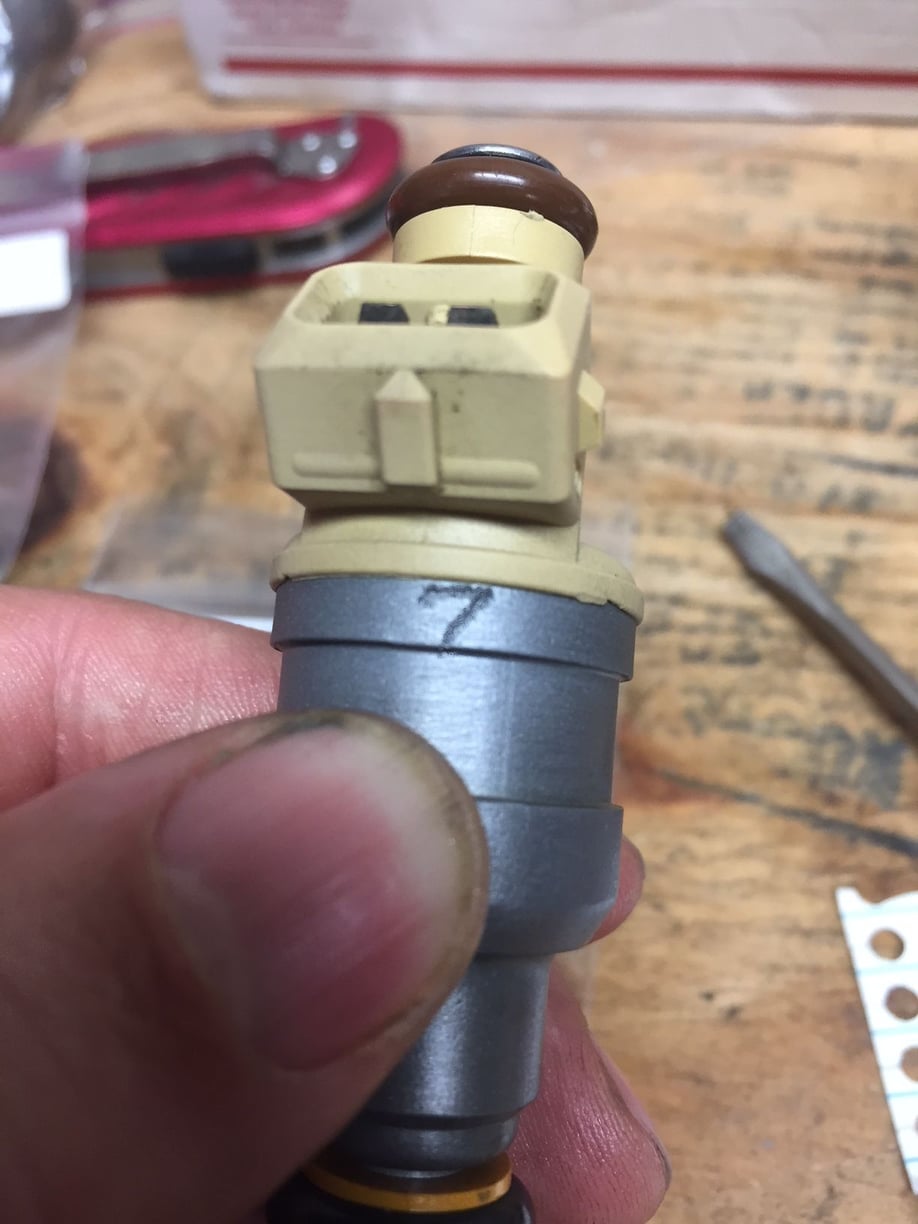
Also...made a really cool discovery today. When I sent my injectors off to Witchhunter I had them number by cylinder and requested they be returned in the numbered snack baggies. When I received the injectors they were packaged completely differently in new small zip baggies. So much for putting each injector back where it came from. Then I saw this....
Witch Hunter etched the cylinder number on to each injector.
The owner of the PC shop called me this morning and processed my refund back to my credit card. Nice guy. I wouldn't suggest taking a 928 intake to them. I think they don't want to see another. They are busy coating a lot of THINNER sheet or tubular metals. The cam covers are doing better than the intake. The cam covers are thinner metal than the quite thick body of the intake - and not taking this into account was likely the fatal flaw in the process. The internal temperature of the body of the intake lagged behind the surface temperature. This means the surface of the PC was at cure temperature for the prescribed amount of time, but the interface with the substrate likely reached the prescribed temperature a bit later and therefore was not held at this temperature long enough. I also think the clear is a bit thicker than it should be and is a known factor that causes curing problems. Oh well...I've done enough research now to know that PC appears deceivingly simple and fool proof - it is not.
I missed a few days of this thread somehow - sorry for being slow on the uptake. Jon, thanks for the kind words. I am wrench-challenged and you've gone way past my solo abilities, so bravo.
I absolutely cannot WAIT to hopefully get to Camp 928 and (over multiple cocktails) trade intake lore. I too am in crunch time to get assembled - fortunately Worf928 is on top of it. Dave, you have to make sure i get there...
I'm pretty my story tops everyone's (and not in any of the good ways).
If it goes back together as hoped, here's a preview. Dave, not sure you've seen these photos the latest from tonight. Eagle-eye 928 gurus, see if you can spot one of the issues.
Update: I see the finish problem on the latest photo, Jon. You're right - it's very bad. - a major screwup.
You have reversed the colors on the lettering. "Porsche" should be red, "32V" black. What were you thinking???
Your PC'd parts look fantastic. I like the matte finish better than the glossy clear coat. I should have had them stop with just the color coat. Yours looks more like the original. You did a really good job with painting the letters. I don't have a steady enough hand. The vinyl decals were free, so I can't complain It is really bad...I think it will start flaking off. I'll just have to do some routine vacuuming (hope it all falls off before I'm ready to do it again )
Thanks! Not PC'd though. That is DIY using a coating called Cerakote High Temp - unlike their older products this one is air cured and good to 2000F. It's pretty amazing stuff (so far). I'm working on a writeup.
Also, I wish I had decals. That is just Testors model enamel using paint pens (intake) and a syringe (cam covers). It's dead easy but not as good as decals - will probably have to repaint the lettering every spring. Acetone wipes it off like dust with Lemon Pledge. Gasoline or ATF will certainly be similar.
Your story is well worth the minor powdercoat problem especially "for the price". Looks great regardless IMO.
Finally, I like the warmer flat color a lot but it's a little darker in person, and most 928 geeks think the prefading original paint was more like yours.
@MrMerlin - Many thanks for the tips. Dave will be right there when this goes back together though he might make me turn the wrenches. But as stated, not PC'd. This coating is very thin so I don't expect any binding. Bearings were removed prior to finishing. I had to spray it twice and for the second coat I masked all the openings.
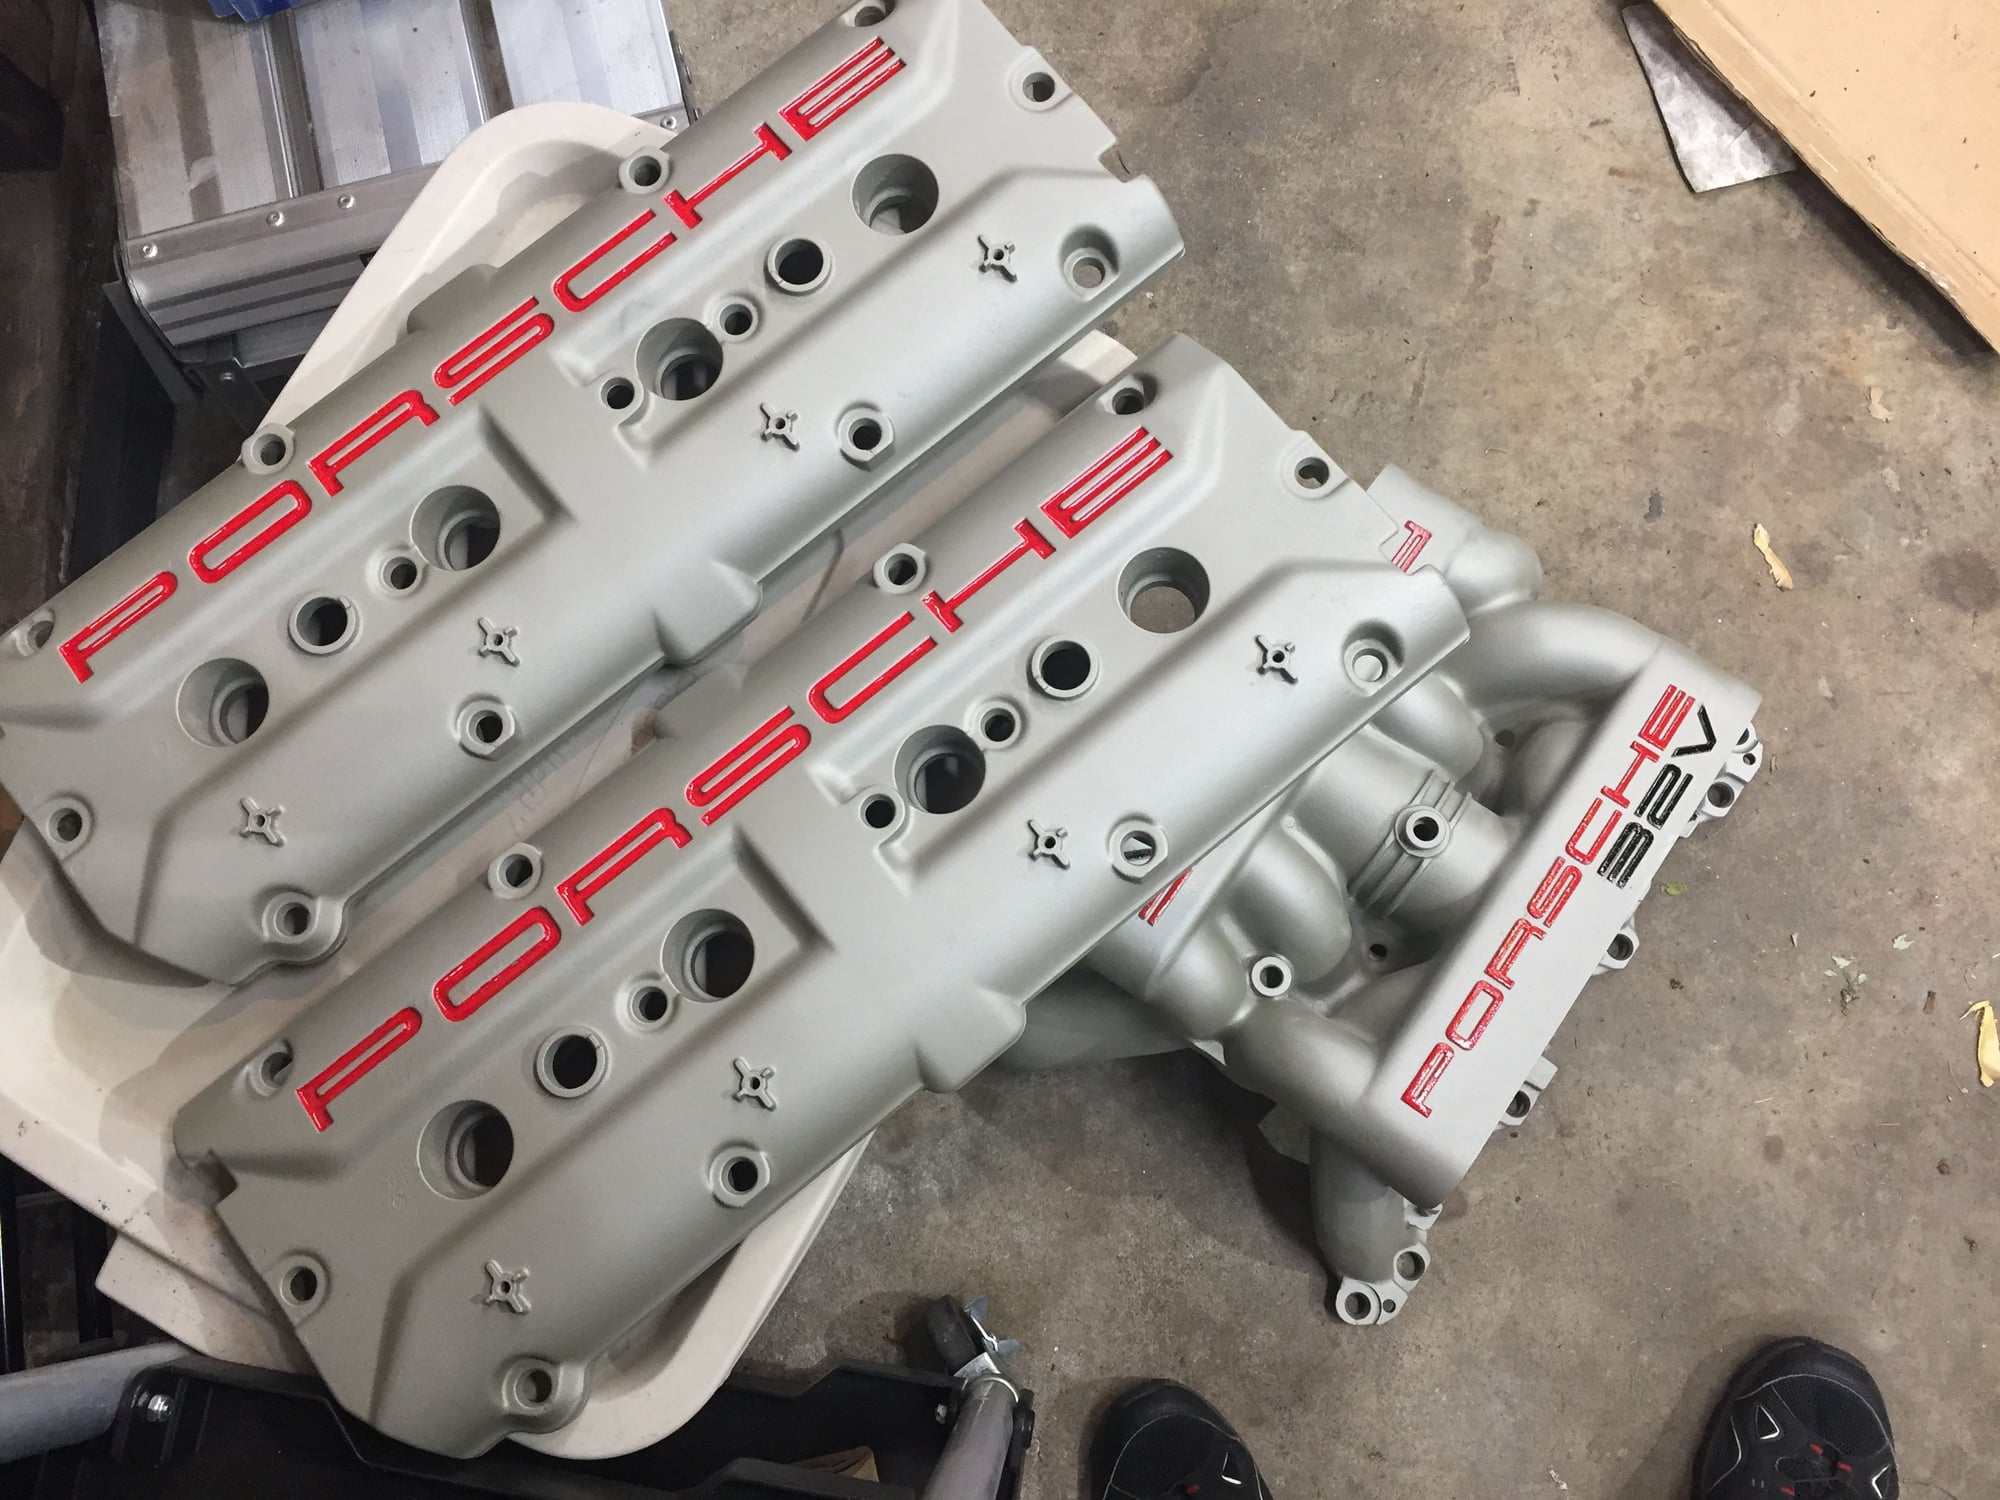
I spoke with the powdercoater I use and he said Magnesium is challenging to get done correctly. He said these sorts of items need to be left in the ovens 2-3 weeks of continuous heating cycles to bleed out any imperfections in the metal. Here's my S4 Intake and Cam covers, post plastic media blasted, and in epoxy primer and silver paint with hand painted red. Might be a good way to go. The biggest thing is getting your parts professionally media blasted, the added chemicals to 'aid' in your DIY blasting apparatus' do more harm than good. If you or your blasting machine don't have 175cfm on tap to utilize, you're not setting yourself and parts up for success.
Yup...the good news is the parts were cleaned well, baked several times to burn off hydrocarbons and degas the magnesium. No chemicals, just aluminum oxide media and pressure washing. Also has a high zinc primer under the color. Shop owner suggested I sand off the shattered clear and paint it. I'll probably try to fill imprecations in the casing and paint it myself...years from now.
Originally Posted by DonaldBuswell
I spoke with the powdercoater I use and he said Magnesium is challenging to get done correctly. He said these sorts of items need to be left in the ovens 2-3 weeks of continuous heating cycles to bleed out any imperfections in the metal. Here's my S4 Intake and Cam covers, post plastic media blasted, and in epoxy primer and silver paint with hand painted red. Might be a good way to go. The biggest thing is getting your parts professionally media blasted, the added chemicals to 'aid' in your DIY blasting apparatus' do more harm than good. If you or your blasting machine don't have 175cfm on tap to utilize, you're not setting yourself and parts up for success.
Last edited by Captain_Slow; 06-03-2018 at 06:48 PM.
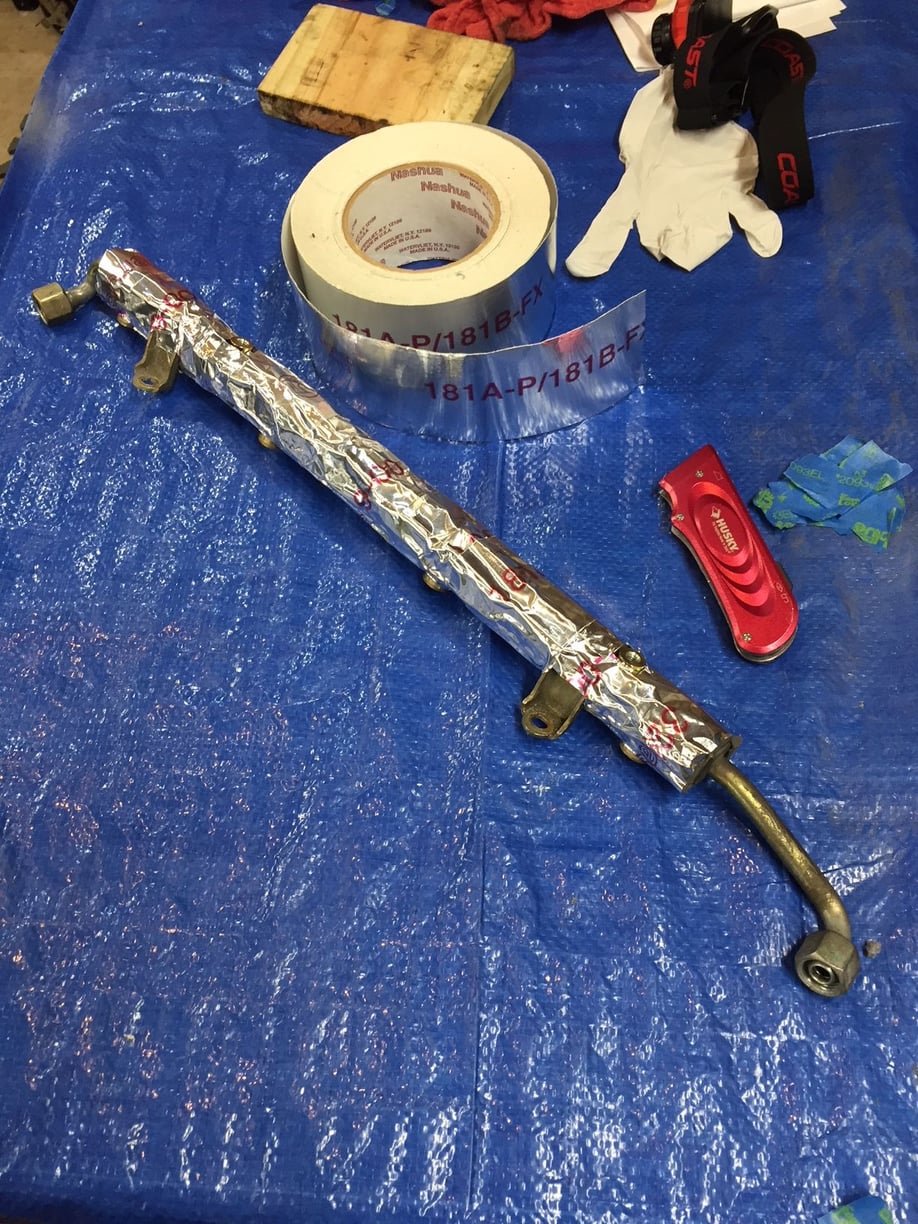
I used "suitable for automotive use" foam rubber weather stripping and Nashua adhesive heavy duty foil tape, rated to three-hundred-twenty-five degrees. (sorry...the three key died) Really easy to work with the tape and it is sticky.
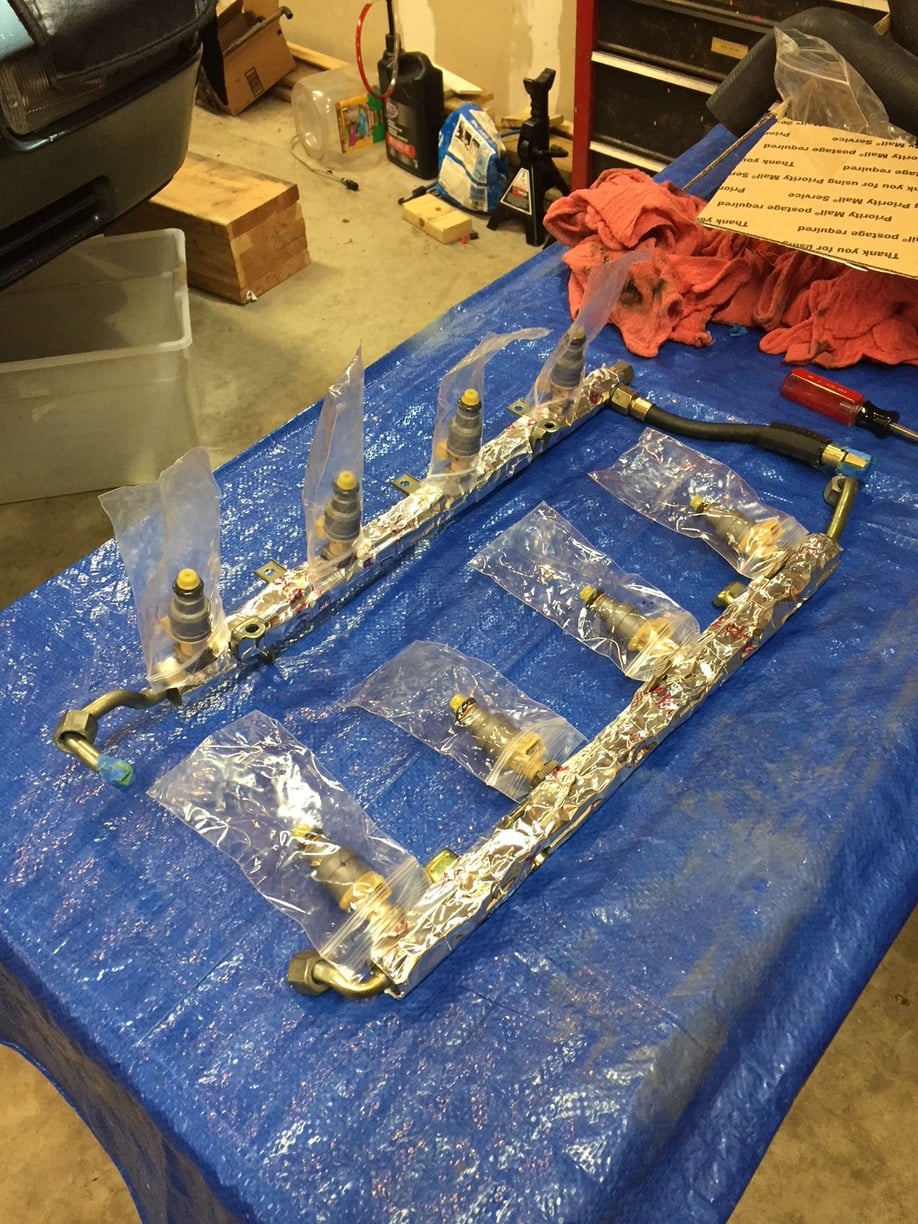
The O-rings from Witch Hunter seemed fine, though the ones from Roger are a bit thicker. Curt noted that the clips that hold the injectors in the rails don't always align and lock in. I observed the same. One 4 of the injectors I had to reposition the slot in the clip to make it click in. I'll recheck all again before installing the injectors/rails tomorrow. The parts baggies on my bench are few now.

 05-28-2018, 10:01 PM


 It is really bad...I think it will start flaking off. I'll just have to do some routine vacuuming (hope it all falls off before I'm ready to do it again