When you click on links to various merchants on this site and make a purchase, this can result in this site earning a commission. Affiliate programs and affiliations include, but are not limited to, the eBay Partner Network.
First step, remove the glass, it just pries up, do it carefully though so you don't crack the glass. You will then have access holes through the motorized plate to remove IIRC 3 8mm fasteners.
If the clips pop off of your glass, just use some epoxy to reattach them.
Then the whole rubberized section (contains the motor) can be unplugged from the painted section of the mirror.
Plug in the new part and bolt it back in and reattach the glass and away you go.
You can't just replace the motor unless you feel like drilling out rivets as it was never available as a separate part.
This is an aero mirror glass but the lockring is the same as the S4 flag mirrors - in this pic the lockring is in the 'locked' position, you need to rotate it clockwise relative to the glass so those little embossed dots are centered in the openings in the lockring. You need to push the mirror glass 'in' at the bottom so the 3 teeth are visible through the slot in the mirror body, then rotate the lockring with a flat blade screwdriver. This is the hardest part of the whole job.
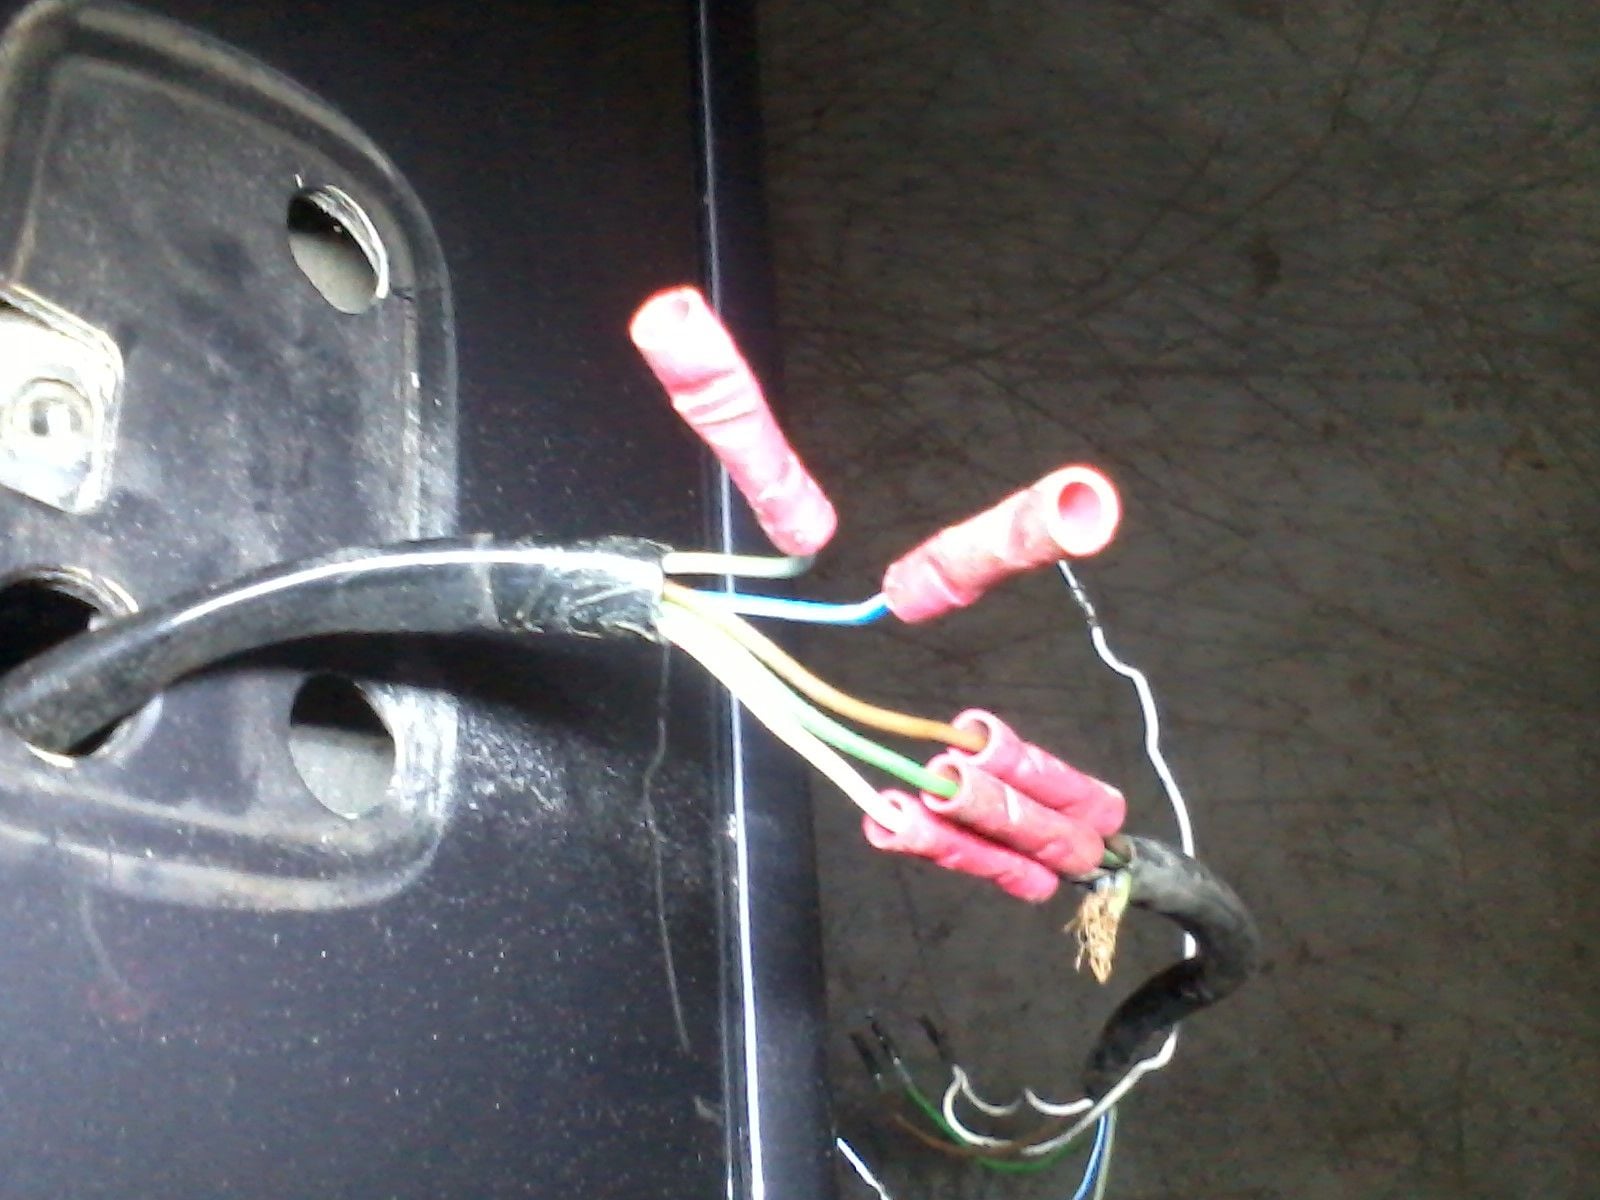
The later mirrors have a lock ring that's accessible via the hole in the bottom center if the plastic trim ring. Use a narrow screwdriver to rotate that ring and unlatch the glass from the motor assembly. Be Sure To Hold The Glass as you release the ring. It won't fly out but will come free in a hurry once you pull on it a little. It has a couple wires for the heater that will probably save you, but "will probably save you" isn't the same as "nothing can go wrong" Once the glass is out, you'll see how the motor mounts to the housing with screws. The connectors for the motor and heater wiring are inside the door, and will need to be disassembled carefully before the wires can be withdrawn through the too-small hole in the door. A Molex-style pin removal tool is essential for extracting the pins, only after you've taken a couple pictures and drawn a sequence diagram with notes (same as: "circles and arrows with a description on the back"...) so you can be sure to put the new wires back in correctly later.
My general preference is to remove the door panel and undo the wiring first. Then remove the mirror completely from the car for any needed surgery. A couple layers of towel or a piece of carpet on the bench will help for the actual work. With the mirror off the door This way you can thoroughly clean the mirror assembly, clean the mounting area on the door, etc. without risk of damaging paint. That area between the mirror base and the window trim is only accessible for cleaning,sealing with the mirror mount removed. Any time I'm working on the mirror on the door, there are at least a couple layers of thick bath towel protecting the door from casual contact/damage. I find that 3M red stucco tape does a fabulous job of holding towels in place, and comes off without leaving any adhesive. Tape to the glass, as the waxed door skin isn't a great place for adhesive to stick.
I thought they had to be 8x10 color glossies with circles and arrows. At least 27 of them so you know what each one was.
Unless something changed in '90 or so, I think you just have to remove the mirror glass, undo the three M5 bolts that hold the motor assembly to the mirror body, undo the 4-pin and 6-pin connectors from their tabs, disconnect them, and swap out the motor.
Here are the back of the the '91 Cobalt mirrors with the motor assembly removed:
There is no need to remove the mirror housing from the door. In fact, a lot of reason not to: The connectors have to be removed to withdraw the wiring.
Just do as Rob’s pictures show; remove glass, unbolt and disconnect mirror guts.
I didn't remember those connectors in the housing. I've always removed the pins in the door connector and taken the whole thing off for the work. I wonder why I thought I needed to do that....
I have an '83... is that the "pry up the mirror" type or "rotate the ring" type? I want to swap in new door harnesses and fix the common/annoying slightly loose driver's side mirror assembly.
I have an '83... is that the "pry up the mirror" type or "rotate the ring" type? I want to swap in new door harnesses and fix the common/annoying slightly loose driver's side mirror assembly.
Very easy to do on my 87 Except that inside the door was a conglomeration of crimps some of which came apart. I soldered and heat shrunk instead but had to remove the pins from the connector. Anyway I purchased the mirror motors from a local pick-a-part for $5.00 taken from a BMW because the nylon gears were stripped. Some information on mirrors and alternative mirrors here http://jenniskens.livedsl.nl/Technic...0/MyTip057.htm For those that were curious. I hate cobbing stuff. At least make an effort!


 02-06-2018 | 05:15 AM