When you click on links to various merchants on this site and make a purchase, this can result in this site earning a commission. Affiliate programs and affiliations include, but are not limited to, the eBay Partner Network.
Every year at this time I plan to spend a week or two working on the 928. Generally I try to inspect as much as possible to see how things are "degrading" and prefer to plan work ahead of time where possible. Following last years inspection I planned to replace the engine wiring harness in its entirely this time, replace the bushings on UCA's replacing the passenger side UCA [the ball joint was clearly on its last legs last year] and replace the front brake pads/machine the wear lip off the discs.
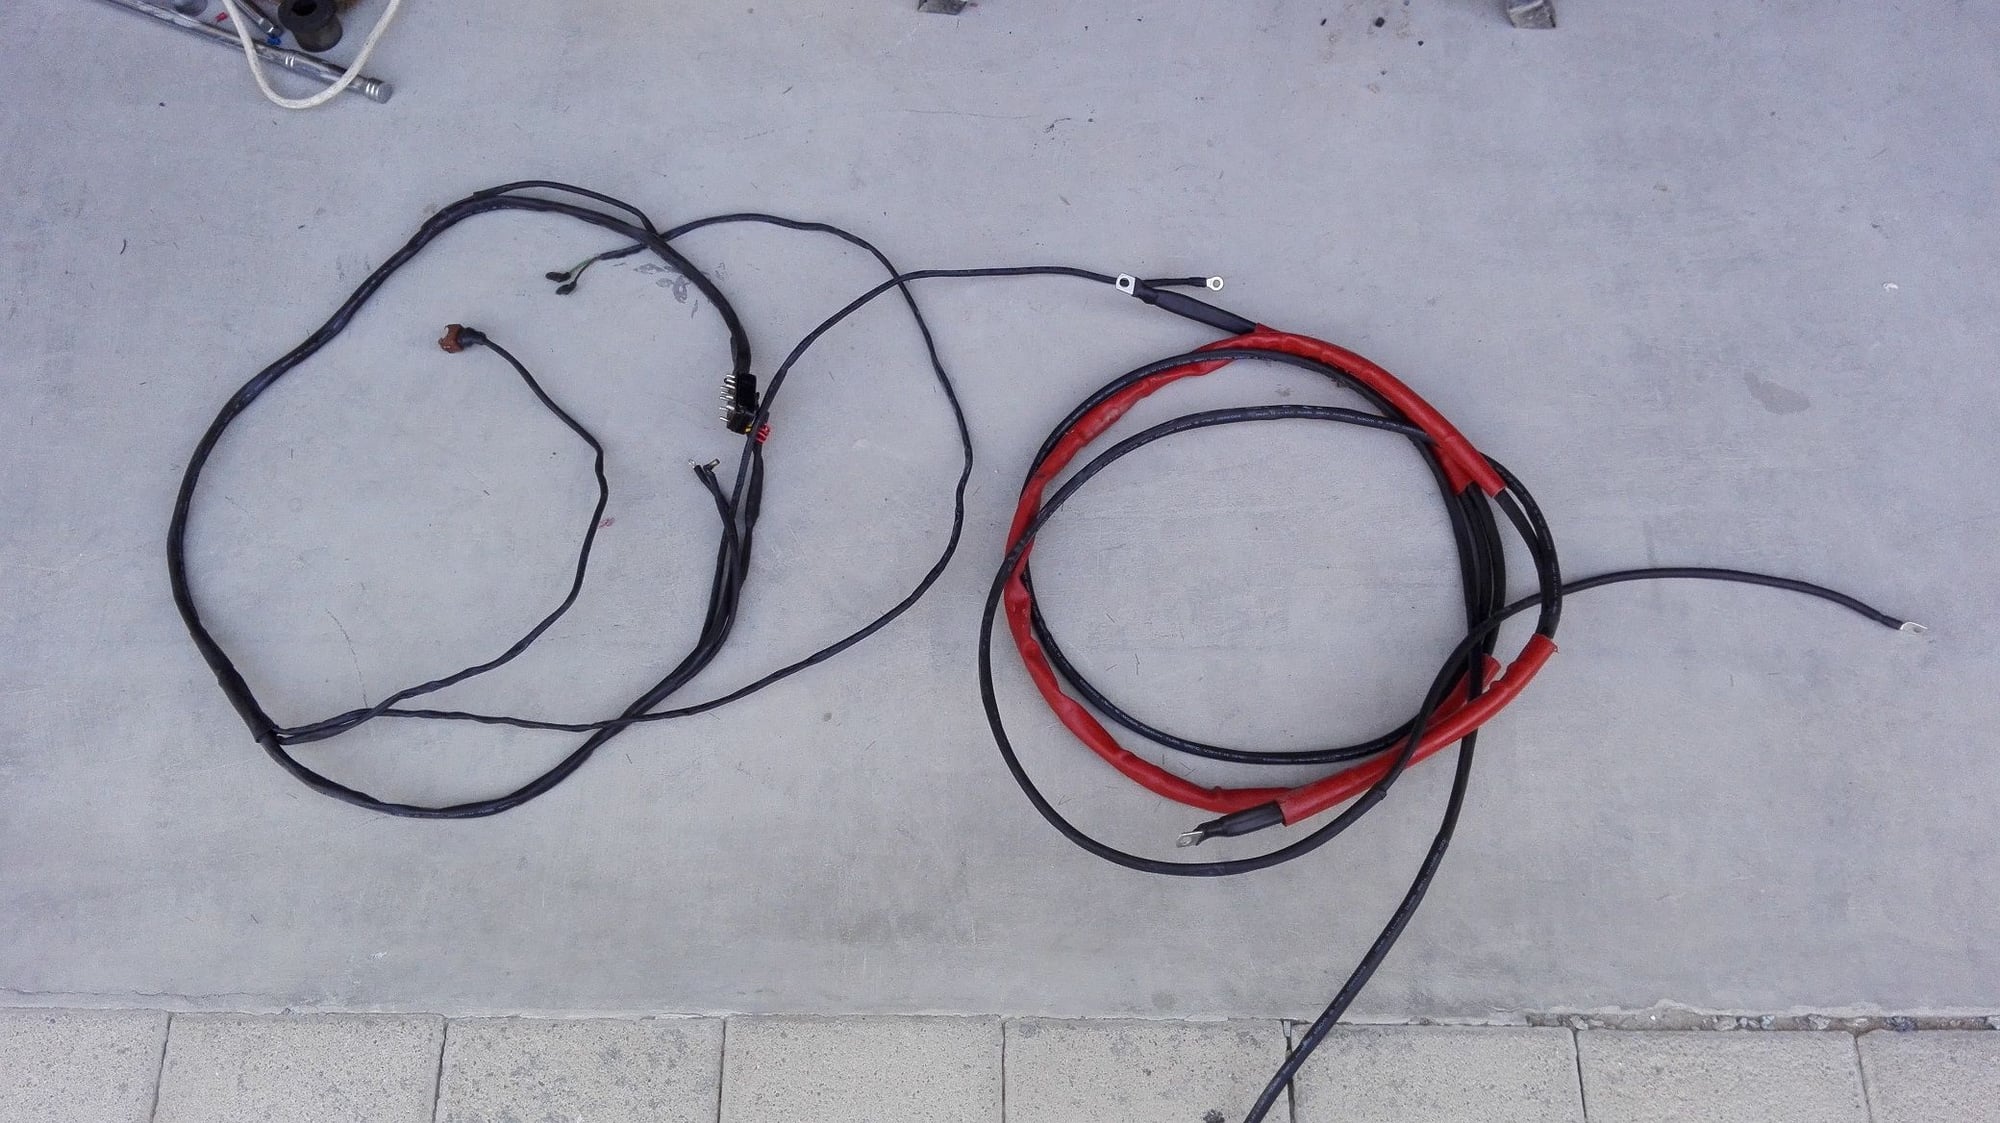
Seems my work list was well targeted- the power supply cables at the starter motor connector were in a sad state [see pic]. I decided to build a new harness in two separate components- one for the cables entering the 14 pin connector and the other for the power cables. For the power cables I studied whether I could run the cables from starter motor to alternator and alternator to the 14 pin connector as 25mm2 cables. My concern was whether I could get the cables out of the alternator without compromising the allowable bend radius. I managed to fit the cables but was not happy so reverted to fitting the stock 16mm2 cables. What I have modified is the size of cable from the starter motor to the ABS post - this is now a 16mm2 cable as well so should provide capability to power an additional fan in front of the should I choose to add one. I am also thinking of running new cables from the hot post to the central electrics on the presumption that the cores are probably not a lot better than the ones I have removed.. Pic shows the new looms coiled up.
I have not removed the upper control arms previously and did some preparatory work last year. I felt the passenger side ball joint would be shot and I called that correctly. The driver's side has a very slight feel of something in the vertical axis but suspect it will last longer. Getting the A arms off was "interesting". I have to work off axle stands and my 65 year old body is not as flexible as it used to be! To get at the nuts I removed the alternator and slid the power steering pump to one side. I also unbolted the a/c compressor and slid that to one side also to create some working space. On the driver's side I took the rear most nut from above the engine bay and to my dismay that nuts felt little more than finger tight. The front bolt I took from underneath but what a bear it was to get it undone- took about 200 ft lbs to break it. I had similar problems on the passenger side bolts with the rear most taken from the rear side of the LCA. I used a jack on the breaker bar to crack the nut. The front nut was easier as I could get good purchase on the breaker bar but it still took a gut busting 200 ft lbs of break torque. Getting the upper arms off was relatively easy once the bolts were undone. I removed the front calipers and the discs and then undid the lower coilover bolt. Broke the UCA ball joints and then the three bolts on the top of the coilover. Straight forward on the driver's side but on the passenger side had to shuffle pipes and cables around after removing the bonnet switch and its support bracket.
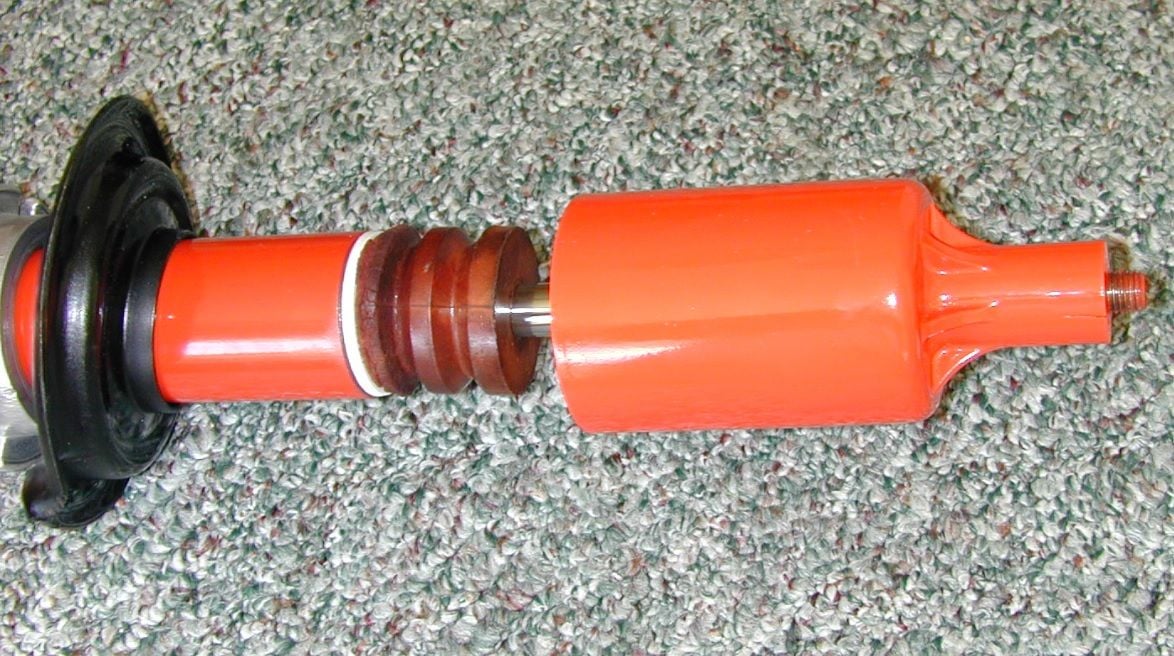
When removed the passenger side coilover something fell off it in two parts- a disc like fitment- I suspect it was fitted around the damper piston but where and what it did I have no clues- any suggestions? Seemed to be made of a plastic type material- rebound stop perhaps? Whatever it was originally it sure looked useless even if it had been in one piece [see pic[img]https://cimg6.ibsrv.net/gimg/rennlist.com-vbulletin/1783x1181/coilover_washer_ec8be11982967c32e4d4b3296053662616ea761c.jpg
Can anybody identify this part?
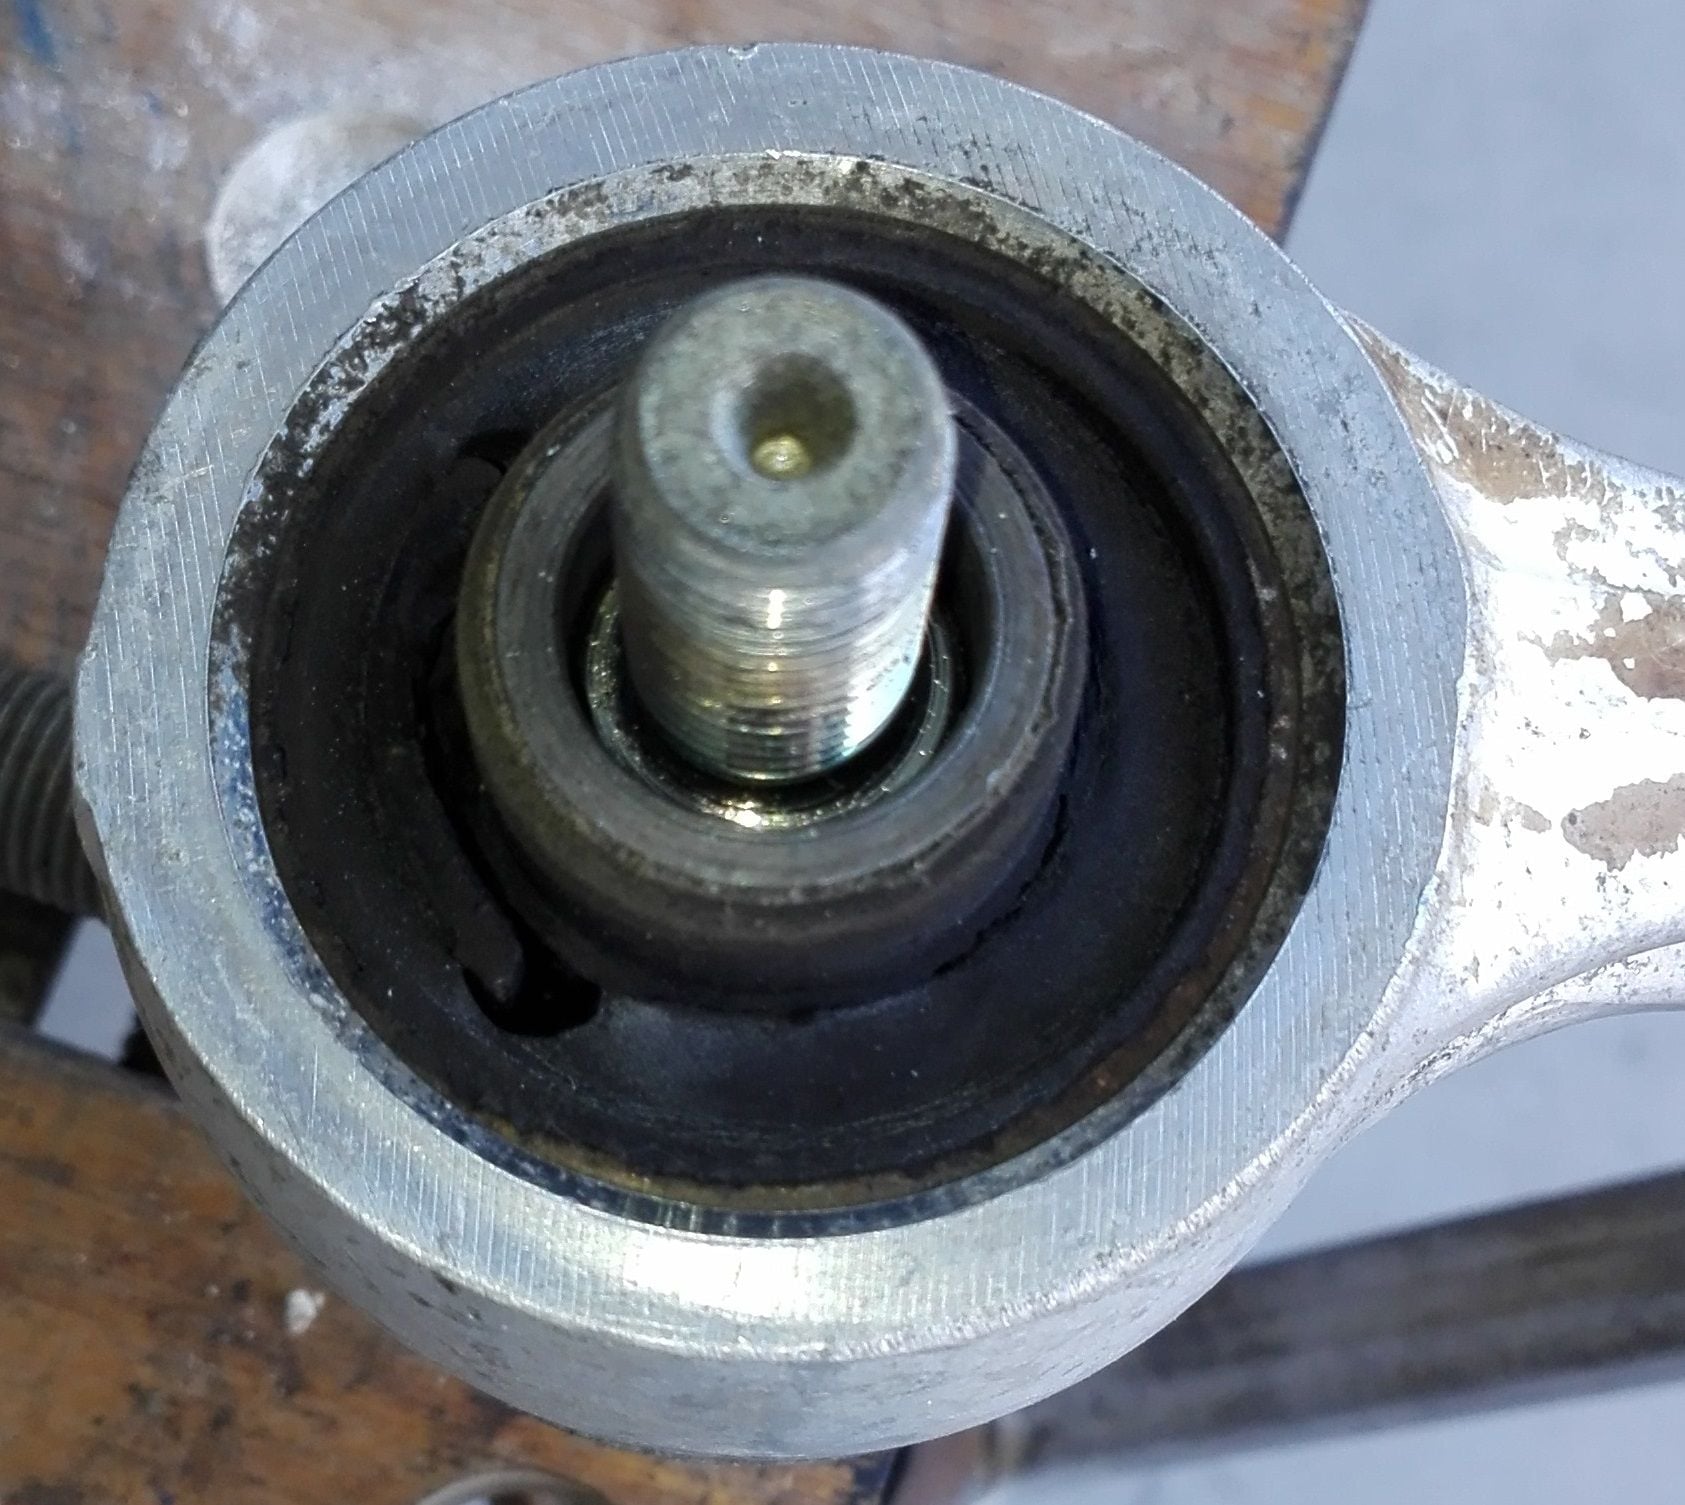
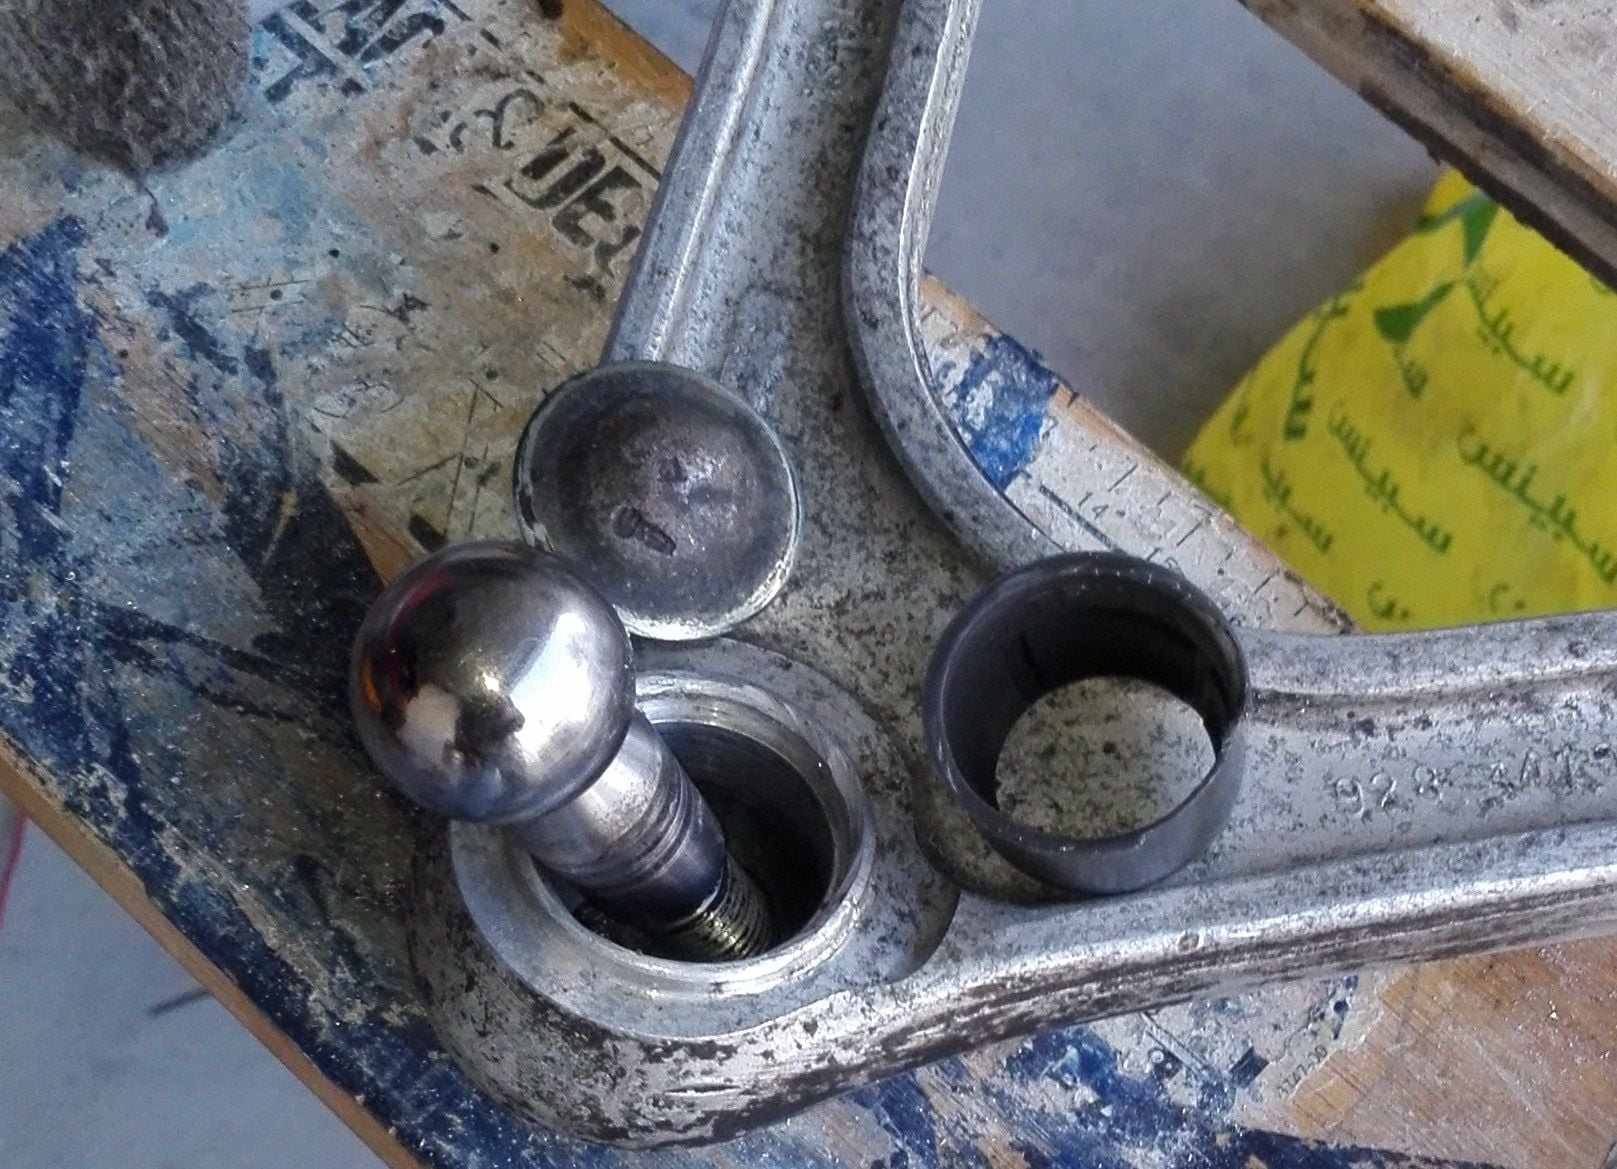
]. Upon removal of the passenger side arm with the shot ball joint I took the arm to my local friendly workshop and asked them to see if they could get the joint apart. This they did rather easily albeit I suspect some of the innards went into orbit as they did it. Ball sits in a very thin plastic seat, there is a steel cap plus whatever went twang but interestingly the cap is held in place by little more than a rolled over lip. This suggests there is little to no upward thrust- not too surprising given the suspension arm actions. My next project will be to see if I can find a simple way to refurbish it albeit I doubt it is worth the effort. Inspection of the bushes revealed major cracking in the rubber so hopefully this will explain the creaking I had over speed bumps [pic 4].
My front discs were worn to 30.5mm so still some life in them and both were identical thickness. Interestingly the pads were worn more at the front than the rear with thickness down to 2mm on the leading edge of the passenger side pads. I presume the uneven wear pattern is due to bigger pistons in the GTS caliper at the front. I managed to free the dampers from the pads using a small wallpaper scraper. Unfortunately two of them broke upon removal from the pistons- grrr!
To fit the new bushes I designed a couple of drifts to use in the hydraulic press to get the existing bushes out. Hopefully fitting the new ones will be straight forward but...? Hopefully I will be able to reinstate the suspension and wiring by the end of this week.
After that I can then tackle the inlet manifold once more. Amongst other things I hope to inspect the piping I made for my breather project to see how it is holding up.
What is the piece in two halves?
Much appreciate if someone can advise me what it is that fell off my front coilover when I removed it- the internal diameter is about the same as the damper shaft . The material looks like a very brittle plastic- no idea what it started out like- the dampers are Koni.
Rubber "snubber"? I believe it is called, kind of like a rubber bumper stop.
Dave,
Thanks for that- the thing may well have been rubber at birth but it is damm well petrified now! I will see if the Dodger has such spare parts. At least I have a spring compressor to remove the damper if needs be. On the plus side I do not remember ever bottoming out the springs.
I forget, but I think the new shocks I installed had what looked to be nylon washers that fit over the rod. Not at all rubbery, so it wasn't clear to me what they were for. Maybe they keep the rod clean.
Thanks for that- the fossilised remains have some kind of pattern like that. The coilover on the other side has nothing to fall off so this leaves me wondering just how much use such entity might be- presumably the unit has to be in full compression and then some- personally I am not into driving off cliffs [so far] although to be fair I have been airborne a couple of times.
Fred - how many miles are on your car, and what are your driving conditions like? It seems like some of the worn items are pretty bad. I'm just wondering, because my car, a 78, with 70K on the clock, the wires are not brittle and broken like that. They still seem supple, and for the most part, the insulation is good. I wonder why some cars age faster than others?
Hi Fred - I don't know if your decayed/disintegrated rubber stop was like mine, but if it was, you're missing more than what's in your picture. Or, do you think it's the white disk that's in my 2nd picture?
Fred - how many miles are on your car, and what are your driving conditions like? It seems like some of the worn items are pretty bad. I'm just wondering, because my car, a 78, with 70K on the clock, the wires are not brittle and broken like that. They still seem supple, and for the most part, the insulation is good. I wonder why some cars age faster than others?
Ed,
I suspect it is something to do with you being in cooler climes - in summer over here things get very hot under the bonnet and the wiring and rubber bits take quite a hit. Japanese rice burners seem to deal with the conditions far better. Tyres last about 3 years and now there is a law where one can be prosecuted if the manufacturing stamp on the tyres is more than 4 years old. That being said I remember Louie [Ott] telling me many years ago that the engine bay wiring does not fare a whole lot better in his neck of the woods [Oregon]. Having made my own harness for not a lot of bucks I have the luxury of being able to redo it as and when it fails. If it fails too rapidly I will just bite the bullet. I have previously replaced the wires that feed the oil pressure sender, a/c, oil level switch and the voltage display and after two years they were still like new with no obvious degradation. The latest wires I have installed have two layers of heat shrink over them. For the power cables I sourced the best cable I could find over here made to British specs in India and rated for 105C temps with a PVC sheath which as I could ascertain is the best material for automotive wires. I will also re-use the orange colour outer sheath the original harness was in as that was in remarkably good condition. I also have some flexible rubber coated aluminium conduit that I may run some of it in for additional protection.
If inspection suggests your cables are in good nick then all well and good but at that age they must be doing remarkably well..
[QUOTE=NoVector;14781765]Hi Fred - I don't know if your decayed/disintegrated rubber stop was like mine, but if it was, you're missing more than what's in your picture. Or, do you think it's the white disk that's in my 2nd picture?
Interesting- just been into the garage to take a squint on both units and I could not see any sign of that bumper or whatever it is might be termed on either unit. That being said the spring makes it kind of tricky to see to the top of the piston. My assumption was that what fell out of my unit was the white piece even though mine has an orange hue to it like the other piece that makes more sense as a compression stop. Now the puzzle is whether I had such originally and it has disintegrated or whether I ever had such at all. For sure there was something as evidenced by the bit that dropped off.
I have had a mystery squeal over speed bumps for several years but I put that down to the bushes in the UCA. My coilovers are now some 15 years old but have only covered some 60k km [40k miles] in that time.
Today I pulled the starter motor to give it a clean and gain access to the sump bolts hidden behind it. Getting the upper bolt out was a bit painful in that I had to undo it one flat at time with my extended 8mm Allen key- awkward when flat on ones back! Eventually got the starter motor off- it looked fine after I got the crud of it. Then set about the sump bolts bearing in mind I have the alternator out, the power steering pump out of the way and the same for the a/c compressor. I tightened most of these things up last and was surprised to find most of them were loose again. The sump was last off about 12 years ago and no way am I going to attempt that job working from axle stands. There seemed to be a bit of oil leaking from the back of the sump- just have to see how that performs after tightening everything back up.
At least the power supply cable from the battery superficially looked in good condition but I am left wondering whether underneath it is any better than the stuff I removed last week.
I have also convinced myself that the driver side UCA ball joint is probably past its sell by date - the $64 question is whether to run with it for another year or bite the bullet and open the wallet!
Fred I remember how the upper starter motor bolt is awkward, as there�s restricted room between body of motor and bolt head. I also used 8mm Allen key, but slipped an 8mm ratcheting spanner onto the key to speed up removing the bolt
Fred I remember how the upper starter motor bolt is awkward, as there’s restricted room between body of motor and bolt head. I also used 8mm Allen key, but slipped an 8mm ratcheting spanner onto the key to speed up removing the bolt
Adrian, I did think about cutting a short length off an allen key and hold it in a 1/4 drive socket if there is enough headroom but in the end I just gritted my teeth and undid it a flat at a time. It seemed to go back in easier but then I gave both bolts a clean and a squirt of WD40.
Got the thing running today and the work seems to have been successful. The only thing of note is that the squeal on my front suspension when travelling over speed bumps is still there. This squeal does not disappear if I disengage the roll bar so I am left to infer that this issue is either caused by the lower arm bushes or something to do with the koni damper units albeit I suspect that is most unlikely. The next shot to nothing will be the lower arm bushes.
Unfortunately the warmer weather is already kicking in. I reckon it was over 30C today and somewhat humid so I was sweating buckets. Thus I do not relish starting another venture any time soon unless I fit an a/c unit in the garage!

 02-04-2018, 05:28 PM