When you click on links to various merchants on this site and make a purchase, this can result in this site earning a commission. Affiliate programs and affiliations include, but are not limited to, the eBay Partner Network.
^^^^^^^^sounds plausible, but I think it would probably better to get that panel off. Rob, do you think I would have better access to that upper screw with the horns removed?
Nope, it should be much higher than the horns. Manually raise the headlights about half way and then adjust them till you can see the upper screw head. You may have to take the headlamp cover off (3 screws) to get at it. Here's the tapping screw on the driver's side, same concept on the passenger side.
Another shot, with the headlight yoke all the way down. The hole for the tapping screw is above the level of the yoke, the horns are way below the travel of the headlight.
The inside of it is threaded, so just stick a flat bladed screw driver in there and undo it like usual. Don't try and pull it off.
Thanks. There is no slot for a screwdriver, only two on the edges. There is probably a special tool for $100 but it came out with pliers without a fuss
Nope, it should be much higher than the horns. Manually raise the headlights about half way and then adjust them till you can see the upper screw head. You may have to take the headlamp cover off (3 screws) to get at it. Here's the tapping screw on the driver's side, same concept on the passenger side.
Another shot, with the headlight yoke all the way down. The hole for the tapping screw is above the level of the yoke, the horns are way below the travel of the headlight.
Found it, got it, all done....in the history books. A bit of a pain, but for certain, the proper way to do it. Thanks.
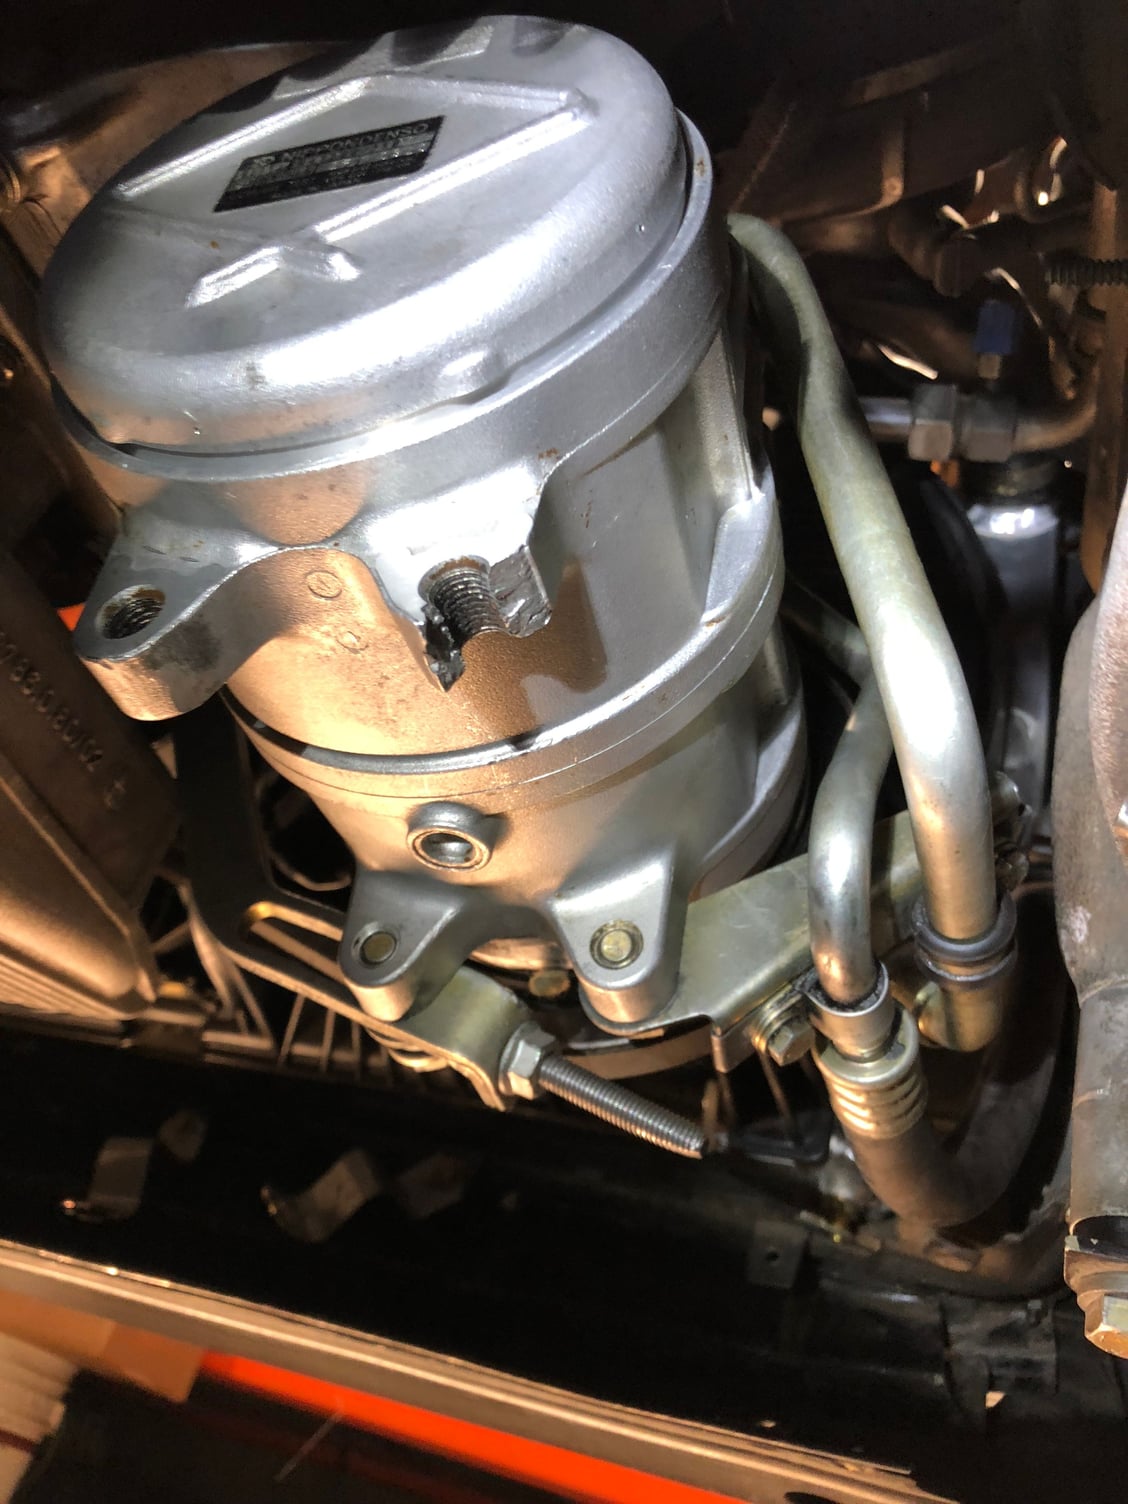
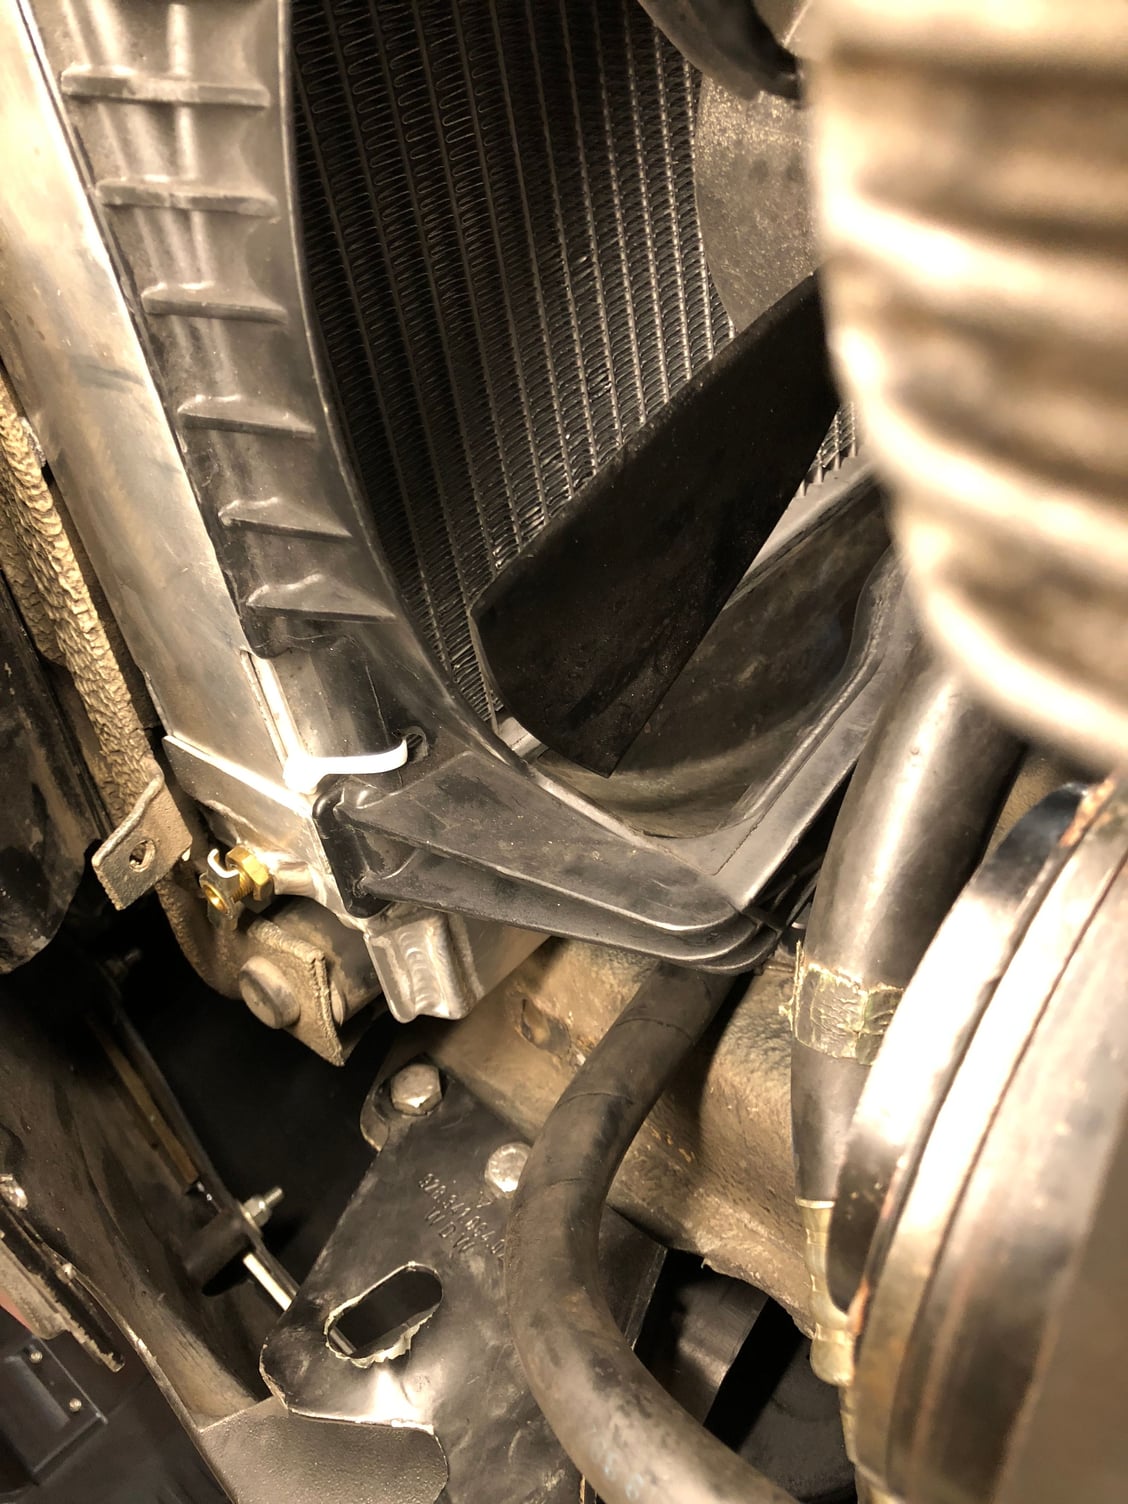
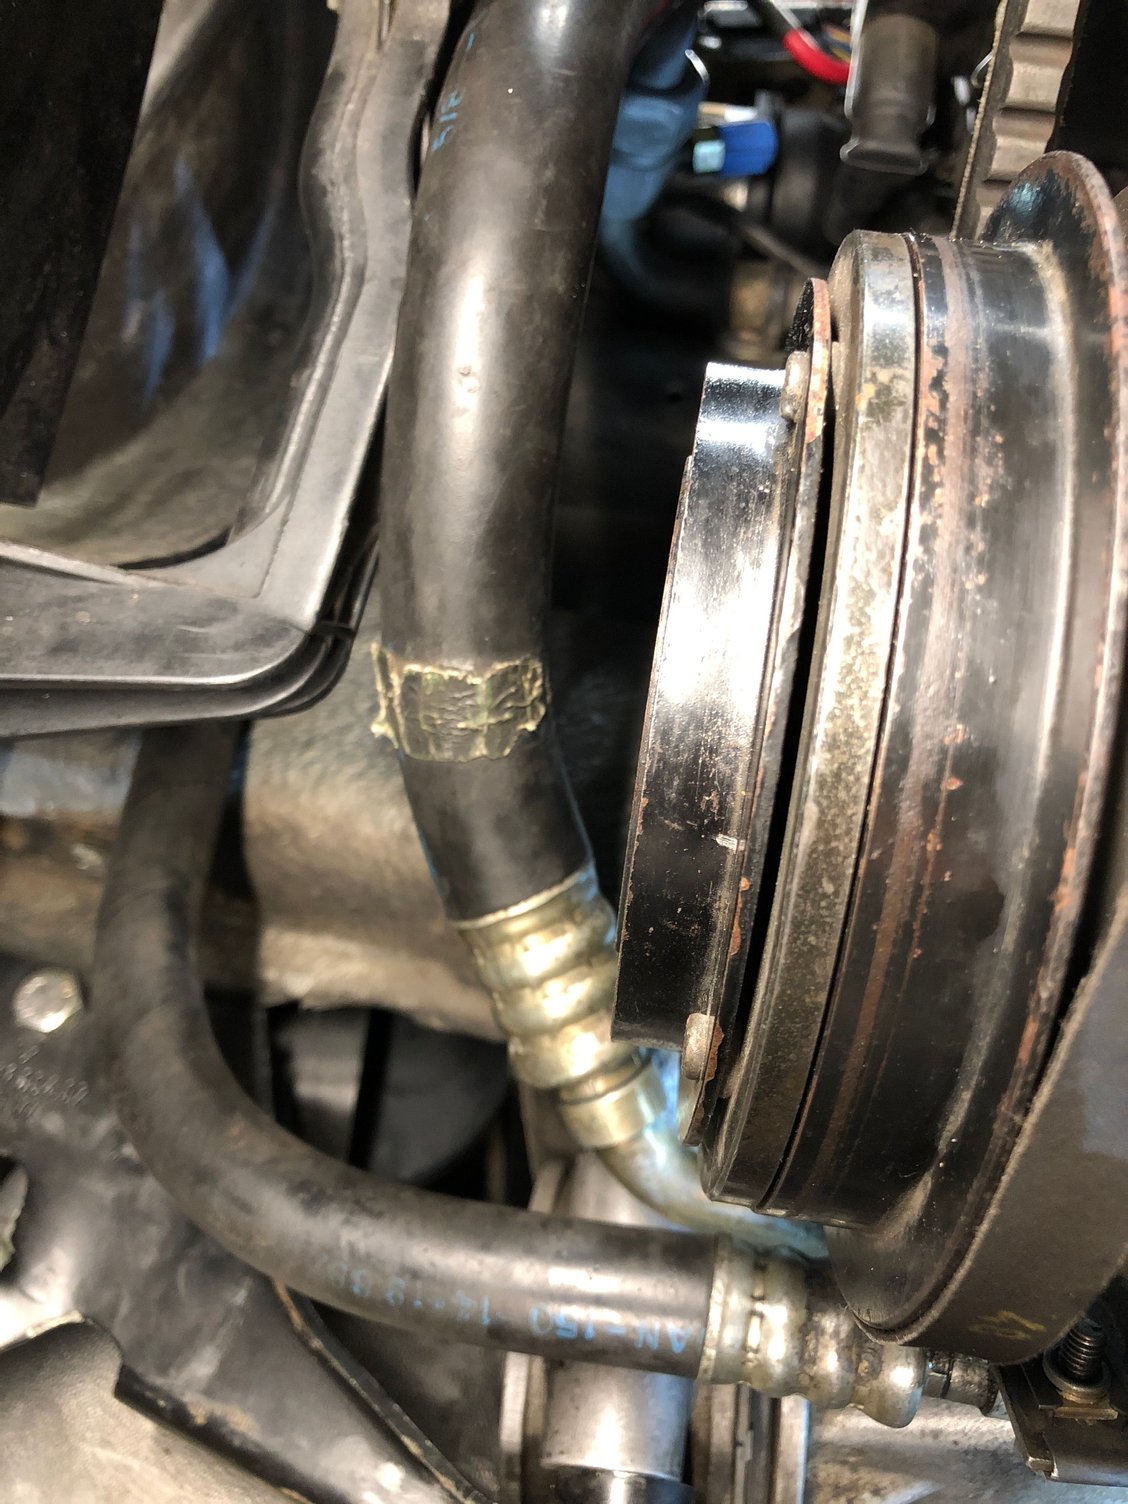
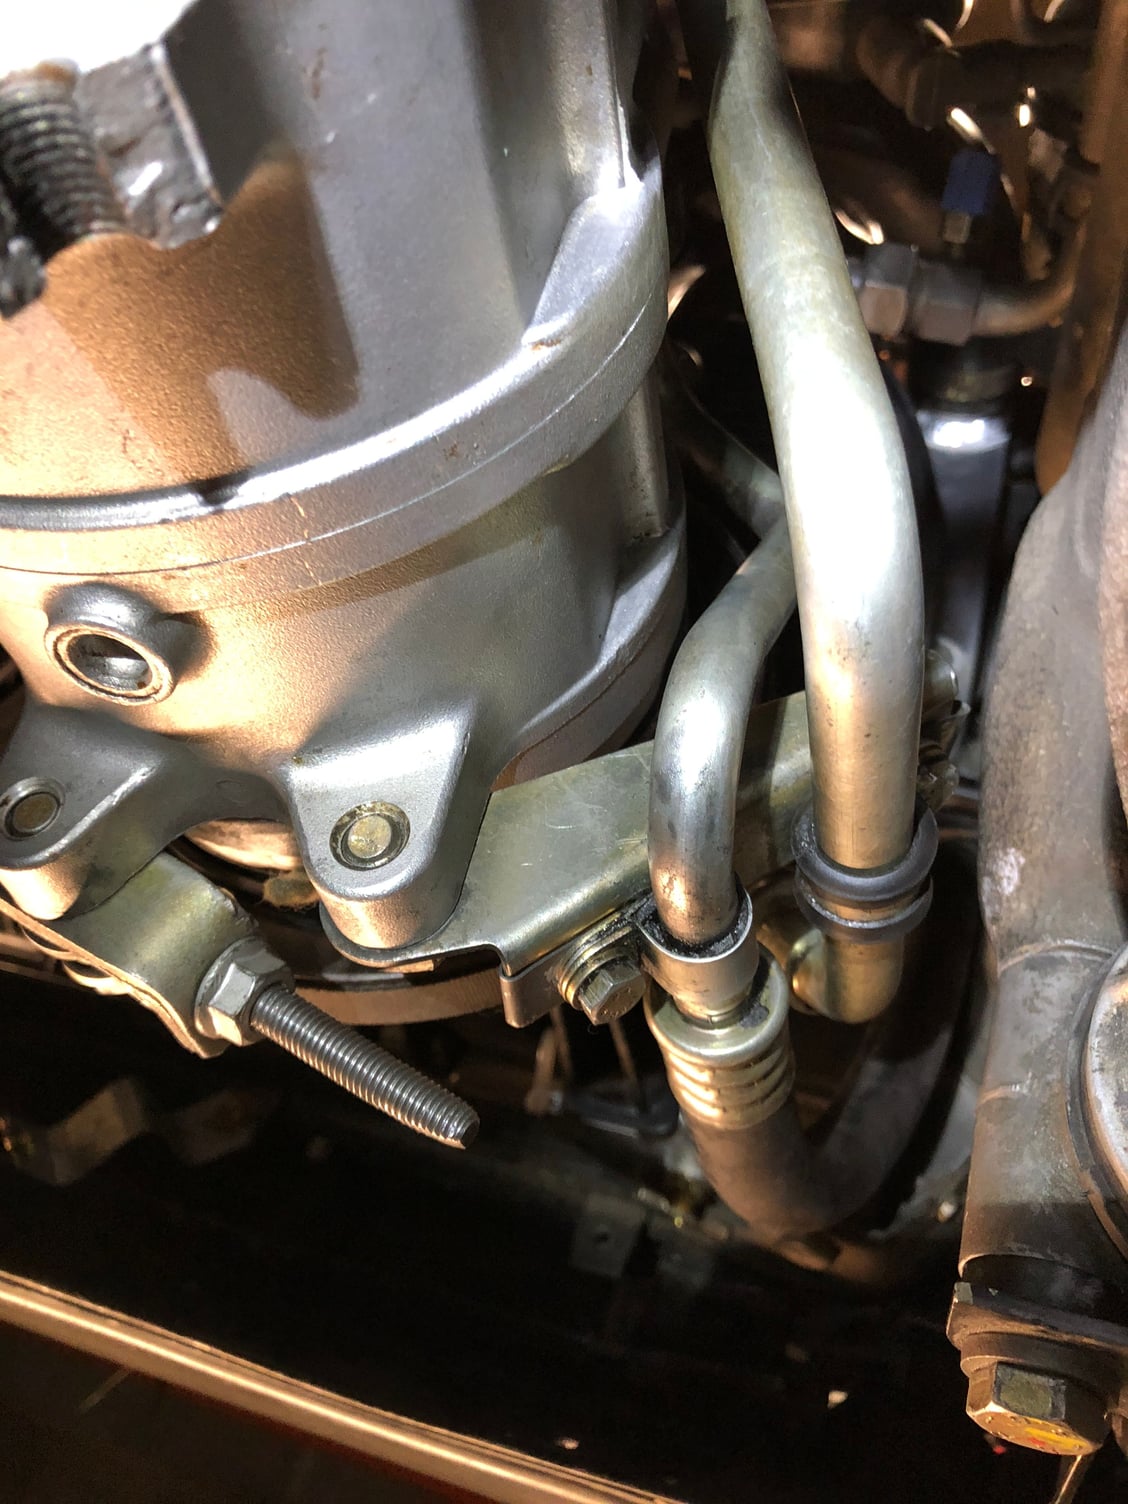
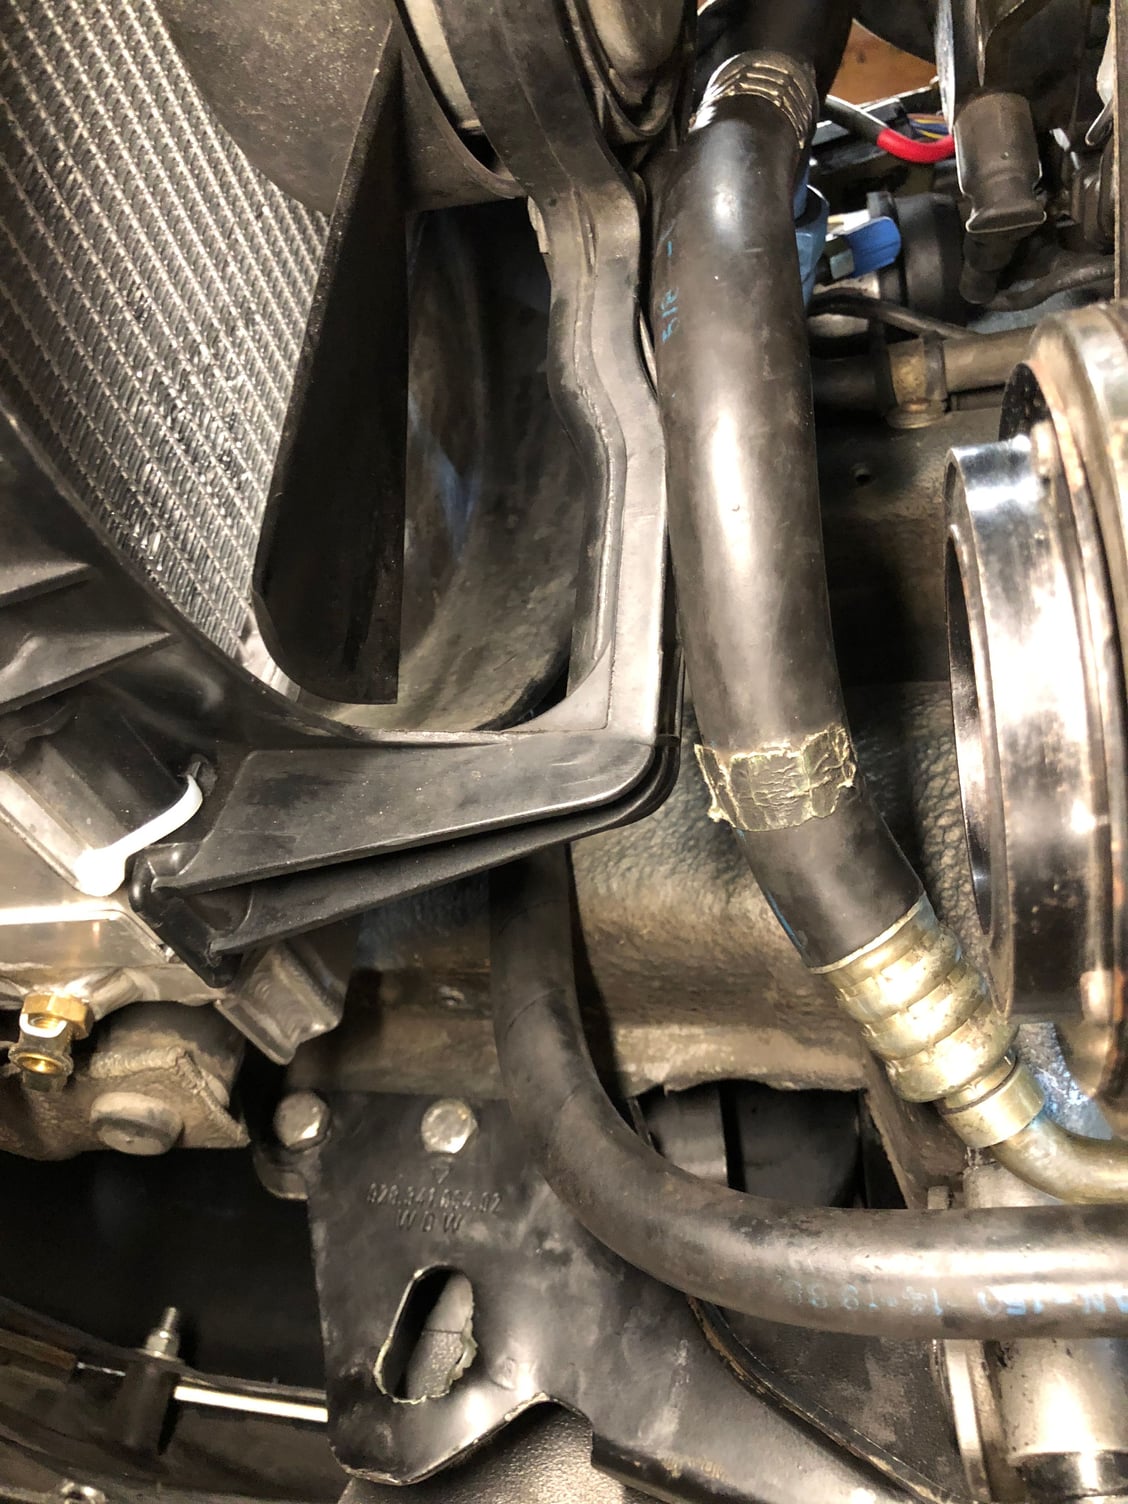
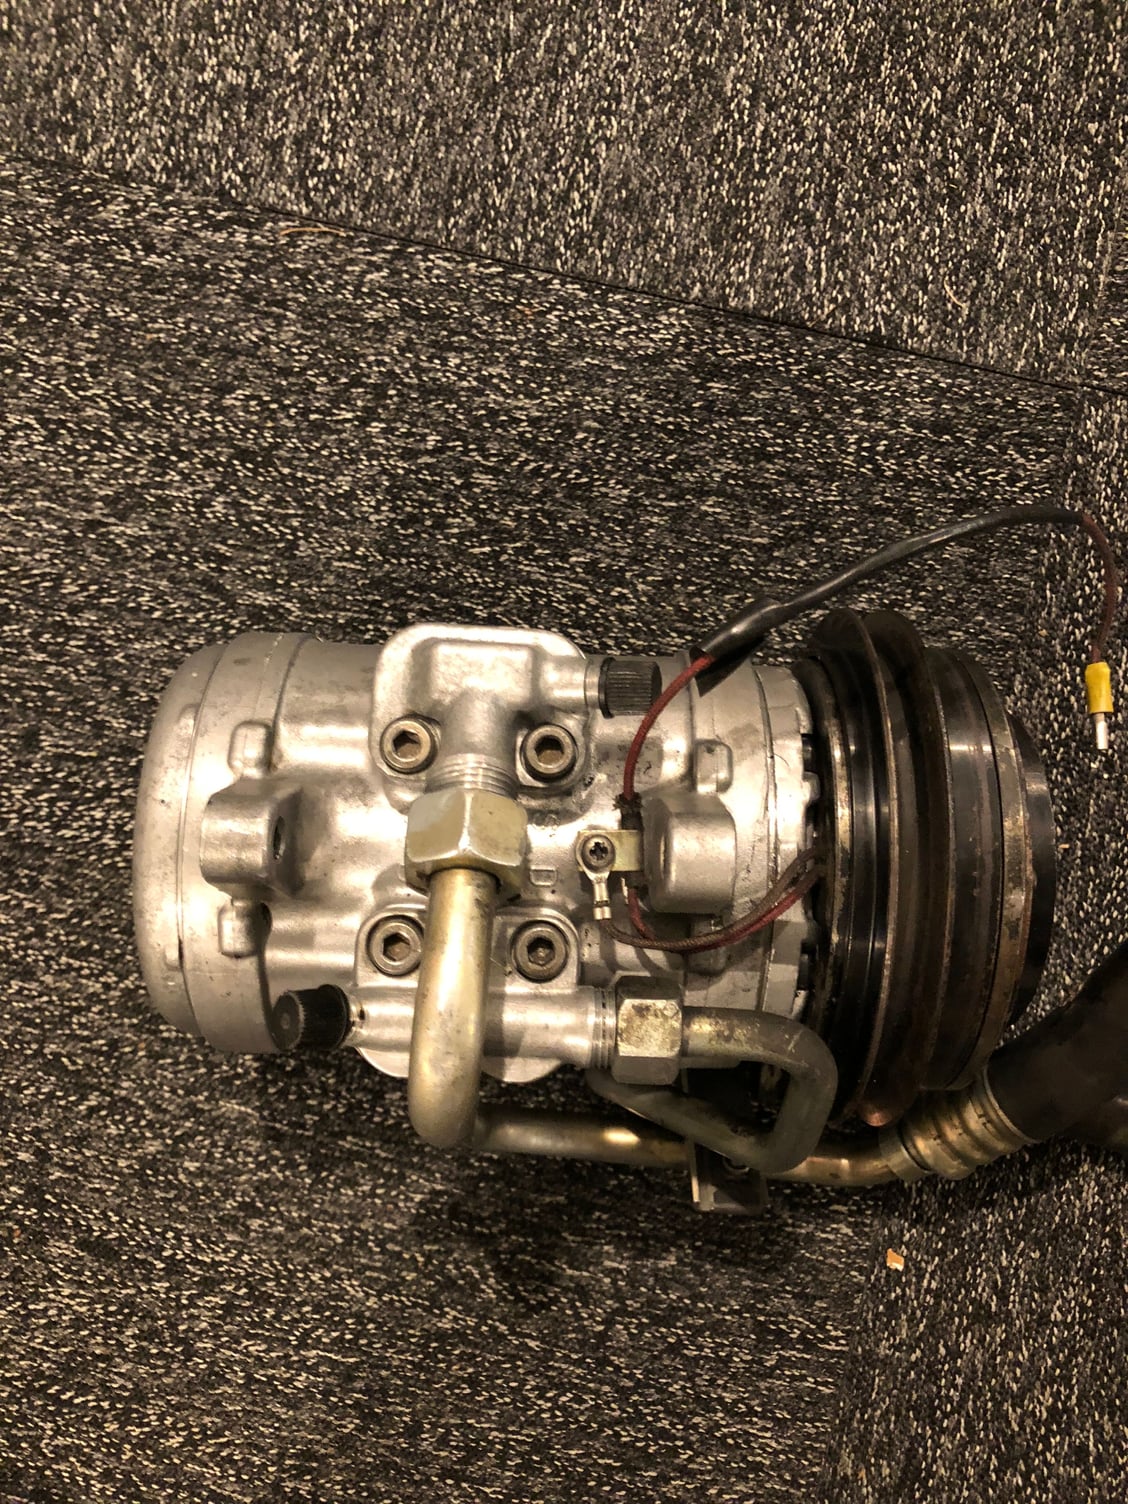
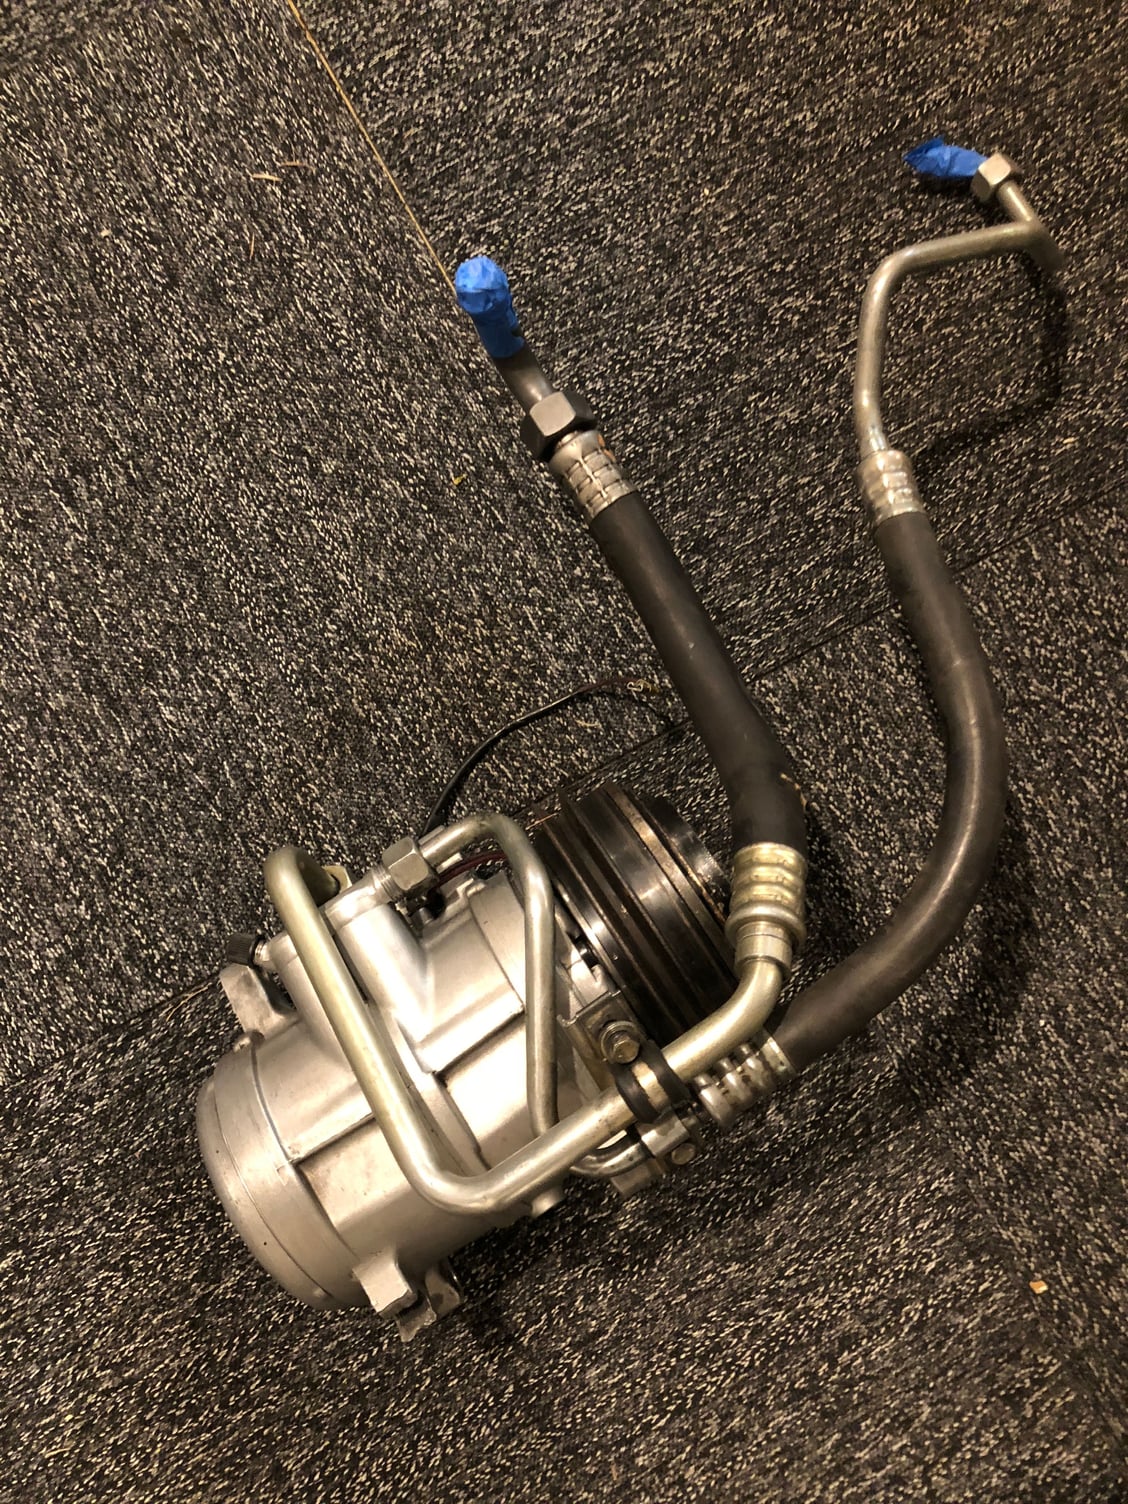
I pulled the compressor and hoses out of the car and the clocking of the hoses looks to be correct compared to others. I think the interference of the large low side hose with the radiator shroud is more of an issue of the aftermarket radiator being wider by about half an inch. Also, the radiator shroud sets further out on this radiator and it would on the stock radiator. I think when I reinstall I will put a sacrificial wrapping around the low side hose.
As for the swiveling head on the low side hose I have confirmed that the hose is original. And thus the head is loose and will need to be rebuilt. So off to the HVAC folks to rebuild the houses and I�ll have them tested the compressor to to make sure I got all the seals in correctly
@Michael Benno I've been on the hunt for a shop that will rebuild these hoses, and so far the prices seem like I might as well buy new ones? If you dont mind, where did you go to get your hoses done and what did it end up costing? If anyone knows an option in the Detroit area I'm interested. Pirtek already estimated over $200 for the 2 compressor lines.....
If you keep finding silly numbers locally, or no shop willing to do the work, the crimper for AC hoses runs around $130, and you can buy short lengths of hose and hose ends (or even just the replacement collars) from a few vendors.
One example of a self contained hydraulic crimper: https://smile.amazon.com/dp/B01N9GS0QS/
There are plenty of videos on AC hose fabrication as well, one example here:
I'll be doing some for my car, and a few other friends hot-rods, so I went ahead and coughed up for a crimper after all the shops I talked with said that they'd gotten rid of their AC crimpers.
I finally found a single shop that said they had the crimpers still, but very few fitting options to use with them.
If you keep finding silly numbers locally, or no shop willing to do the work, the crimper for AC hoses runs around $130, and you can buy short lengths of hose and hose ends (or even just the replacement collars) from a few vendors.
One example of a self contained hydraulic crimper: https://smile.amazon.com/dp/B01N9GS0QS/
There are plenty of videos on AC hose fabrication as well, one example here: https://www.youtube.com/watch?v=GIyY9FJXiis
I'll be doing some for my car, and a few other friends hot-rods, so I went ahead and coughed up for a crimper after all the shops I talked with said that they'd gotten rid of their AC crimpers.
I finally found a single shop that said they had the crimpers still, but very few fitting options to use with them.
thanks josh! there is one aspect of the crimping process that i still wont claim to fully understand, but what was explained to me at pirtek, and the reason for their high price, is that the crimps on ac hoses are part of the hard line. you cannot slide just a crimp over an existing hard line like other hydraulic hard lines like power steering that are often just barbed. Due to this pirtek said that would have to cut each hard line and silver solder on each fitting/tube assembly to it before putting on the hose. From looking at parts on vintage air it seems very easy to get a simple single bend end with the crimp fitting, but for these lines most of the hard lines have 4-5 bends in them, so there is no way to buy that piece. So, that being said i would also have to braze all the parts myself. Unless you know of another way of installing a new crimp onto an already swaged hard line? I would be interested in knowing if there is some option that exists, other than the "Pirtek" way.

 05-11-2020, 07:54 PM