When you click on links to various merchants on this site and make a purchase, this can result in this site earning a commission. Affiliate programs and affiliations include, but are not limited to, the eBay Partner Network.
While the interior and exterior are being refurbed, it is time to finally resolve my inoperational sunroof.
so - I believe part of the problem is with the actuators that raise and lower the air deflector as the roof opens and closes.
i believe one or both levers are bent or otherwise do not work smoothly. Do these assemblies provide any function to the opening, closing, and sealing of the roof panel?
I know that if the deflector is not there and the roof is opened, you can get some pretty bad wind issues in the cabin. If I were going to just plan to close it and leave it closed (in a worst case scenario)...
No. There are a pair of "feet" that push down on the deflector arms to lower it as the sunroof closes.
I don't think there would be any operational issues if the deflector was simply removed.
There is a really good writeup on the sunroof in the New Visitor sticky. Last page.
Take everything apart including the removal of the cables and completely clean off all the old grease and grime. Acetone works very well to get the parts clean and then you need to apply fresh grease to everything. I redid my sunroof and it works like a champ with no issues. I can tell you the biggest drag on my setup was the actual worm gear as it was caked with rock hard grease, but after removing, cleaning and adding new grease the sunroof opens and closes flawlessly.
That's actually the problem, sometime in the past someone added grease. Grease dries, collects dirt, and in tight spaces like the cable guides even fresh grease is as good as glue. On a cold day, really good glue.
Its all designed to work clean and dry.
At most, once the cables are fully clean, AND the guide tubes are as cleaned out as possible...a LIGHT amount of super light machine oil to prevent corrosion. If anything at all, i go back together dry and clean.
I see the late night trolls are on the prowl. The cable guides are pretty much a closed system so not sure how its going to get dirty. Indeed most grease will eventually dry out, but that can also be said for the grease used from the factory that I cleaned off the worm gear. Telling folks not to apply grease is bad advice IMO so I guess I'll call Honda and complain about the sunroof on my wife's 2012 Odyssey.
I see the late night trolls are on the prowl. The cable guides are pretty much a closed system so not sure how its going to get dirty. Indeed most grease will eventually dry out, but that can also be said for the grease used from the factory that I cleaned off the worm gear. Telling folks not to apply grease is bad advice IMO so I guess I'll call Honda and complain about the sunroof on my wife's 2012 Odyssey.
Trolling..that's a new one.
AND you believe they are a closed system too??
Wasn't even a post made at night?
Might as well clear this up, what's your...problem with that advice?
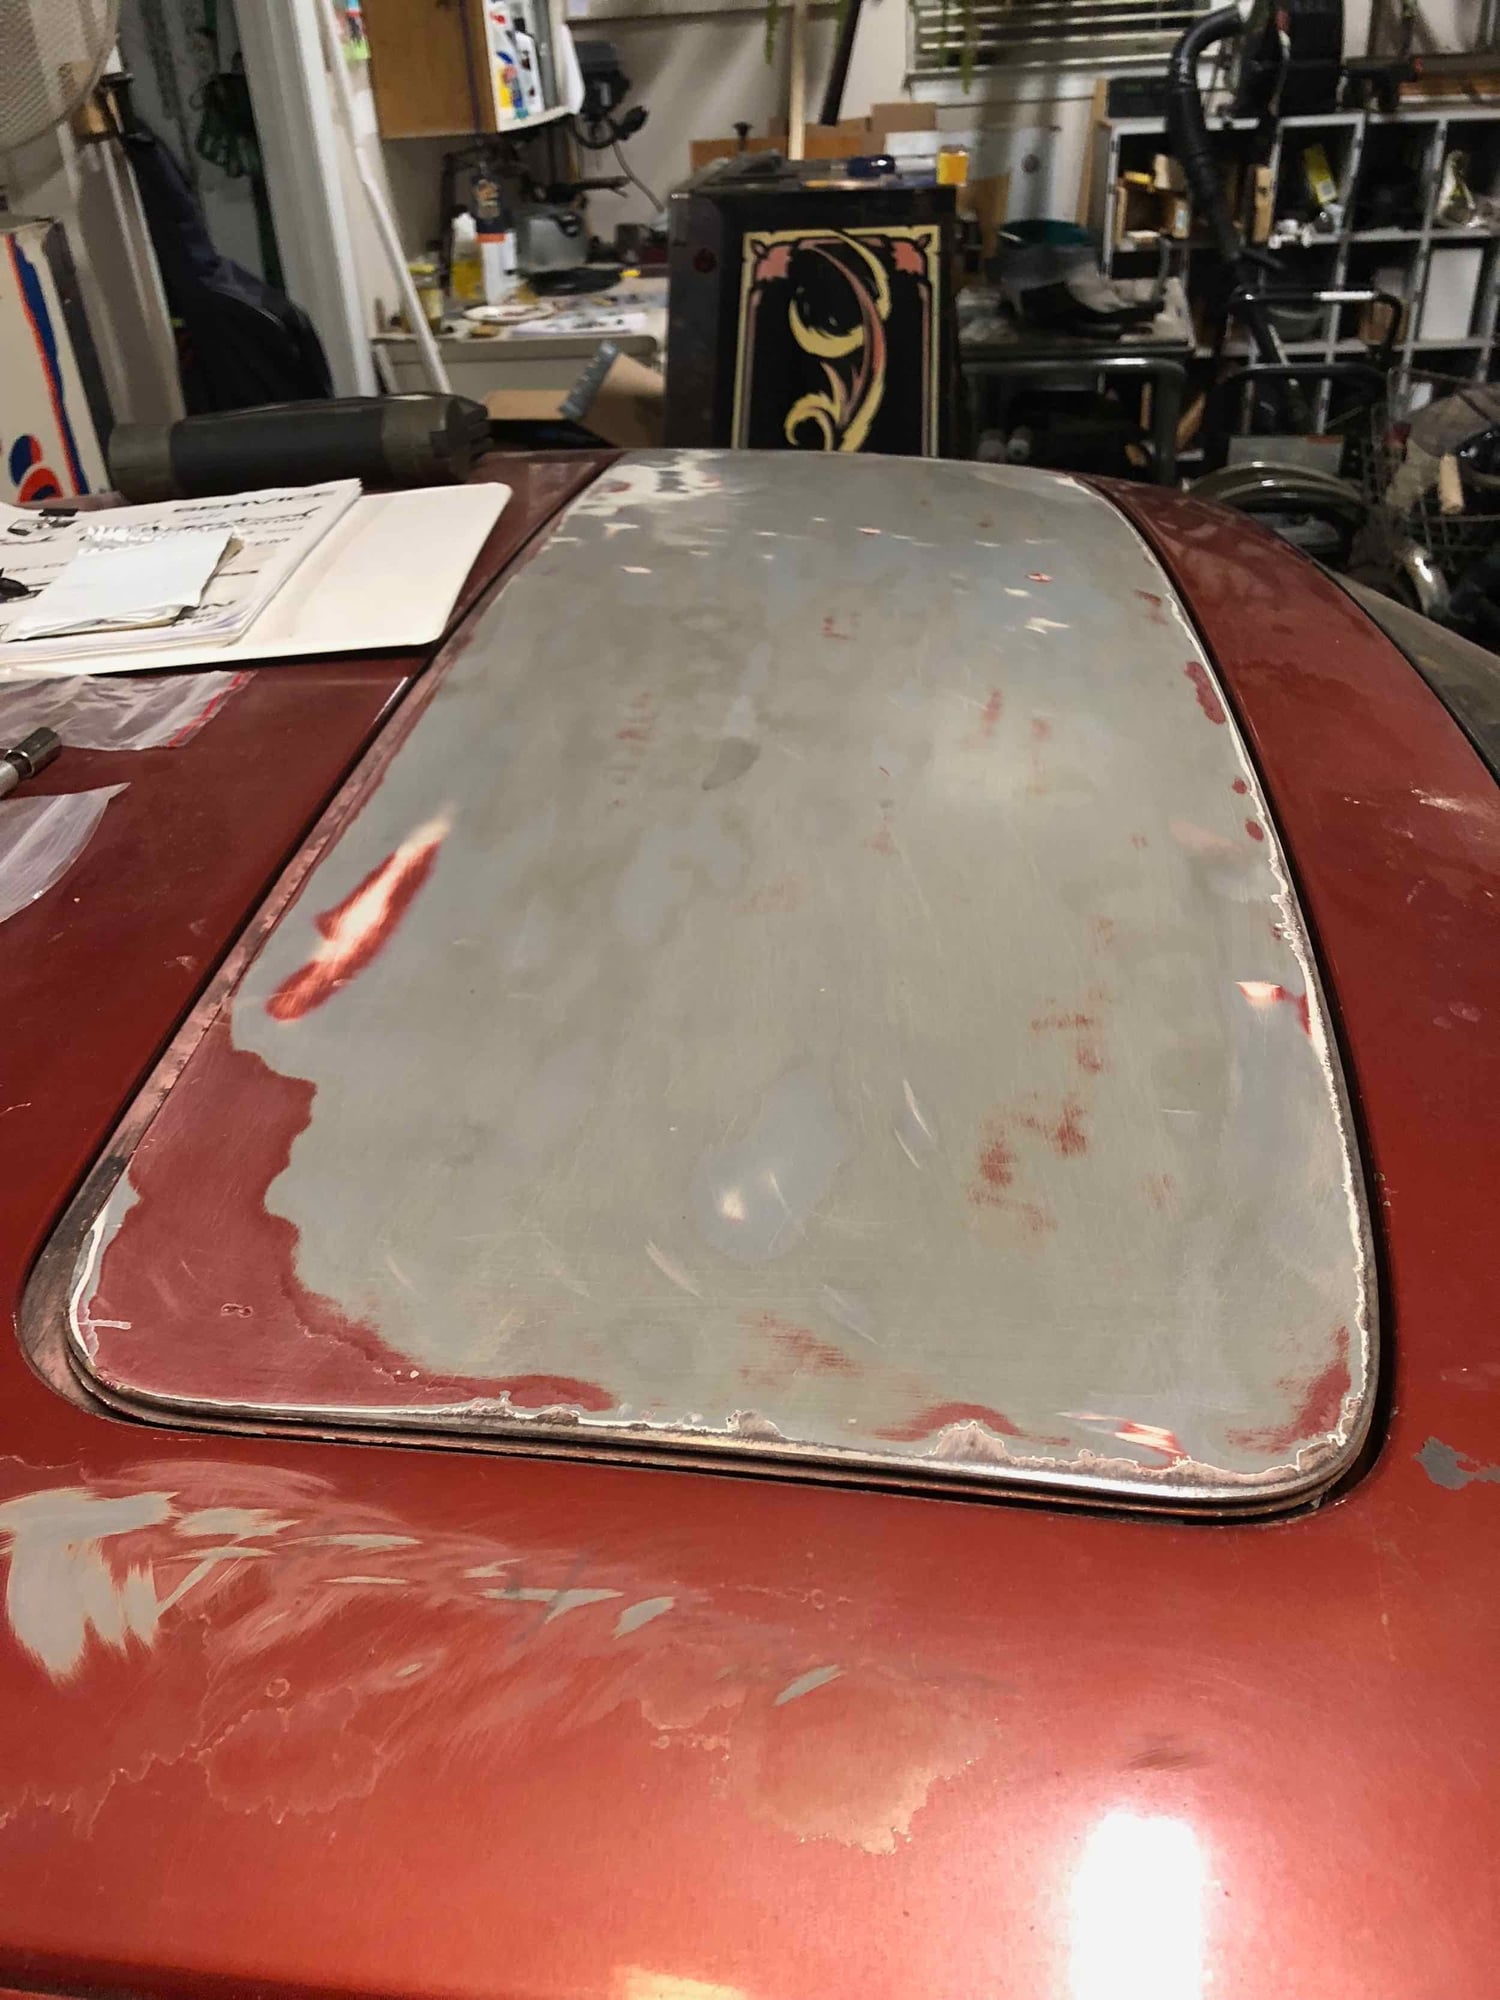
Here are a couple of reassembled pics (for testing). Will pull back apart to paint anyway, but wanted the operation working first.
Will grab some of the correct lube and use. Thanks again all for the comments. I believe I have the adjustment correct now - the interrelationship between the screws on the front support was interesting and I don't think mentioned very much in detail in the writeups I read.
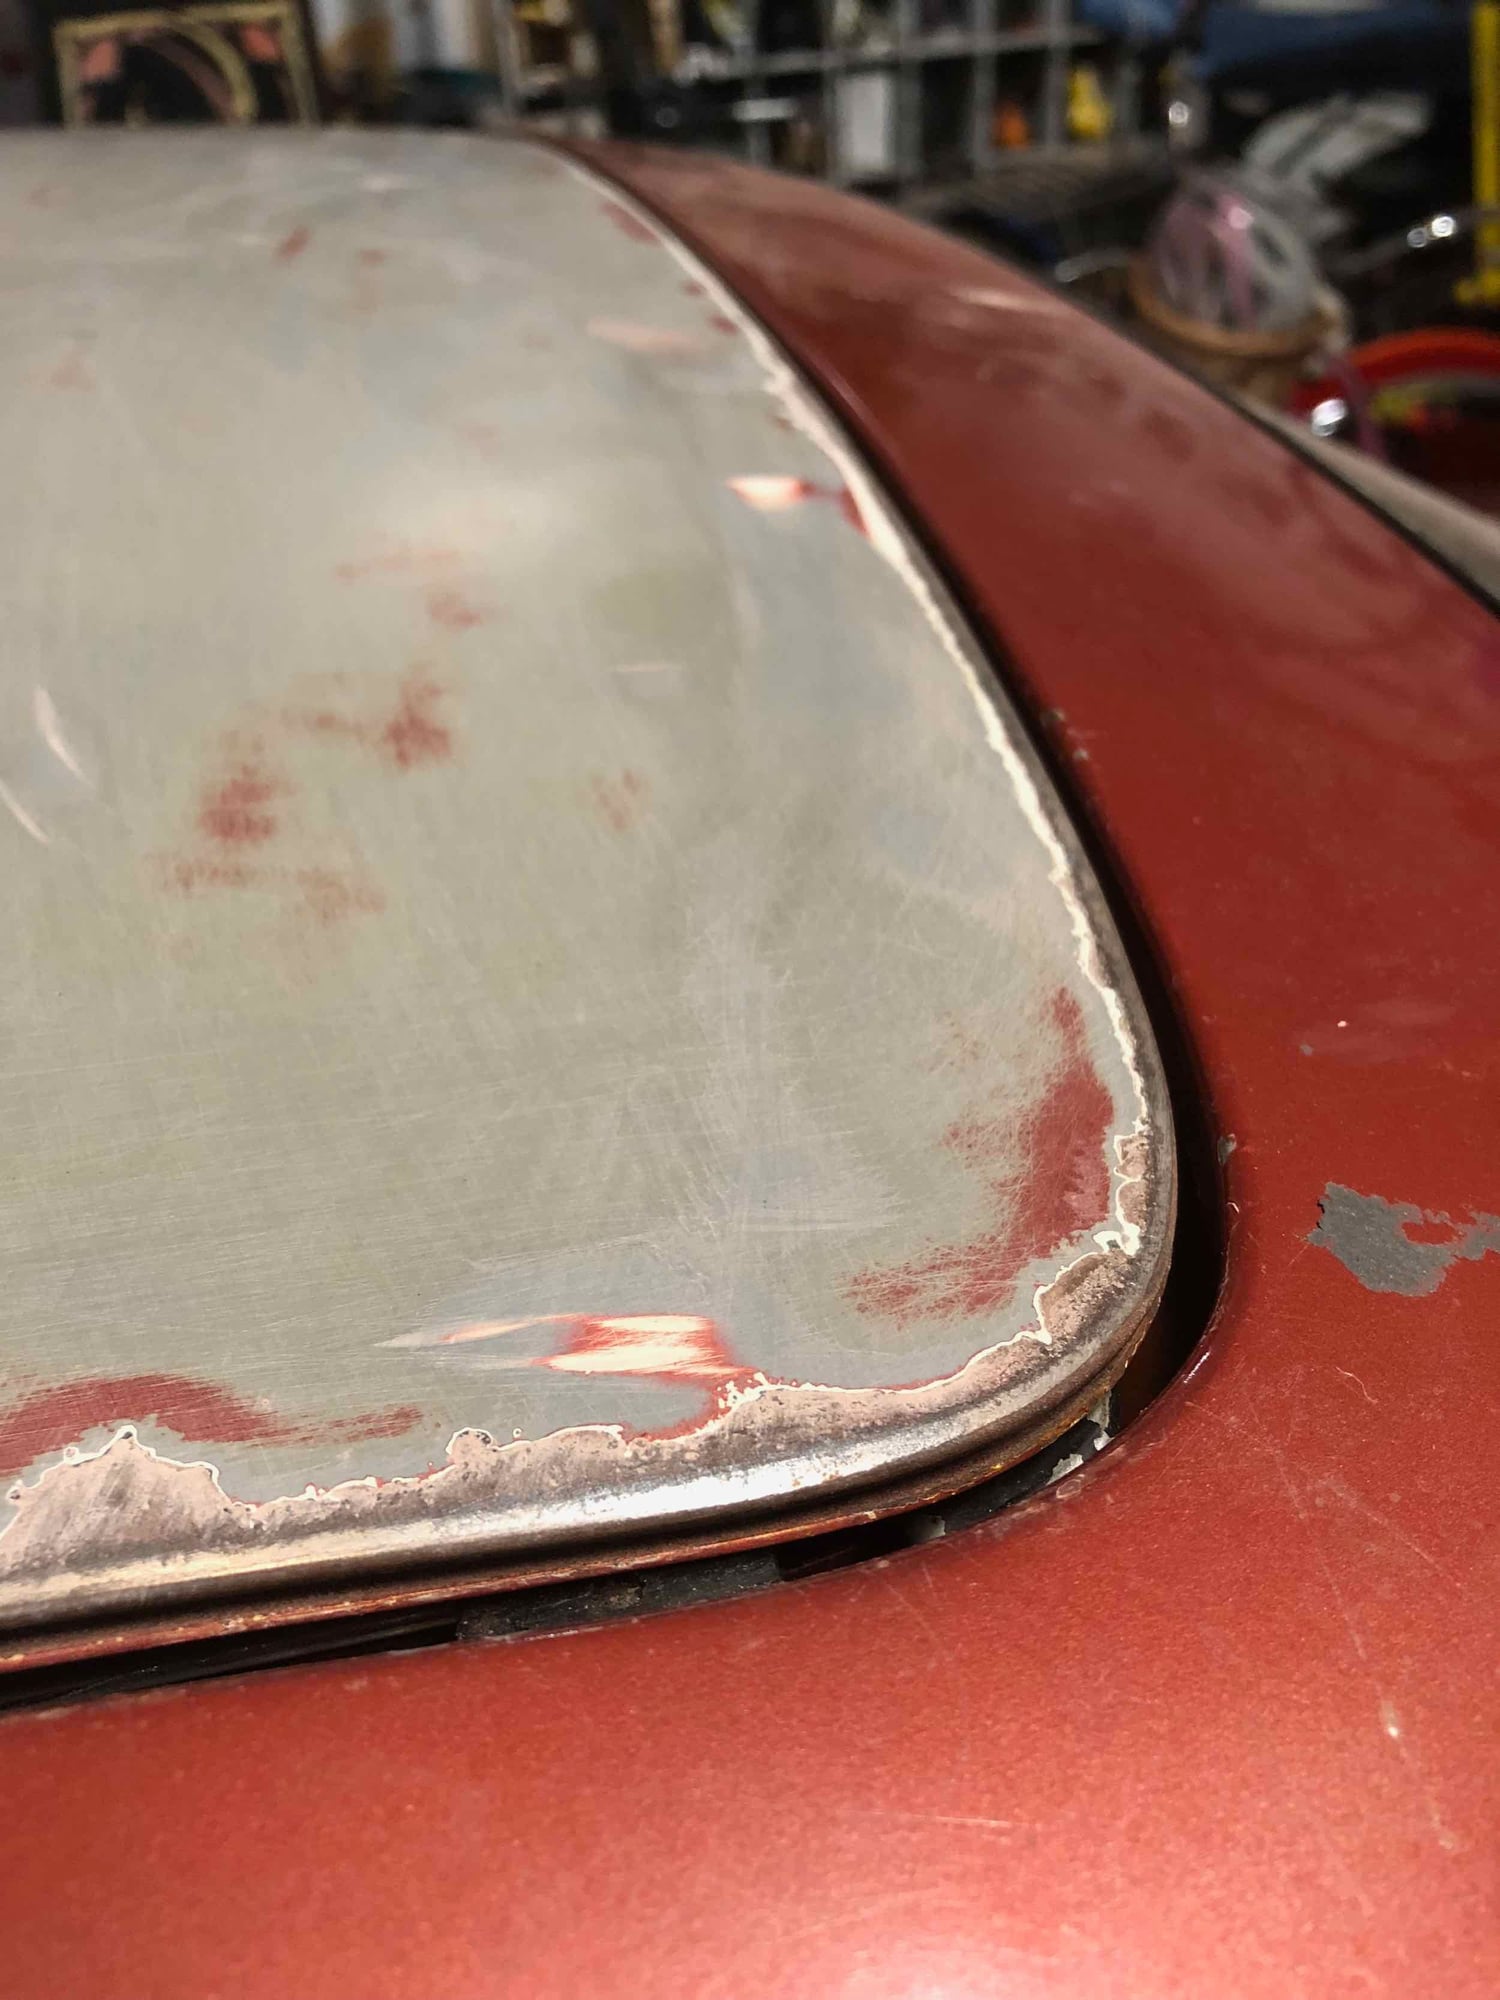
On my roof, the two 8mm screws actually caused the front of the roof to slightly rise or fall, but only after I had adjusted the slotted screw between them in or out. By going back and forth I was able to accomplish the level in the pics.
The roof now opens and closes with a drill on the transmission. Have to reinstall motor and reconnect battery to check the true operation.
NOTE on setting the front crossbar screws the 2 8mm bolts on each side only get screwed into the bar enough to position the front of the roof height,
they should not be preloaded against the slotted screw the slotted screw is made to be a pivot to lift or lower the front crossbar for the correct height..
NOTE once the front edge is adjusted the 8MM screws should be blue loctited in place.
NOTE while making this adjustment if you see the front bar being lifted upwards by the front hinges then back off the screws as necessary ,
this bar being lifted will cause the roof to bind and thus it may not close due to the extra drag
Great info Stan will go back and double check everything. Does the current "fit" in the photos look about right? It is MUCH better now than it was previously (height-wise, and it would not close or open at all due to binding).
from the looks of things the right cable is one tooth short ,
remove the transmission and push the cable one tooth with a screw driver.
or while watching the trans mounting area,
push the right transmission block forward with you finger one tooth then test it .
I have no way to tell if your front crossbar adjustment is good it can only be seen while watching the bar and the hinges and tightening the 8mm screws


 01-21-2018, 06:17 PM