Notices
928 Forum 1978-1995
Sponsored by:
Sponsored by: 928 Specialists

928 Pro Tour LS3 / Z06 Build

Thread Tools
 
Search this Thread
 
Old 05-15-2018, 11:46 PM
  #466  
Blagave
Rennlist Member
Thread Starter
 
Blagave's Avatar
 
Join Date: Dec 2016
Location: around the corner
Posts: 799
Received 143 Likes on 111 Posts
Default

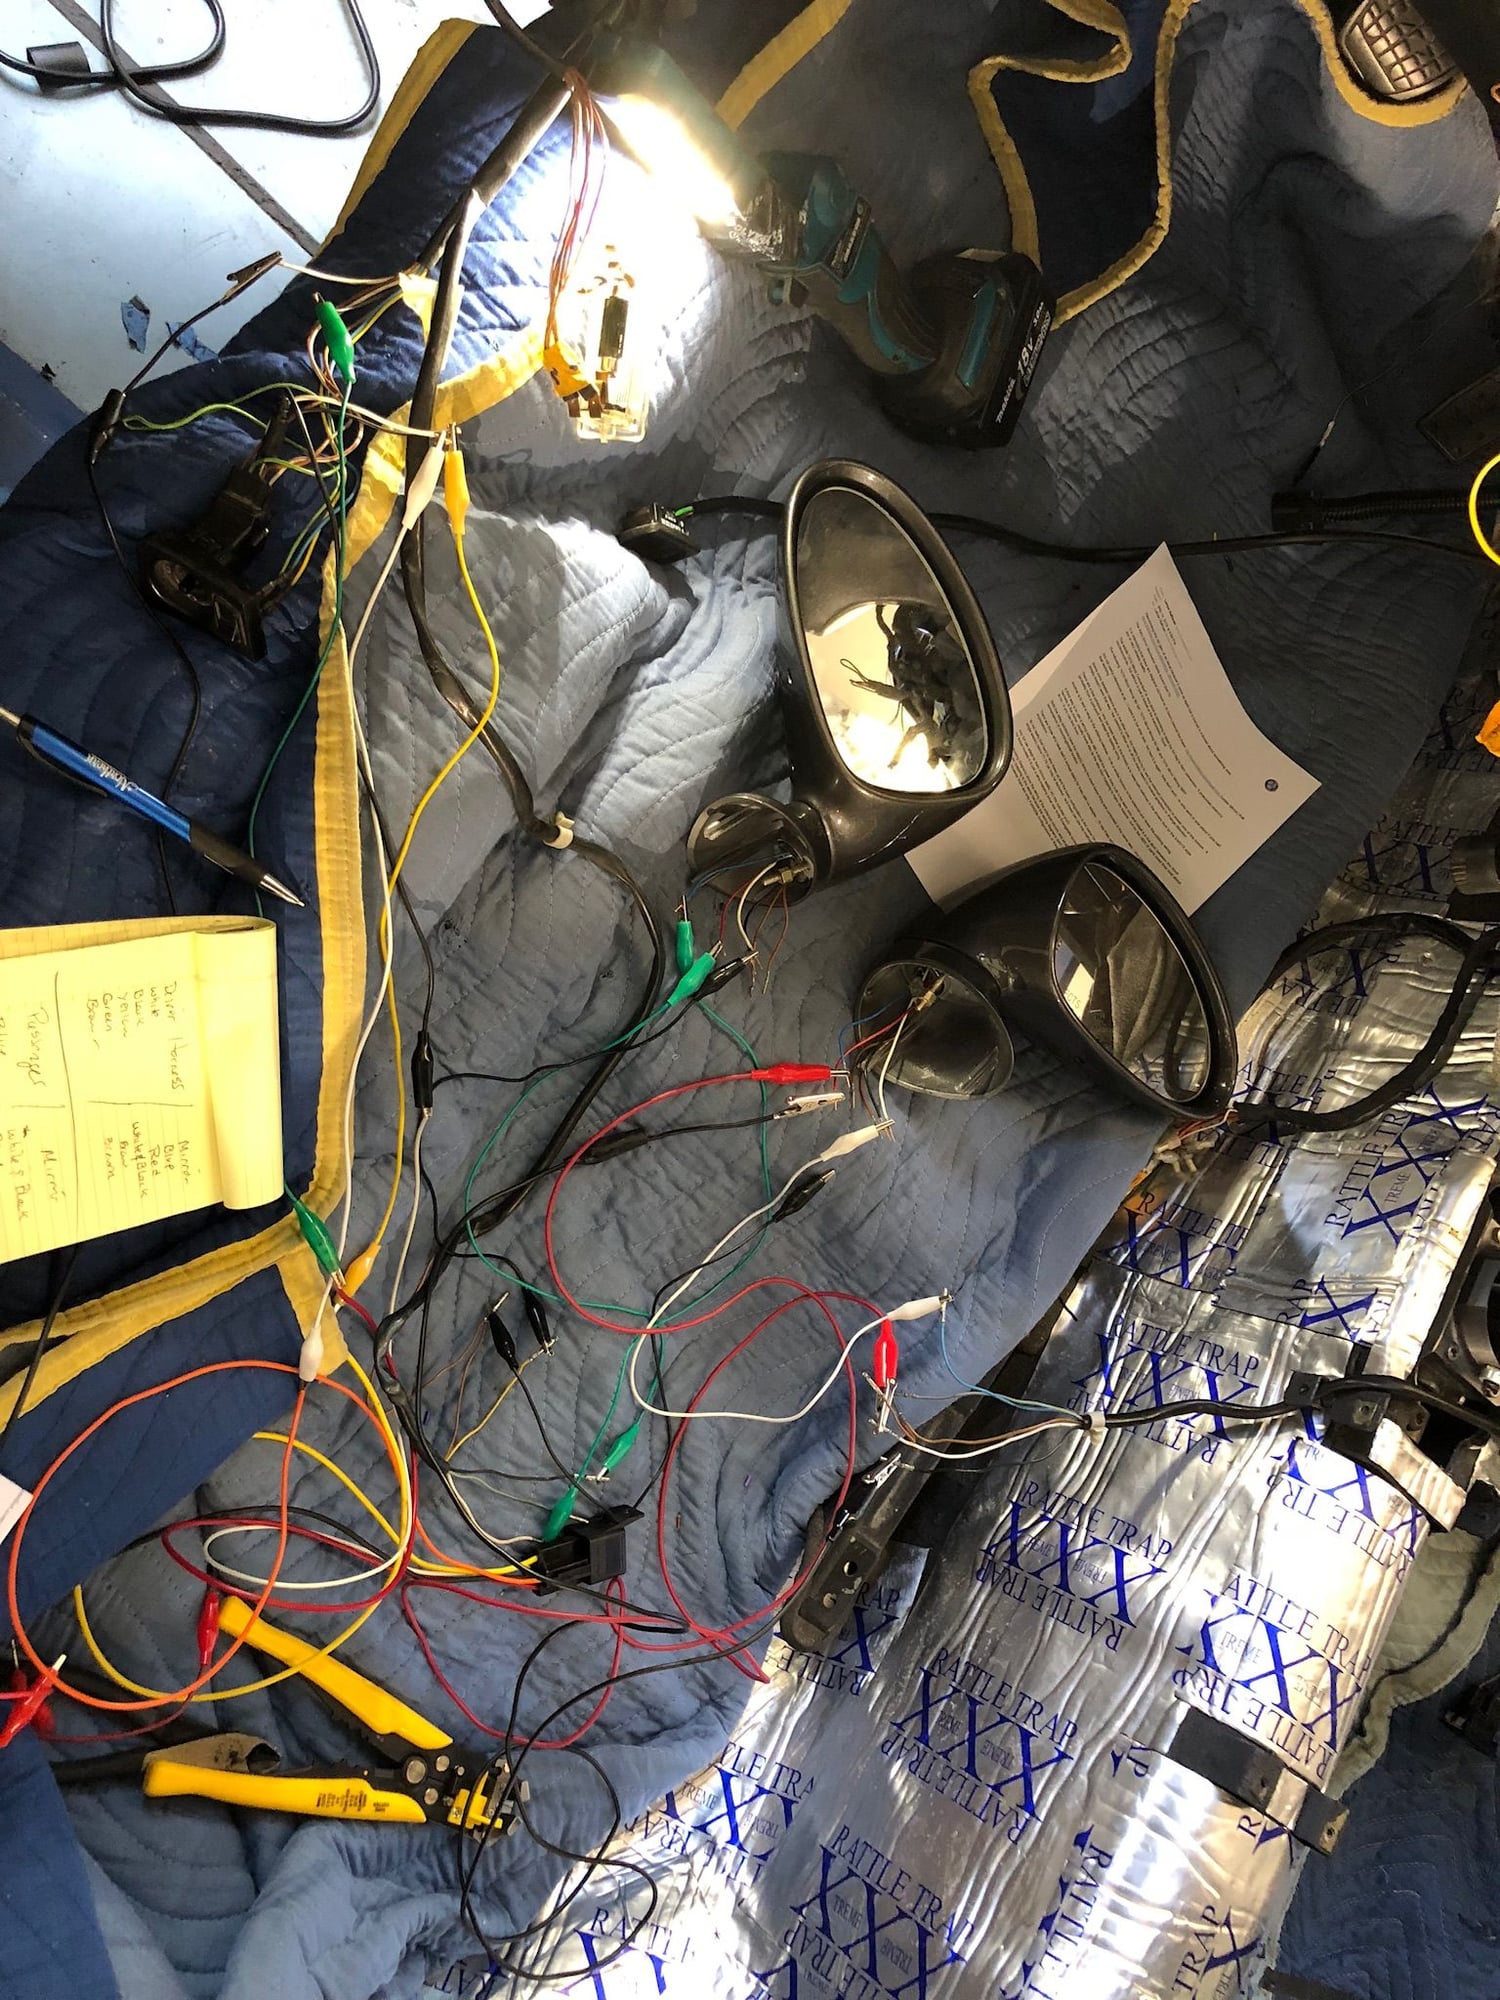
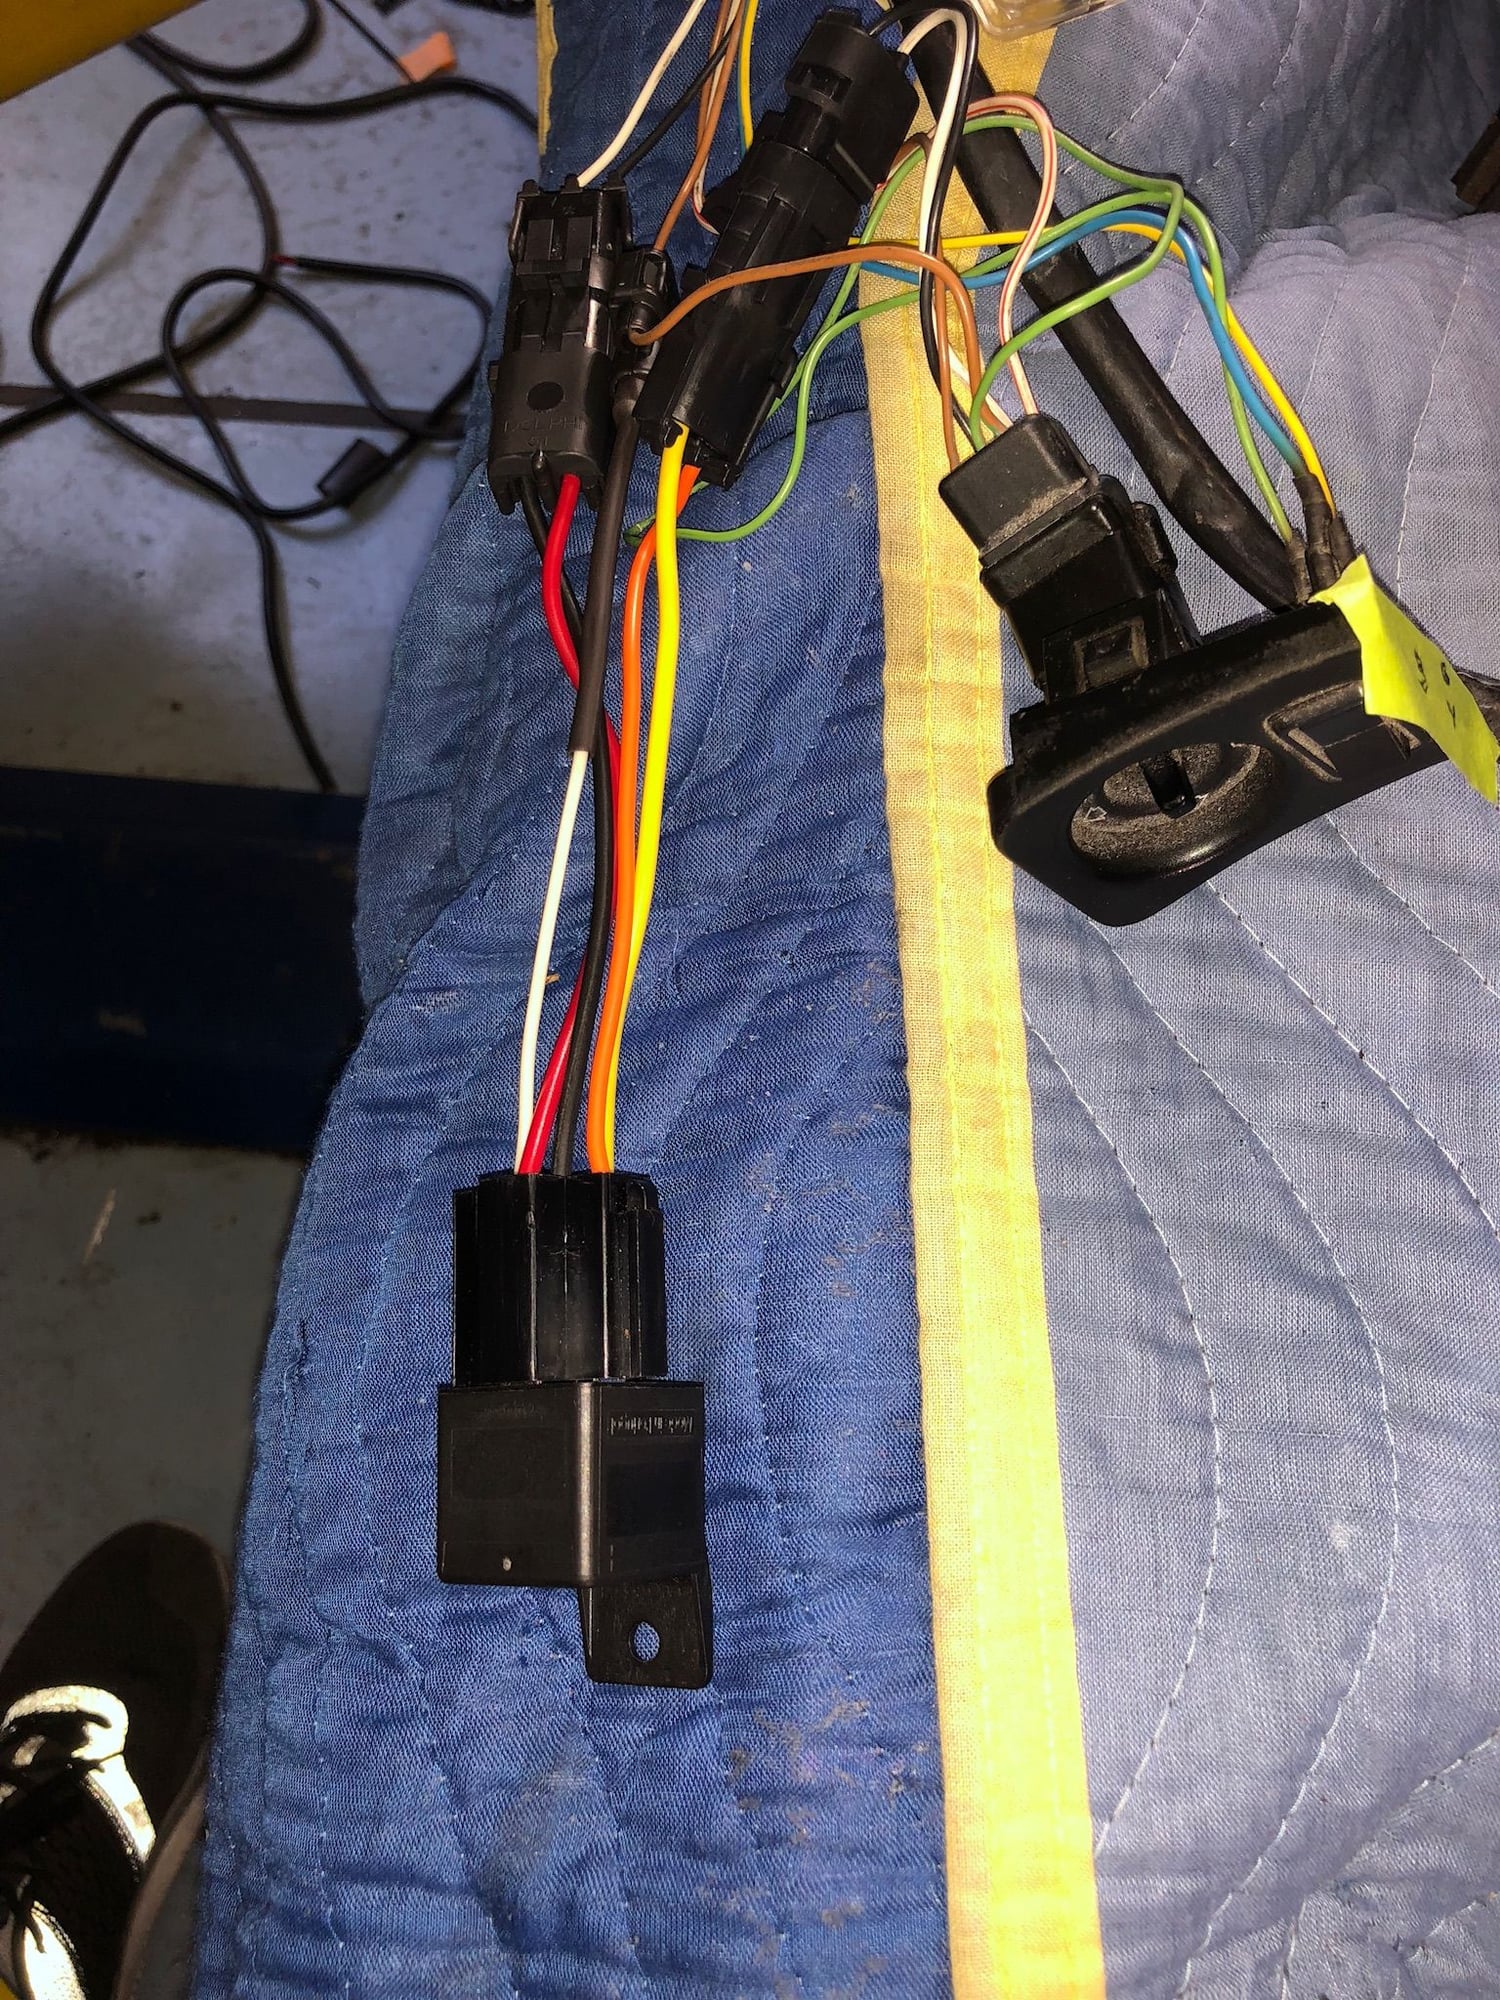
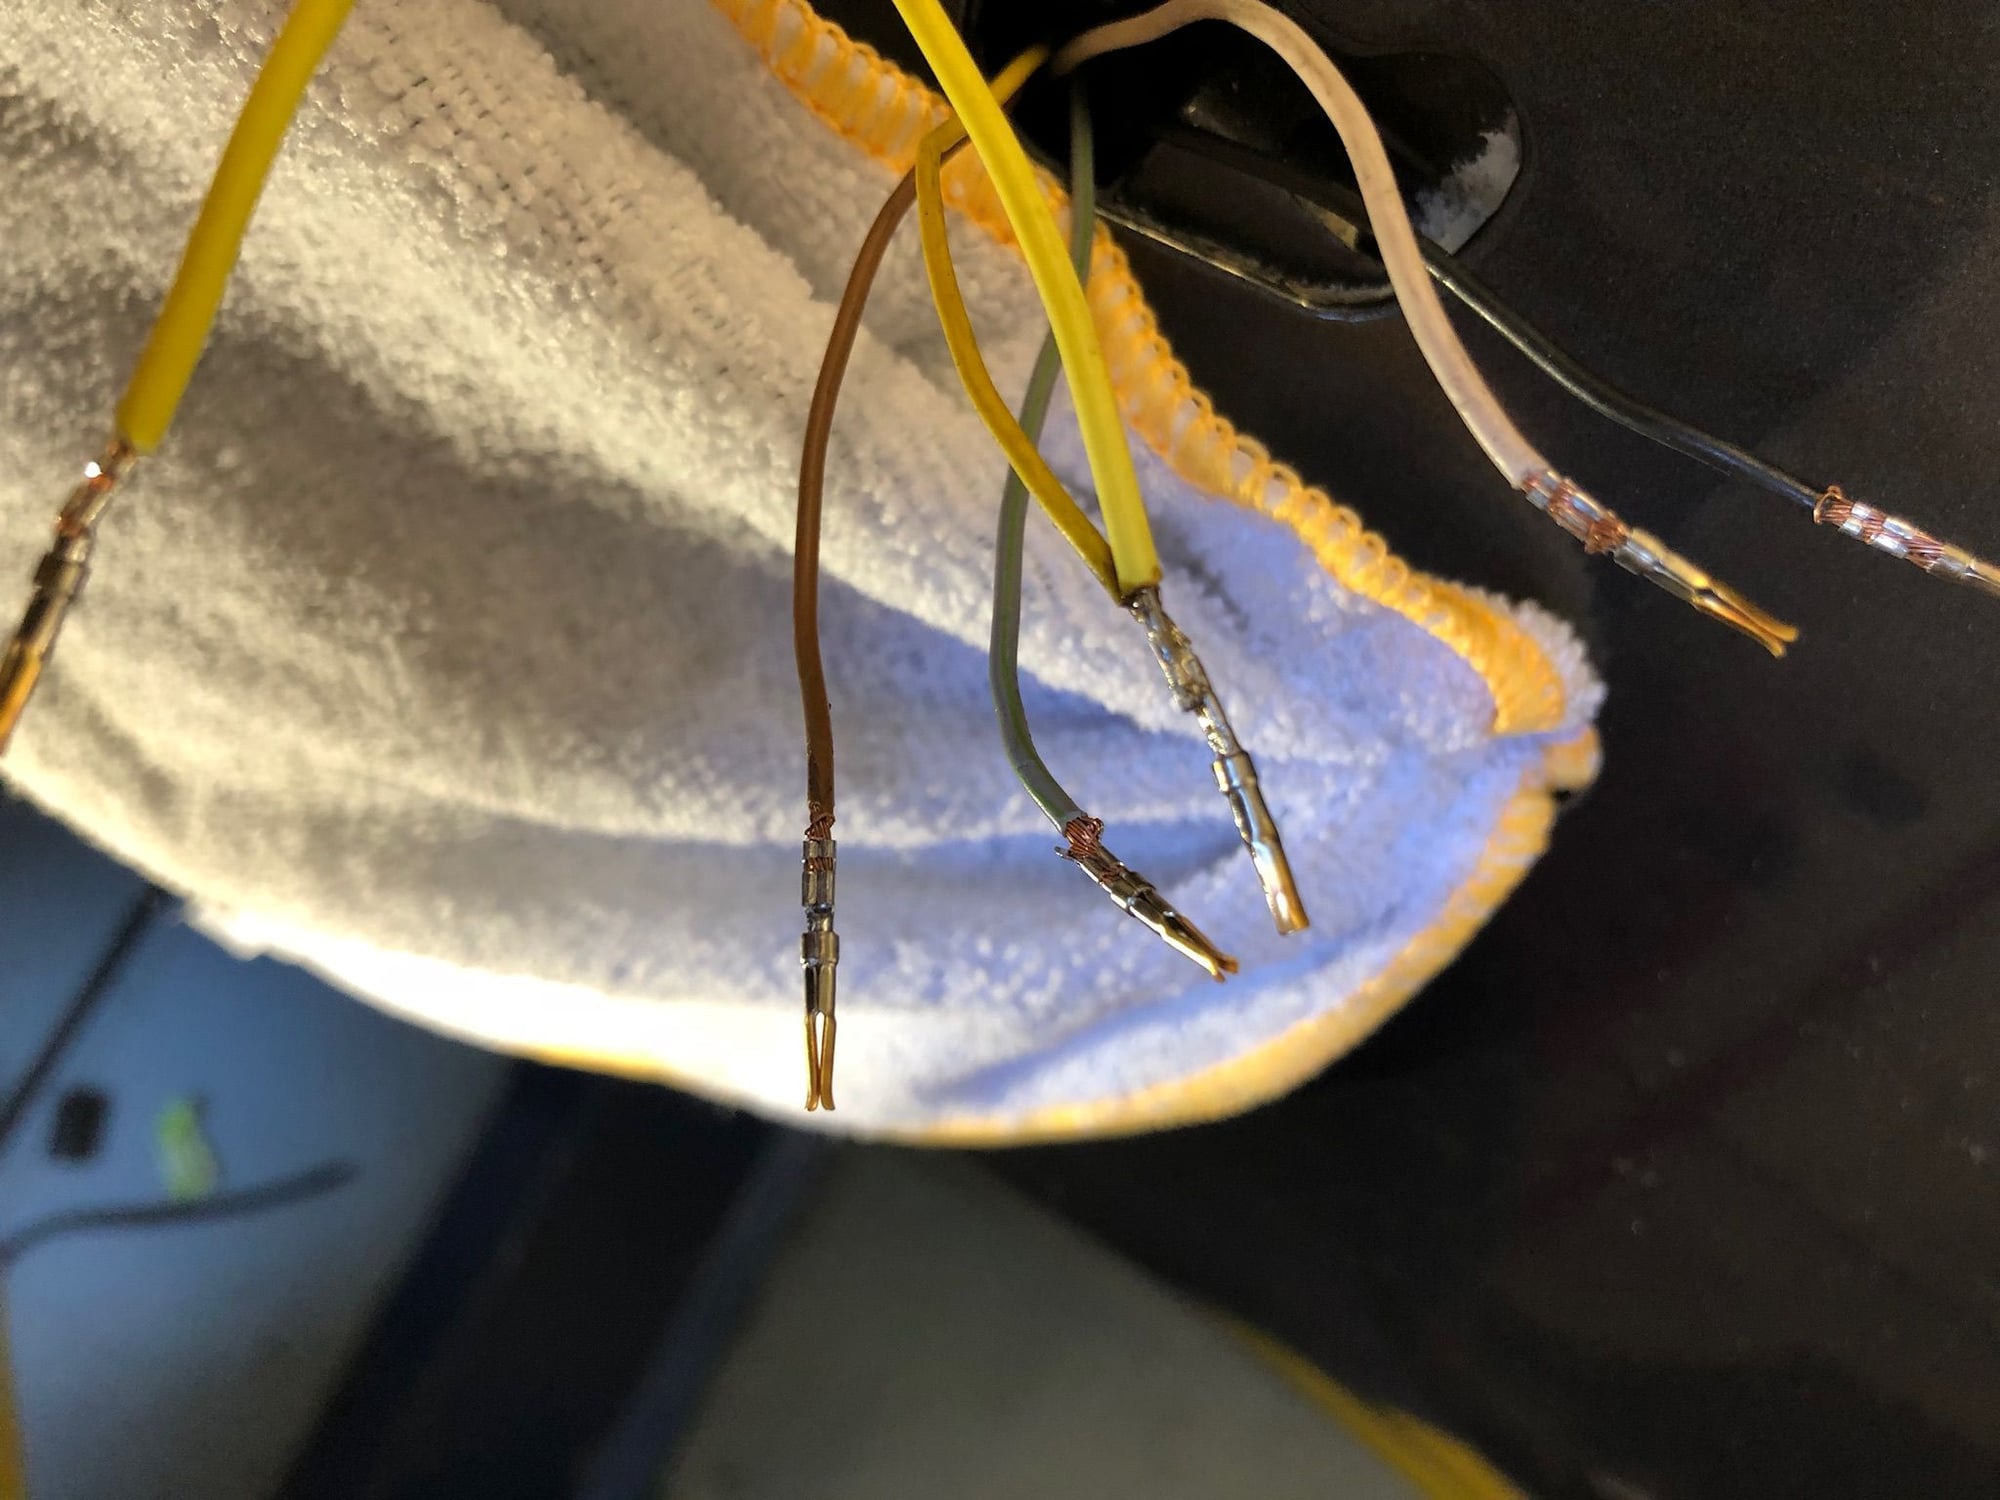
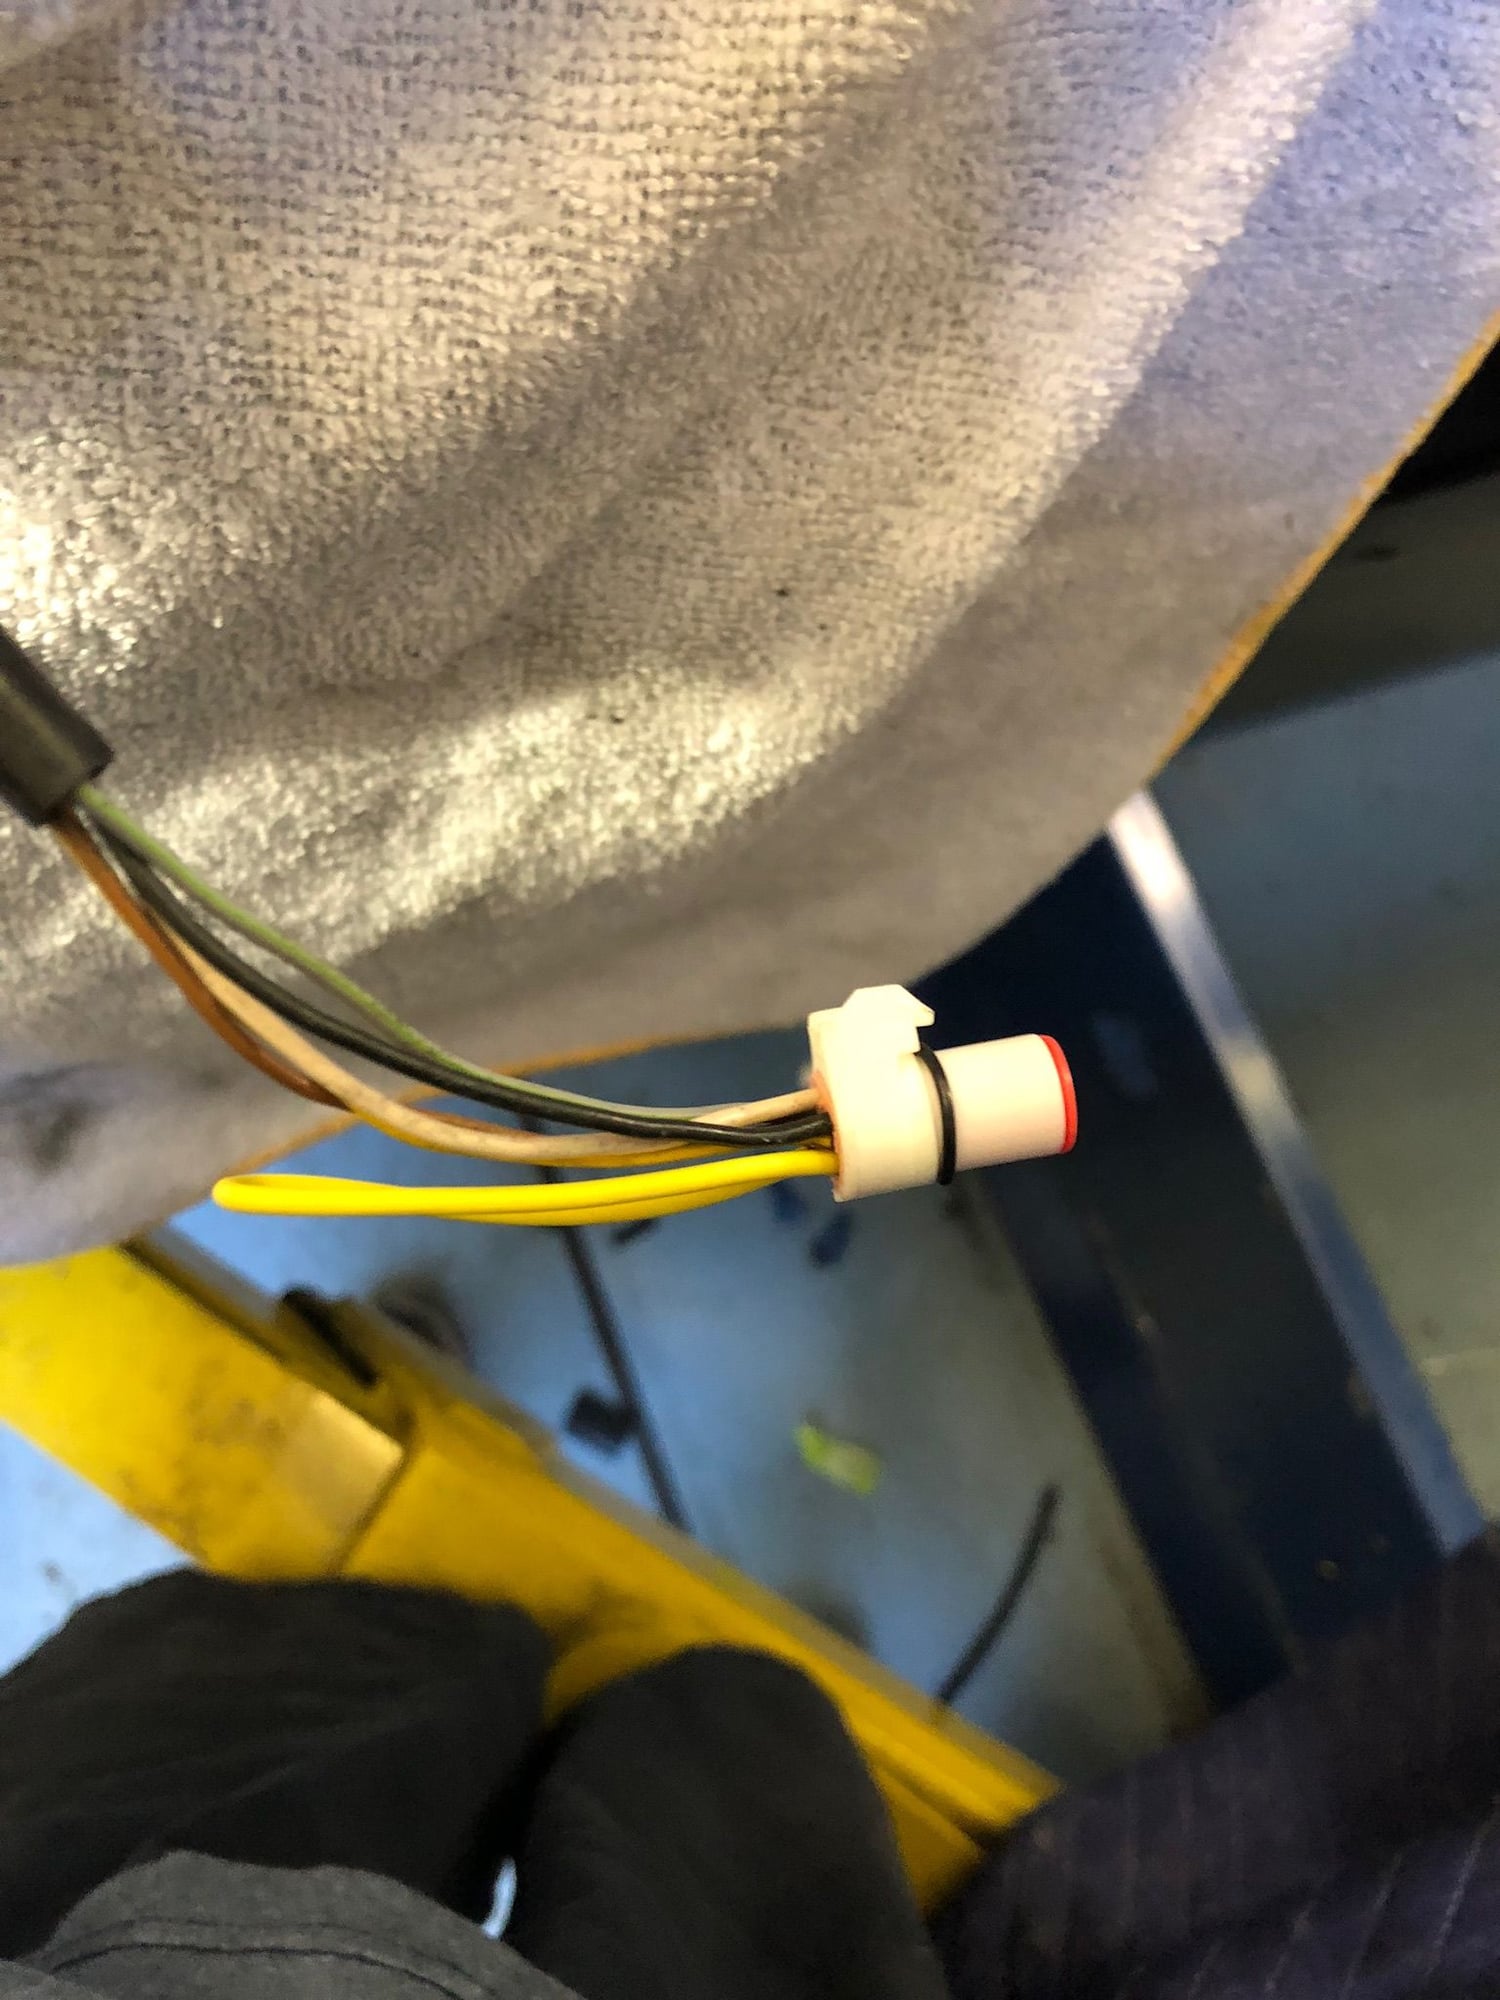
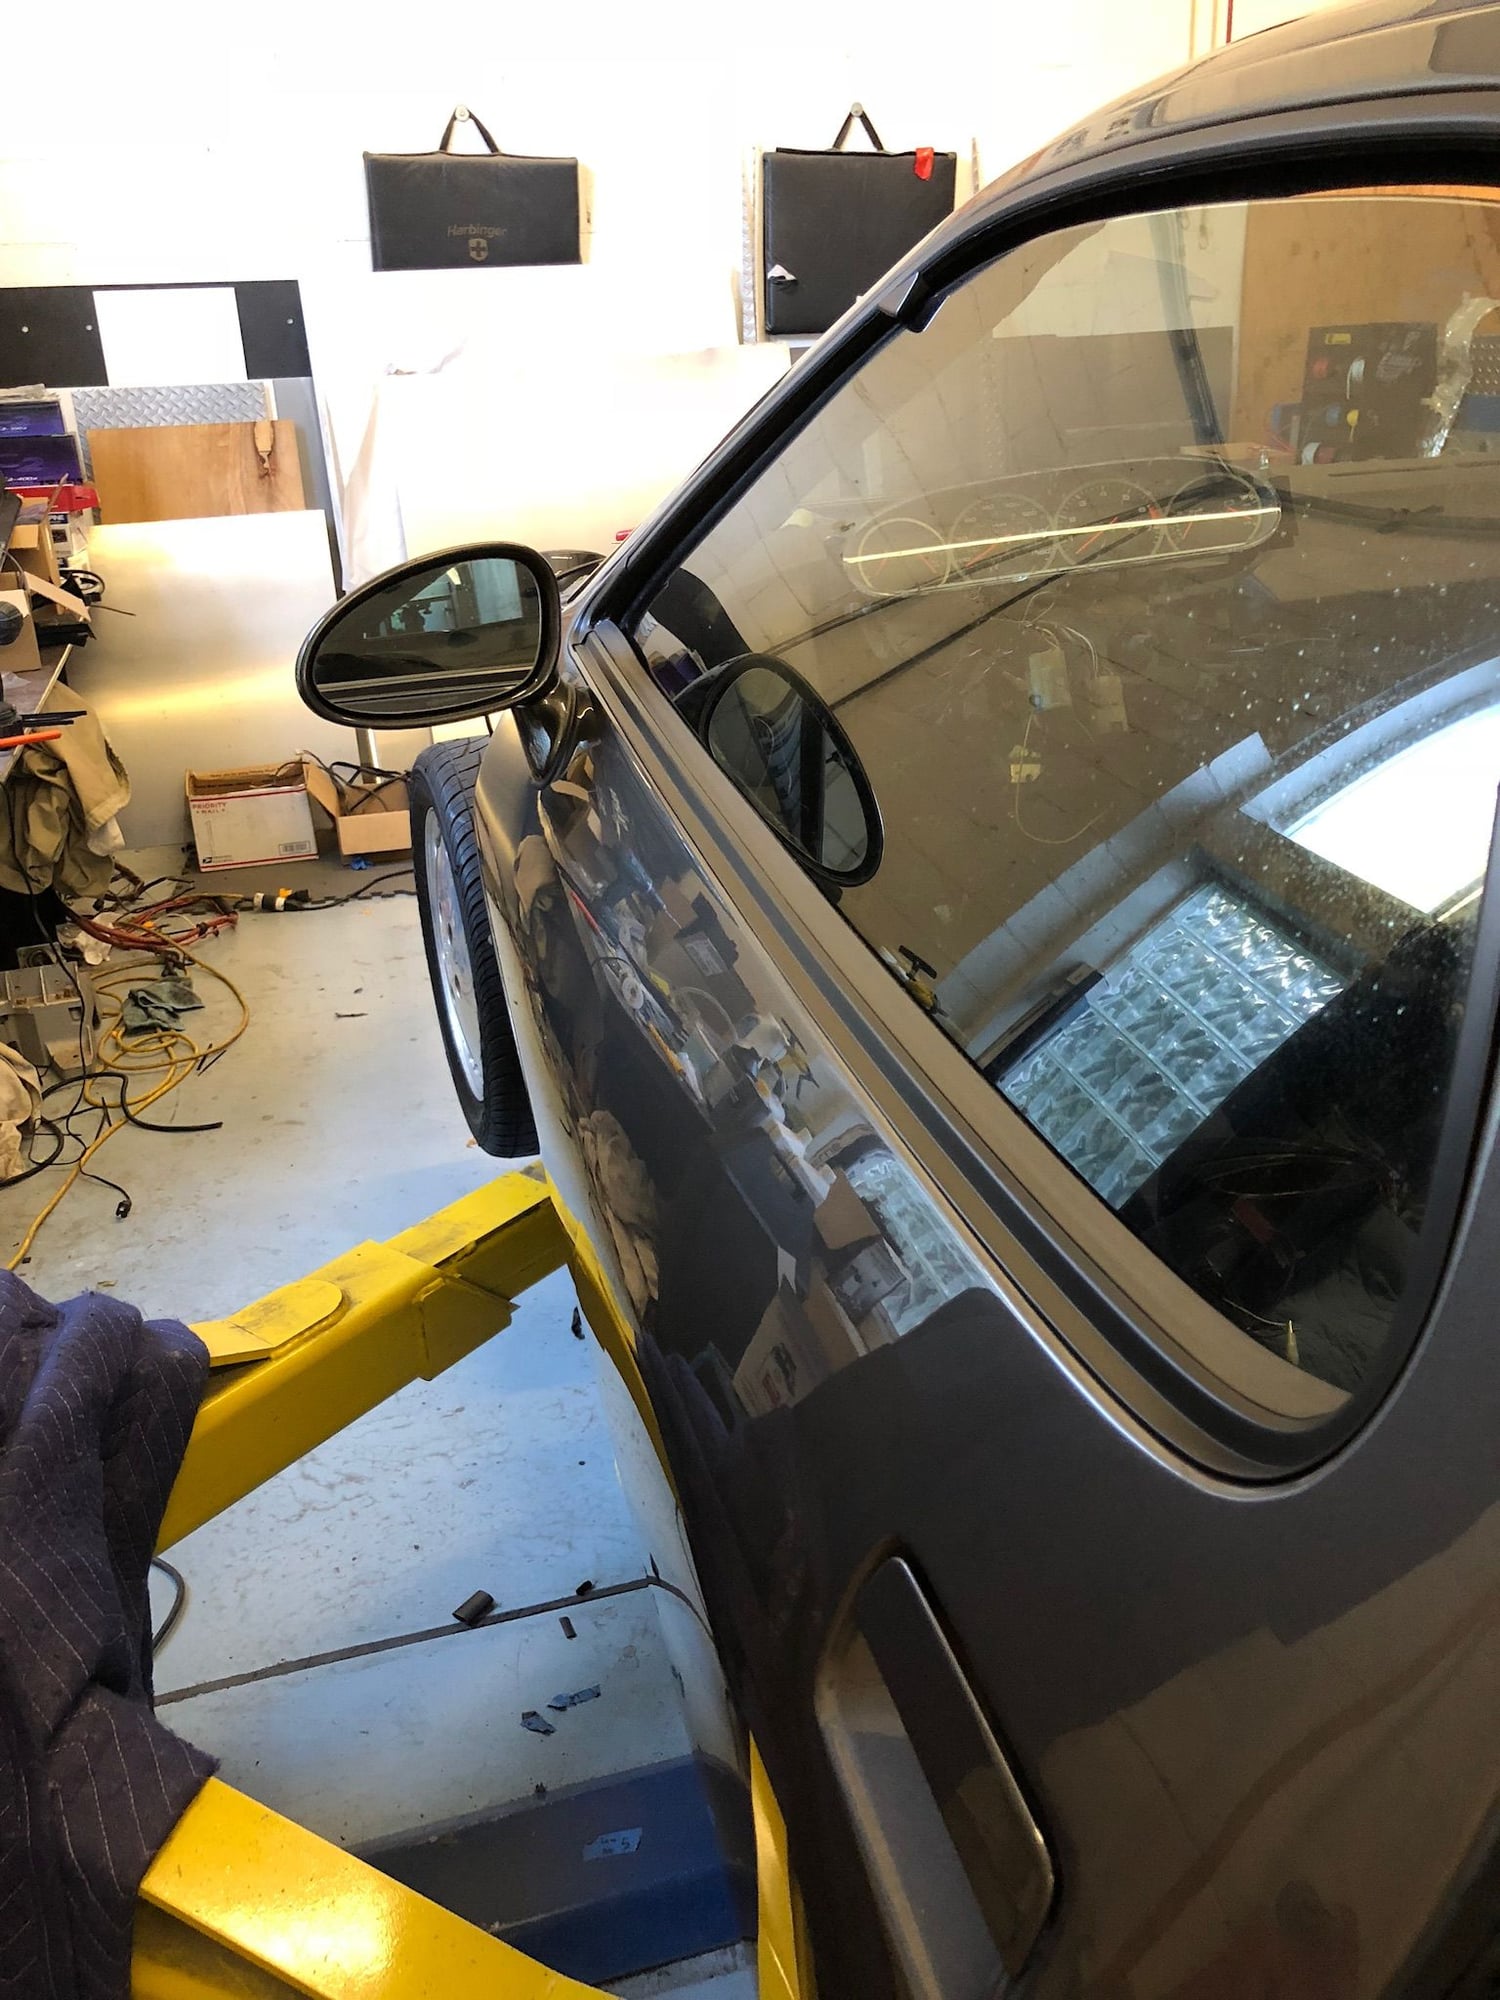
With some direction of Hacker and Alan’s write up on how to wire the two motor aero mirrors into the single motor wiring harness I was able to get the mirrors working like factory with the stock joy stick and side to side switch. Alan’s write up has a relay tied into the joy stick wiring.


Last edited by Blagave; 05-16-2018 at 10:11 AM.
Old 05-16-2018, 12:04 AM
  #467  
skpyle
Rennlist Member
 
skpyle's Avatar
 
Join Date: Jul 2014
Location: Blacksburg, SC
Posts: 2,886
Received 469 Likes on 212 Posts
Default

That is nice!
Well done on the mirrors.
Old 05-16-2018, 07:14 PM
  #468  
dagersh
Intermediate
 
dagersh's Avatar
 
Join Date: Jun 2016
Posts: 46
Likes: 0
Received 0 Likes on 0 Posts
Default

New to this game, but just wanted to say "HOLY $H!T" what an incredible Build and Thread! And the shoes....

Gersh
Old 05-16-2018, 10:28 PM
  #469  
Blagave
Rennlist Member
Thread Starter
 
Blagave's Avatar
 
Join Date: Dec 2016
Location: around the corner
Posts: 799
Received 143 Likes on 111 Posts
Default

Originally Posted by skpyle
That is nice!
Well done on the mirrors.
thank you
Old 05-16-2018, 10:29 PM
  #470  
Blagave
Rennlist Member
Thread Starter
 
Blagave's Avatar
 
Join Date: Dec 2016
Location: around the corner
Posts: 799
Received 143 Likes on 111 Posts
Default

Originally Posted by dagersh
New to this game, but just wanted to say "HOLY $H!T" what an incredible Build and Thread! And the shoes....

Gersh
thanks.......not sure I understand the shoe thing though
Old 05-16-2018, 11:48 PM
  #471  
skpyle
Rennlist Member
 
skpyle's Avatar
 
Join Date: Jul 2014
Location: Blacksburg, SC
Posts: 2,886
Received 469 Likes on 212 Posts
Default

Originally Posted by Blagave

thank you
You are quite welcome! I am way too far in on my Red Witch, but I am in awe of what you are doing.


Originally Posted by Blagave

thanks.......not sure I understand the shoe thing though
Wait...what? You're kidding, right?
Old 05-17-2018, 12:58 PM
  #472  
dagersh
Intermediate
 
dagersh's Avatar
 
Join Date: Jun 2016
Posts: 46
Likes: 0
Received 0 Likes on 0 Posts
Default

Originally Posted by Blagave

thanks.......not sure I understand the shoe thing though
Sure thing Captain!
Old 05-17-2018, 01:21 PM
  #473  
Rob Edwards
Archive Gatekeeper
Rennlist Member
 
Rob Edwards's Avatar
 
Join Date: Sep 2002
Location: Irvine, CA
Posts: 17,320
Received 2,557 Likes on 1,236 Posts
Default


Old 05-17-2018, 01:49 PM
  #474  
Michael Benno
Rennlist Member
 
Michael Benno's Avatar
 
Join Date: Mar 2015
Location: Portland, OR
Posts: 2,115
Received 782 Likes on 307 Posts
Default

Originally Posted by Blagave
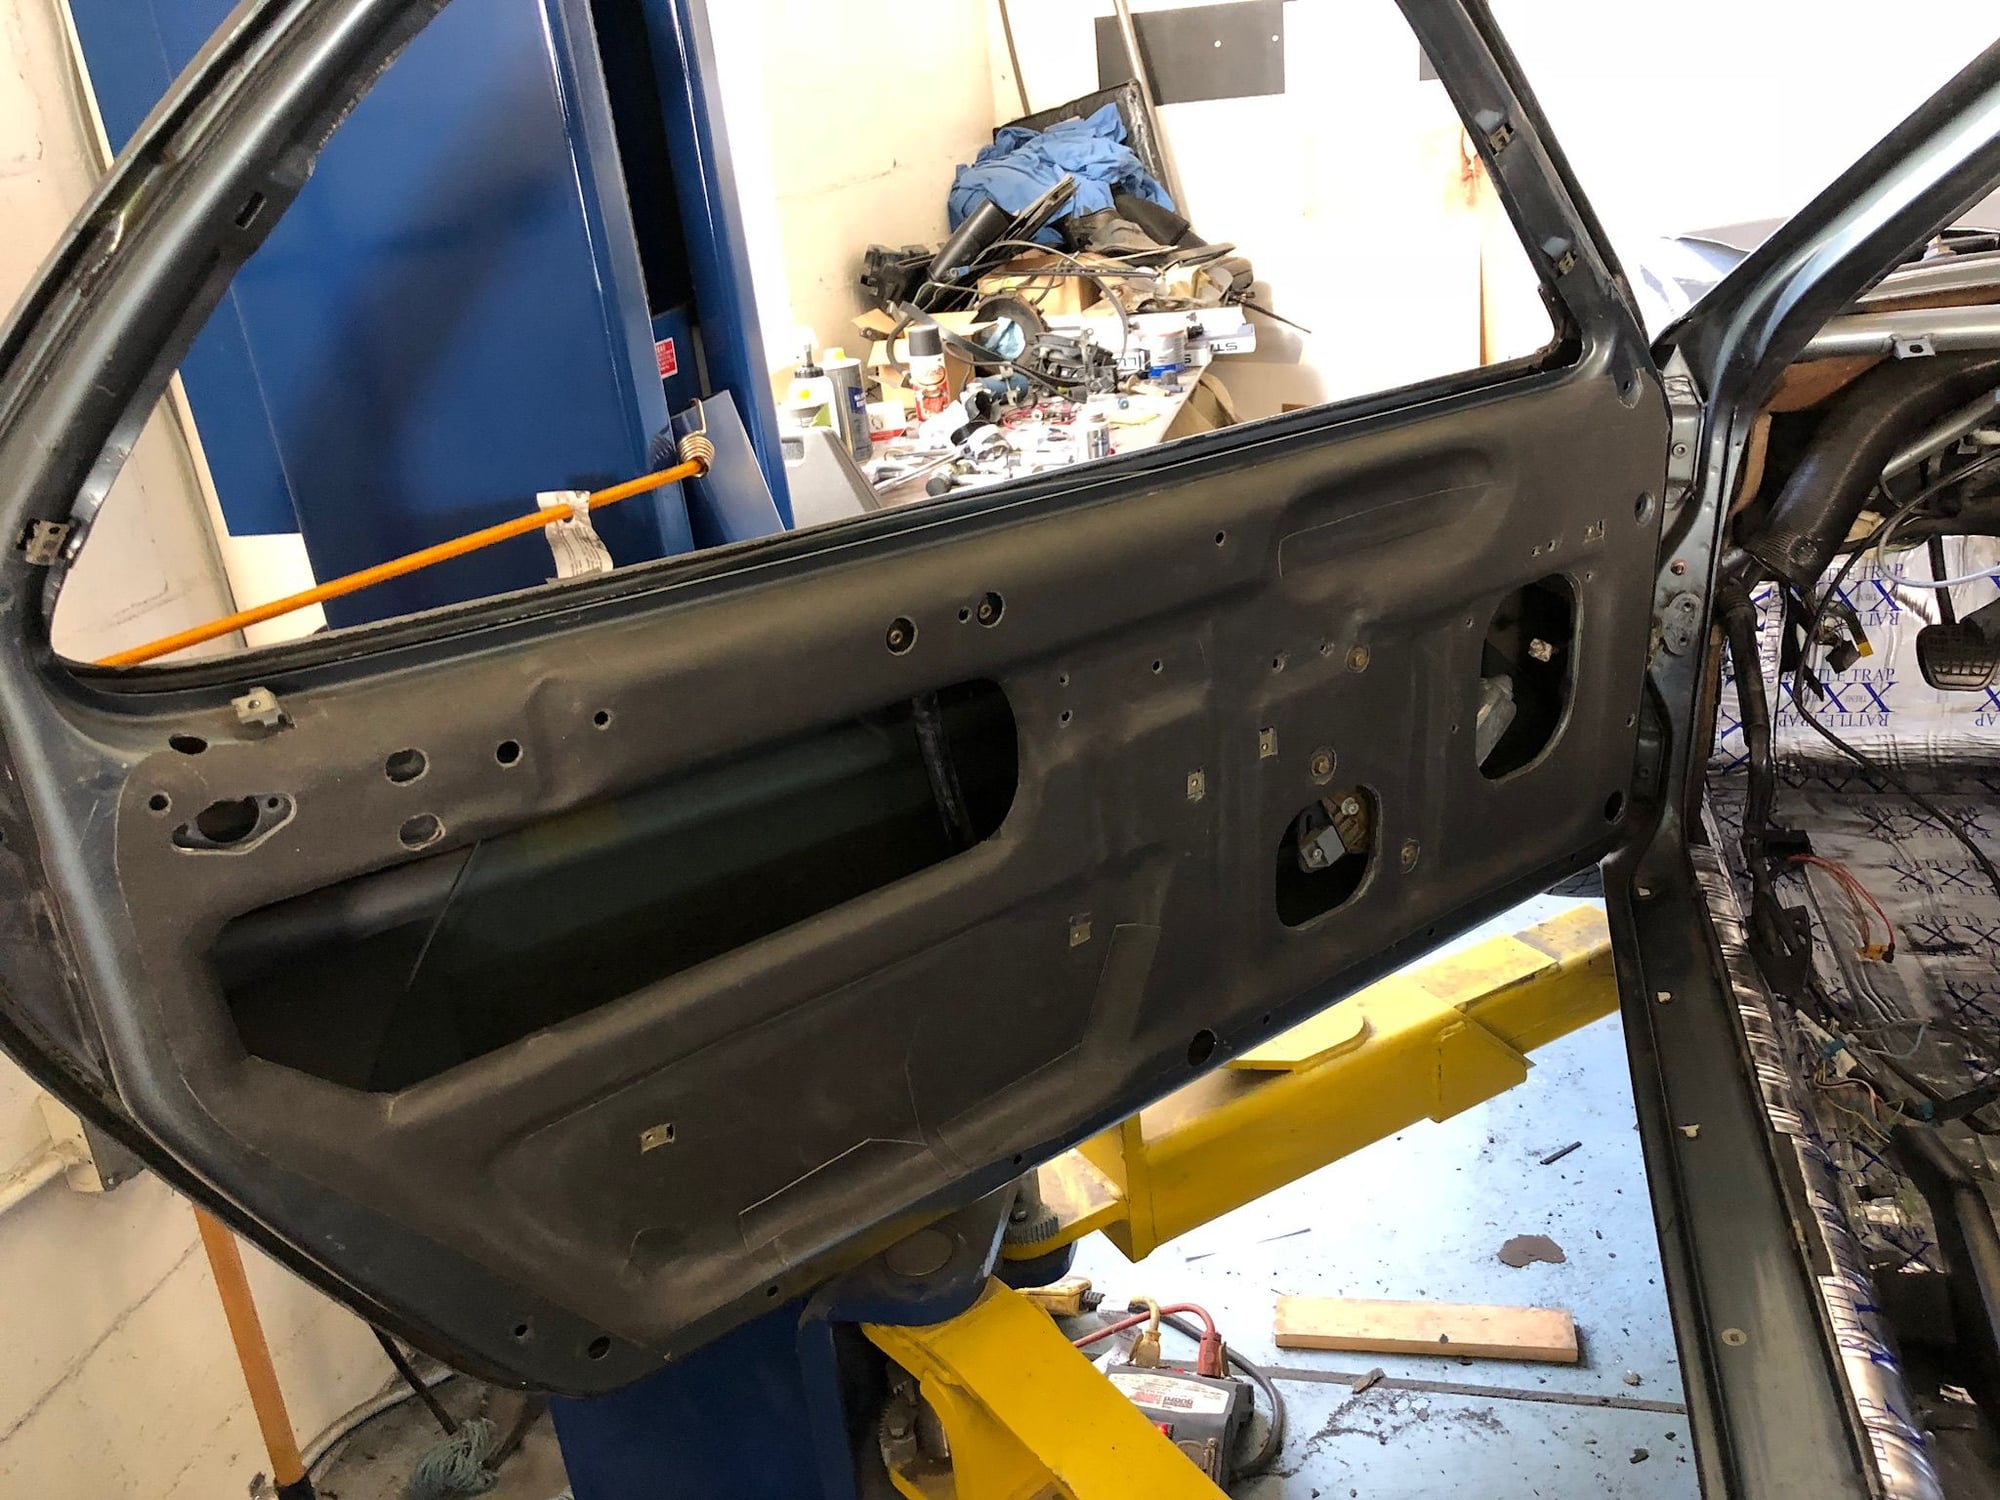
Installed the Cascade VB-2 on the doors. There is a little learning curve, but really nice to work with. The material doesn’t have much flexibility until you add a little heat with heat gun. I used welding gloves when contouring the material. The trick is to get the material warm but not to hot where it becomes rubber like.


I'm going to follow your installation and also add Cascade VB-2 sound dampening to my doors. I'd appreciate any tips beyond what you have outlined above. How did you get such clean cuts in the material? Did you end up covering the access openings for the window regulator and motor? Di you add any dampening to the outside skin? How much material did you require for both doors?
Old 05-18-2018, 11:23 AM
  #475  
Blagave
Rennlist Member
Thread Starter
 
Blagave's Avatar
 
Join Date: Dec 2016
Location: around the corner
Posts: 799
Received 143 Likes on 111 Posts
Default

Originally Posted by Michael Benno
I'm going to follow your installation and also add Cascade VB-2 sound dampening to my doors. I'd appreciate any tips beyond what you have outlined above. How did you get such clean cuts in the material? Did you end up covering the access openings for the window regulator and motor? Di you add any dampening to the outside skin? How much material did you require for both doors?
Both "Just Peachy" and "Empty Shell" threads installed the Cascade sound proofing first. The material is somewhat stiff with a adhesive back. I just cut a piece for the length and height of the door and started at the top of the door. I used a heat gun to make the material flexible, and used a plastic molding remover tool along with roller to mold material to door. Wear a glove and use hand and thumb to help mold, don't over heat or you will turn material into a rubbery mess. I cut out the openings, screw and bolt holes after and trimmed the sides. Once you get the hang of it the second door goes much easier.
I am getting ready to replace my glass in the doors due to pitting and will add something similar to dyno-matt on the inside.

Best of luck
Old 05-18-2018, 01:12 PM
  #476  
Michael Benno
Rennlist Member
 
Michael Benno's Avatar
 
Join Date: Mar 2015
Location: Portland, OR
Posts: 2,115
Received 782 Likes on 307 Posts
Default

Originally Posted by Blagave
Both "Just Peachy" and "Empty Shell" threads installed the Cascade sound proofing first. The material is somewhat stiff with a adhesive back. I just cut a piece for the length and height of the door and started at the top of the door. I used a heat gun to make the material flexible, and used a plastic molding remover tool along with roller to mold material to door. Wear a glove and use hand and thumb to help mold, don't over heat or you will turn material into a rubbery mess. I cut out the openings, screw and bolt holes after and trimmed the sides. Once you get the hang of it the second door goes much easier.
I am getting ready to replace my glass in the doors due to pitting and will add something similar to dyno-matt on the inside.

Best of luck
Awesome - thanks
Old 05-24-2018, 12:16 AM
  #477  
Blagave
Rennlist Member
Thread Starter
 
Blagave's Avatar
 
Join Date: Dec 2016
Location: around the corner
Posts: 799
Received 143 Likes on 111 Posts
Default

Received my New ECM back from GM today and installed. Motor fired right up and runs good for having the big injectors.
Sorry, didnt do something right on the download of video

Attached Files
File Type: mov
porsche-start-3mb.mov (3.35 MB, 163 views)
Old 05-24-2018, 01:06 PM
  #478  
SwayBar
Drifting
 
SwayBar's Avatar
 
Join Date: Feb 2006
Location: Chicago Bears
Posts: 3,477
Received 291 Likes on 198 Posts
Default

Nicely done!
Old 05-24-2018, 01:14 PM
  #479  
Taguid
Racer
 
Taguid's Avatar
 
Join Date: Feb 2016
Location: Gonzales, LA
Posts: 405
Likes: 0
Received 24 Likes on 13 Posts
Default

That is a sweet sound!
Old 05-24-2018, 01:22 PM
  #480  
77tony
Rennlist Member
 
77tony's Avatar
 
Join Date: Aug 2010
Location: USA
Posts: 8,417
Received 152 Likes on 116 Posts
Default

Sounds nasty...and that's a good thing. Look forward to seeing her in Tucson T


Quick Reply: 928 Pro Tour LS3 / Z06 Build


All times are GMT -3. The time now is 12:58 AM.