When you click on links to various merchants on this site and make a purchase, this can result in this site earning a commission. Affiliate programs and affiliations include, but are not limited to, the eBay Partner Network.
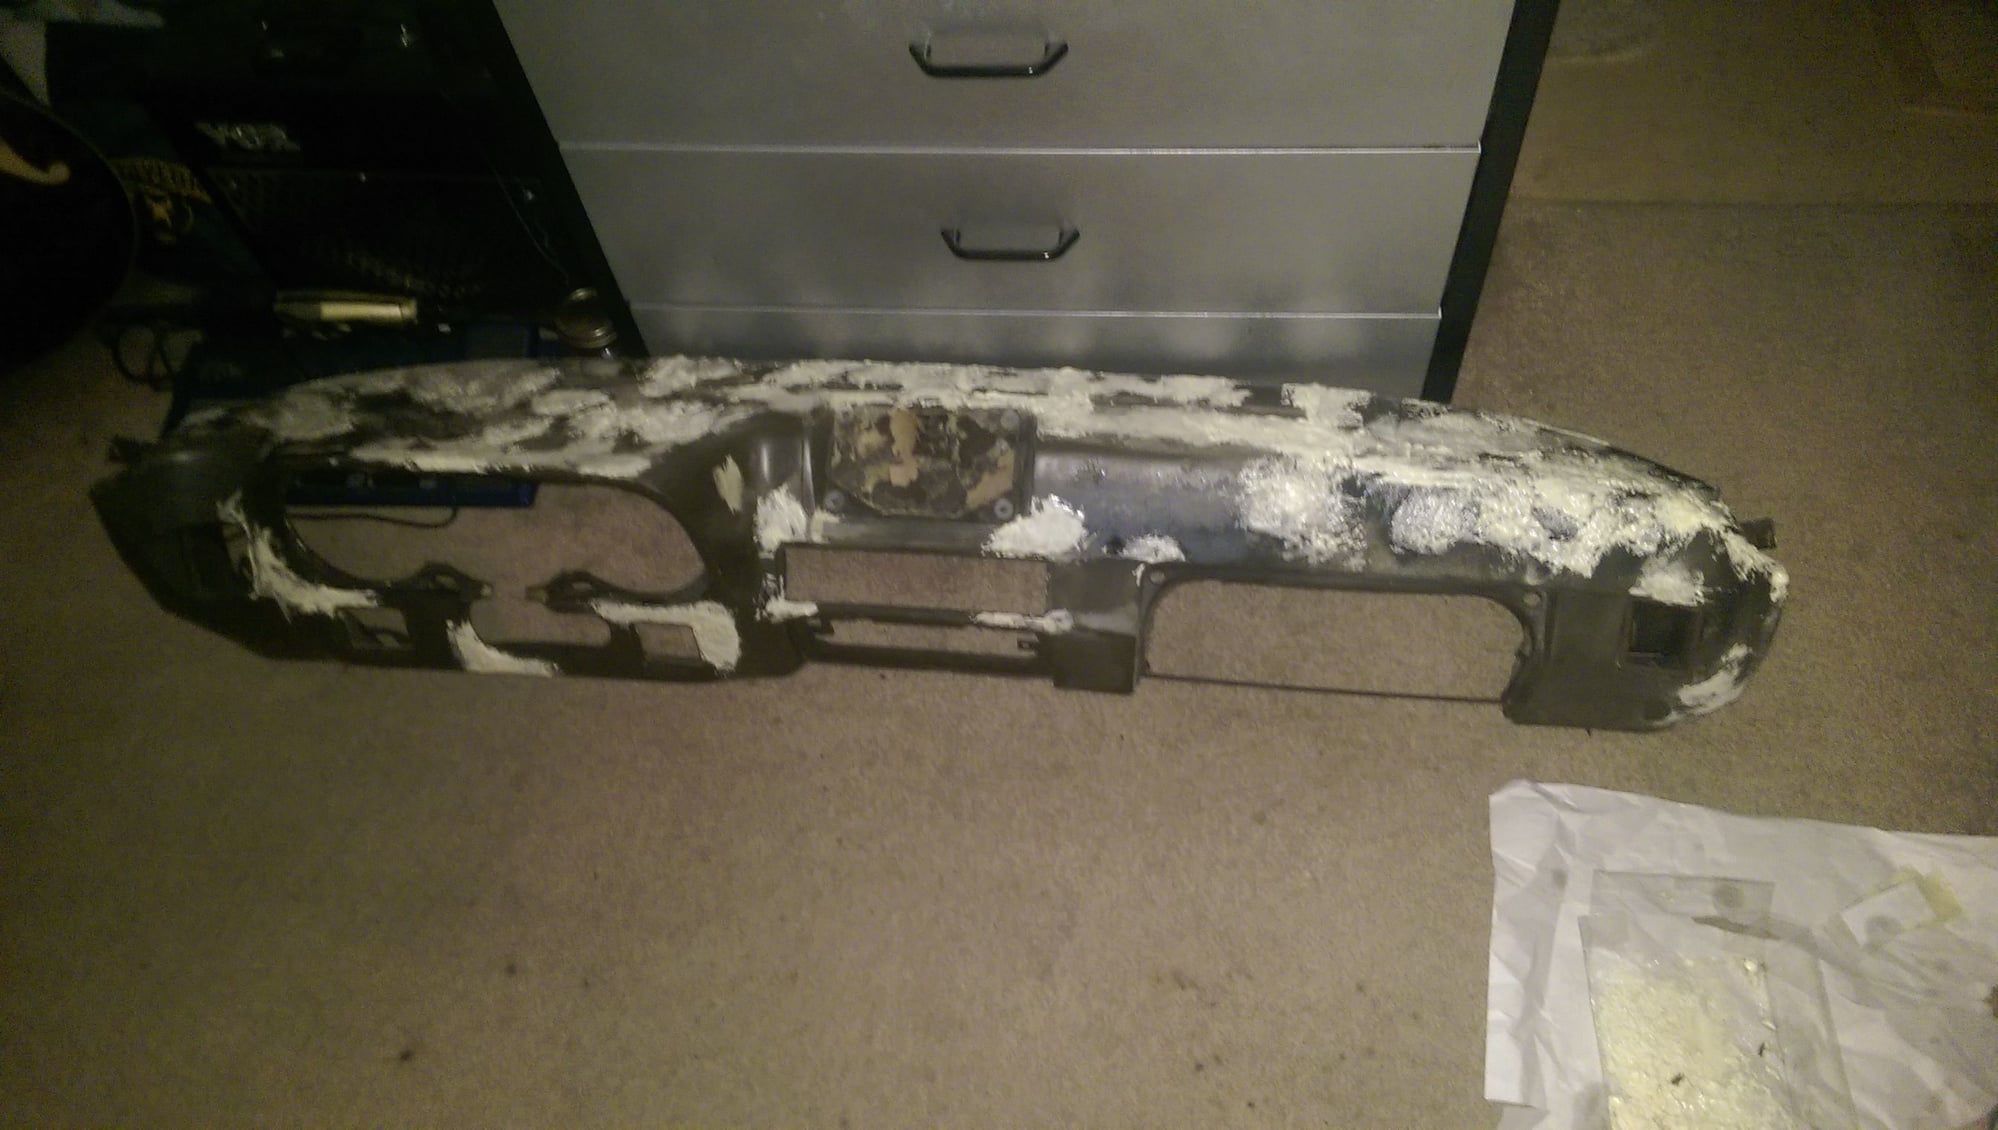
The ugly part of revision II is well underway. I'm still undecided whether or not I'll go back to aerosol coating it with a uniform finish, or just buy some stretchy upholstery and try and form it over the top (will require 10x less prep). Any input is very welcome, I'm basically making this up as I go along.
The ugly part of revision II is well underway. I'm still undecided whether or not I'll go back to aerosol coating it with a uniform finish, or just buy some stretchy upholstery and try and form it over the top (will require 10x less prep). Any input is very welcome, I'm basically making this up as I go along.
I've been going back and forth on this for my dash. If you want to cover it without any stitching, the vinyl will have to be VERY stretchy to make it conform to the dash/instrument binnacle transition. If you find a good material, please post exactly what you used.
Years ago I took one of my dashes and filled the cracks with bondo, ... but the cracks came back fairly soon (bondo isnt strongly bonded to the foam i suppose).
I think you could use car wrap vinyl on it , you can find it in leather look now .
Just prepare the surface really good so it will stick to it and use a heat gun to form it.
It wont be easy but i think it can be done.
Just an idea......
Look, a vinyl wrap your dashboard video.
He's wrapping the dash of a late 944. https://www.youtube.com/watch?v=ANE0dueAXSI#t=43
I am stoked to give this a try :-)
My early 944 dash may be a little tricky but I'm game.
Last edited by joeystanker; 01-23-2015 at 08:30 AM.
Also...
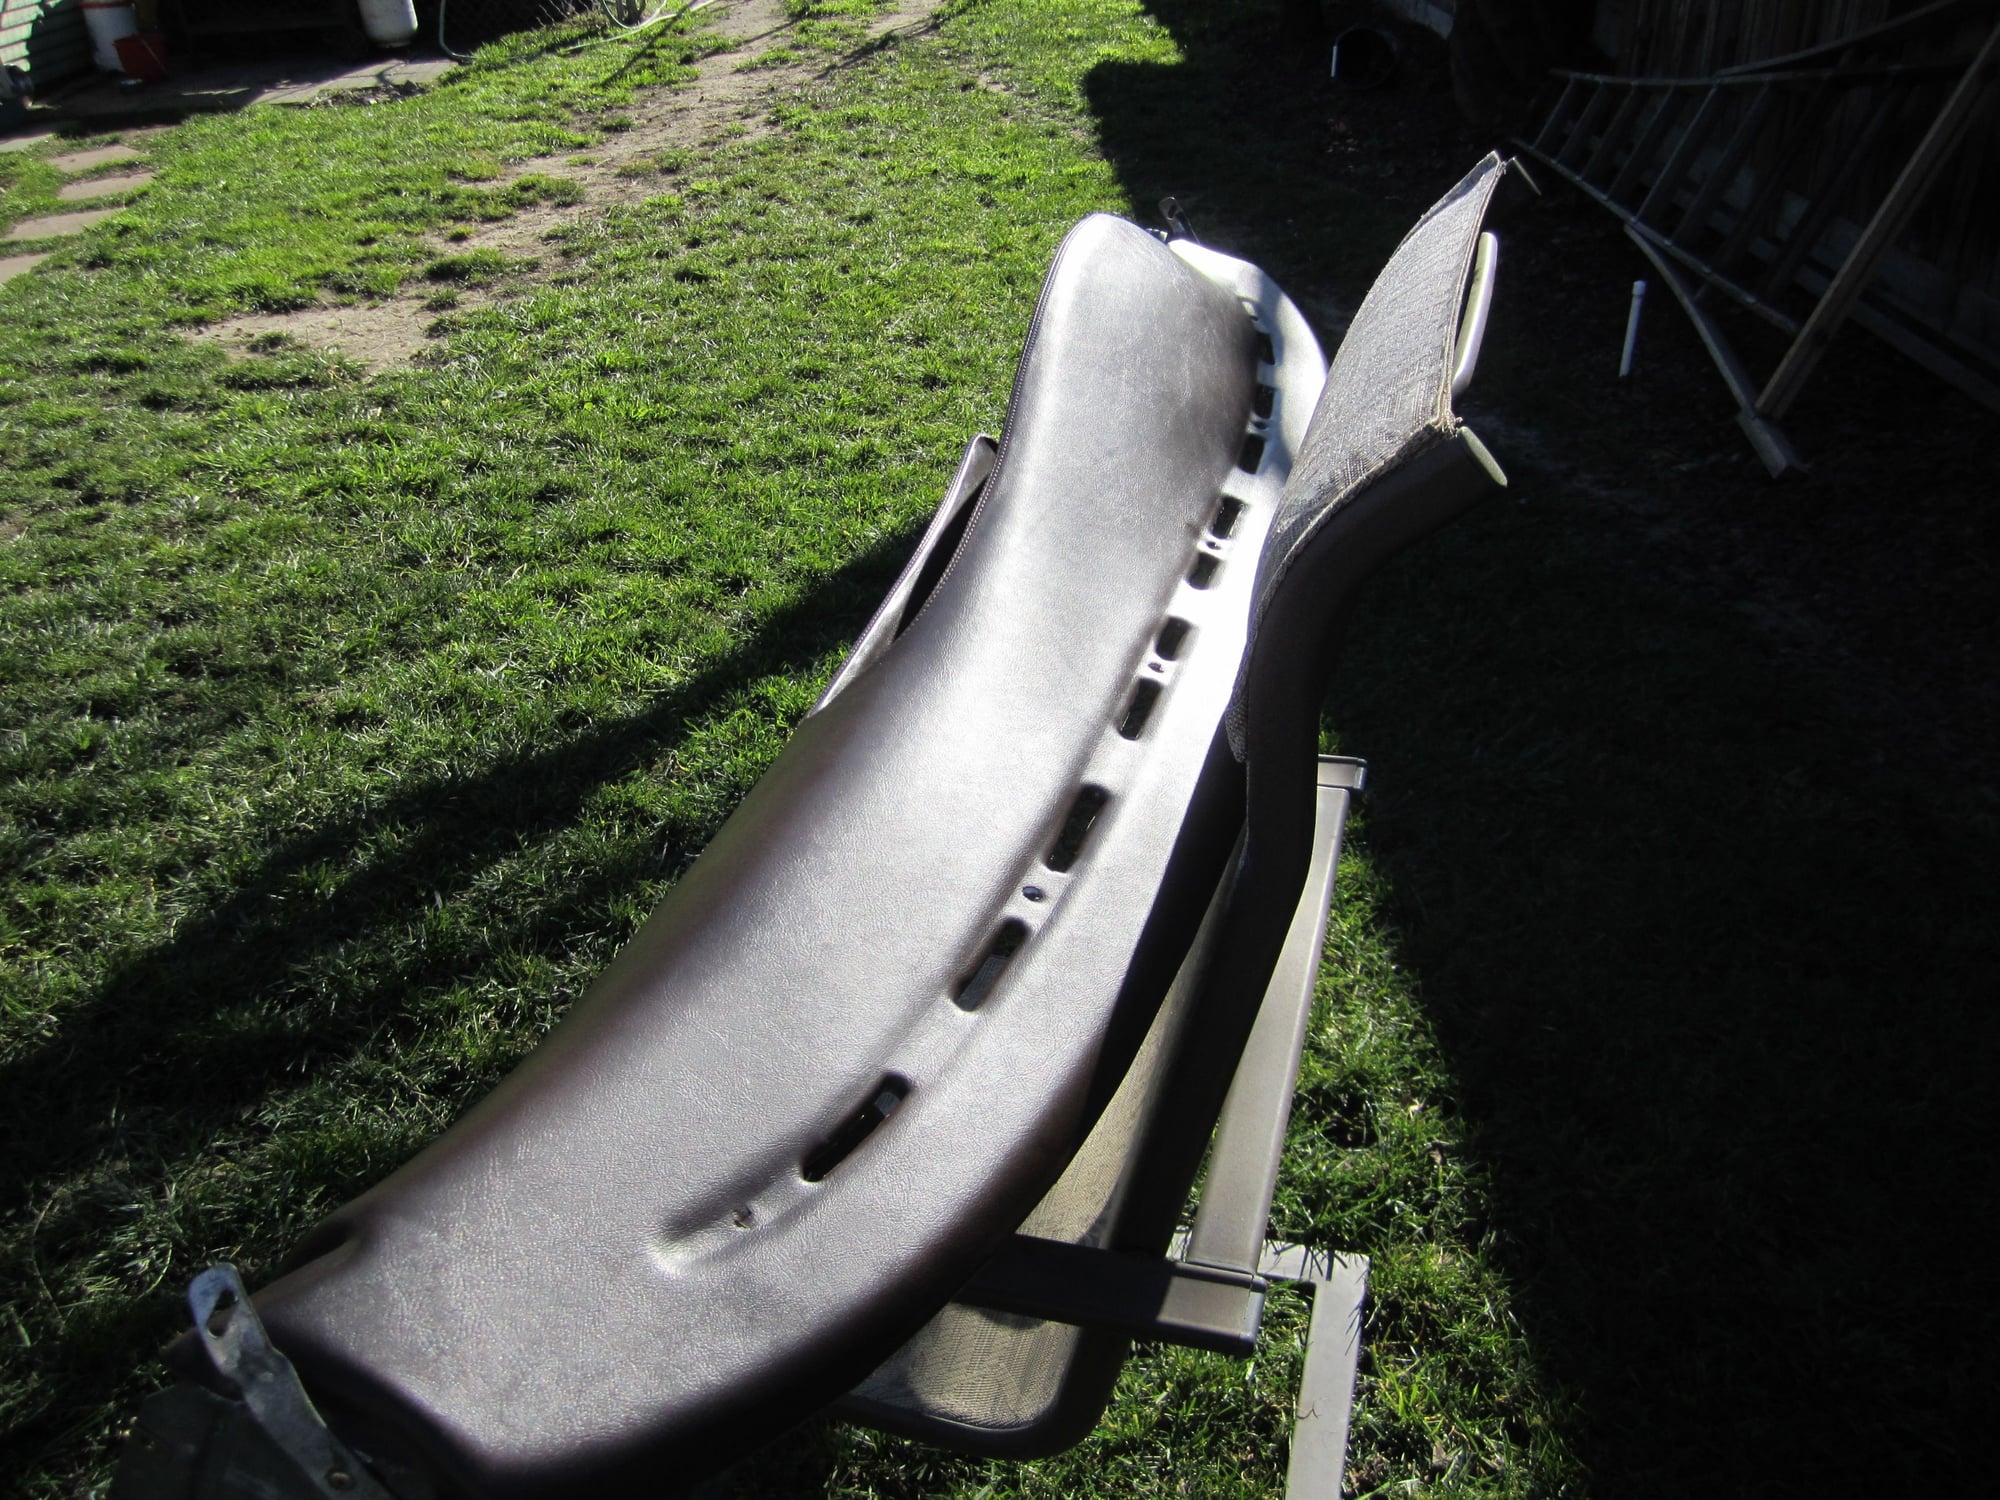
After seeing how the center speaker cavity is blocking air flow from the Heater...
I'm going to perform a MOD that removes the speaker cavity and gives the air flow space back to the air duct.
I'm curious as to how well the center speaker hole fill-in holds up. That's a big area, and with thermal expansion/contraction etc of the two materials, only time will tell!
On page 2, I had some bad results with it, and I abandoned the idea. I think someone with more experience than me could easily pull it off, though.
Originally Posted by joeystanker
Also...
After seeing how the center speaker cavity is blocking air flow from the Heater...
I'm going to perform a MOD that removes the speaker cavity and gives the air flow space back to the air duct.
Let us know how you end up doing it!
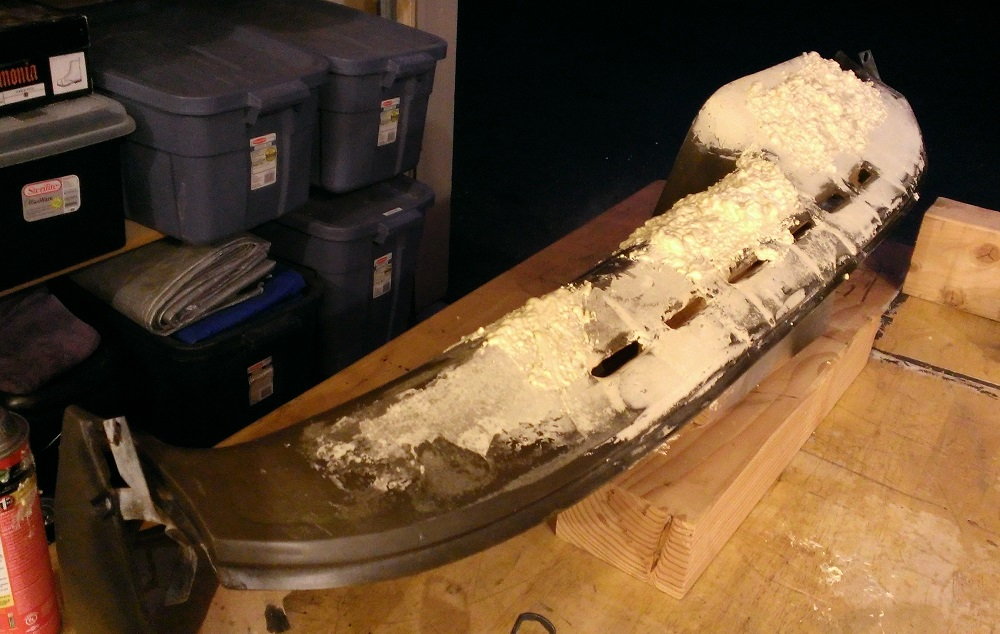
As for the dash I'm working on, fiberglass will be the next attempt. That should ensure that it will never bubble or warp again.
The plan is to sand down and apply a few more layers of foam to get things smooth and level.
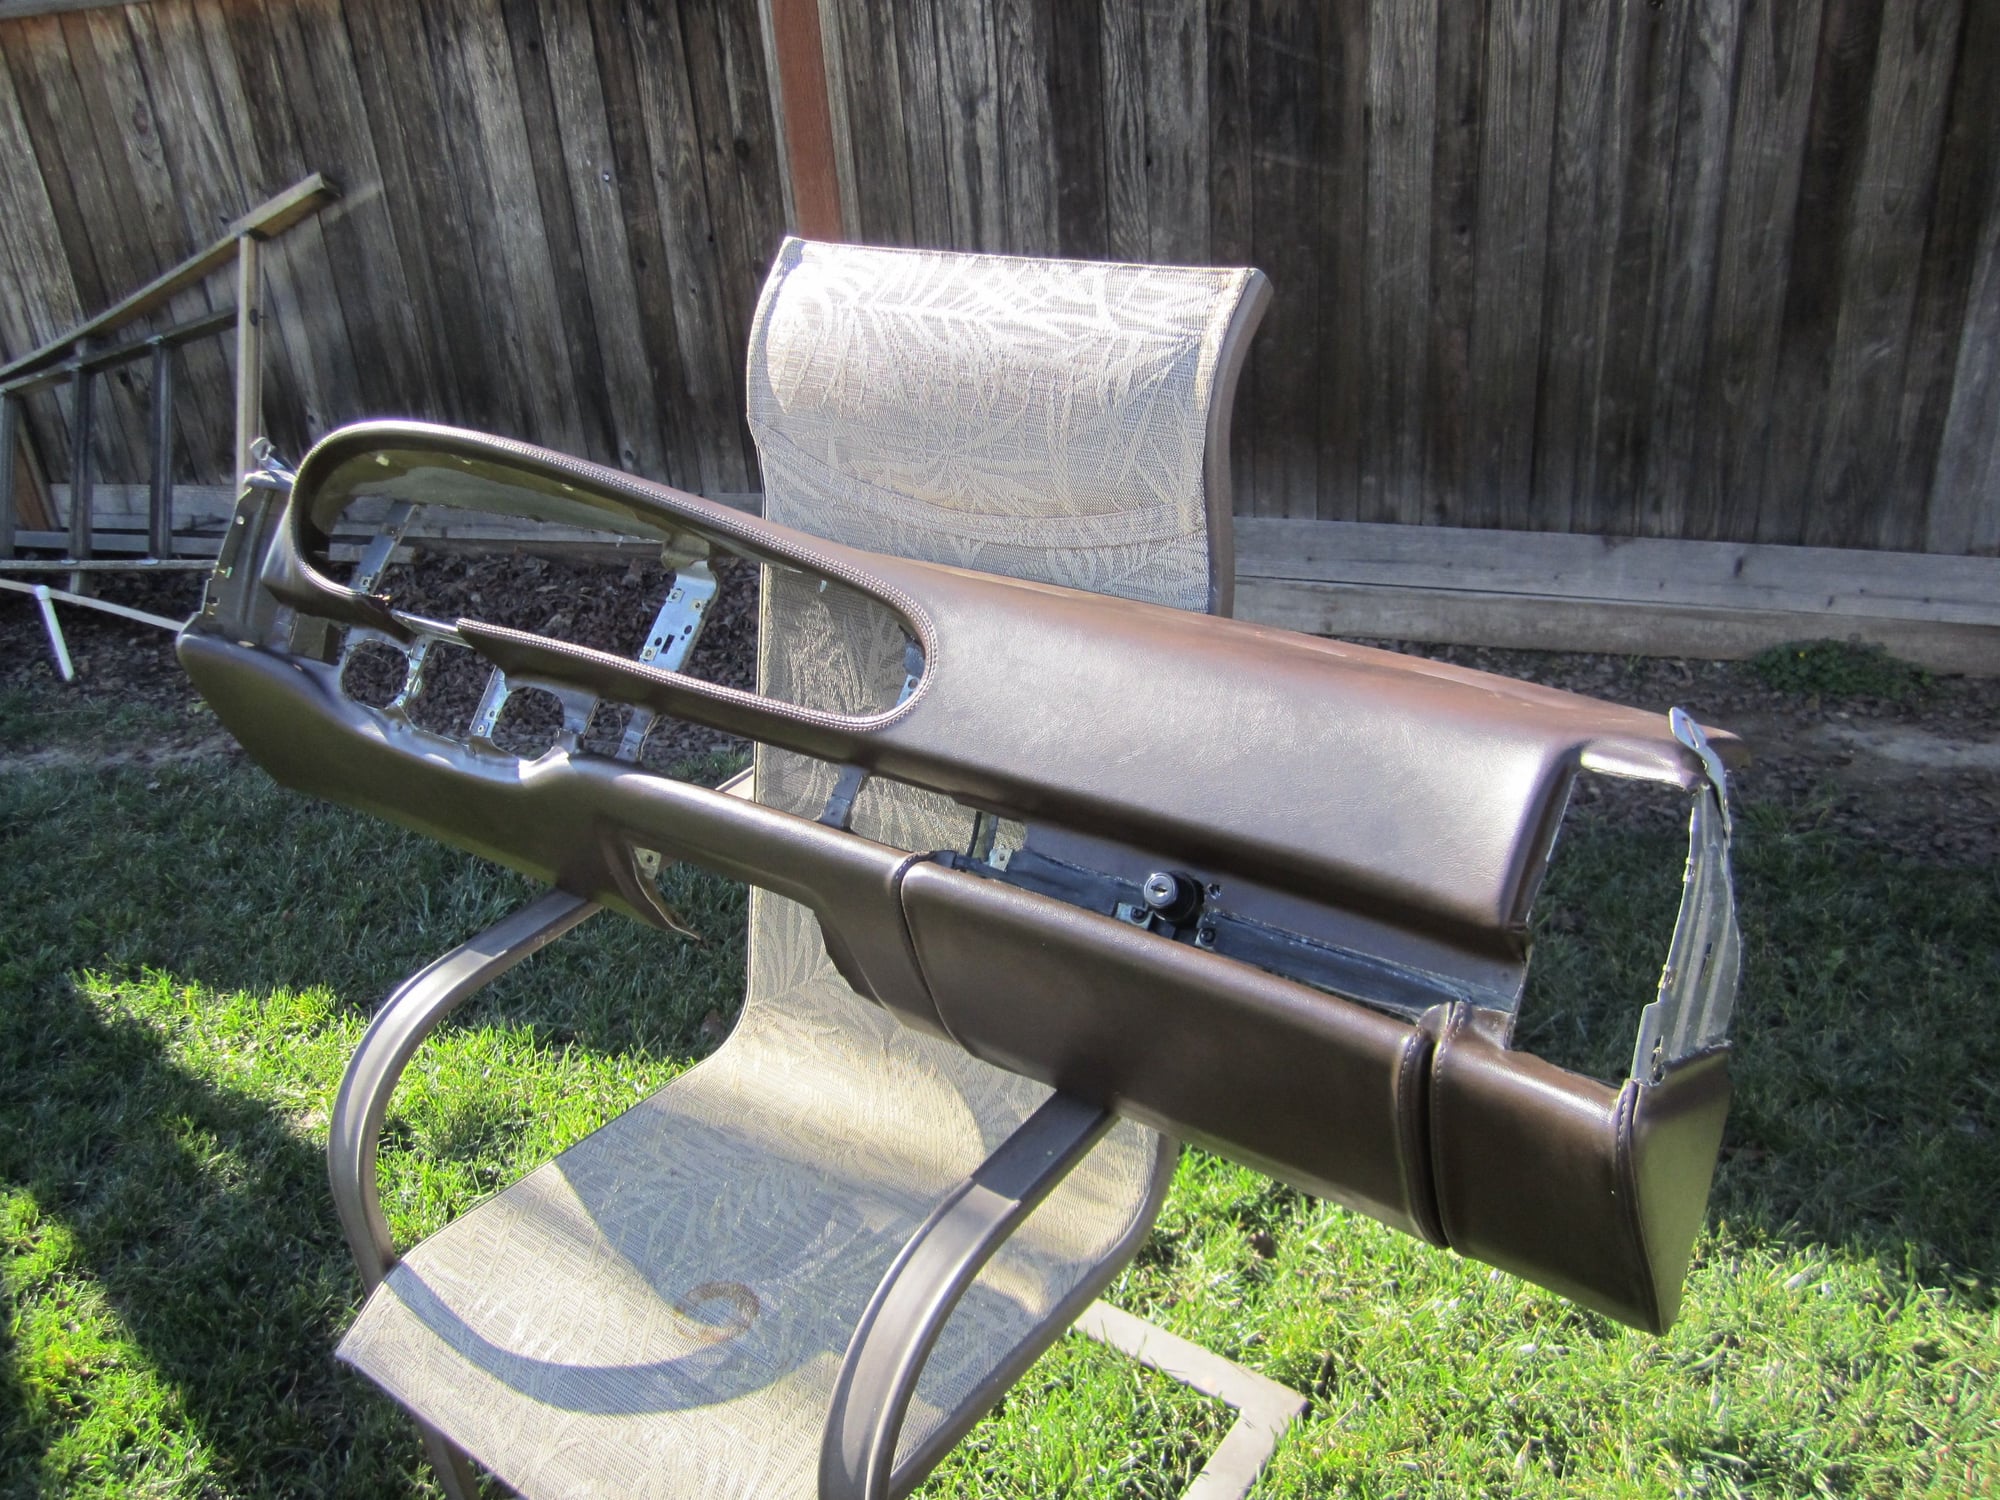
I then have vinyl fabric from Jo-ann Fabrics that I will be covering with and adhering with contact cement.
I'm curious as to how well the center speaker hole fill-in holds up. That's a big area, and with thermal expansion/contraction etc of the two materials, only time will tell!
This was my original post.... some bot copied and reposted it lol. LAME!
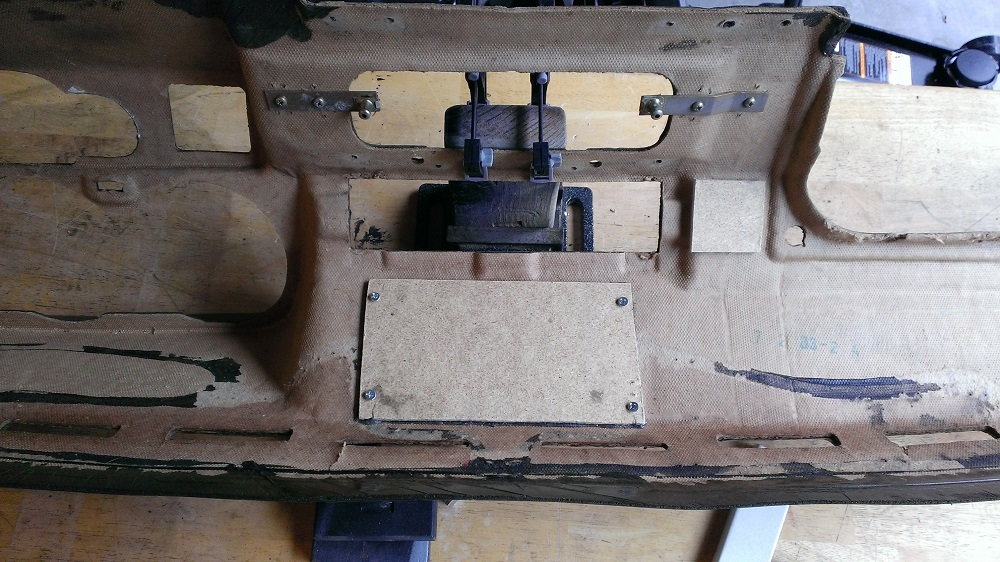
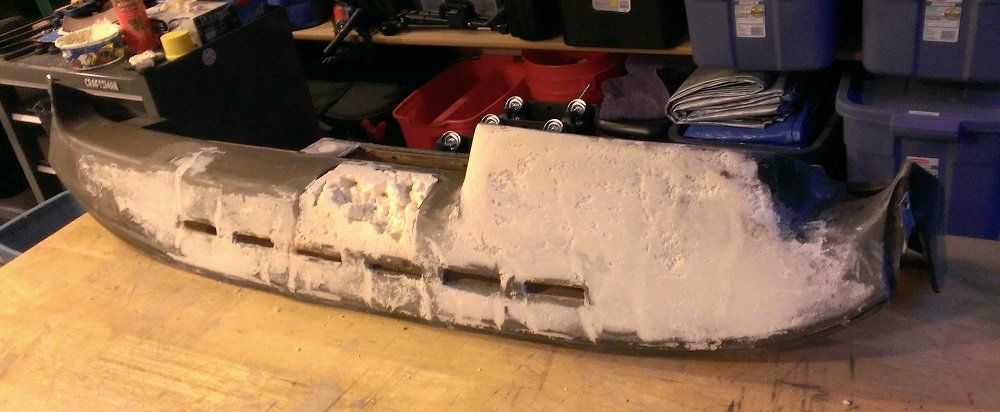
After seeing the duct work for the defroster vents, I decided to remove it and delete the speaker cavity and open up the air flow.
I cut a piece of hardboard to fit, set it in to place with a bead of black gasket goo, and set in some small screws for good measure.
I'm leaving the duct off until I am done making a mess sanding.
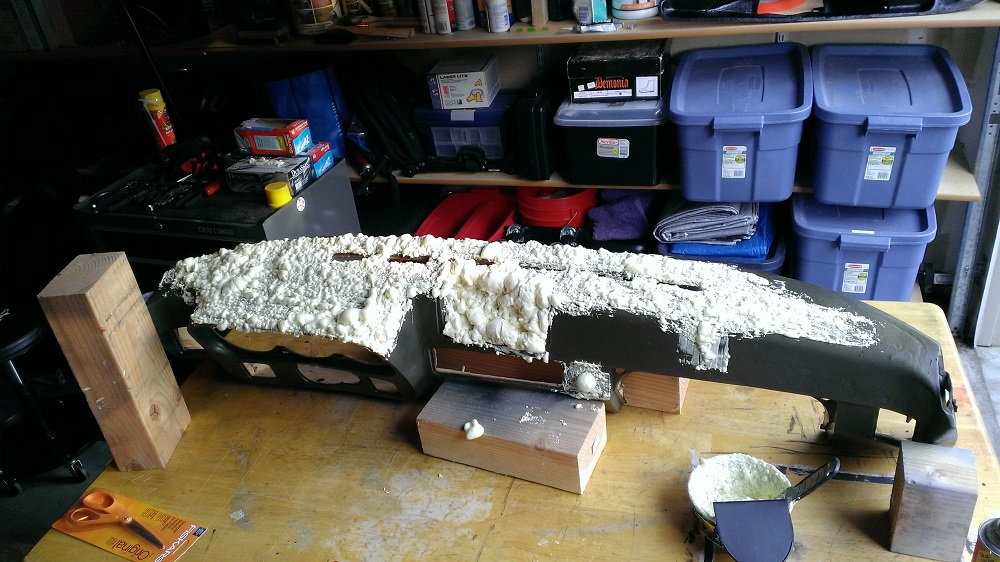
And then Foam-a-rama.
The DA Sander just showed up in the mail so I'll sand it down and fill in a little more with more foam.
I plan to cover with vinyl so I won't have to make it totally pit free.
 01-19-2015, 12:19 AM