
WTB: Rear Bumper Pads


 08-11-2014 | 07:43 PM
#5
Rennlist Member
Joined: Nov 2010
Posts: 2,572
Likes: 69
From: Vermilion Ohio
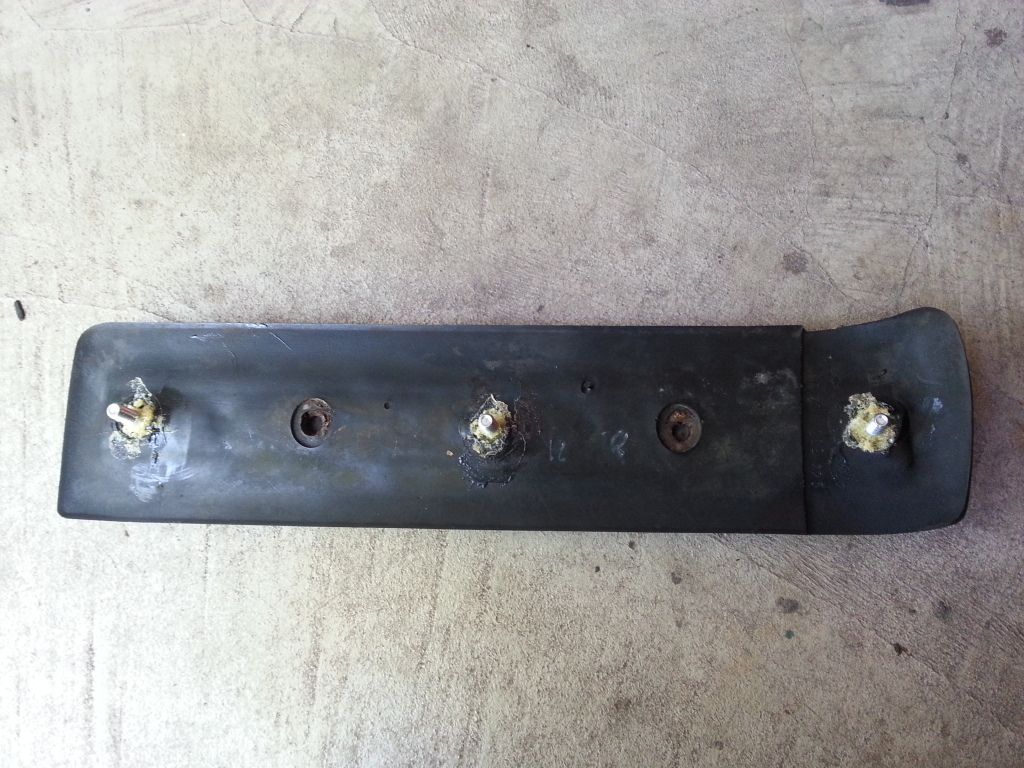
I didn't mention it because the method was kind of unconventional. It worked well though.
I first cleaned out the stud mounting area and then filled the mounting area with epoxy and then placed a large washer and bolt in the epoxy and then covered the bolt and washer with epoxy. Turns out that too much of the bumper pad material came out with each stud and the epoxy was thin covering the the bolt head and washer. I was concerned that the new "stud" would not be strong enough against any axial movement. I Thought about what I had in the garage that would be strong and be able to fill the area. I decided on Gorilla Glue because it was strong and I knew it would foam up and fill the area. So once it foamed up, I scraped the excess glue off ot the pad to ensure a snug fit:
I then removed the old studs from the bumper and cleaned the bumper's mounting surface:
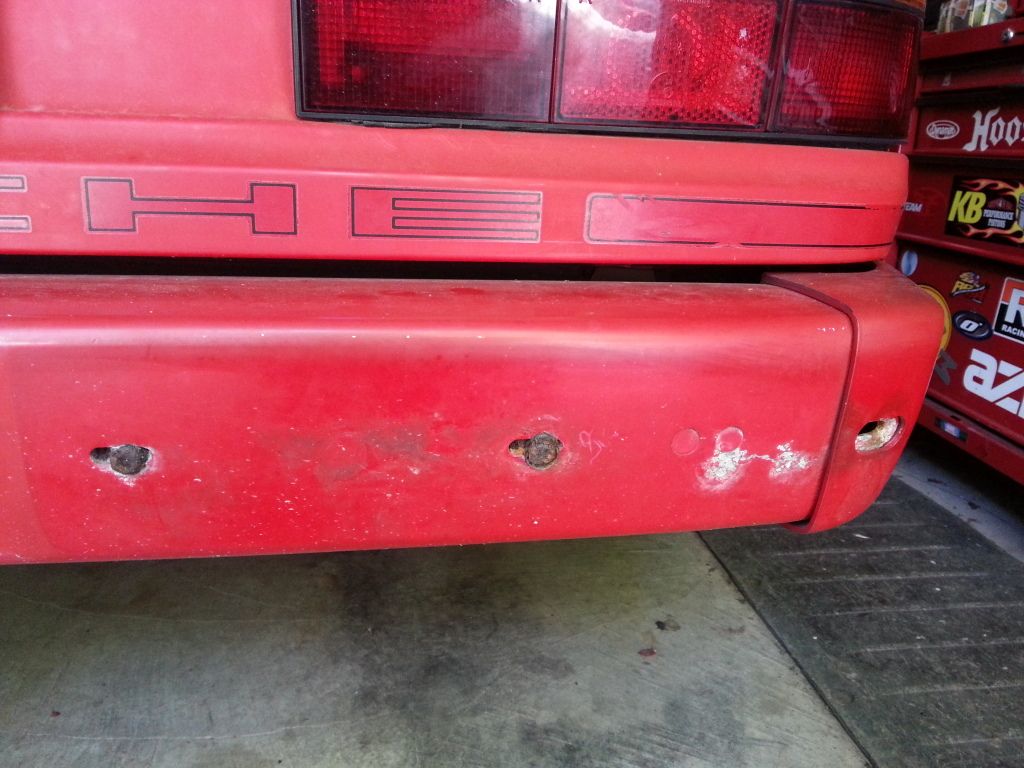
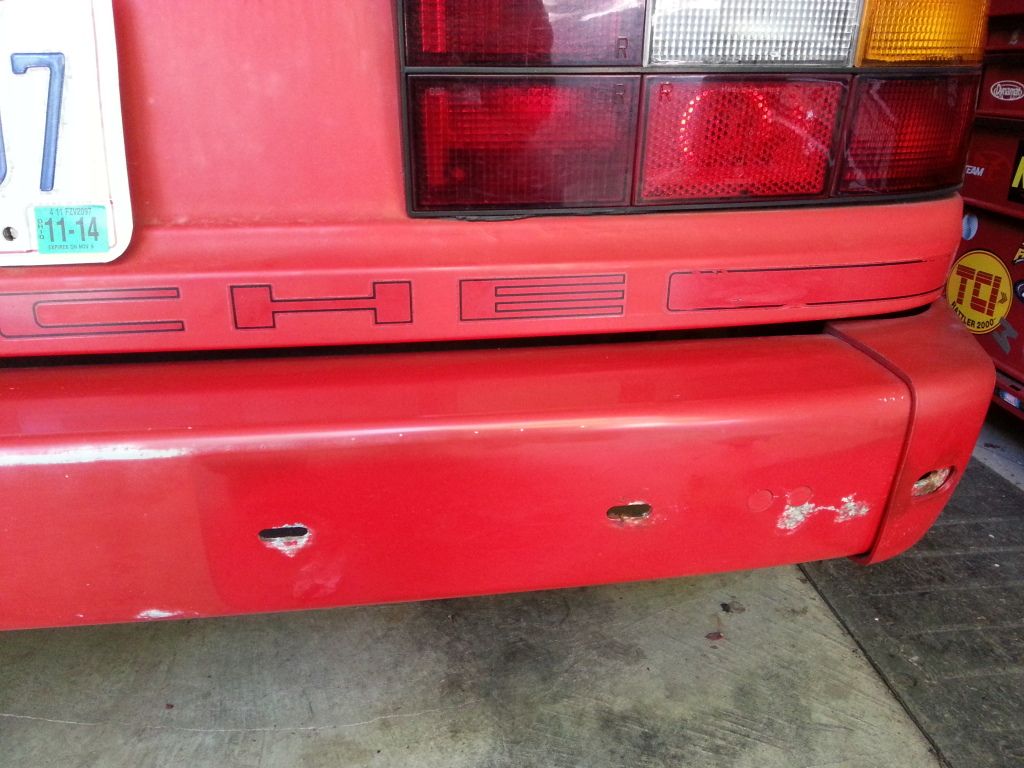
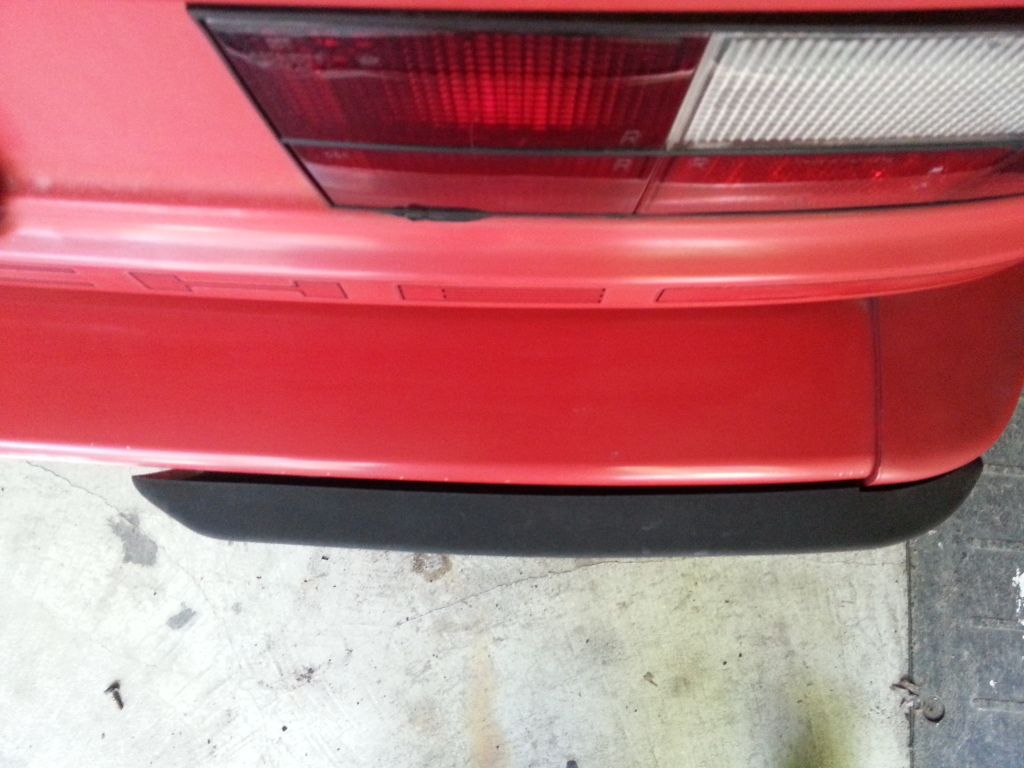
It worked well but the bumper pad did not fit flush because the metal support inside was rusted was starting to bow the pad material outwards
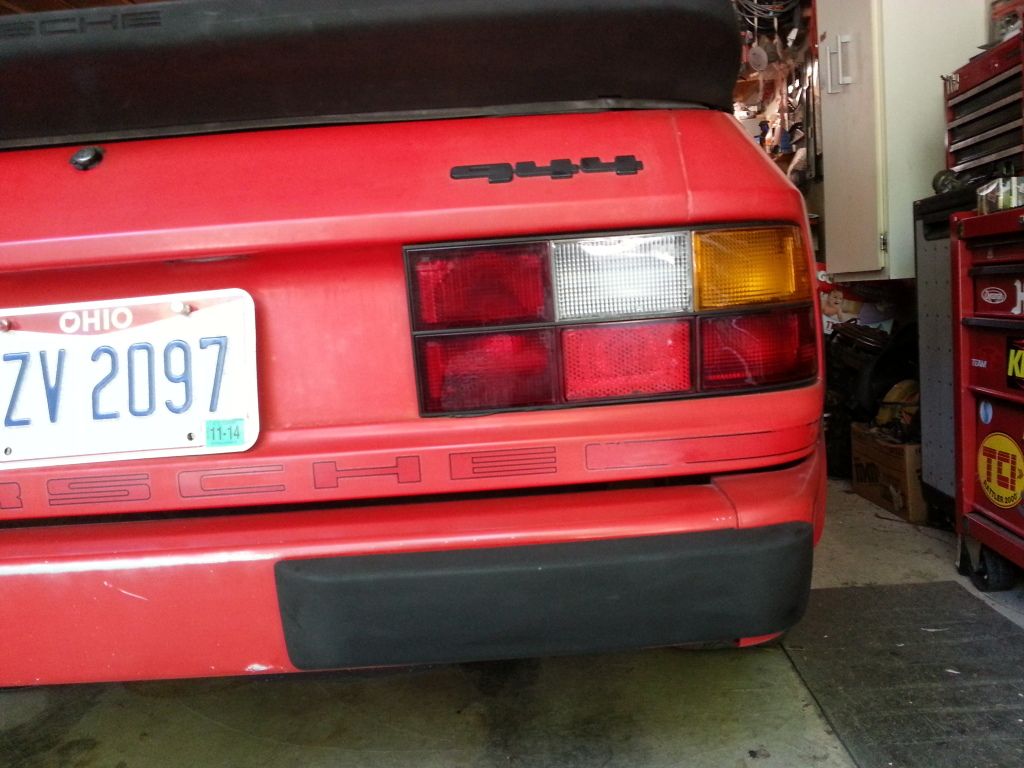
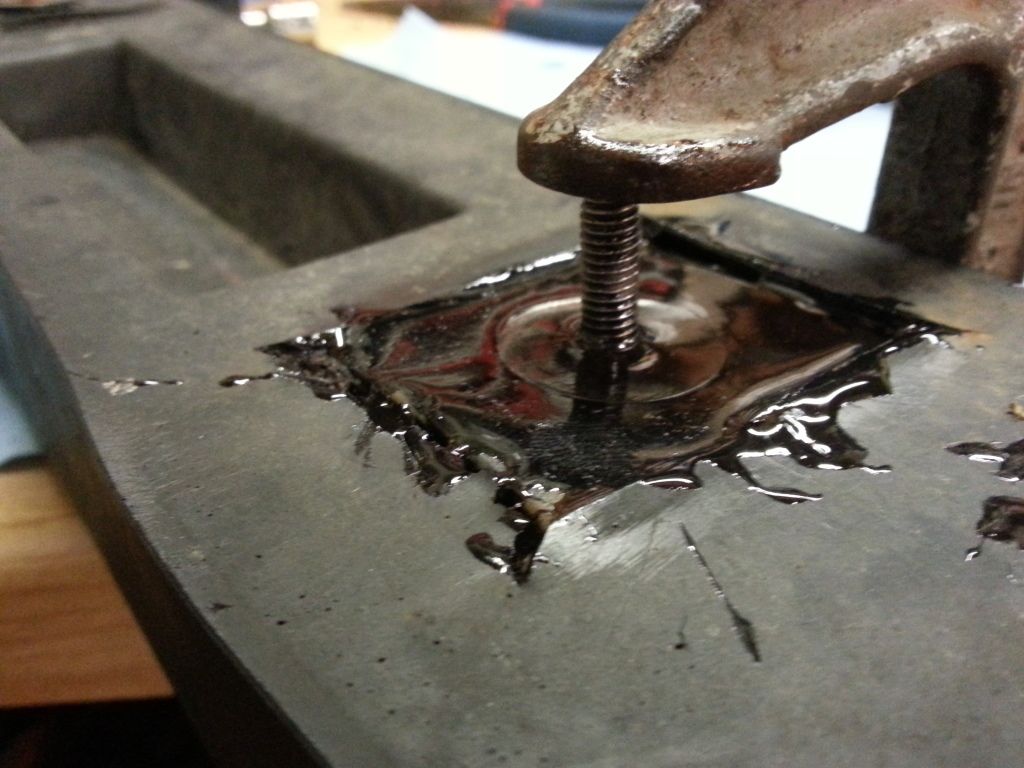
The front pad had a little more material to work with luckily. I only used epoxy after setting a bolt and washer in the recess. I then filled the complete area with epoxy and used a C clamp to hold the bolt in the center of the recess:
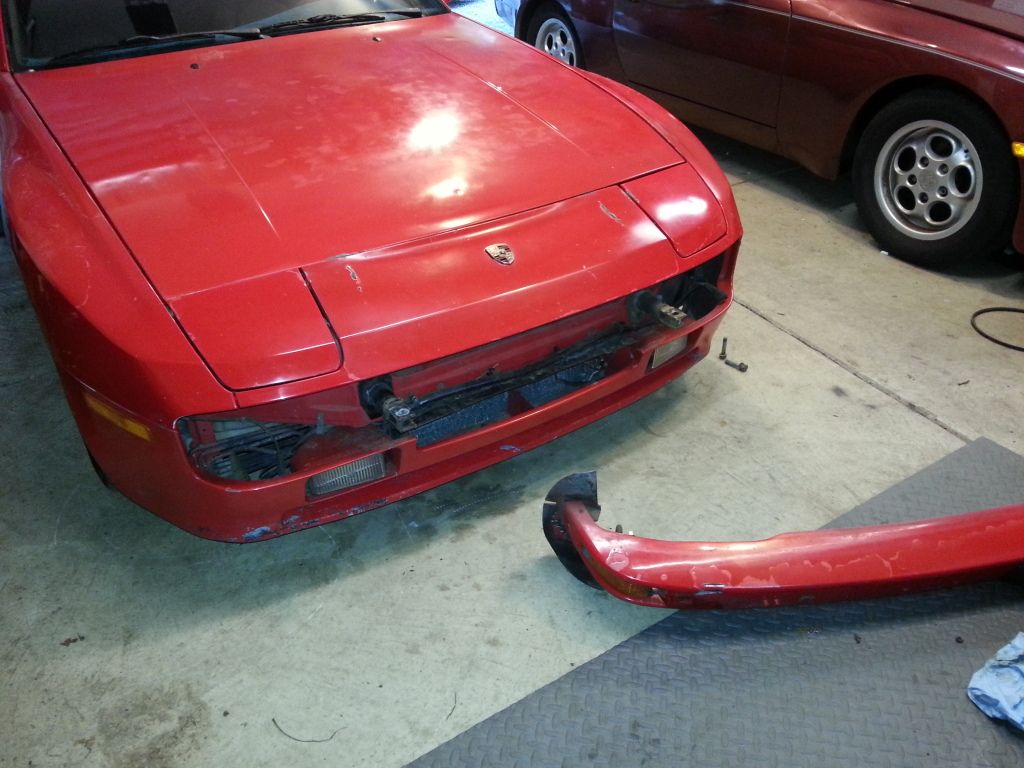
The front pad fit flush luckily. I also took extreme care to remove the nut from the one one good stud. I cleaned it up and greased it and assembly was a snap. The only difference was that the front bumper had to be removed to fully access the pad's stud while the rear pads were easily accessed by reaching behind the bumper.
I first cleaned out the stud mounting area and then filled the mounting area with epoxy and then placed a large washer and bolt in the epoxy and then covered the bolt and washer with epoxy. Turns out that too much of the bumper pad material came out with each stud and the epoxy was thin covering the the bolt head and washer. I was concerned that the new "stud" would not be strong enough against any axial movement. I Thought about what I had in the garage that would be strong and be able to fill the area. I decided on Gorilla Glue because it was strong and I knew it would foam up and fill the area. So once it foamed up, I scraped the excess glue off ot the pad to ensure a snug fit:

I then removed the old studs from the bumper and cleaned the bumper's mounting surface:


It worked well but the bumper pad did not fit flush because the metal support inside was rusted was starting to bow the pad material outwards


The front pad had a little more material to work with luckily. I only used epoxy after setting a bolt and washer in the recess. I then filled the complete area with epoxy and used a C clamp to hold the bolt in the center of the recess:

The front pad fit flush luckily. I also took extreme care to remove the nut from the one one good stud. I cleaned it up and greased it and assembly was a snap. The only difference was that the front bumper had to be removed to fully access the pad's stud while the rear pads were easily accessed by reaching behind the bumper.

