When you click on links to various merchants on this site and make a purchase, this can result in this site earning a commission. Affiliate programs and affiliations include, but are not limited to, the eBay Partner Network.
I just copied the modified bit idea from this or another thread - although I'm sure I would have figured that out too.
Sika recommends leaving the old urethane on a windshield - not sure how they'd feel about my 30 year old hatch with silicone contamination and knife marks throughout.
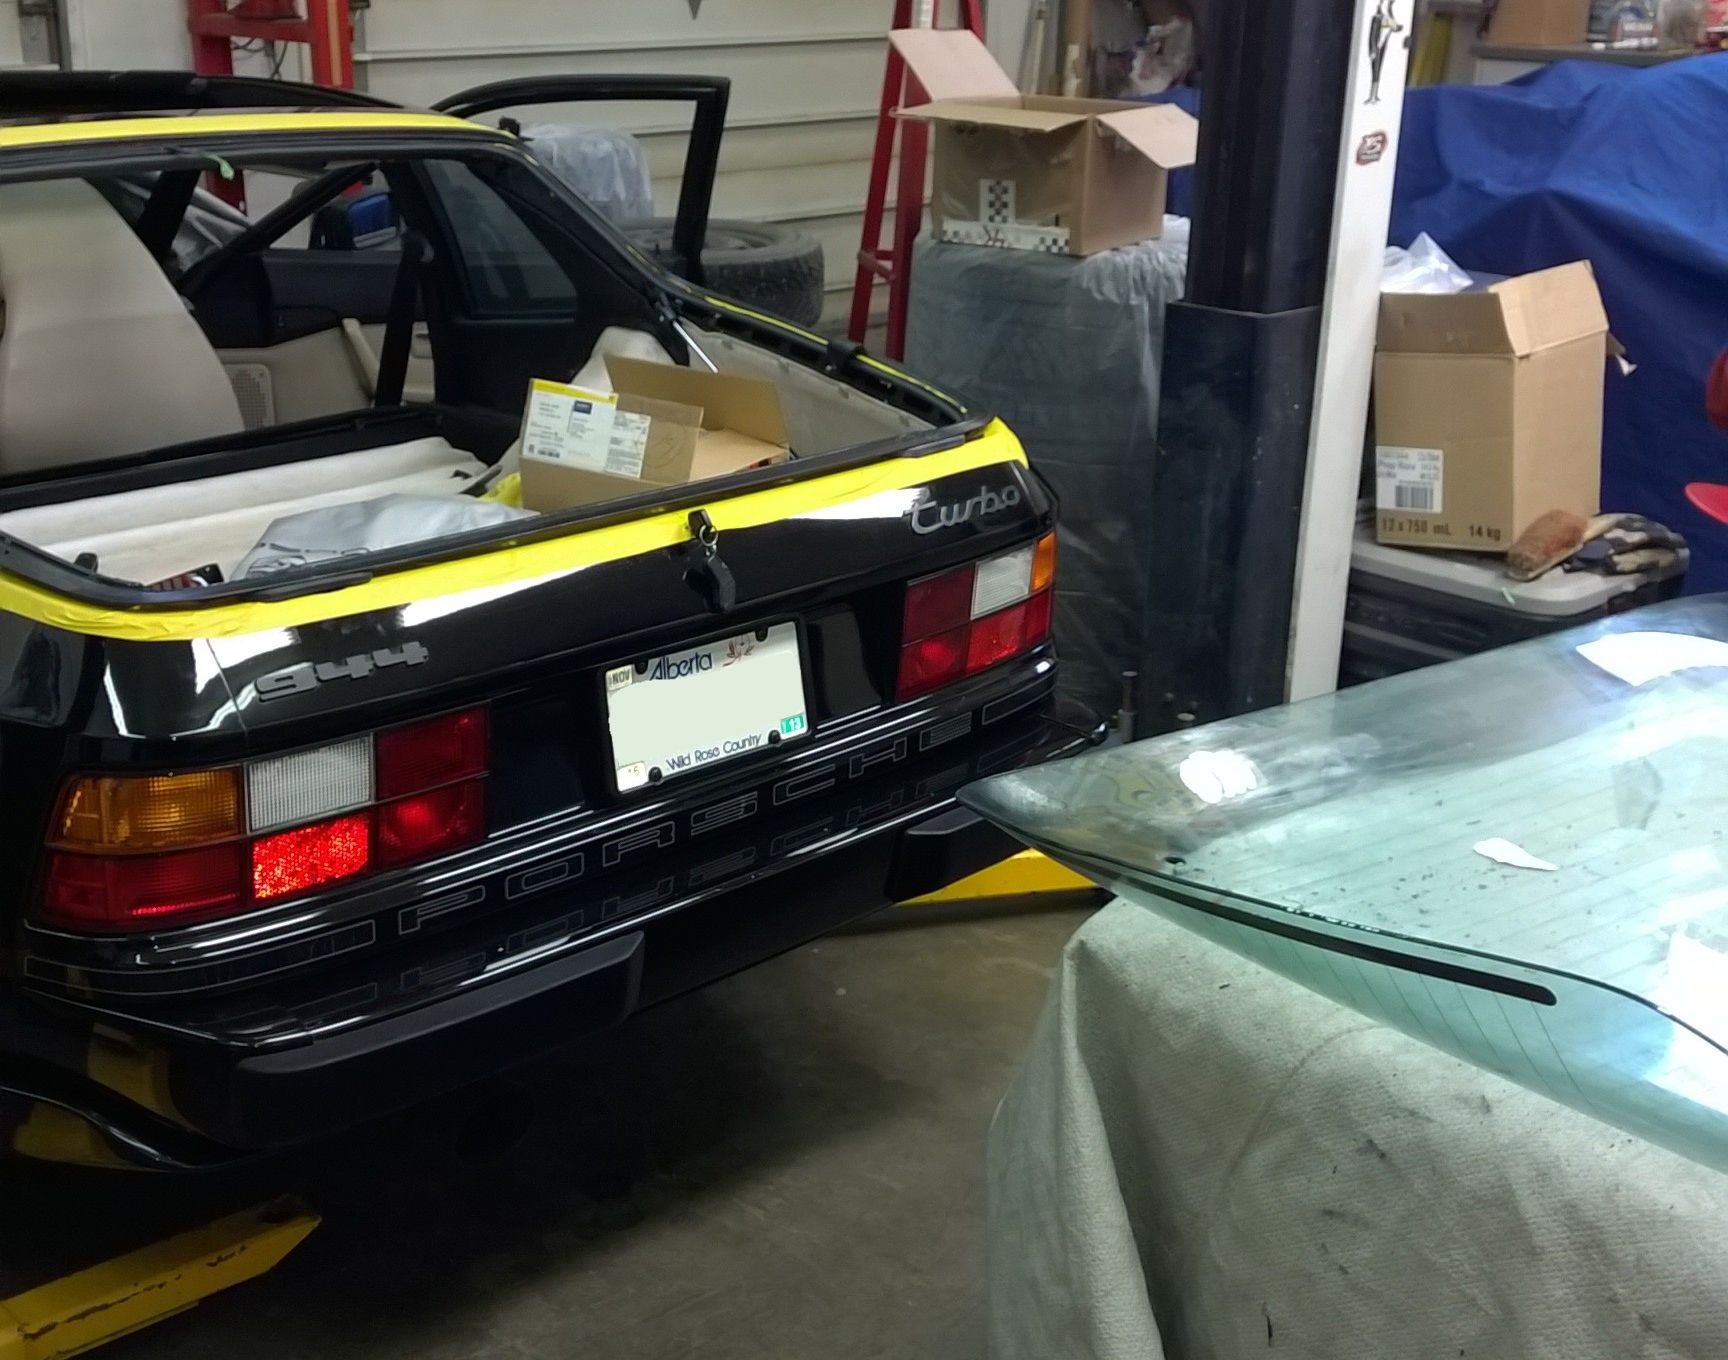
I put the hatch frame on the car today. Has anyone else tried this?
The seal that goes around the body really doesn't fit that well against the frame. I can move it around to get the top and sides to line up okay, but then the bottom near the latches doesn't look like it'll seal at all. Also, the top corners don't have the same profile.
I don't think my frame is warped either, because the glass fits pretty well within it.
I'm now having doubts about sealing the glass with the frame on the car - I think I want to attempt this off the car.
maybe try putting the glass on the frame (dry fit), maybe the weight of the glass will close the gaps. Does the seal on the car seal against the glass or frame? If the glass wouldn't you need to remove it so it doesn't push the glass off the frame?
I adjusted the hinges the maximum amount towards the front of the car, used brute force to 'massage' portions of the frame (up/down), and then adjusted the pinch-weld outward in areas so the body seal would fit the frame better.
Aside from a right latch that needs replacing, I think I have a pretty good seal now. Even without the weight of the glass and wing, a sheet of paper is pretty snug all around.
Tomorrow I plan to install the glass onto the frame with frame installed in car. Now that everything is dialed in, I can't imagine doing it off the car.
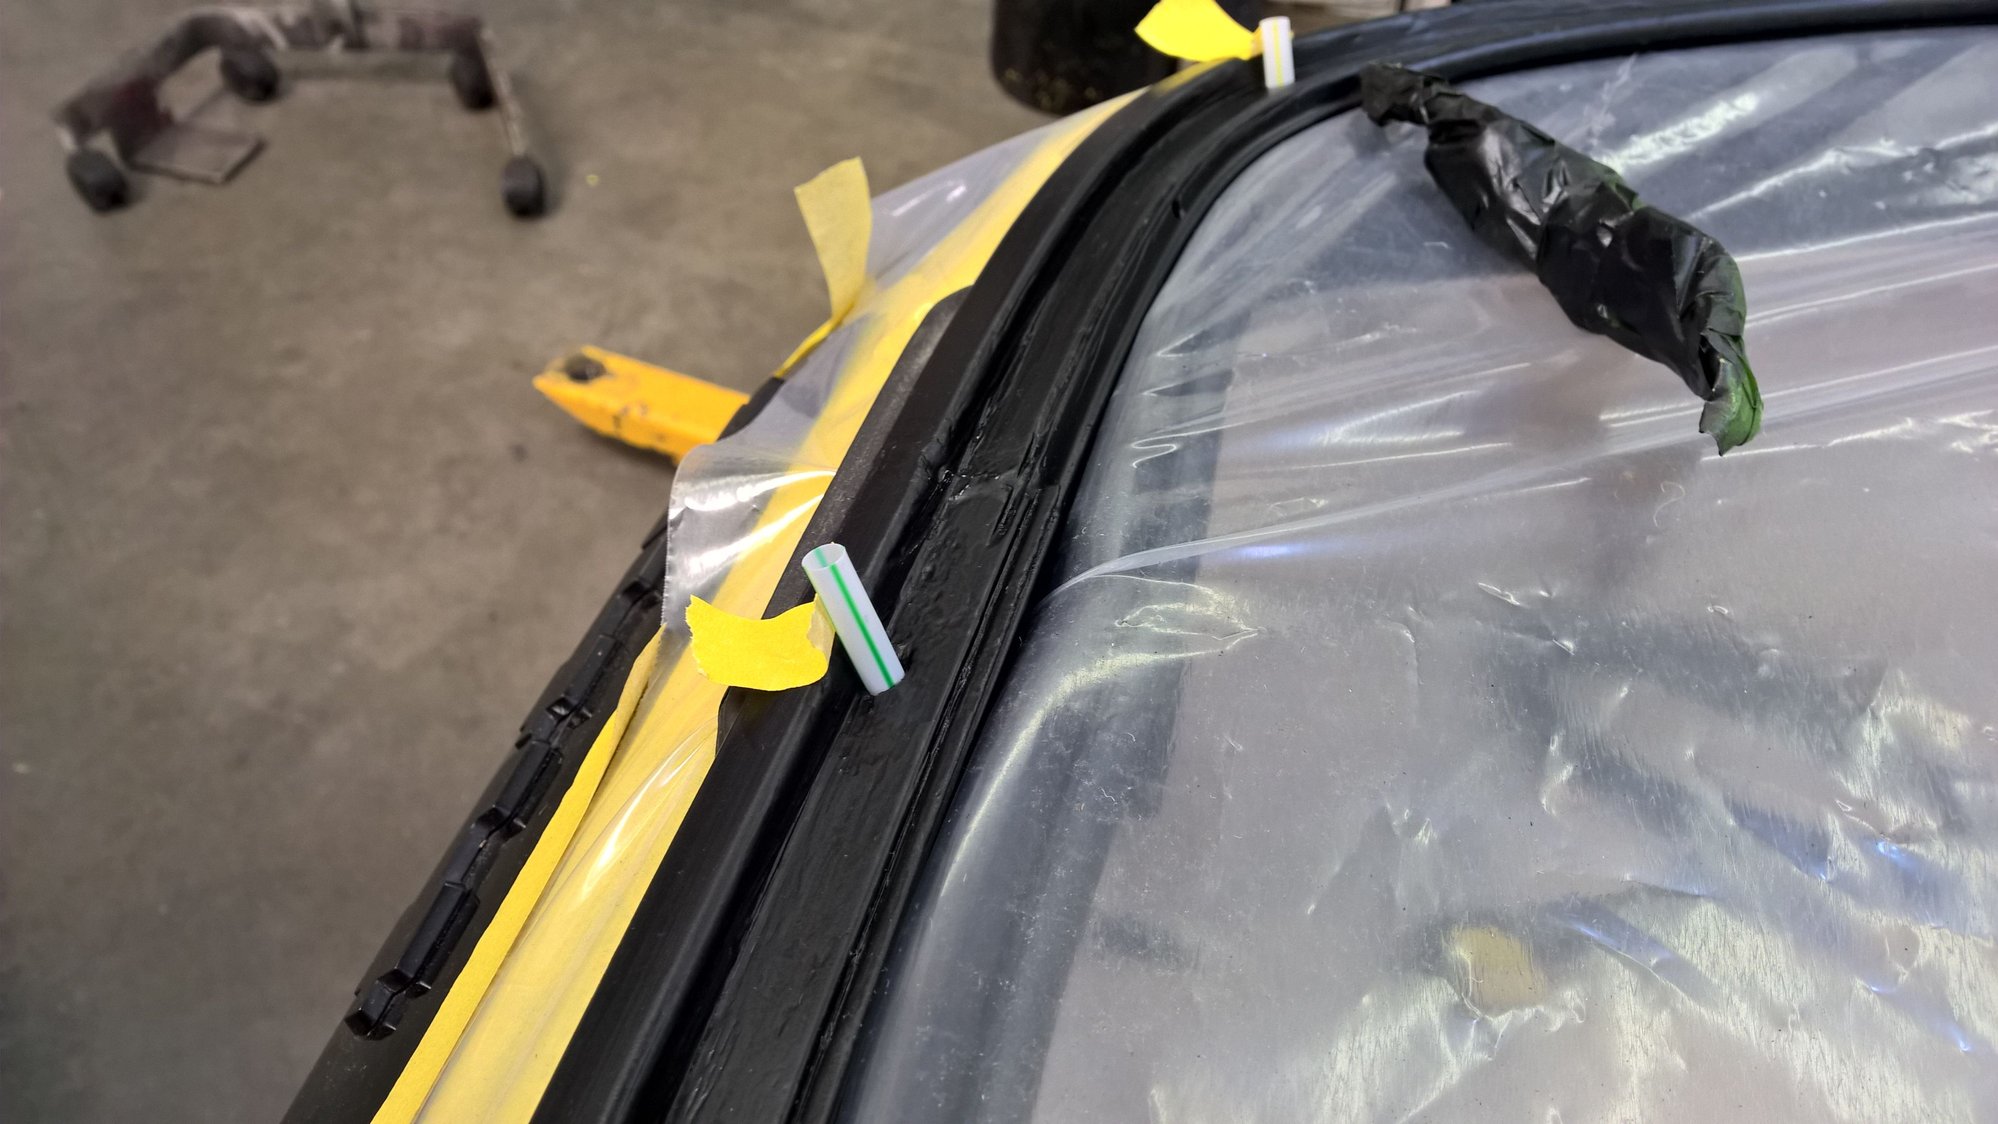
OK, I finally fixed the screwed up latch pin block hole in the frame (filled with Marine Tex and drilled/tapped) and got the frame fitted on the car. It looks OK for the most part. The only places that the seal seems to be not perfectly up against the frame is down by the latch pin areas (and I think this is normal...) and in the top two corners. There's a tiny, tiny gap on each side. I think this is due to the fact that I put a new seal on (the old one was torn up and permanently smooshed in odd places due to the warping of the frame), and I'm not sure I got it 100% snugged up to the pinchweld in the top corners. I can push in and it gives a bit. I think, though, that I'm going to call it good, and if I need to perhaps put a small strip of adhesive weatherstrip on the bottom face of the frame at those edges. About an inch on each side would be enough.
I dry fit the glass and it seemed to fit OK. One thing I noticed is that there is really very little contact area with the frame along the bottom lip. In order to clear the screw holes for the wing, the glass needs to be pushed up all the way to the top, and there's probably only 1/4" of actual metal underneath the glass there. The stock hatch has a lot of urethane there, but it seems like it's just gapfiller between the bottom edge of the glass and the edge of the frame. The top and side edges will bear most of the down/back shear loads.
@Spacedoc - Sounds like you and I ended up with a similar seal. I have a bit of a gap top two corners and around the hinges, which I hope is taken care of by the extra rubbers parts there.
I have the Only944 hatch seal - I'm wondering if it's slightly undersized vs the OE part.
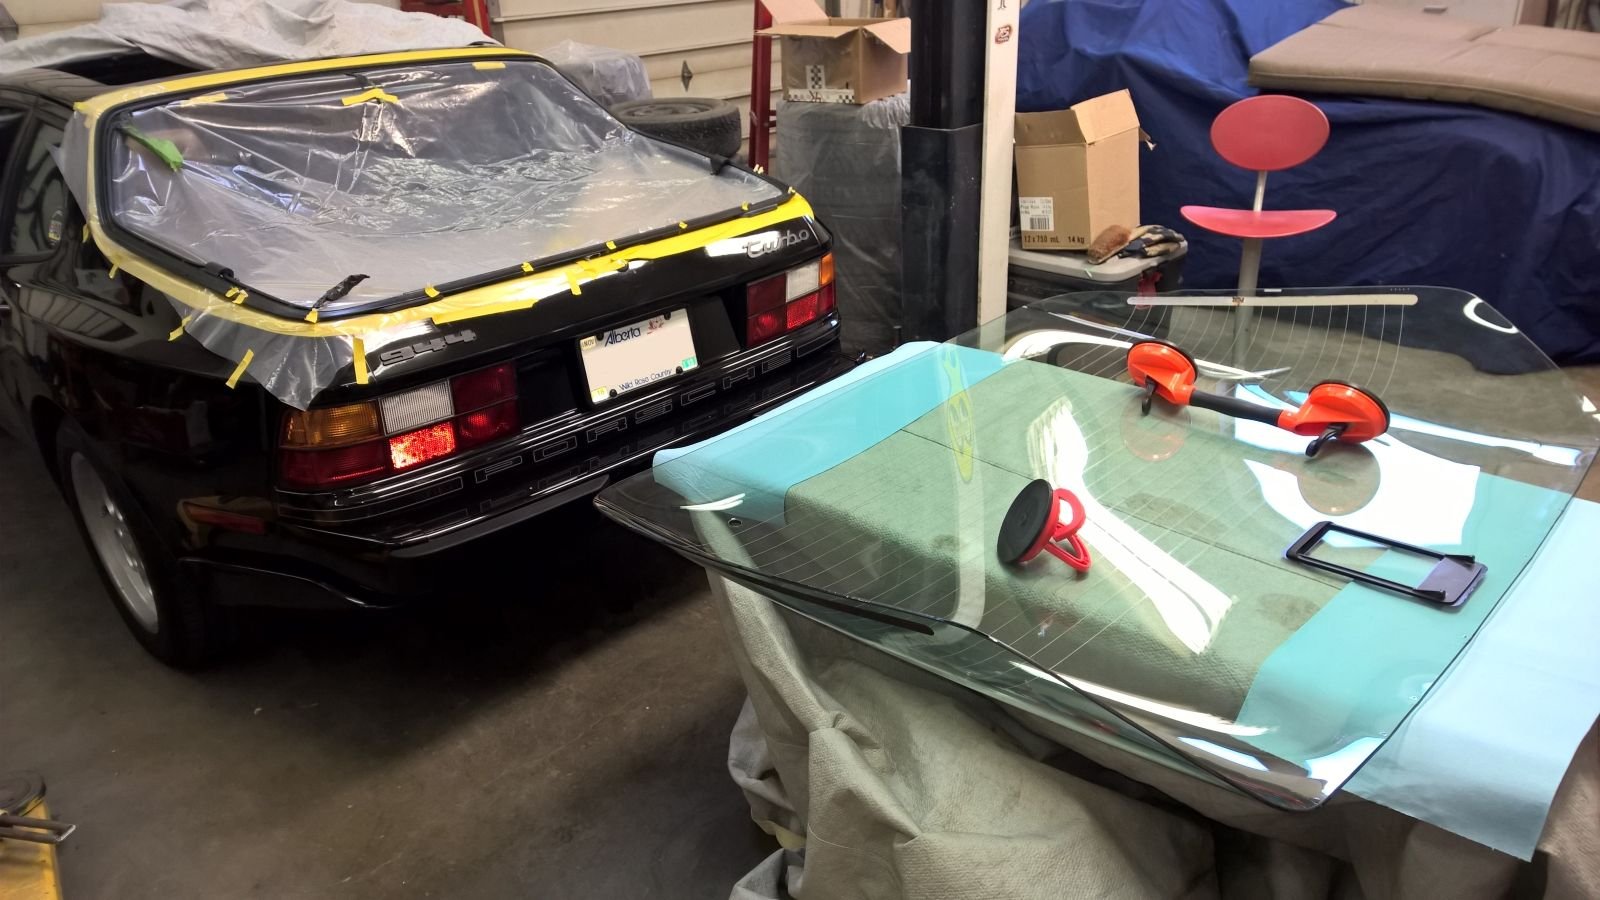
I was about to seal the glass today, but realized that I forgot to replace the top trim piece on the glass first. It was a real chore getting it off, and getting it back on seems to be twice as hard. I'm thinking about using pipe clamps to squeeze it into place. Tomorrow.
I bought the OEM seal, so I think it might just be the way it is...
I wasn't planning on putting the aluminum trim piece back on until after the glass is sealed. How can you put it back on before sealing? Doesn't it clip into the frame?
I wasn't planning on putting the aluminum trim piece back on until after the glass is sealed. How can you put it back on before sealing? Doesn't it clip into the frame?
On my car at least, the top metal trim piece clips around the glass (very very tight compression fit). I don't think I could possibly get it installed after the glass.
Good to hear things are going well.
My Sika 206 G+P came in today but the date on the bottle says it's expired so that has to go back.
I think putting the glass with the frame on is a smart move. Do you think the glass originally held the frame shape or do you think you may have inadvertently bent it out of shape taking off the glass?
I was contemplating putting the frame on the car with the shocks on to prestress the frame but I'm now thinking that may be unwise. Might bend the frame without the glass.
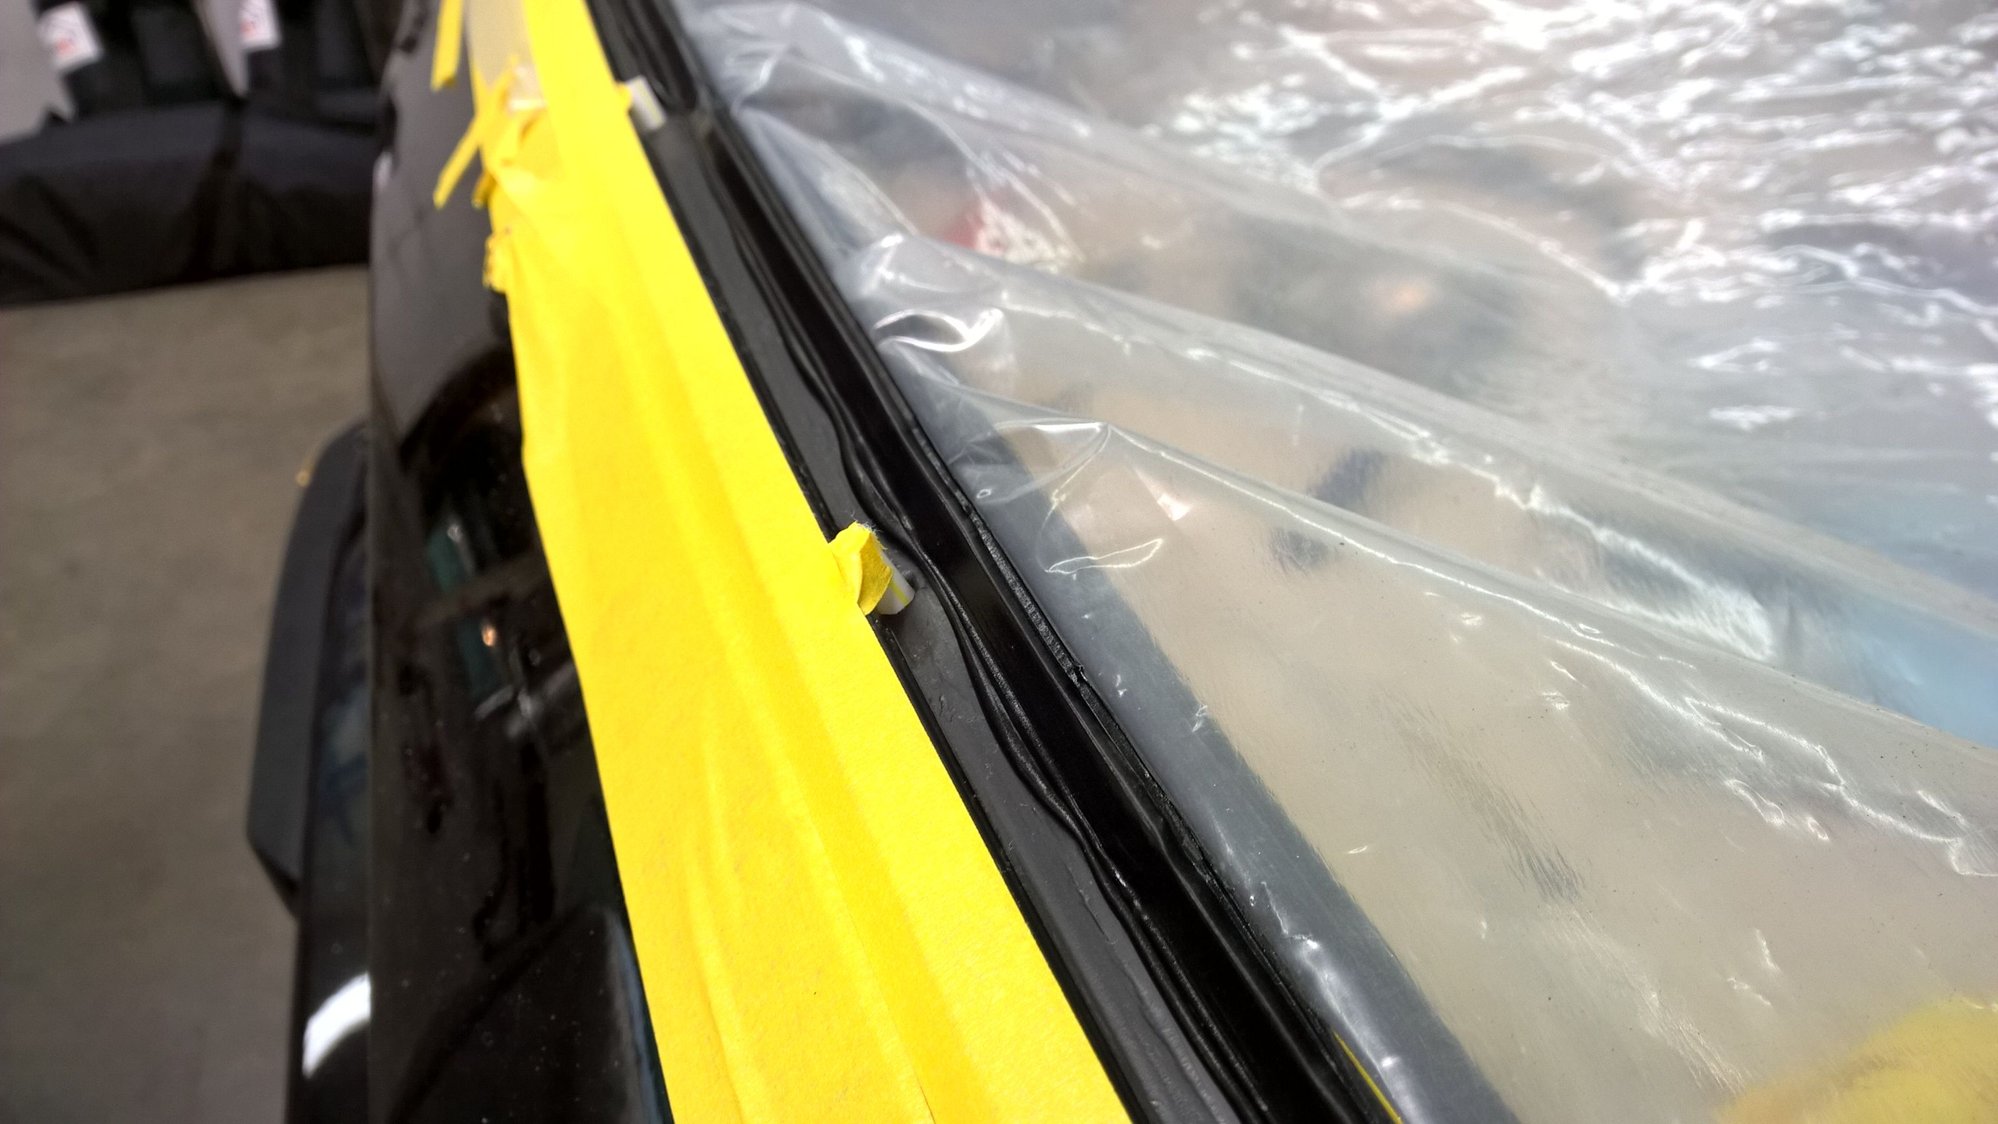
Sika nozzle. We used the original size, but if I were to do this again, I'd cut about 2mm away from the two sides and make it much bigger.
Triangular bead. Works AWESOME. Don't try a double bead though, it'll trap air.
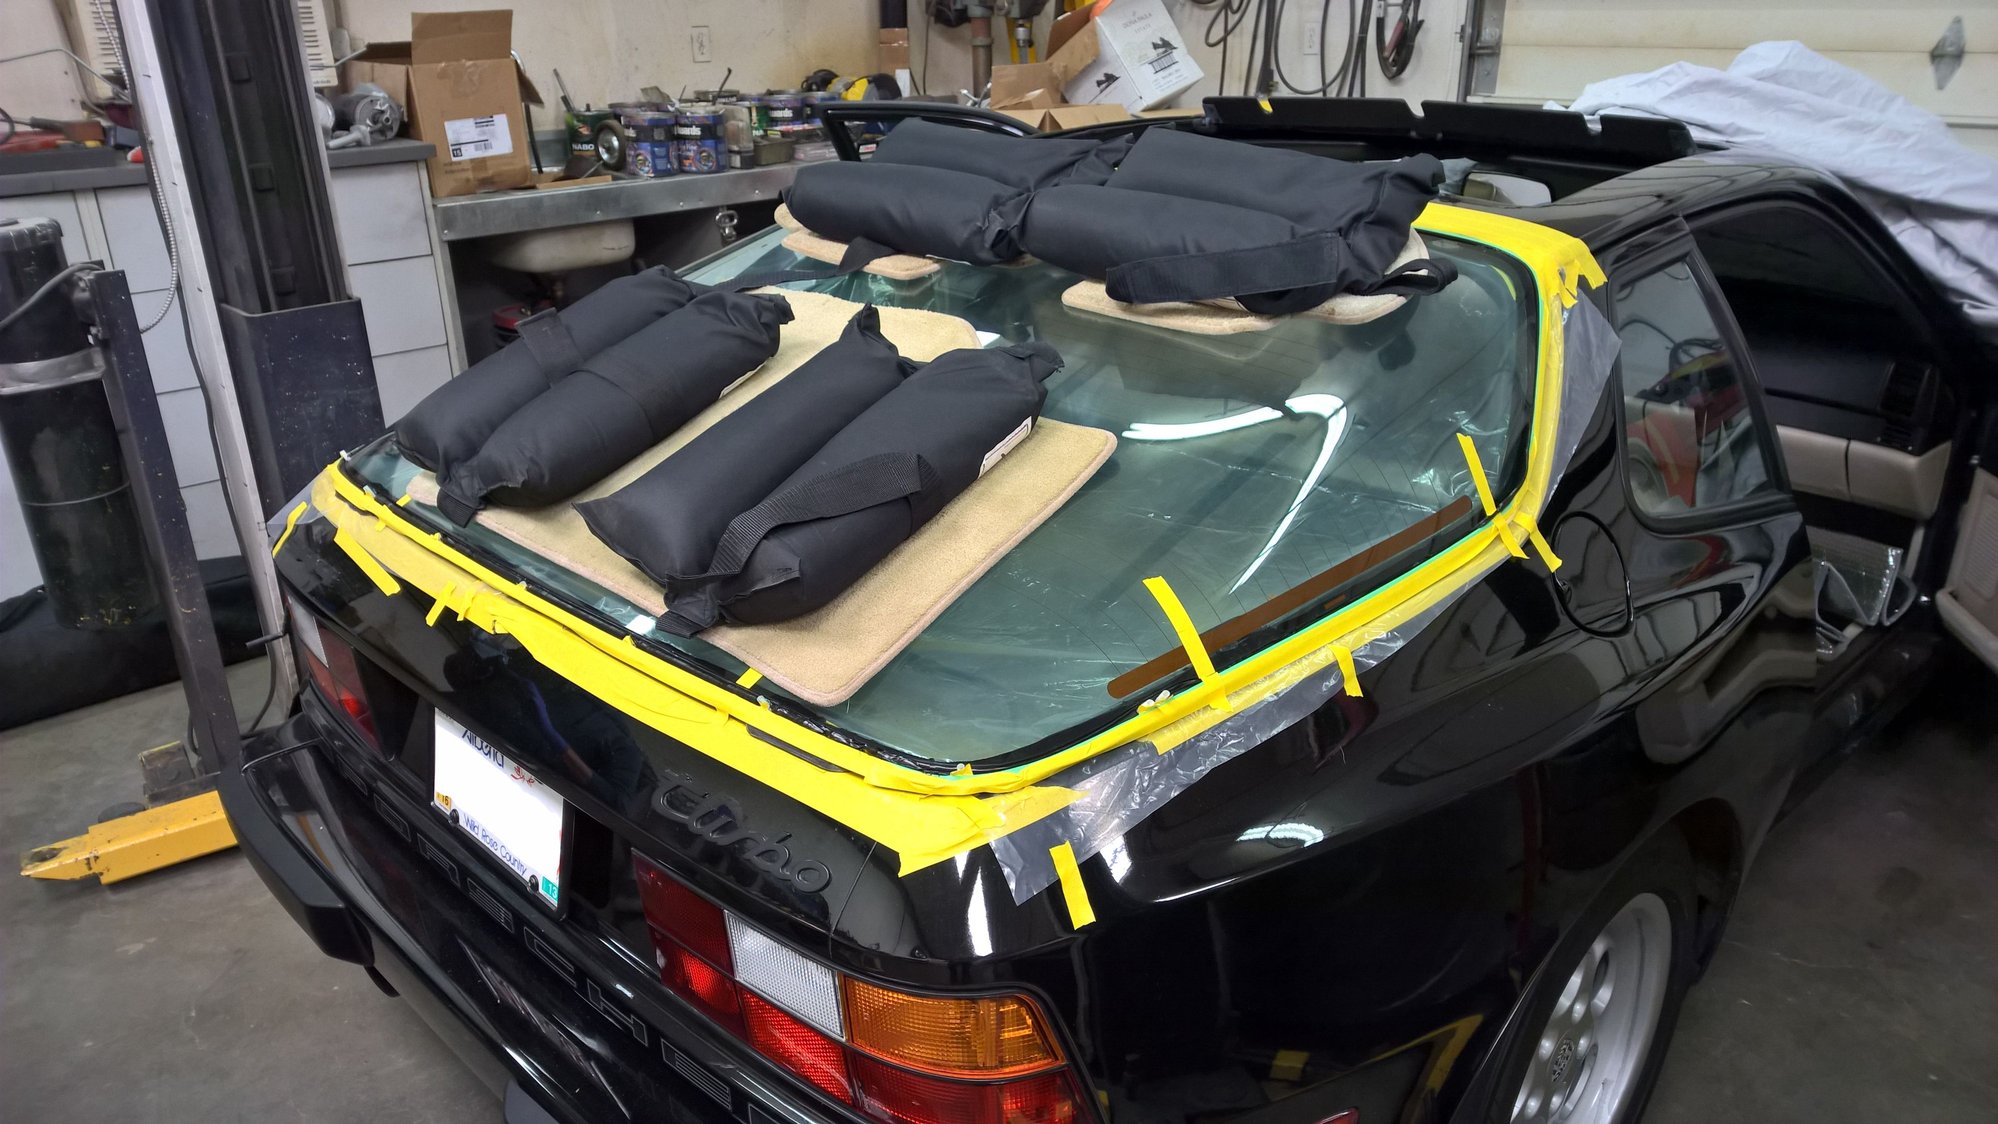
100 lbs of sand holding everything down.
Top seal near hinges. This was my #1 priority. One bead, glass as tight as possible to top. No gaps and a pretty decent appearance.
Overall I'm about 95% satisfied with how this has come out thus far. We had a bit of trouble maintaining a steady bead near the hydraulic attachment points.
We actually did a few dry runs and worked out all the details before opening the sealant. Worked out how we'd hold the glass, how it would get maneuvered into place, what the next step would be, etc, etc. Didn't run into any snags.
I originally imaged it would be best to put the adhesive on the glass, then install the glass, but physically it would have been very difficult to handle the glass without getting the stuff everywhere.
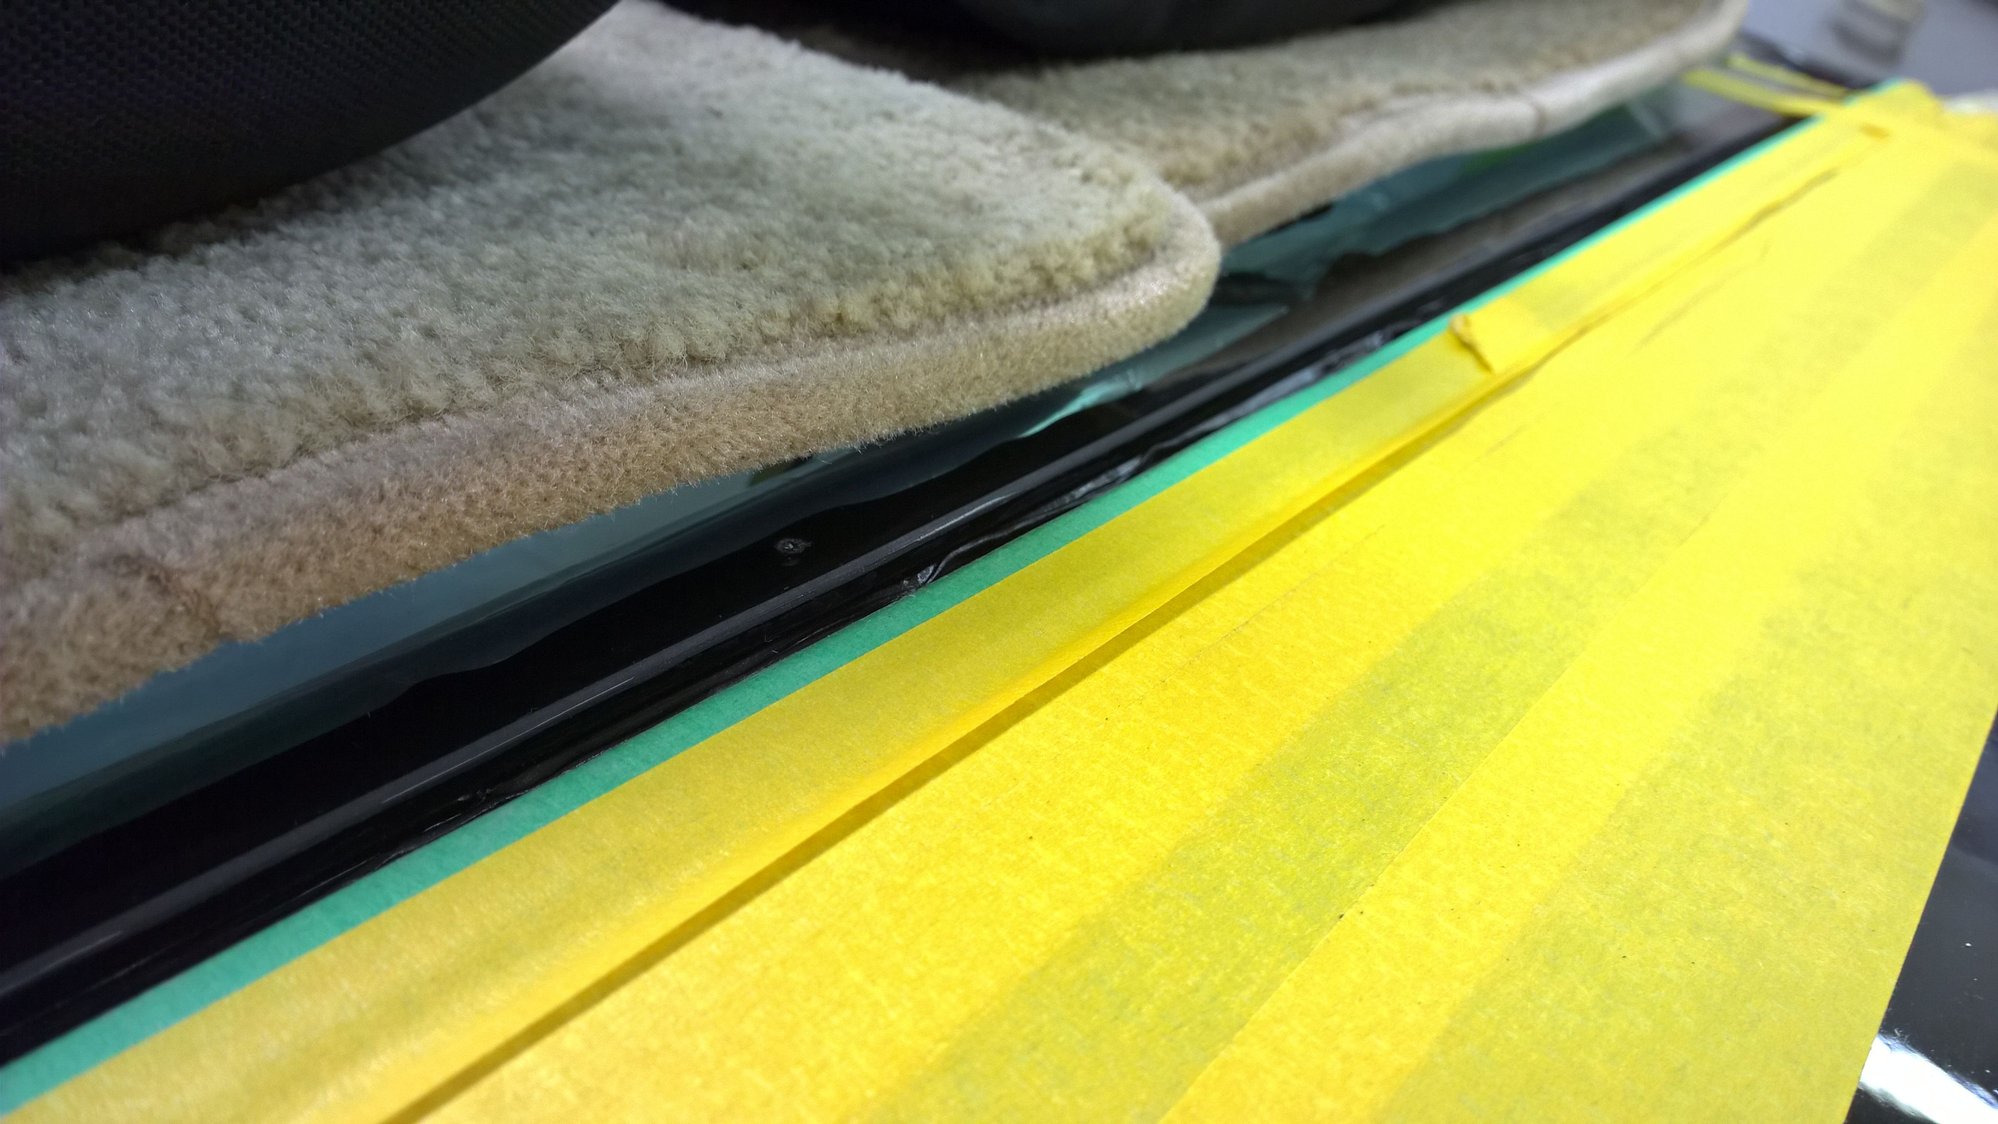
The triangular nozzle worked great! There is a pretty steady, even seal against the glass, with only a few air pockets from where we lost the triangular shape and/or tried to add a second bead.
For anyone attempting this, I highly recommend that you cut a bigger triangle out of the nozzle, and lay down a big fat bead and don't try to touch it up.
Pretty much used up one (1) entire tube. If you are using a bigger bead, be ready to open a second before you finish the loop.
Tomorrow I'm going to clean up some of the mess and then try to use the second tube to fill in all the gaps between the edge of the glass and frame.
If this is successful, and stays that way, I'm going to attribute it to using a single-step product and also extreme cleanliness. I don't know how many times I cleaned the mating surfaces, but finger prints will not be found anywhere.
Good to hear things are going well.
My Sika 206 G+P came in today but the date on the bottle says it's expired so that has to go back.
I think putting the glass with the frame on is a smart move. Do you think the glass originally held the frame shape or do you think you may have inadvertently bent it out of shape taking off the glass?
I was contemplating putting the frame on the car with the shocks on to prestress the frame but I'm now thinking that may be unwise. Might bend the frame without the glass.
I was lucky that the two tubes of P2G I got don't expire until next Feb.
I have no idea what may have happened to the frame in the previous 29 years of ownership. It was removed and resealed at least once.
I don't think you could possibly latch the frame with the shocks installed. Huge forces without having the weight or stiffness of installed glass. I think it's best to leave them off, have the frame sit as flat as possible against the body seal, and then place the glass onto the frame.
The more I work with this hatch, the less I buy into the idea that the hydraulic lifts cause the separation. I'm thinking UV degradation and imperfect repairs.
This stuff is REALLY strong, as I experienced during four hours trying to remove the old stuff. If we just consider a conservative 1\8" strip across the top of the glass ~ 40", 1625 lbs of shear force required to break the seal. It's probably closer to 1/4" wide plus whatever will adhere to the side of the glass when you fill the gap. Not to mention the other three sides.
Looks great! I hope mine works out as well when i get to sealing it!
Did you have to put anything along the bottom edge of the glass to keep it from slipping backwards? When I dry fit the glass and pushed it all the way forward against the top edge of the frame it stayed put, but I was wondering if it would slip back when placed in the urethane. I was thinking of putting rubber blocks at the bottom to hold position until the urethane cures.
I wasn't planning on weighting the glass. Did you need to do that to get an even fit, or was it just to make sure the glass didn't move?
Thanks for sharing the process! I'll post pics of mine when it's done. Hopefully this weekend...
 09-25-2016, 10:05 PM