May as well post it... my clutch replacement!

 10-15-2010, 01:48 AM
#32
Pro
Thread Starter
Join Date: Oct 2009
Location: Redmond, Oregon
Posts: 522
Likes: 0
Received 0 Likes
on
0 Posts
Torque tube is finally out! Pics in a few. Waiting on that rear mainseal before i finish up the clutch job. After that it's torque tube time! Got all the tools to pull it today, shouldn't be all that hard to get them out, get the new bearings in and finally finish this job and get my 944 back on the road! Kind of excited to be honest!
10-15-2010, 01:53 AM
#33
No, not Mosquito!
Rennlist Member
Rennlist Member
Killer! How did that pesky fibreglass/asbestos heat shield look under there? How about that troublesome foam insulating brick thing squished between the torque tube and the chassis below the shifter? I know... I'm sorry... Just thinking of extra things to spend money on...
10-15-2010, 02:11 AM
#34
Pro
Thread Starter
Join Date: Oct 2009
Location: Redmond, Oregon
Posts: 522
Likes: 0
Received 0 Likes
on
0 Posts
Mine was pretty narly. There's asbestos in it? Nice. Just thought it was fiberglass. What a cool design! Hopefully I don't die of heatshield cancer. Yeehaw. Hated the fiberglass, mine was literally just falling apart. I itched like hell.
10-22-2010, 07:09 PM
#35
Pro
Thread Starter
Join Date: Oct 2009
Location: Redmond, Oregon
Posts: 522
Likes: 0
Received 0 Likes
on
0 Posts
Ok I installed the new seal and lubricated it as recommended. went in much easier and it receded to which appears to be to correct depth, i am tapping it and it doesn't appear to want to go any further so it looks like i got it the correct depth. I went around it about 4 times very lightly with a rounded off flywheel bolt (as to not warp it and such) and lighly tapped till all parts of the seal were an even depth.
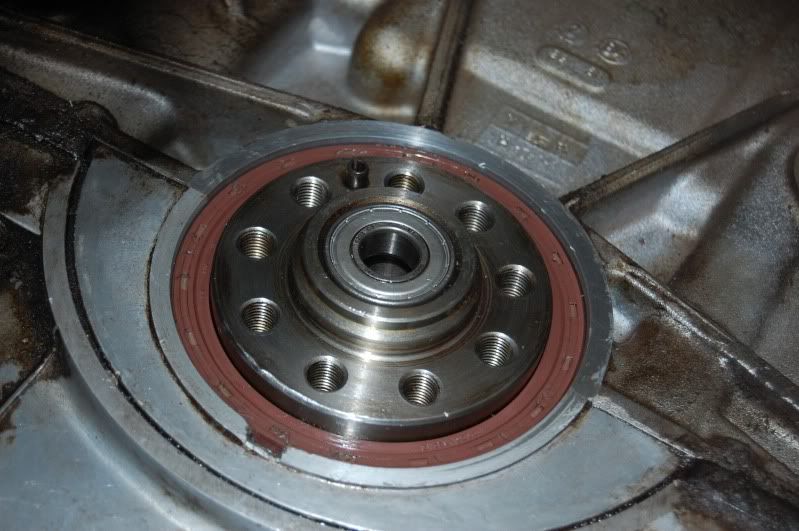
Last edited by CorsePerVita; 10-22-2010 at 07:25 PM.
10-22-2010, 09:43 PM
#40
Pro
Thread Starter
Join Date: Oct 2009
Location: Redmond, Oregon
Posts: 522
Likes: 0
Received 0 Likes
on
0 Posts
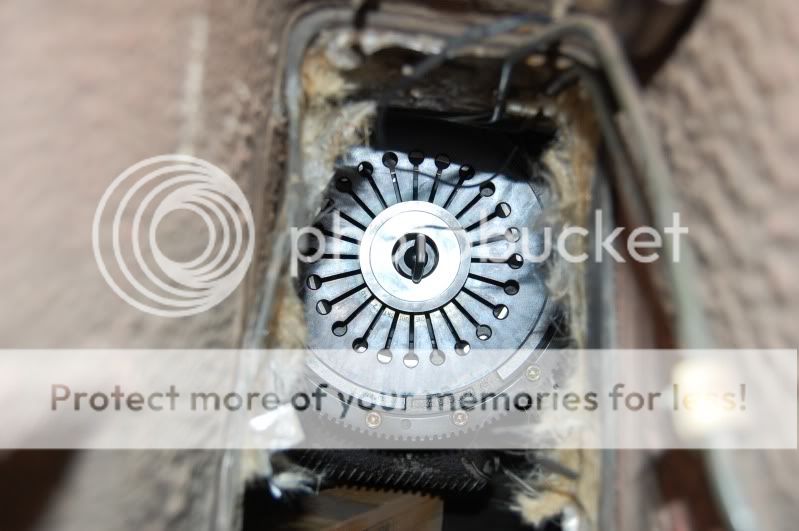
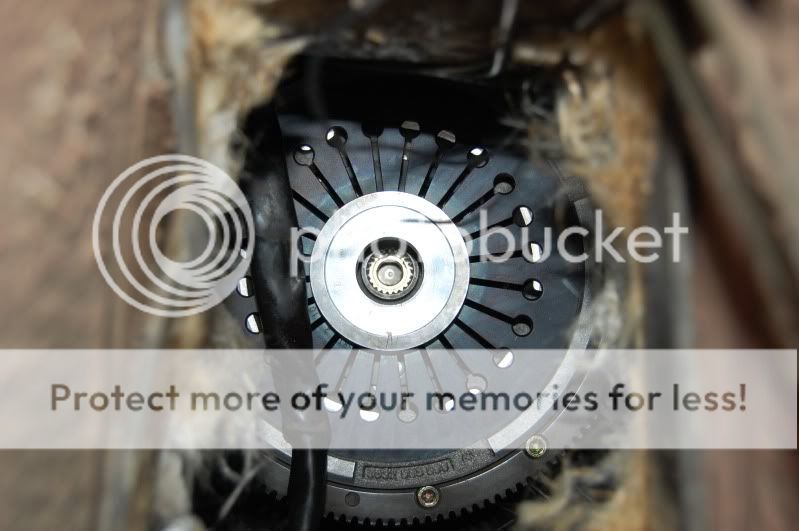
Who on here said "Doing a 944 clutch is easy, i can do it in about 10 minutes. It just takes 7 hours to get to it...." it's true! Only thing holding me back right now is rebuilding the torque tube. I have one bearing out, 3 to go.
Great! Good thing you said that because I thought it looked good and started going at it anyway! LOL!
Doing the bellhousing and greasing everything down as mentioned in tutorials to make sure it's all good to go.

 10-23-2010, 01:13 AM
#45
Proprietoristicly Refined
Rennlist Member
Rennlist Member
Mike C is referring to cutting out the area around the sensor bracket---just in case you need to go back a second time. With the notch, you do not have to fuss with the sensors.
The notch also makes setting the sensor gap easy. you do it with the bell housing off-----from under the car ---set the speed sensor and the .8mm gap.
Then you slide the bell housing on with the sensors and bracket set to go.
This is sorta brief, but you can search for more info.
GL
John
The notch also makes setting the sensor gap easy. you do it with the bell housing off-----from under the car ---set the speed sensor and the .8mm gap.
Then you slide the bell housing on with the sensors and bracket set to go.
This is sorta brief, but you can search for more info.
GL
John