
New interior, euro bumper and driving lights (long, with pics)

 01-07-2007 | 10:04 PM
#17
Thread Starter
Three Wheelin'
Joined: Apr 2002
Posts: 1,556
Likes: 7
From: Northern IL
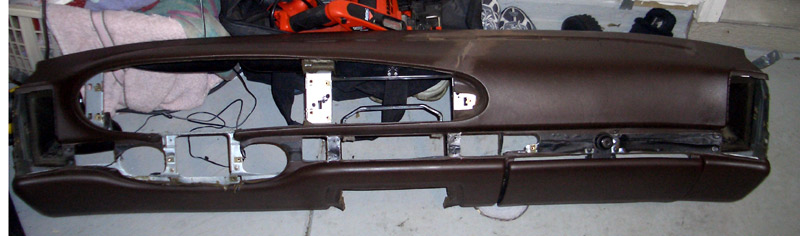
Thanks for the comments guys. It really feels like a new car inside, and I enjoy it that much more now. I've been getting a few questions about the dash, so I'll try to dig up some additional pictures of what I did. Yes, the dash was cracked, but I used some latex filler to fill the cracks, and then sanded it all smooth, leaving the original vinyl in place. I got the latex filler from Sam Grant (Thanks Sam!), who got it in one of the Leatherique refinishing kits. The filler was pliable when dry and had the same feel as the rest of the dash, so hopefully it holds up. I then purchased a yard of backed vinyl at the local fabric store while my wife was there buying yarn. It stretched pretty well and felt very durable. I used only one piece for the whole dash, starting in the back (where the dash butts up against the windshield). I tacked it down with some loctite glue along that back edge and let it completely dry. With that stable point, I used some heavy duty loctite spray adhesive to stretch and bind the vinyl to the dash. If used properly, that stuff binds nearly instantly and holds very well. Around the vents and the sharp curve to the left of the steering wheel, I used bags of sand as weights that conform to the contours of the dash and hold the vinyl in place. Once it was all glued down, I trimmed the excess vinyl and dyed it black. Not too tough, just not something you want to rush.
It's my fun/project car so I didn't need to rush anything. There's always a steady stream of parts landing on the "to be installed" shelf. You guys know what that's like.
It's my fun/project car so I didn't need to rush anything. There's always a steady stream of parts landing on the "to be installed" shelf. You guys know what that's like.
01-08-2007 | 08:44 AM
#22
Rennlist Member
Joined: Oct 2004
Posts: 2,188
Likes: 30
From: Hoosierville
Awesome work Mike! I thought you said the carpet you put in was used, that stuff looks like brand new! Like Sam said, the new interior does so much to bring out your paint color, which is one of my favorites. Looking forward to seeing it again and getting a better look when the sun is out and above 30 degrees. 
01-08-2007 | 06:22 PM
#25
Drifting
Joined: Mar 2004
Posts: 2,372
Likes: 0
From: Eville, IN
Mike,
Nice work man. Now all you have to do is fill in the holes and move the plate bracket up a bit and your set. How much will you charge me to change out an interior when I get another one? lol
Peace,
Justin .......................................... "MIKE JONES"
Nice work man. Now all you have to do is fill in the holes and move the plate bracket up a bit and your set. How much will you charge me to change out an interior when I get another one? lol
Peace,
Justin .......................................... "MIKE JONES"
02-27-2007 | 08:09 PM
#26
Burning Brakes
Joined: May 2003
Posts: 1,132
Likes: 6
From: Anacortes, WA
Good job, Mike!
I've thought about that, too. Marine grade (much better UV resistance to fading) upholstery vinyl that is stretchable and has good "drape" characteristics (wraps easily around compound curves) would be my choice, esp. if somewhat heat shrinkable.
Vacuum applied between this stuff and the dash would help smooth it down against the underlying surface while the glue takes hold. Obviously, your sandbag idea works well, too.
This stuff is actually pretty cheap, and holds up well. If you mess up, peel it off and re-apply. Gotta be a LOT easier and cheaper than replacing the whole dashboard.
02-27-2007 | 09:10 PM
#27
Thread Starter
Three Wheelin'
Joined: Apr 2002
Posts: 1,556
Likes: 7
From: Northern IL
Here are a couple of additional pics that I found.
All cracks were curled up onthe deges, so they had to be sanded down before filling.
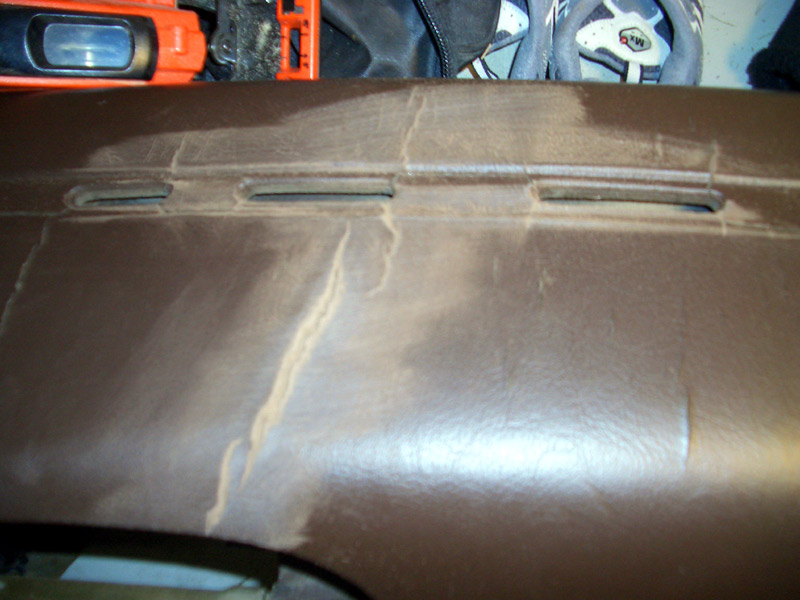
Then the filler...
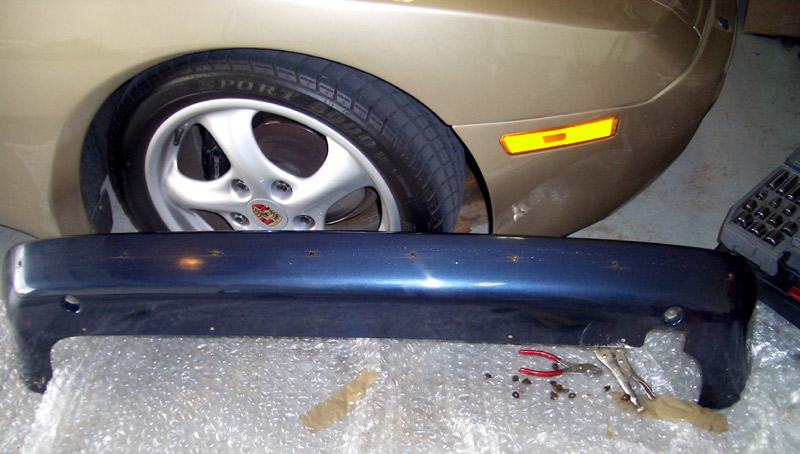
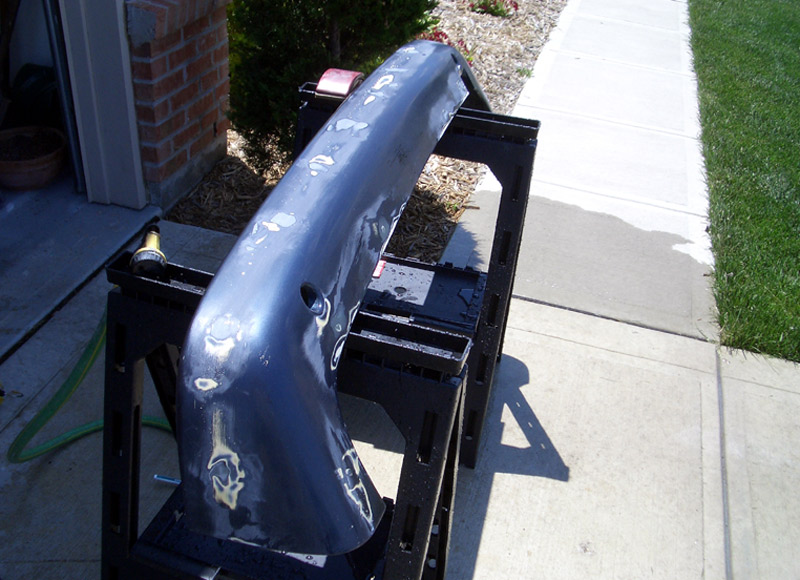
I also found some pics of the euro bumper in progress. Here's one right after removing the rubber strip. I really wish my car was that color. It looks amazing when clean and polished.
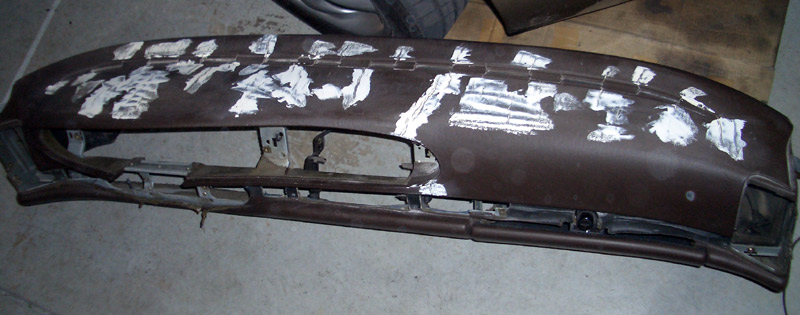
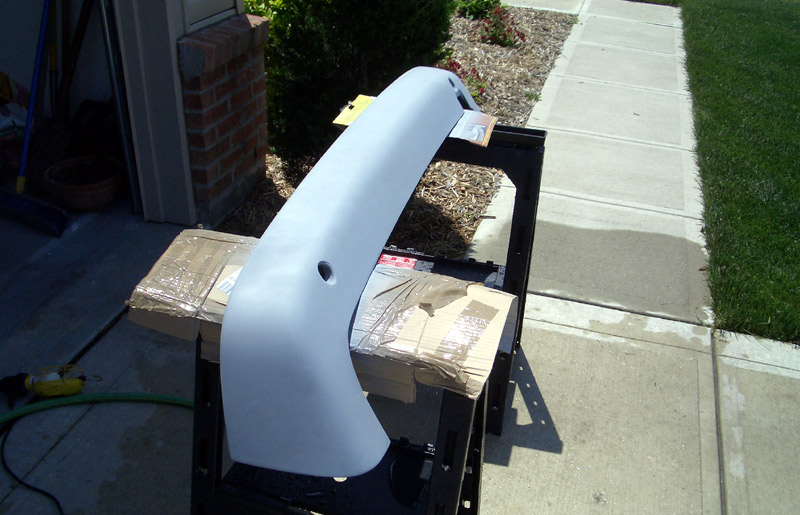
After filling the holes...
And a little primer...
All cracks were curled up onthe deges, so they had to be sanded down before filling.
Then the filler...
I also found some pics of the euro bumper in progress. Here's one right after removing the rubber strip. I really wish my car was that color. It looks amazing when clean and polished.
After filling the holes...
And a little primer...