Notices
924/931/944/951/968 Forum Porsche 924, 924S, 931, 944, 944S, 944S2, 951, and 968 discussion, how-to guides, and technical help. (1976-1995)
Sponsored by:
Sponsored by:

Replacing motor mounts on RHD car....

Thread Tools
 
Search this Thread
 
Old 05-11-2021, 01:18 PM
  #1  
jeyjey
Rennlist Member
Thread Starter
 
jeyjey's Avatar
 
Join Date: Feb 2021
Location: Ireland
Posts: 856
Received 193 Likes on 154 Posts
Default Replacing motor mounts on RHD car....

I'm about to replace my motor mounts (RHS has collapsed). It's a RHD car. I put it up on the lift today and I don't think there's any way the RHS mount is coming out with the "lower the cross-member method". (The steering shaft goes through the cross-member on a RHD car, so it's much bigger on that side.)

So I'm planning on the "out the top" method. The header-to-collector joints came apart easy enough, so I'm hopeful the header mounting nuts will be similarly straight-forward.

Any advice from anyone who's done this (either out the top or bottom) on a RHD car?
Old 05-11-2021, 01:21 PM
  #2  
jeyjey
Rennlist Member
Thread Starter
 
jeyjey's Avatar
 
Join Date: Feb 2021
Location: Ireland
Posts: 856
Received 193 Likes on 154 Posts
Default

Here's what a RHD cross-member looks like:
Old 05-12-2021, 05:30 PM
  #3  
jeyjey
Rennlist Member
Thread Starter
 
jeyjey's Avatar
 
Join Date: Feb 2021
Location: Ireland
Posts: 856
Received 193 Likes on 154 Posts
Default

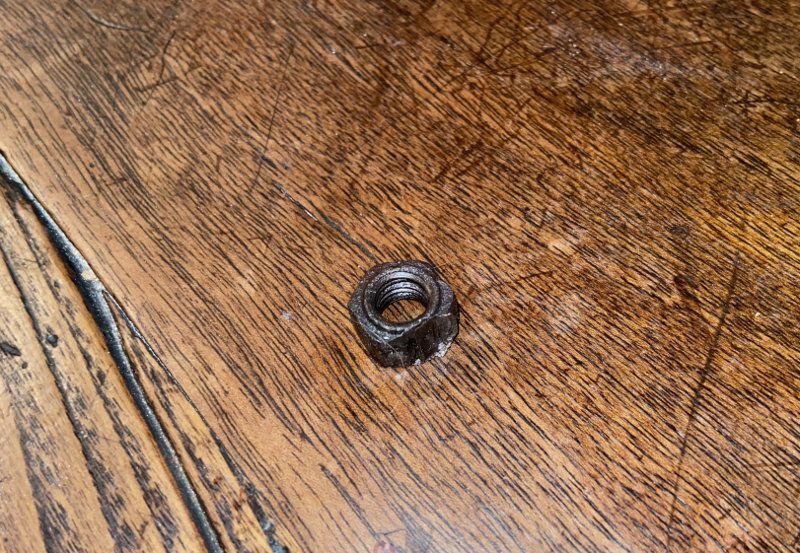
You can get a 6-point socket on 6 of the header bolts. You can't get any kind of socket on the other two. Or a flare wrench. Or a crows-foot wrench. The only thing you can get on them is an open-end wrench, and of course if they're bleedin' tight -- that's just going to round them off.

So, as Ving Rhames would say, I had to get medieval on the last two....


Old 05-12-2021, 06:54 PM
  #4  
Zirconocene
Rennlist Member
 
Zirconocene's Avatar
 
Join Date: Feb 2019
Location: PDX Adjacent
Posts: 2,955
Received 766 Likes on 539 Posts
Default

Good job; what did you end up doing? Is that the use of a die grinder that I see?
Old 05-12-2021, 07:15 PM
  #5  
jeyjey
Rennlist Member
Thread Starter
 
jeyjey's Avatar
 
Join Date: Feb 2021
Location: Ireland
Posts: 856
Received 193 Likes on 154 Posts
Default

No, hammer and chisel alternating with heat.

About 2 hours for each one. Might have gone faster if I could have gotten it proper hot, but my back's not really up to hauling my oxy/acetylene bottles up and down stairs anymore so all I had was propane.
The following users liked this post:
Tiger03447 (05-12-2021)
Old 05-12-2021, 11:54 PM
  #6  
Tiger03447
Rennlist Member
 
Tiger03447's Avatar
 
Join Date: Apr 2011
Location: Elizabethton,TN
Posts: 3,411
Received 153 Likes on 134 Posts
Default

Totally understandable about the bottles..Glad that you got the nuts off
Old 05-13-2021, 11:20 AM
  #7  
hillofbeans
Rennlist Member
 
hillofbeans's Avatar
 
Join Date: Aug 2018
Location: Fort Worth, TX
Posts: 86
Received 5 Likes on 5 Posts
Default

Wow! That's persistence. I'll be watching this one. My motor mounts are on my to-do list too.
Old 05-14-2021, 01:30 PM
  #8  
jeyjey
Rennlist Member
Thread Starter
 
jeyjey's Avatar
 
Join Date: Feb 2021
Location: Ireland
Posts: 856
Received 193 Likes on 154 Posts
Default

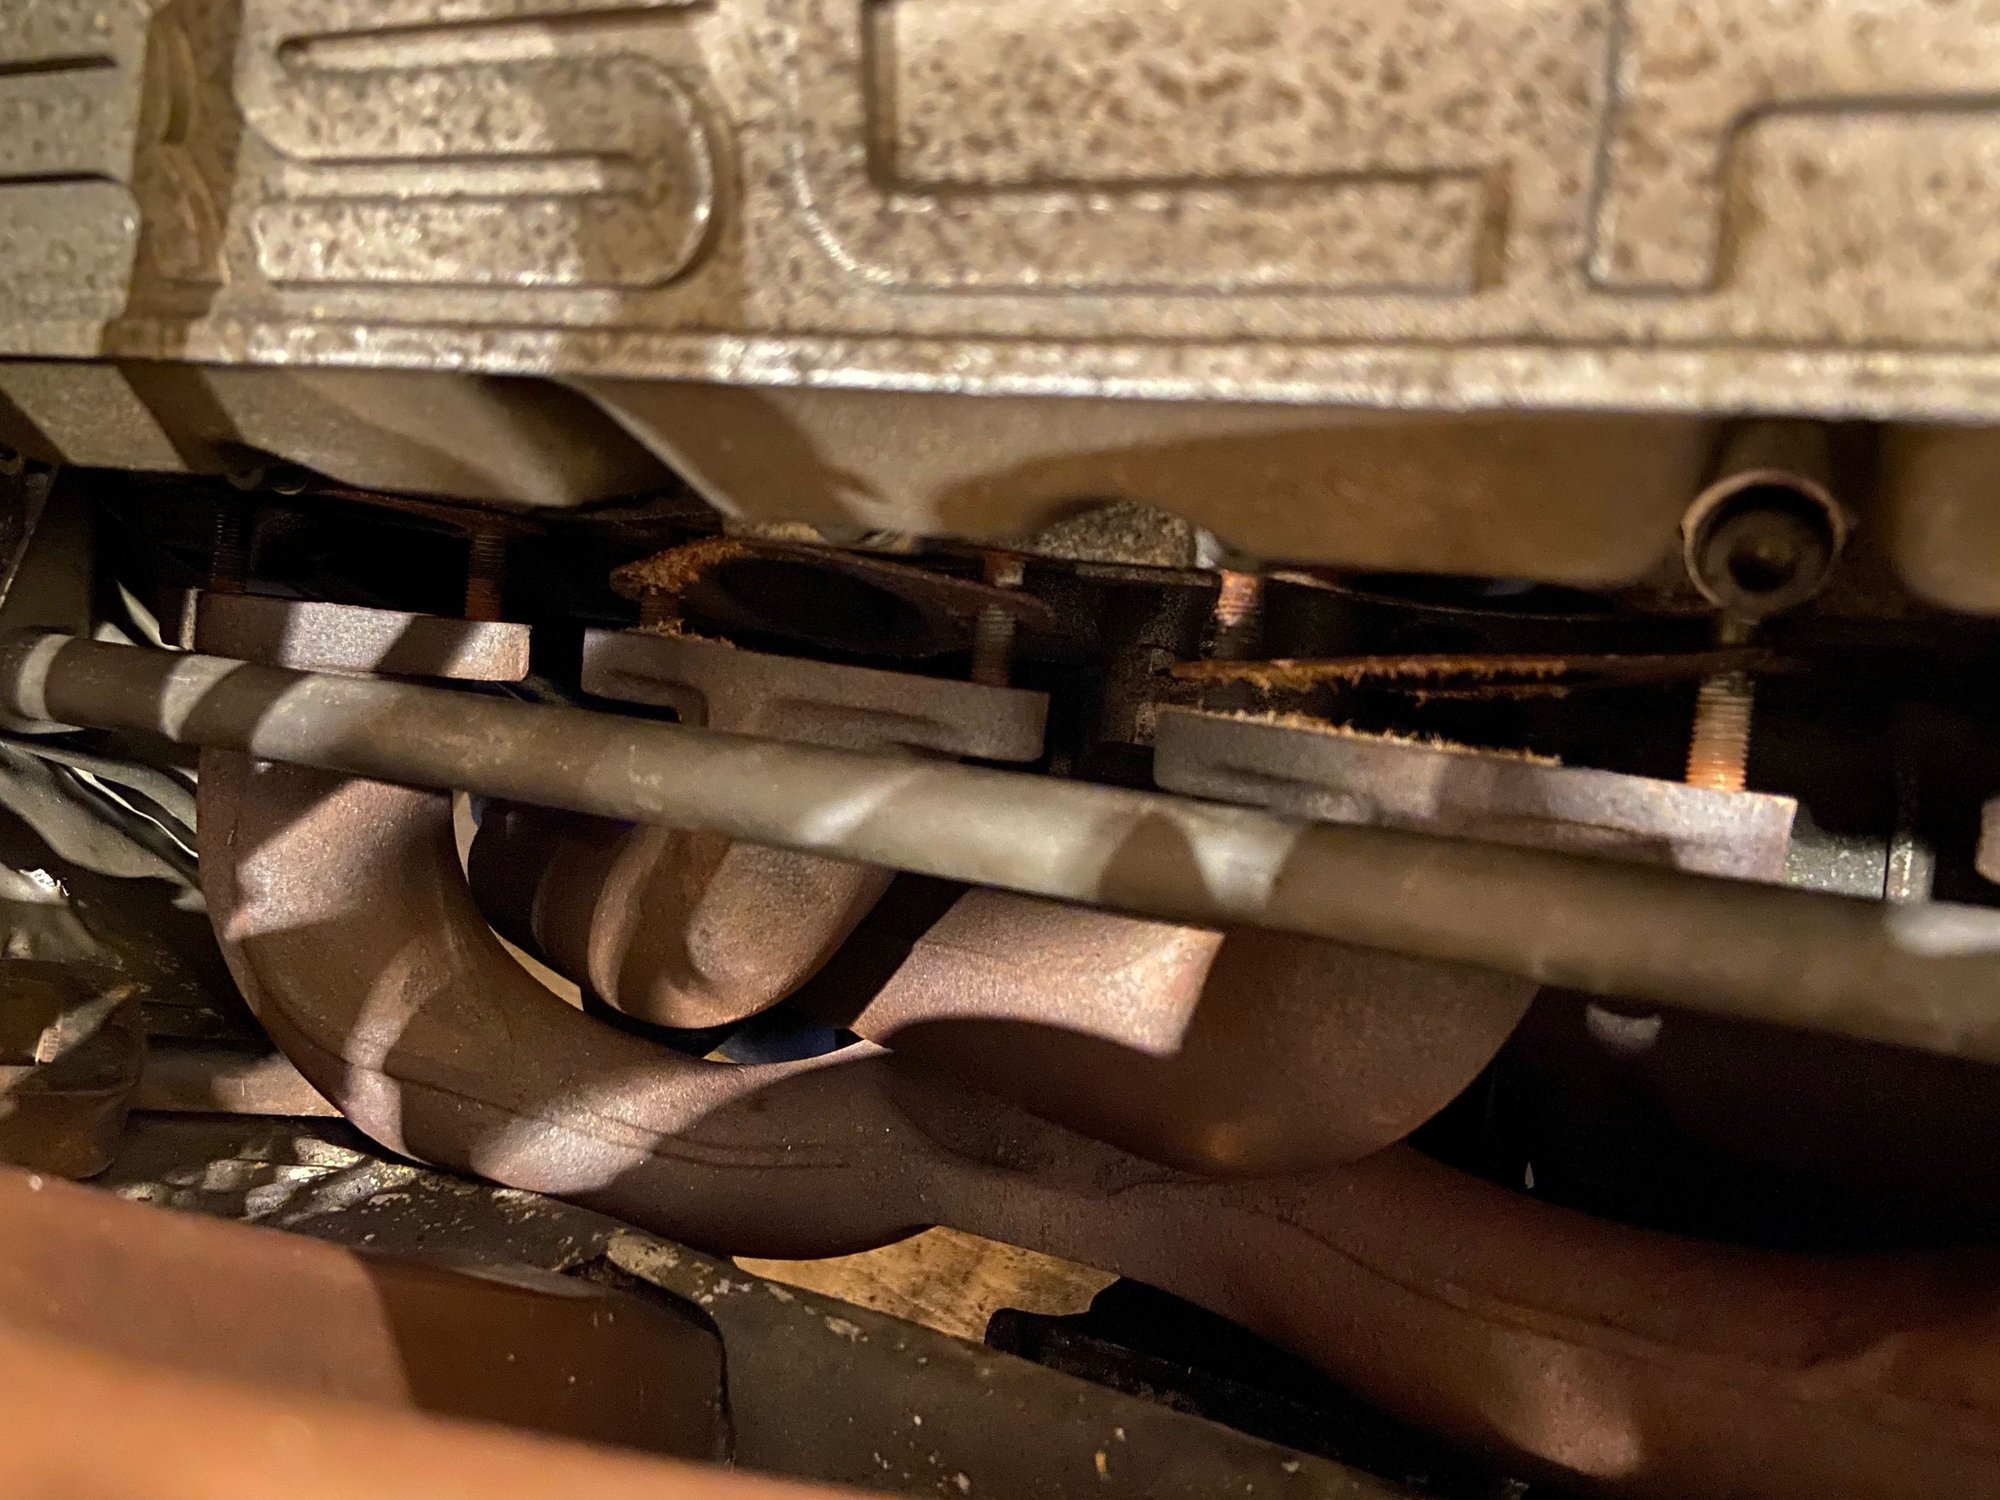
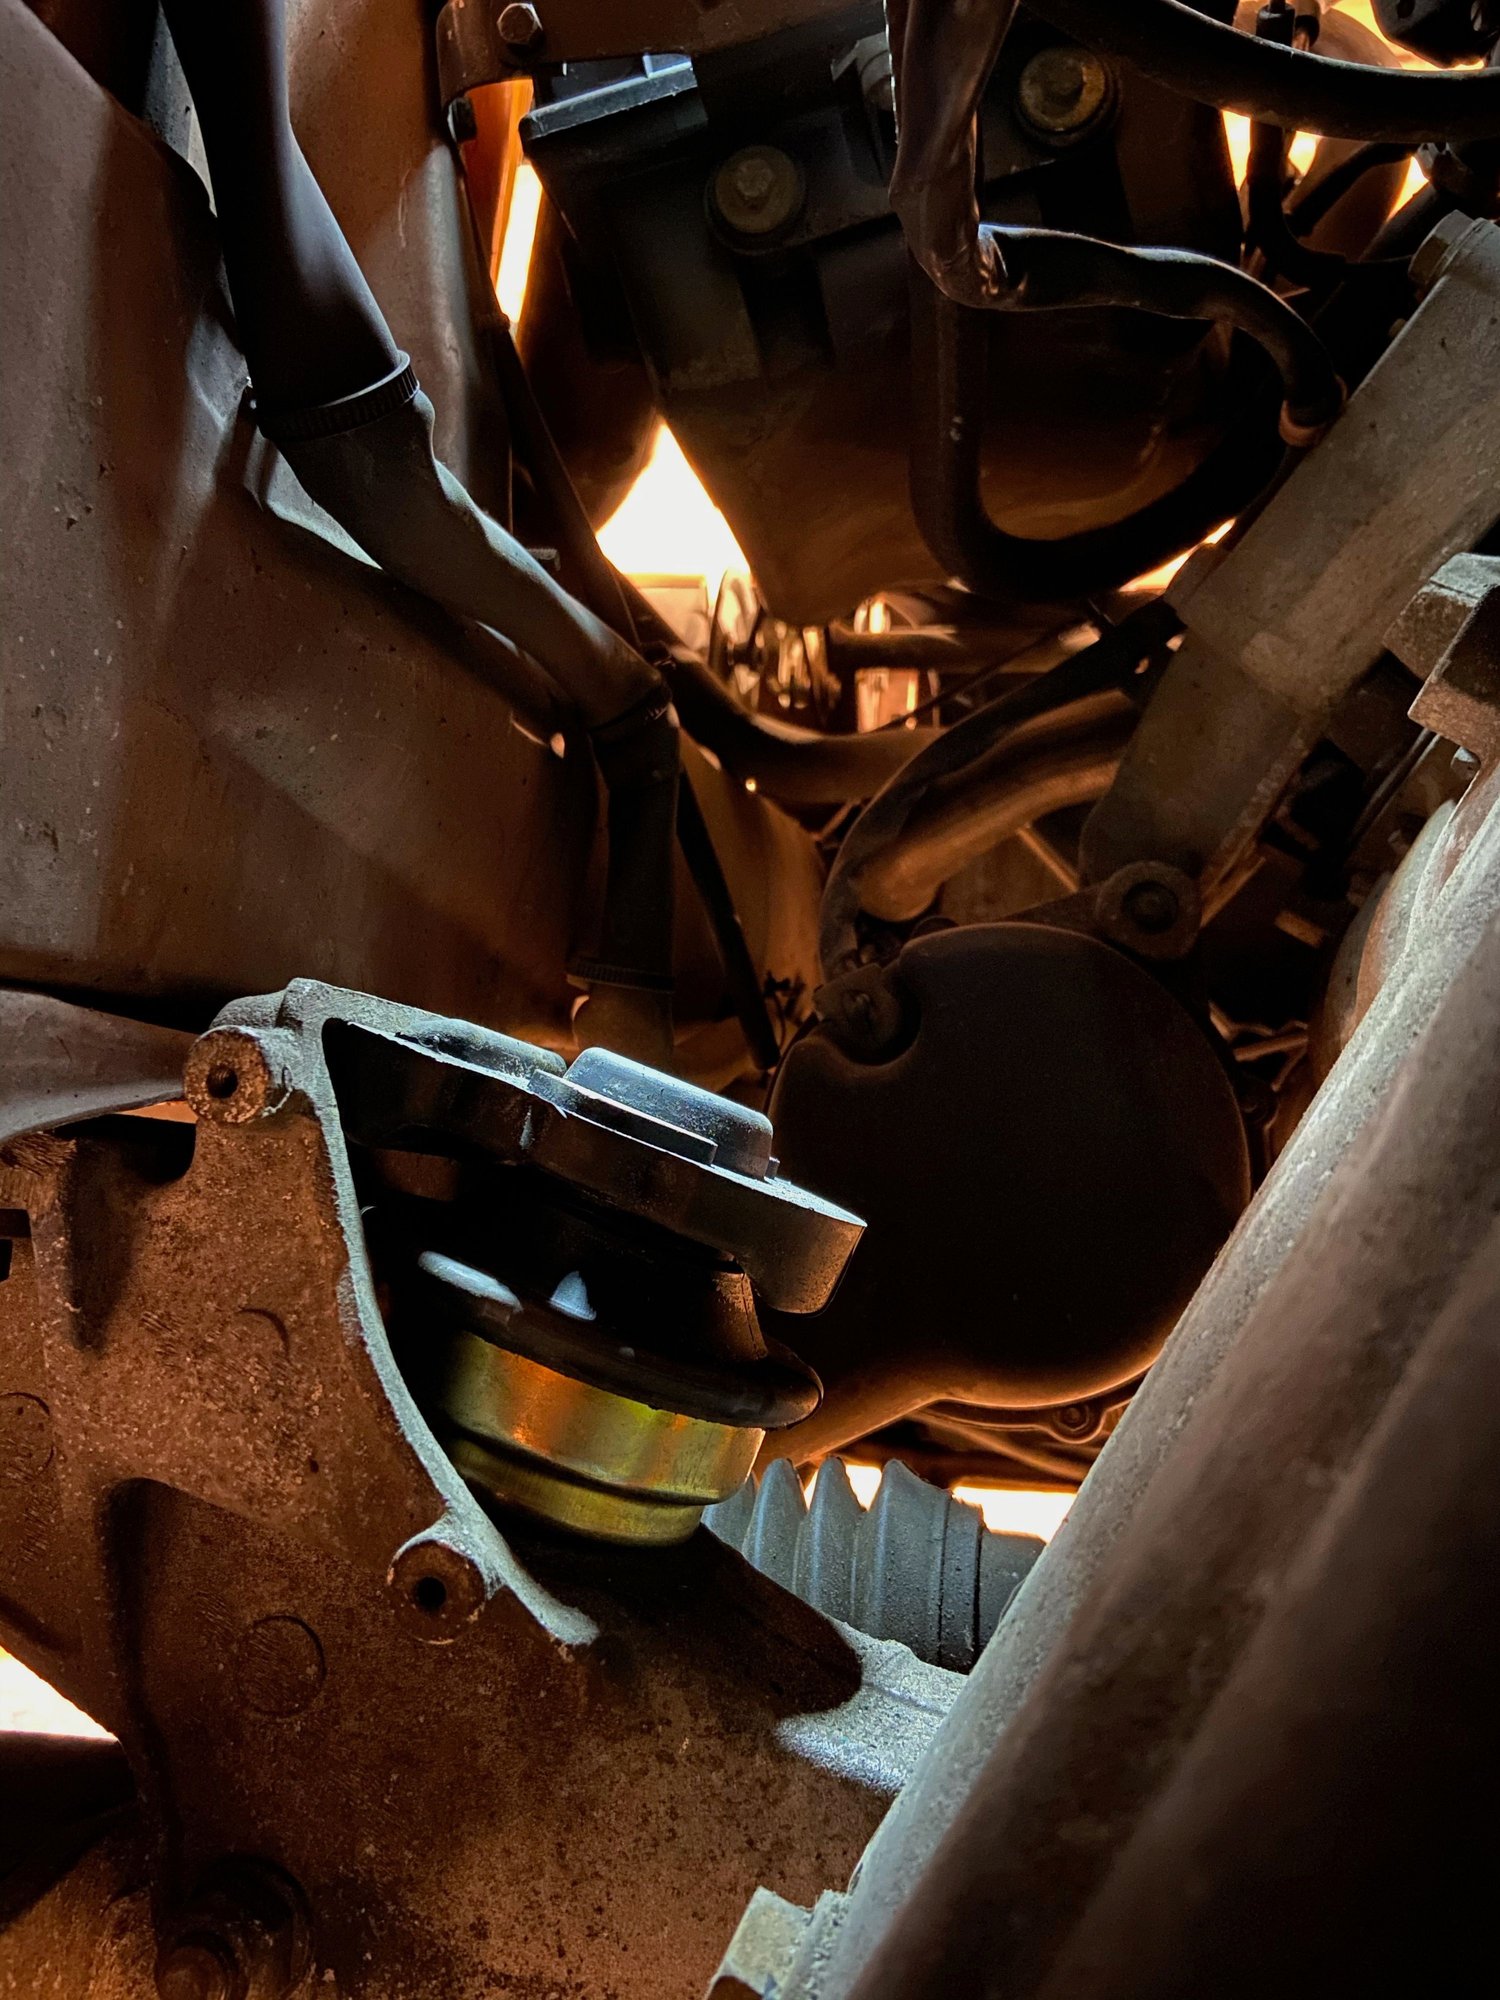
With the collapsed engine mount the exhaust just runs out of room before coming off:


Jacking the oil pan alone wasn't quite enough either as you only get a little bit of room before the big "ear" on the top of the engine mount starts pulling the cross member up with it. Loosening the top bolts on the engine mount gave me another inch or so.

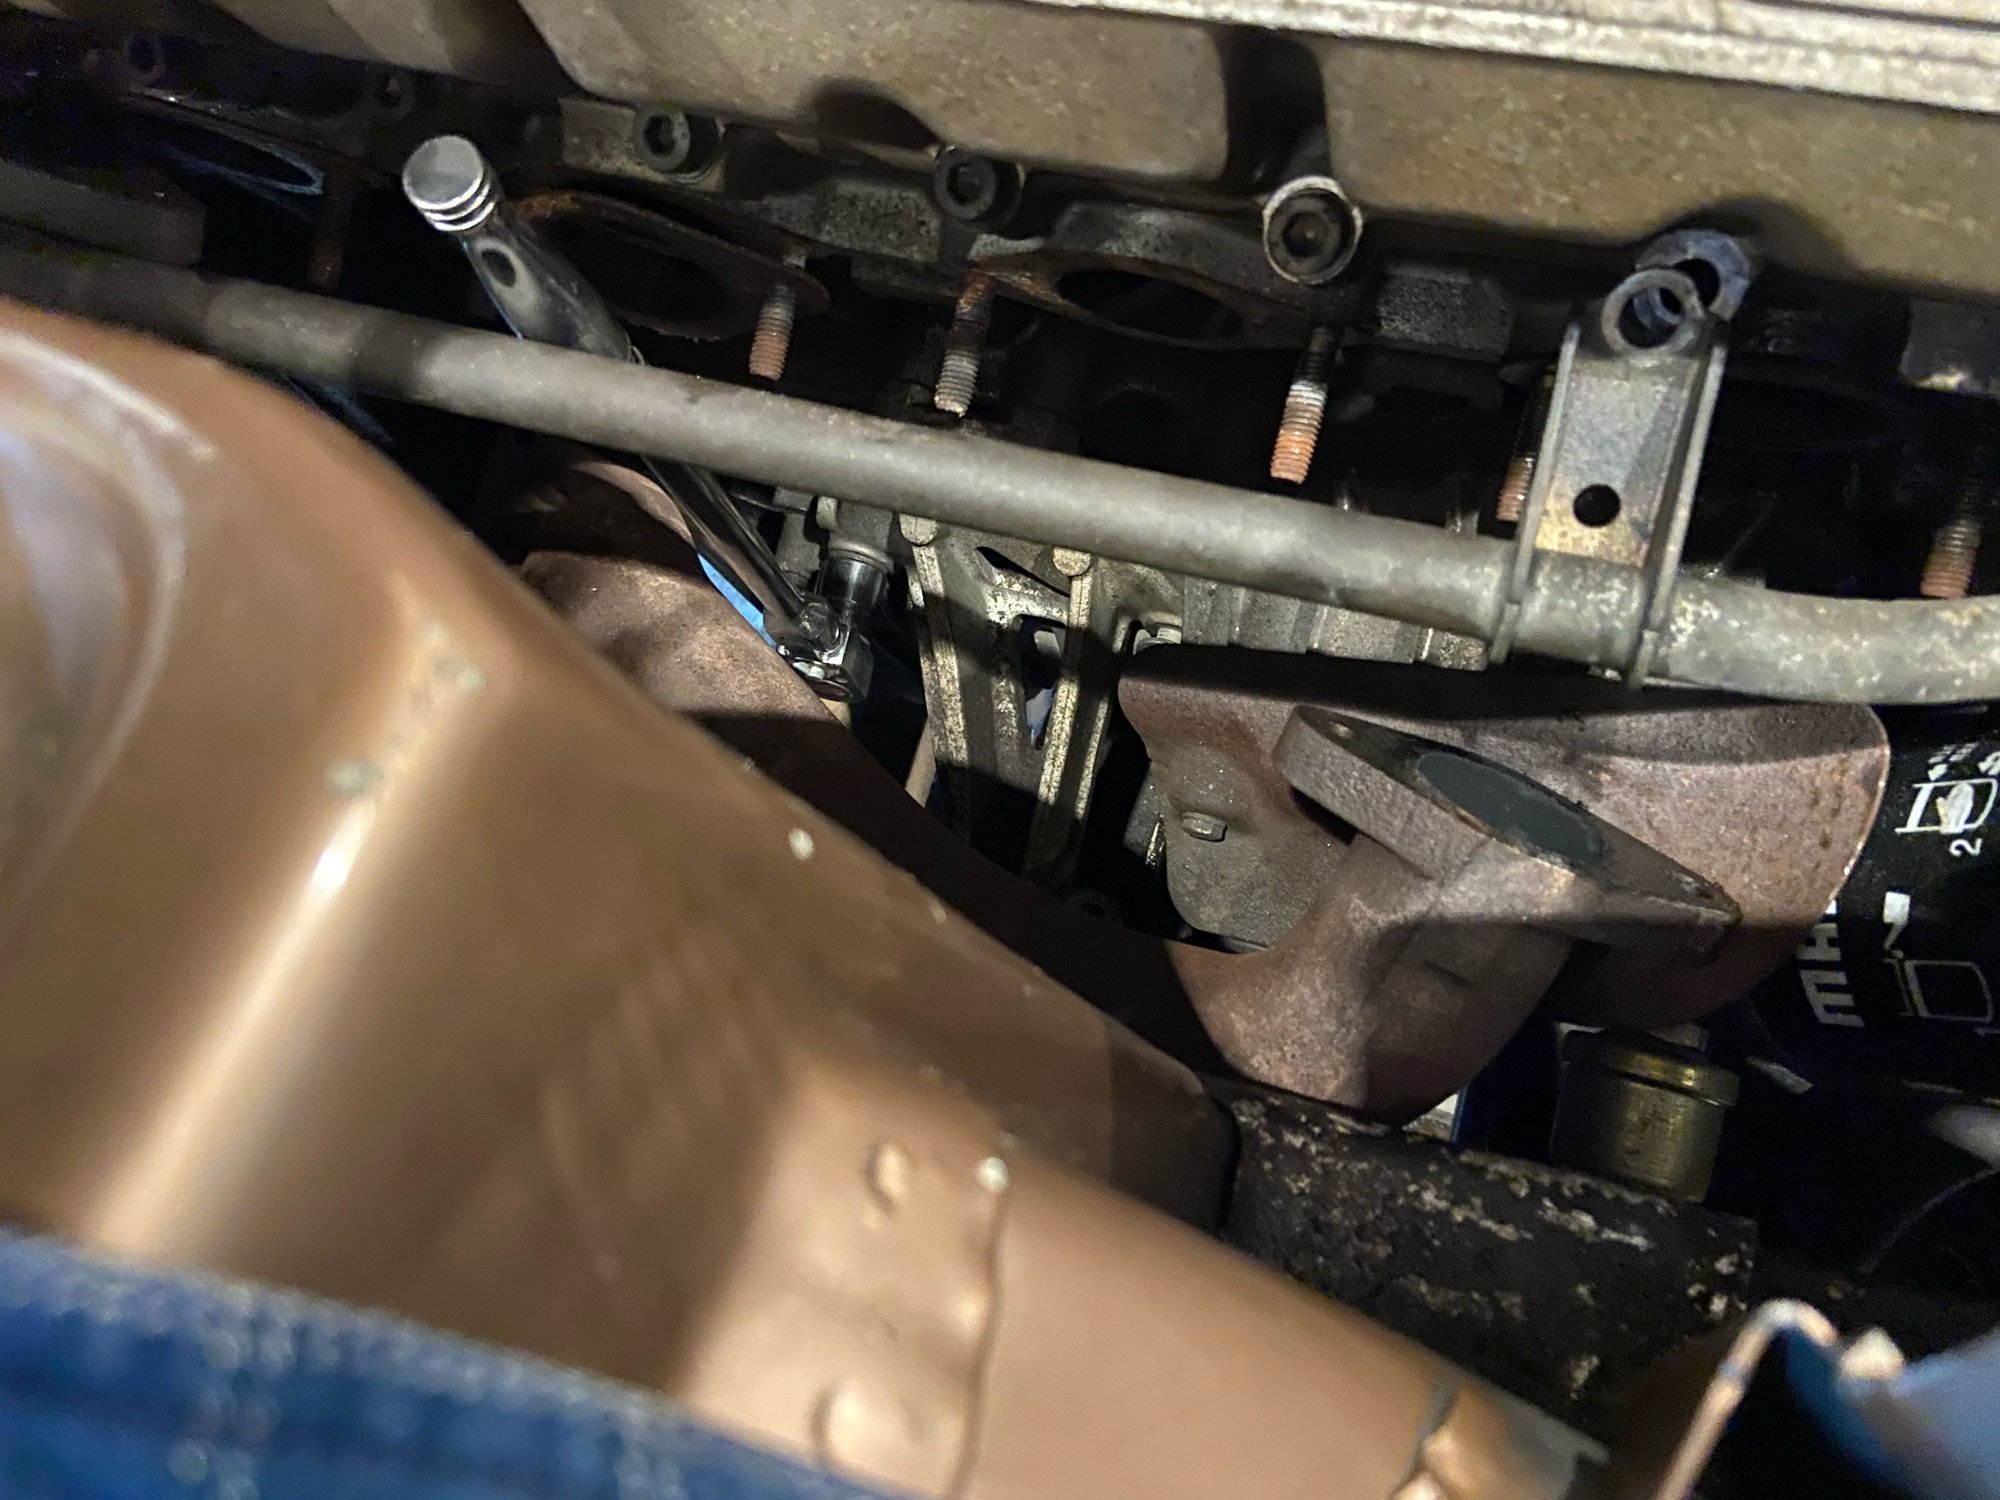
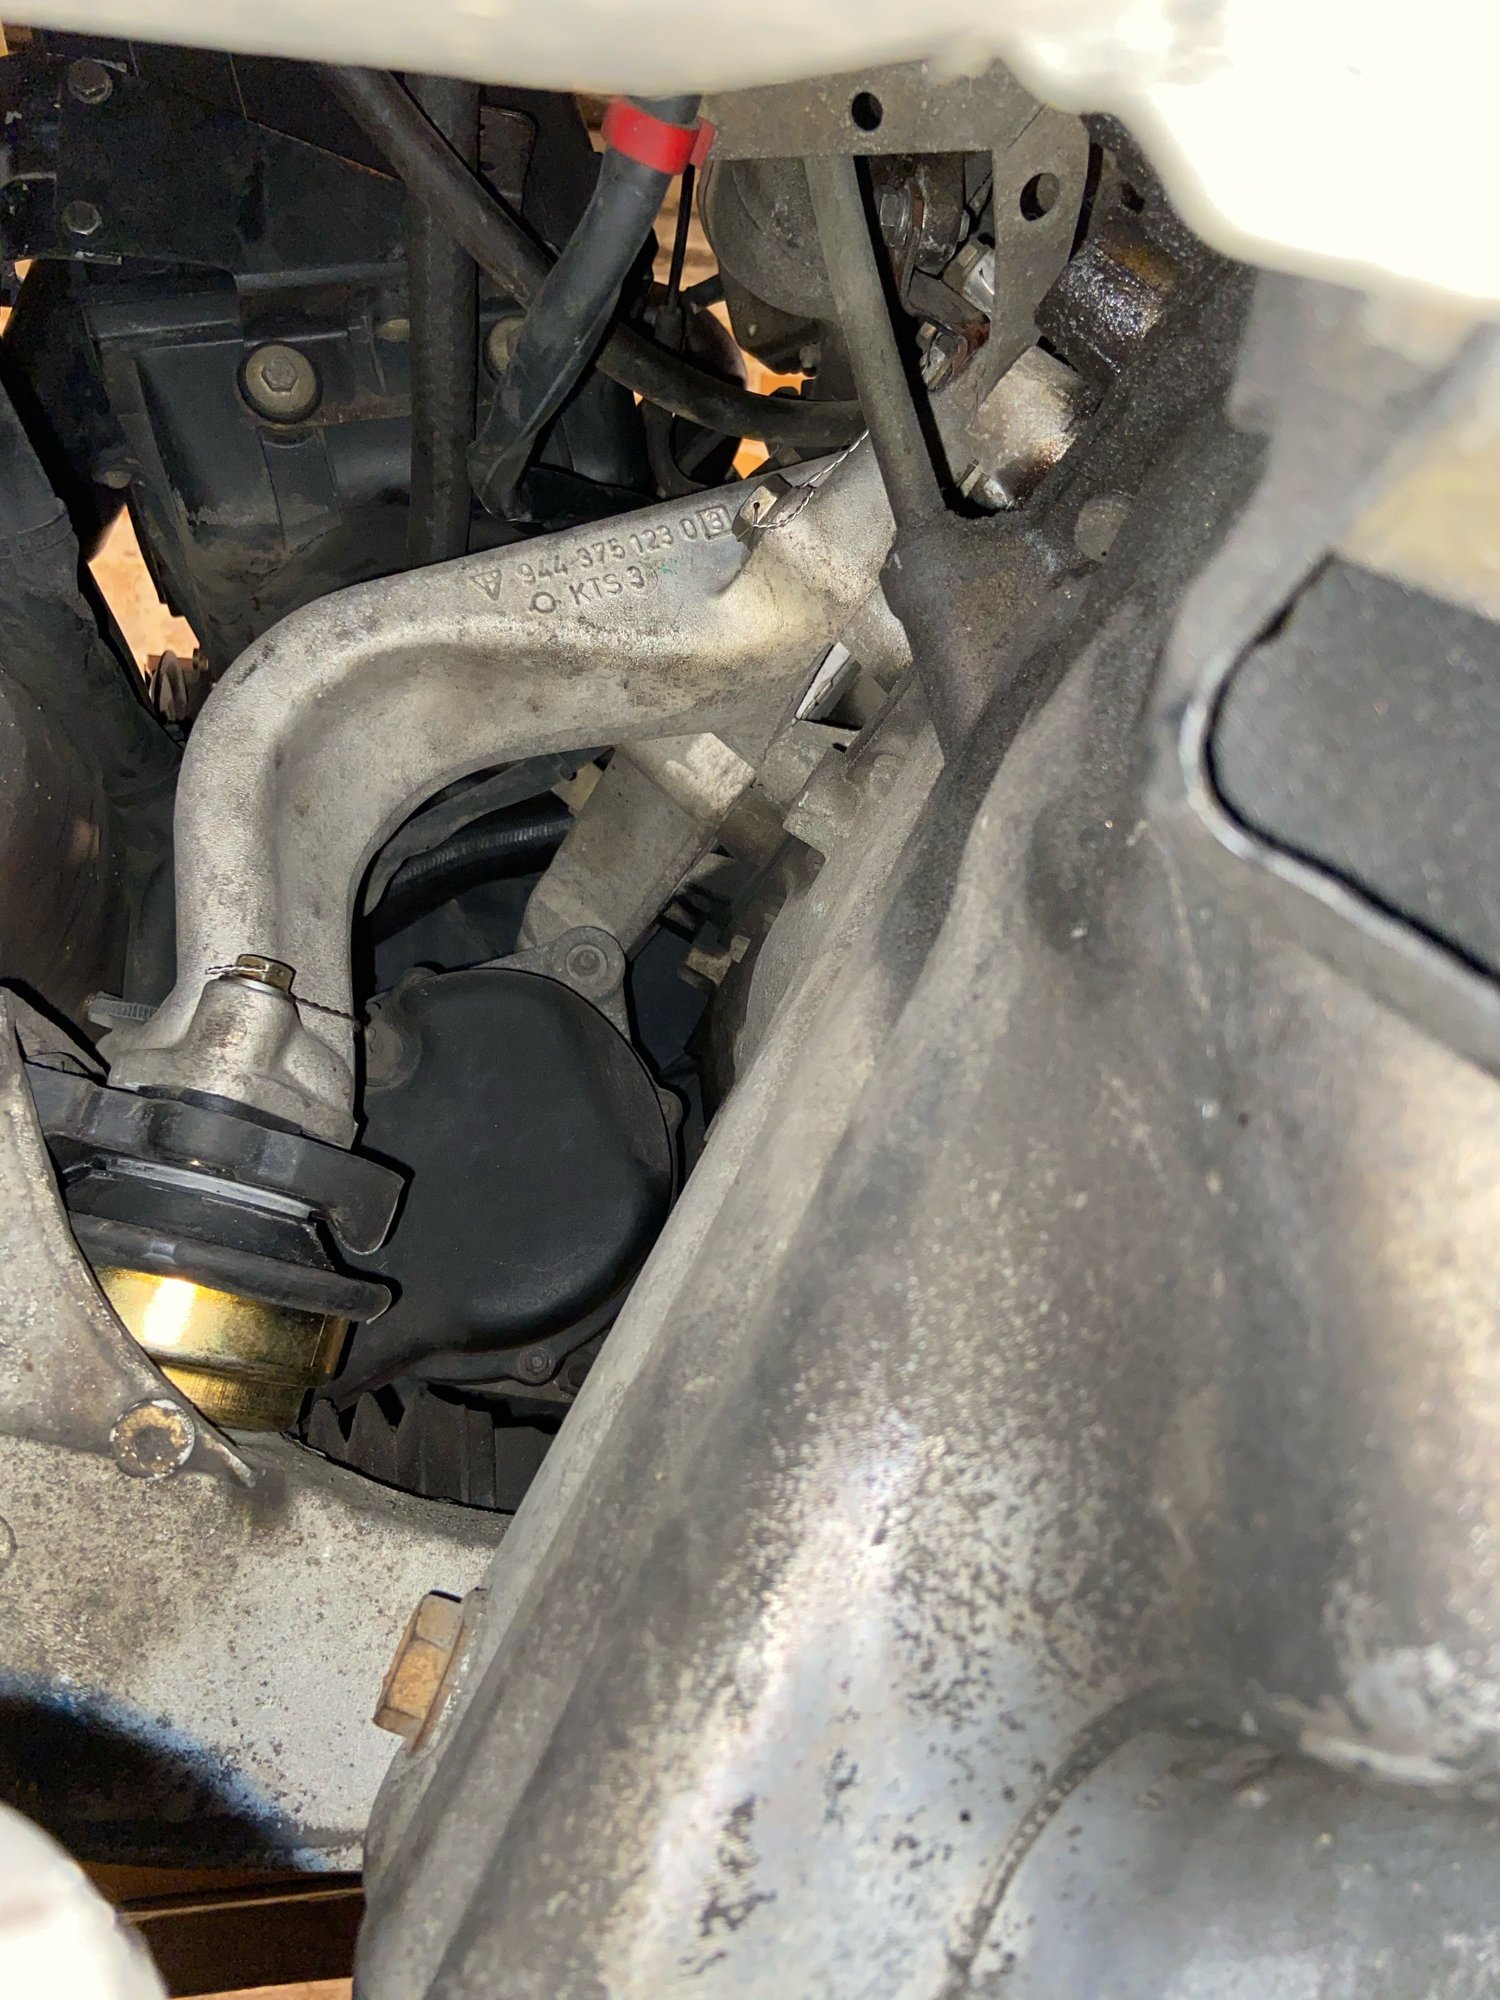
At that point the 2-3 header came out easily enough, but the 1-4 was going to require removing the water hard line. Not wanting to do that, I decided to see if I could work around it. Getting to the engine carrier bolts was easy enough:


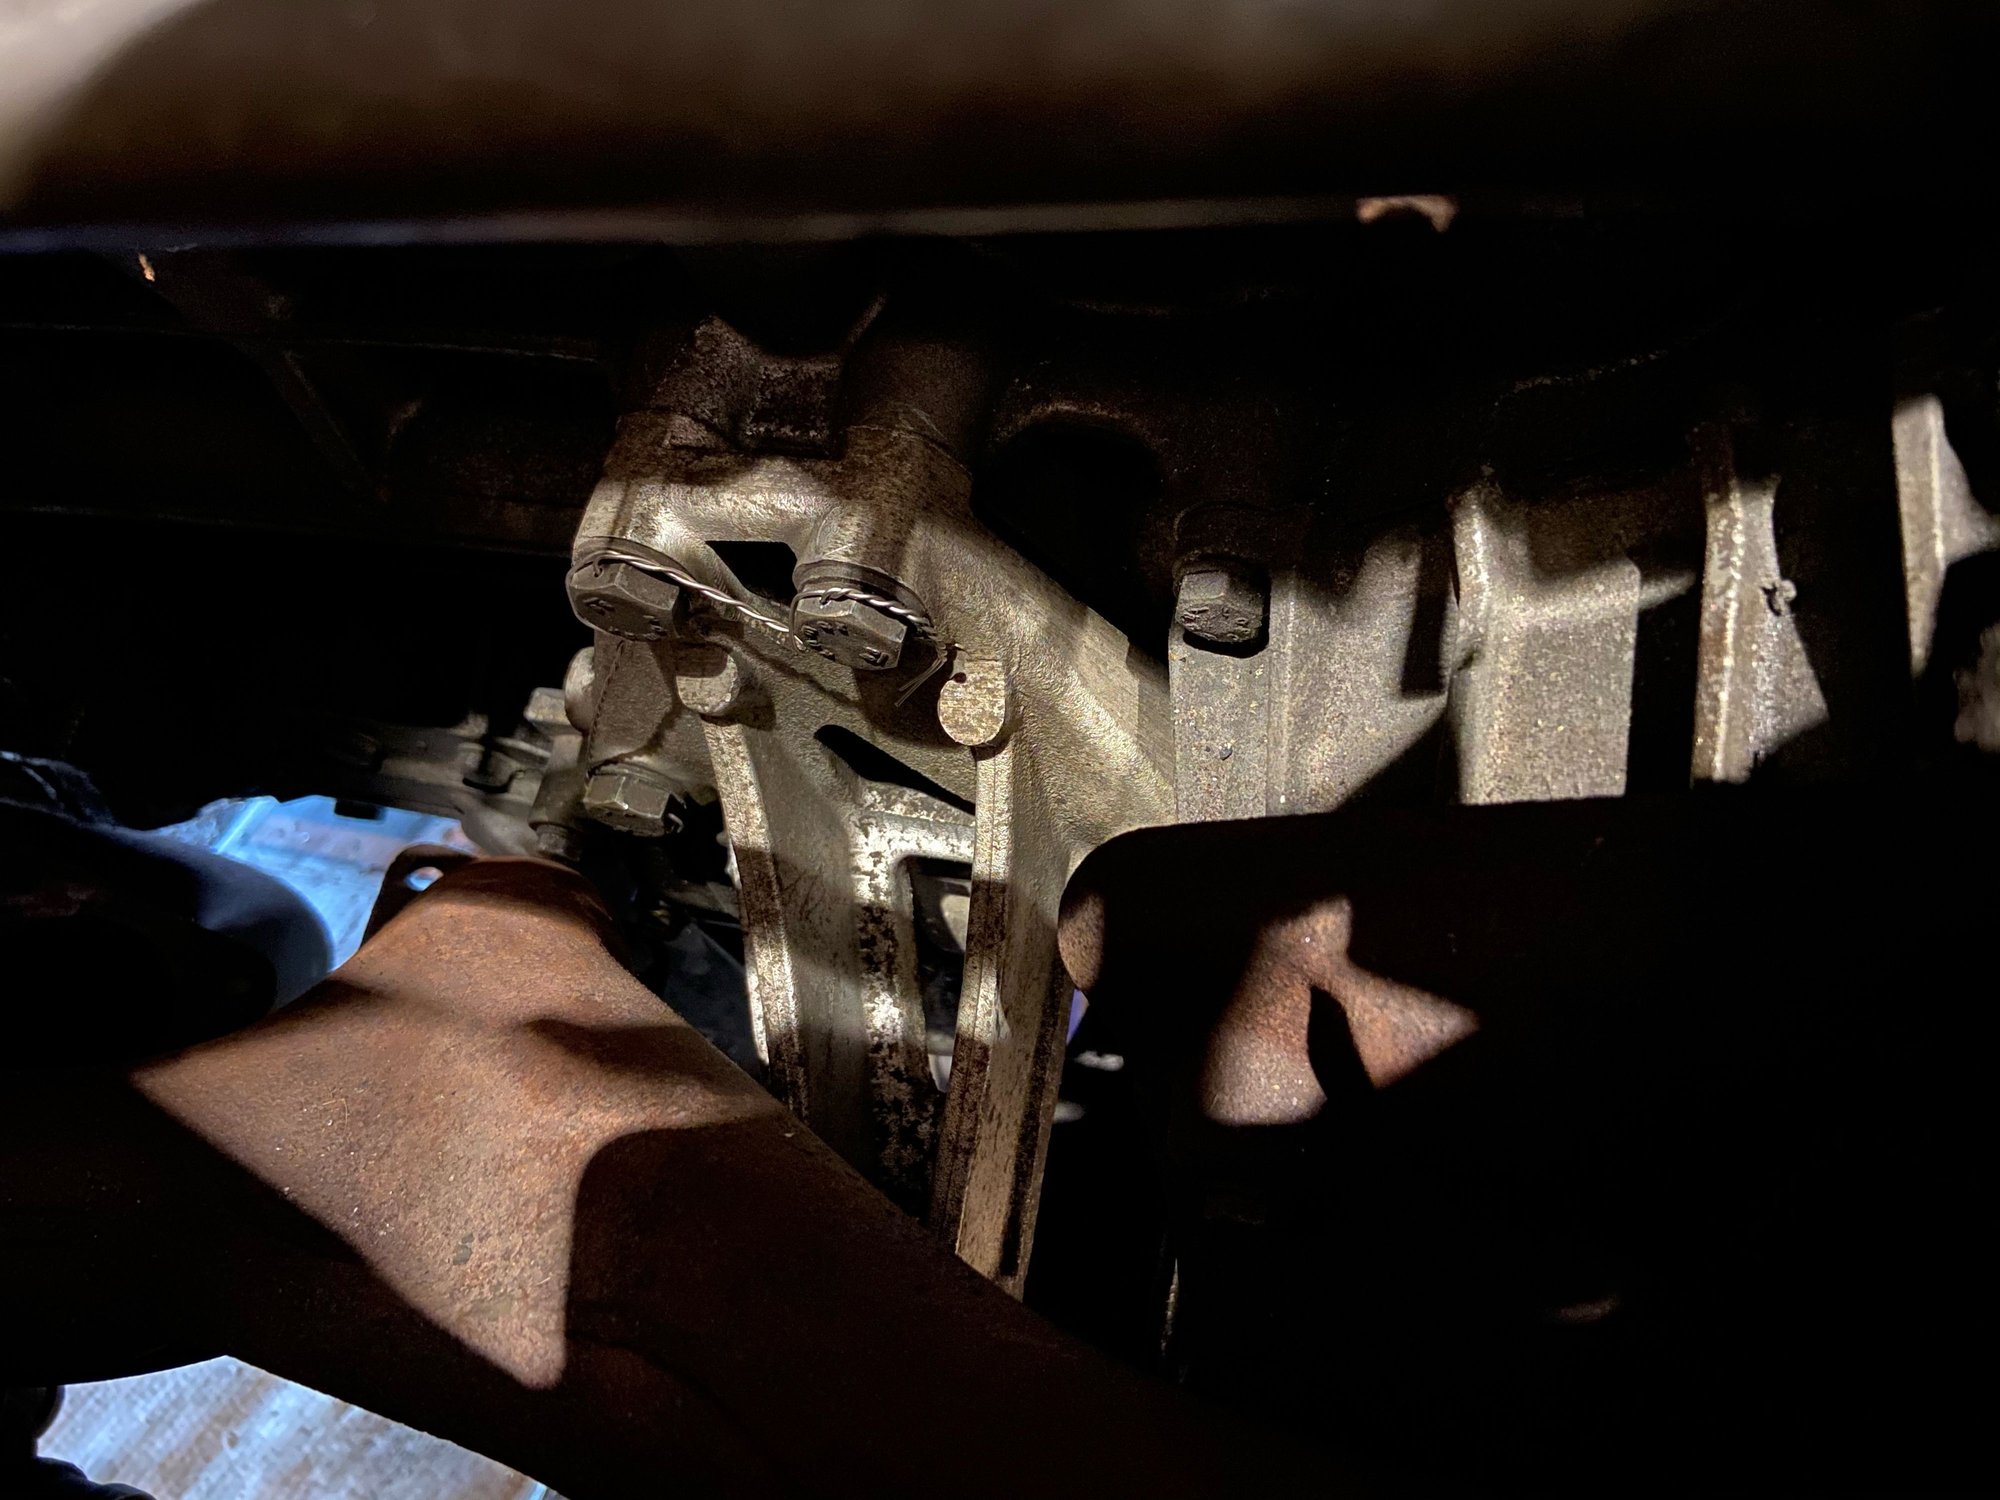
After that I swapped the old mount for a new one and reinstalling the carrier:


Getting the bottom of the carrier to "snap" onto the top of the engine mount was a bit of a fuss. Be prepare to lever some things around with a big pry bar....

I left the top engine mount bolts loose for now. My guess is I could get the exhaust back on with them tight since the replacement engine mount is a good bit taller than the collapsed one, but I didn't want to temp Murphy....

I chased about 1/2 the exhaust studs with an M8 die before calling it a day.

Last edited by jeyjey; 05-14-2021 at 01:32 PM.
Old 05-15-2021, 11:46 AM
  #9  
jeyjey
Rennlist Member
Thread Starter
 
jeyjey's Avatar
 
Join Date: Feb 2021
Location: Ireland
Posts: 856
Received 193 Likes on 154 Posts
Default

I managed to chase the rest of the exhaust header threads working around the 1-4 manifold. When all's said and done, though, it's probably easier to just remove the hard water pipe at the start.
Old 05-15-2021, 01:45 PM
  #10  
CyCloNe!
Rennlist Member
 
CyCloNe!'s Avatar
 
Join Date: Dec 2009
Location: Chesapeake, VA 23322
Posts: 4,124
Received 124 Likes on 105 Posts
Default

Originally Posted by jeyjey
Here's what a RHD cross-member looks like:
Woah! Pretty interesting, thank yoh for posting this. I was always curious on some of the differences for the RHD cars.
Old 05-20-2021, 01:08 PM
  #11  
jeyjey
Rennlist Member
Thread Starter
 
jeyjey's Avatar
 
Join Date: Feb 2021
Location: Ireland
Posts: 856
Received 193 Likes on 154 Posts
Default

While the LHS will still tax your collection of extensions, adapters, u-joints and wobble fittings, it's a lot easier than the RHS.


I thought I was done, till I found the RHS heat shield while putting all the tools away....
Old 05-21-2021, 09:28 AM
  #12  
jeyjey
Rennlist Member
Thread Starter
 
jeyjey's Avatar
 
Join Date: Feb 2021
Location: Ireland
Posts: 856
Received 193 Likes on 154 Posts
Default

Right. Now I'm done.


Quick Reply: Replacing motor mounts on RHD car....


All times are GMT -3. The time now is 11:16 PM.